Supplies
- .125” MDF material
- .125” acrylic
Designs Used
Crafting Instructions
1
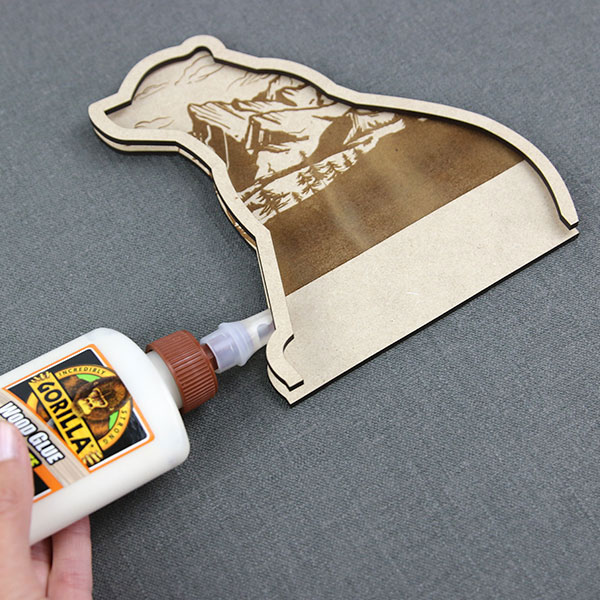
To start, take one of three pieces labeled as C. Glue this piece to piece G (the engraved back piece), matching all appropriate edges.
2
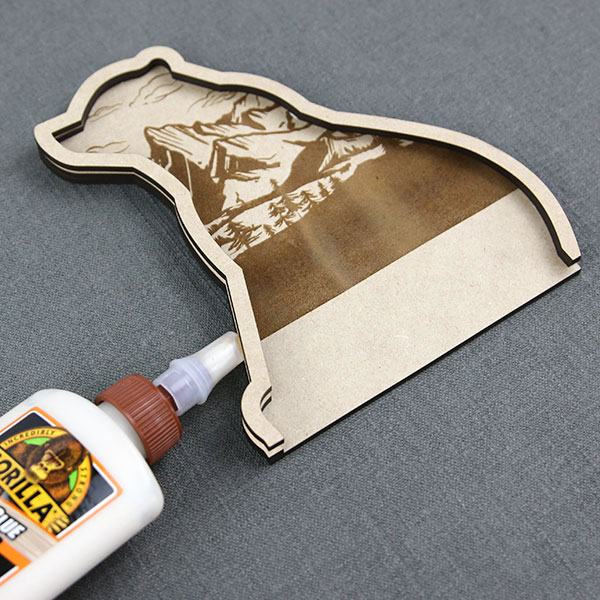
Stack and glue another C piece on top of the first.
3

Stack and glue pieces D-1 and D-2 on top, aligning them with their corresponding sides. These pieces create the coin slot.
4
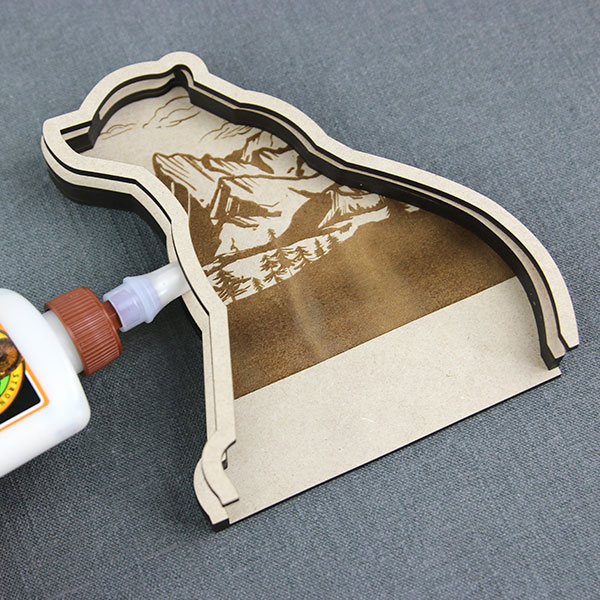
Glue the final C piece on top of the previously glued layers.
5
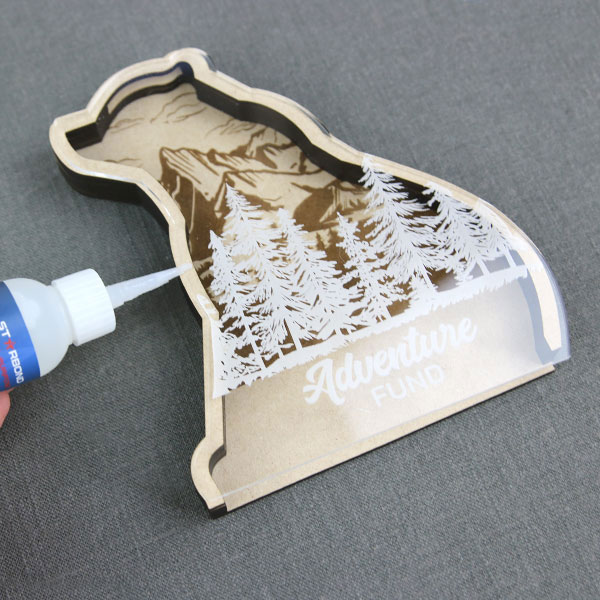
Next, glue engraved acrylic piece A on top of the assembled base.
6
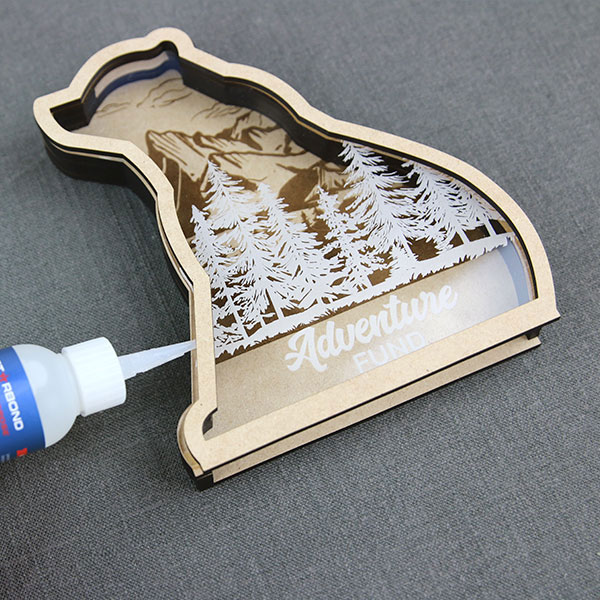
Finally, glue piece B on top of the engraved acrylic.
7
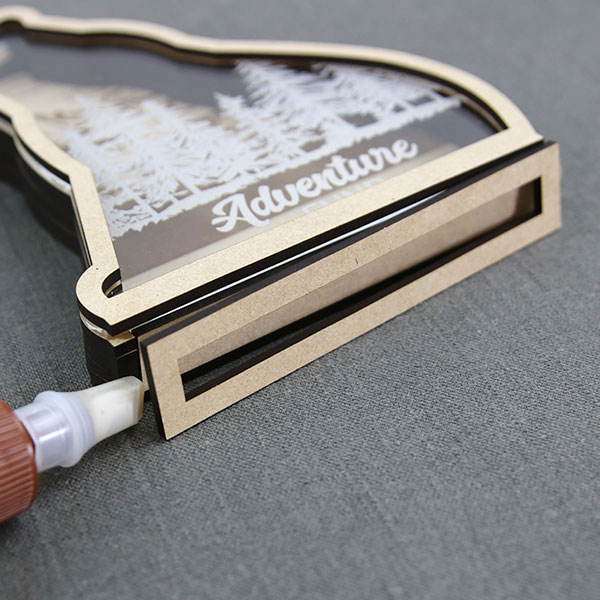
To finish, glue base piece D to the bottom of assembled bank.
8
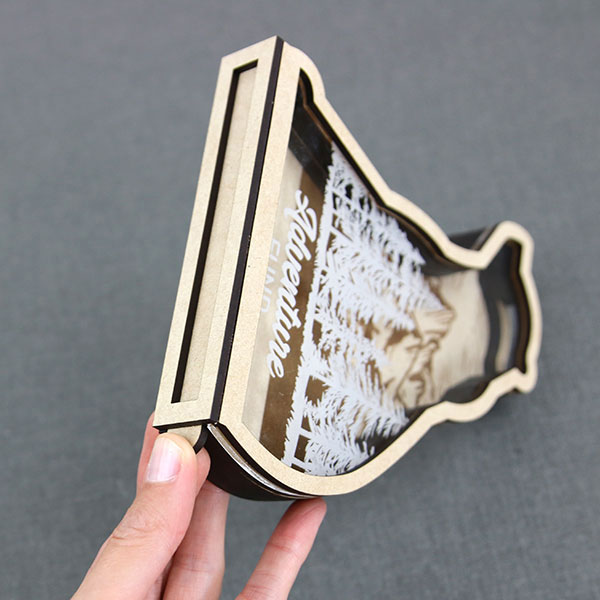
After giving the glue from previous steps time to fully dry, take piece F and slide it into the slot at the bottom of the bank. When it is time to retrieve coins from the bank, simply pull piece F out to create an opening.


