Supplies
- 65lb paper (for colors 1-4)
- White glue (such as Elmer’s)
- Bone folder
- String or clear filament
- Ribbon or washi tape (optional)
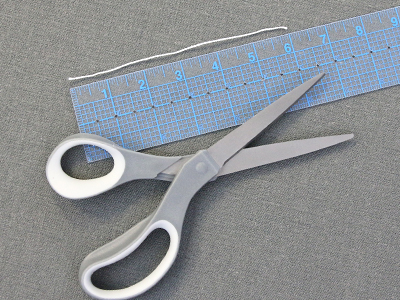
- Scissors
- Ruler
Designs Used
Cutting Instructions
1
Load the Spinner Card (Cut & More) file into your cutting machine’s software.
2
To make a 4.25” x 5.5” card to fit inside an A2 envelope, make sure all the pieces are sized correctly in your cutting software. For CGM6614 Butterfly Spinner Card, group and scale all piece together to be 11.45” x 11.27”. For CGM6661 Unicorn Spinner Card, group and scale all pieces together to be 10.80” x 11.21”. For CGM6681 Birthday Spinner Card, group and scale all piece together to be 10.41” x 11.29”. For CGM6696 Teacher Spinner Card, group and scale all piece together to be 10.41” x 15.24”.
3
This design file has four colors of paper, and works best if cut out of 65lb paper. Proceed in the design software until the first pieces appear, and are ready to be cut.
4
Smooth the first piece of paper onto the adhesive mat. Make sure the correct knife tool is in place. Then load the adhesive mat into the machine.
5
Score and cut out the pieces. Then carefully remove the cut pieces and excess paper.
6
Repeat to score and cut all of the pieces for the Spinner Card.
Crafting Instructions
1
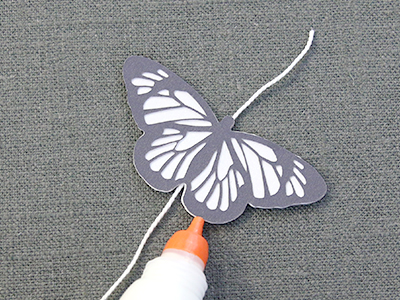
First, take the string or clear filament and cut a 6” piece. String was used for this demonstration, but either can be used.
2
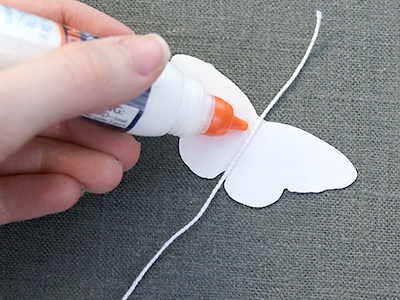
Then take one of the solid center shapes with no cut detail (color 1), and glue the string in the center of the body.
3
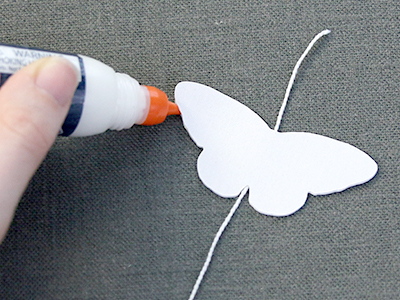
Lay the second solid center shape on top, so the string is between the two paper pieces. Line up the outer edges and finish gluing the two pieces together.
4
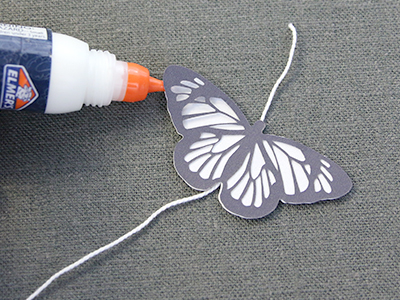
Now take the first of the detail pieces (color 2) , and glue it onto either solid piece.
5
Repeat this to glue the second detail piece on the other side.
6
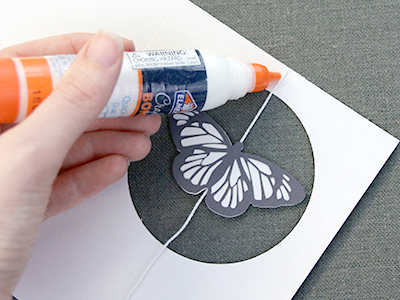
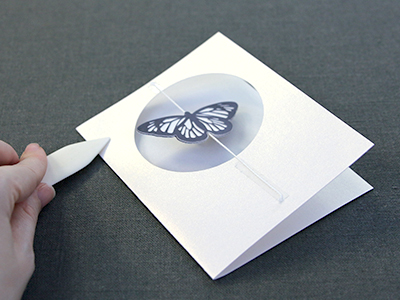
To add the spinner onto the liner (color 3), first line the top end of the string up with the score line found at the top center of the opening. Adjust until the assembled center piece sits in the center of the opening, then glue the string in place over only the top score line. Hold until dry.
7
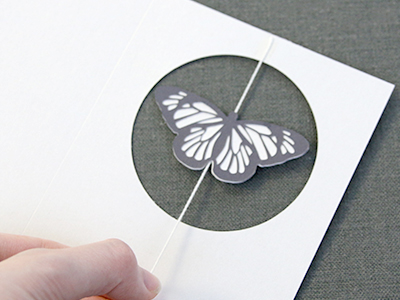
After the glue has dried completely, gently pull the string taut. Be careful not to rip the string off the card.
8
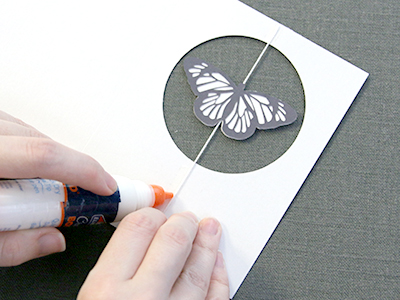
Line the bottom end of the string up with the score line found at the bottom center of the opening. Glue the string in place and hold until dry.
9
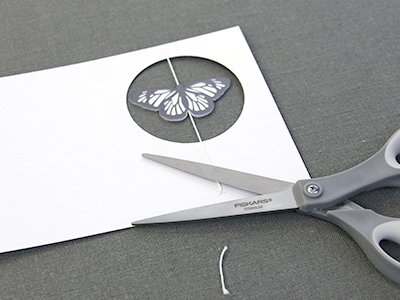
Trim away the excess string from the liner, so it does not hang over the edges of the liner.
10
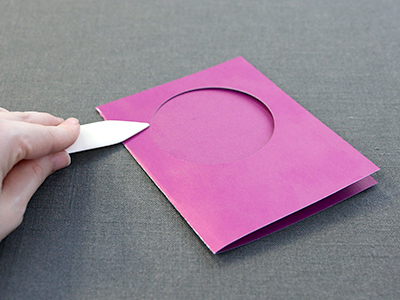
Now take the main card (color 4) and fold it in half along the score line with a bone folder.
11
Keeping the string side of the liner on the outside, fold the liner in half as well along the second score line (not the one where the spinner has been placed).
12
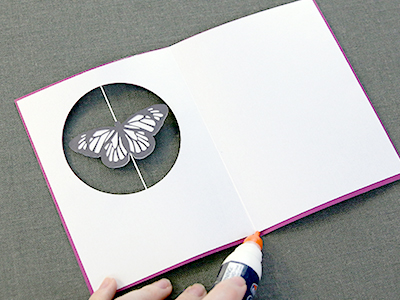
Match up the openings of the liner and the main card. Glue them together so the string ends up between the liner and main card pieces.
13
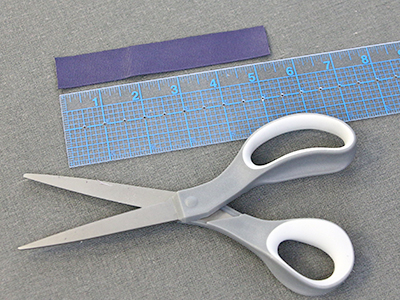
To add decorative ribbon or washi tape, cut the ribbon or washi tape at 5.5” long.
14
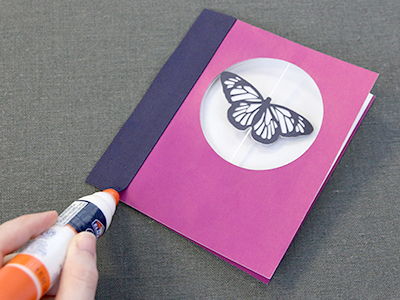
For ribbon, glue down half of the ribbon to the front of the card.
15
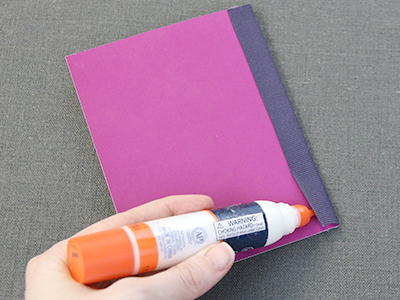
Then wrap it over the fold, and glue in place against the back. For washi tape simply stick to the front half on and then fold it over the fold, and stick it to the back.
16
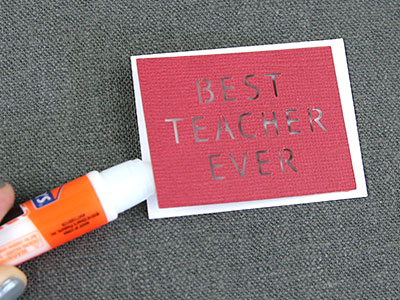
Some spinner card designs will have additional detail pieces. These should be glued onto the front of the card after the rest of the card is assembled. By adding these details last, you can ensure they do not get in the way of the spinner. If the detail pieces have multiple parts, glue them together before adding them to the card.
17
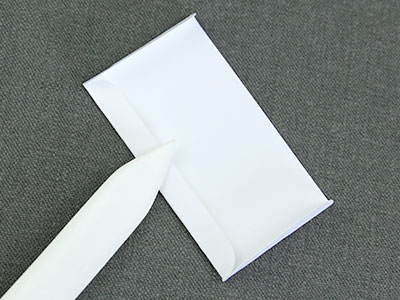
For cards that have a gift card pocket, such as the Teacher Spinner Card, fold the pocket piece along the scoring lines.
18
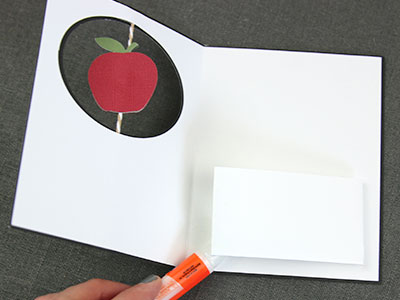
Then attach the pocket to the inside of the card using glue or double-sided tape.
19
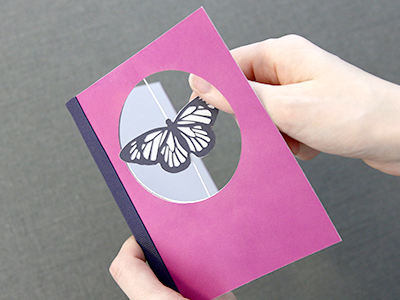
Before placing the card in the envelope make sure to carefully wind the center piece a few times, so it spins when the recipient opens the card. This completes the Spinner Card.


