Supplies
- 65lb paper
- White glue (such as Elmer’s)
- Bone folder
Designs Used
Cutting Instructions
1
Load the Romantic Heart Gift Box (Cut & More) file into your cutting machine’s software.
2
This design has one color of paper, and works best if cut out of 65lb paper. Proceed in the design software until the first pieces appear, and are ready to be cut.
3
Smooth the first piece of paper onto the adhesive mat. Make sure the correct knife tool is in place. Then load the adhesive mat into the machine.
4
Score and cut out the pieces. Then carefully remove the cut pieces and excess paper.
5
Repeat to score and cut all of the pieces for the Romantic Heart Gift Box.
Crafting Instructions
1

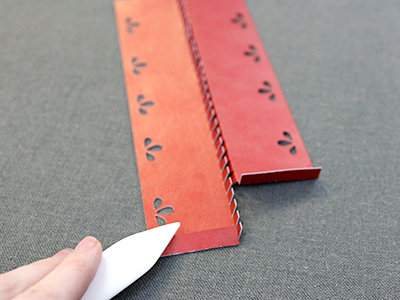
First start with one of the bottom wall pieces (with no cut details) and use the bone folder to carefully fold all of the small tabs.
2
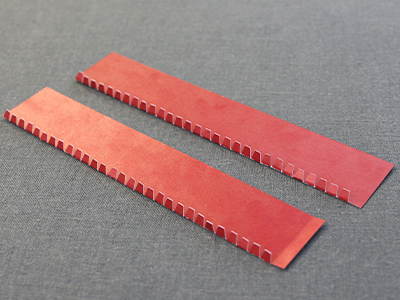
Repeat with remaining bottom wall piece.
3

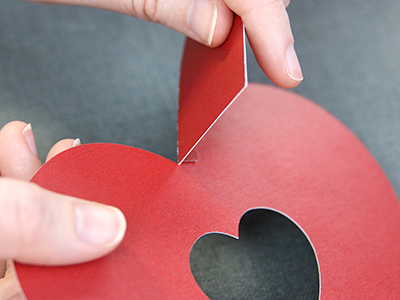
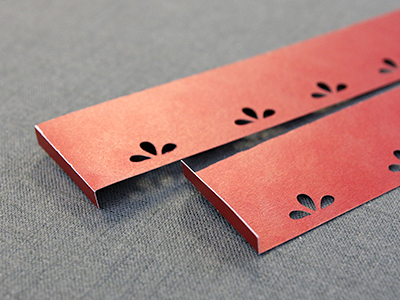
Then take one of the bottom wall pieces and fold the tab at the end inwards towards the small tabs (this will be the right side of the heart). For the second bottom wall piece fold the end tab outwards away from the small tabs (this side will be the left side).
4
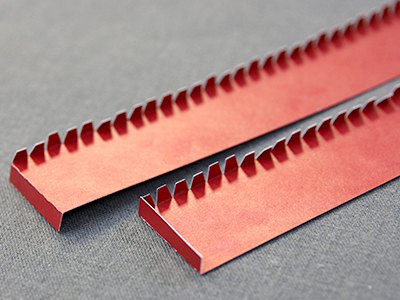
The large end tabs should look like this, and be folded in opposite directions.
5
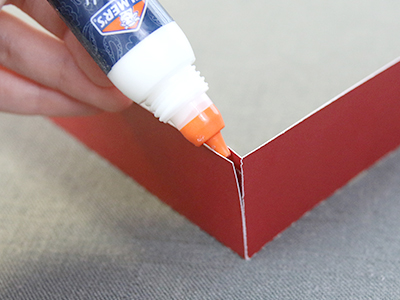
Now take the right bottom wall piece (with the inward facing tab) and glue its end tab to the flat edge of the left bottom wall piece.
6
The small tabs should all face in.
7
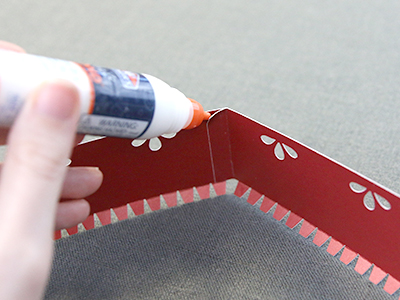
To start forming the bottom walls take the bottom base piece (with the single heart cut out) and line the right side piece’s flat edge with the center dip. To make sure the walls line up properly, start gluing the small tabs from this point.
8
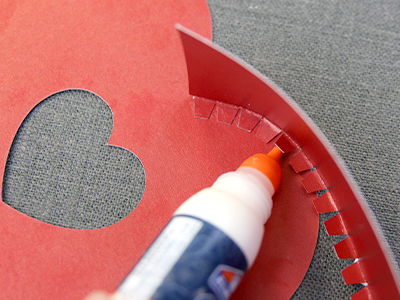
Begin to glue the tabs around the outer edge of the base.
9
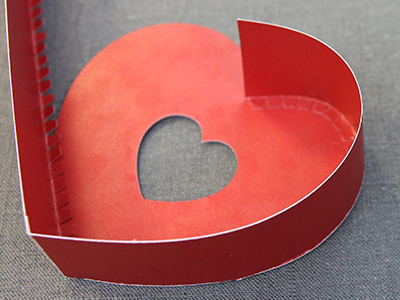
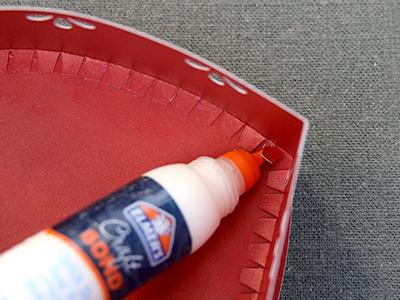
Make sure to keep the edges flush with the outer edge of the base.
10
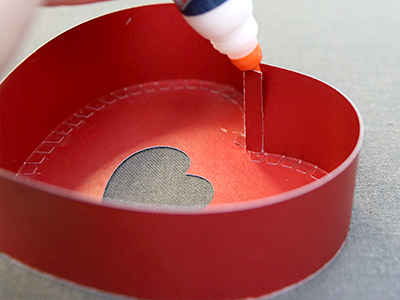
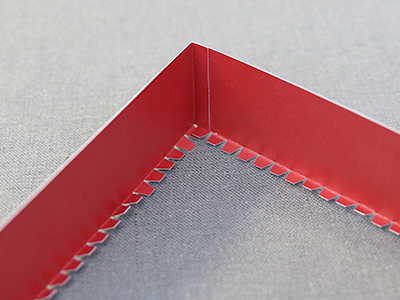
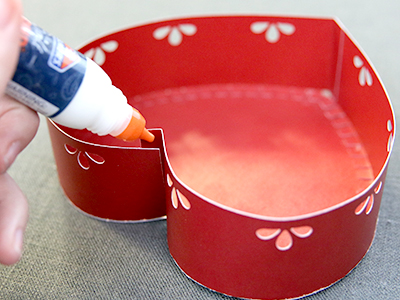
Continue to glue down the tabs. When you have all of the small tabs glued in place, the left side’s tab should fit against the right side’s flat edge. Both should meet in the upper dip of the heart. Glue the left side’s end tab to the right side’s flat edge.
11

Then glue the decorative bottom piece (the scalloped edge piece with no cut details) onto the flat side of the bottom base piece.
12
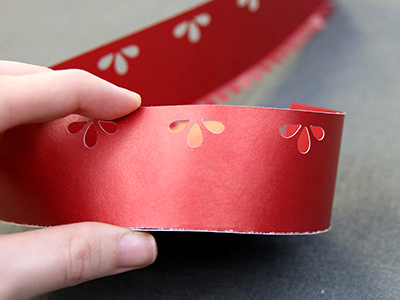
Take the top wall pieces (with the cut details) and repeat folding all of the small tabs.
13
Again fold one of the end tabs inwards to become the right side and the other outwards to become the left side of the heart.
14
15
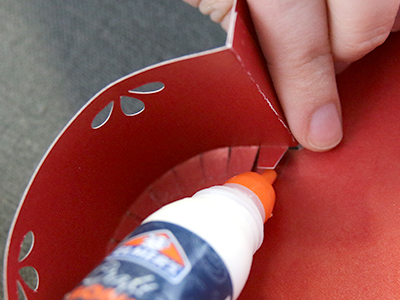
Again start with the right side of the heart, center the right side flat edge at the dip of the heart, and begin to glue the small tabs in place.
16
Keep the edges flush with the outer edge of the top base piece (with no cut detail).
17
Finish gluing all of the small tabs.
18
Then glue the left side’s end tab onto the right side’s flat edge.
19
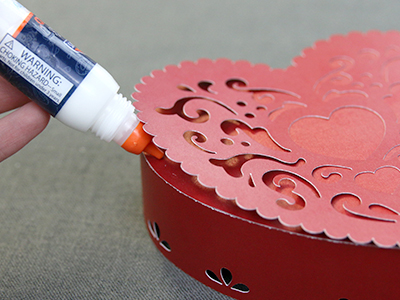
Glue the decorative top piece (with cut details) onto to the flat side of the top base piece.
20
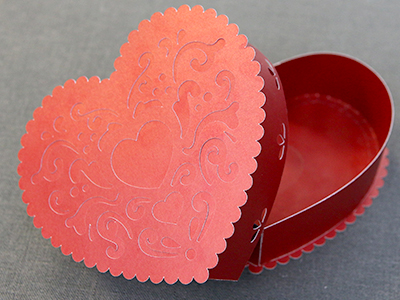
This completes the Romantic Heart Gift Box. Repeat these steps to make a collection of boxes in different colors and sizes. The box can be scaled bigger or smaller as long as all pieces are scaled together, but be cautious when shrinking the design as the intricate details will not cut once too small.


