Supplies
- .125” wood
Designs Used
Crafting Instructions
1
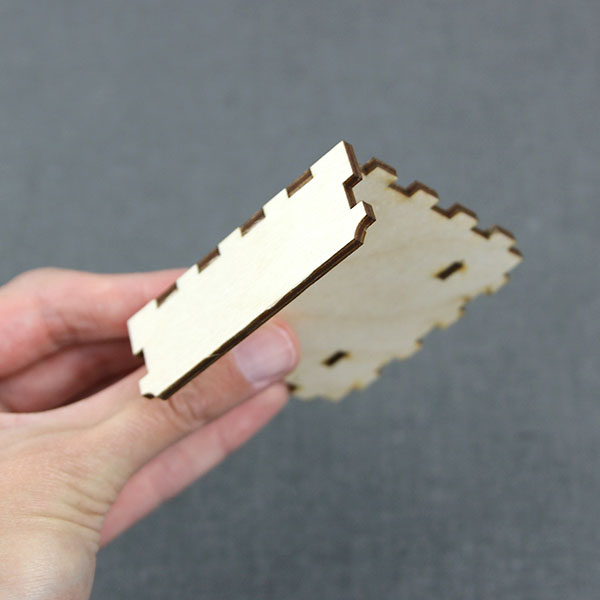
To start, attach piece A to the back of piece E (the side farthest from the two top slots). This creates the back wall of the box lid.
2
Next, attach piece C to the front of piece E (opposite piece A) to create the front of the box lid.
3
Attach piece B to one of the sides, with the circular hinge element facing the back of piece E. The engraved details should be visible on the outside. Do not attach piece D on the other side until a later step. Set the lid portion of the box aside for now.
4
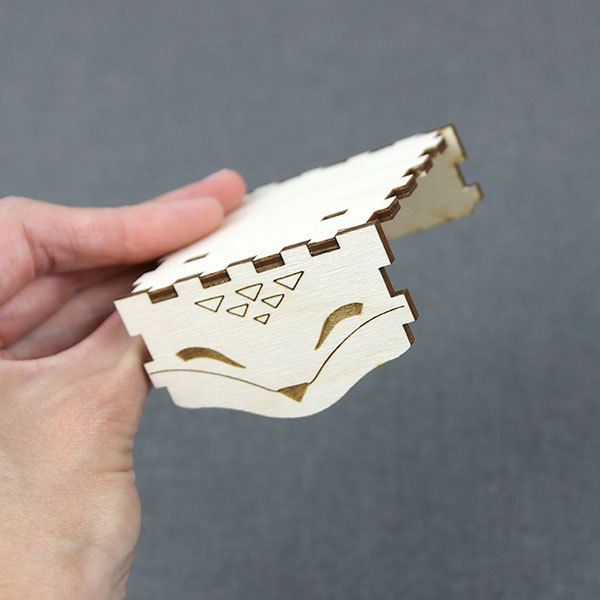
Next, take piece F and attach it to the back of piece J. This creates the back wall of the lower half of the box. The engraved tail detail should be facing outward and visible.
5

Attach piece G to the side of J so that the highest point of the curve faces the back. Repeat this same step on the other side with piece I.
6

Attach piece H to the front of J so that the engraved details are facing out. This completes the lower half of the box.
7
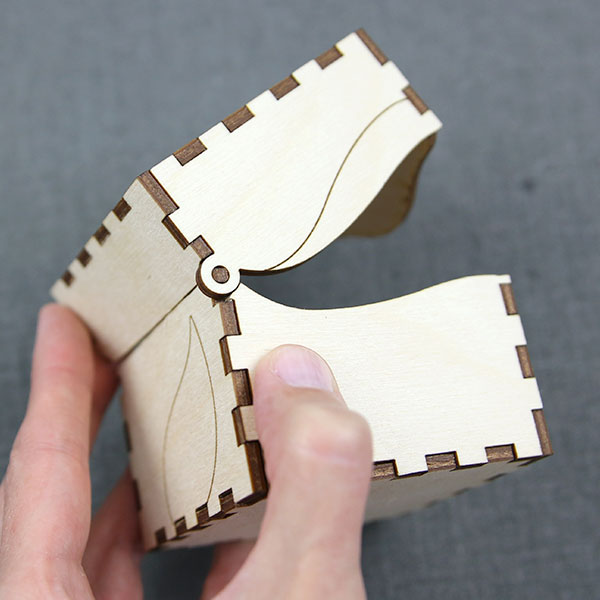
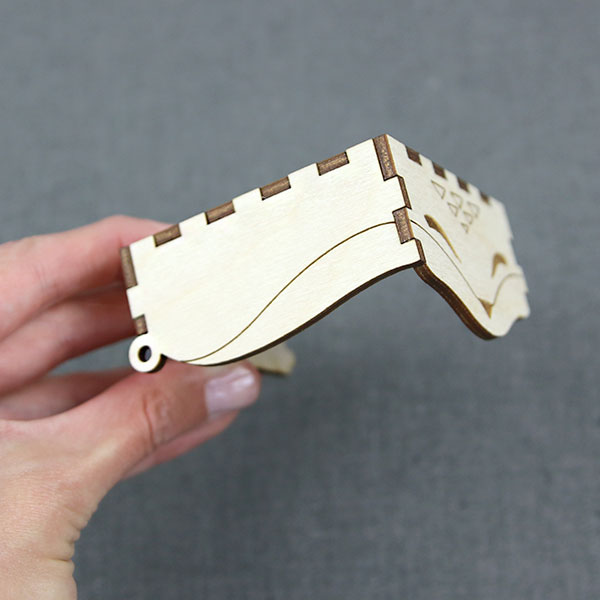
Next, slide the circular hinge piece of piece B over the thin tab at the top of piece F. The hinge element should sit neatly between where both F and G meet at the corner. The bottom curve of piece B should also follow the curve of piece G.
8
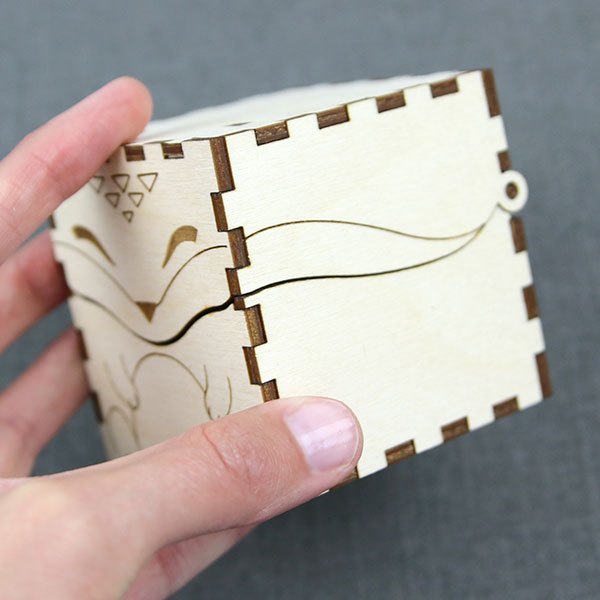
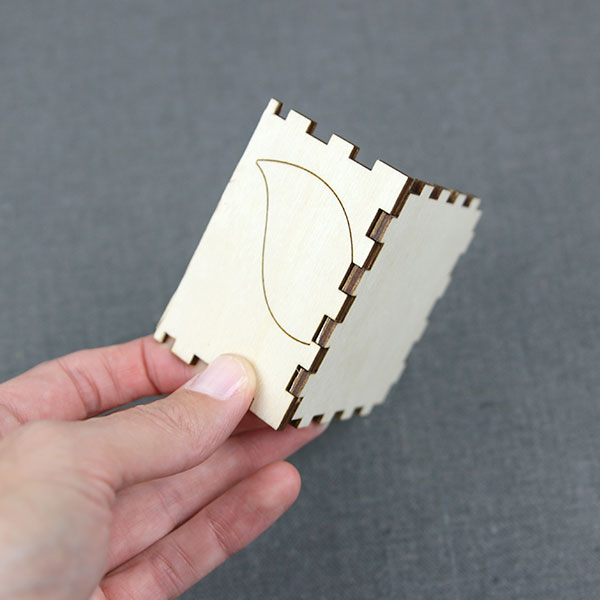
To finish, attach piece D into the remaining side of the box lid, mirroring the hinge placement of piece B.
9
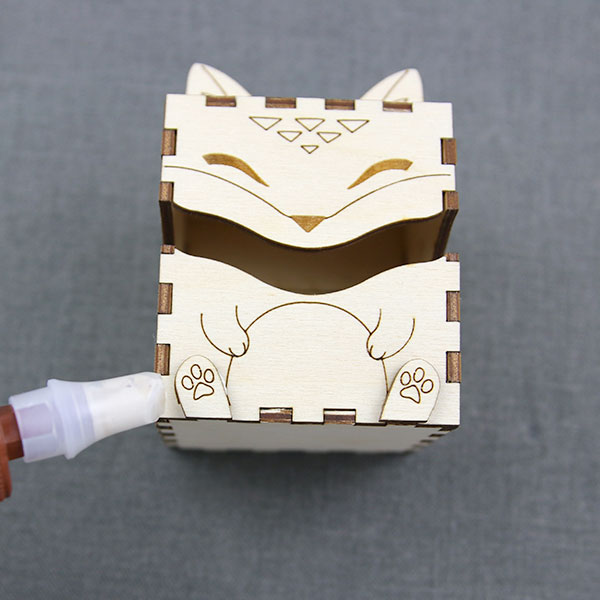
Finally, glue the feet detail pieces to the front of the box using the appropriate dielines, and place the ears in the exposed slots on top of the box.
10
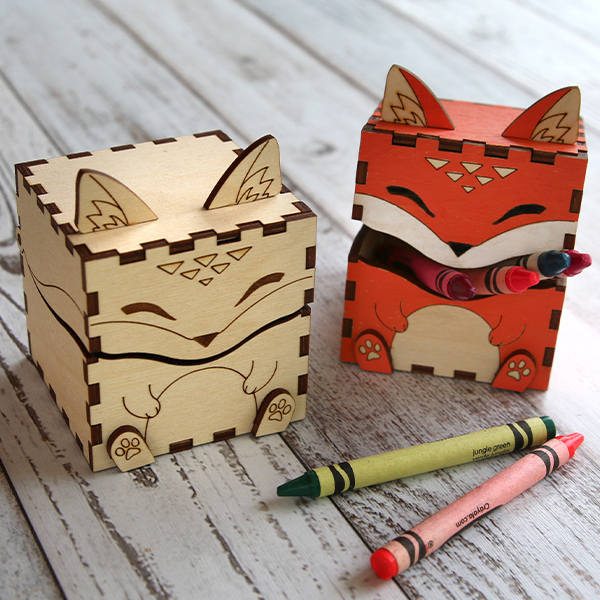
Bonus tip: Make each box unique by painting and adding details of your own!


