Supplies
- Paper
- 5” round wood plaque
- 1/4” wood dowel
- Pencil
- Drill
- 1/4” drill bit
- Hand saw or craft saw
- White paper glue and wood glue
- Masking tape or rubber bands
Designs Used
Cutting Instructions
1
Load the Lacy Papercut Tree (Cut & More) file into your cutting machine’s software. Do not scale this up or down. This design has been created to fit a 1/4” wooden dowel.
2
This design has one paper color. Proceed in the design software until the first color selection appears, and is ready to be cut.
3
Smooth the paper onto the adhesive mat with the right side of the paper facing up. Make sure the correct cutting or scoring tool is in place. Then load the adhesive mat into the machine.
4
Score and cut the pieces. Carefully remove the cut pieces and excess paper.
5
Repeat to score and cut all of the paper pieces for the Lacy Papercut Tree.
Crafting Instructions
1
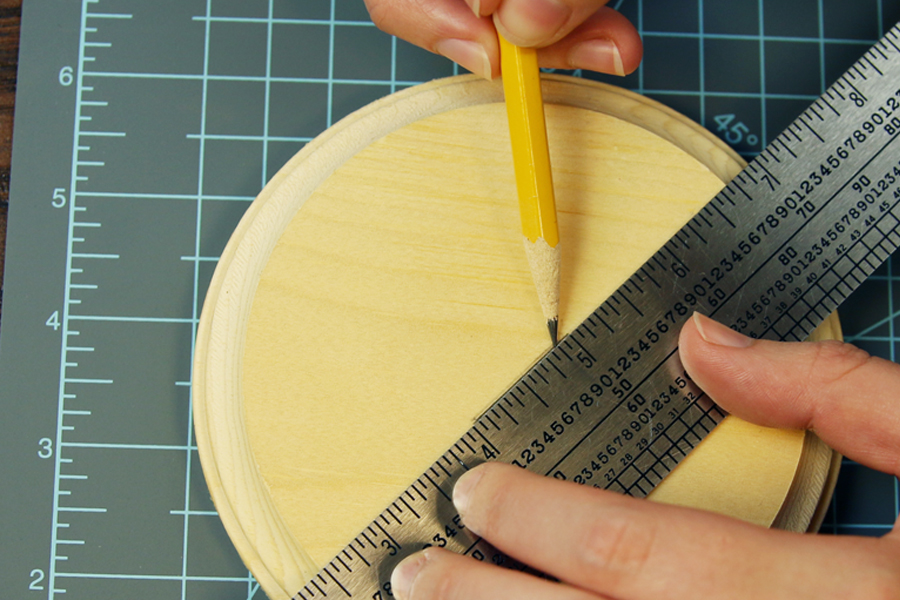
Find the center of the wood plaque using a cutting mat and a ruler. Place the plaque so that it is touching the vertical and horizontal lines 1” away from the side and bottom at the corner. Place a ruler along the 45 degree angle line and mark the line with a pencil.
2
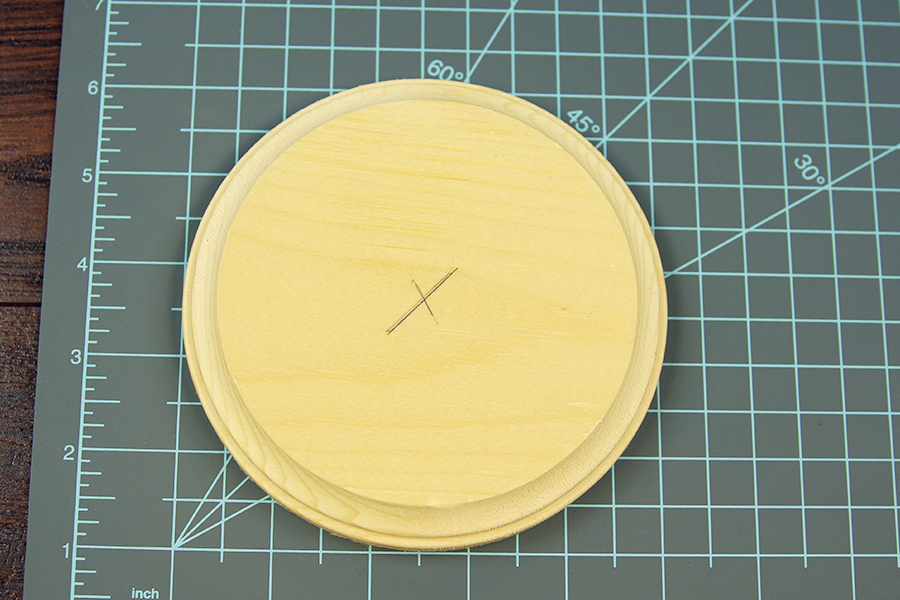
Rotate the plaque and draw another line along the 45 degree angle. Now you have marked the center of the plaque.
3
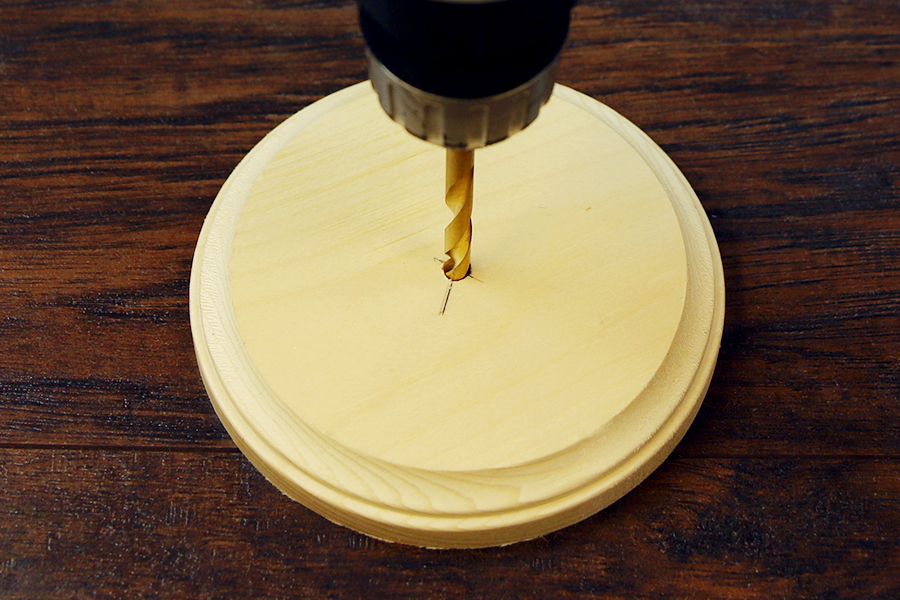
Using a drill and a 1/4” wood or metal bit, drill a hole on the center mark you made.
4
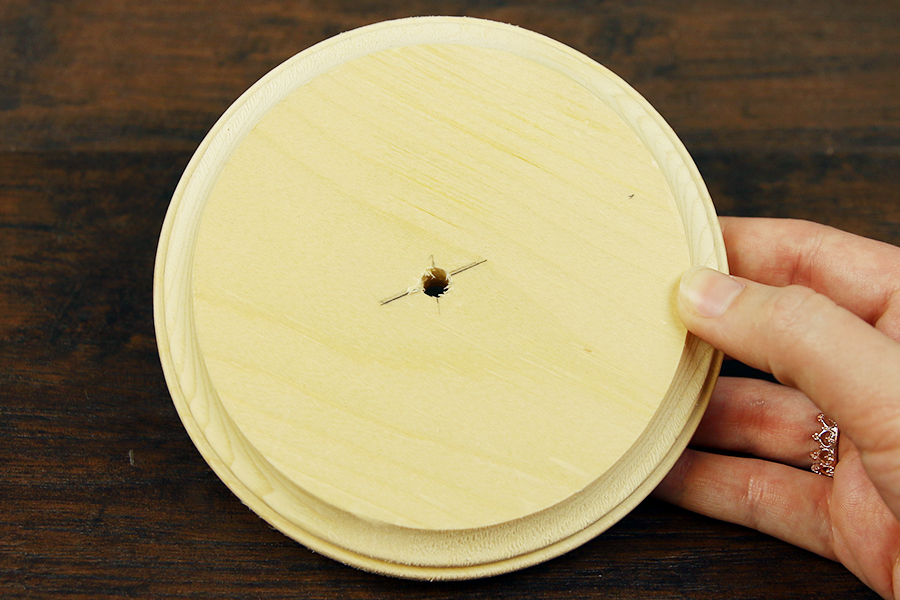
Try to drill as straight into the plaque as possible, and drill all the way through the plaque.
5
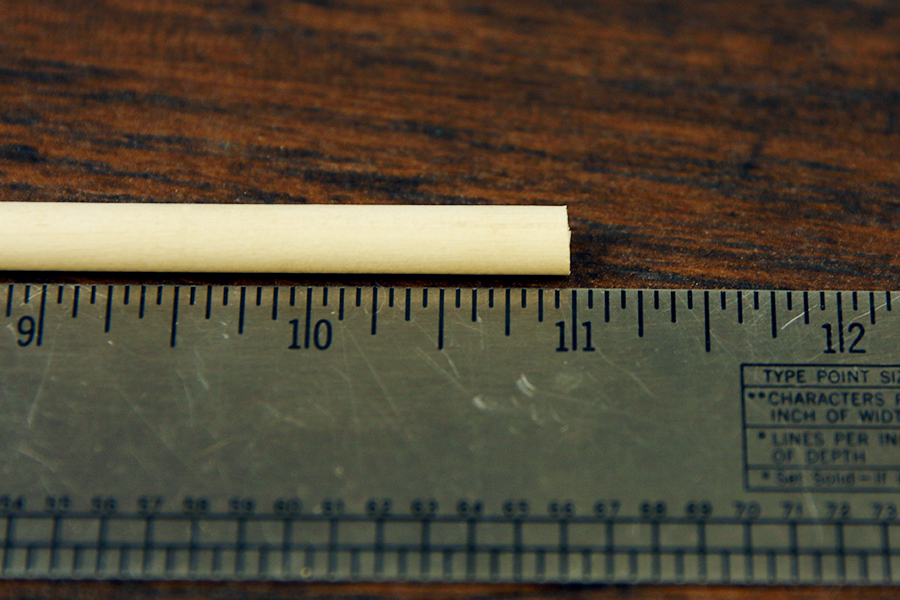
Measure and mark the dowel at 11”.
6

Using a hand saw, cut the dowel.
7
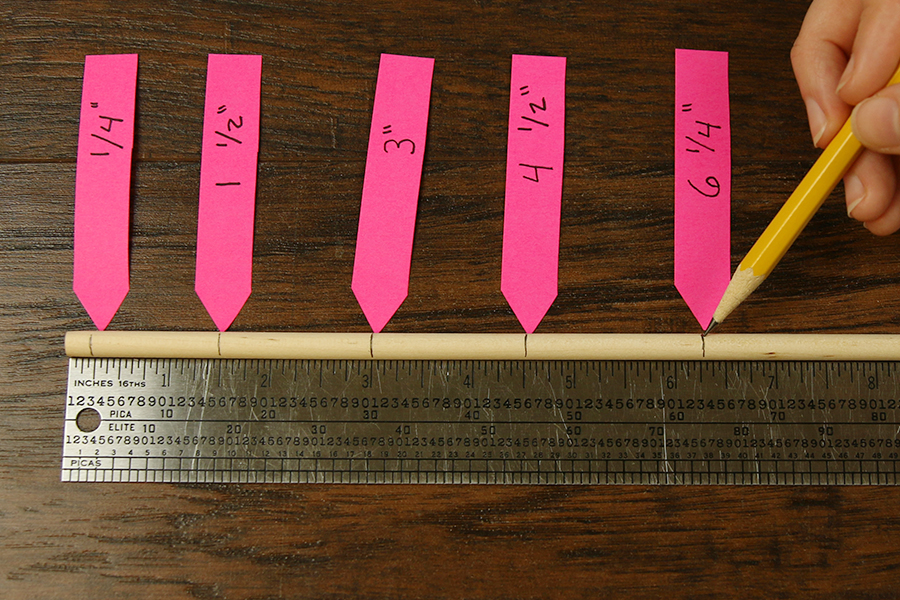
Measure and mark the dowel at 1/4”, 3”, 4 1/2”, and 6 1/4” away from the end. The 1/4” measurement will be the top of your tree.
8
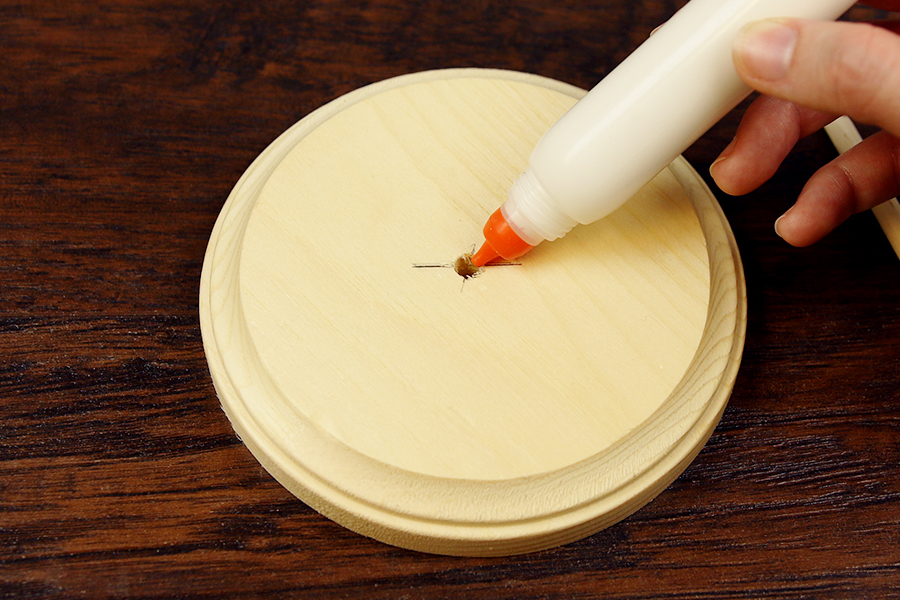
Spread glue inside the drill hole
9
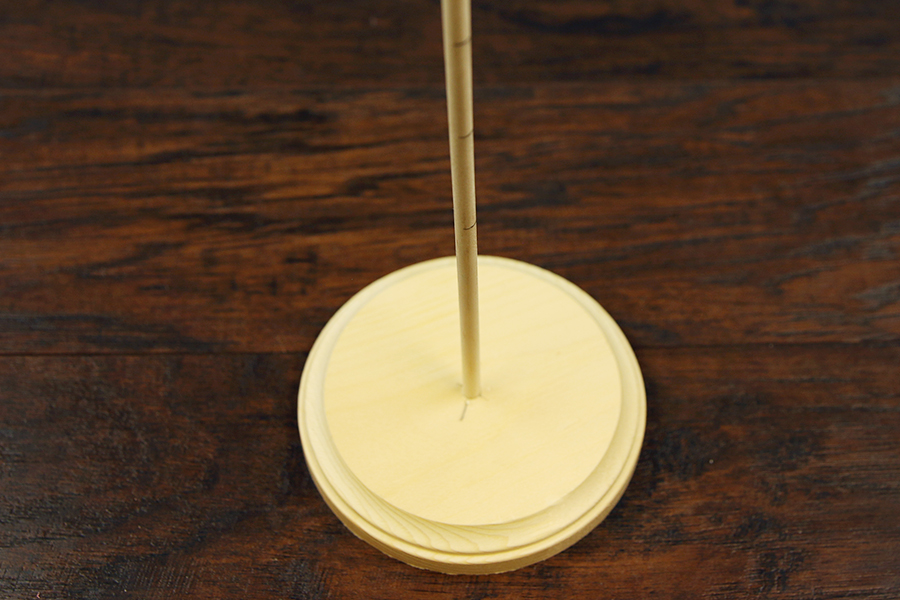
Insert the bottom of the dowel (the end not marked) into the wood plaque.
10
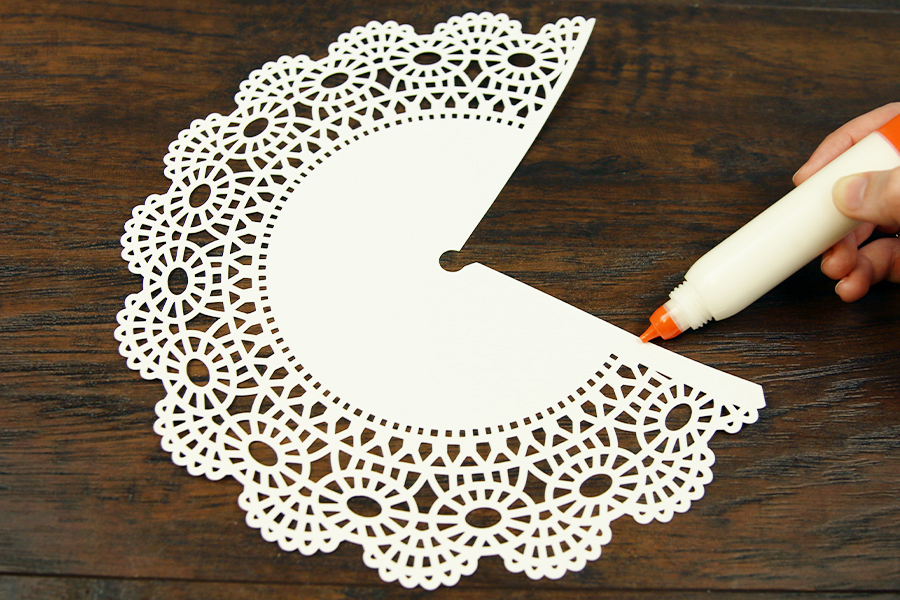
Each paper doily (parts 1-5) has a tab for glue located between one straight edge and the scoring line. Do not fold the scoring line. Spread a thin line of glue on the glue tab, and place the tab under the opposite straight side to make the doily into a cone shape. Hold until the glue completely dries.
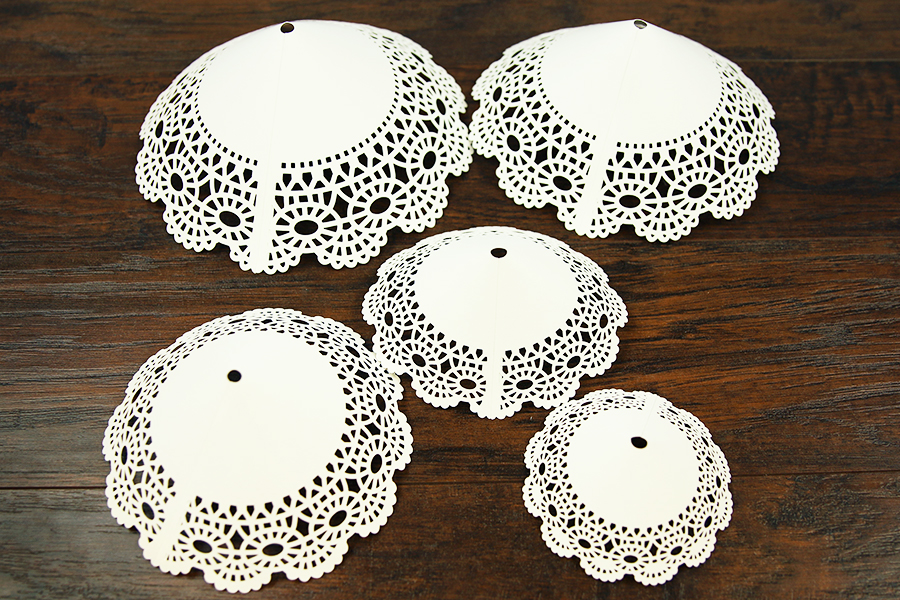
11
Then repeat to glue all five doily pieces.
12
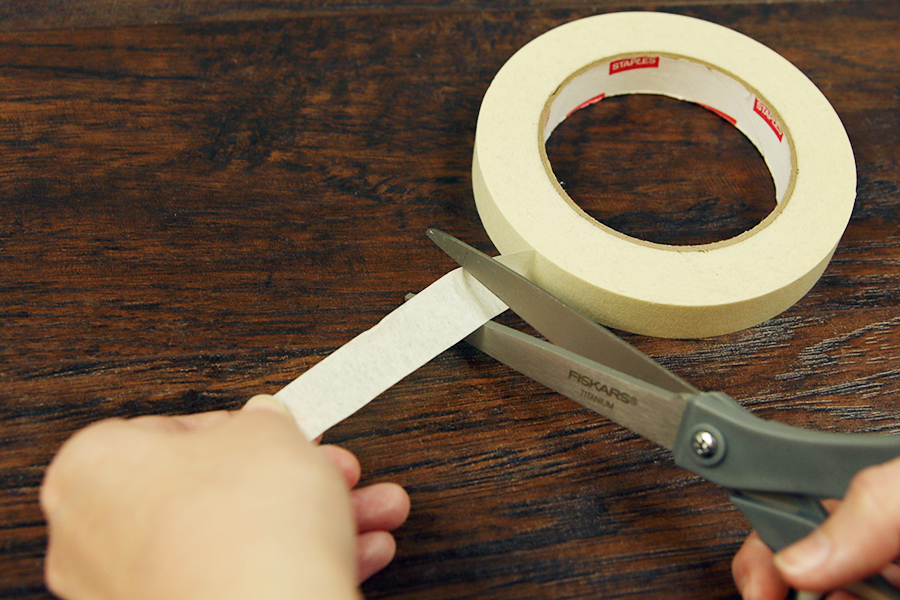
Next, cut 5 pieces of masking tape that are roughly 4” long. If you prefer, you can also use rubber bands for the next step instead of masking tape.
13
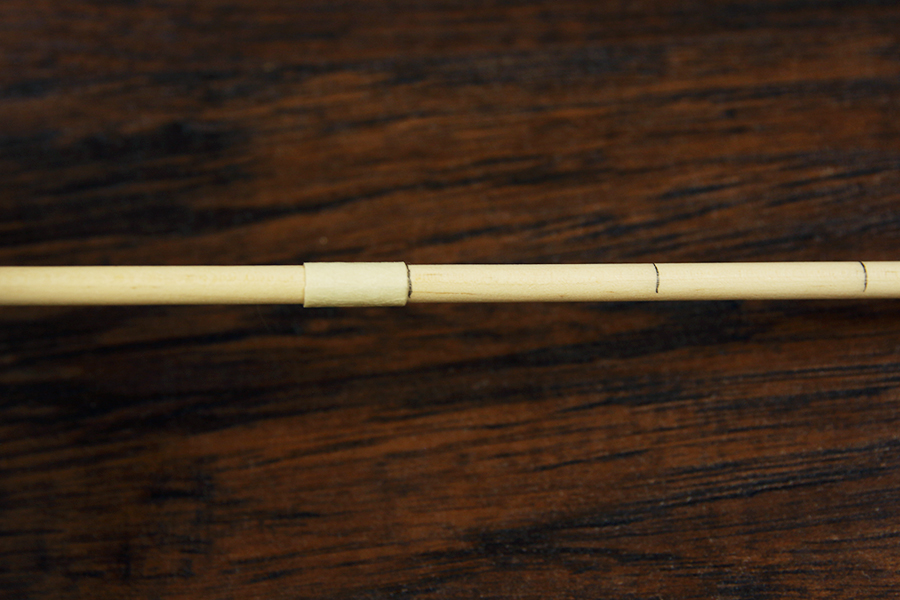
Place one piece of the masking tape around the dowel right below the 6 1/4” mark, and wrap it around until the whole piece of tape is wrapped. You can also use a rubber band for this step. The wrapped tape or rubber band will create a shelf for your doily to sit on.
14

Slide the largest doily (piece 5) onto the dowel down to the first tape or rubber band shelf.
15

Then repeat to wrap a piece of tape or rubber band below the 4 1/2” mark on the dowel. Slide the second largest doily piece (piece 4) onto the dowel, and down until it is resting on the shelf.
16
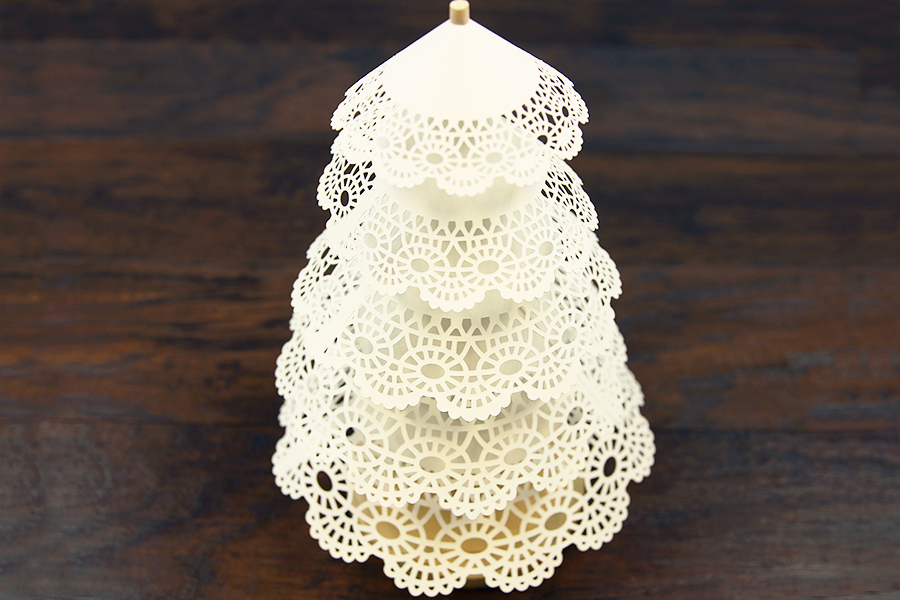
Continue to repeat the previous steps to wrap the tape or rubber band below each of the remaining marks, and add the paper doilies onto the dowel one by one. This completes the tree. Repeat these steps to make a forest of trees in different color and papers.


