Supplies
- .125” wood
- 3 mm (.118”) wood
Designs Used
Crafting Instructions
1
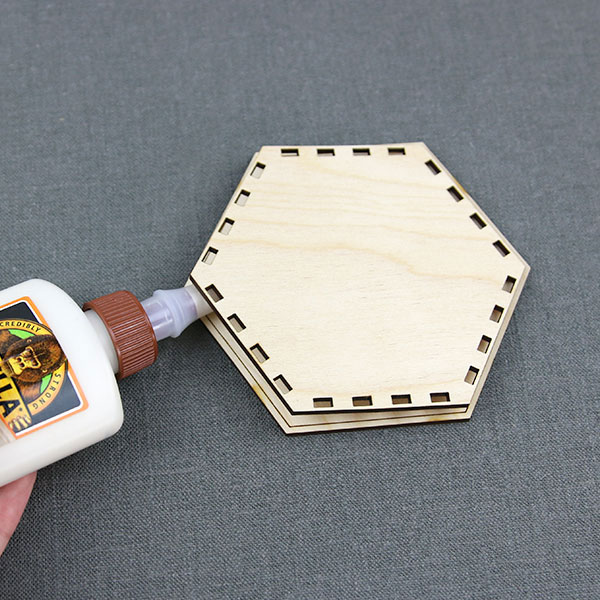
First, create the box base and glue piece G to piece B. Use the scored line on piece B as a placement guide. Allow these pieces to dry completely.
2
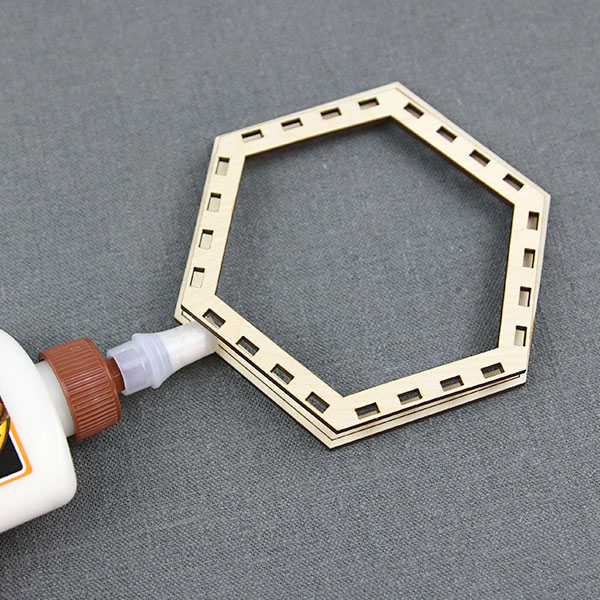
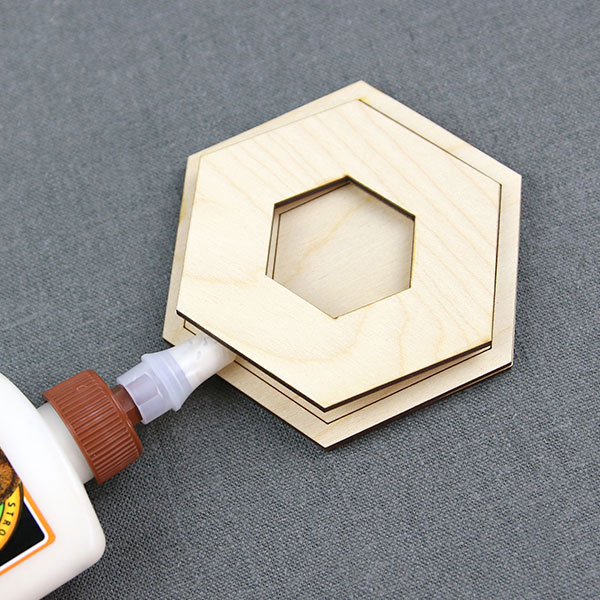
While the pieces G and B dry, begin construct- ing the box top. Glue piece H to piece A, using the scored line on piece A as a placement guide. Allow these pieces to dry completely.
3

Once the base piece has dried (from step one), insert the side pieces (F-1 through F-6) into the base slots and create the walls of the box. Secure these pieces with glue and allow to dry.
4
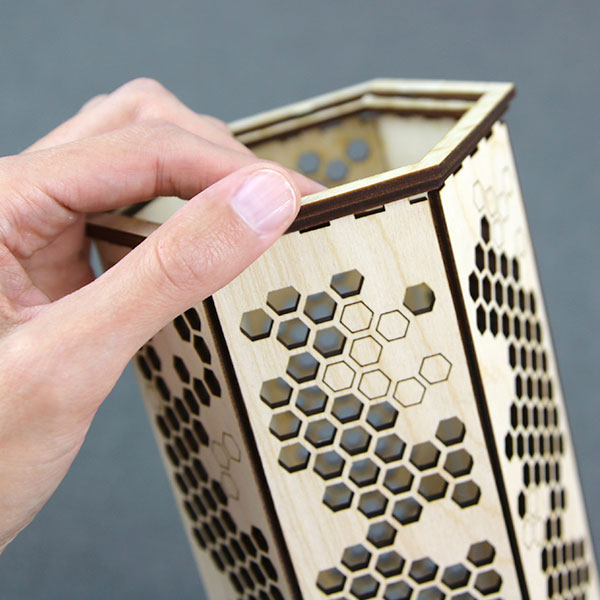
Finally, fit the slots of the assembled box top (from step two) into the tabs of pieces F-1 through F-6 on the box walls.
5
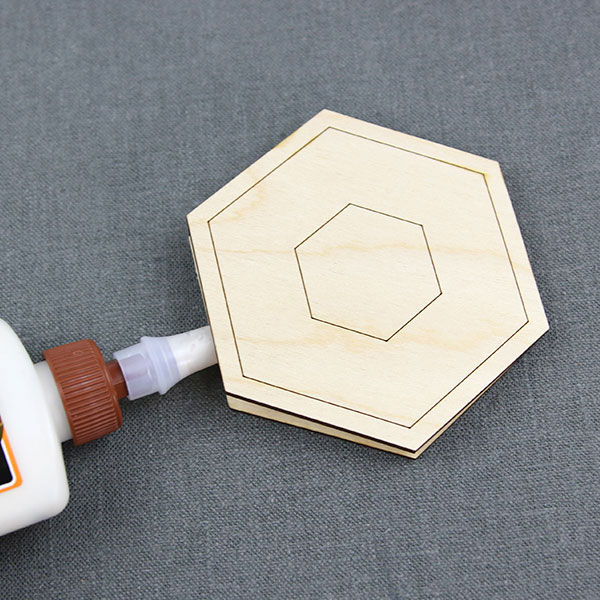
To construct the box lid, start by gluing pieces C and D together with the scored lines facing out. Allow to dry.
6
Next, glue piece I to the underside of C/D. Use the scored line as a placement guide.
7
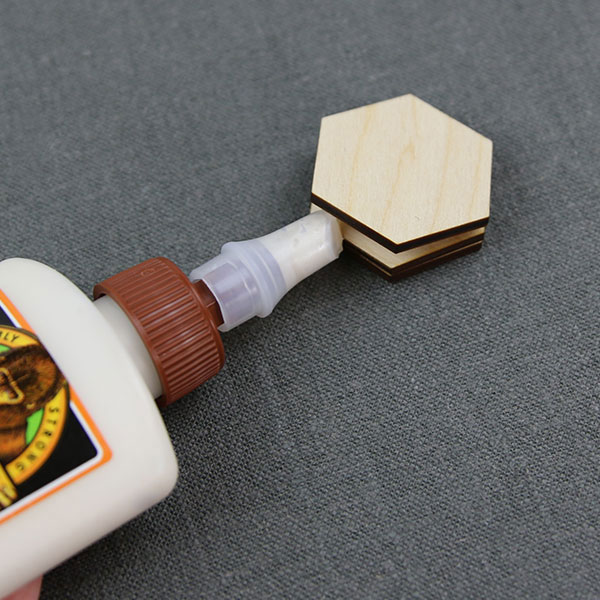
While the previous pieces are drying, stack and glue pieces E-1 through E-3 to create the handle.
8
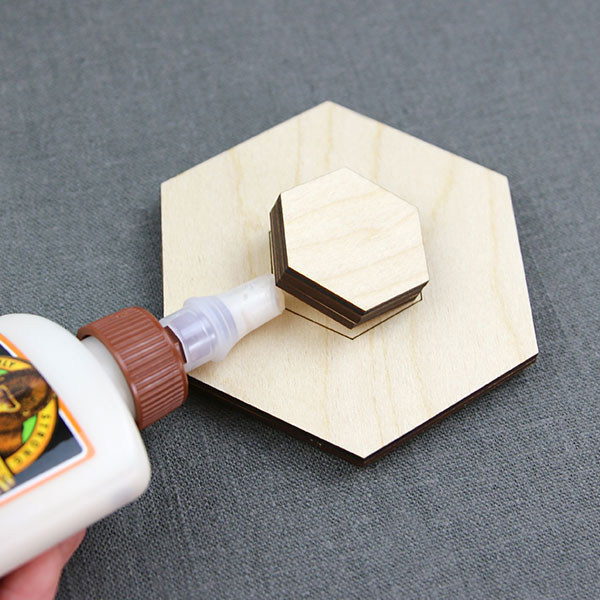
Finally, glue the handle to the lid, using the scored line as a placement guide.
9
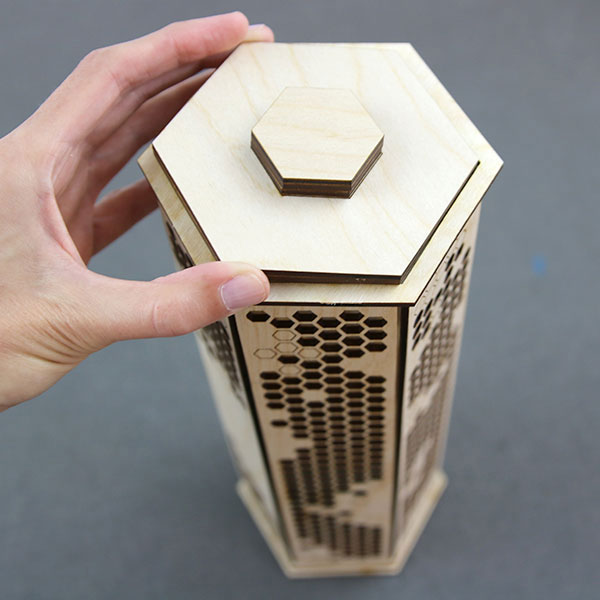
Place the lid on top of the constructed box and enjoy! If using as a lantern, simply add a battery powered tea light or a string of fairy lights.


