Supplies
- .125” wood
Designs Used
Crafting Instructions
1
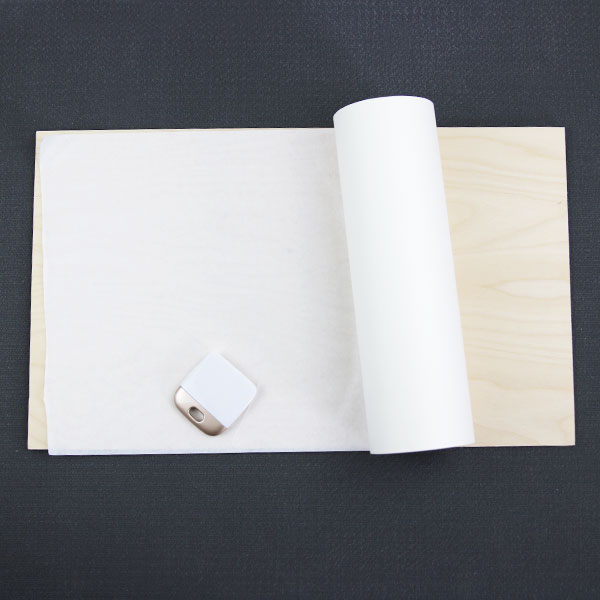
Mask both sides of your wood. We used 1/8” Baltic birch plywood that was 12” wide by 20” long.
2
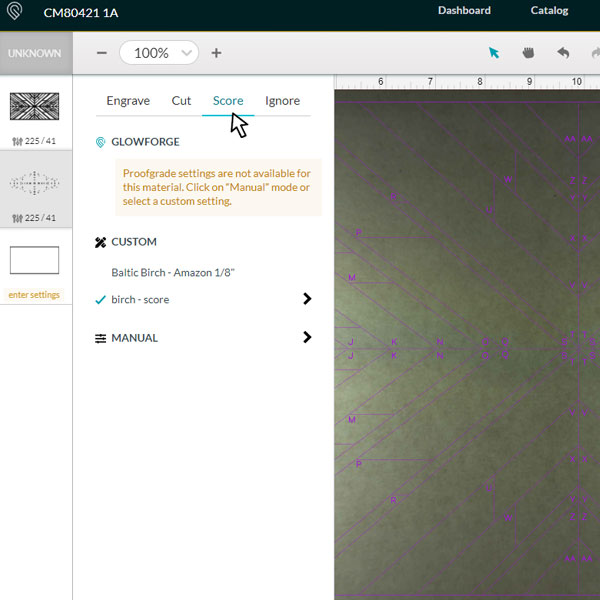
Follow the cutting guide PDF to select the layers and set them to either cutting or scoring in your laser cutting software. Repeat this step until all files are cut. Once complete, remove the masking tape.
3

Sort the pieces by letter. There should be 4 of each piece.
4
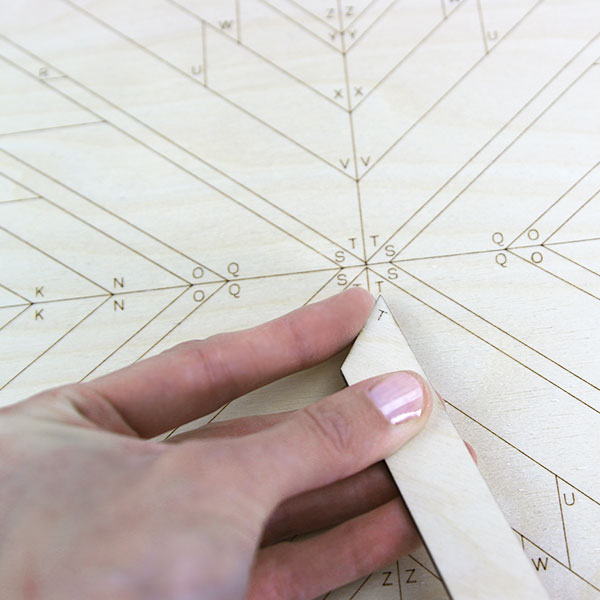
You will see that the letter on each piece will match up to a spot on your board with the same letter.
5
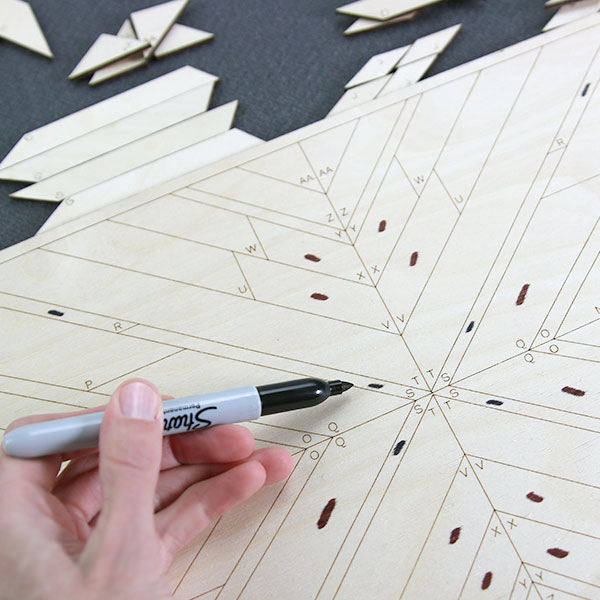
Map out how you want your wood wall art to look by marking the back layer with markers representing the colors you plan to use.
6
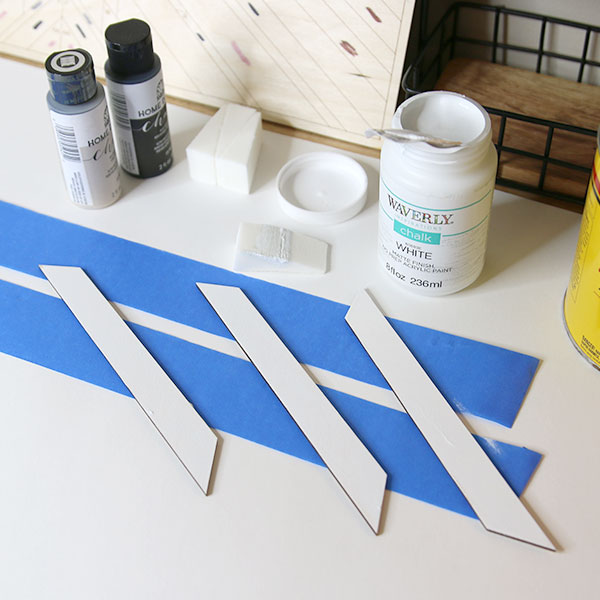
Paint or stain the side of each small piece that does not have a letter scored into it. We placed our mapped back layer where we could easily refer to it during this process. Tip: We placed painters tape on our painting area to hold the small pieces in place while painting/staining them.
7
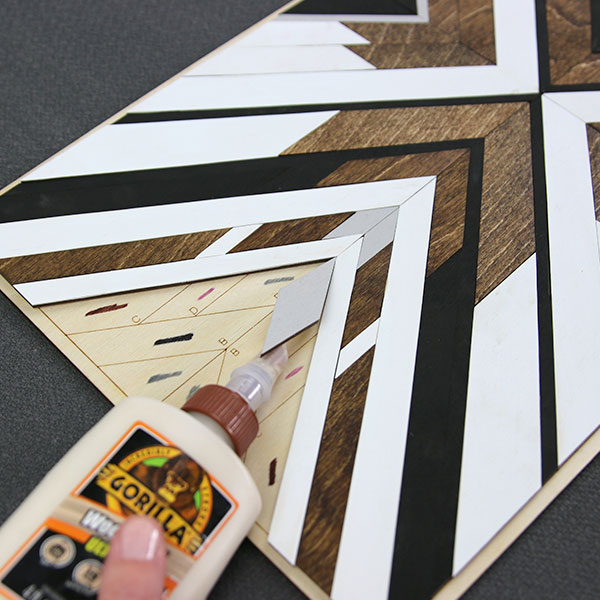
Once the paint/stain is fully dried, glue each piece onto the back board, matching the letters on the individual pieces to the coordinating spot on the back layer. The side with the scored letter will be facing down.
8
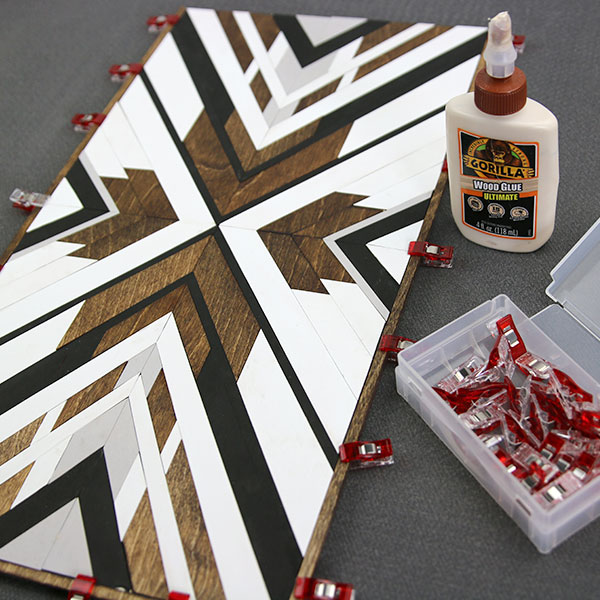
Finally, glue the edge pieces down to complete your wall art. Tip: You can use sewing clips to hold the wood frame pieces in place while they dry.
9
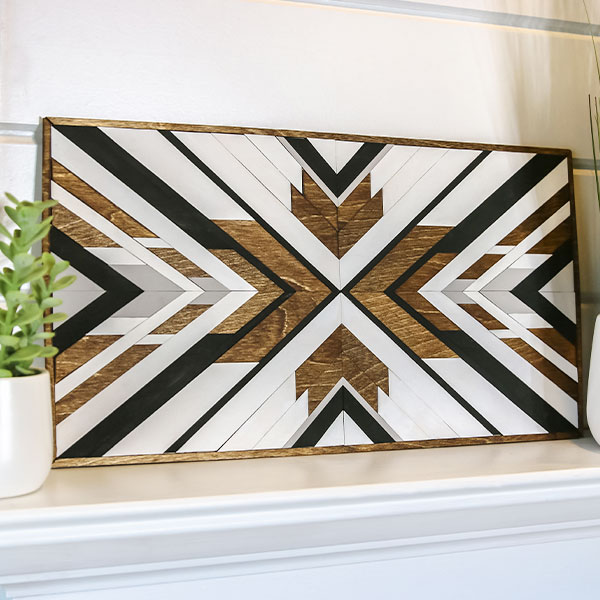
Once your project is complete, display it over a mantel, hang it on your wall, or think of other clever ways to show off your crafting skills. It’s scalable, too, making it a versatile piece for your collection of designs.


