Sweeten up Easter celebrations, birthday parties, and more with a 3D laser cut wood candy holder! This design features an acrylic window so that you can see what's inside the box. Project instructions will show you how to assemble the layers of this SVG cutting design.
Supplies
- 1/8th" wood
- 1/8th" clear acrylic
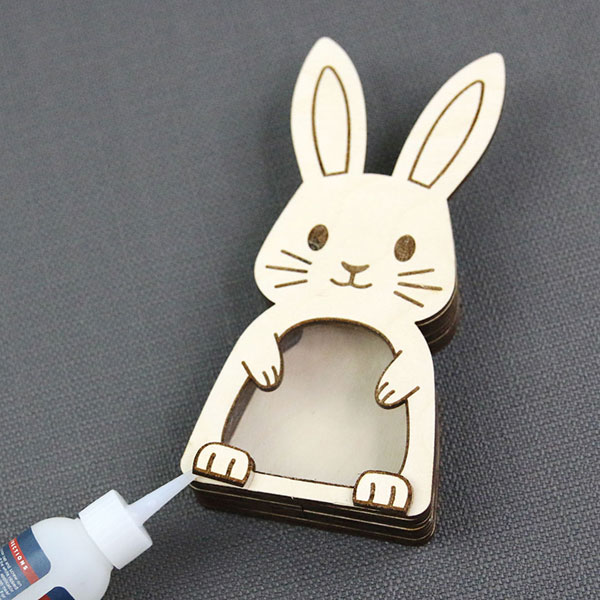
- Superglue or wood glue
Tools
- Glowforge or other laser cutting machine
Designs Used
Sizing note: Our candyholder designs are scalable! If you desire a larger final product, simply select all pieces in the file and scale them up together.
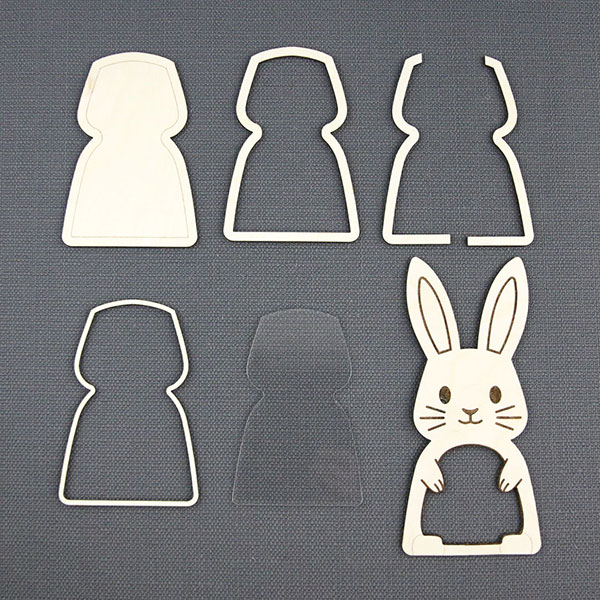
Our shaped candyholders consist of a few different types of layers: a solid back, a thick outline layer, spacing layers, a thin acrylic frame layer, the acrylic inset, and a front layer.
Some layers are split up to use fewer sheets of wood. When the shaped candyholder assembly is complete, the lines where these pieces join will be hidden.
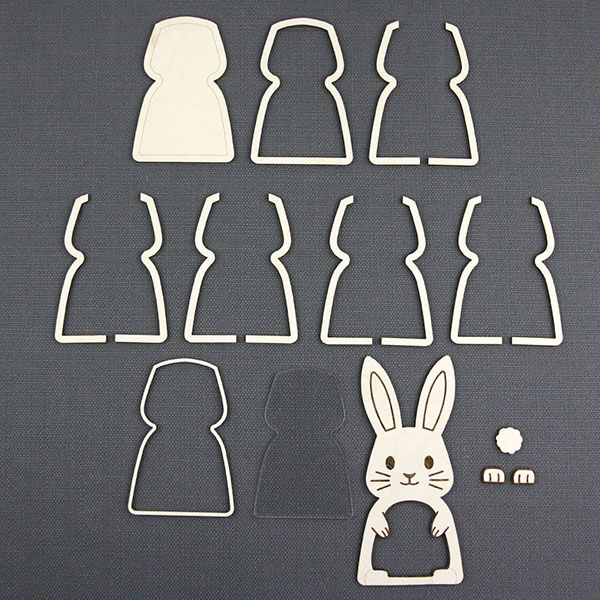
Before starting assembly, it may be helpful to lay out all the layers in the order that you will be assembling them, including any pieces that were split.
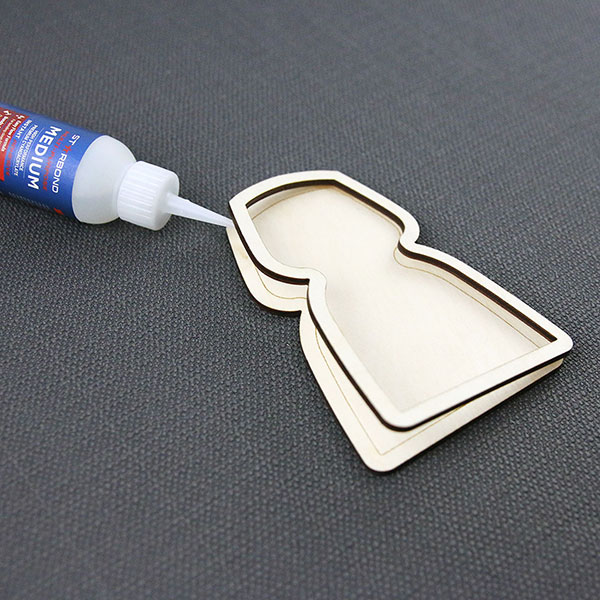
Glue the thick outline layer to the back layer. This layer prevents candy from easily rolling back out if the candy holder gets tipped over.
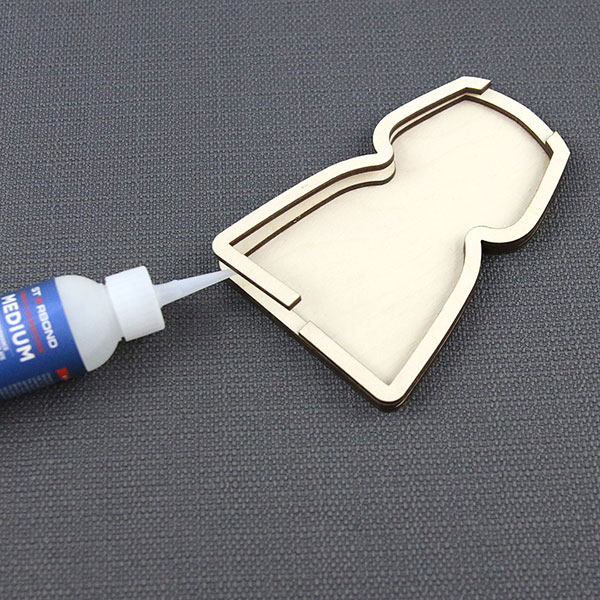
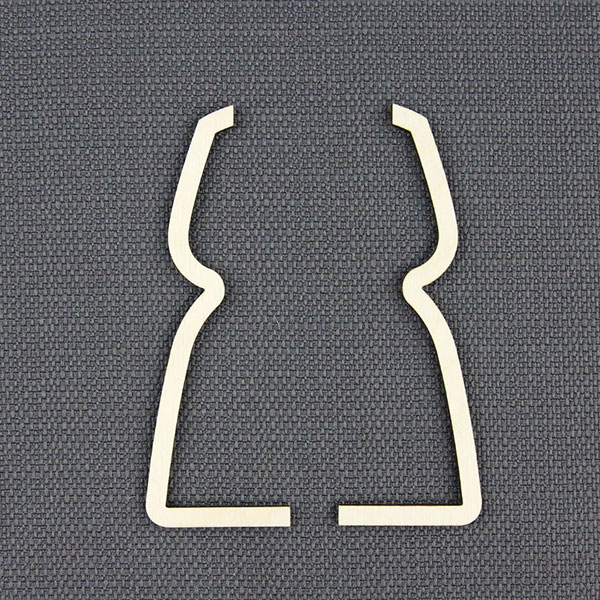
Take a set of spacing layer pieces and, matching the edges of the candyholder, glue them on top of the solid outline layer. All of the spacing layers are cut so that there is a gap at the top.
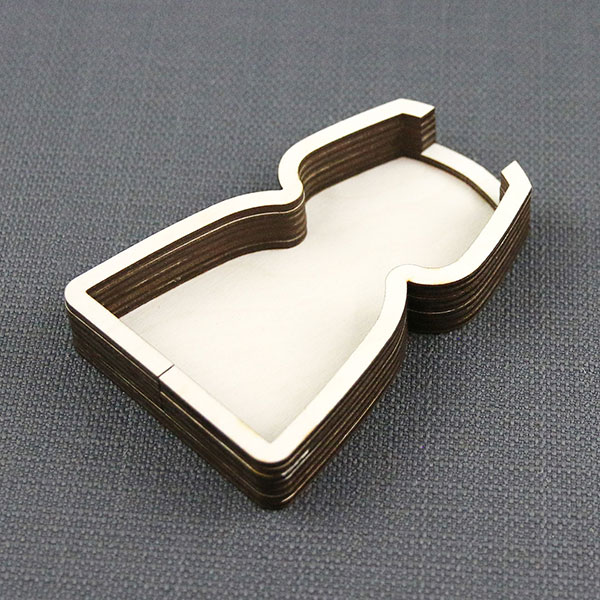
Repeat with the remaining spacing layers. If you want a deeper candyholder, simply cut and glue additional spacing layers.

The wood frame layer that holds the acrylic window layer in place may look similar to the thick outline layer and spacing layers, but it will have a thinner edge and be in one piece. Glue this piece on top of the spacing layers, lining up the edges with the sides of the candy holder. This will hold the acrylic window layer in place.
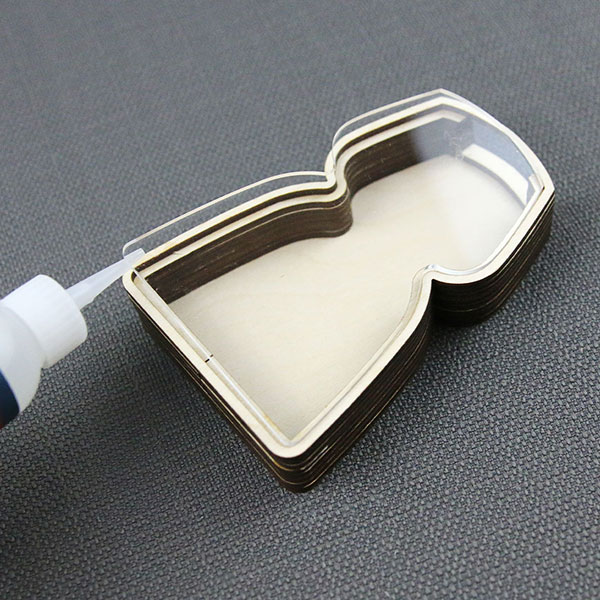
Since the wood frame layer is half the width of the spacing layers, the inner edges of the spacing layer will stick out, creating a ledge. Glue the acrylic window layer onto this space. You don't need much glue for this step, just a few drops around the edges which will be hidden by the top layer.
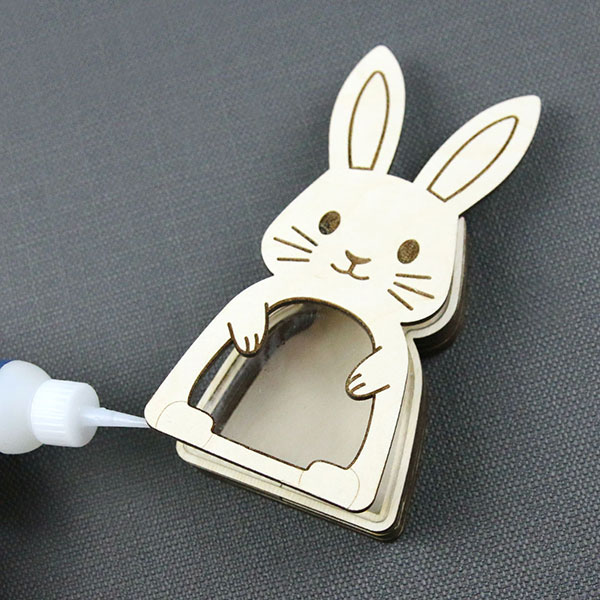
Glue the front candyholder layer on top. Some designs may have two front layers to create an additional sense of depth.
Glue any remaining decorative pieces to the front and back to complete the candyholder.
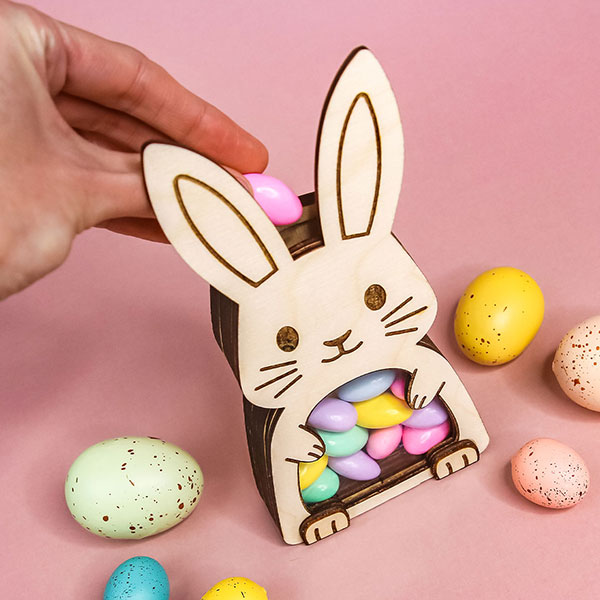
And you're done! Now add your choice of candy for a sweet surprise and even sweeter decor.


