Set your mantel with a beautiful Christmas Village created with the magic of your Cricut or other digital cutting machine! These SVG and DXF designs allow you to craft your own DIY town, including a 3D barn, church, and saltbox house. Each building in our Christmas Village comes with files for cutting both cardstock for the outer structure, and vellum for the interior lining. And while the number of pieces for each design will vary (some buildings have a chimney - or a steeple in the case of our church), the basic construction process is the same! Take a look below and learn how to make your very own little village!
Designs Used
1
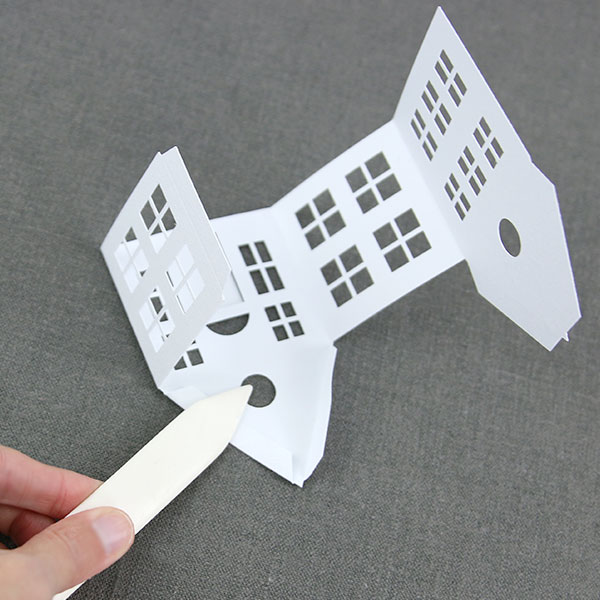
Simply start by cutting out each cardstock shape and folding each piece along the included scoring lines. Be sure to fold each side inward so that all four walls of your chosen building can be closed into the shape of a box and sealed using the attached tab(s). For designs with two outer wall pieces (the pieces with windows cut out), these pieces will need to be connected using either crafter's glue or double-sided tape before folding along the scoring lines.
2
Once your building pieces are ready, cut out your vellum and adhere it to the inside of your building pieces, being careful to fully cover the corresponding windows. To attach the vellum, use the same adhesive as was used in the previous step.
3
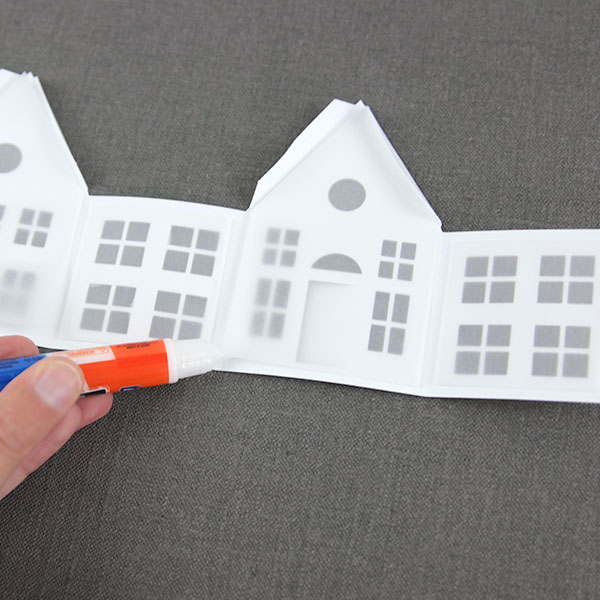
Now that your vellum is secured to the inside of your cardstock, you can proceed to close your building structure. One side of your cardstock should have an included "tab" piece with tapered edges, while the other should be a straight line. Place double-sided tape or a small amount of crafter's glue on the outside of the cardstock tab. This tab should then be pressed and secured to the inside edge of the opposite side of your building structure. Gently press and hold to secure.
4
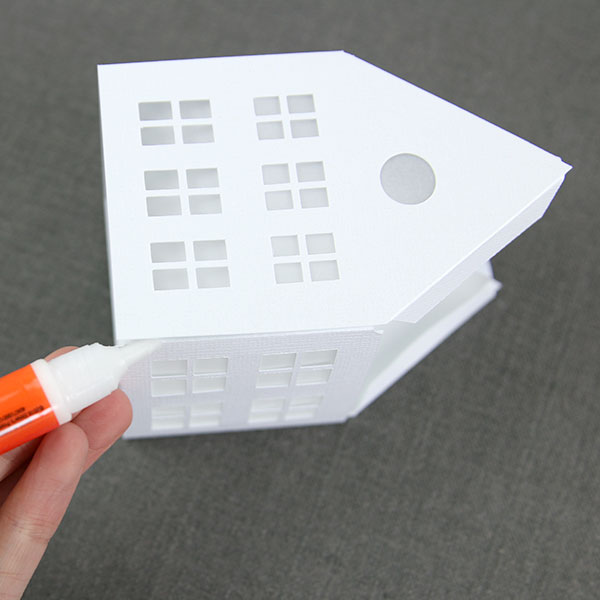
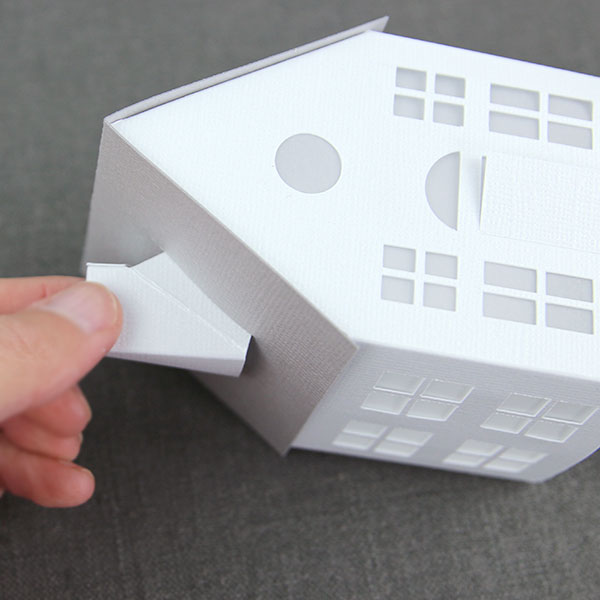
Your building is now ready for its roof! This piece can be cut out of the same color as the rest of your building, or you can add a pop of intrigue by choosing something colorful and/or shimmering! After cutting, fold along the included scoring line. Then, take your building structure and add adhesive to the attached roofline tabs before gently pressing the roof in place.
5
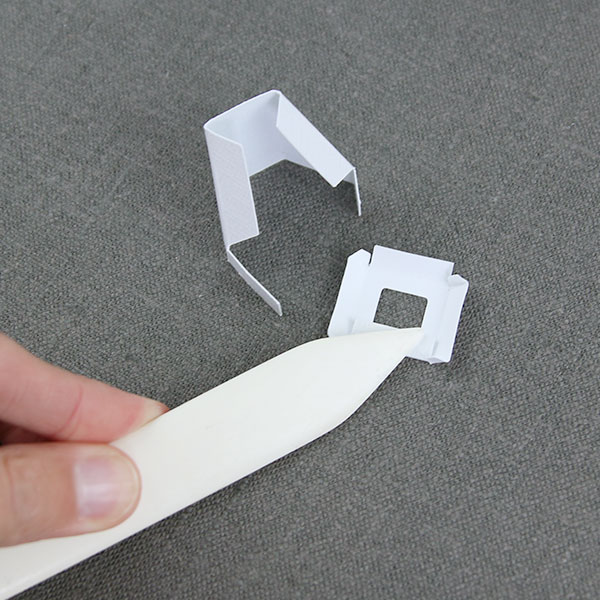
For designs with an included chimney or steeple, follow the same basic process for adhering and constructing the cardstock pieces.
6
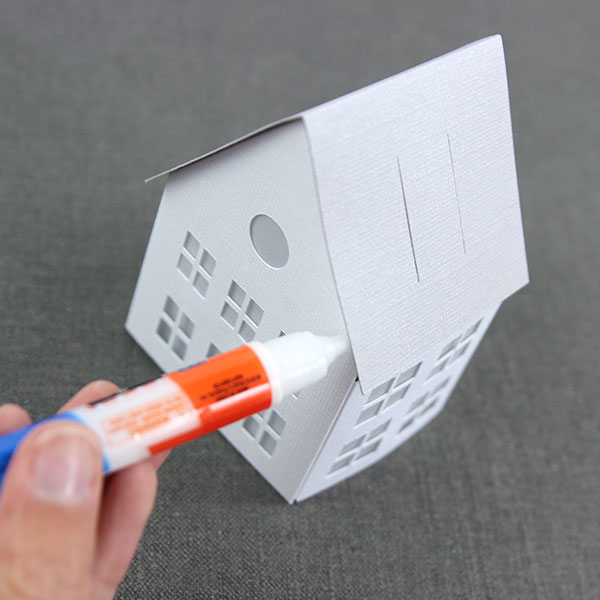
If your building has an included chimney or steeple, there will be at least two parallel slits that have been cut into the roof of your building. For the 3D Idyllic Church and 3D Saltbox House, the slits will be on opposite sides of the roof.
Once your chimney or steeple is glued and assembled, simply insert the bottom tabs of this piece into the slits of the roof. This piece can be secured using crafters glue or double-sided tape along the inside of your building, but it is not necessary.
While we used white cardstock for our little village, we invite you to get creative, using a variety of cardstock colors, patterns, and styles to make this 3D Christmas village your own! And don't forget to add a few finishing touches to your town with a forest of evergreens and 3D trees. We even added battery powered tea lights (fairy lights can be used as well) under each building to create a soft and ambient glow!
With DIY Christmas decorations like these, you may want to leave them up in your home all year long -- we sure wouldn't judge.


