Using Cut & Draw Designs
Cut & Draw files combine the cutting and drawing features of your cutting machine to create unique, embellished projects. We'll show you step-by-step how to use these unique designs!
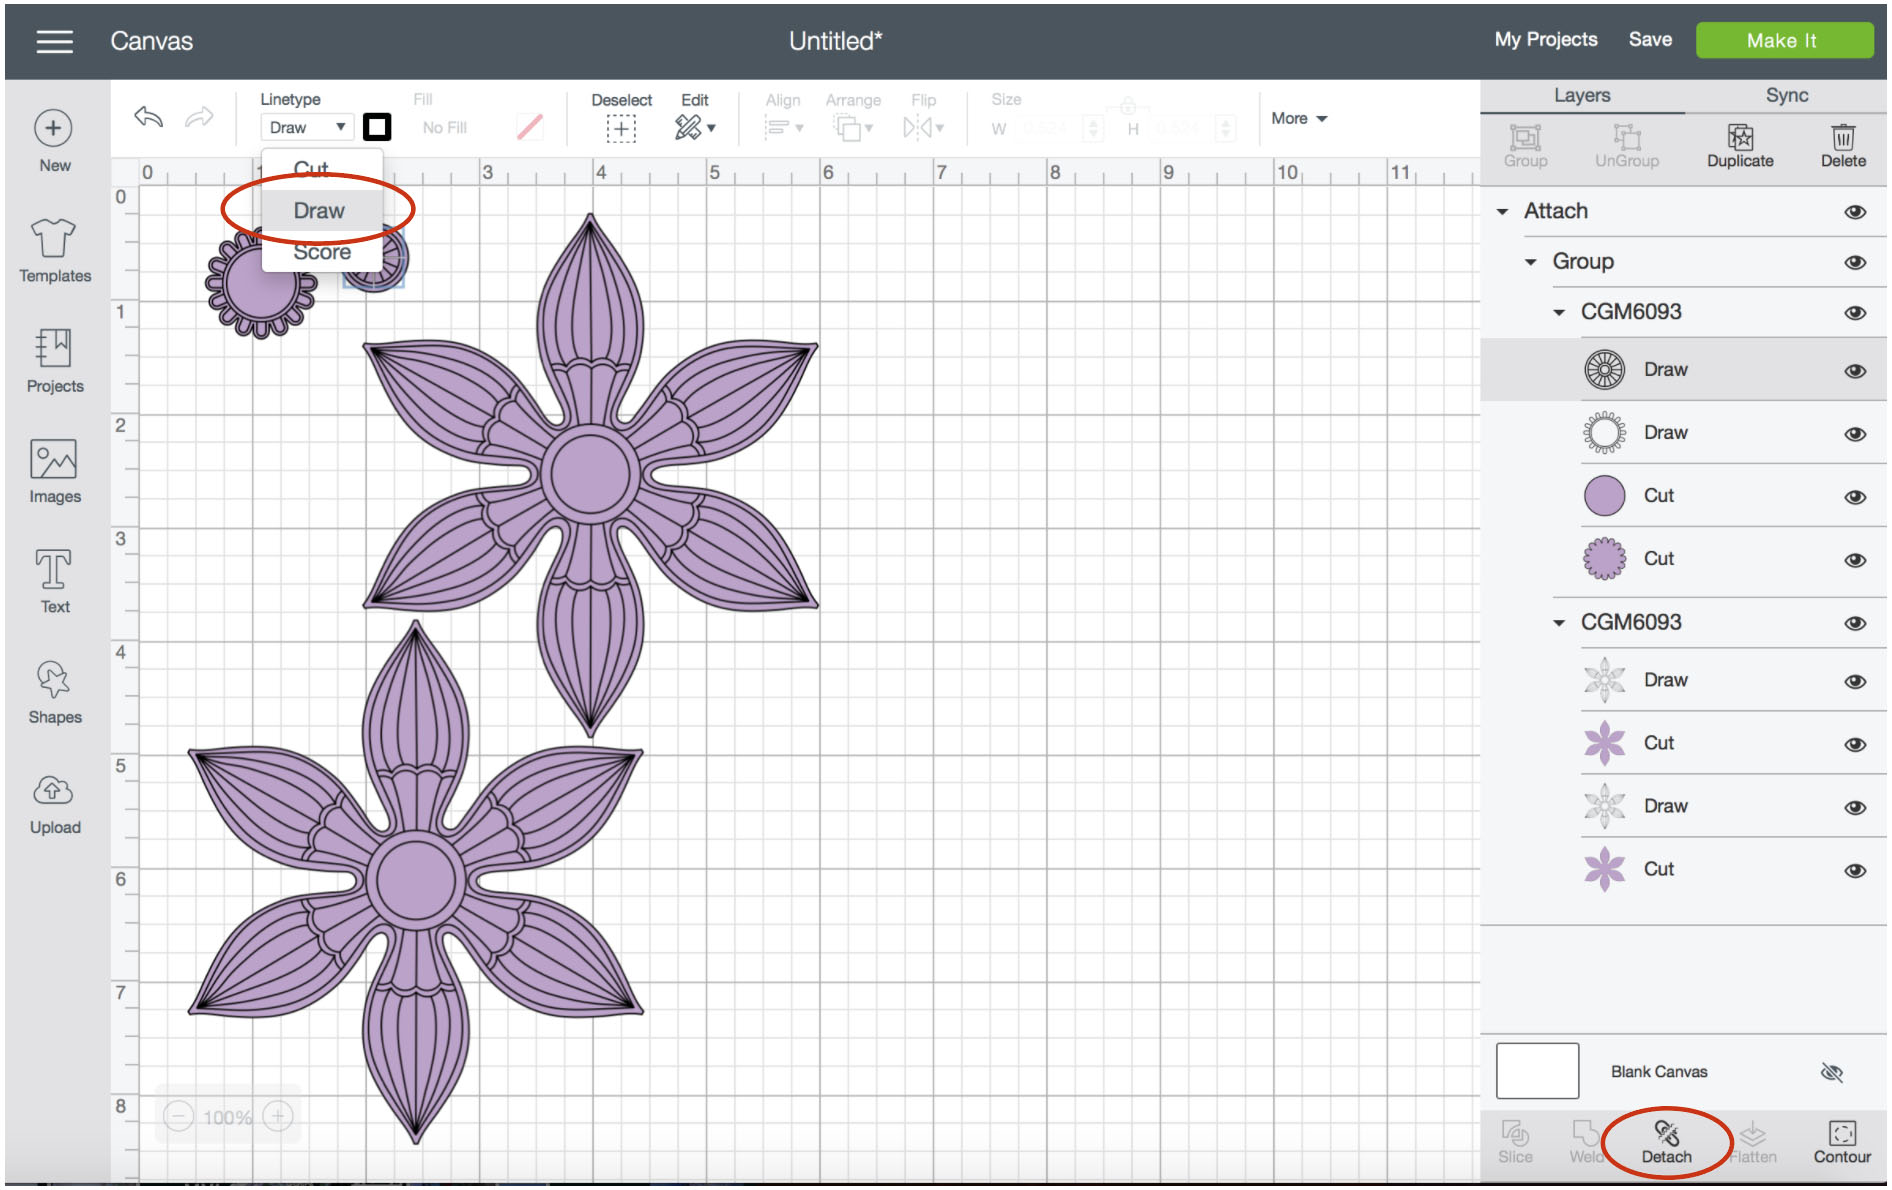
To start, load the Cut & Draw file into your cutting software. Then, along the right side of the screen, click on the drawing portions (linework elements, not filled in areas), click on the dropdown menu on the top left and choose Draw. Then, select all the elements of the design and click on Attach at the bottom left. This will keep the entire design aligned together through the drawing and cutting.
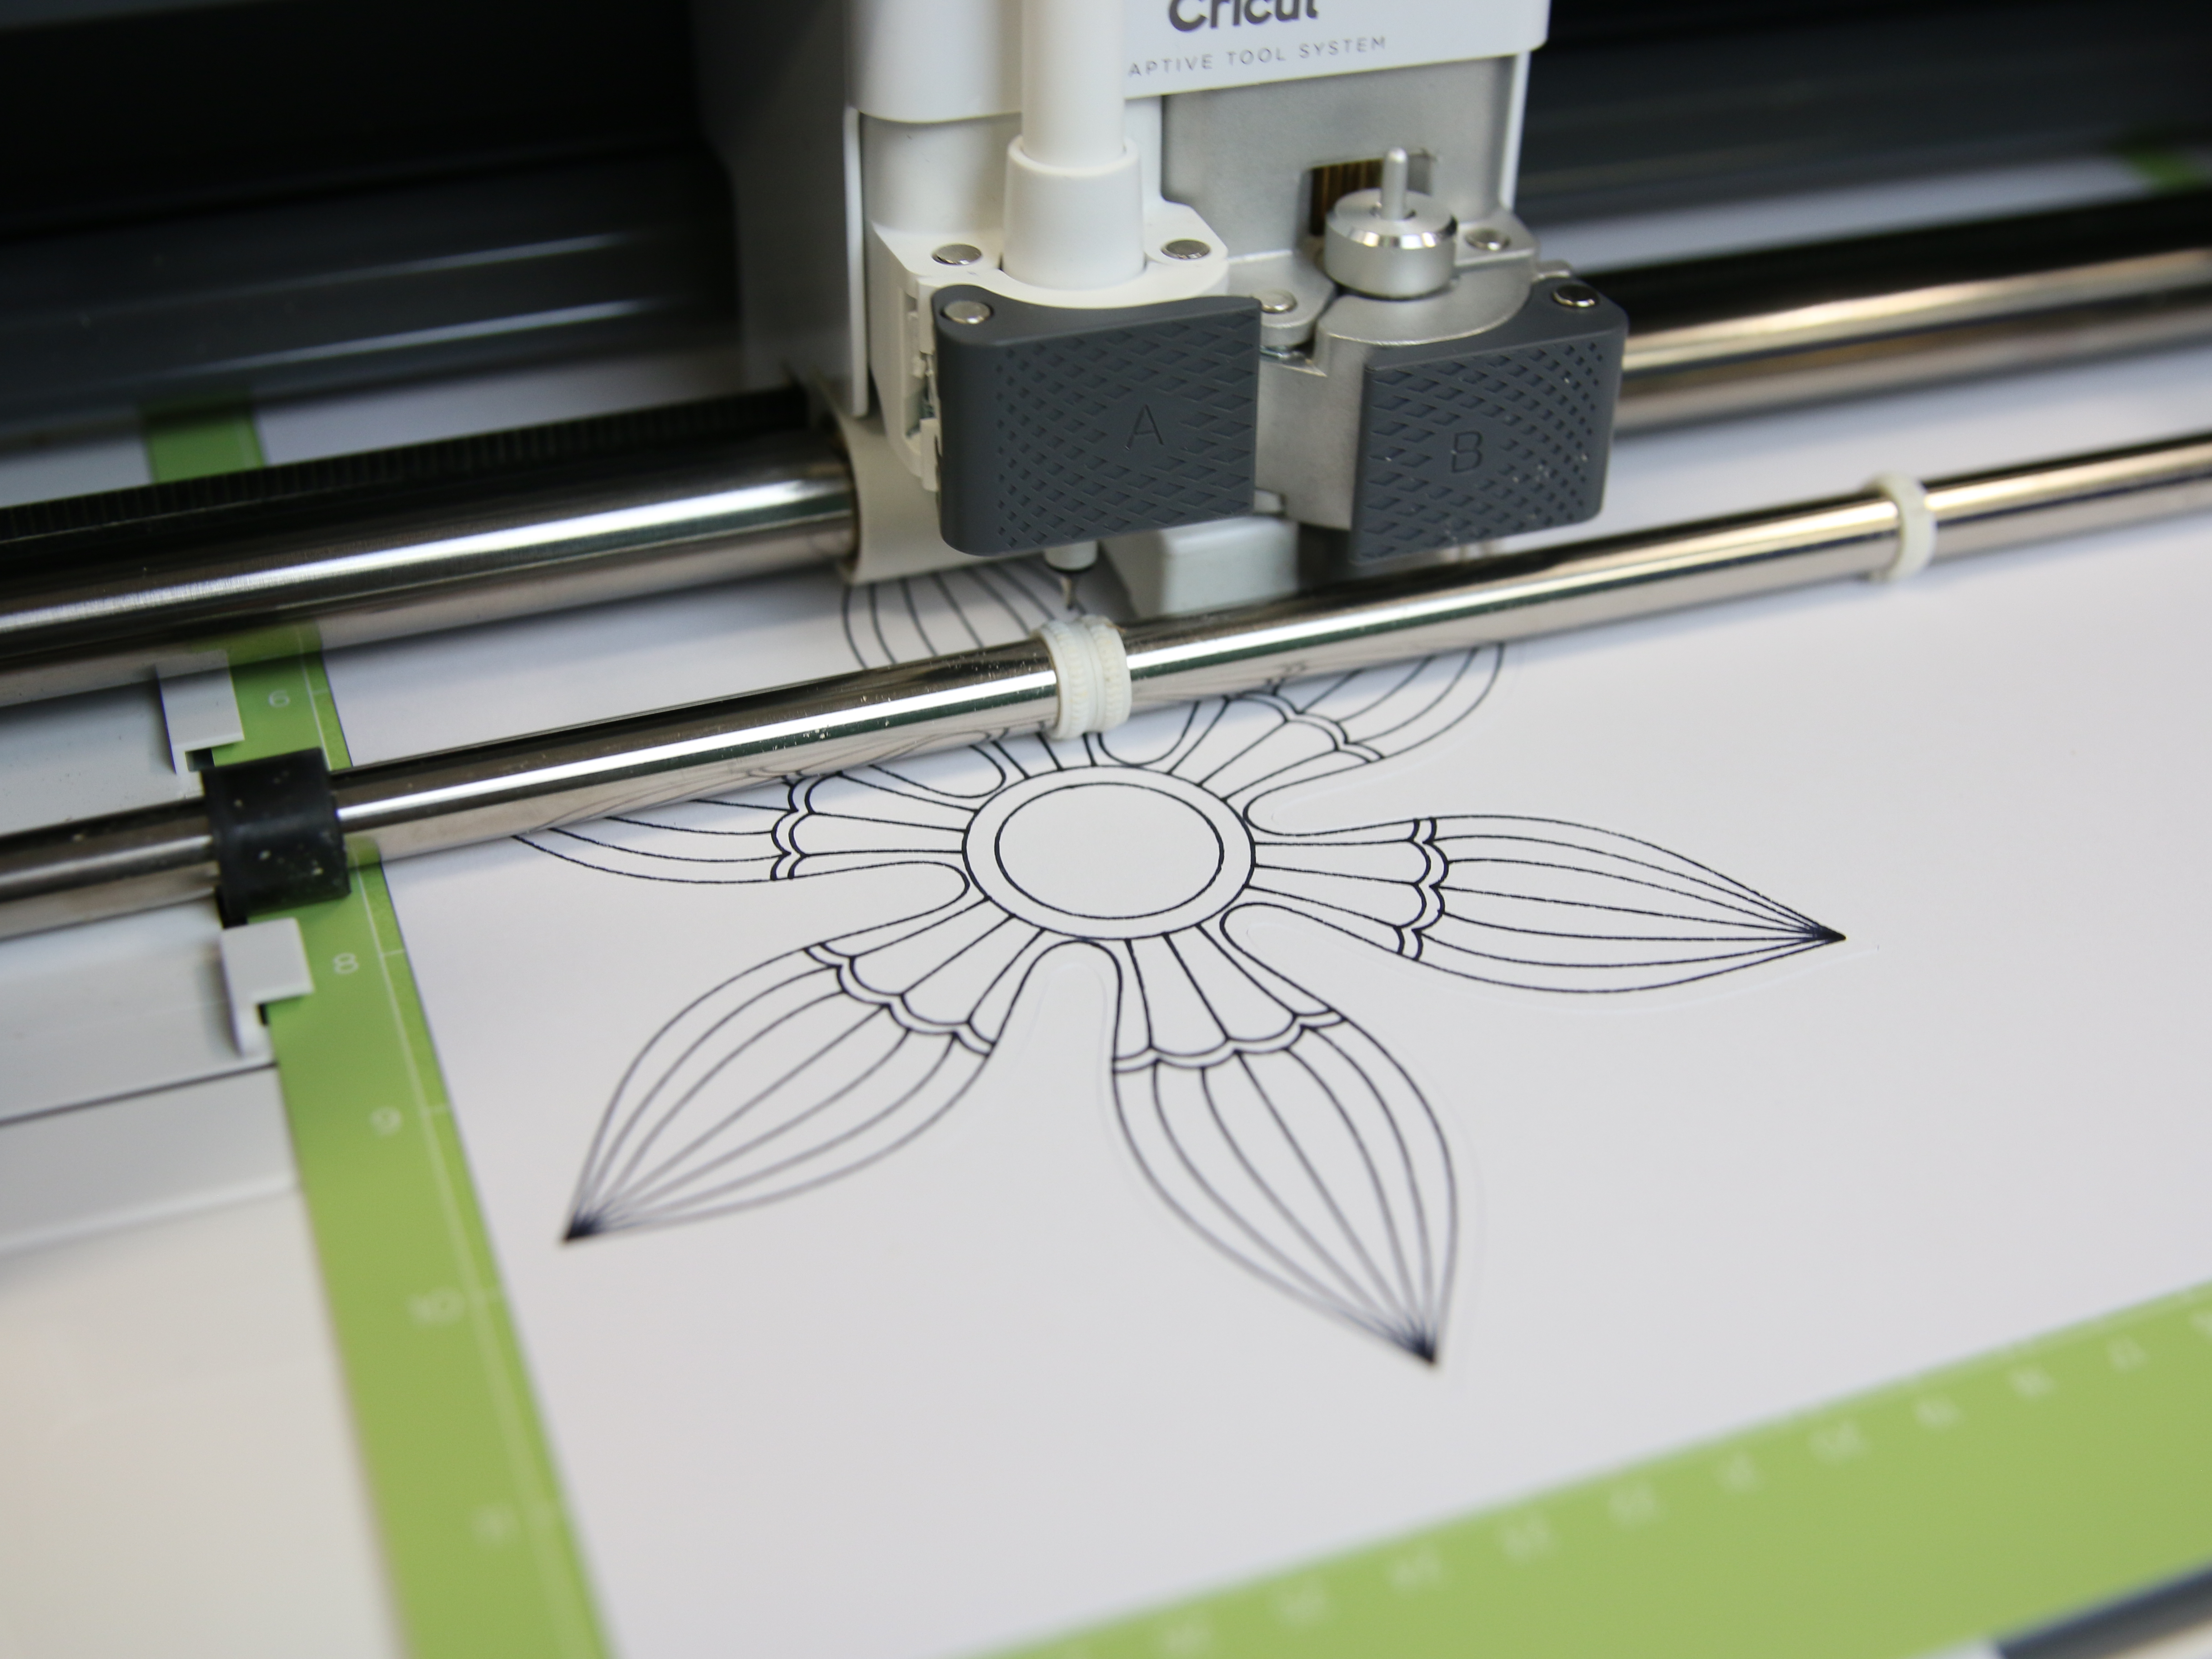
Insert the marking pen into the pen holder and also insert the blade in the blade holder. Refer to the software instructions for the best blade for cutting your material. Next, place the cardstock onto the mat and load the mat into the cutting machine. Click Make It in the upper right corner of the screen - the marking pen will draw first, and then the blade will cut around the drawn portions.
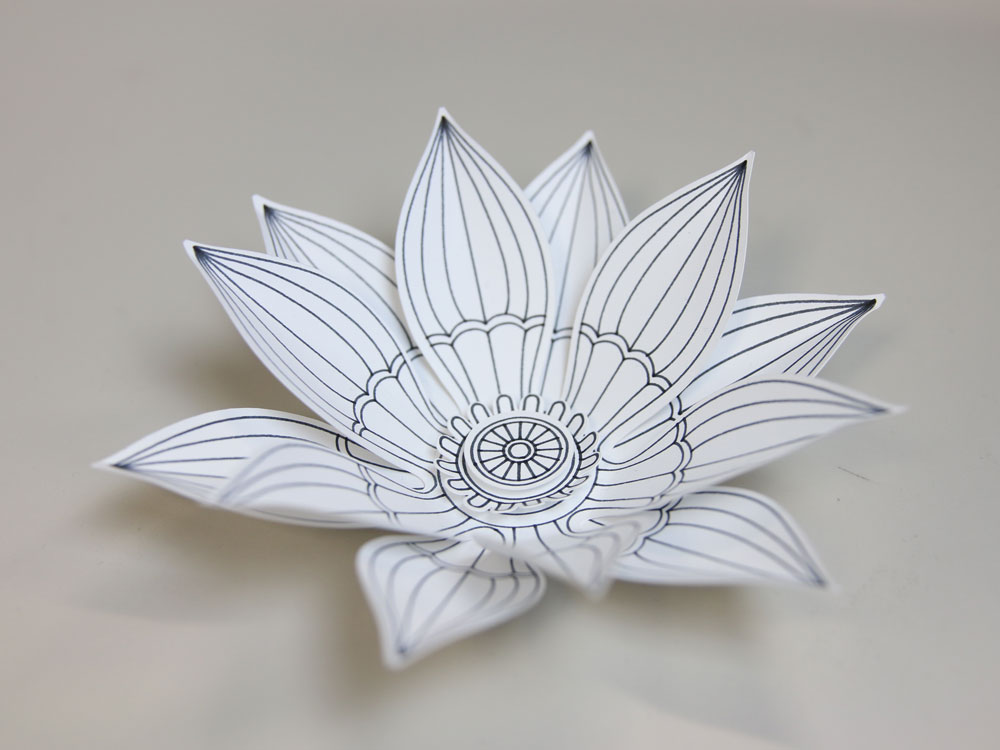
When the design has completed, carefully remove the pieces from the mat - flip the mat over with the wrong side facing up. Peel the mat away from the paper - this will prevent the paper from bowing. Assemble the pieces together according to the images included with the design. And your Cut & Draw design is done! You can even hand color the flower for a more dramatic look.
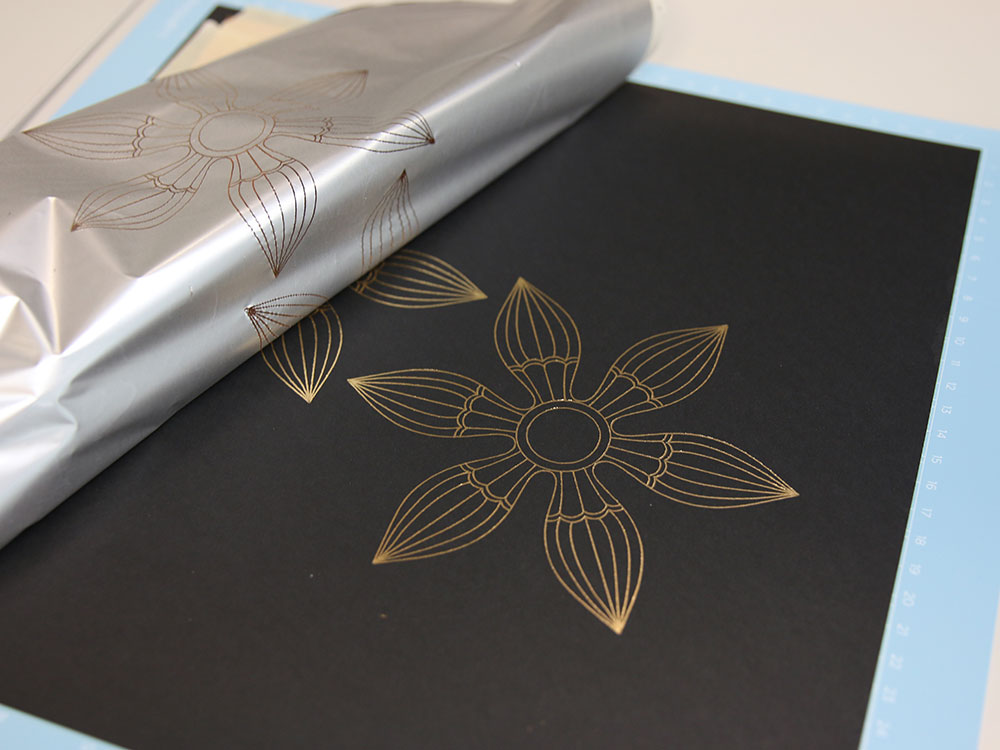
Foil Quill tools can be used instead of a marking pen to create a metallic look. To achieve this effect, tape the foil material in place over the cardstock before drawing, then remove it after the foiling is complete and proceed with the cutting step.


