Cut & Quilt Designs - Cricut Software
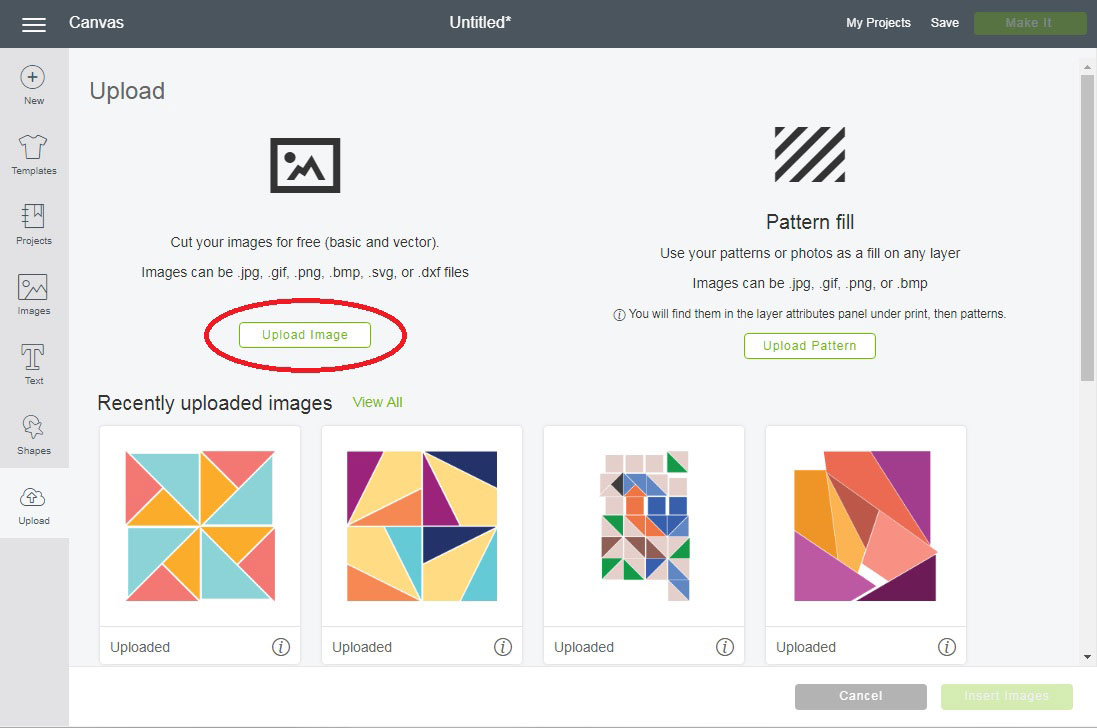
After downloading your cut and quilt design (in SVG format), click Upload Images, click Browse, locate the SVG file, and then Save in the lower right corner of the screen.
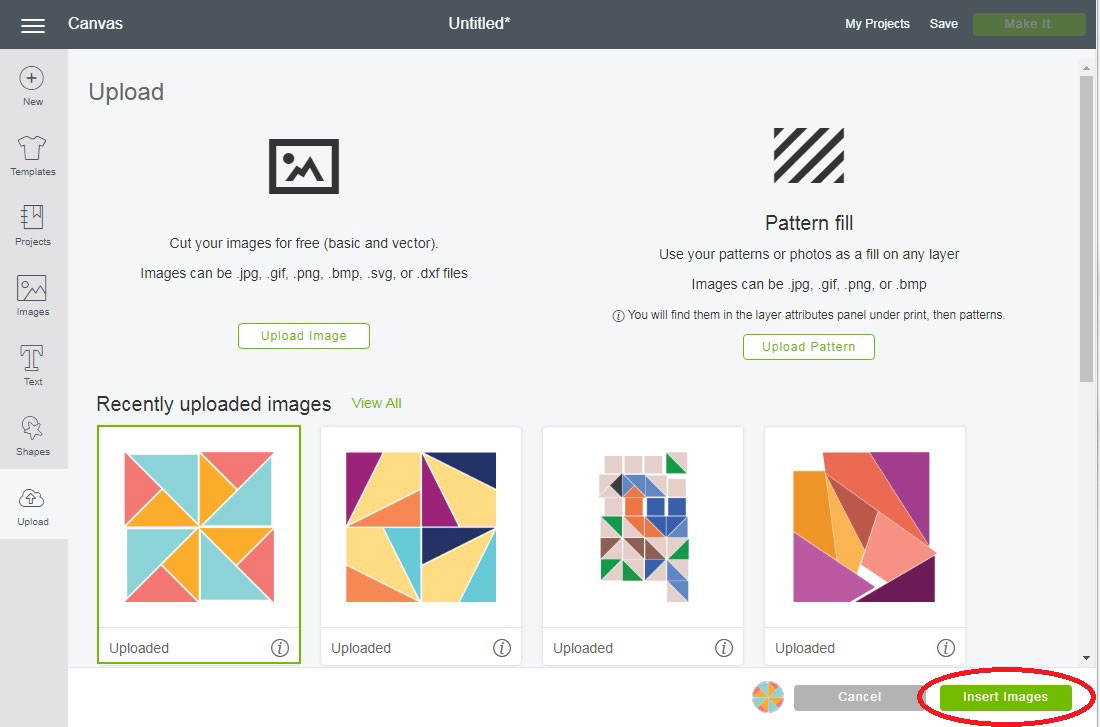
Click on the image of the file to highlight it, then click Insert Images at the bottom corner of the screen.
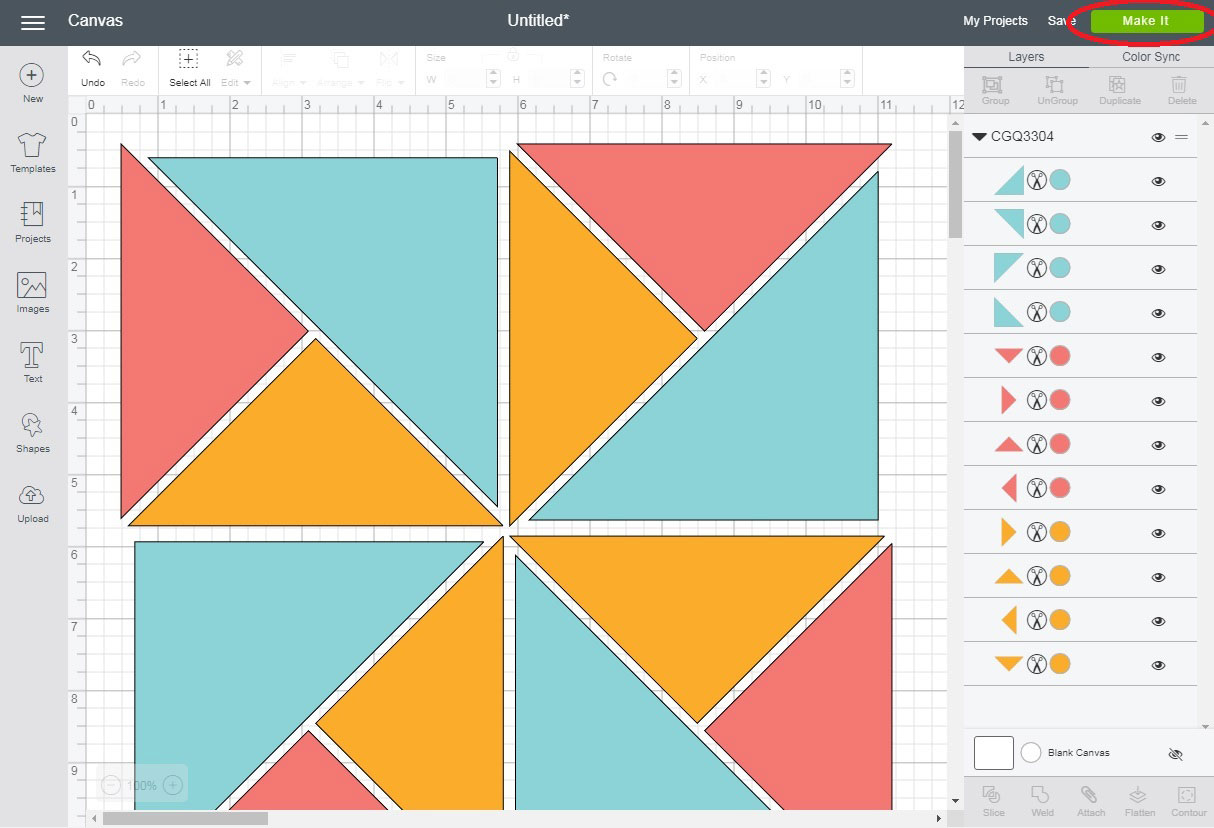
The design is now loaded into the software. Each separate piece will show as its own color on the right. Next, click Make It.
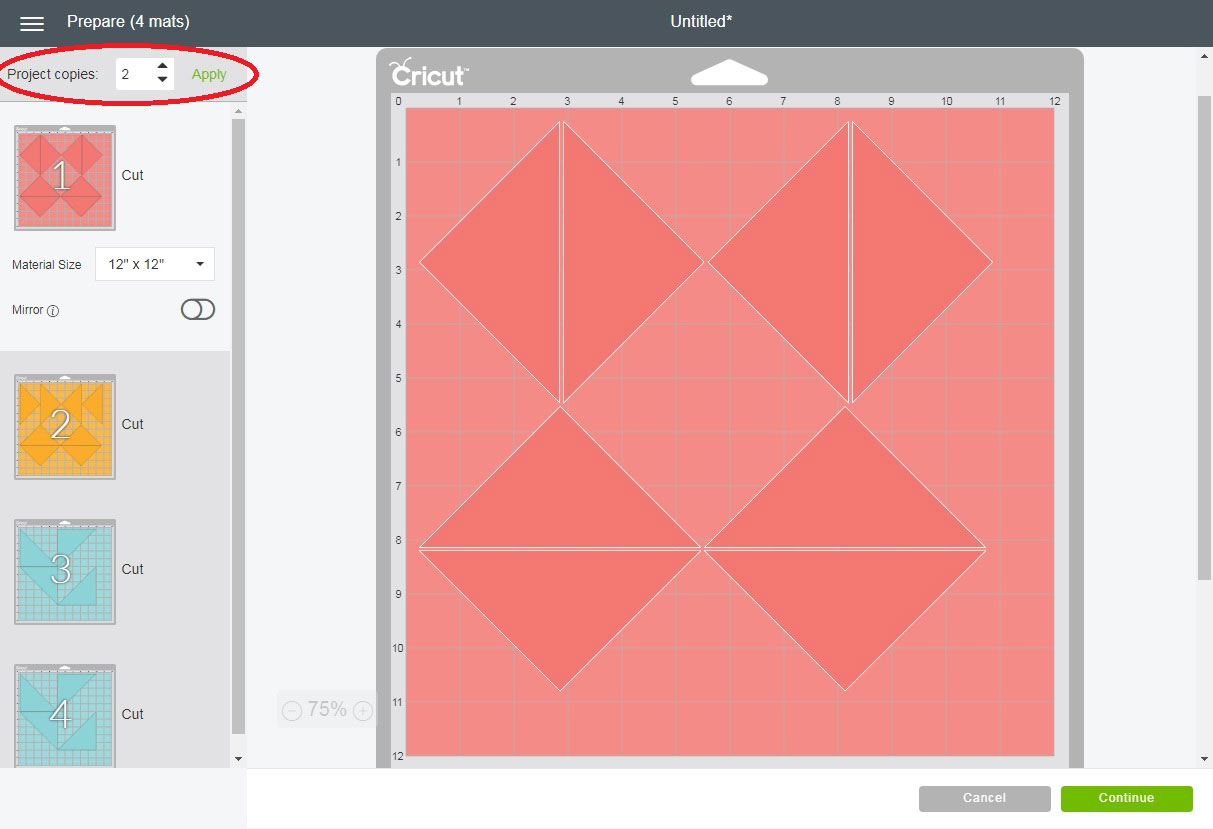
The pieces will then be sorted by color onto separate mats.
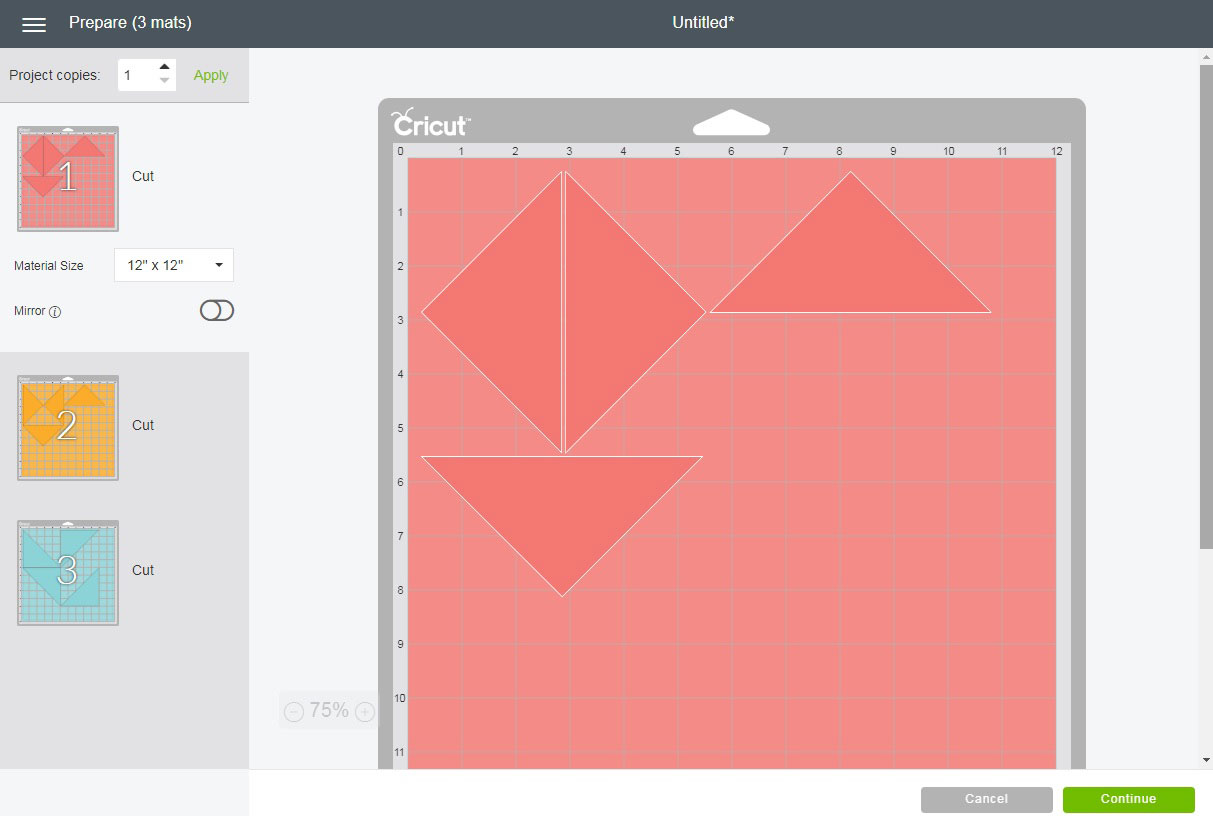
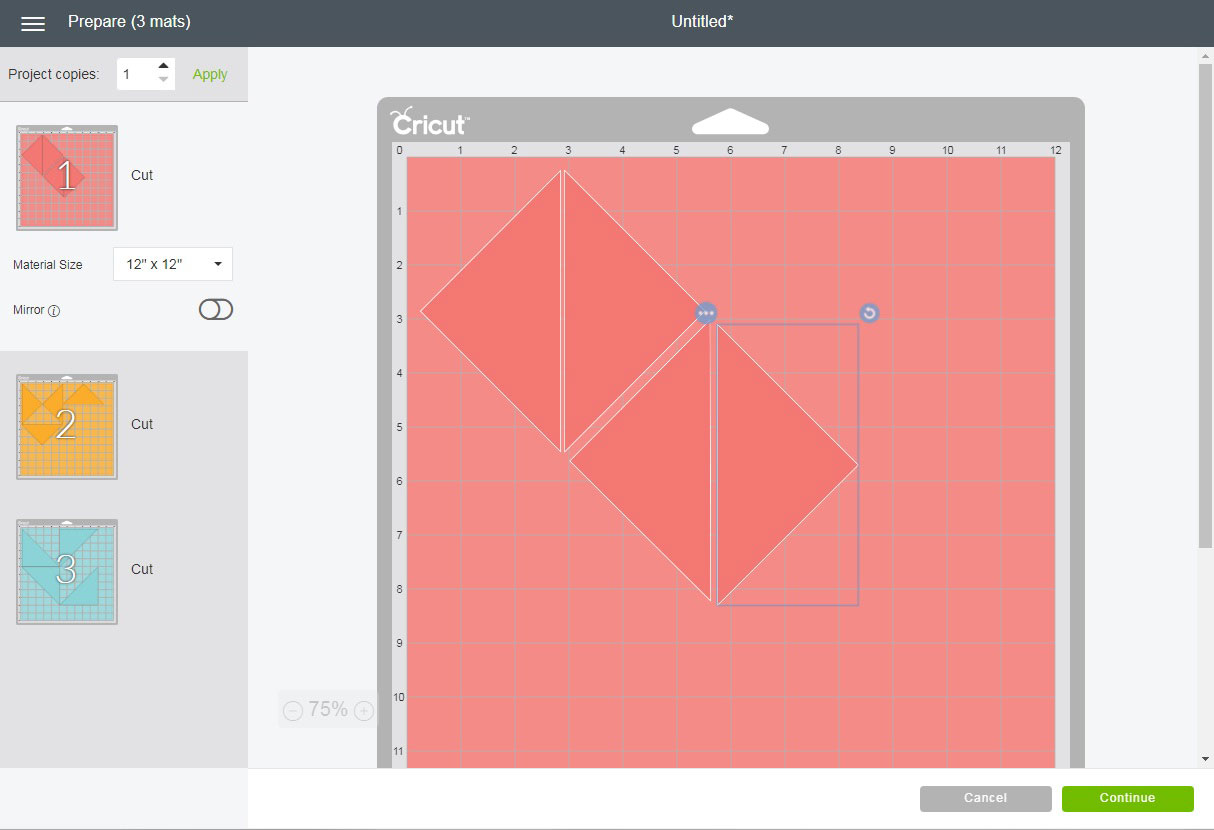
You can then arrange the pieces on the mat however you like. The pieces can be rotated and moved around to help conserve fabric. When the pieces are arranged how you want them, click Continue and cut out the pieces. Repeat this for each color of the quilt block.
When making multiple blocks, you can choose how many copies of each color you’d like. In the upper left corner of the screen, click the desired number of copies and then Click Apply. Arrange the pieces on the mat how you’d like and cut out the pieces. We recommend using the rotary blade on the Cricut Maker for cutting cut and quilt designs. After all the pieces are cut, follow the accompanying PDF instructions for piecing the blocks together.