Supplies
- 1/2 yard white cotton (color 1)
- 1/3 yard dark-colored cotton (color 2)
- 4” x 4” square of black felt (color 3)
- Sewing thread to match all fabric colors
- Hand sewing needle
- Polyester fiber fill
Designs Used
Cutting Instructions
1
Load the Tooth Fairy Pillow (Cut & Stitch) file into your cutting machine’s software. This design has three different fabric colors. Proceed in the design software until the first color selection appears, and is ready to be cut.
2
Smooth the first fabric color onto the adhesive mat with the right side of the fabric facing up. Make sure the correct knife tool is in place. Then load the adhesive mat into the machine.
3
Cut the first color. then carefully remove the cut pieces and excess fabric.
4
Repeat to cut all of the fabric pieces, for the Toothfairy Pillow, out of the three fabric colors.
Crafting Instructions
1
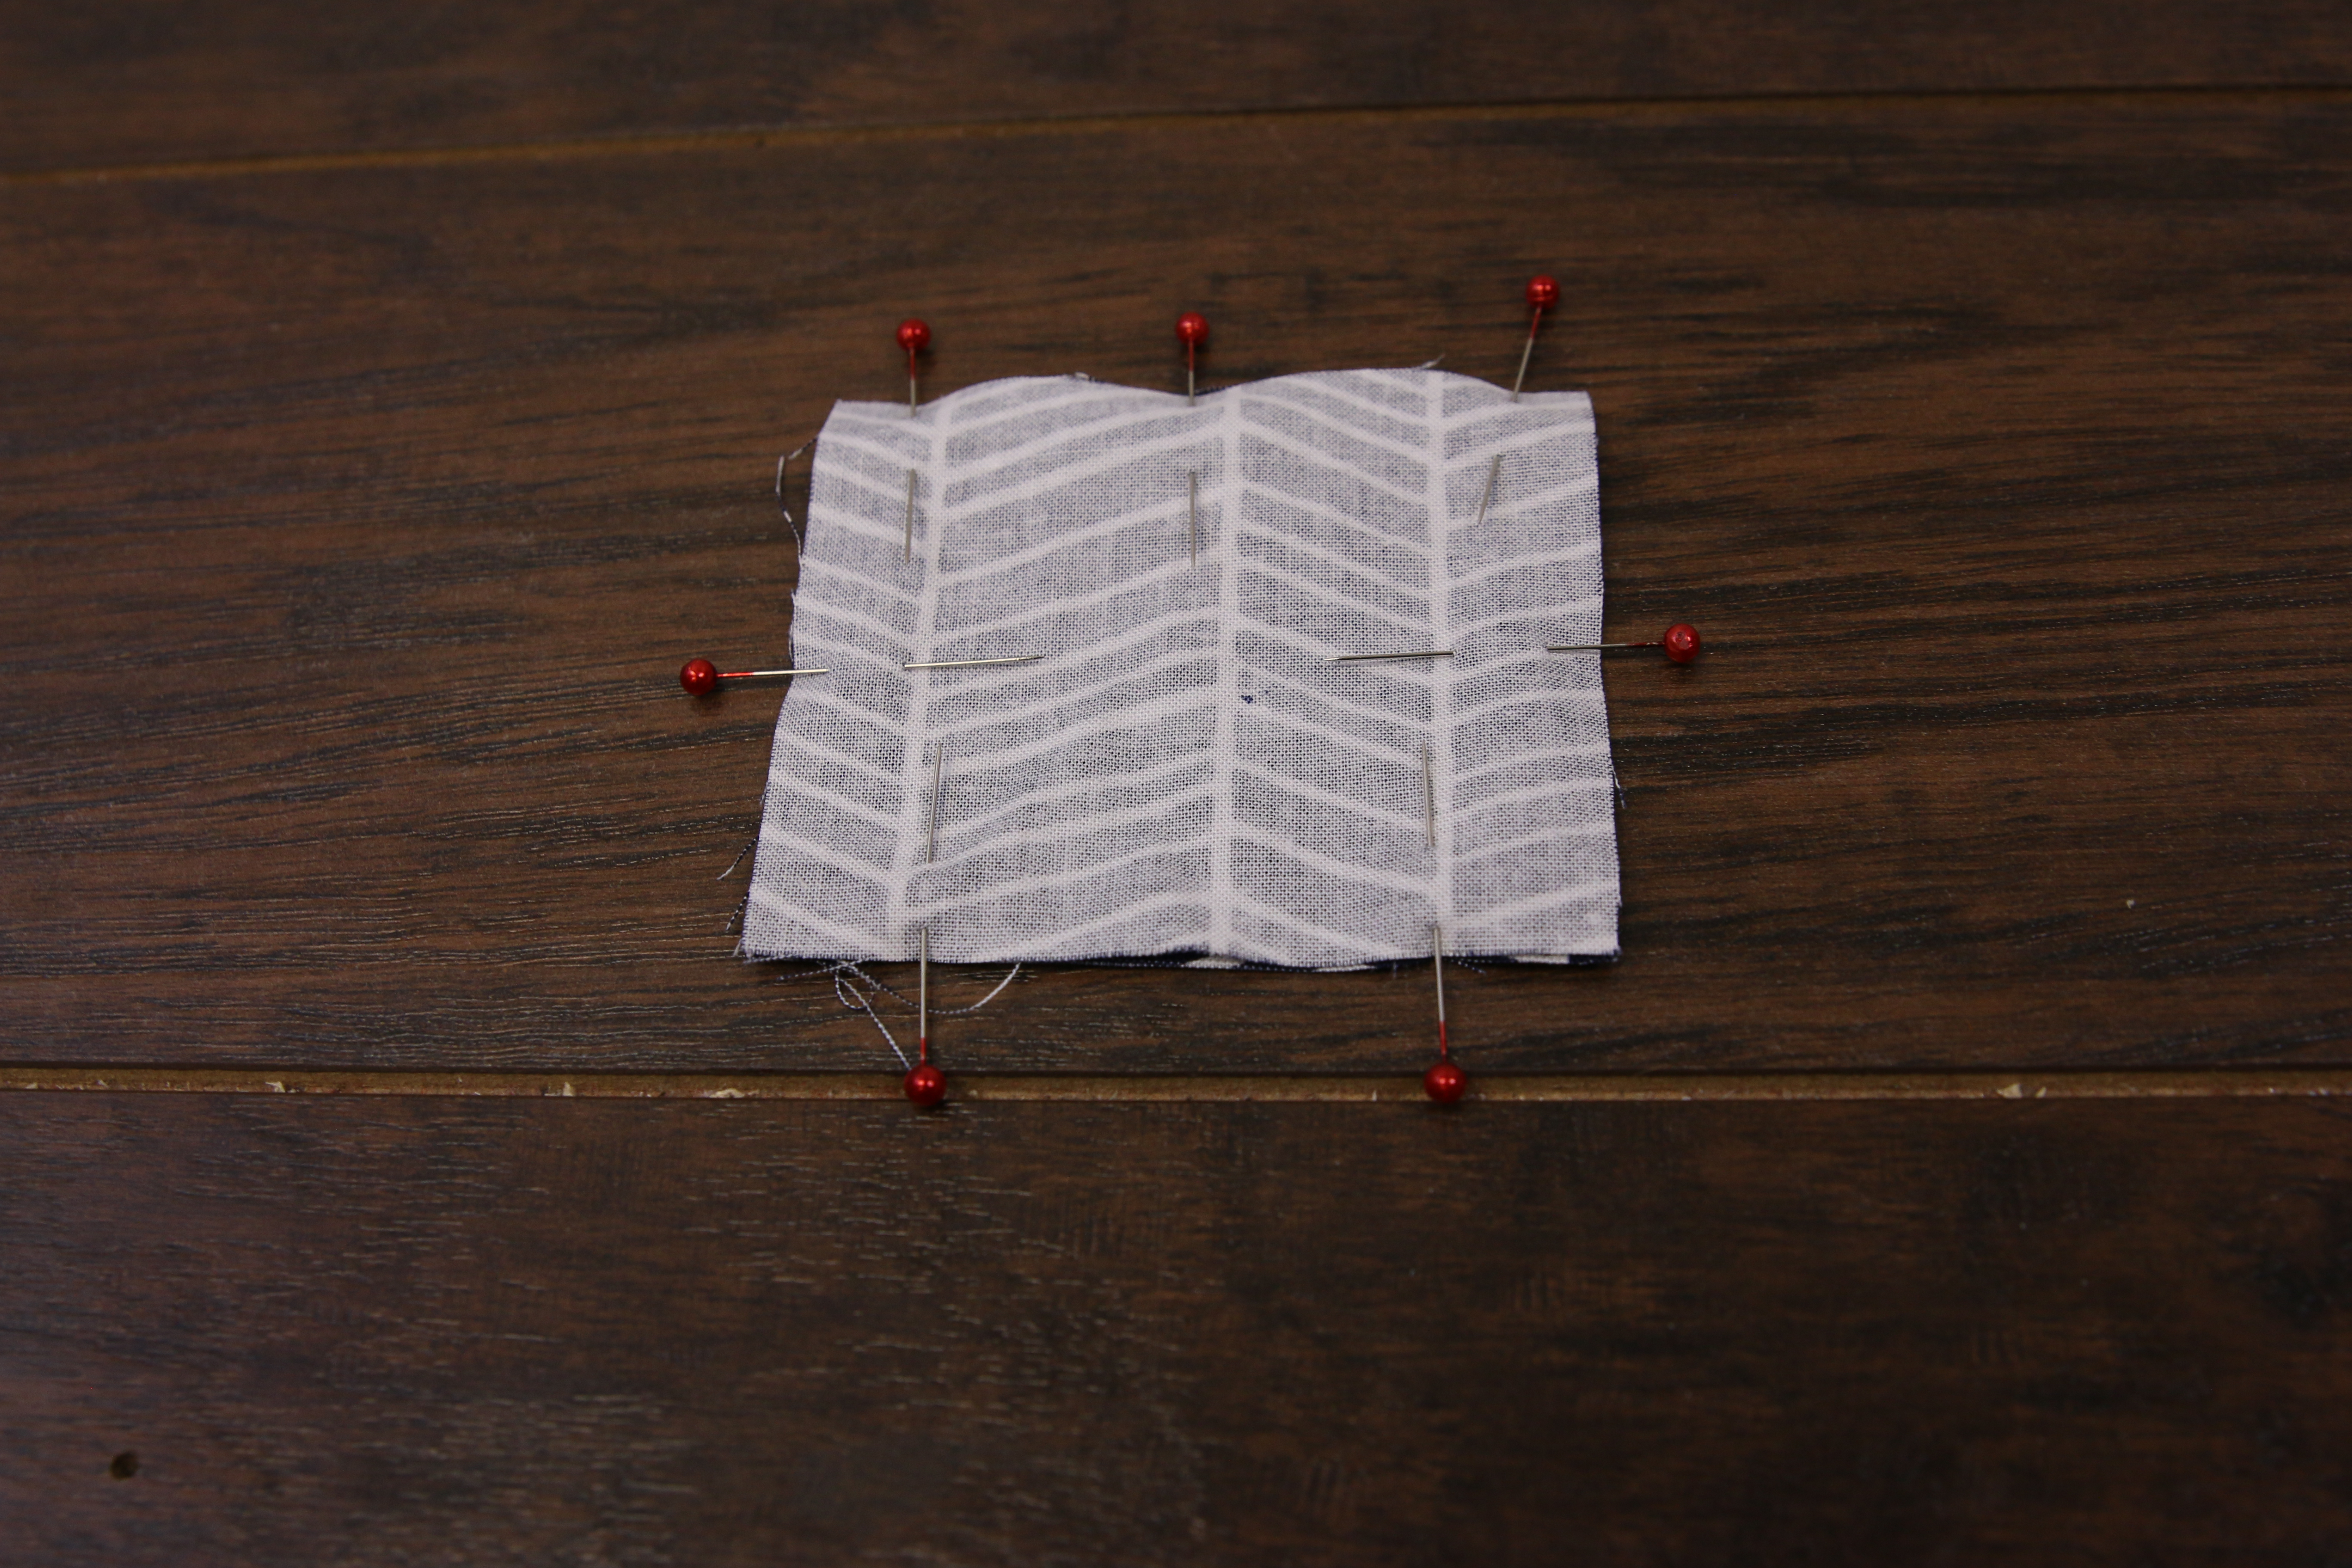
To assemble the Tooth Fairy Pillow, start with the two pocket pieces (color 2). Place them on top of each other with the right sides together, matching up the edges. Pin them together.
2
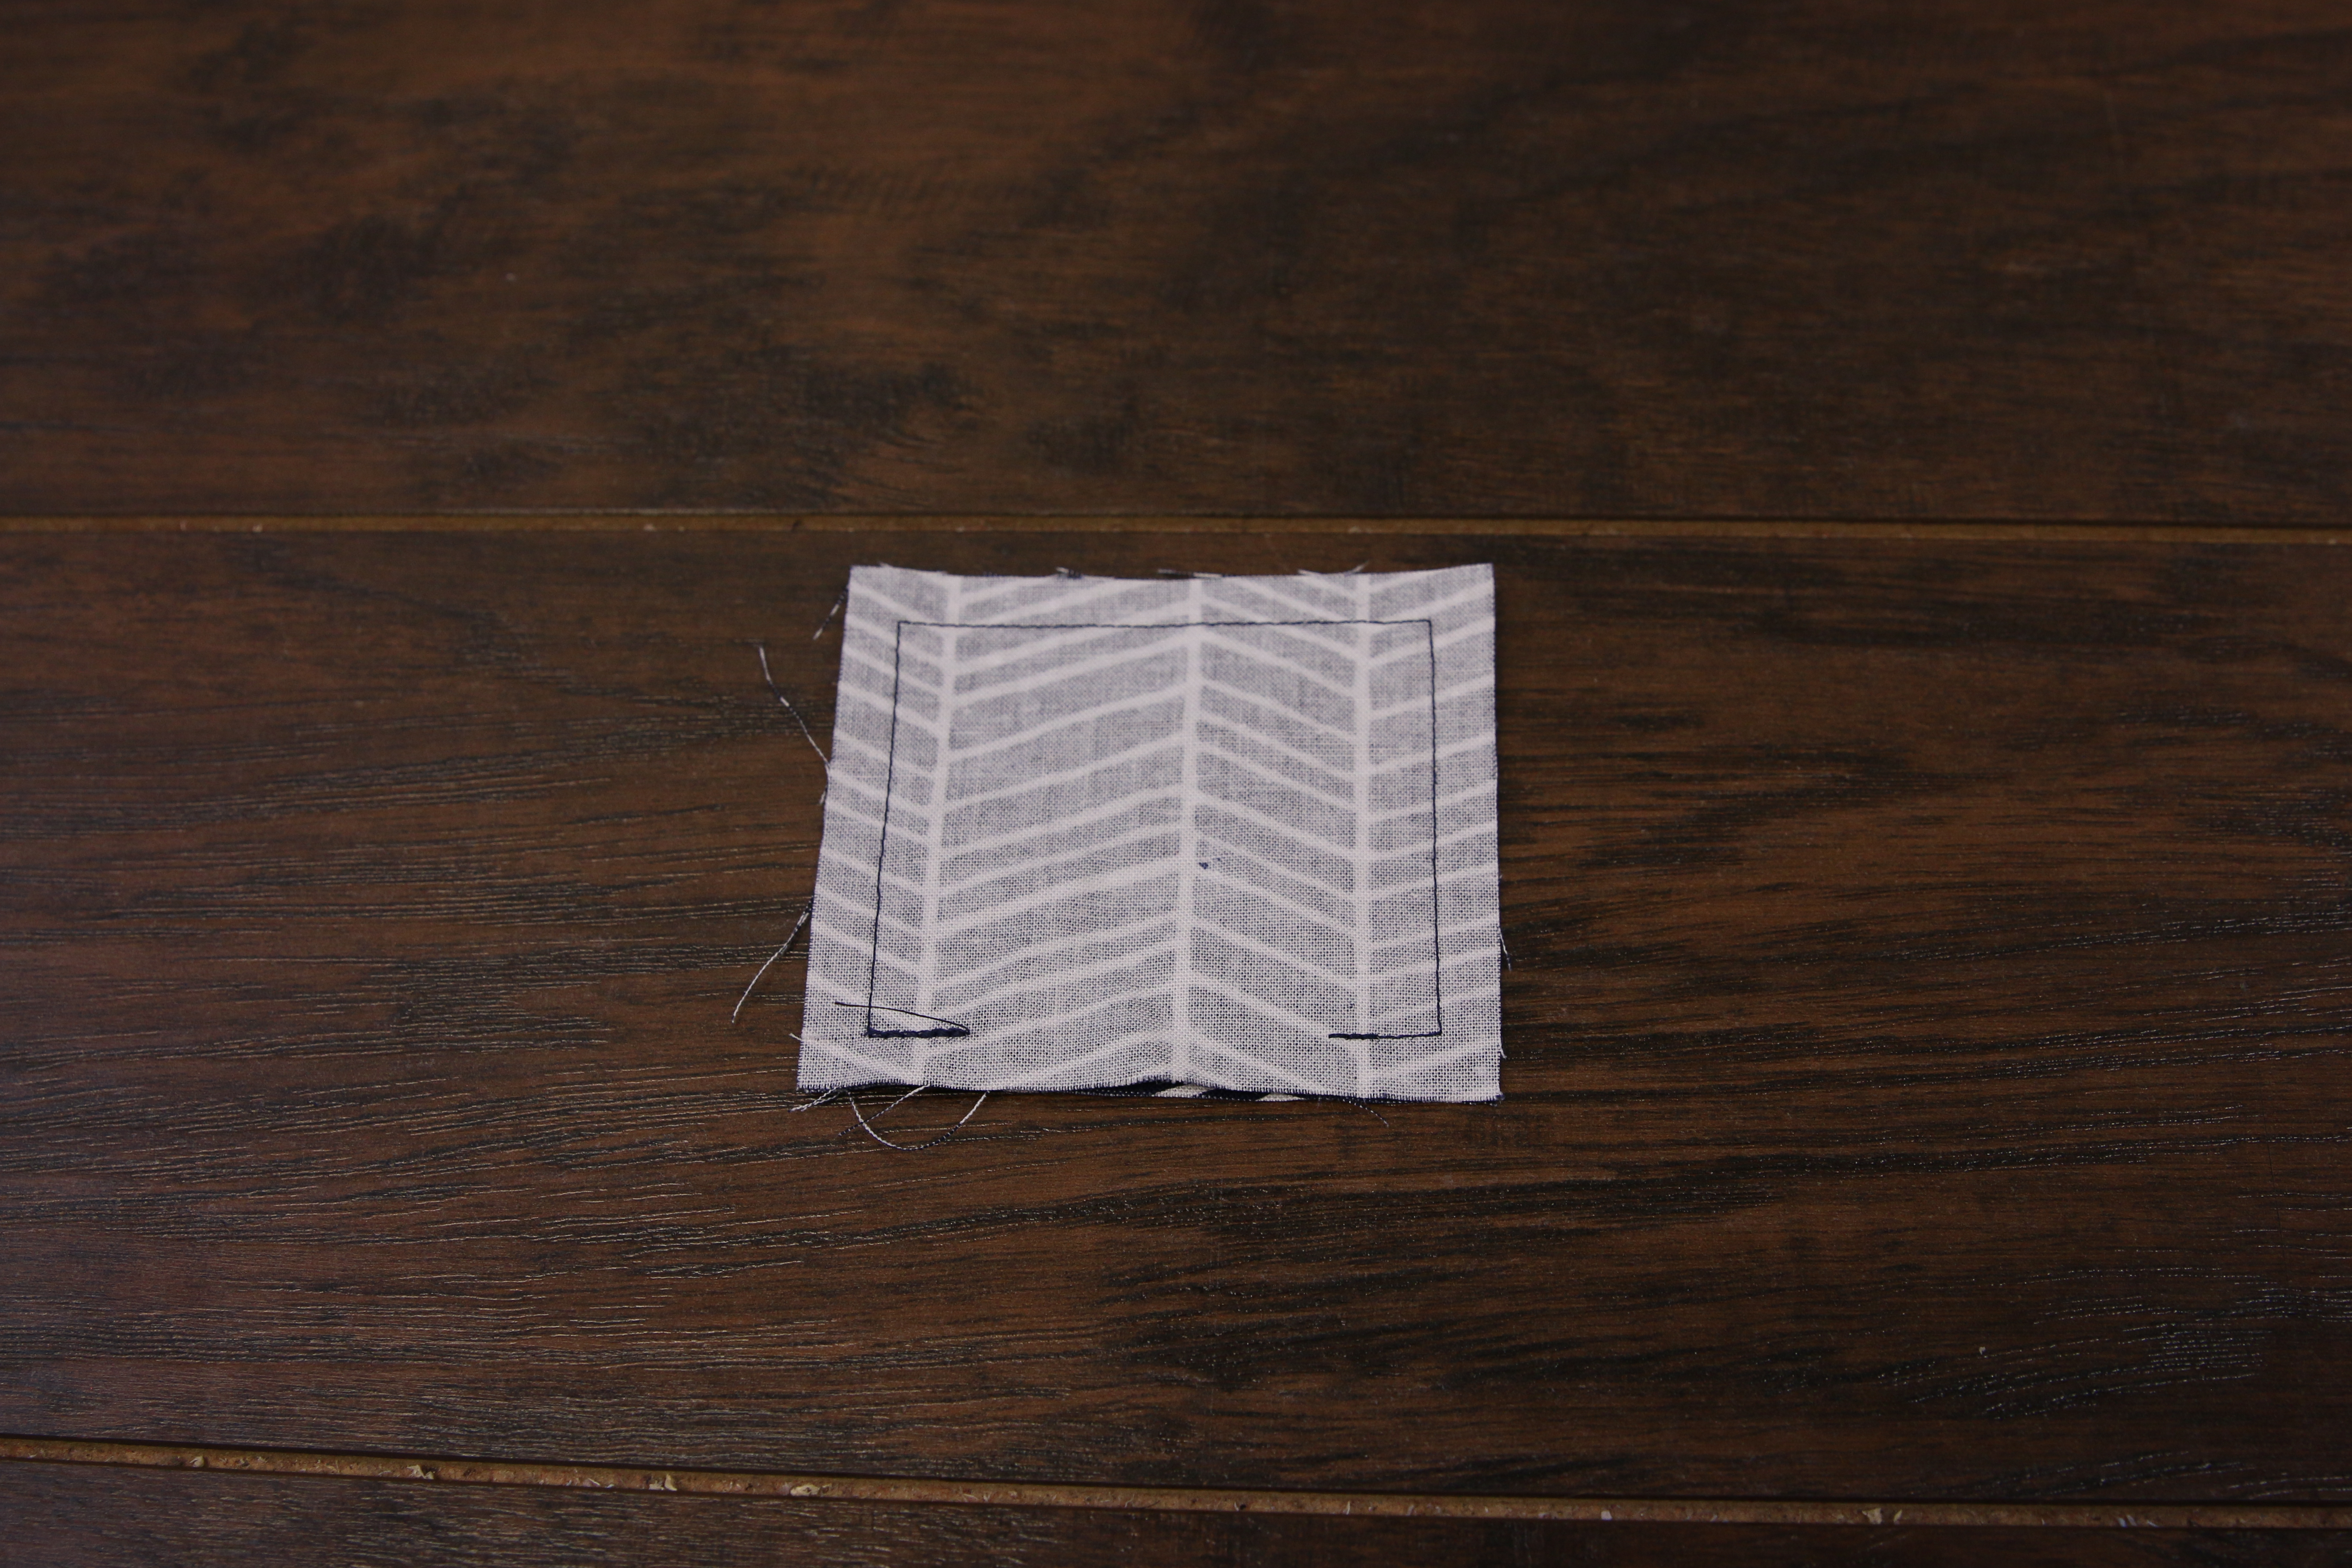
Sew a 1/4” seam around the edges. Leave a 1” opening along the bottom edge.
3
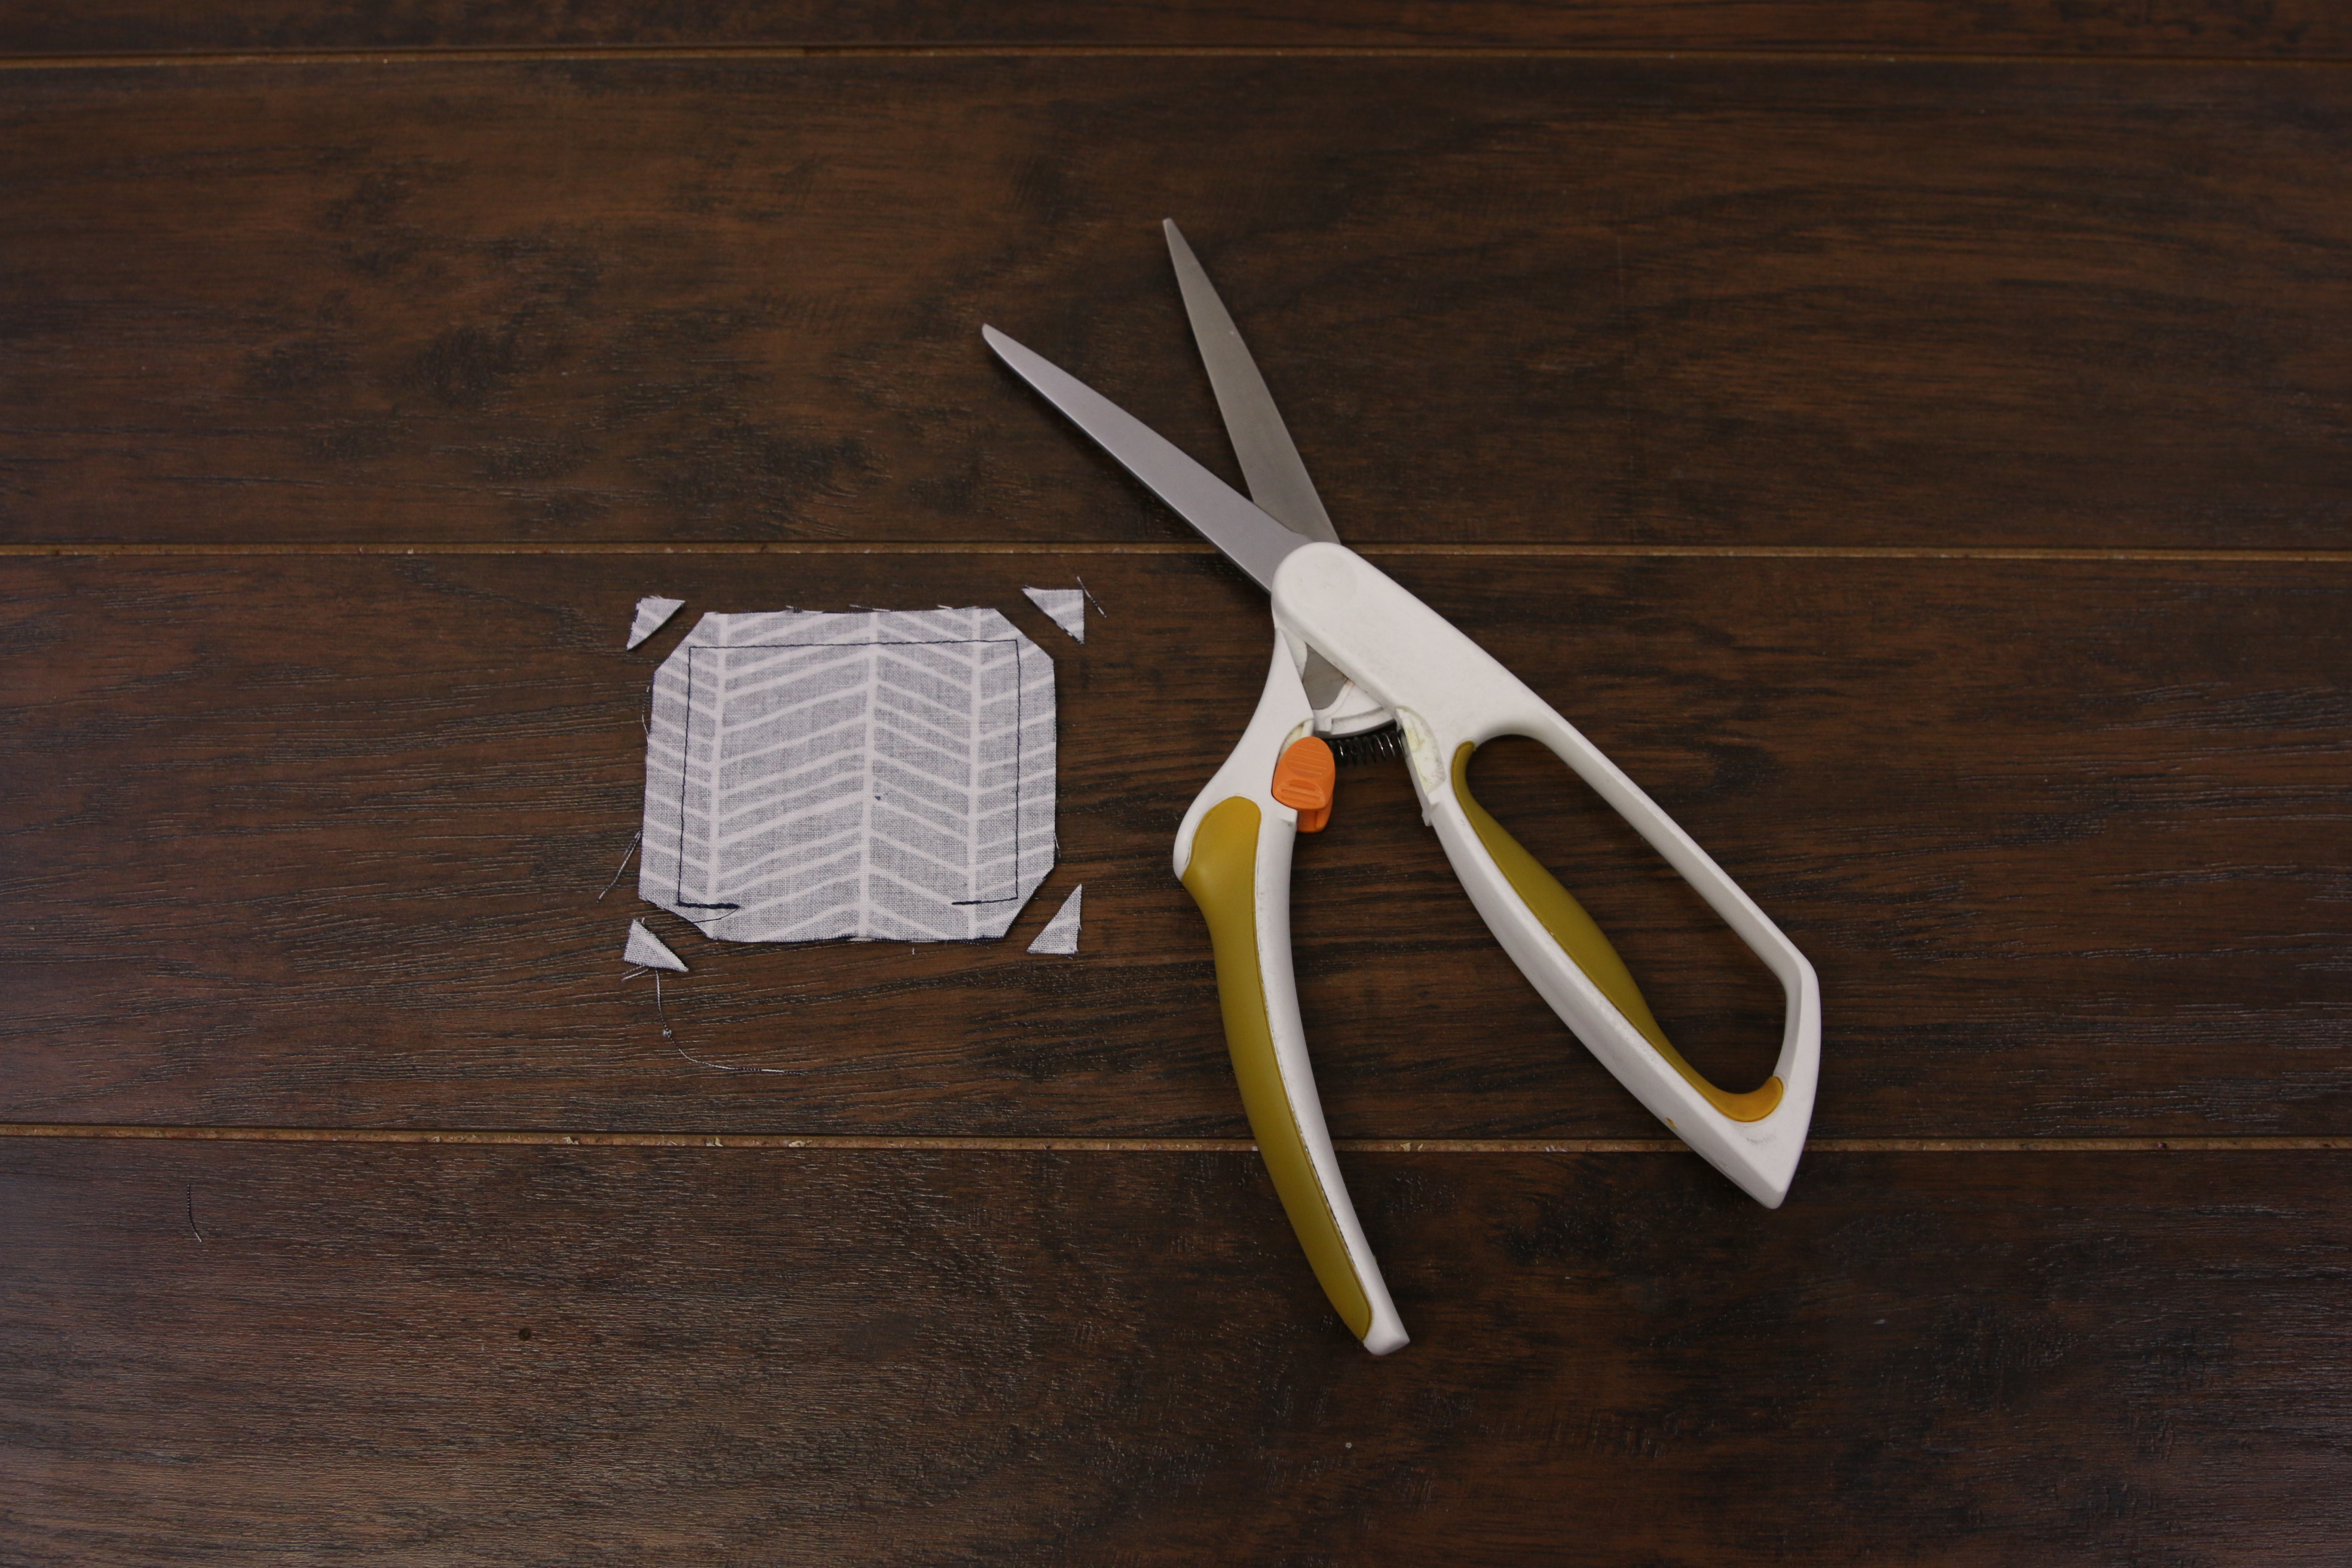
Trim the seam at the corners. Be careful not to cut the seam.
4
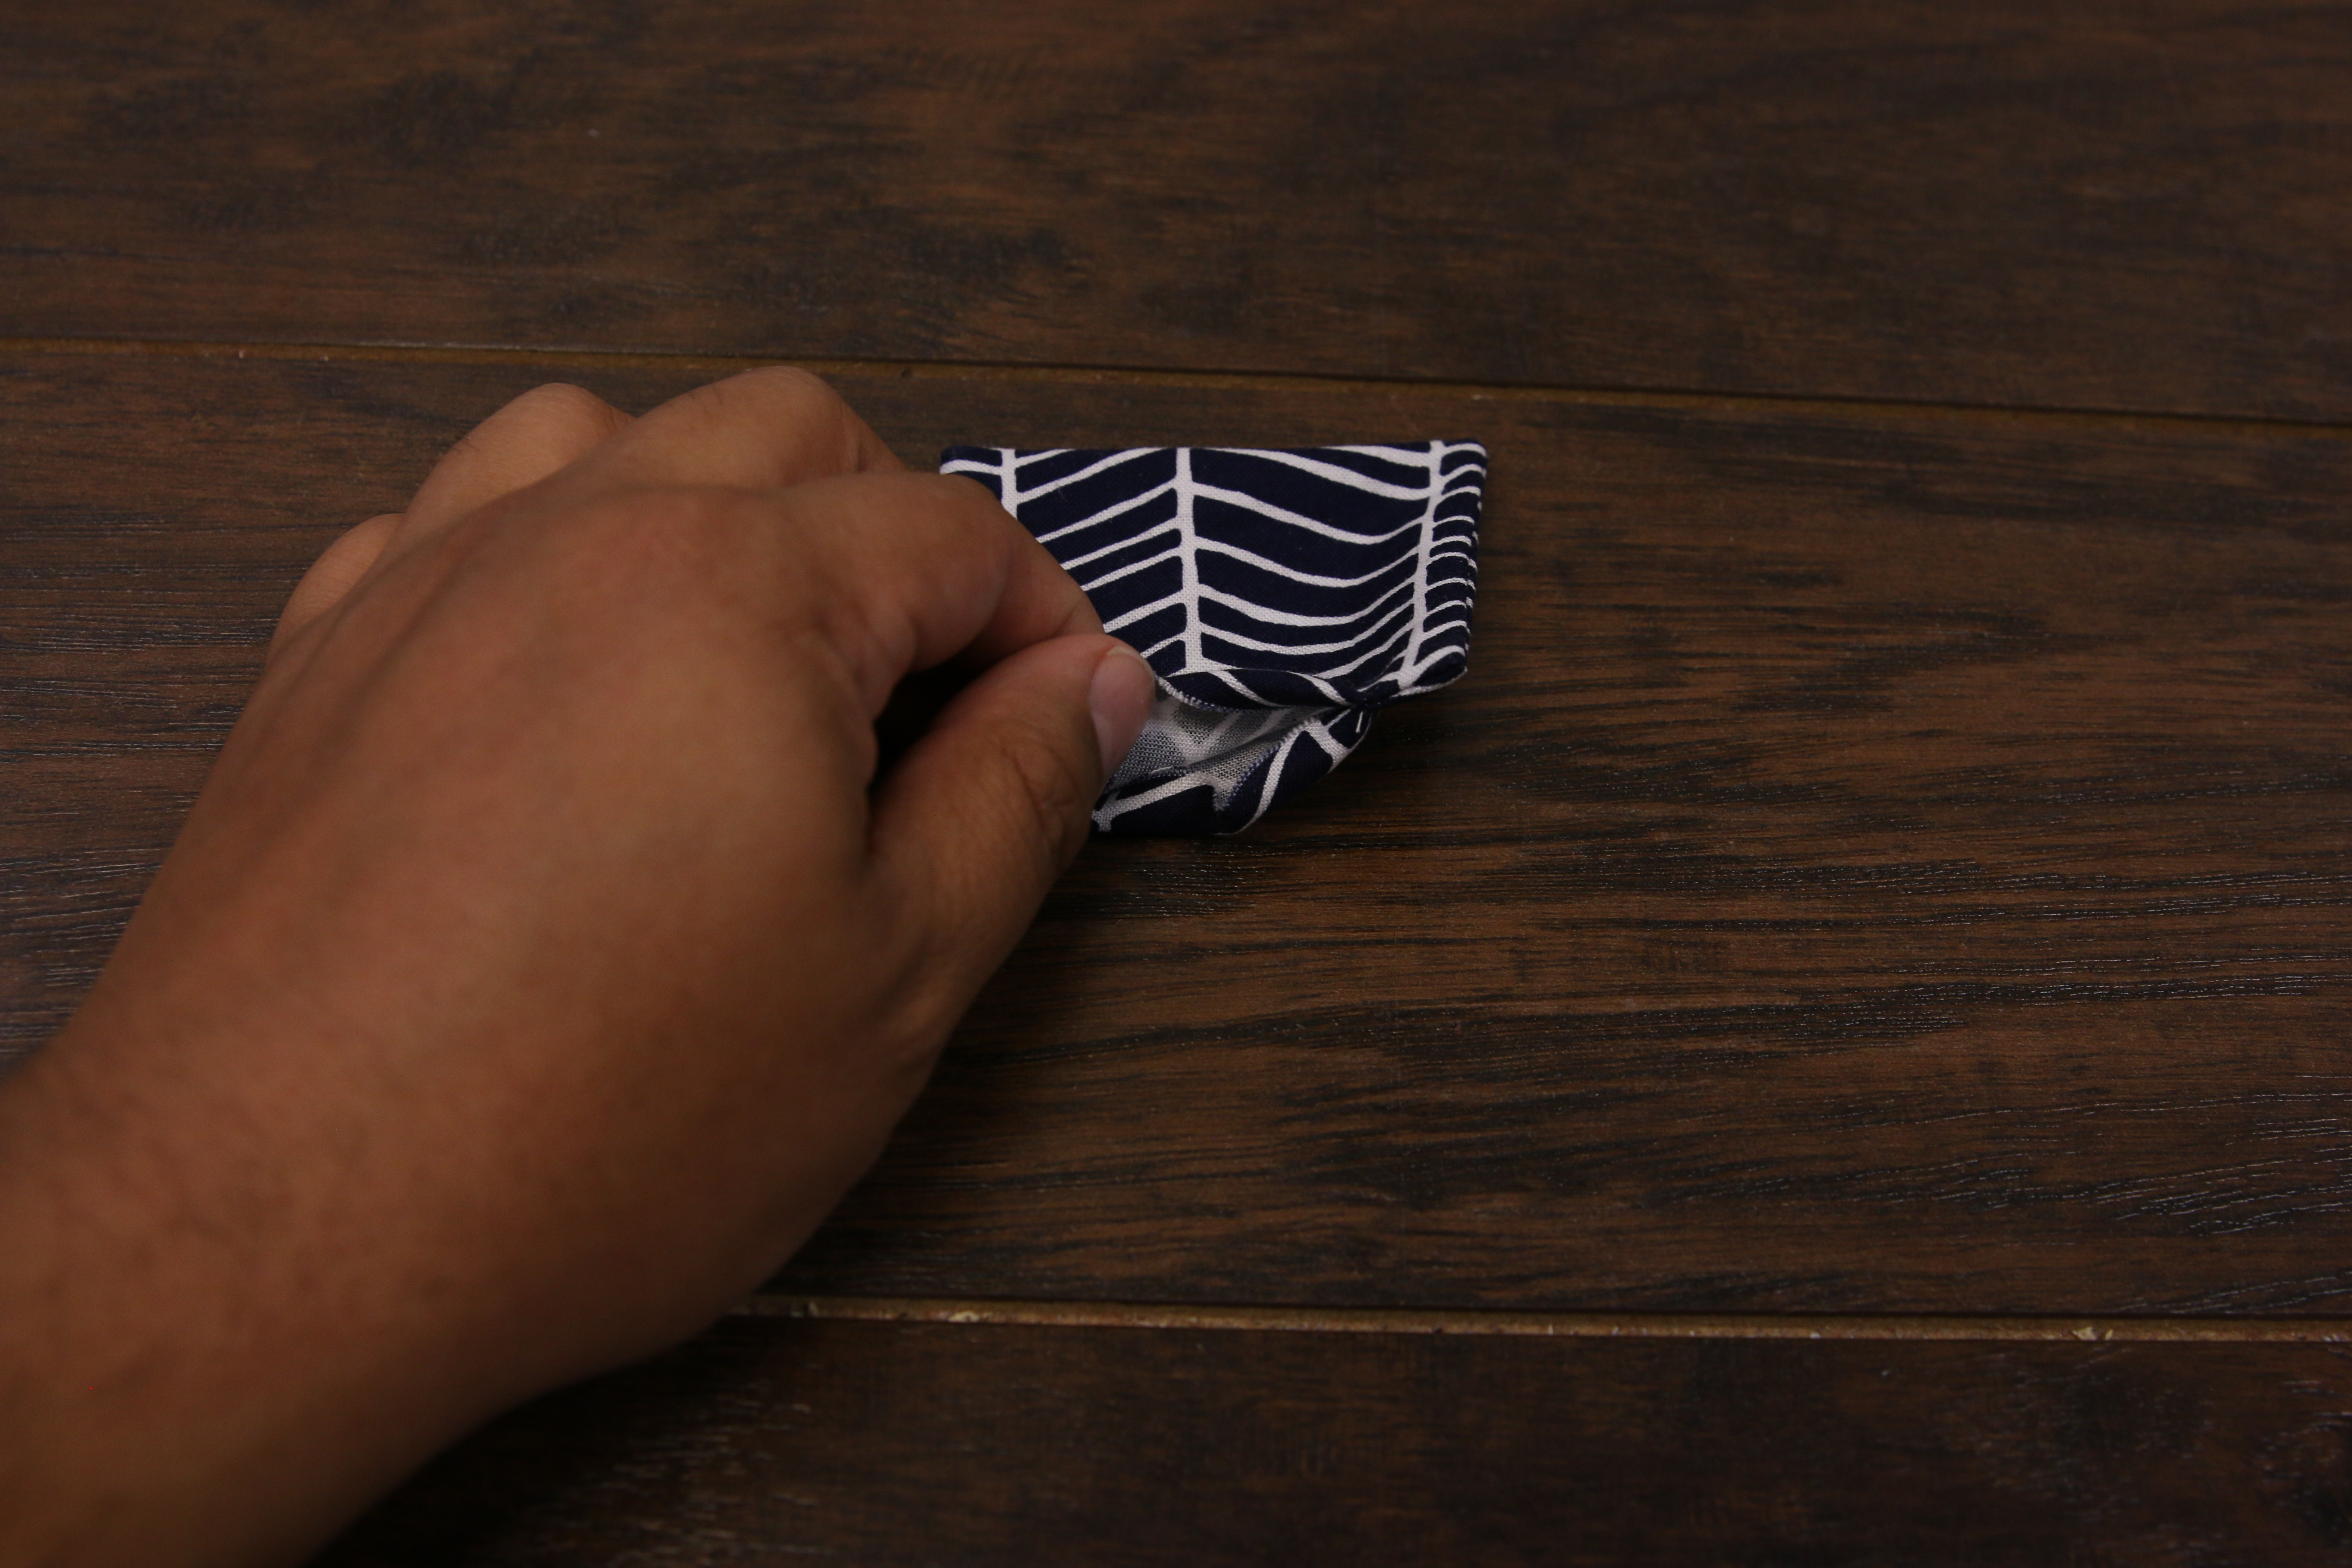
Then turn the pocket right side out. Use a pencil or end of a paint brush to push the points out gently, to avoid ripping the seam.
5
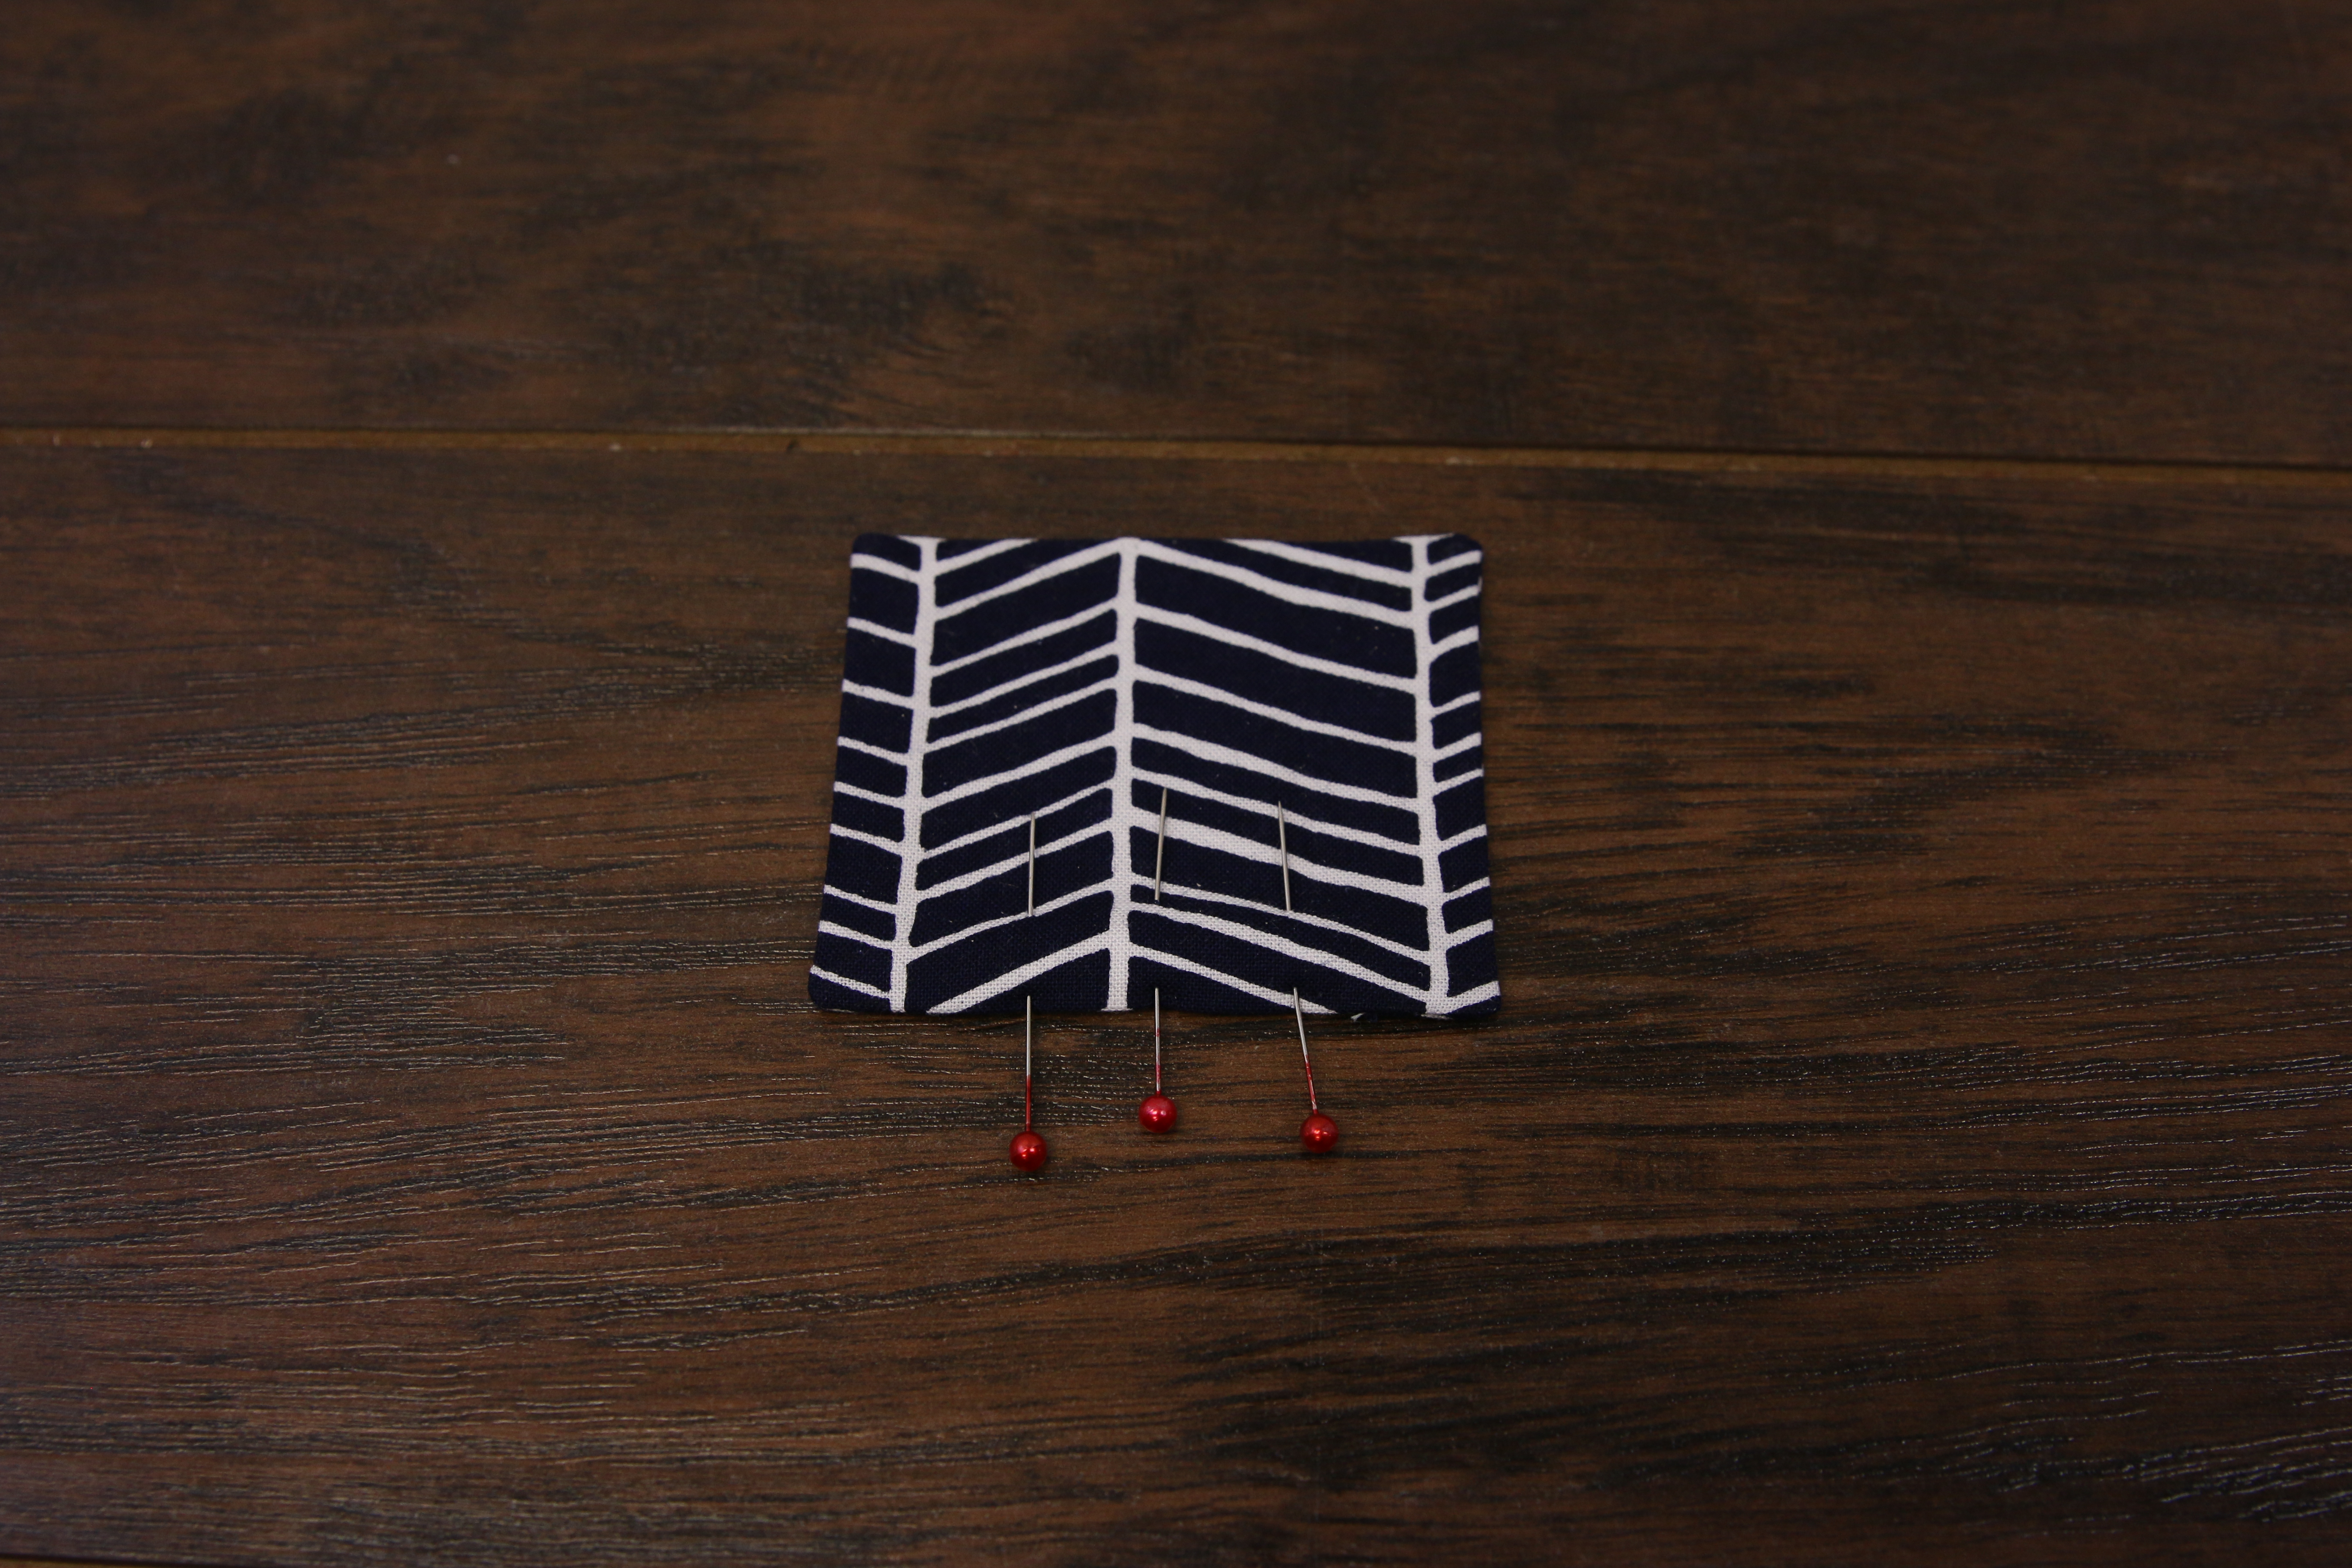
Fold the raw edge in 1/4”, and pin the opening closed.
6
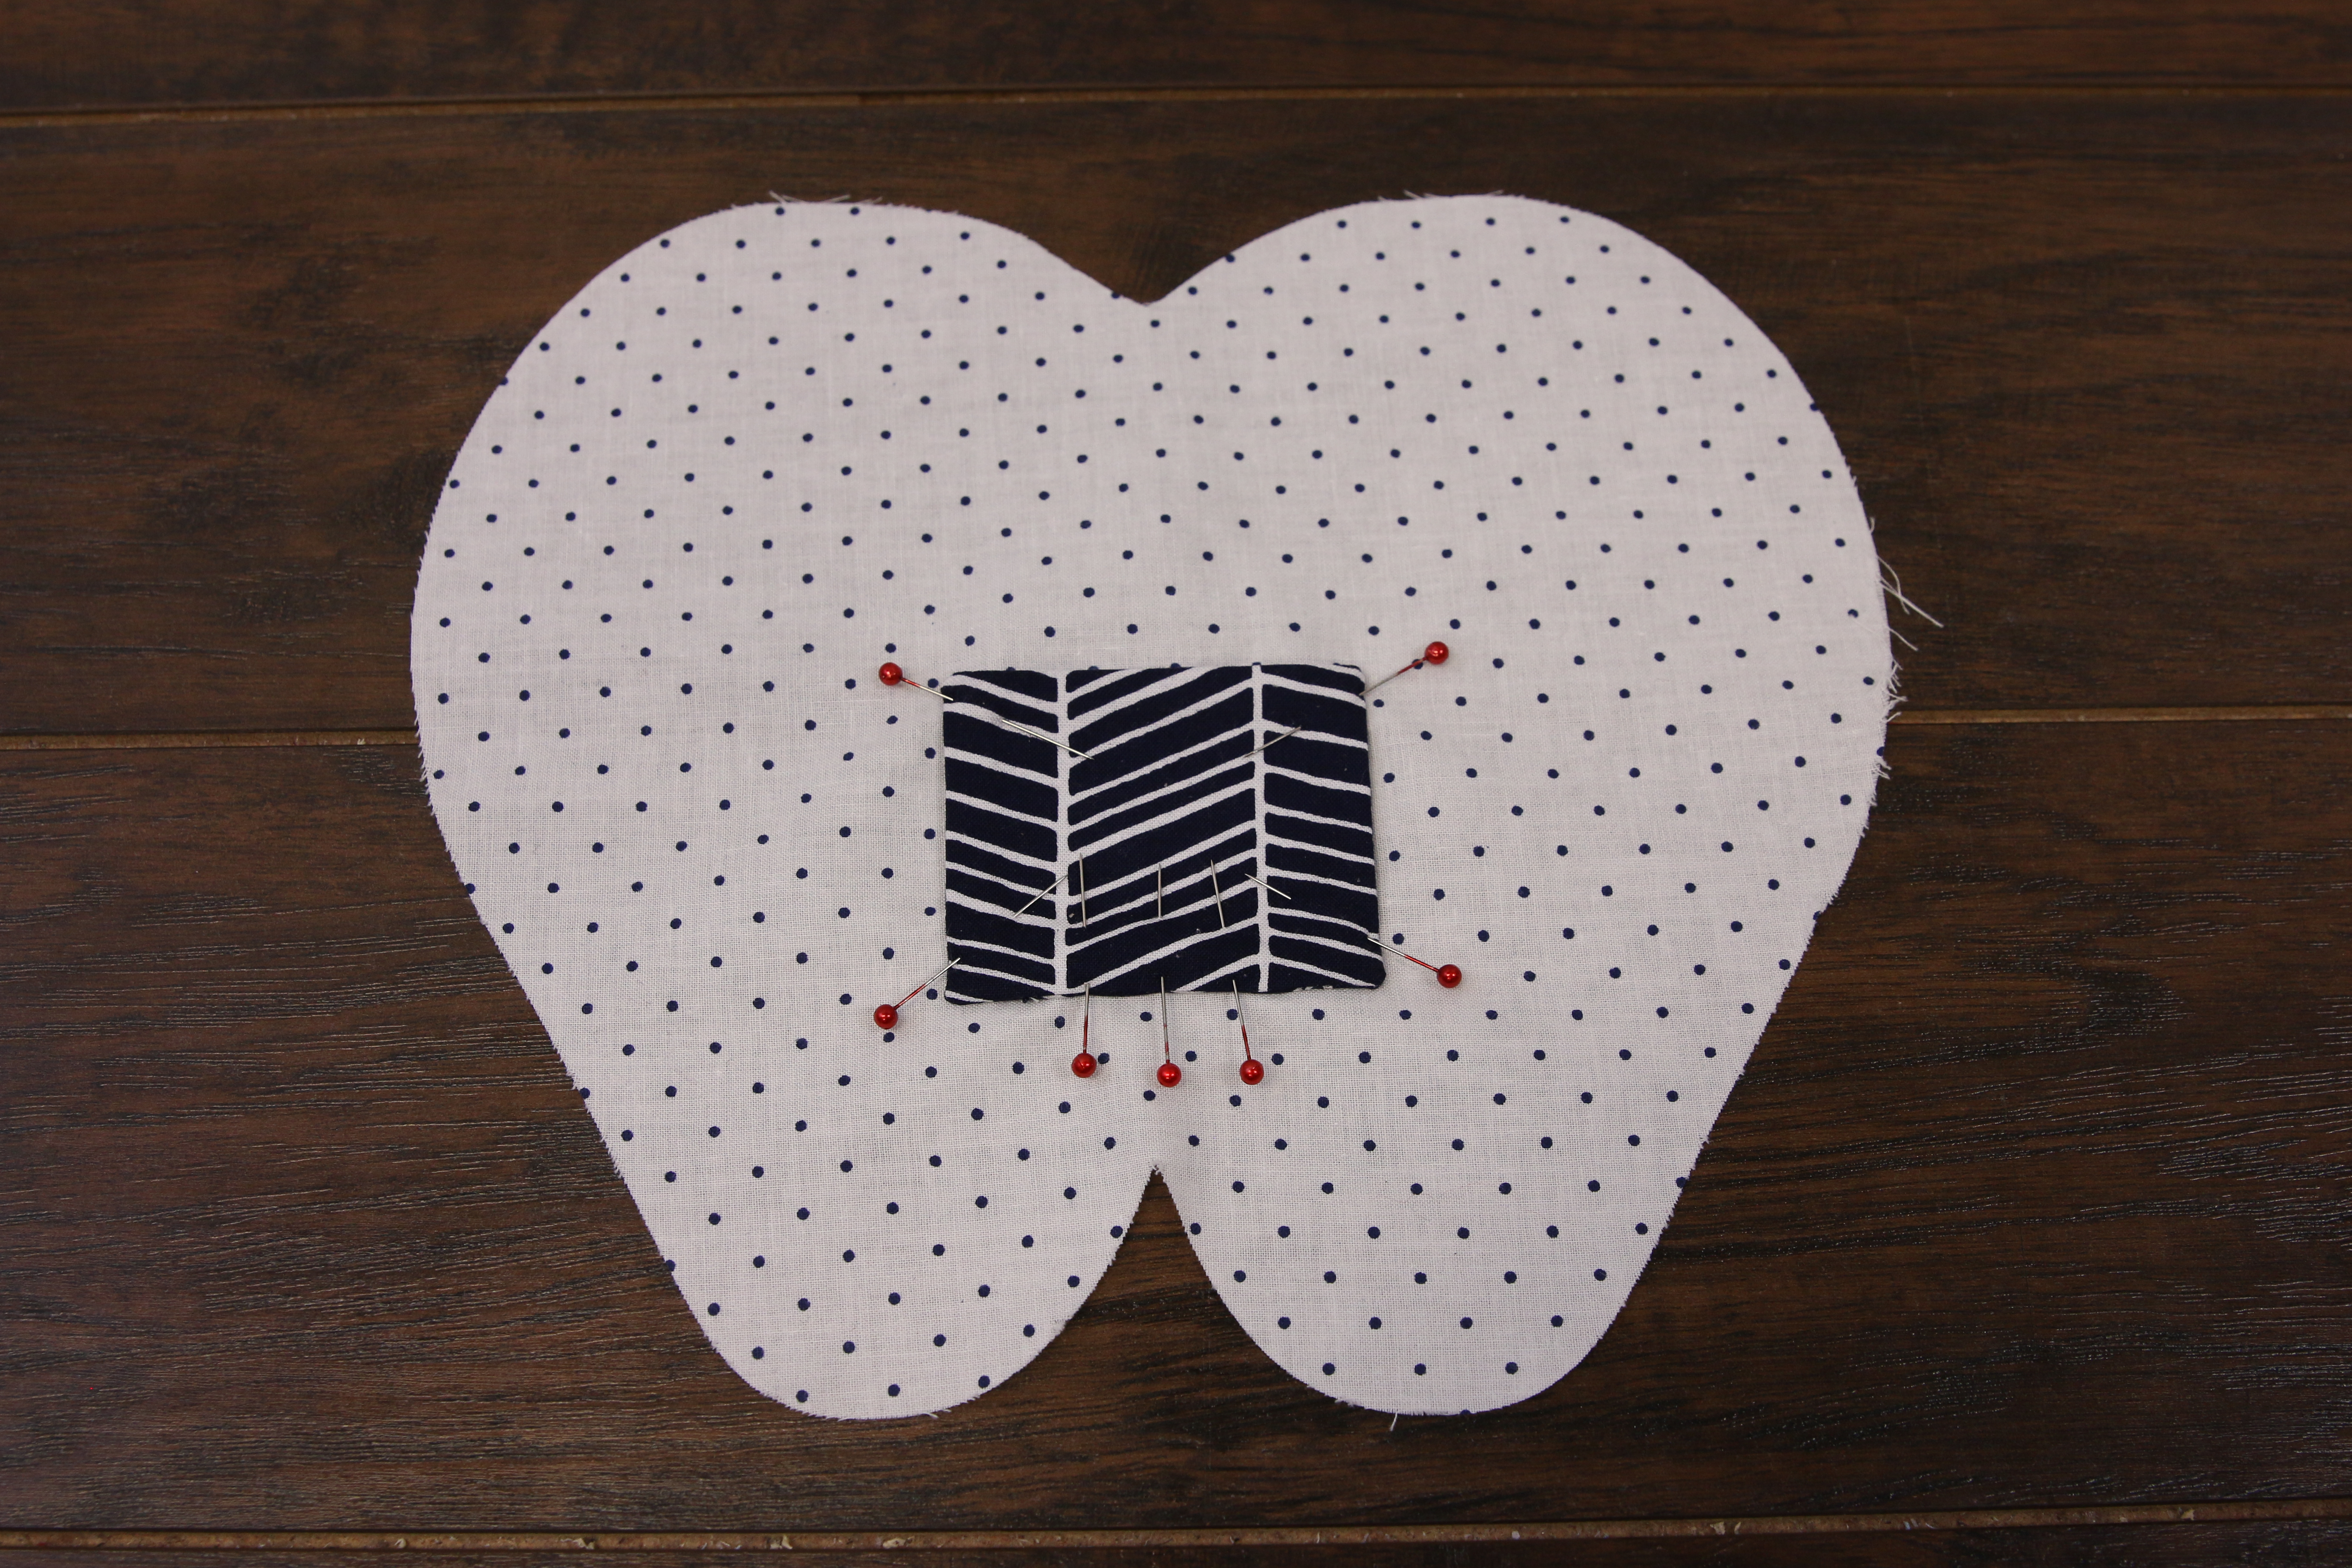
Next place the pocket in the center of the front tooth piece (color 1), with the pins towards the bottom of the tooth. Pin the pocket in place.
7
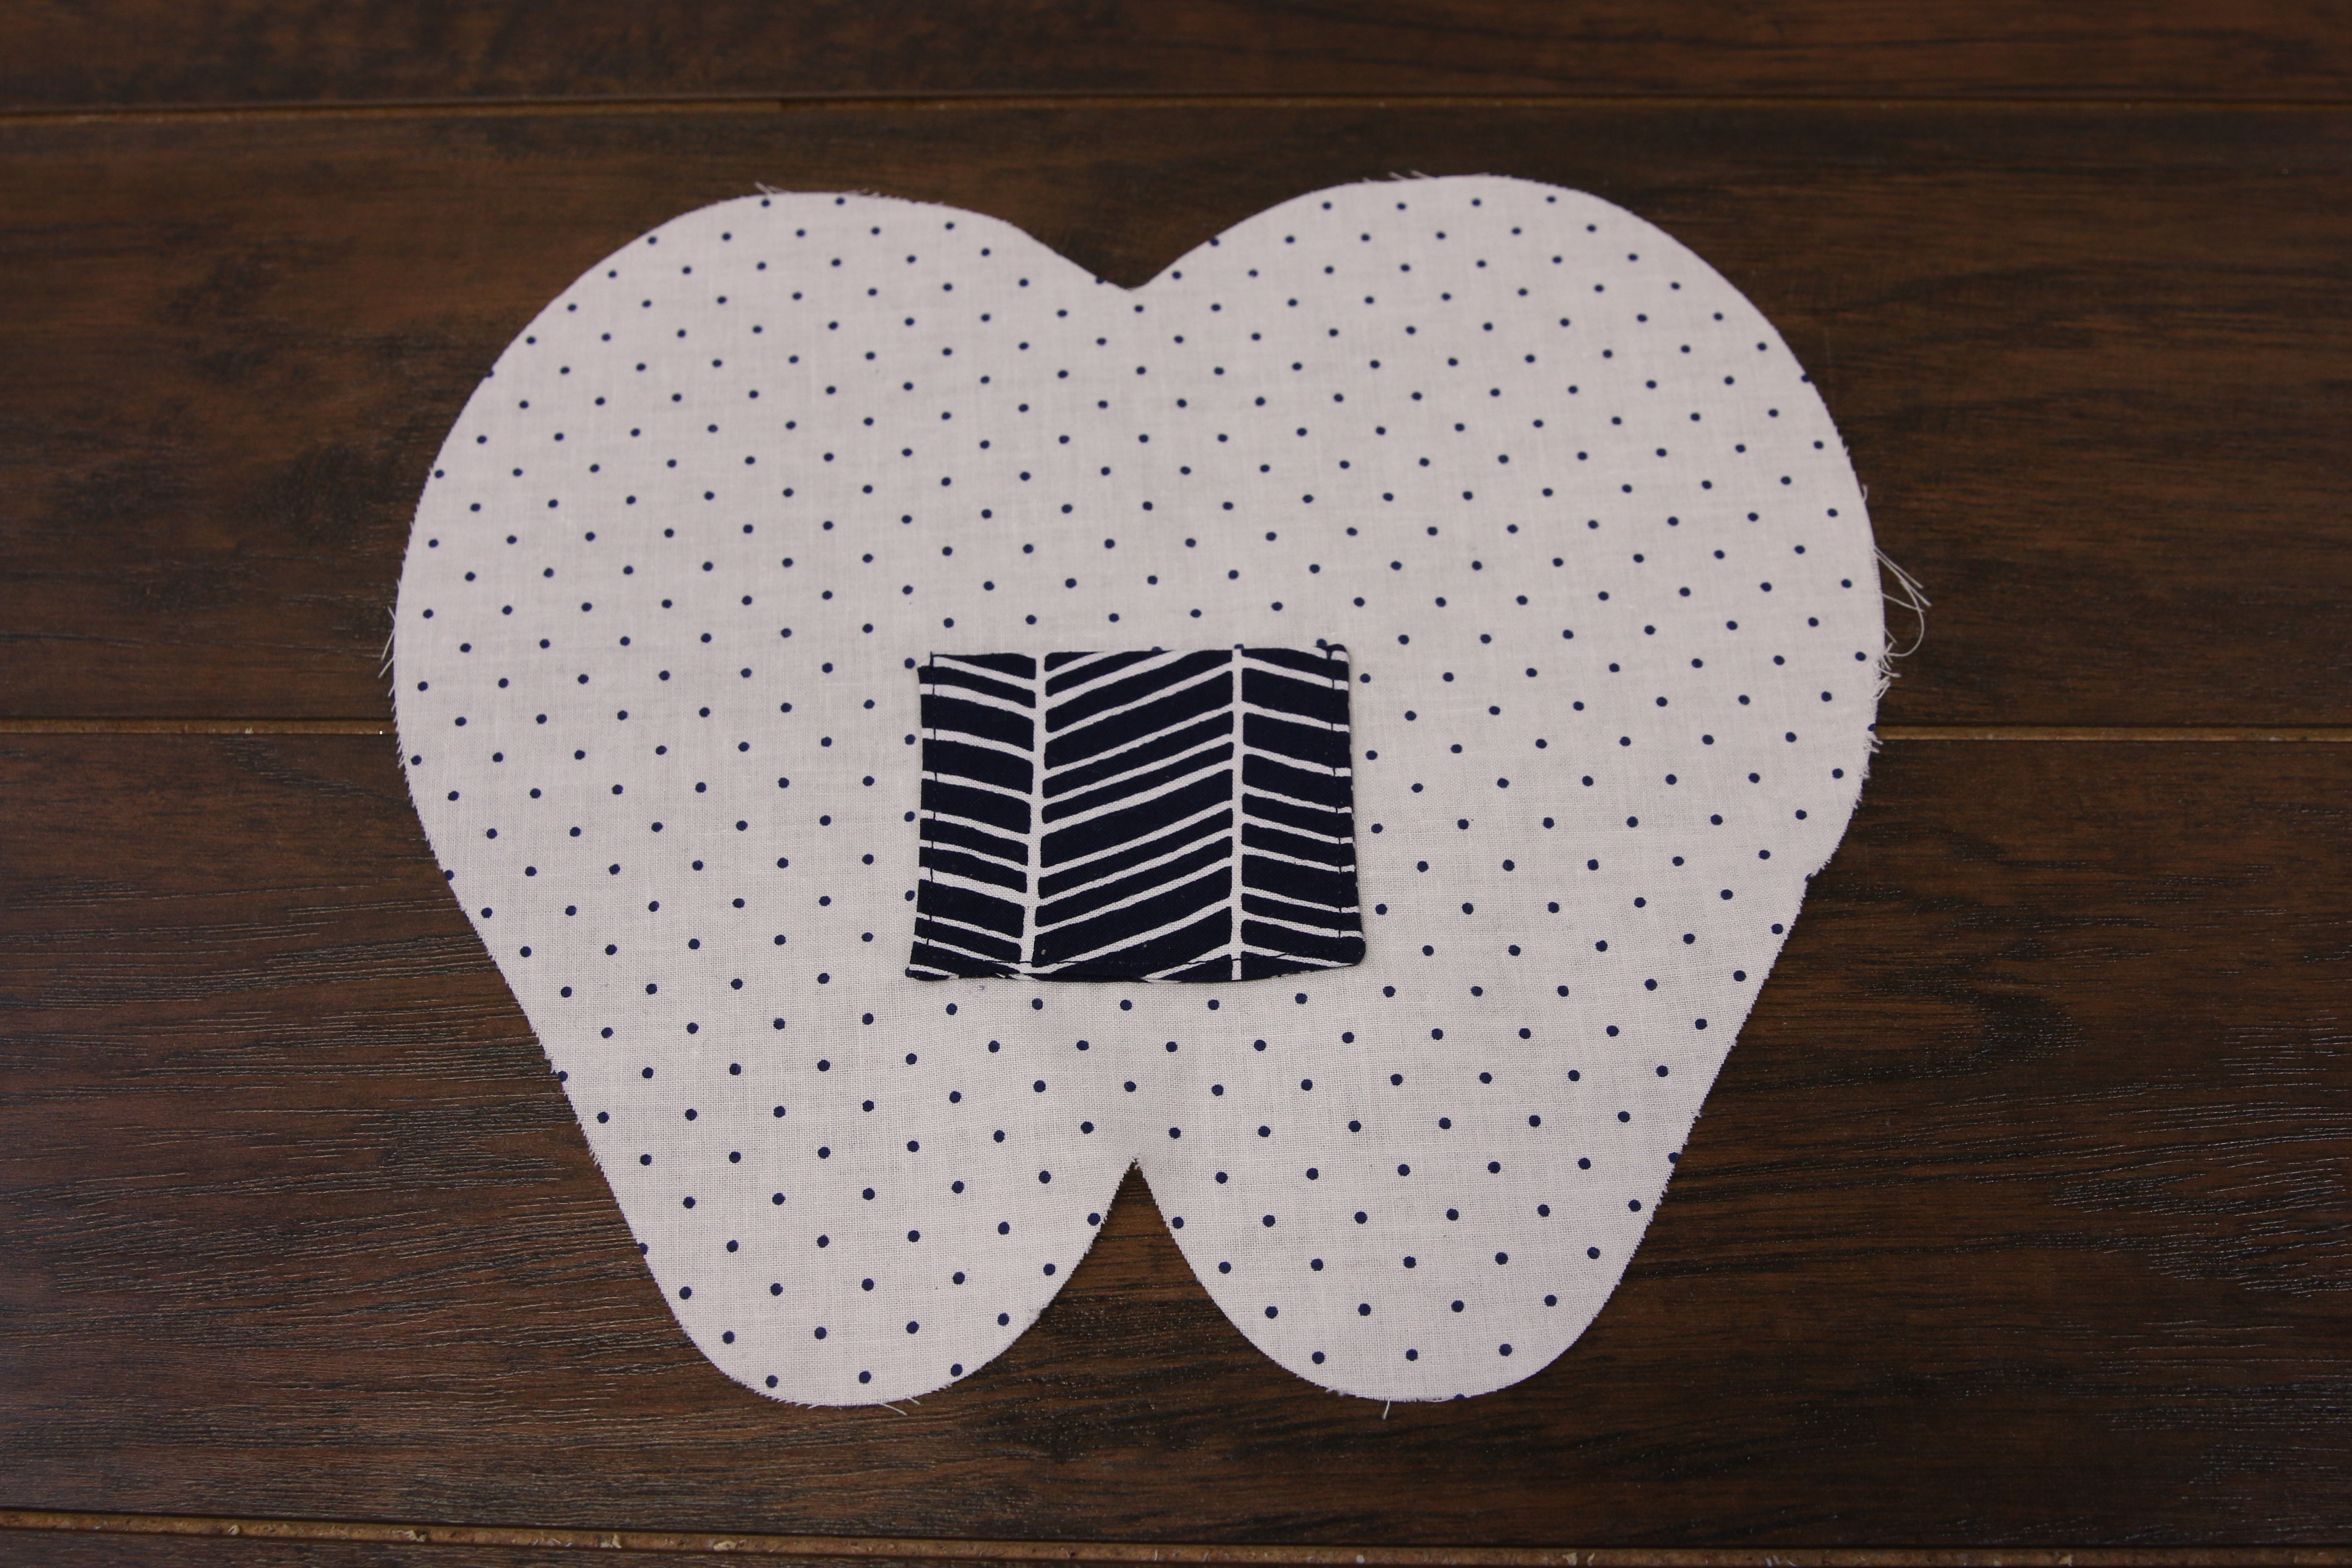
Sew a 1/8” seam the edge of the pocket. Do not sew the top of the pocket to the other fabric.
8
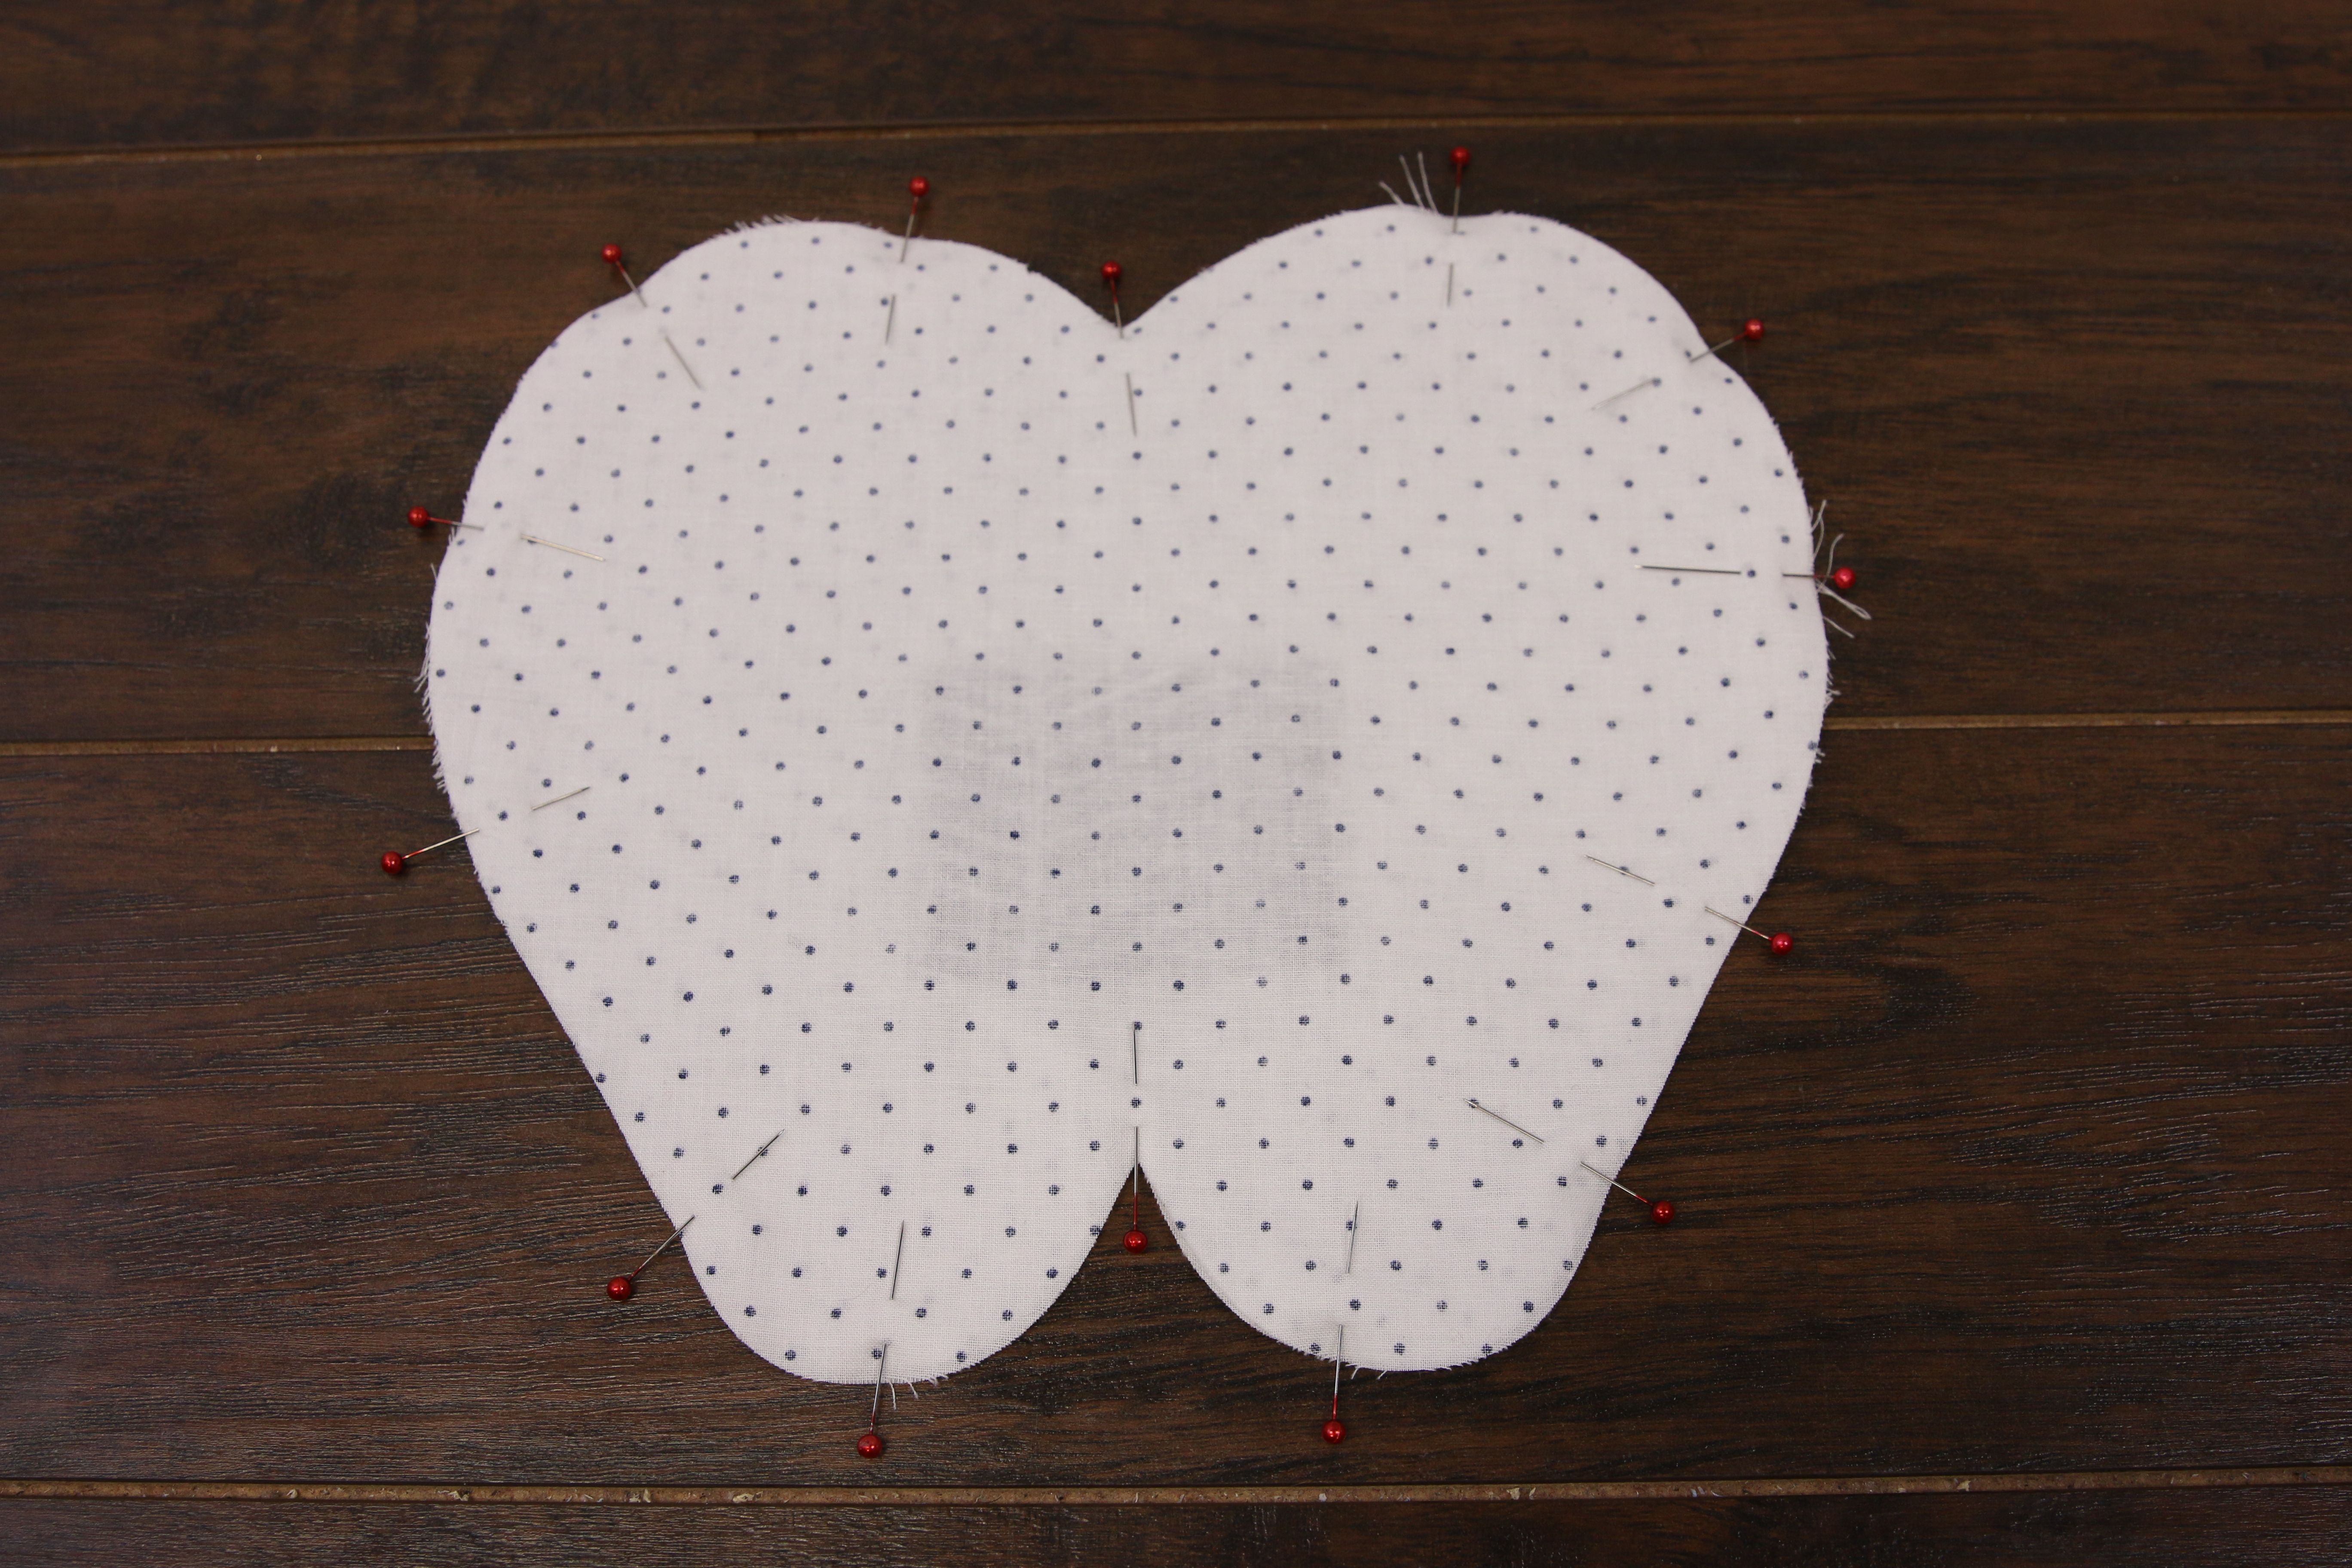
Place the two pieces of the tooth (color 1) on top of each other with the right sides together, matching up the edges. Pin them together.
9
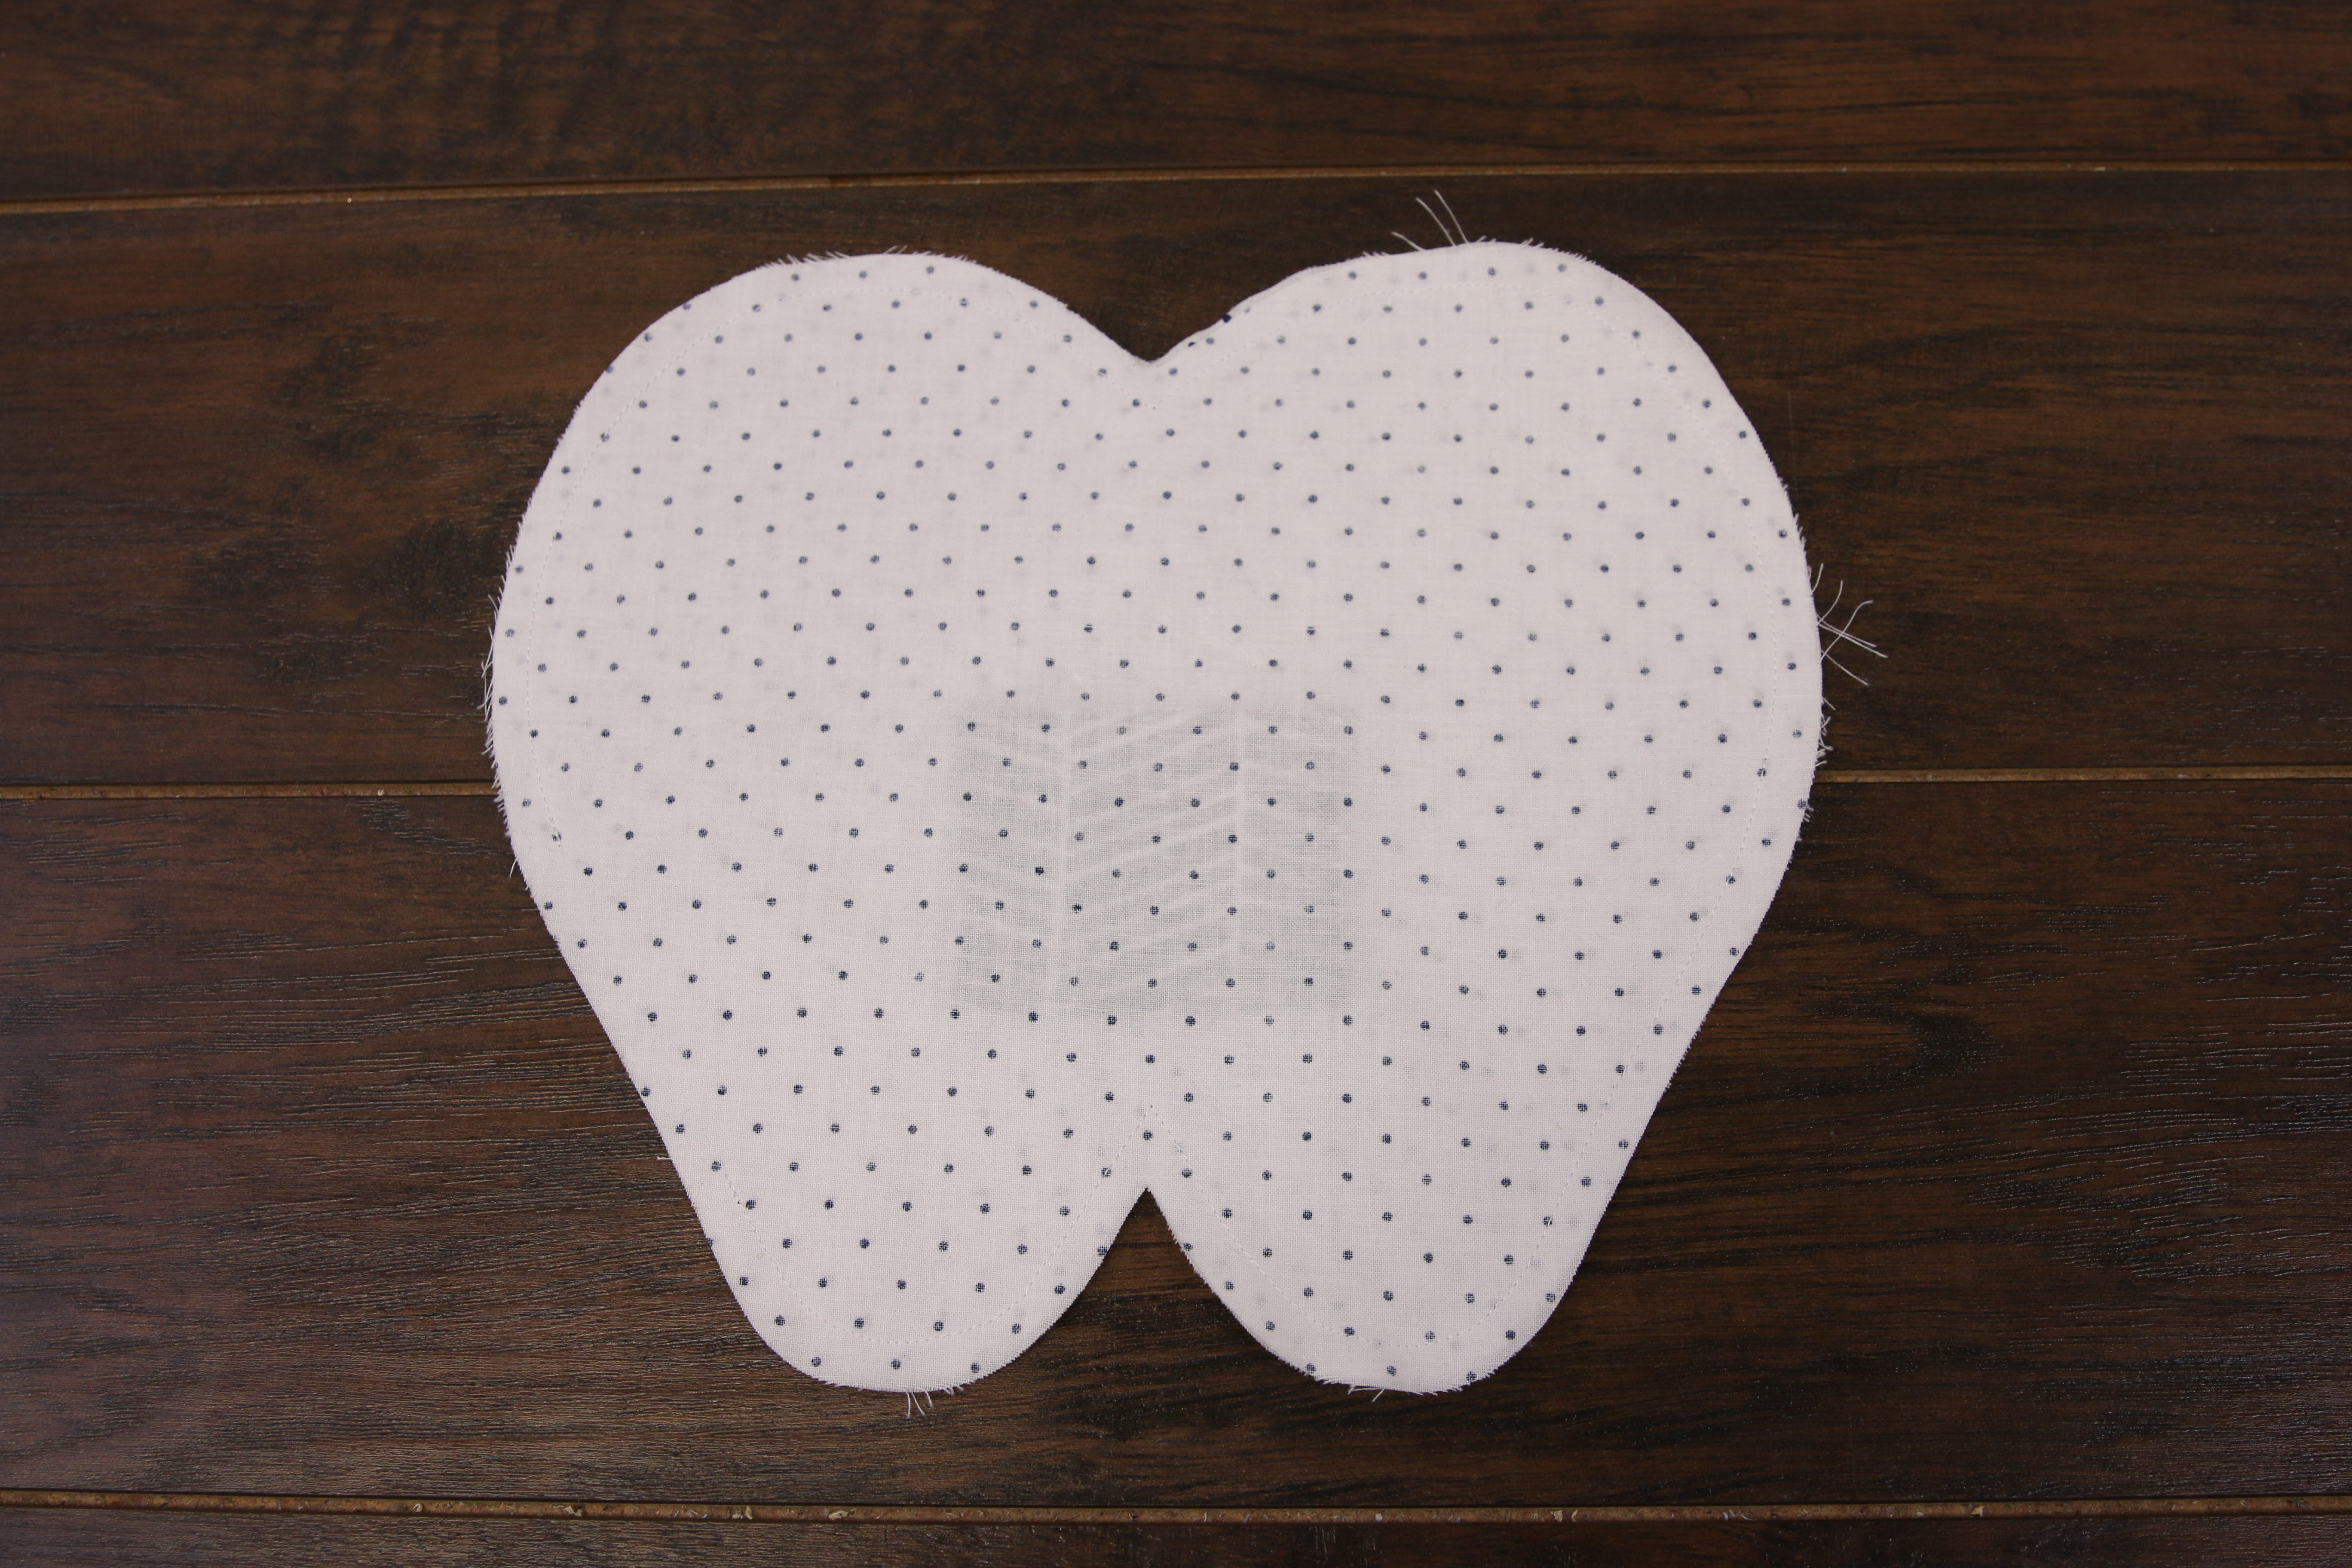
Sew a 1/4” seam around the edges. Leave a 2”-3” opening along the side toward the bottom of the tooth.
10
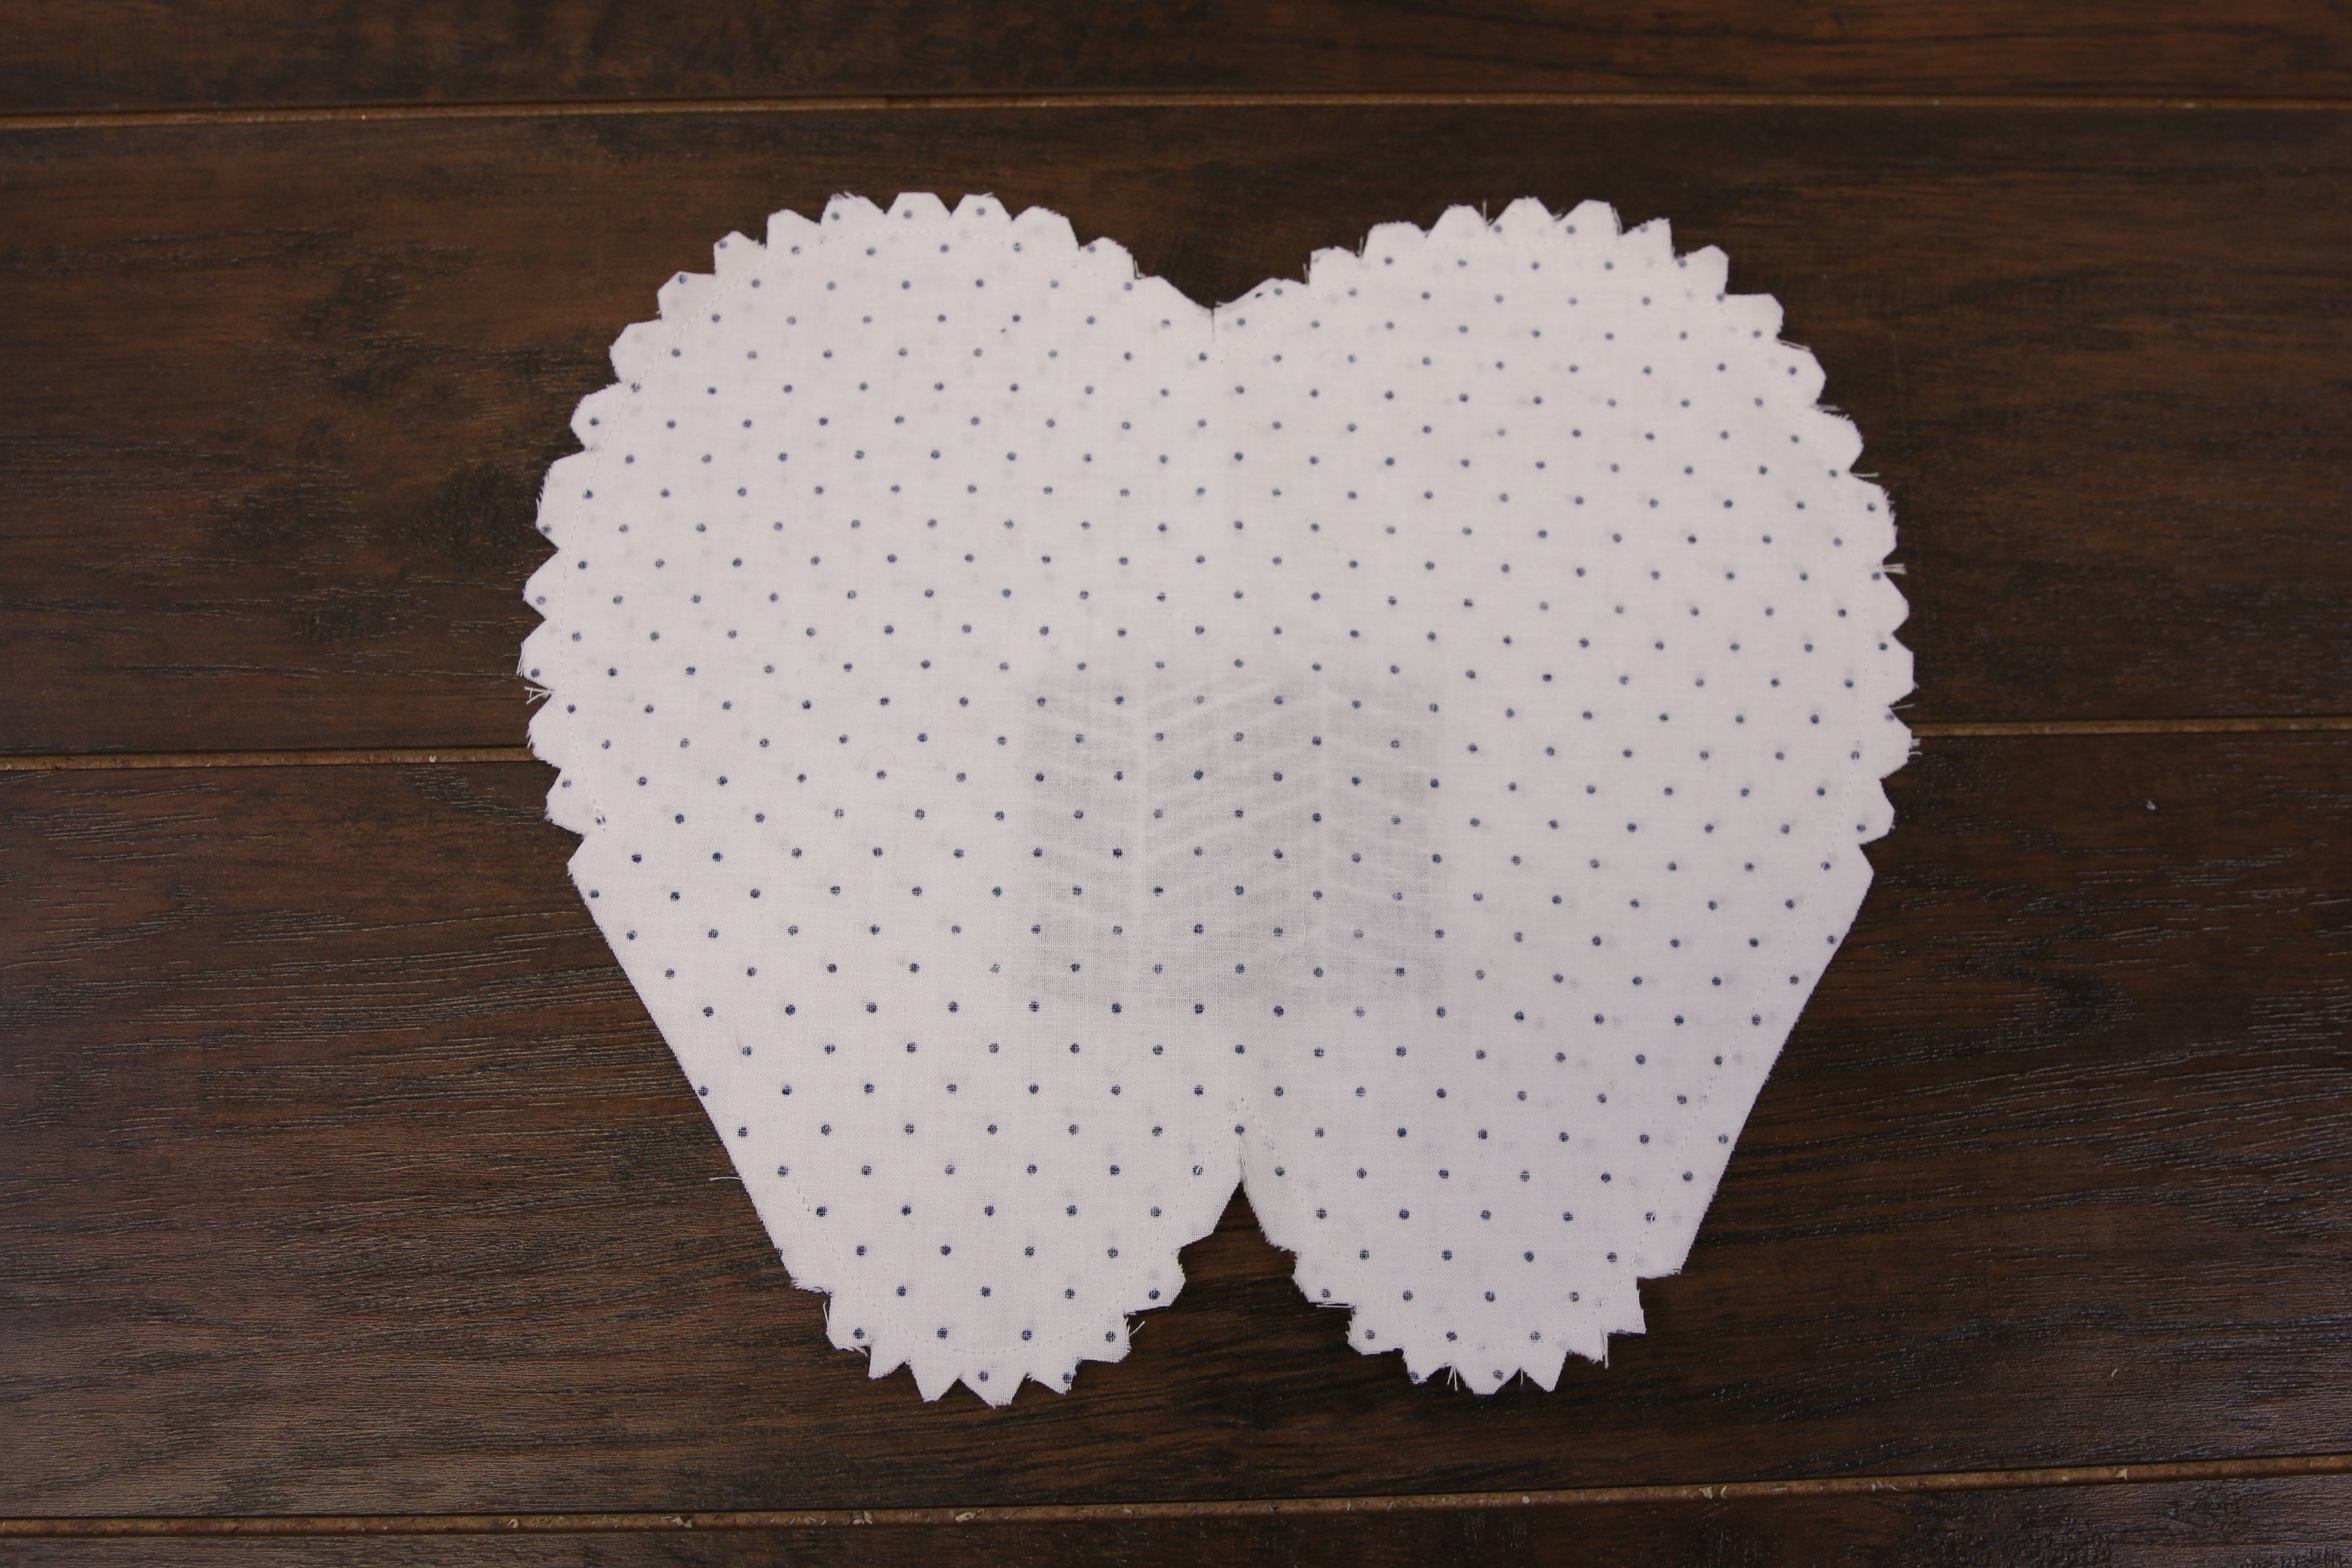
Trim the seam around all the points, indentations and curves. Be careful not to cut the seam.
11
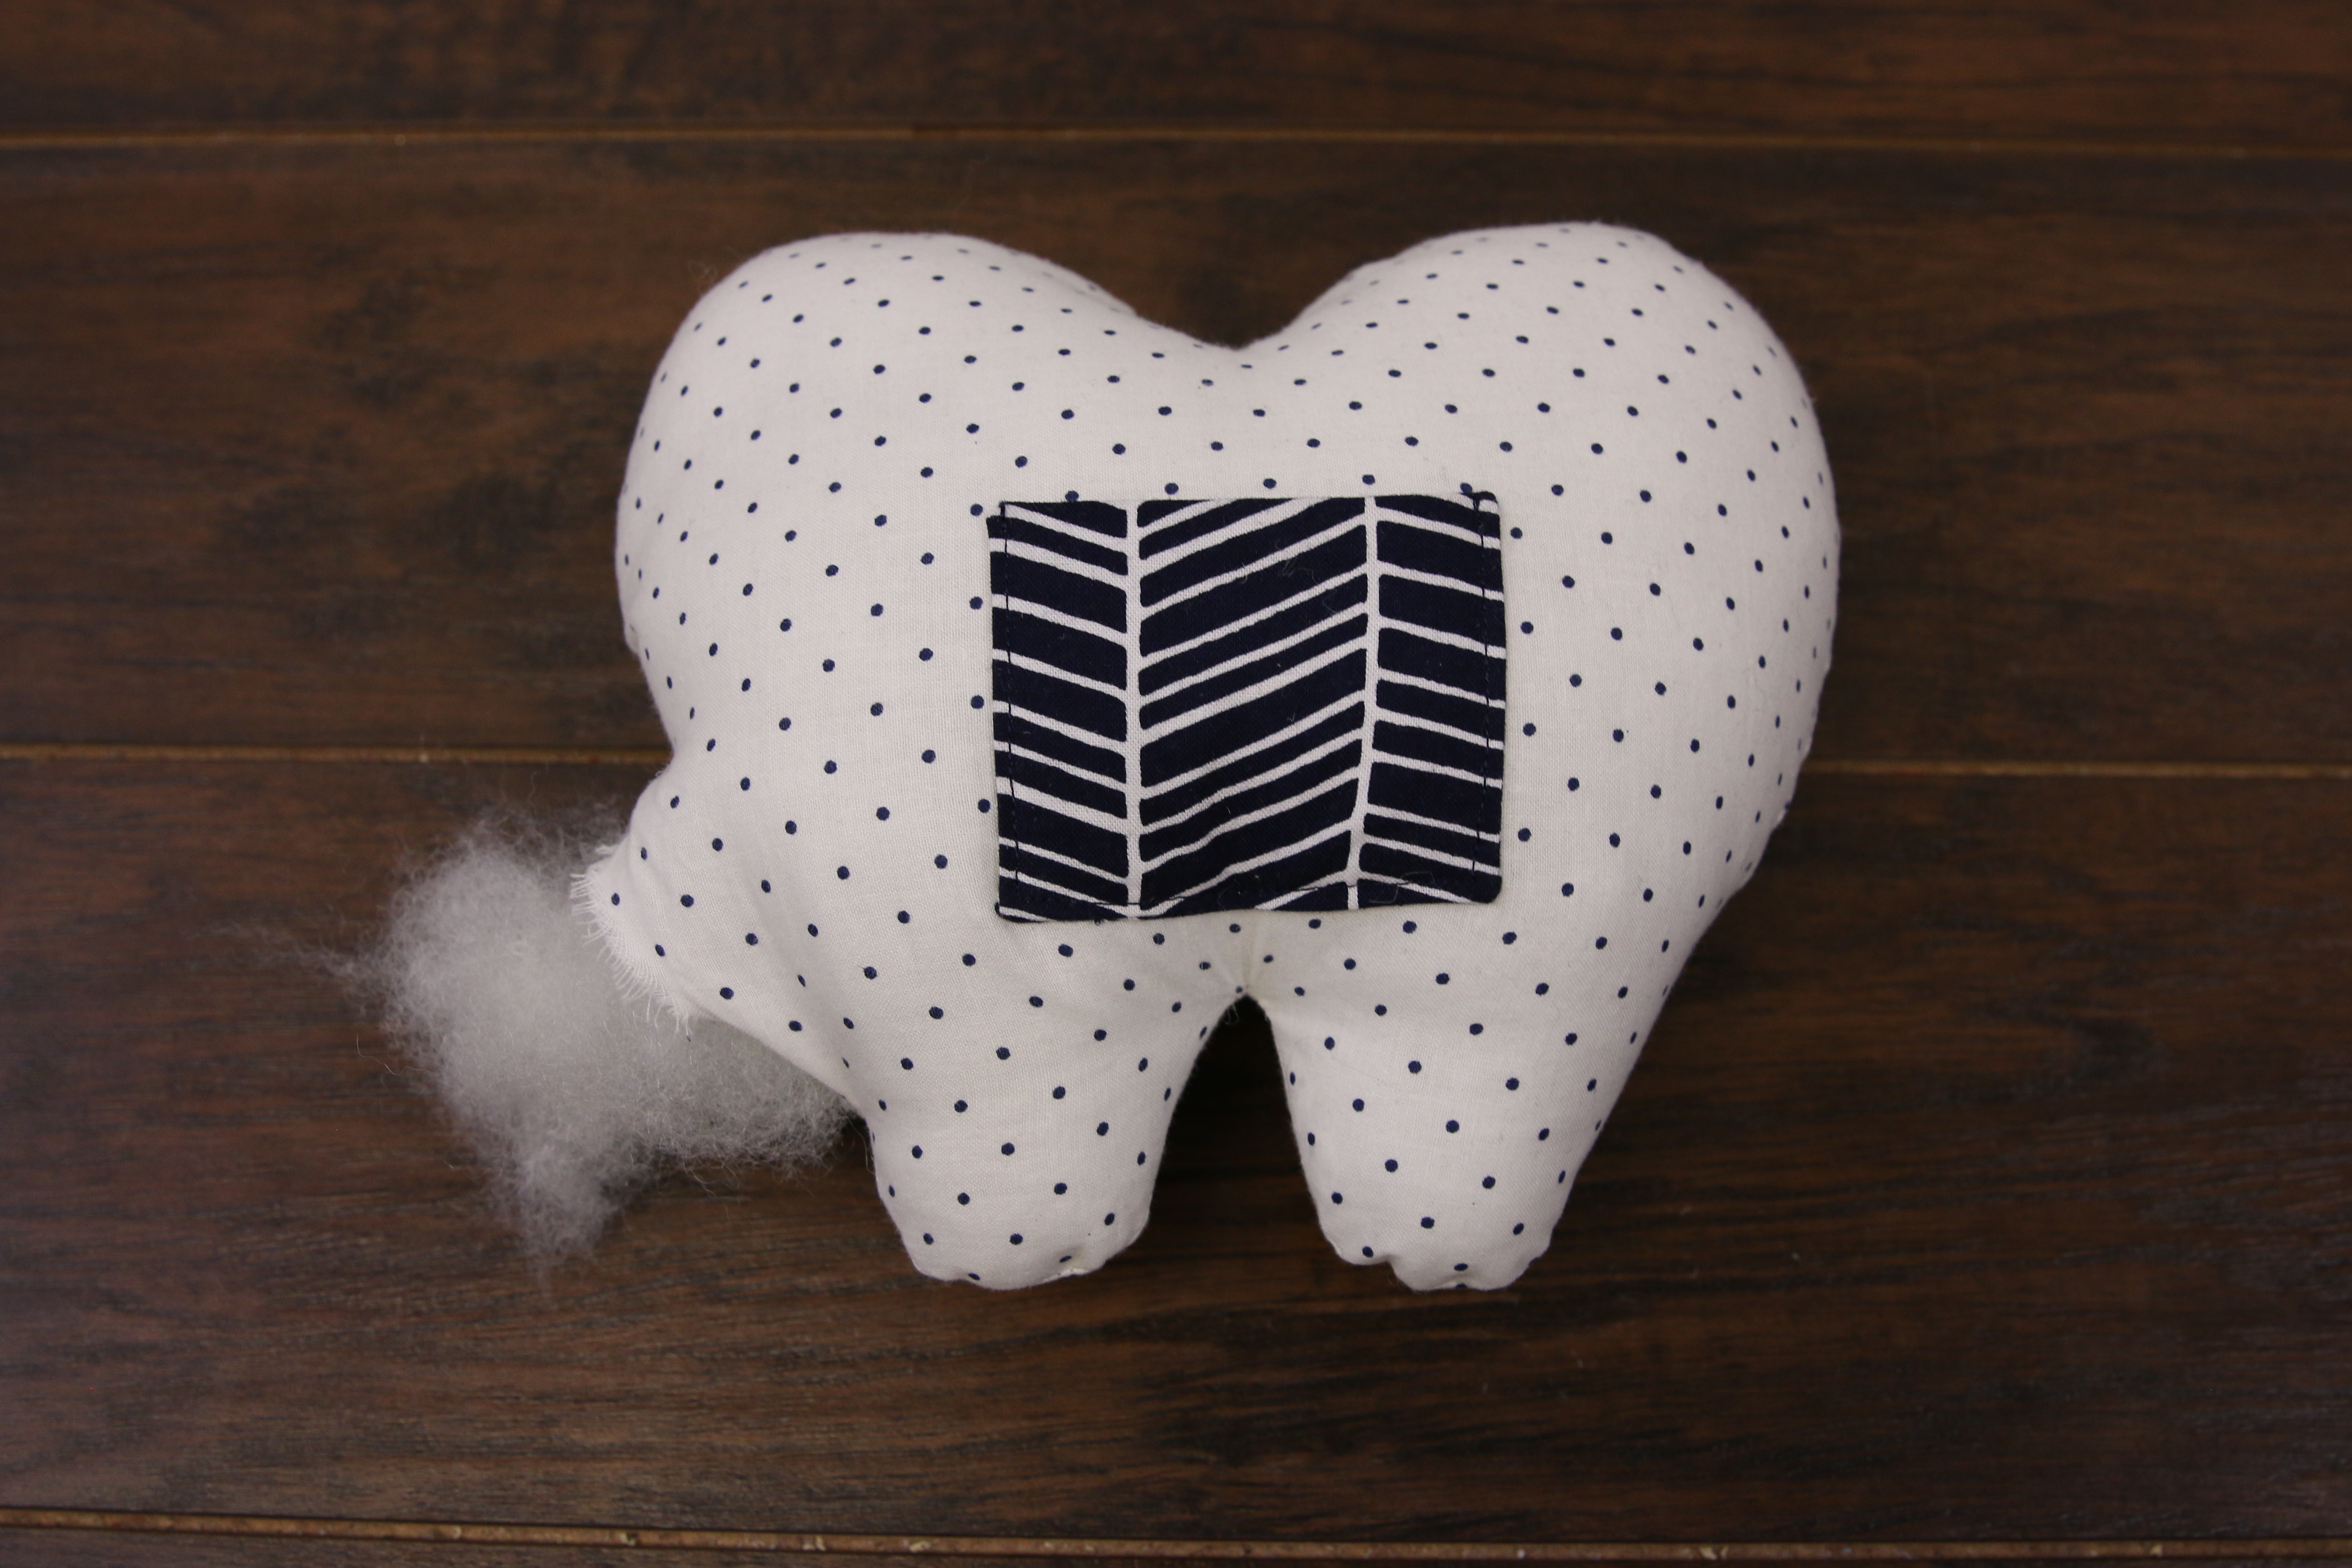
Turn the tooth right side out, then fill the tooth with polyester fiber fill.
12
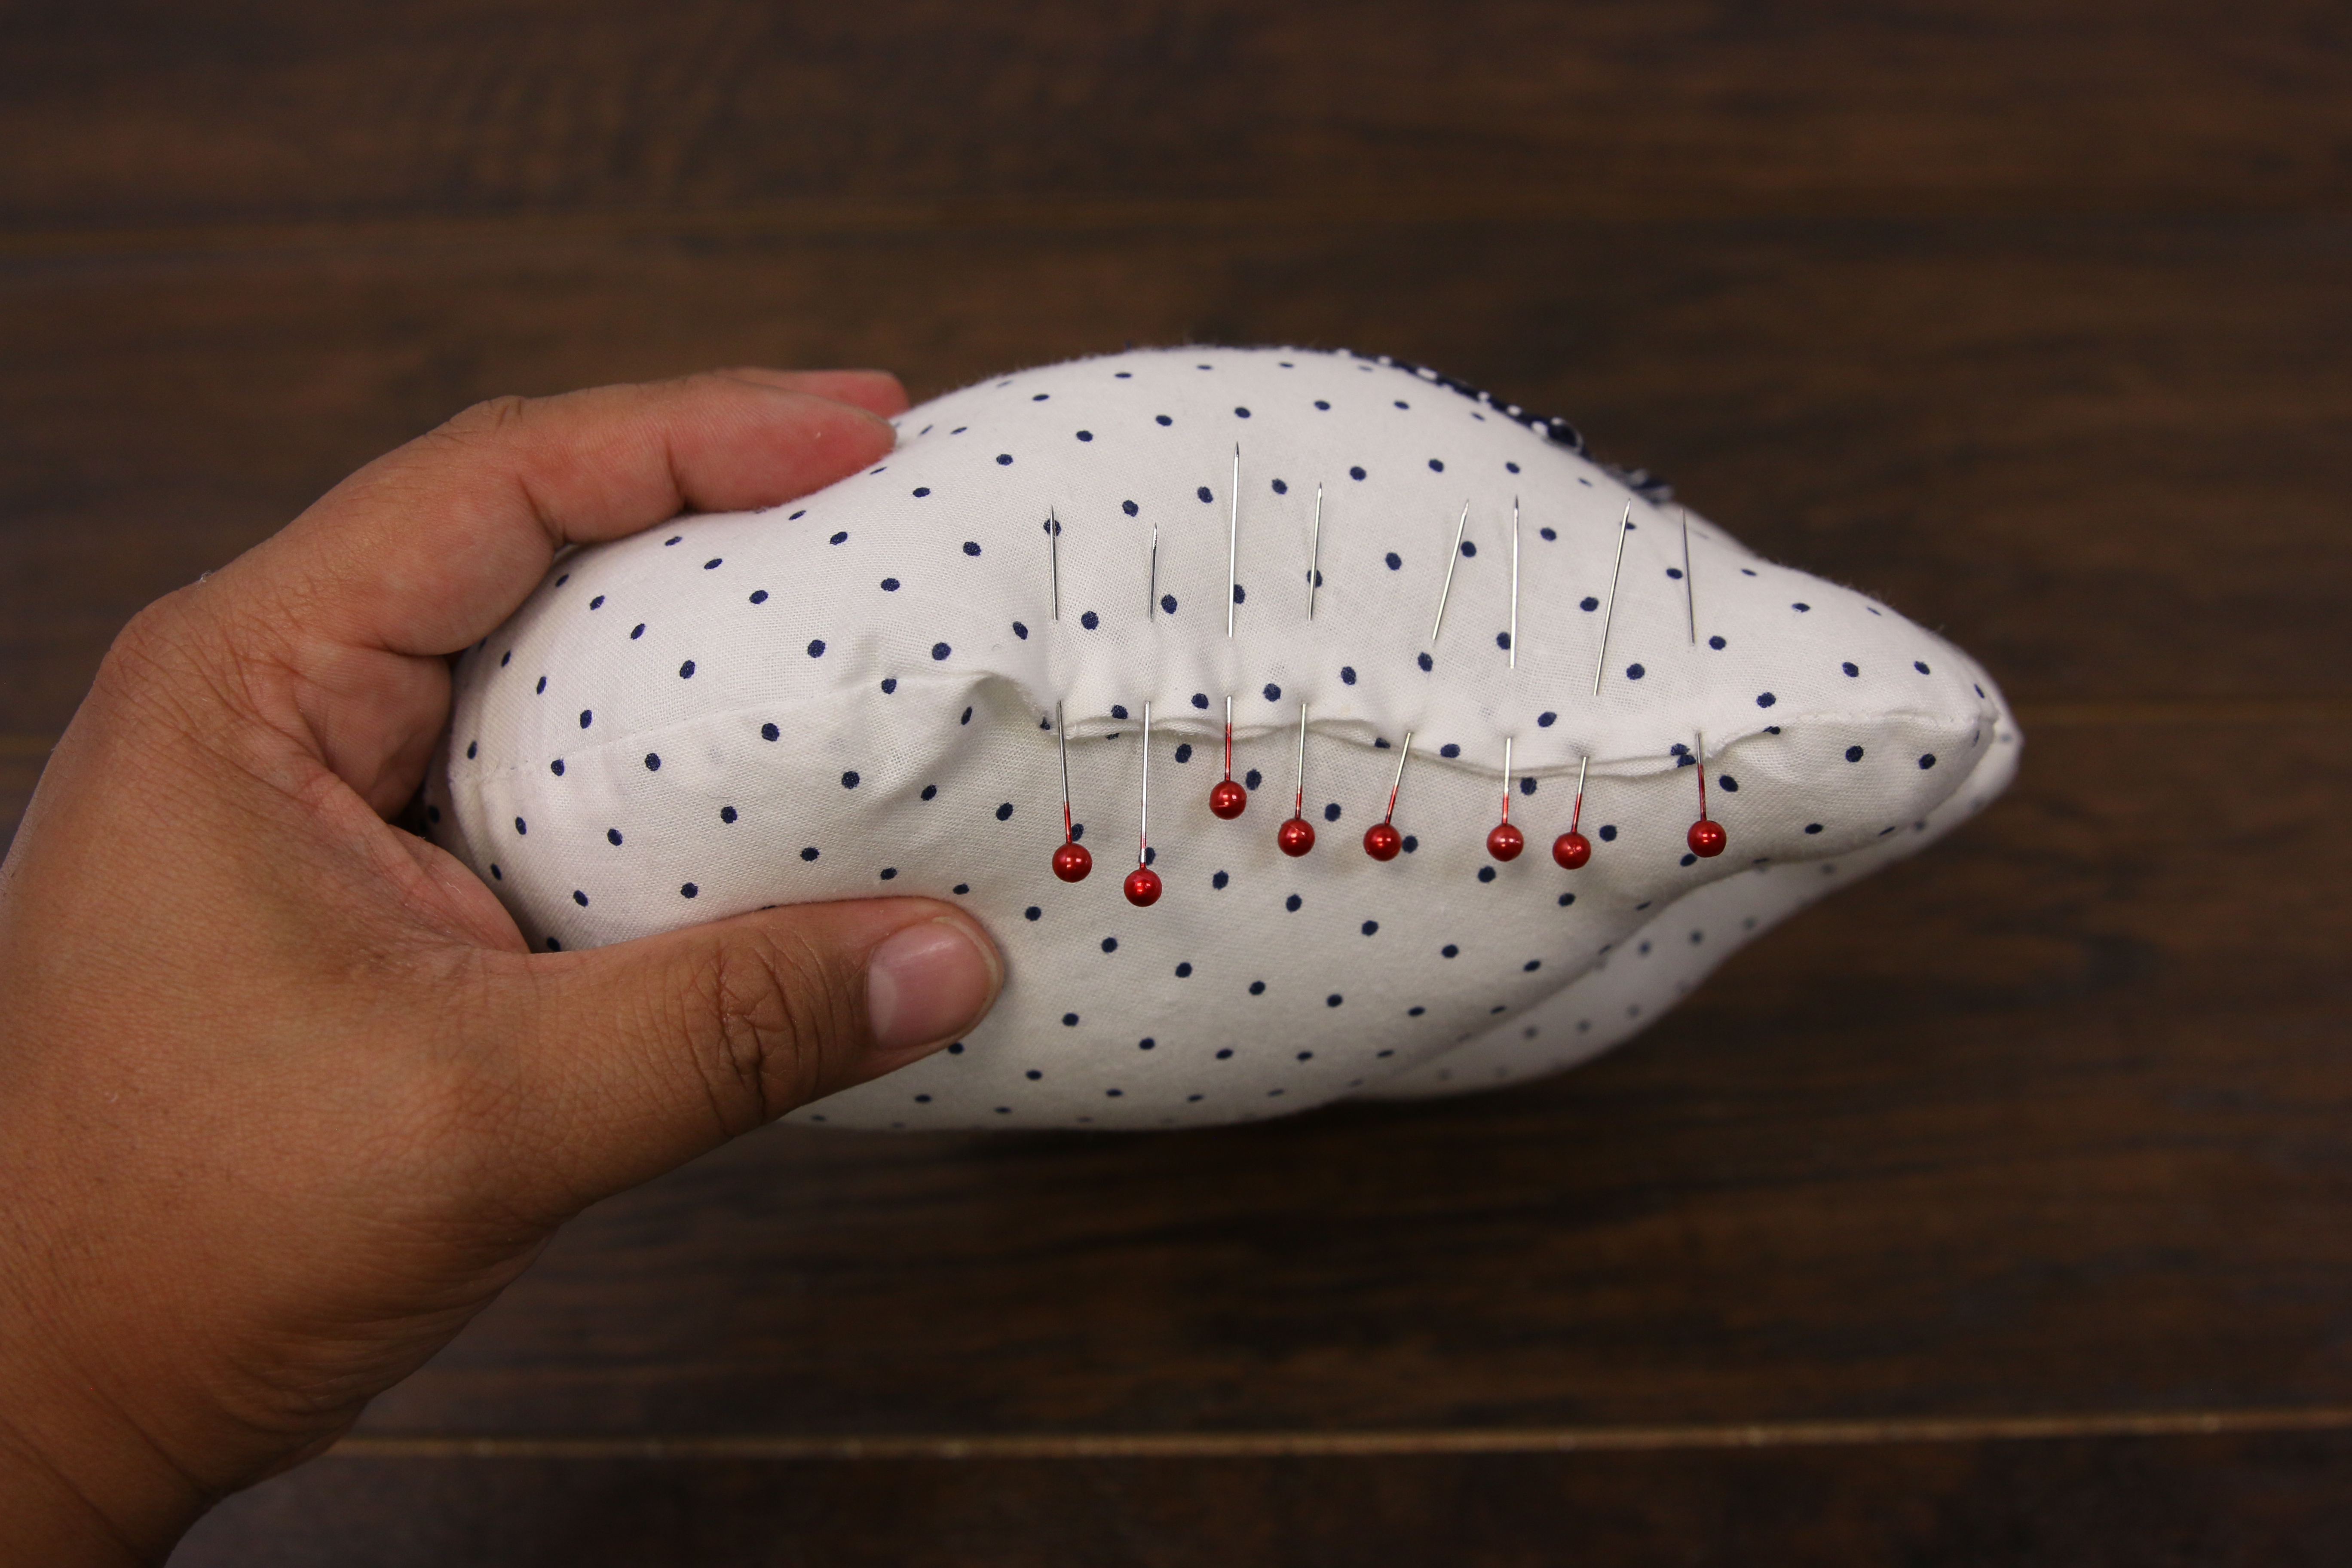
To close the opening, fold the raw edges in 1/4”, and pin.
13
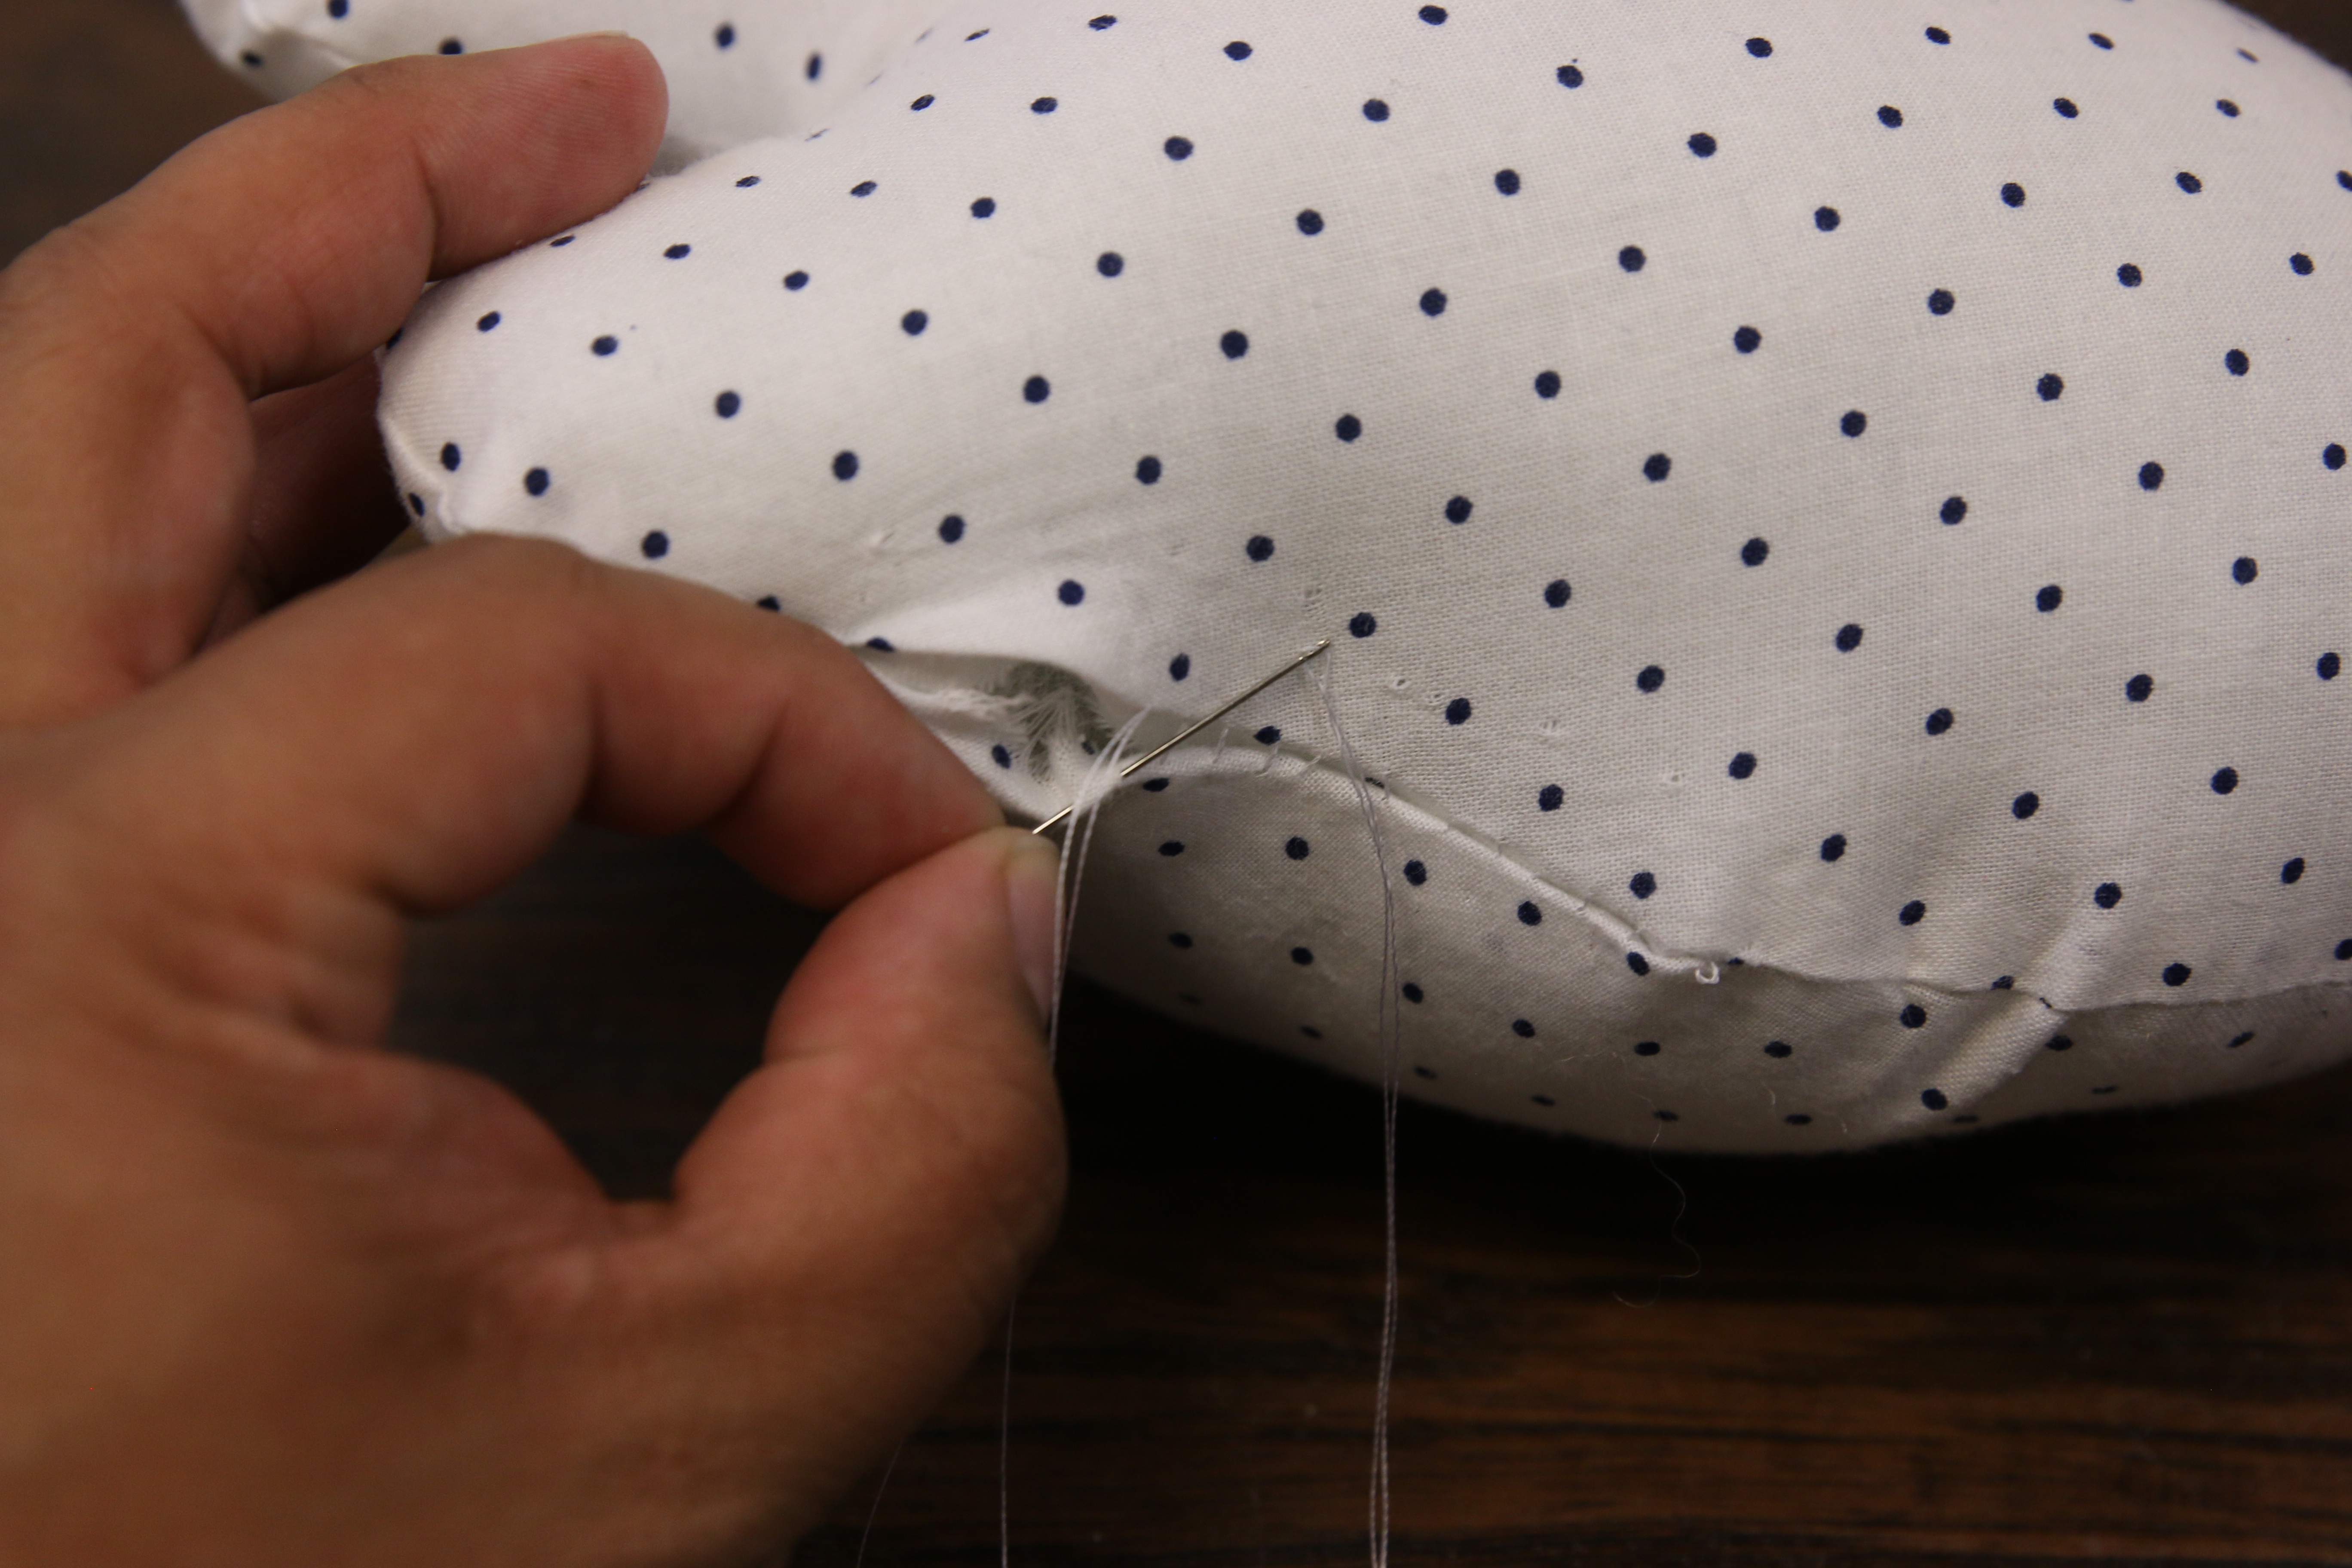
Hand sew the seam shut using matching thread.
14

Next pin the eyes and mouth (color 3) onto the front of the tooth between the top edge and the pocket.
15
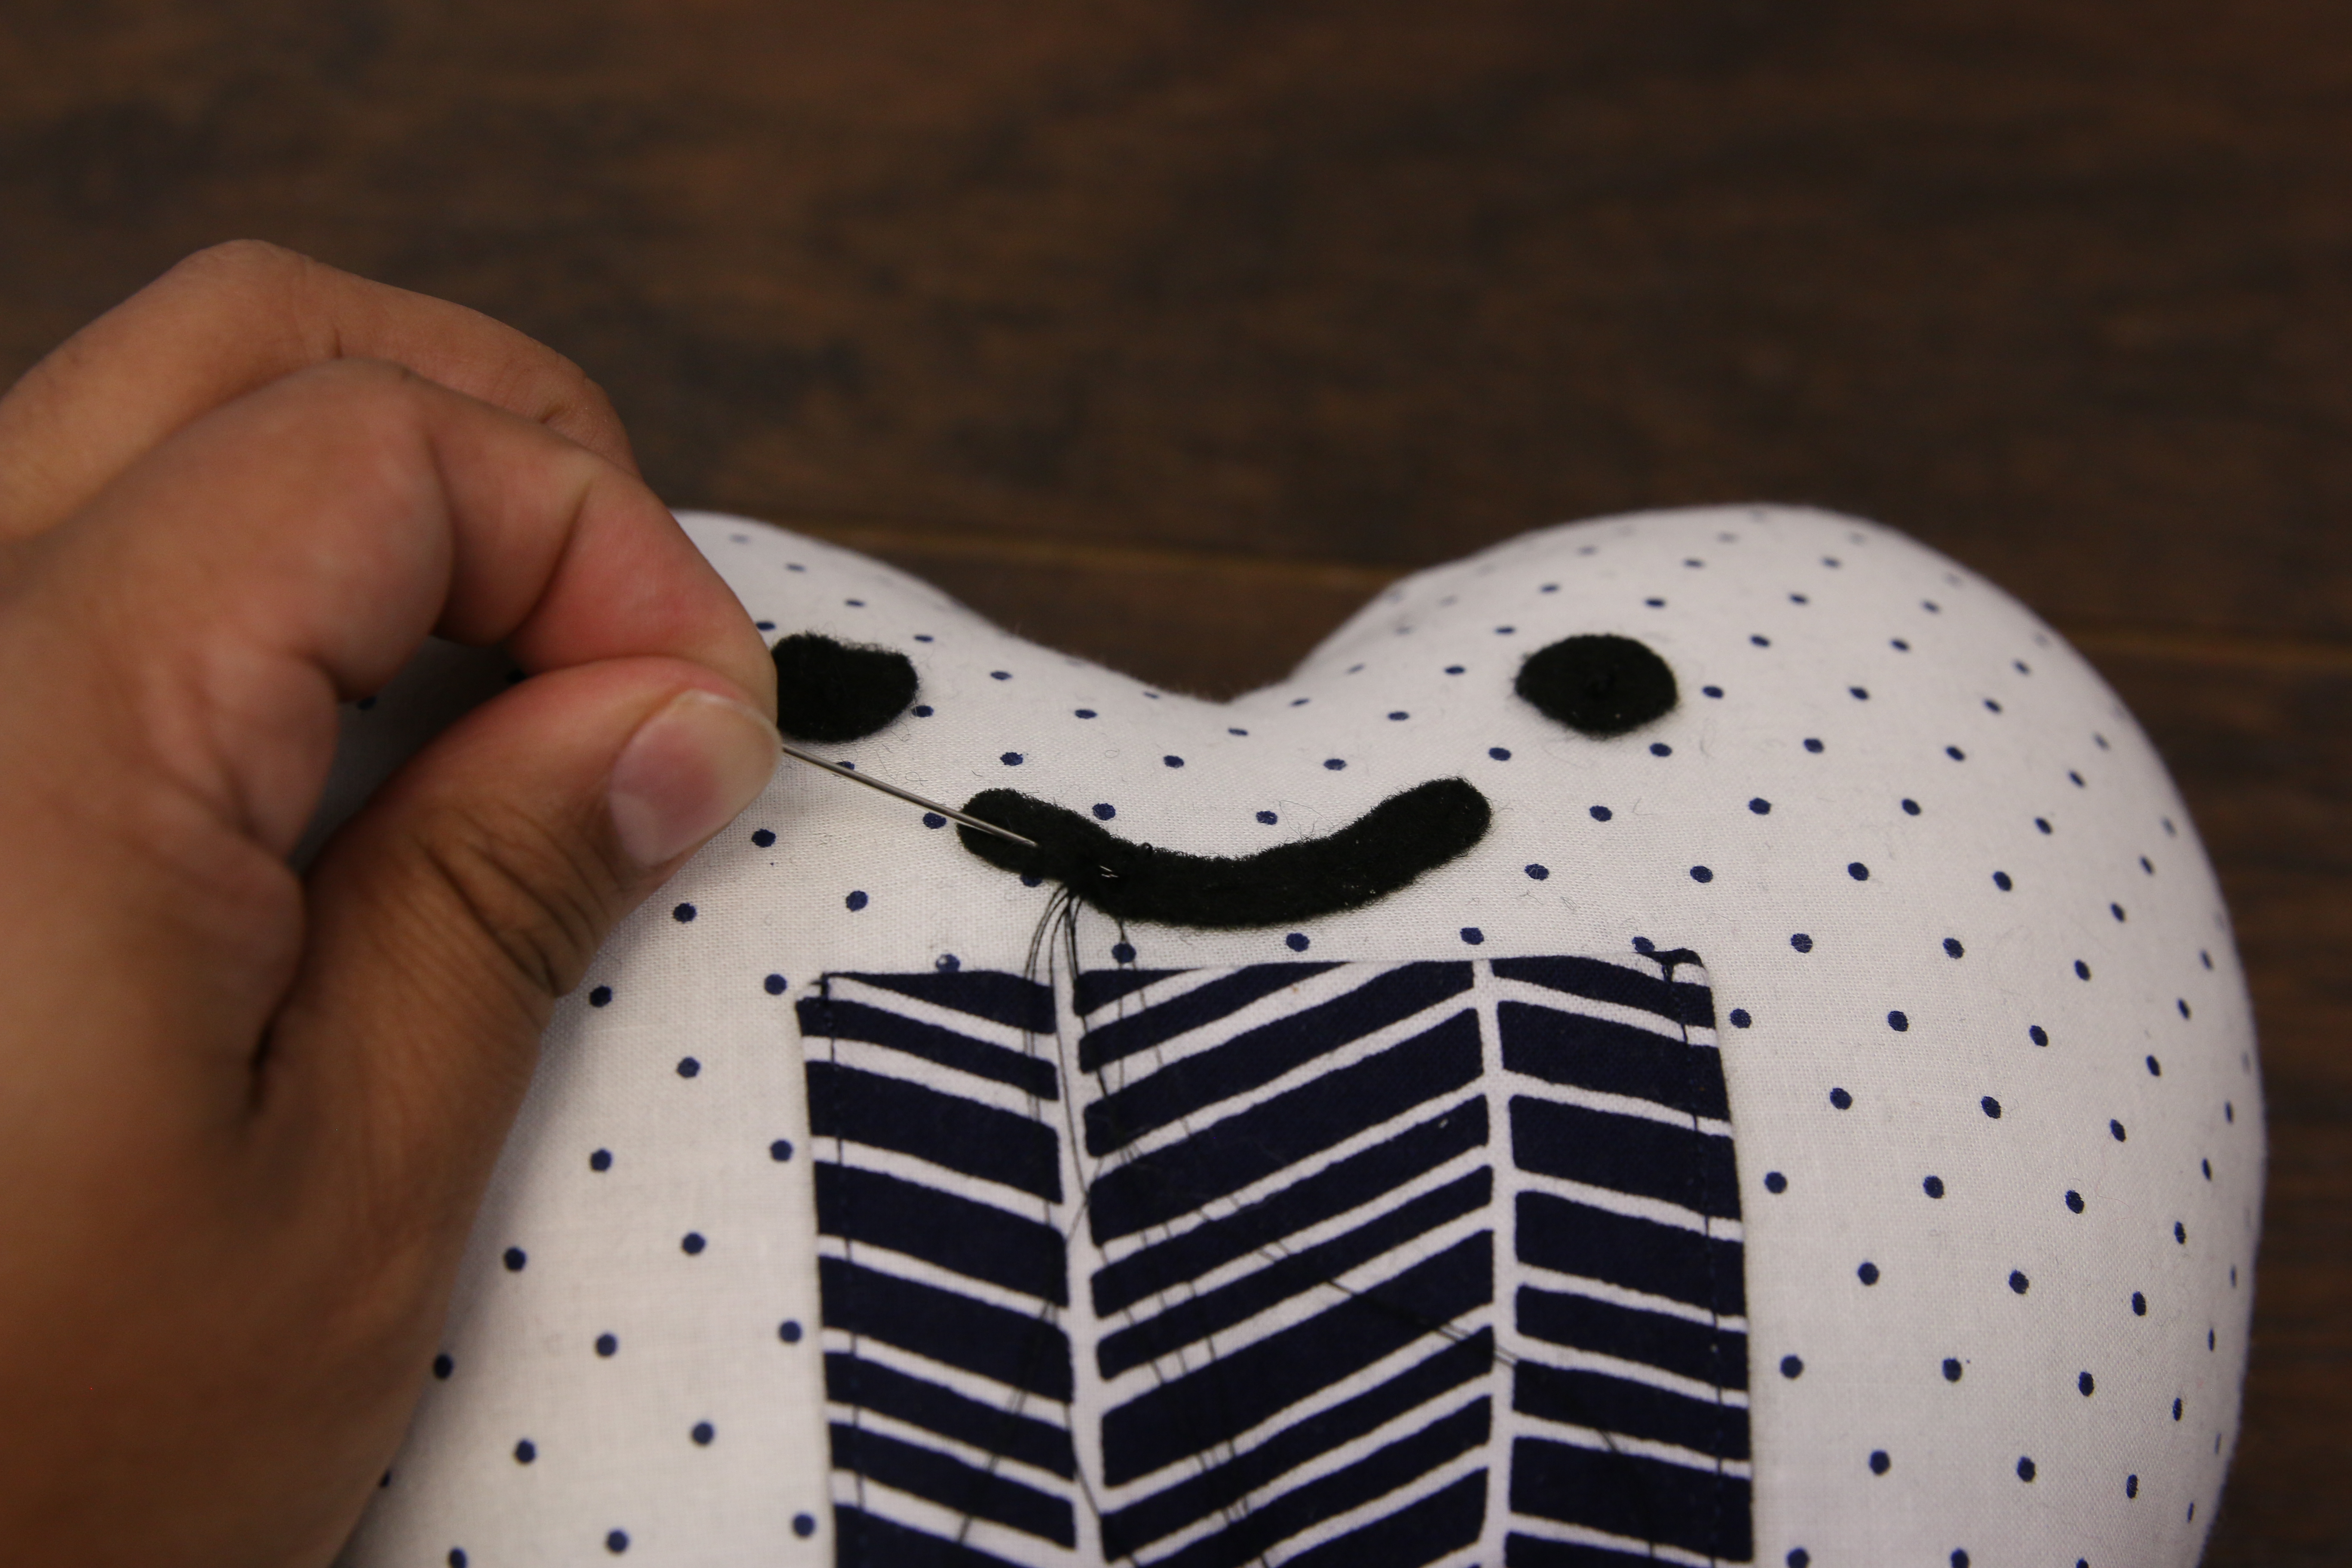
Use a hand sewing needle and matching thread to secure the eyes and mouth to the pillow.
16

This completes the Tooth Fairy Pillow. Repeat these steps to make an array of pillows in different colors. Make sure not to resize these designs, as the seam allowance makes them unscalable.


