Supplies
- 1/4 yard quilter’s cotton (color 1)
- 1/4 yard quilter’s cotton (color 2)
- 1/4 yard quilter’s cotton (color 3)
- 1/4 yard quilter’s cotton (color 4)
- Polyester fiber fill
- Sewing threads to match fabric colors
- Hand sewing needle
- Hot glue gun
- Sewing pins
- Temporary spray adhesive (optional)
Designs Used
Cutting Instructions
1
Load the Tomato Pincushion (Cut & Stitch) file into your cutting machine’s software. This design has four different fabric colors across the different files. Proceed in the design software until the first color selection appears, and is ready to be cut.
2
Smooth the first fabric color onto the adhesive mat with the right side of the fabric facing up. Make sure the correct knife tool is in place. Then load the adhesive mat into the machine.
3
Cut out the first color. Then carefully remove the cut fabric pieces and excess fabric.
4
Repeat to cut all of the fabric pieces for the Tomato Pincushion out of the four fabric colors.
Crafting Instructions
1
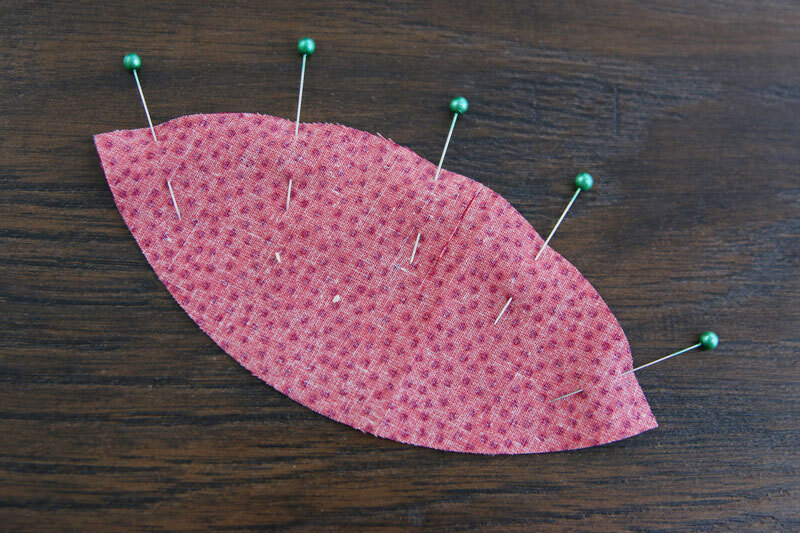
To assemble the Tomato Pincushion, first take two side pieces (colors 1 & 2), and match up the edges with right sides together. Pin along one curved side.
2
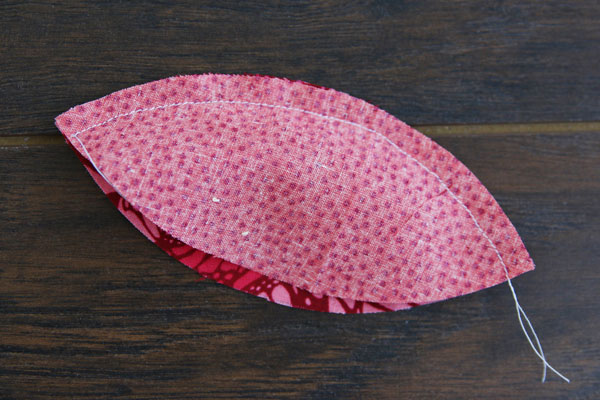
Sew a 1/4” seam along the pinned side. Make sure to stop sewing 1/4” from each side and not sew all the way over the edge for every side piece.
3
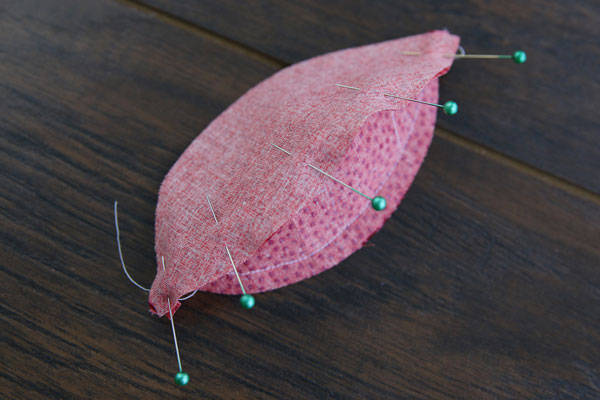
Match up and pin one curved edge of the next side piece (color 3) to the open edge of the previously added side (color 2).
4
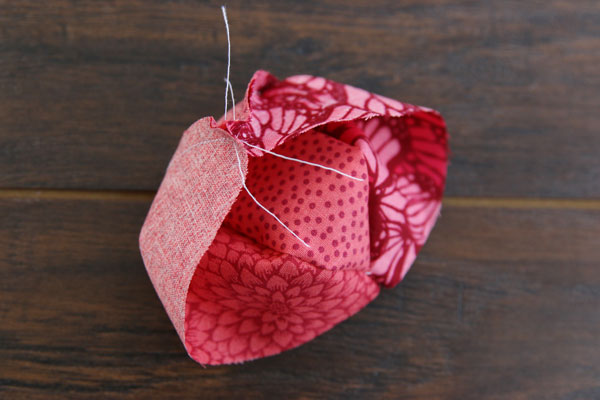
Sew a 1/4” seam on the pinned edge.
5
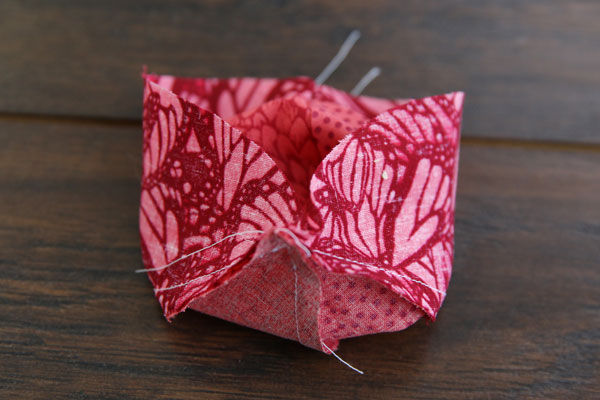
Repeat the previous steps to pin and sew the second side (color 1) onto the open edge of side (color 3).
6
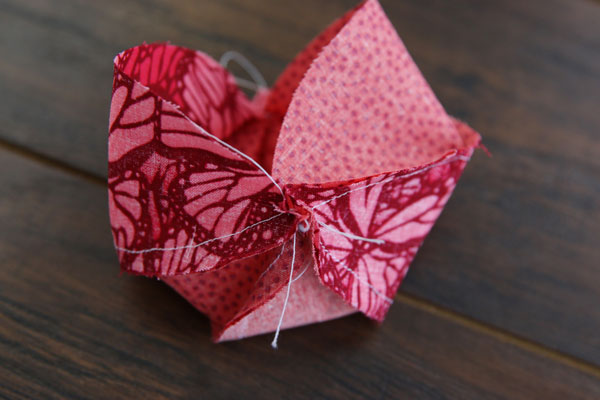
Repeat another time to sew the second side (color 2) onto the open edge of the second side (color 1).
7
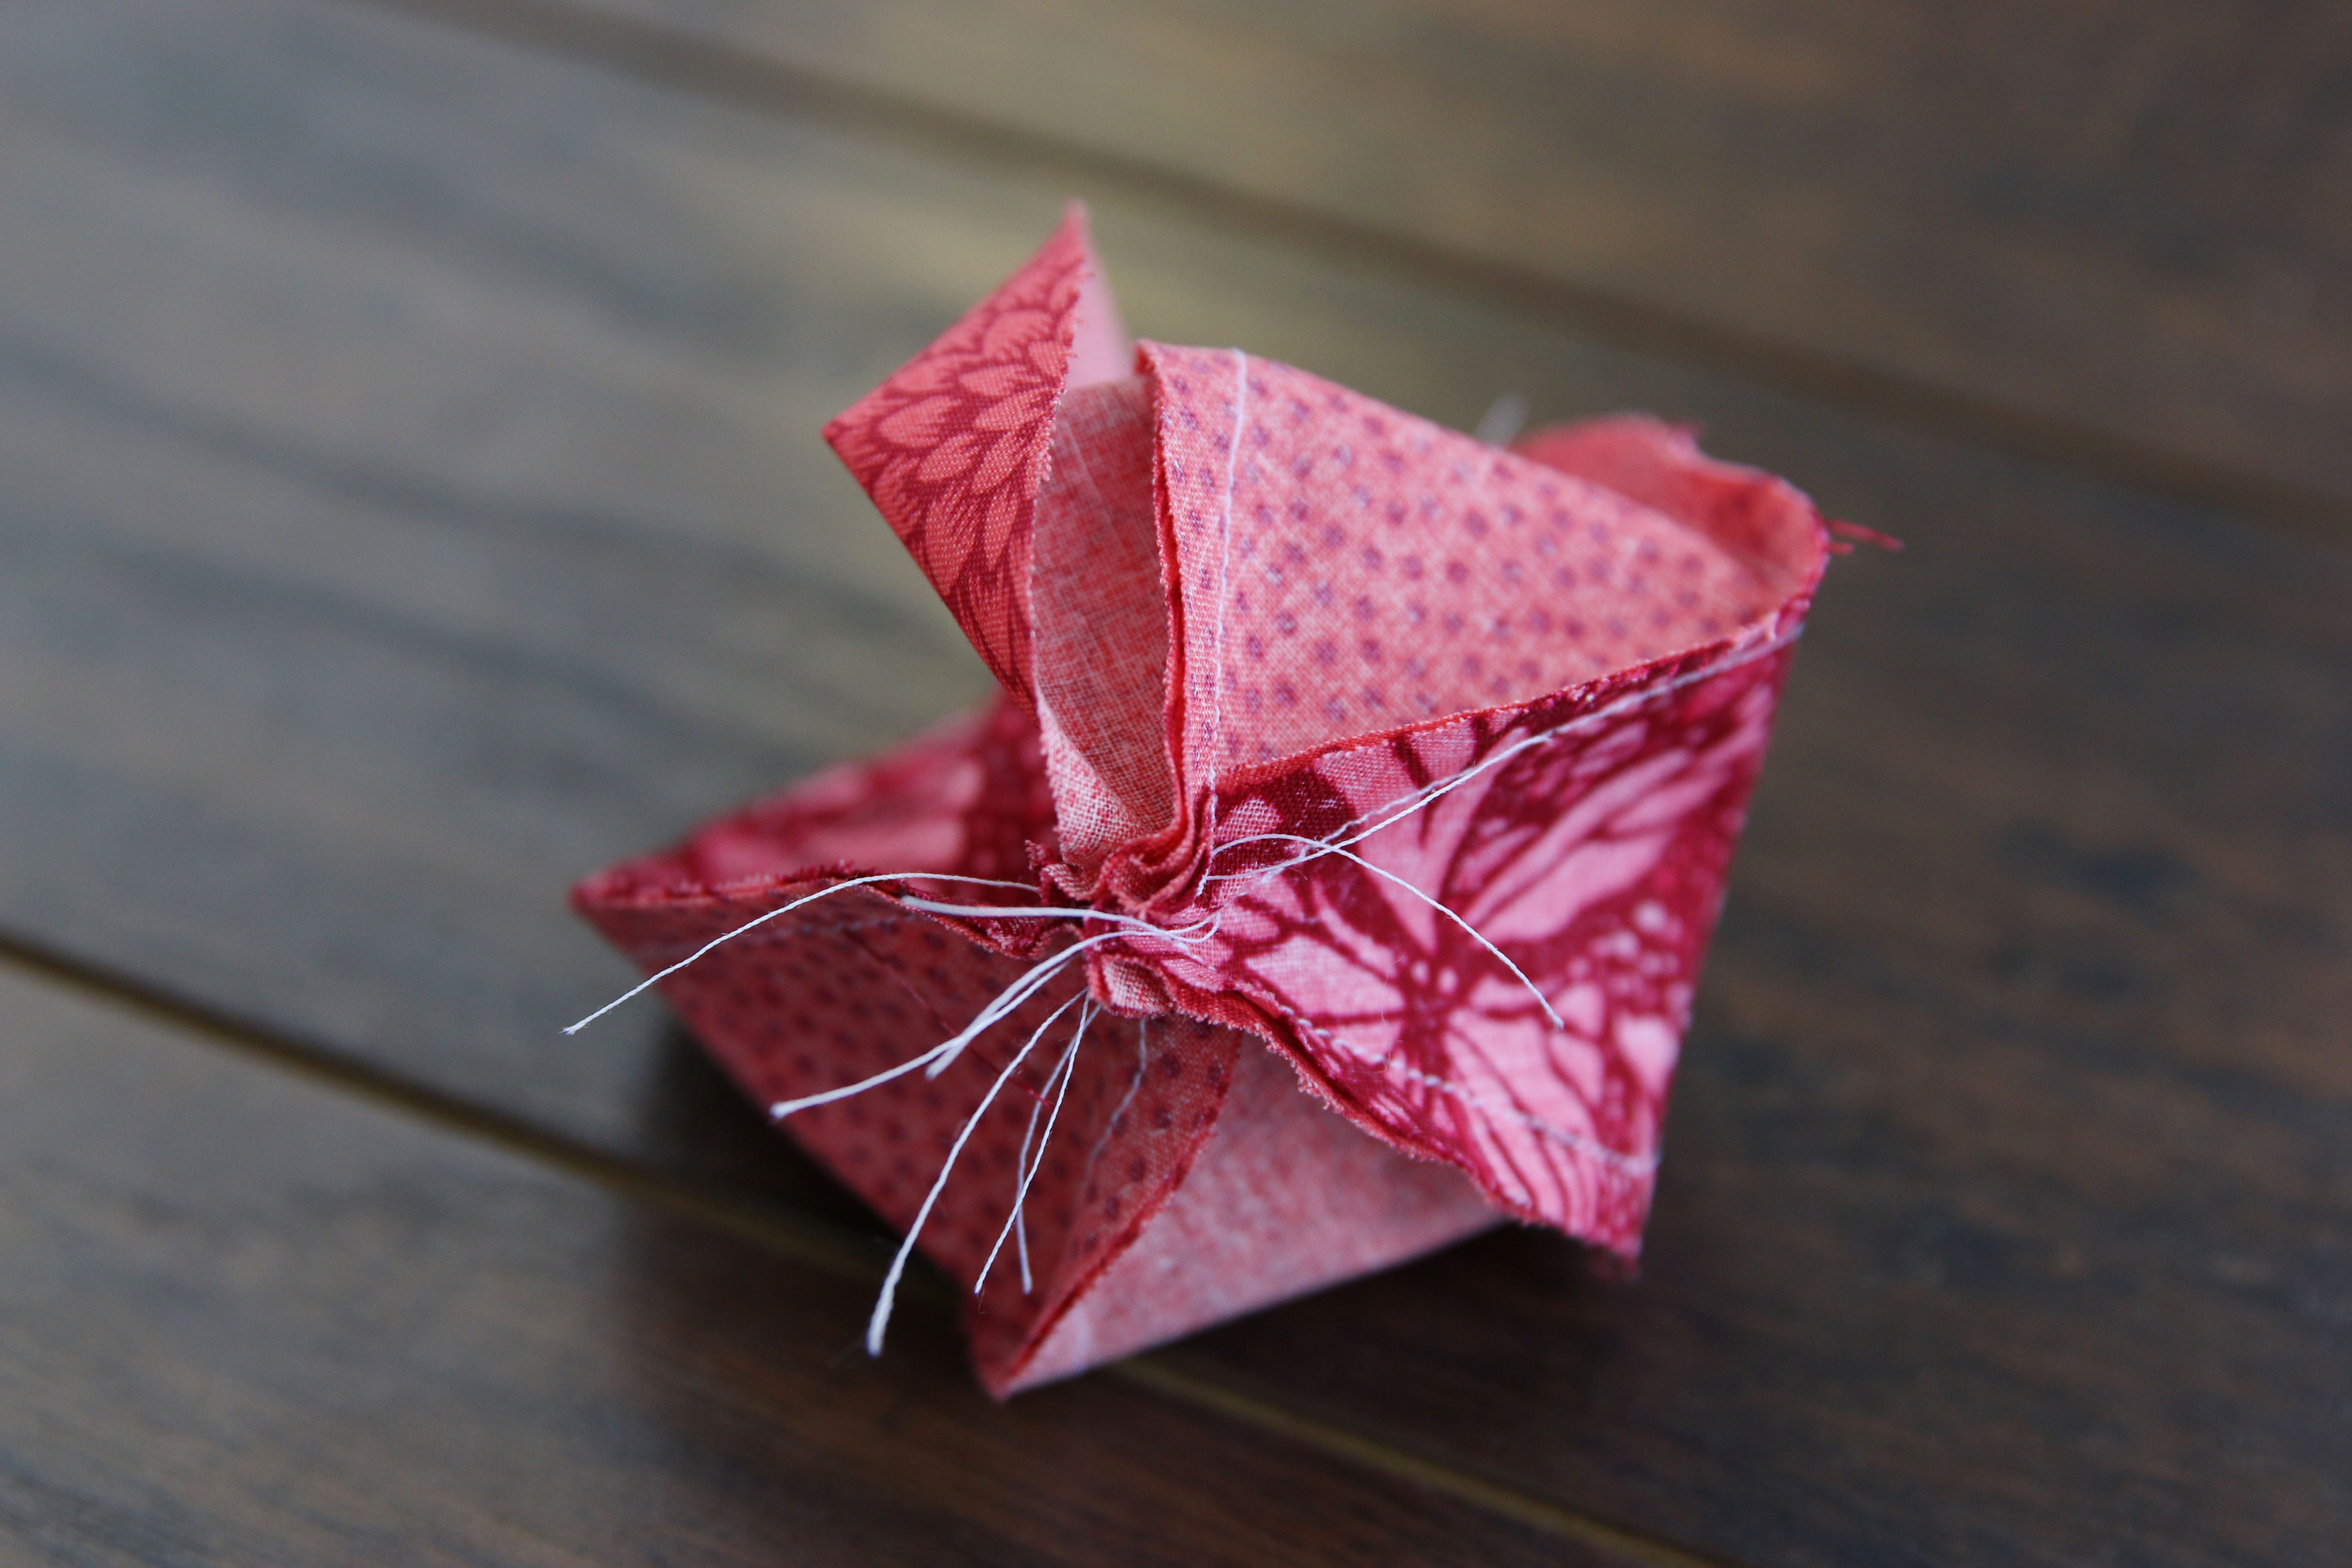
Finally, repeat one last time to pin and sew the second side (color 3) onto the open edge of the second side (color 2).
8
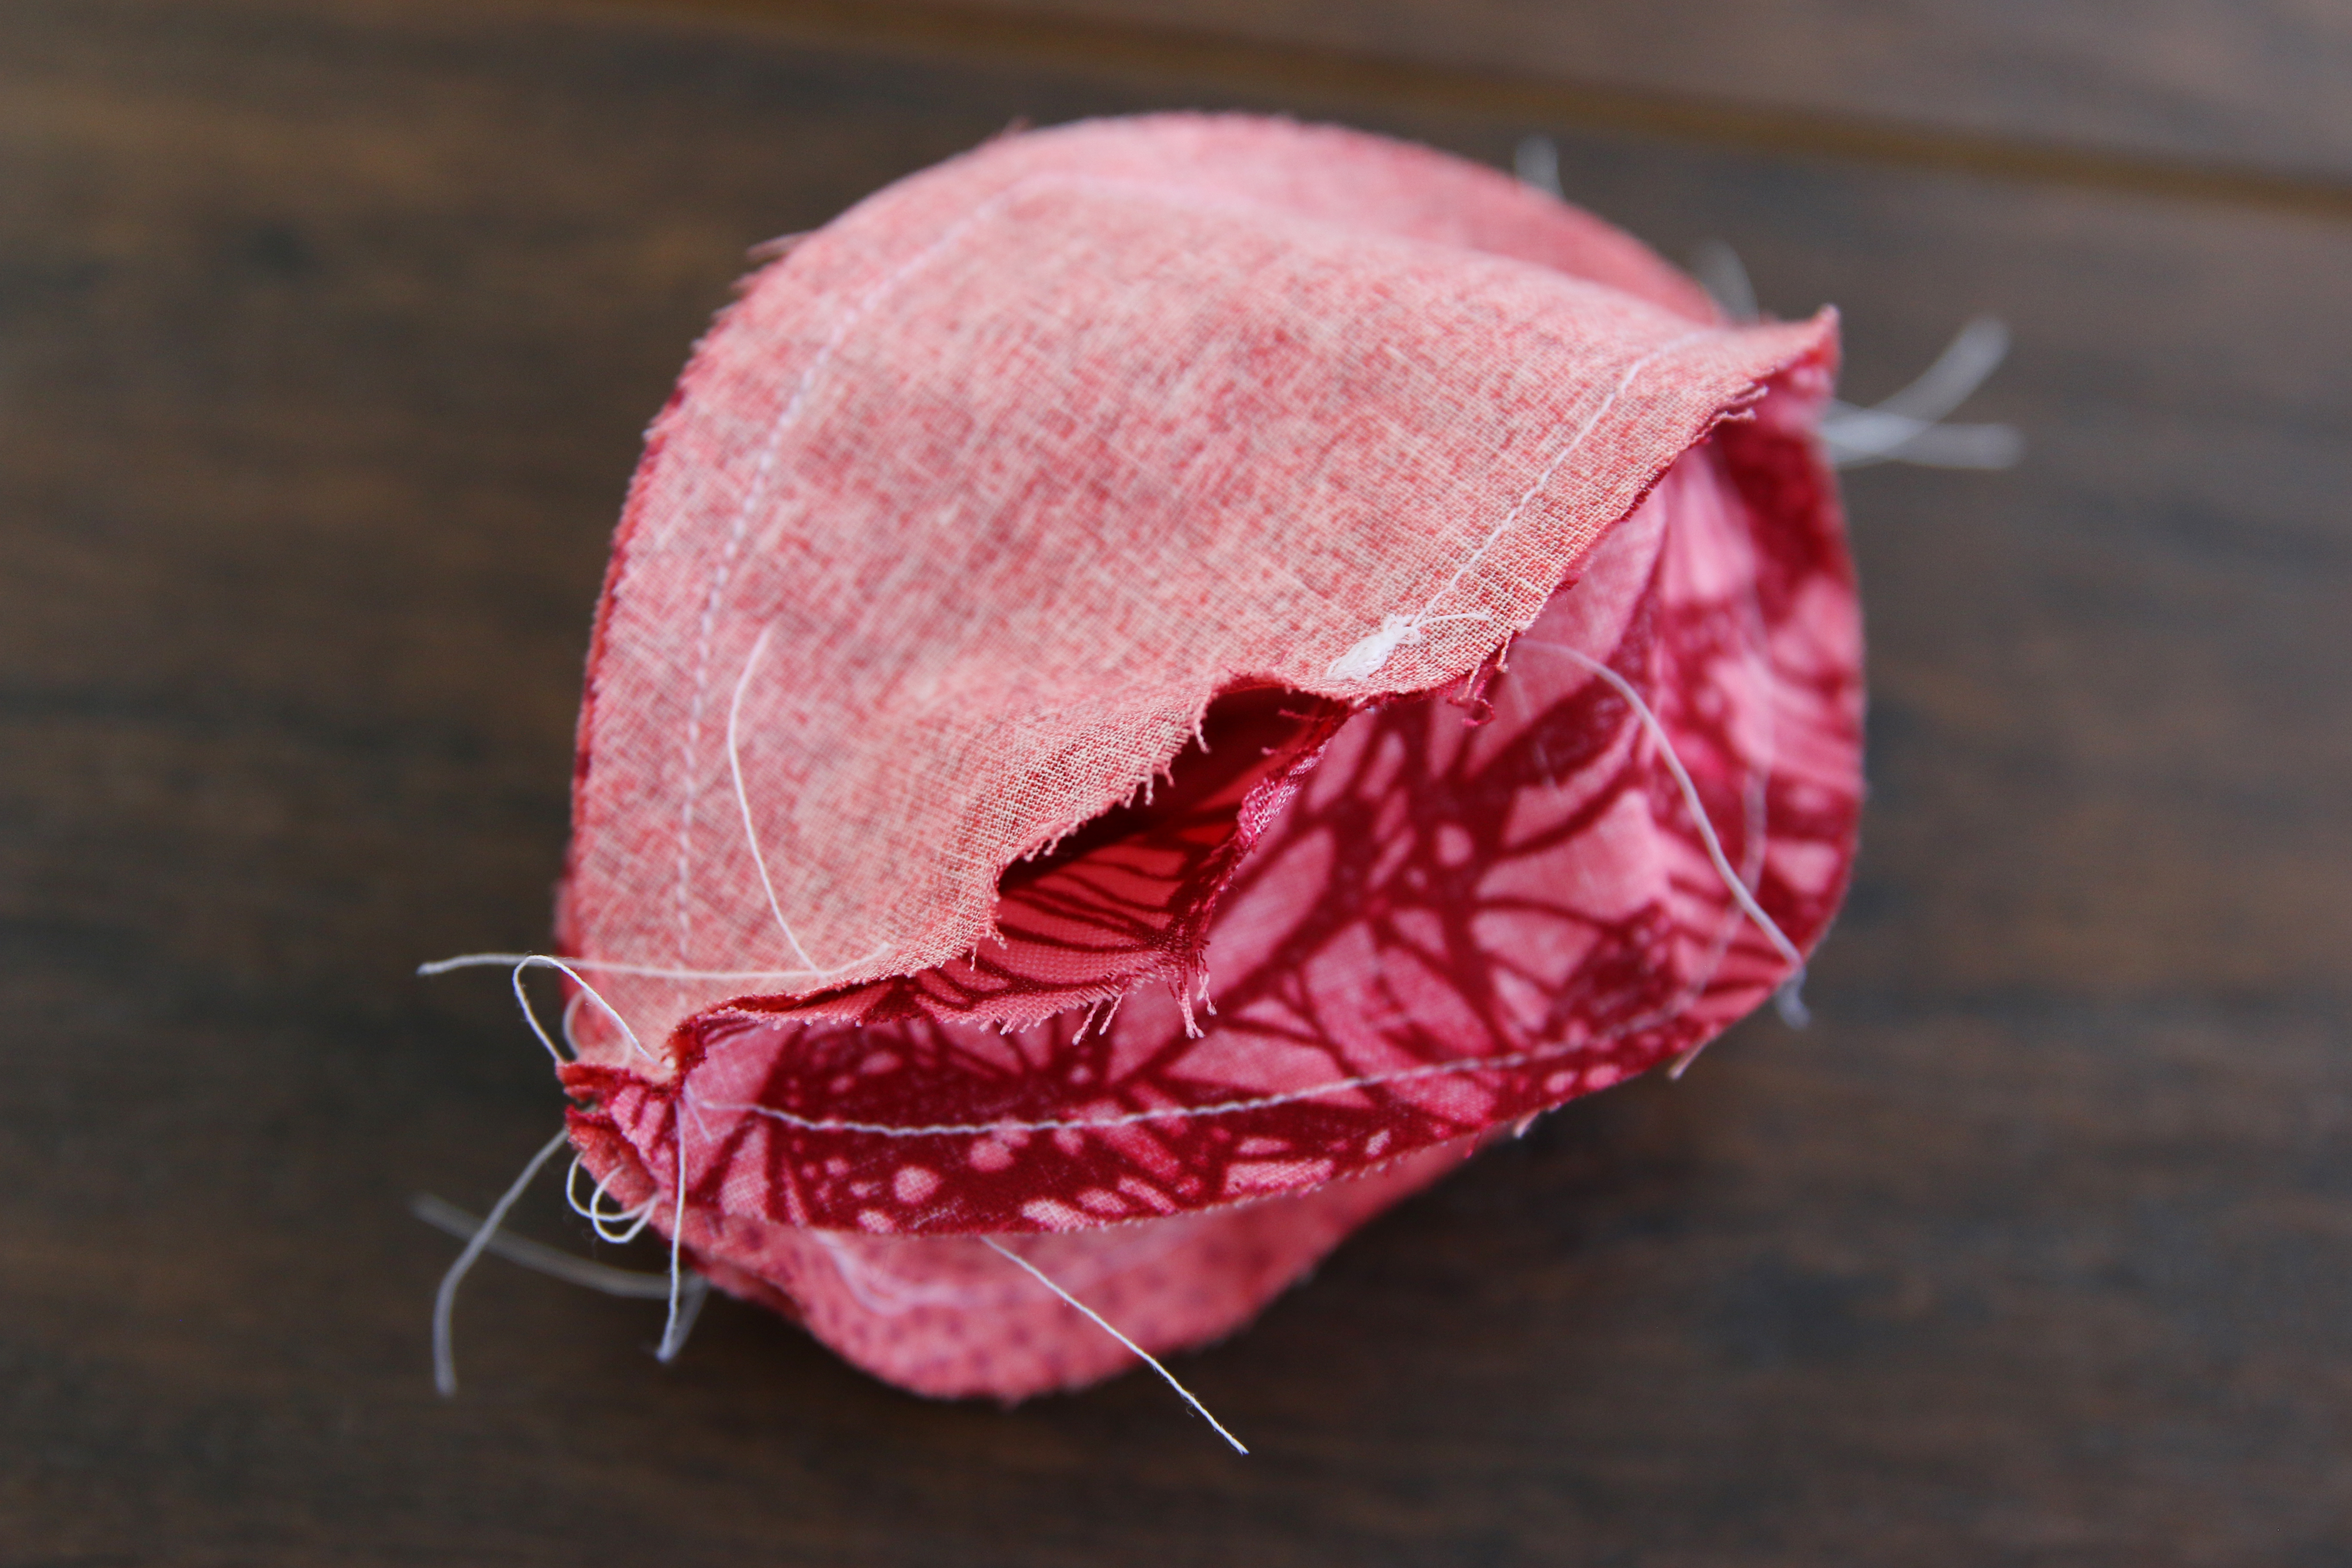
Next, match up the two final open edges of the first and the last added side (colors 1 & 3). Pin them together. Sew a 1/4” seam, but make sure to leave a 2” opening for turning and stuffing the plush.
9
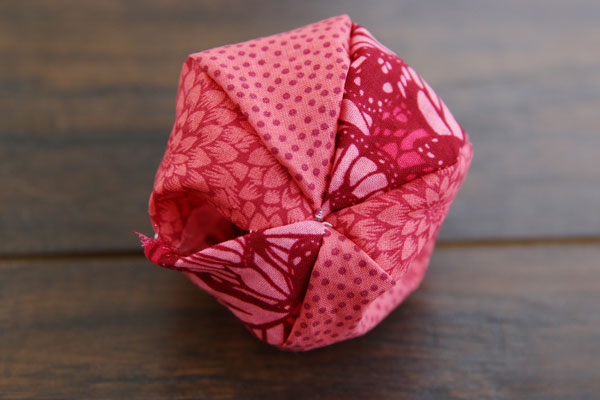
Then turn the plush right side out through the opening.
10
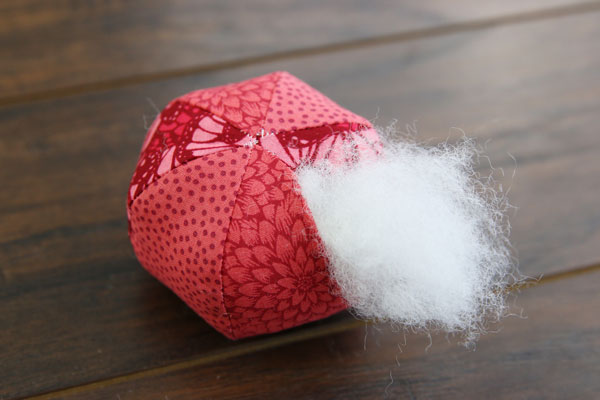
Stuff the tomato with polyester fiber fill.
11
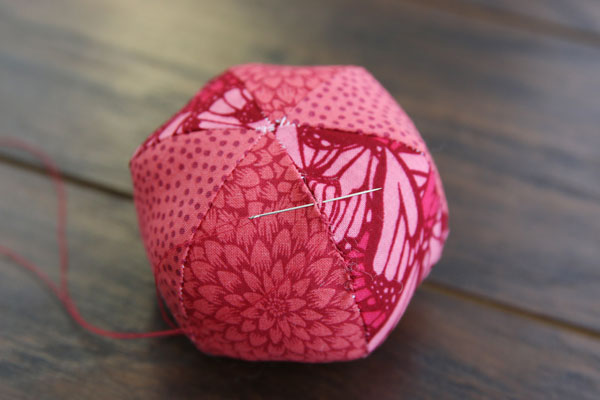
Hand sew the opening closed.
12
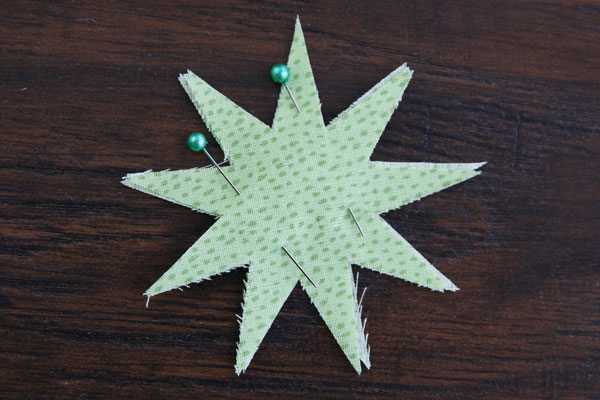
To make the leaf of the tomato pincushion, match up the front and the back of the leaf with wrong sides together. Then use either pins or temporary spray adhesive to hold the pieces together while sewing.
13
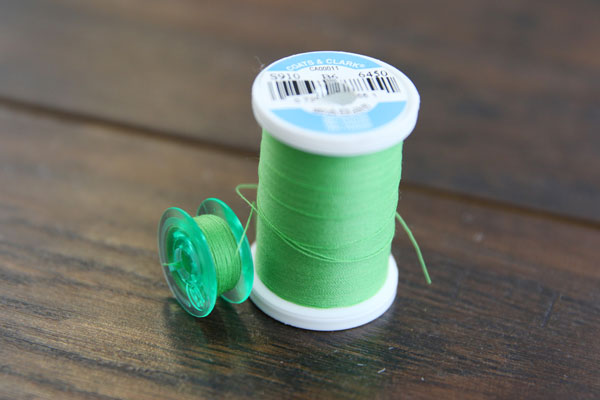
Wind a bobbin to match the color being used in the top needle.
14
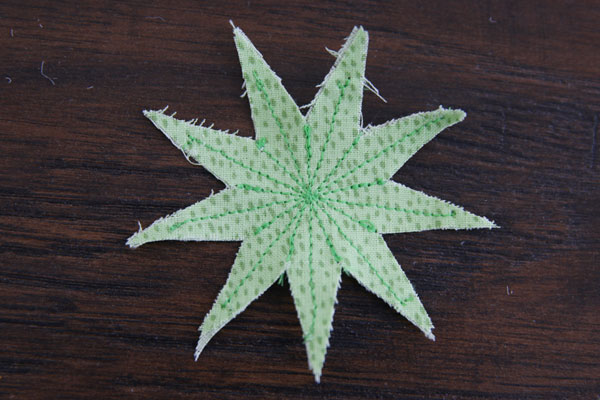
Then sew a decorative pattern on the leaves to bind the front and the back together.
15
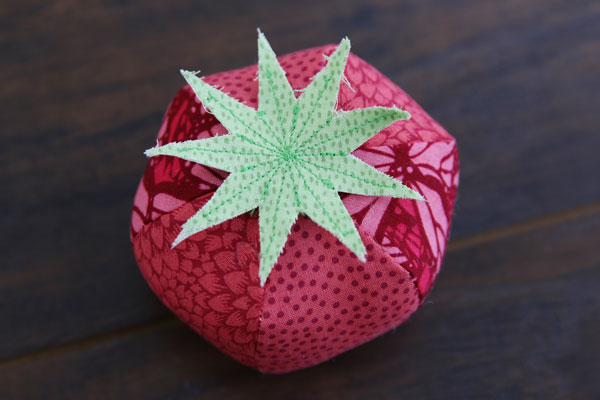
Finally, use a hot glue gun or hand sewing needle to adhere the leaf on top of the tomato. This completes the Tomato Pincushion. Repeat these steps to make a bushel of tomatoes in a variety of colors and fabrics. Just make sure not to resize these designs, as the seam allowance makes them unscalable.

