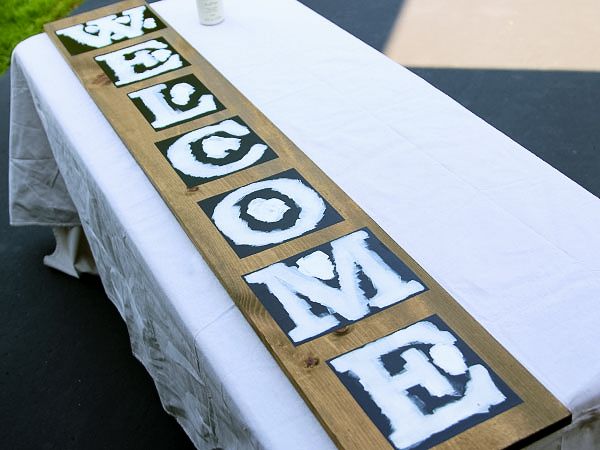
Stenciled wood signs are a beautiful and rustic way to decorate your home and porch. Using a cutting machine to create a stencil that you paint onto a sign is a simple and fun project. In the end you will have a lovely finished product that you can keep for yourself or give as a gift. This guide will help you with the basic tips, tools, and techniques to create a stenciled wood sign from start to finish.
Supplies
- Cutting machine and accessories
- Cutting design file
- Wooden board or blank wood sign
- Paint or stain (for background)
- Paint (for design)
- Stencil brush or sponge
- Cutting machine vinyl
- Contact paper or transfer tape
- Painters tape
- Pencil
- Ruler
- 100 - 220 grit sandpaper (optional)
- Clear wood finish (optional)
- Decorative elements (optional)
- Brad nailer and wood for frame (optional)
Designs Used
Preparing the Wood Sign
1
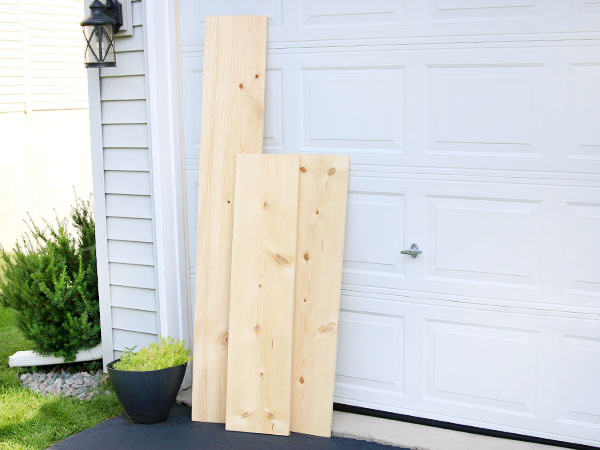
For this project, you can either make a sign or purchase a blank wood sign from a craft store or online. Pre-made signs come in different sizes, shapes, styles, and finishes, and can be purchased.
Making your own sign allows you to customize it to fit both the shape of your chosen design and the style of your home. To make a sign, first you need to purchase the wood. For this example, we purchased a pine board that was 1in x 12in x 6ft, and did not cut it down at all. Wooden boards can also be purchased in different sizes for words with more or fewer letters (such as a 1in x 10in x 4ft board),and be cut down to the size you need.
To make a sign that fits a design that is more square or round, you can also purchase a sheet or “project panel” of wood. These come in many different sizes and types of wood. But a 2ft x 4ft or 4ft x 4ft board is pretty common and works well. Most hardware stores will cut them to the size you need if you do not have the tools at home (it may cost a small fee).
When picking out a board or sheet of wood, make sure to look at it closely. Make sure it is straight, and not bowing or bending too much. Then also look the wood over for any rough textured patches, knots, or deep grooves. The smoother the board, the easier it is to stencil onto. Too much texture or grooves will cause problems with the paint bleeding around the stencil. Sanding can also help with this.
2
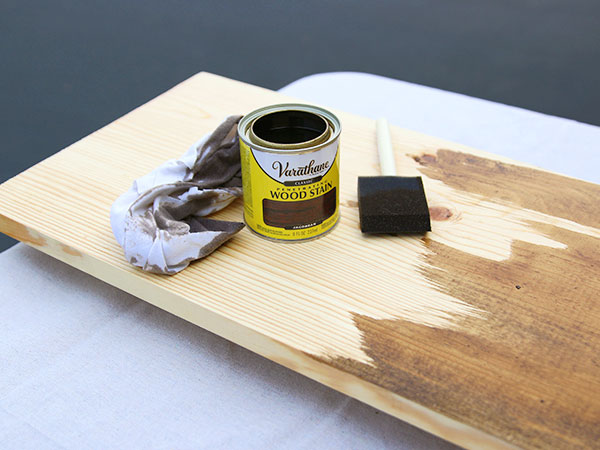
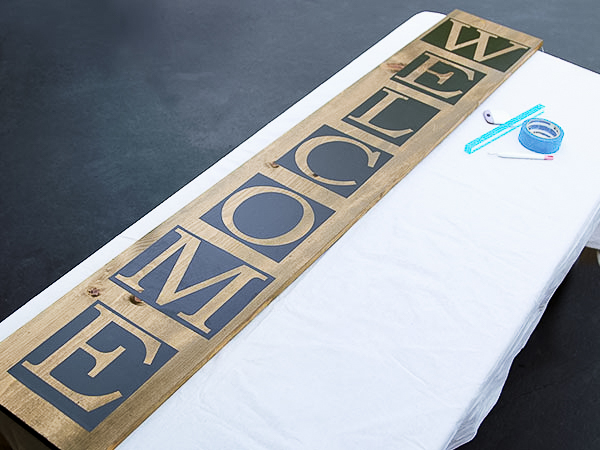
After your wood sign is cut to size, you can also paint or stain the wood to create a pretty background color for the design. You can also leave the wood its natural color if desired.
Paint or stain your board following the manufacturer’s instructions. Some people like to sand the wood before staining or painting, to get a really smooth even look. Others skip the sanding step to allow the board to look more rustic and show off its imperfections once stained.
You can also paint or stain your purchased blank wooden sign if it is raw wood, and does not already have a stain, paint, or finish on it.
Making the Stencil
1
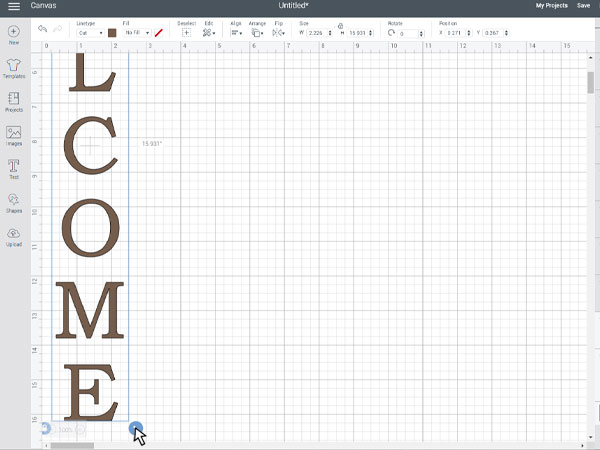
Open all of your chosen designs in the cutting software. Make sure to select and size all of the letters and pieces of the design together at the same time. This will make sure that they all cut out to the correct size and stay proportional to each other.
When positioning the pieces to be cut out on the mat, make sure to leave space around all four outer sides of the design. This ensures that the stencil will have enough of a vinyl border once weeded to hold together and not rip. For example, since our design will become multiple stencils (one for each letter of the word), ensure to leave space around each individual letter and not cut them too close together. For best results, leave 1in - 2in around the design.
2
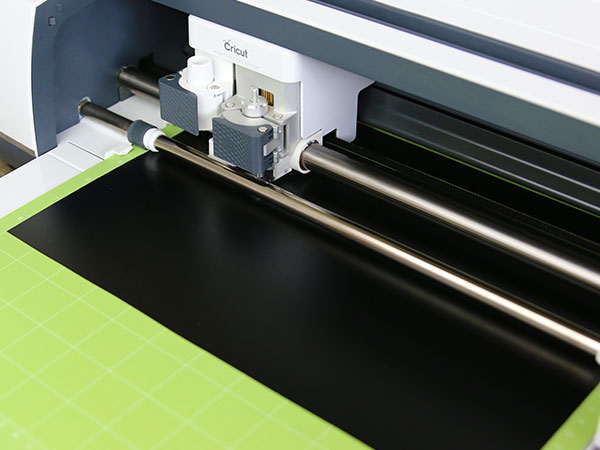
These stencils are cut out of normal adhesive vinyl (not heat-transfer vinyl). Smooth a piece of vinyl onto the mat, and cut out the design. Cut the design out on multiple pieces of vinyl if needed.
Remember to be careful and leave space (extra vinyl) around the design when cutting. Make sure not to cut them out too close together if cutting multiple stencil pieces. For best results, leave 1in - 2in around the design.
3
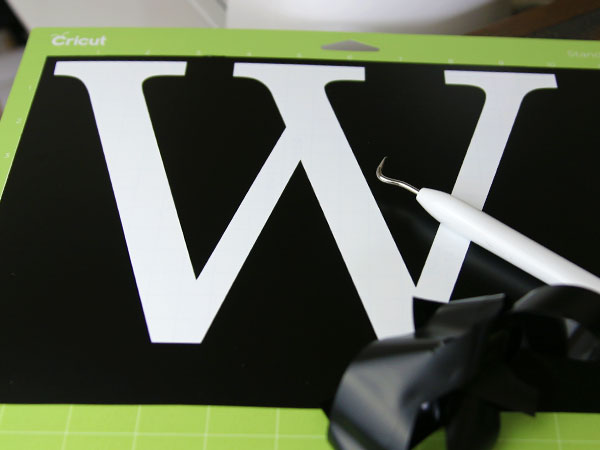
After the design has cut out, it is time to weed the design. Weeding for a stencil is a little different than usual. Instead of removing the excess vinyl from around the design, you only need to remove the design itself, leaving behind the excess vinyl both around the design, and the small pieces that existed inside it.
If done properly, the actual design will be a hole in the vinyl piece that you will paint through. Be really careful not to remove any small pieces that are floating in between the pieces of the design.
4
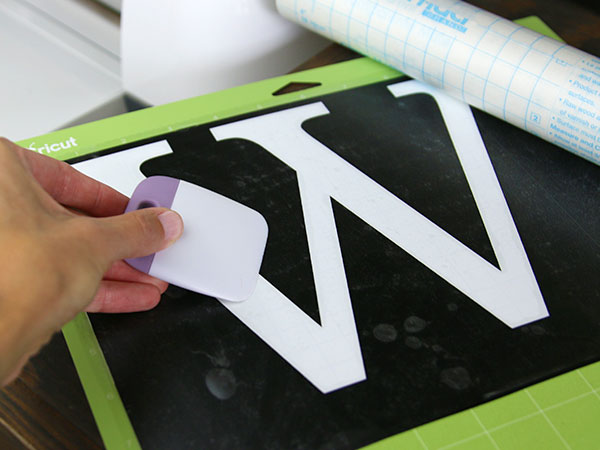
Then cut a piece of transfer tape (or contact paper) 1in - 2in larger than the cut design. Remove the backing from the transfer tape, and smooth it carefully on top of the design. Make sure to try and avoid any wrinkles or bubbles, and try and center it as best you can.
Once it is applied on top, rub a spatula tool over the top of the transfer tape to remove any remaining bubbles or wrinkles. This also helps the transfer tape adhere better to the vinyl itself.
5
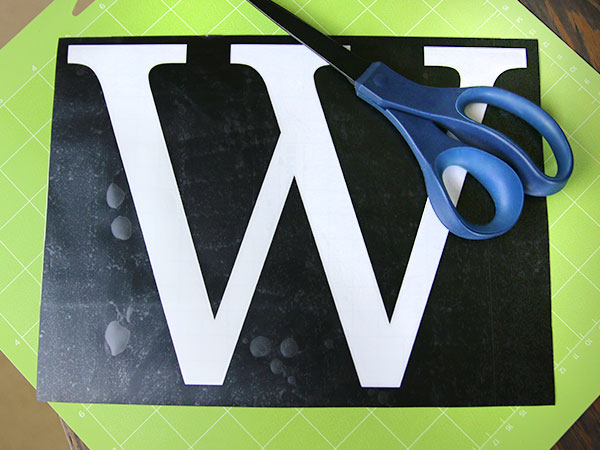
After the transfer tape is secure, carefully peel both the transfer tape and vinyl off of the mat. Do not to remove the vinyl’s backing.
Then trim the excess vinyl border, so it is even around the entire piece of the design. For best results, leave 1in - 2in around the design.
6
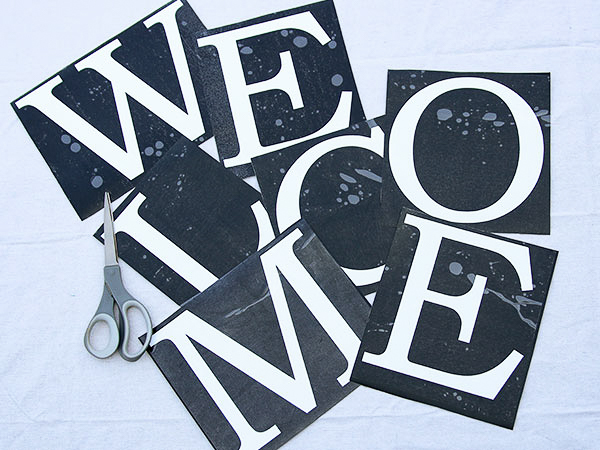
If your design is all one stencil piece, move on to the next step.
If your design is made up of multiple stencil pieces, repeat the stencil making steps to cut, weed, add transfer tape to, and trim down each individual stencil. Do not remove the vinyl’s backing from any of the pieces.
Applying the Stencil
1
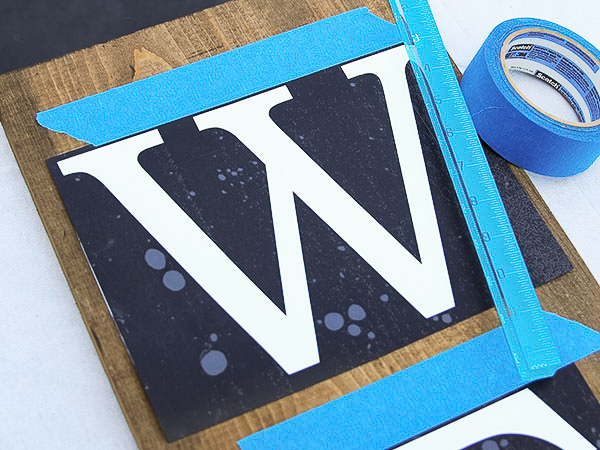
Without removing the vinyl’s backing, position the stencil on the sign where you would like it to sit. For best results, use a ruler to help with positioning. A ruler can help center the design between two sides or make sure letters stay evenly distanced.
Once your stencil is positioned, tape the stencil onto the board using painters tape. Make sure to only tape along the top edge, and have the tape go all the way across the top edge. Using painters tape (and not masking tape) is very important as it is less sticky and will not remove any of the stain or paint.
If preferred, you can mark the position of the stencil with a pencil instead of holding it in place with the tape. To do this, simply draw small marks around the outer edges or corners of the transfer tape, and then set the stencil aside. In this method, you mark on the board, so you can match the marks back up with the transfer tape later.
2
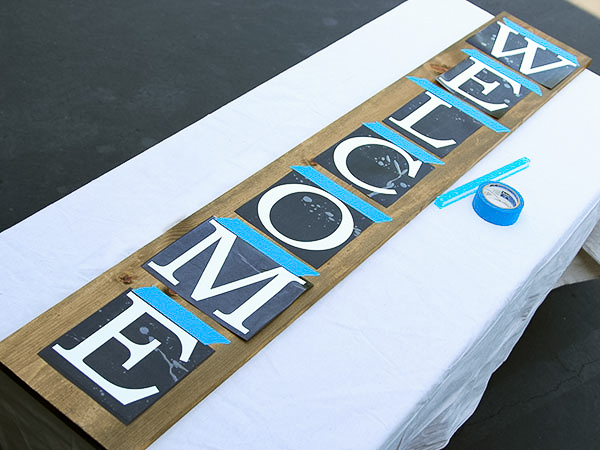
If your design has multiple stencil pieces, repeat to position all of the pieces on the wood sign. Then either tape the stencils in place along the top edge only, or mark the edges of the transfer tape with a pencil and set the stencils aside.
3
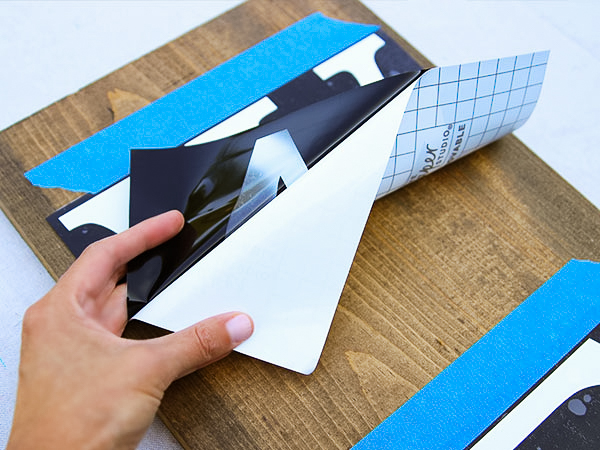
Now that you know how you’d like the stencil positioned, it is time to adhere it onto the wood sign. The first step is to remove the backing from the vinyl.
For the tape positioning method, the tape acts as a hinge. Without removing the tape or stencil from the sign, lift the stencil up from the bottom edge, and remove the backing of the vinyl. Peel the backing off slowly at a 45 degree angle, and be careful not to accidentally peel up any vinyl pieces of the stencil.
For the pencil marking method, simply remove the vinyl backing from the back of the stencil. Peel the backing off slowly at a 45 degree angle, and be careful not to accidentally peel up any vinyl pieces of the stencil.
4
After the backing has been removed, the stencil needs to be smoothed in place on the sign.
For the tape method, simply lay the piece back down using the taped edge like a hinge. Smooth the piece in place starting at the top (where the tape is) towards the bottom. This will help ensure it stays positioned correctly and also help prevent wrinkles and bubbles.
For the pencil method, locate the marks you made earlier. Then carefully line up the edges of the transfer paper up with those marks, and smooth the stencil into place.
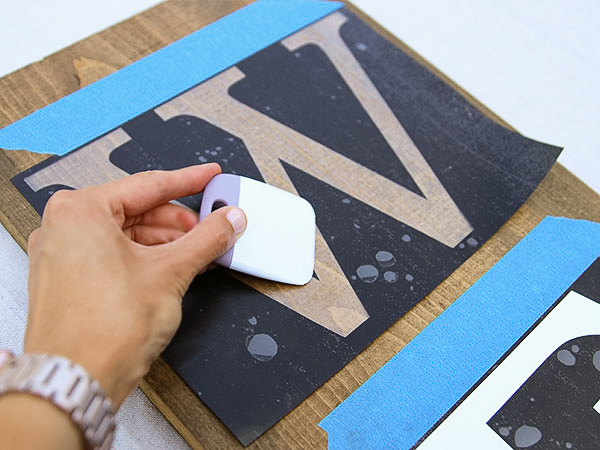
To make sure the stencil is adhered well enough, rub the spatula tool over the vinyl areas to stick them down more securely. This will also help prevent bleeding while painting the stencil. The better the stencil is adhered the less bleeding that will occur while painting.
5
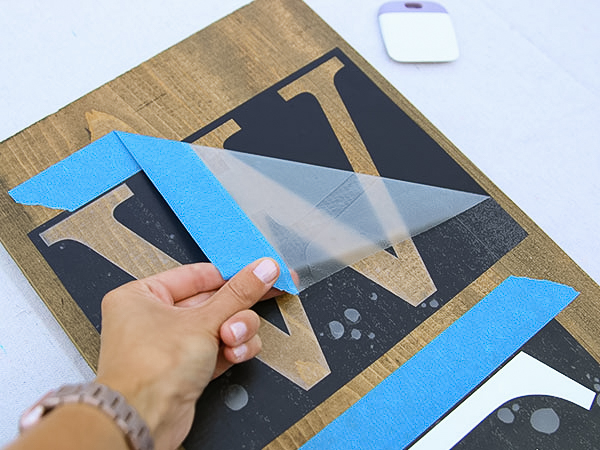
Once the stencil is secure, carefully remove the transfer tape. Also remove the painters tape if using that method.
For best results, peel the transfer tape off slowly at a 45 degree angle. Be very careful not to pull off or lift any of the vinyl pieces with the transfer tape. If the vinyl isn’t sticking to the wood well enough to separate from the transfer tape, lay the transfer tape back down, and rub the vinyl areas more with the spatula tool. Then try and peel the transfer tape off again.
6
If your design has multiple stencil pieces, repeat to place all the stencils on the sign. Rub them well with the spatula tool, and then carefully remove all of the transfer tape. Also remove the painters tape if that method was used.
7

There are several different kinds of paint that will work for this project. Chalk paint or craft acrylic paint are the two most common choices. Both of these paints are water-based, so your sponges can be washed with simple soap and water.
In this demonstration, we used chalk paint. Chalk paint has great coverage. This means it can be painted over almost any color with little preparation and needs fewer coats. It can be found in most craft stores or online.
Acrylic is usually much thinner than chalk paint. This means it can take several coats to make the color show up or cover the background color. For lighter colors on dark or vibrant backgrounds, it can help to paint a layer of white down first, and then the color on top of that.
8
Painting stencils works best when using the correct tools and motion. Normal paint brushes are not meant for painting stencils, and the side to side motion you use with them can actually sweep paint under the stencil, and cause bleeding or dripping to occur.
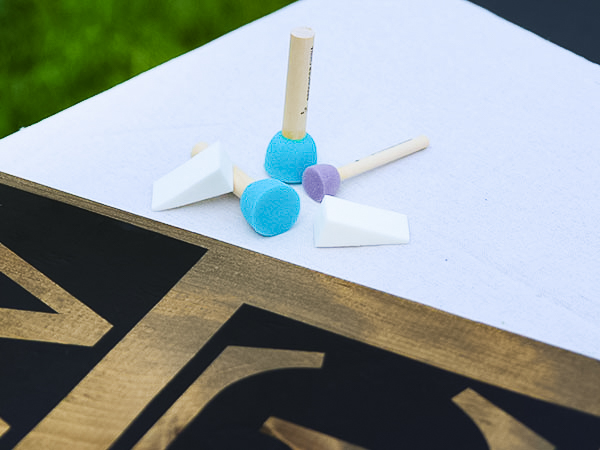
Instead use a stencil brush or sponge, and paint with an up and down dabbing motion. Never sweep or push the paint side to side.
A stencil brush has hairs like a normal paintbrush. What makes it unique is the shape of those hairs. Instead of coming to a point or hard line, they have a round flat bottom. This flat bottom is where you dab the brush into the paint and then onto the stencil.
A sponge of many forms can also be used. What is most important is that the sponge has a good, flat area, and must be pretty dense, so you can’t see a lot of holes (like on a dish sponge). You can buy foam dabbers from a craft store which are sponges on sticks, or even use a make-up sponge.
9
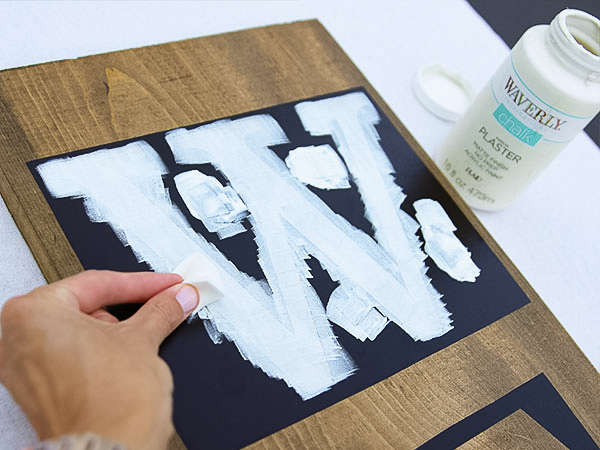
When painting a stencil, make sure to use an up and down motion to carefully dab the paint over the stencil. Do not drag or sweep the paint side to side.
It is also important to make sure you do not have too much paint on your stencil brush or sponge. Less is more. Over-saturating the tool with paint can cause bubbles to form on the sign where you are dabbing on the paint. It can also cause paint to run under the stencil.
Using the correct tool and motion, fill in the stencil with paint. It may take more than one coat. If so, let the paint dry between coats for best results.
10
If your design has multiple stencil pieces, repeat to paint all the stencils on the sign. Make sure to use the correct tool and motion, and allow the paint to dry between coats.
Once all the stencils are painted, let them all dry completely before continuing on to the next step.
11
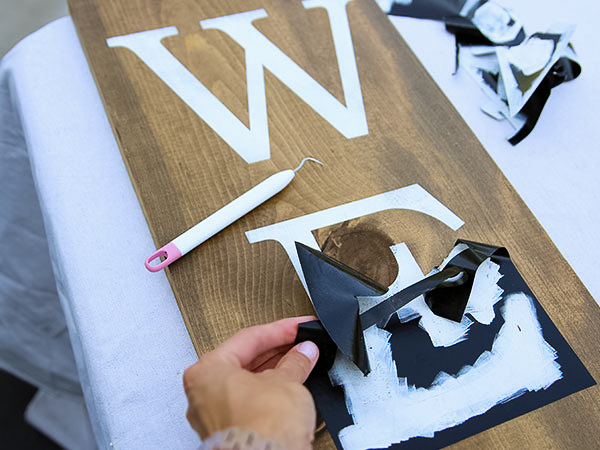
Remove all of the vinyl from all of the stencils. Take your time, and be very careful. If you pull the vinyl up too fast, sometimes it can remove the paint from your background or design. You can also use the weeding tools to remove the smaller pieces of the vinyl or to lift up edges.
Be sure your paint is completely dry before removing the stencil. If the paint is not dry, the stencil might pull up some of the paint.
Finishing Touches
1
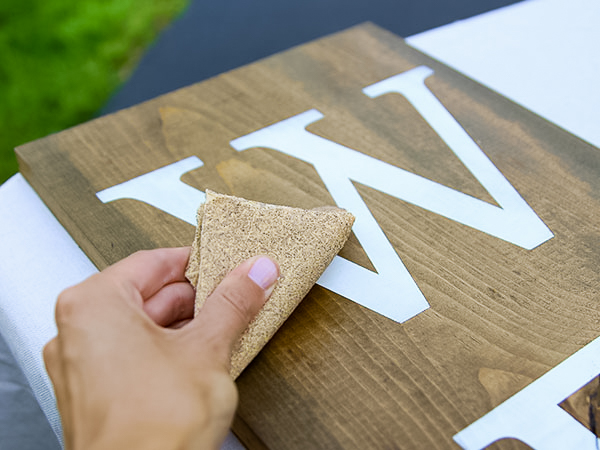
Use 100 - 220 grit sandpaper to sand away some of the paint for a distressed, rustic look.
To distress the stenciled design, rub the sandpaper lightly over the painted edges.
To distress the sign, start by rubbing the sandpaper over the edges and corners of the sign where it would naturally wear. Then carefully sand the flat sides if desired.
2
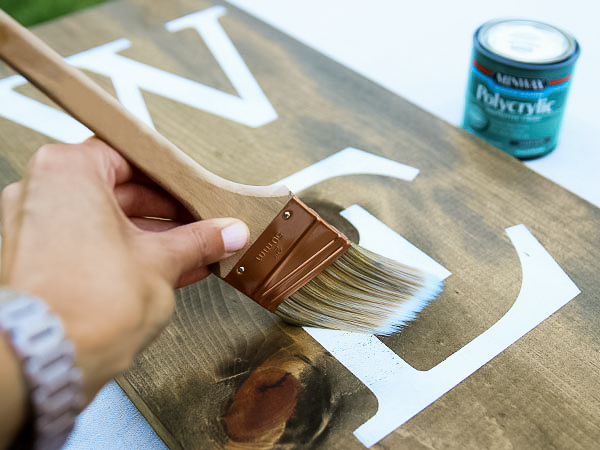
A clear finish is highly recommended if you are placing your sign outside to protect it from wear, water, and sunlight
Once you are happy with all the painting, staining, and distressing of your sign, spray or paint a clear finish over the whole sign. This can be a polyurethane, varnish, or lacquer finish that is meant for wood, just make sure it is clear.
Be careful, as some finishes have toxic fumes and need to be used in a well ventilated area.
3
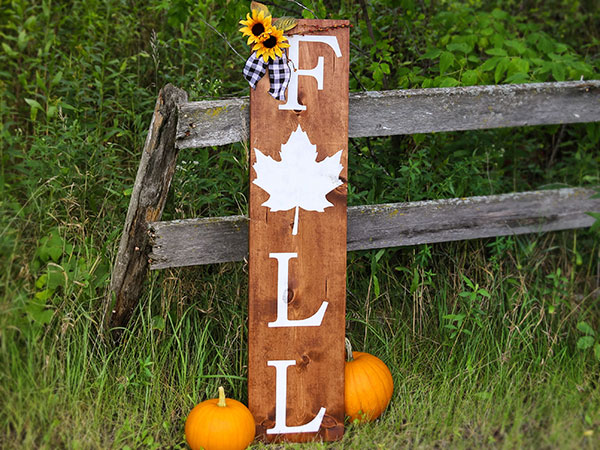
Decorative elements like ribbons, twine, and faux foliage can also be added to your sign. Simply wrap these around or place them on your sign as desired. Then, if they are not secure on their own, glue them in place. Hot glue works well for this.
4
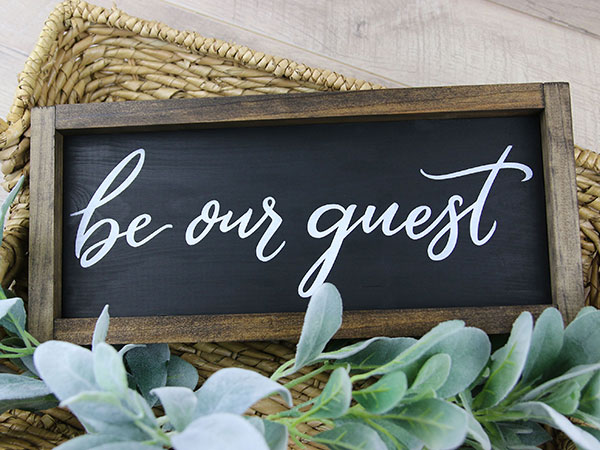
You can also add a frame around your sign if desired. Simply add small boards or molding to size so they fit along each side of your sign. Either overlap the corners or create mitered corners that meet at a diagonal.
Stain or paint the frame pieces as desired. Then secure them onto the sides of the sign using a brad nailer.
With a wide variety of paint colors, stains, wood options, and your own creativity, there's no limit to the number of beautiful signs that you can craft.


