Supplies
- 1 yard faux sherpa (for body - color 1)
- 1/4 yard fleece (for hat and scarf - color 2)
- Small piece of fleece (for nose - color 3)
- 1/4 yard thin faux fur (for hat brim - color 4)
- Craft pompom
- Two 3/4” buttons (for the eyes)
- Three 5/8” buttons (for front)
- Hand sewing needle
- Polyester fiber fill
- Hot glue gun
Designs Used
Cutting Instructions
1
Load the Snowman Plush (Cut & Stitch) file into your cutting machine’s software. Notice that it has two separate cutting files to fit all the pieces. These are labeled with an “A” and a “B”, and are organized by how they fit into the file and not necessarily by fabric.
2
This design has four different fabric colors across the two files. Proceed in the design software until the first color selection appears, and is ready to be cut.
3
Smooth the first fabric color onto the adhesive mat with the right side of the fabric facing up. For faux fur, you may need to increase the pressure of the blade on your cutting machine. Use a setting that would be used for denim or other thick materials. Then carefully remove the pieces and the leftover fabric.
4
Make sure the Knife Tool is in place. Then load the adhesive mat and fabric into the cutting machine.
5
Cut out the first color. Then carefully remove the fabric pieces and the leftover fabric.
6
Repeat to cut out all five of the fabric colors for the Snowman Plush.
Sewing Instructions
1
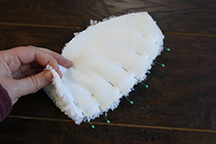
To assemble the Snowman Plush, first take two body pieces (color 1), and match up the edges with right sides together. Pin along one curved side.
2
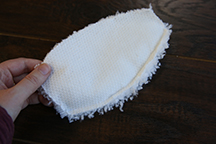
Then sew a 1/4” seam along the pinned side. One straight side is smaller than the other, so make sure the pieces are matched up perfectly.
3
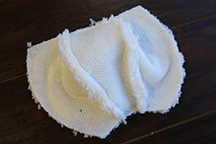
Repeat to match up, pin, and sew another body side (color 1) onto the other two. Now there should be three body pieces together in a row.
4
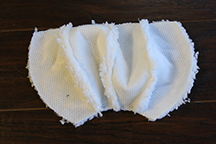
Repeat to match up, pin, and sew another body side (color 1) onto the other three. Now there should be four body pieces together in a row.
5
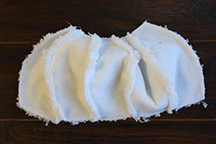
Repeat to match up, pin, and sew another body side (color 1) onto the other four. Now there should be five body pieces together in a row.
6
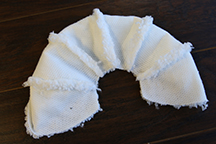
Repeat to match up, pin, and sew another body side (color 1) onto the other five. Now all six body pieces are connected in a row.
7
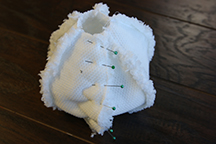
Next, match up the final two unsewn, curved edges, and pin them together.
8
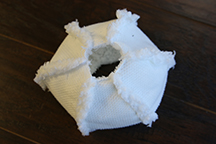
Sew a 1/4” seam. Now the body is completed. It will look like a ball with a smaller hole in the top, and a larger hole in the bottom.
9
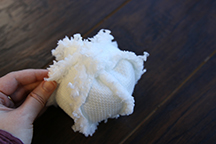
Then repeat the previous steps to sew the head together in the same way the body was assembled.
10
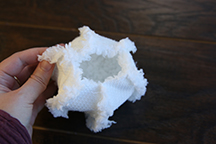
The only difference is that the head will only have a hole in the bottom, and the top will be completely closed.
11
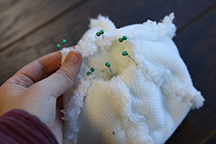
Then place the head inside of the body with right sides together. Match up the edges of the smaller hole in the body with the edges of the hole in the head. Pin them together.
12
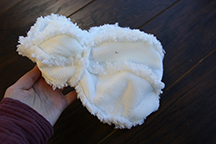
Then sew a 1/4” seam. This connects the head to the body and creates the neck of the snowman.
13
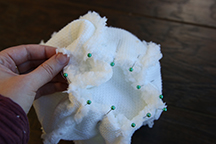
Then take the base piece (color 1), and match up the sides with the sides of the bottom opening in the body. Pin the edges together.
14
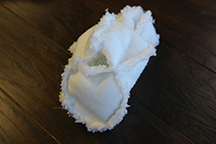
Next, sew a 1/4” seam. Make sure to leave 1 1/2” sides of the hexagon base piece open and unsewn for turning the snowman right side out.
15
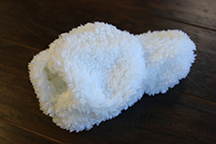
Then turn the snowman right side out.
16
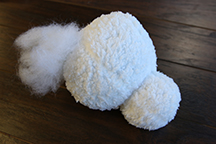
Stuff it with polyester fiber fill until both the head and body are firm.
17
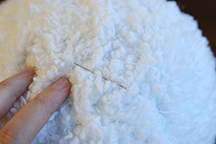
After the snowman is all stuffed, sew the remaining 1 1/2" sides of the hexagon base piece to the body to close the opening. Now the body is completed.
18
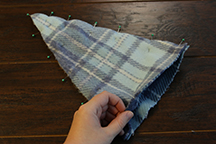
To make the hat, take the two hat pieces (color 2) and match up their edges with right sides together.
19
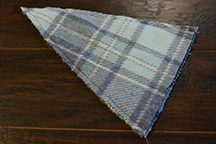
Then sew a 1/4” seam along the two sides of the hat, and make sure to leave the bottom open.
20
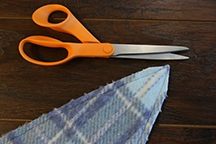
Then carefully trim away the seam allowance around the point without cutting the seam.
21
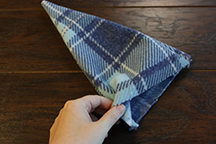
Turn the hat right side out.
22
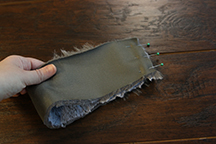
For the hat cuff, fold it in half with right sides together, and match up the two short sides. Pin the short sides together.
23
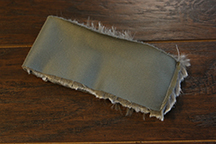
Sew a 1/4” seam only where pinned to make a loop of fur.
24
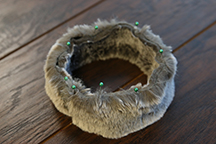
Then fold that loop in half with wrong sides together, and match up the two open, raw edges. Pin the edges together.
25
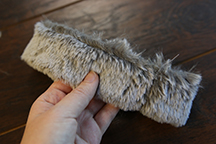
Sew all along the edge to bind the fabric in place. The wrong side of the fabric should no longer be visible except for in the raw edge you sewed along. This is the hat’s cuff.
26
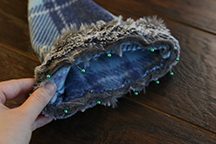
Take the hat (color 2) and the cuff (color 4), and match up the raw edges with right sides together. Then pin along the raw edges.
27
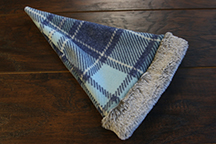
Sew a 1/4” seam. Once sewn, turn the cuff down to hide the seam inside the hat. Now the hat is completed.
28
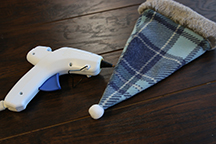
Using a hot glue gun, adhere a pompom to the point of the hat.
29
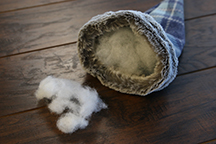
Then place a small ball of polyester fiber fill inside the hat, but do not stuff the hat full. There should be no stuffing in the point of the hat at all, only right at the opening to help it sit up on the snowman’s head.
30
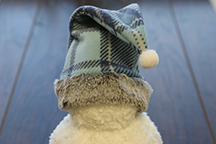
Then place the hat onto the snowman’s head.
31
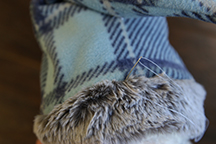
Hand sew the hat in place on the snowman by tacking it down at the forehead and on both side.
32
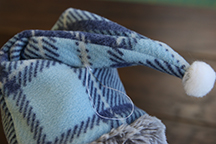
Then fold the point of the hat over as desired, and hand sew the hat to itself to hold the fold in place. To get this effect the hat only needs to be tacked together in one small place.
33
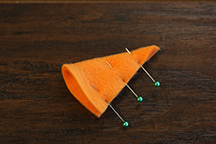
To make the nose (color 3), fold the piece in half with right sides together. Match up the straight edges, and pin along them as well.
34
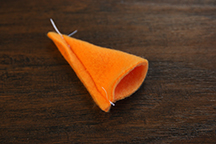
Then sew a 1/4” seam.
35
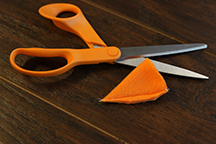
Trim the seam allowance along the point and opening, but be careful not to cut the seam.
36
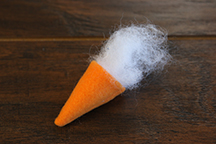
Turn the nose right side out and stuff it with polyester fiber fill.
37
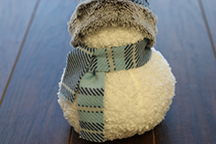
Tie the scarf (color 2) onto the snowman to help with positioning.
38
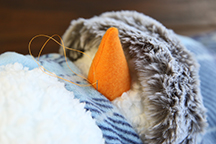
Then position the nose as desired, and hand sew it onto the face by folding in the raw edge slightly and stitching around the base of the nose.
39
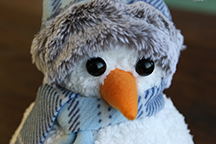
Finally, use a hand sewing needle and thread to add the eyes and front buttons onto the snowman.
40
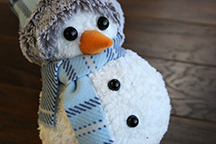
This completes the Snowman Plush. Repeat these steps to make a collection of snowmen in a variety of colors and fabrics. Just make sure to not resize these designs, as the seam allowance makes them unscalable.

