Supplies
- 1/3 yard quilter’s cotton (color 1 and color2)
- 1/3 yard quilter’s cotton (color 3)
- Insul-Bright insulated lining
- Extra wide double fold bias tape
- Double sided fusible web
- Temporary fabric spray adhesive
Designs Used
Cutting Instructions
1
Load the Snowflake Trivet (Cut & Stitch) file into your cutting machine’s software. Notice that some sizes have multiple cutting files to fit all the pieces. These files are labeled with “A”, “B”, “C”, etc., and are organized by how they fit into a file and not necessarily by fabric.
2
This design has two fabric colors across the different files. Proceed in the design software until the first color selection appears, and is ready to be cut.
3
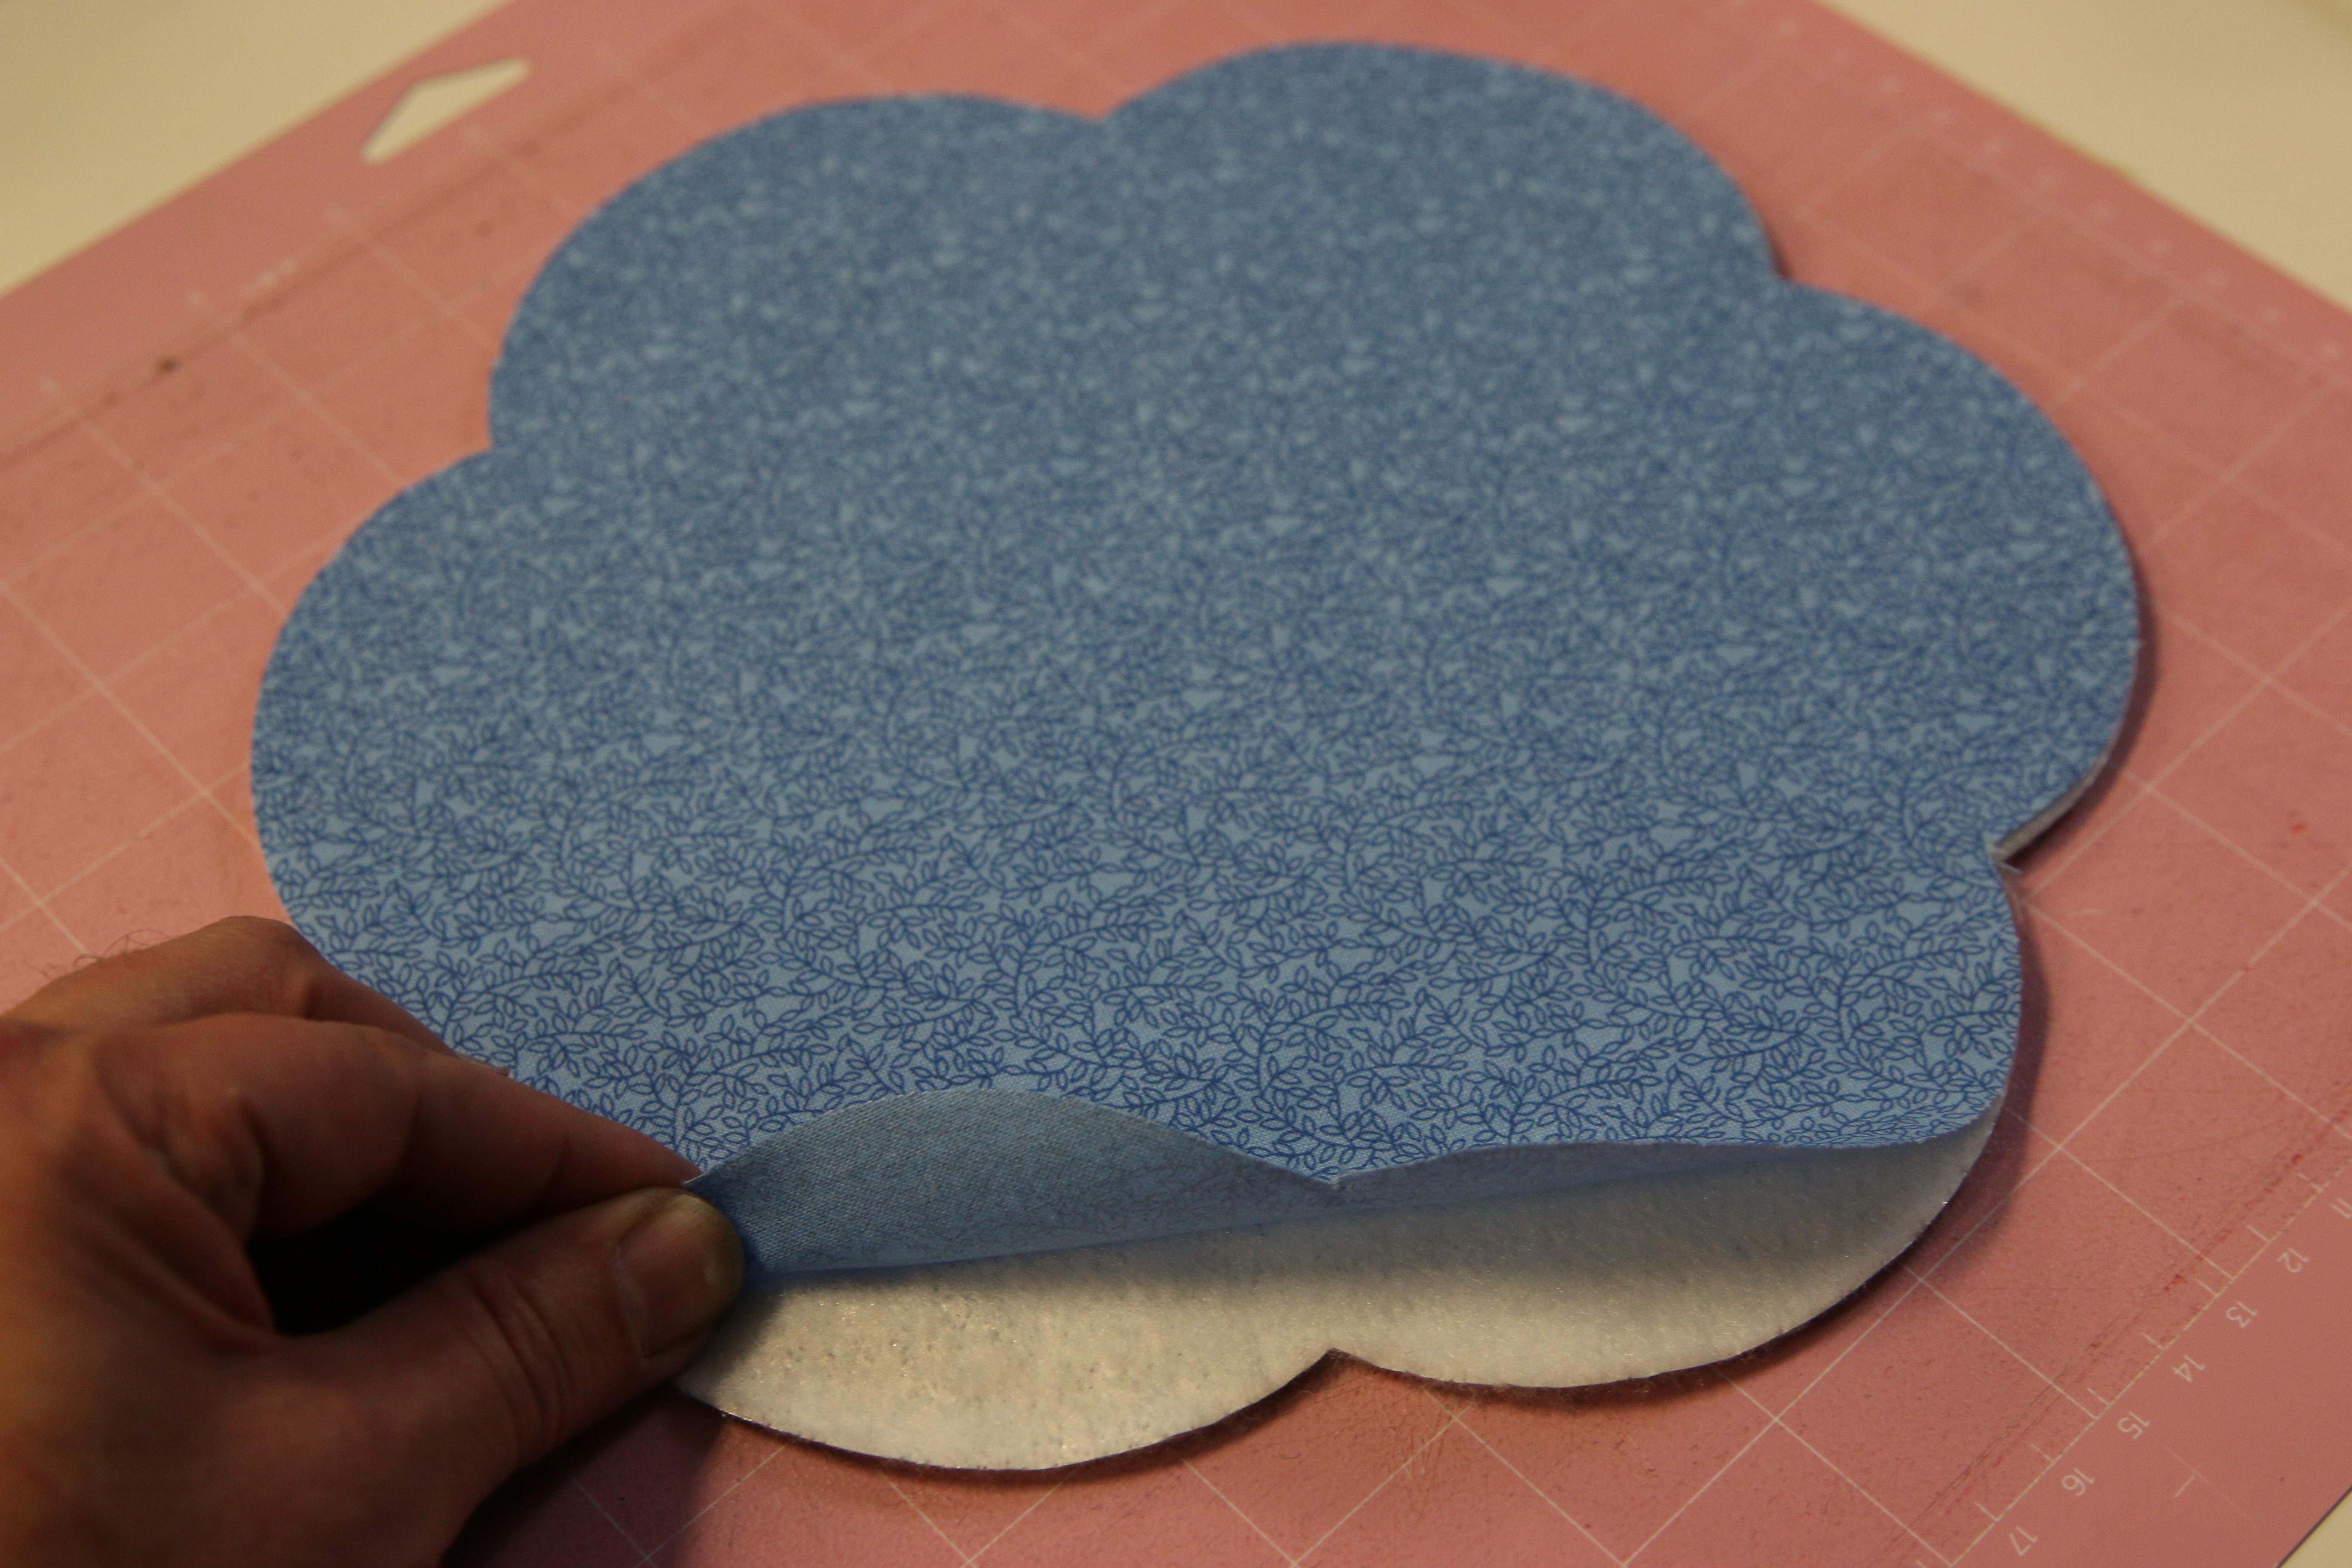
To prepare the back of the trivet (color 1), spray a piece of Insul-Bright lining with temporary fabric spray adhesive, and smooth the fabric on top with the right side of the fabric facing up. Smooth the fabric onto the adhesive mat with the right side of the fabric facing up (Insul-Bright faces down). Make sure the correct knife tool is in place. Then load the adhesive mat into the machine.
4
Cut out the first color. To cut through both layers of the Insul-Bright and cotton, increase the pressure of the blade on your cutting machine. For best results, use a setting that would be used for denim or other thick fabrics. Then carefully remove the cut pieces and excess fabric.
5
To cut out the front of the trivet (color 2), smooth just the quilter’s cotton onto the mat, and cut using a pressure or setting for that thinner fabric. Then remove the shape and excess fabric from the mat.
6
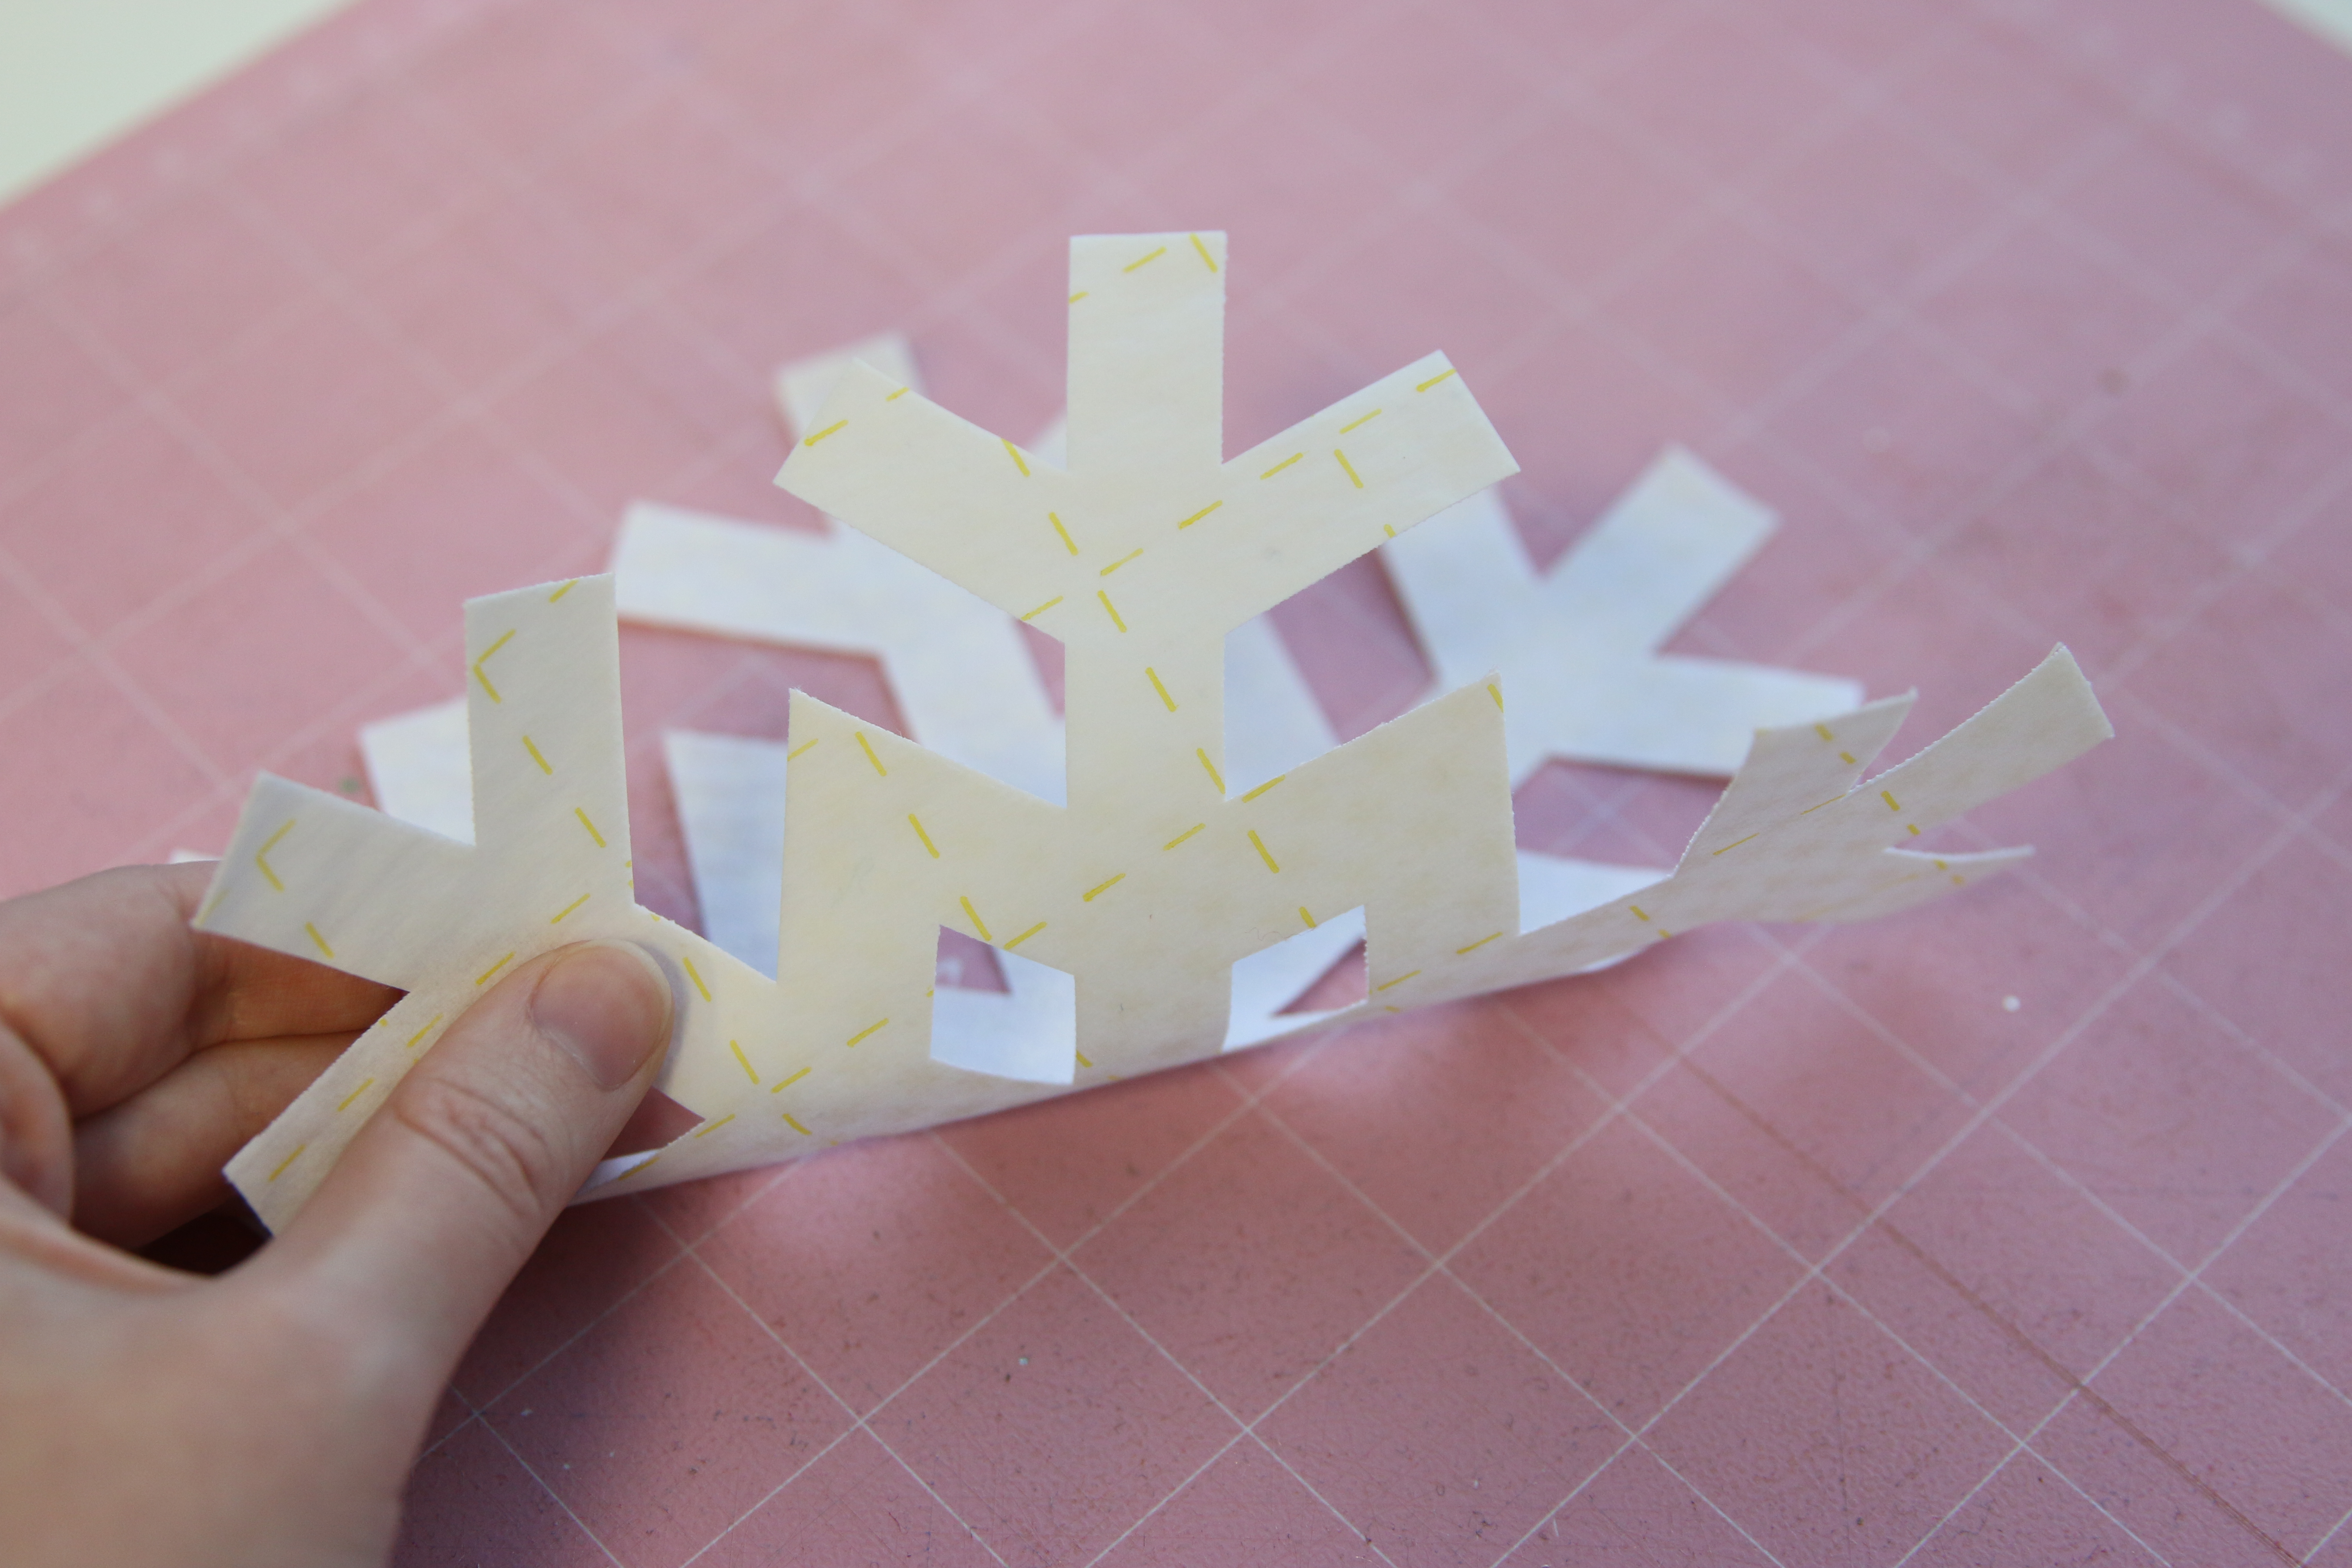
To cut out the applique piece (color 3), cut a piece of double sided fusible web slightly larger than the fabric, and remove one side of the fusible web’s protective paper. Smooth the exposed side of the fusible web onto the wrong side of the fabric, and then follow the manufacturer’s instructions to iron and bind the fusible web and fabric together. To cut this piece, set the machine to the cotton setting, and then add more pressure to give the blade the extra pressure it needs to cut through the fusible web too. Then remove the shape and excess fabric from the mat.
Crafting Instructions
1
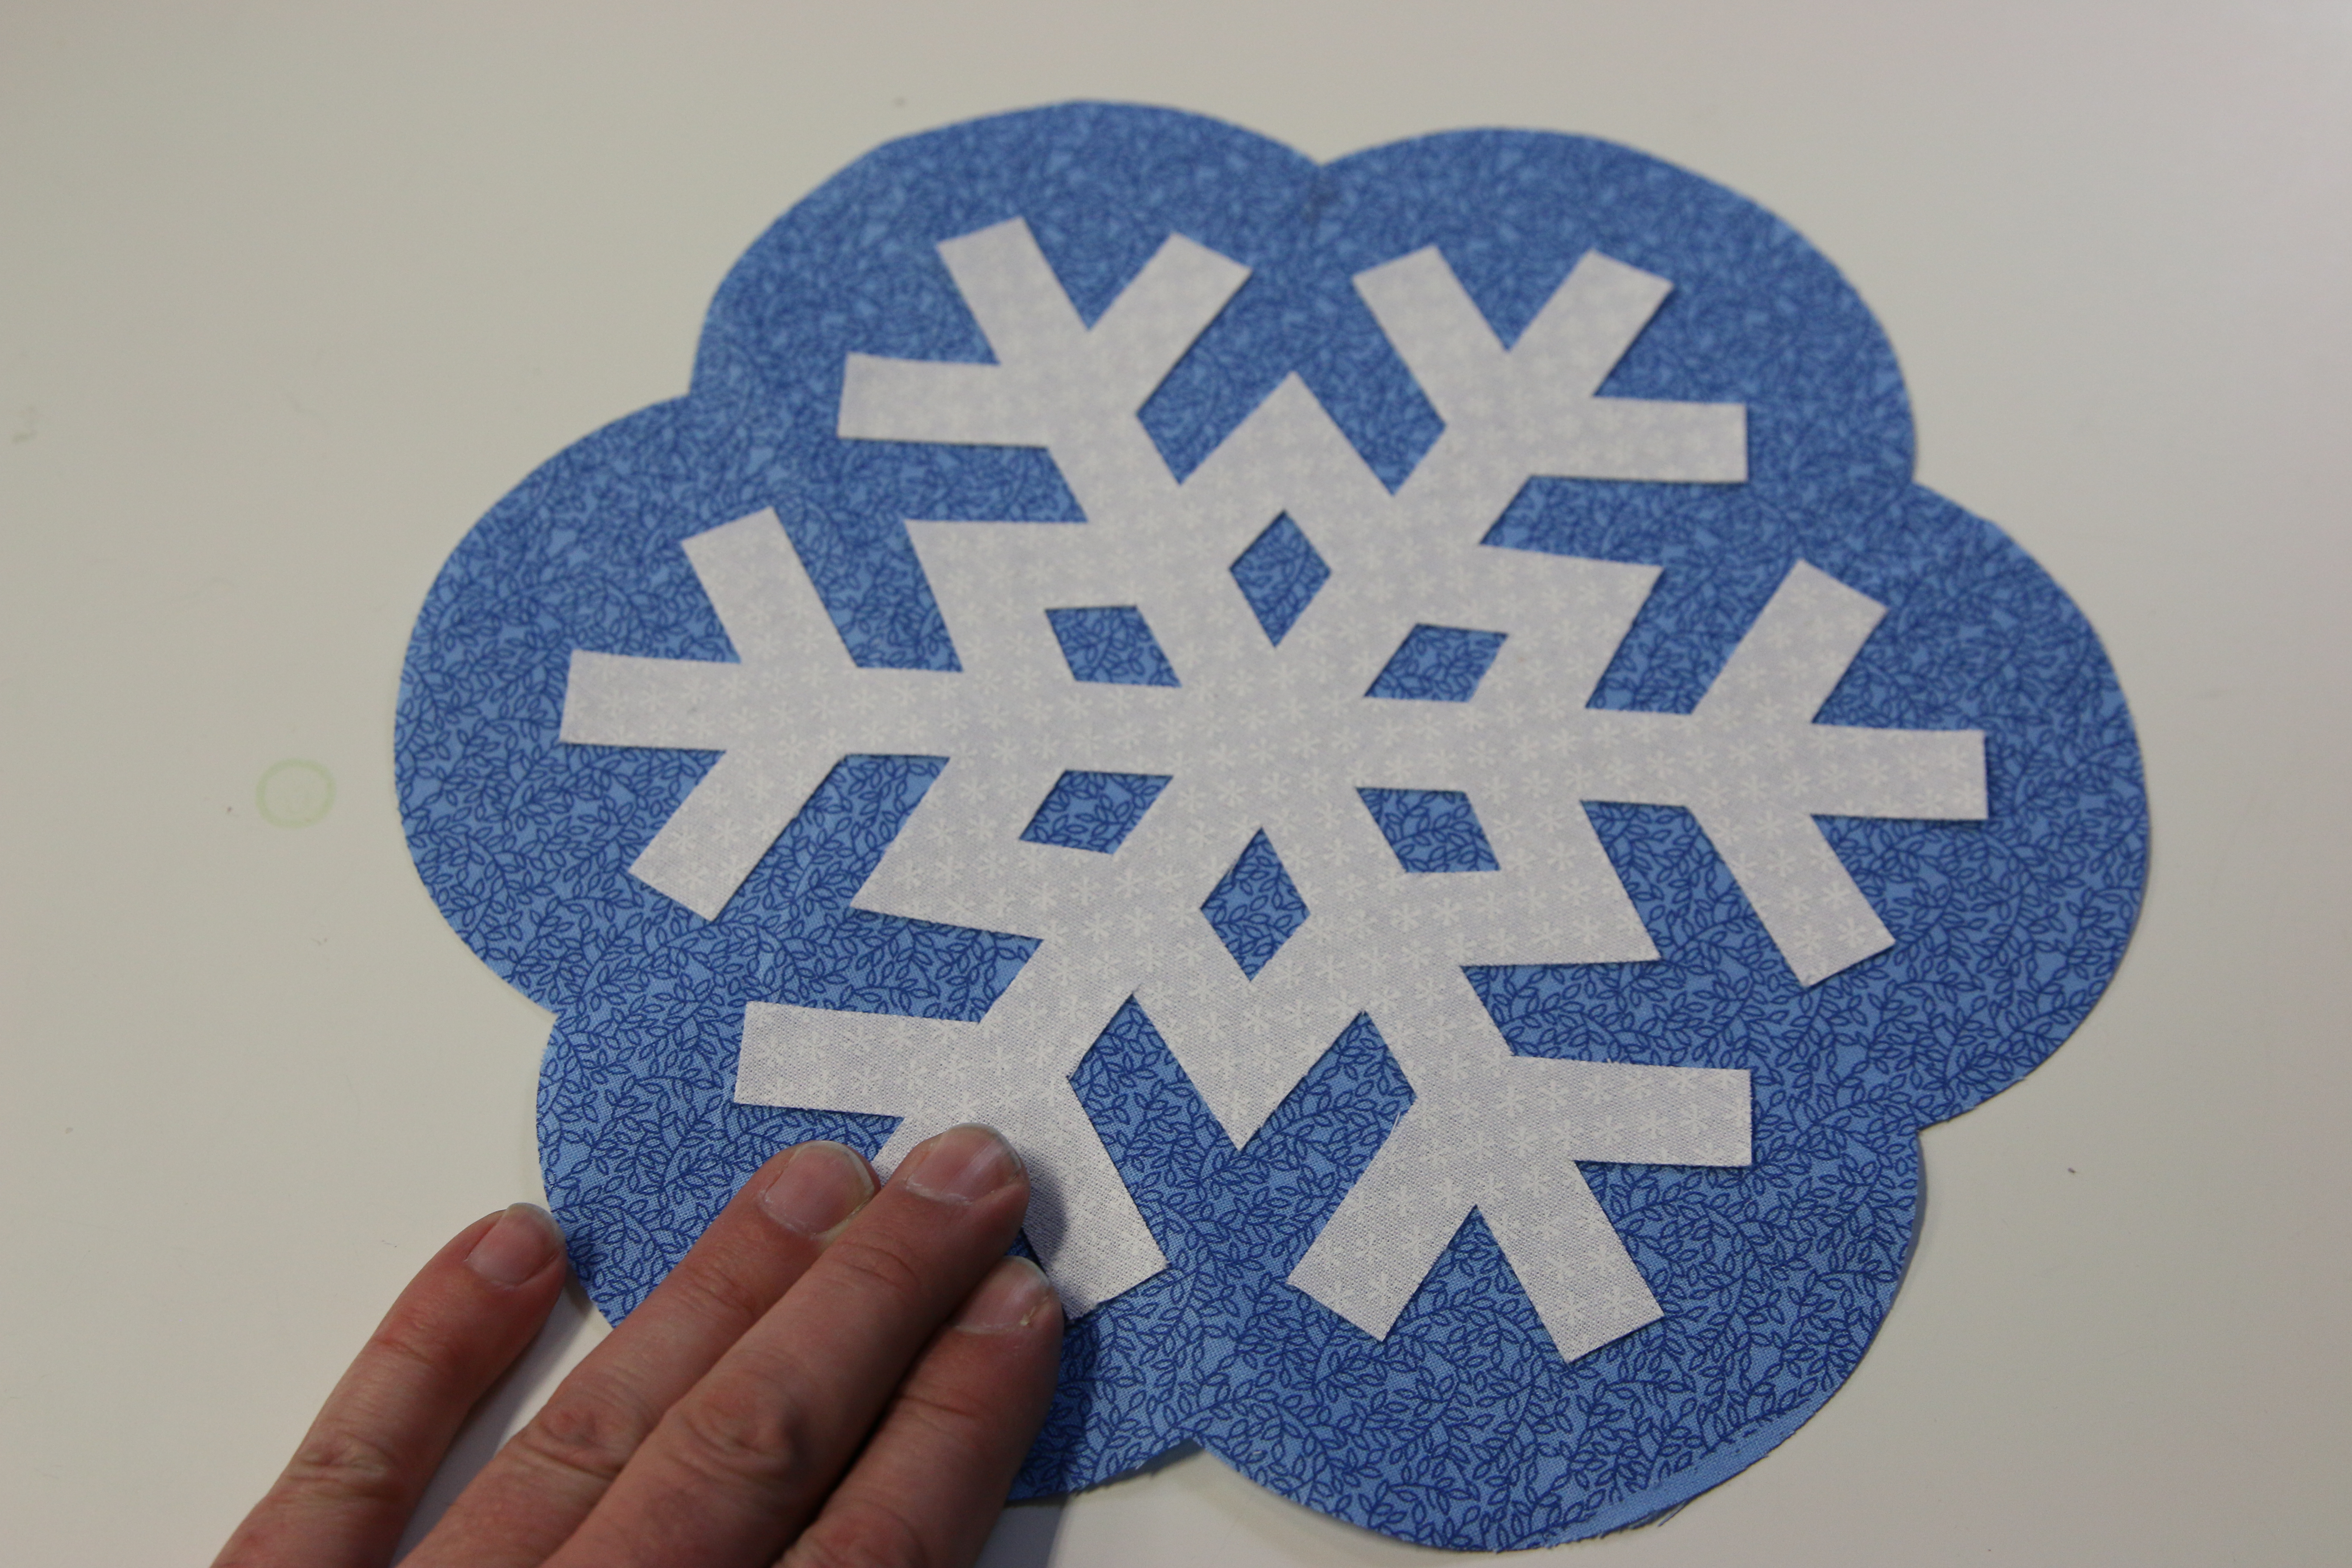
To assemble the Snowflake Trivet, first lay the front piece (color 2) flat with the right side facing up. Remove the remaining protector piece from the fusible web, and place the snowflake shape (color 3) on top of the top piece with the right side facing up, and the fusible web side facing down.
2
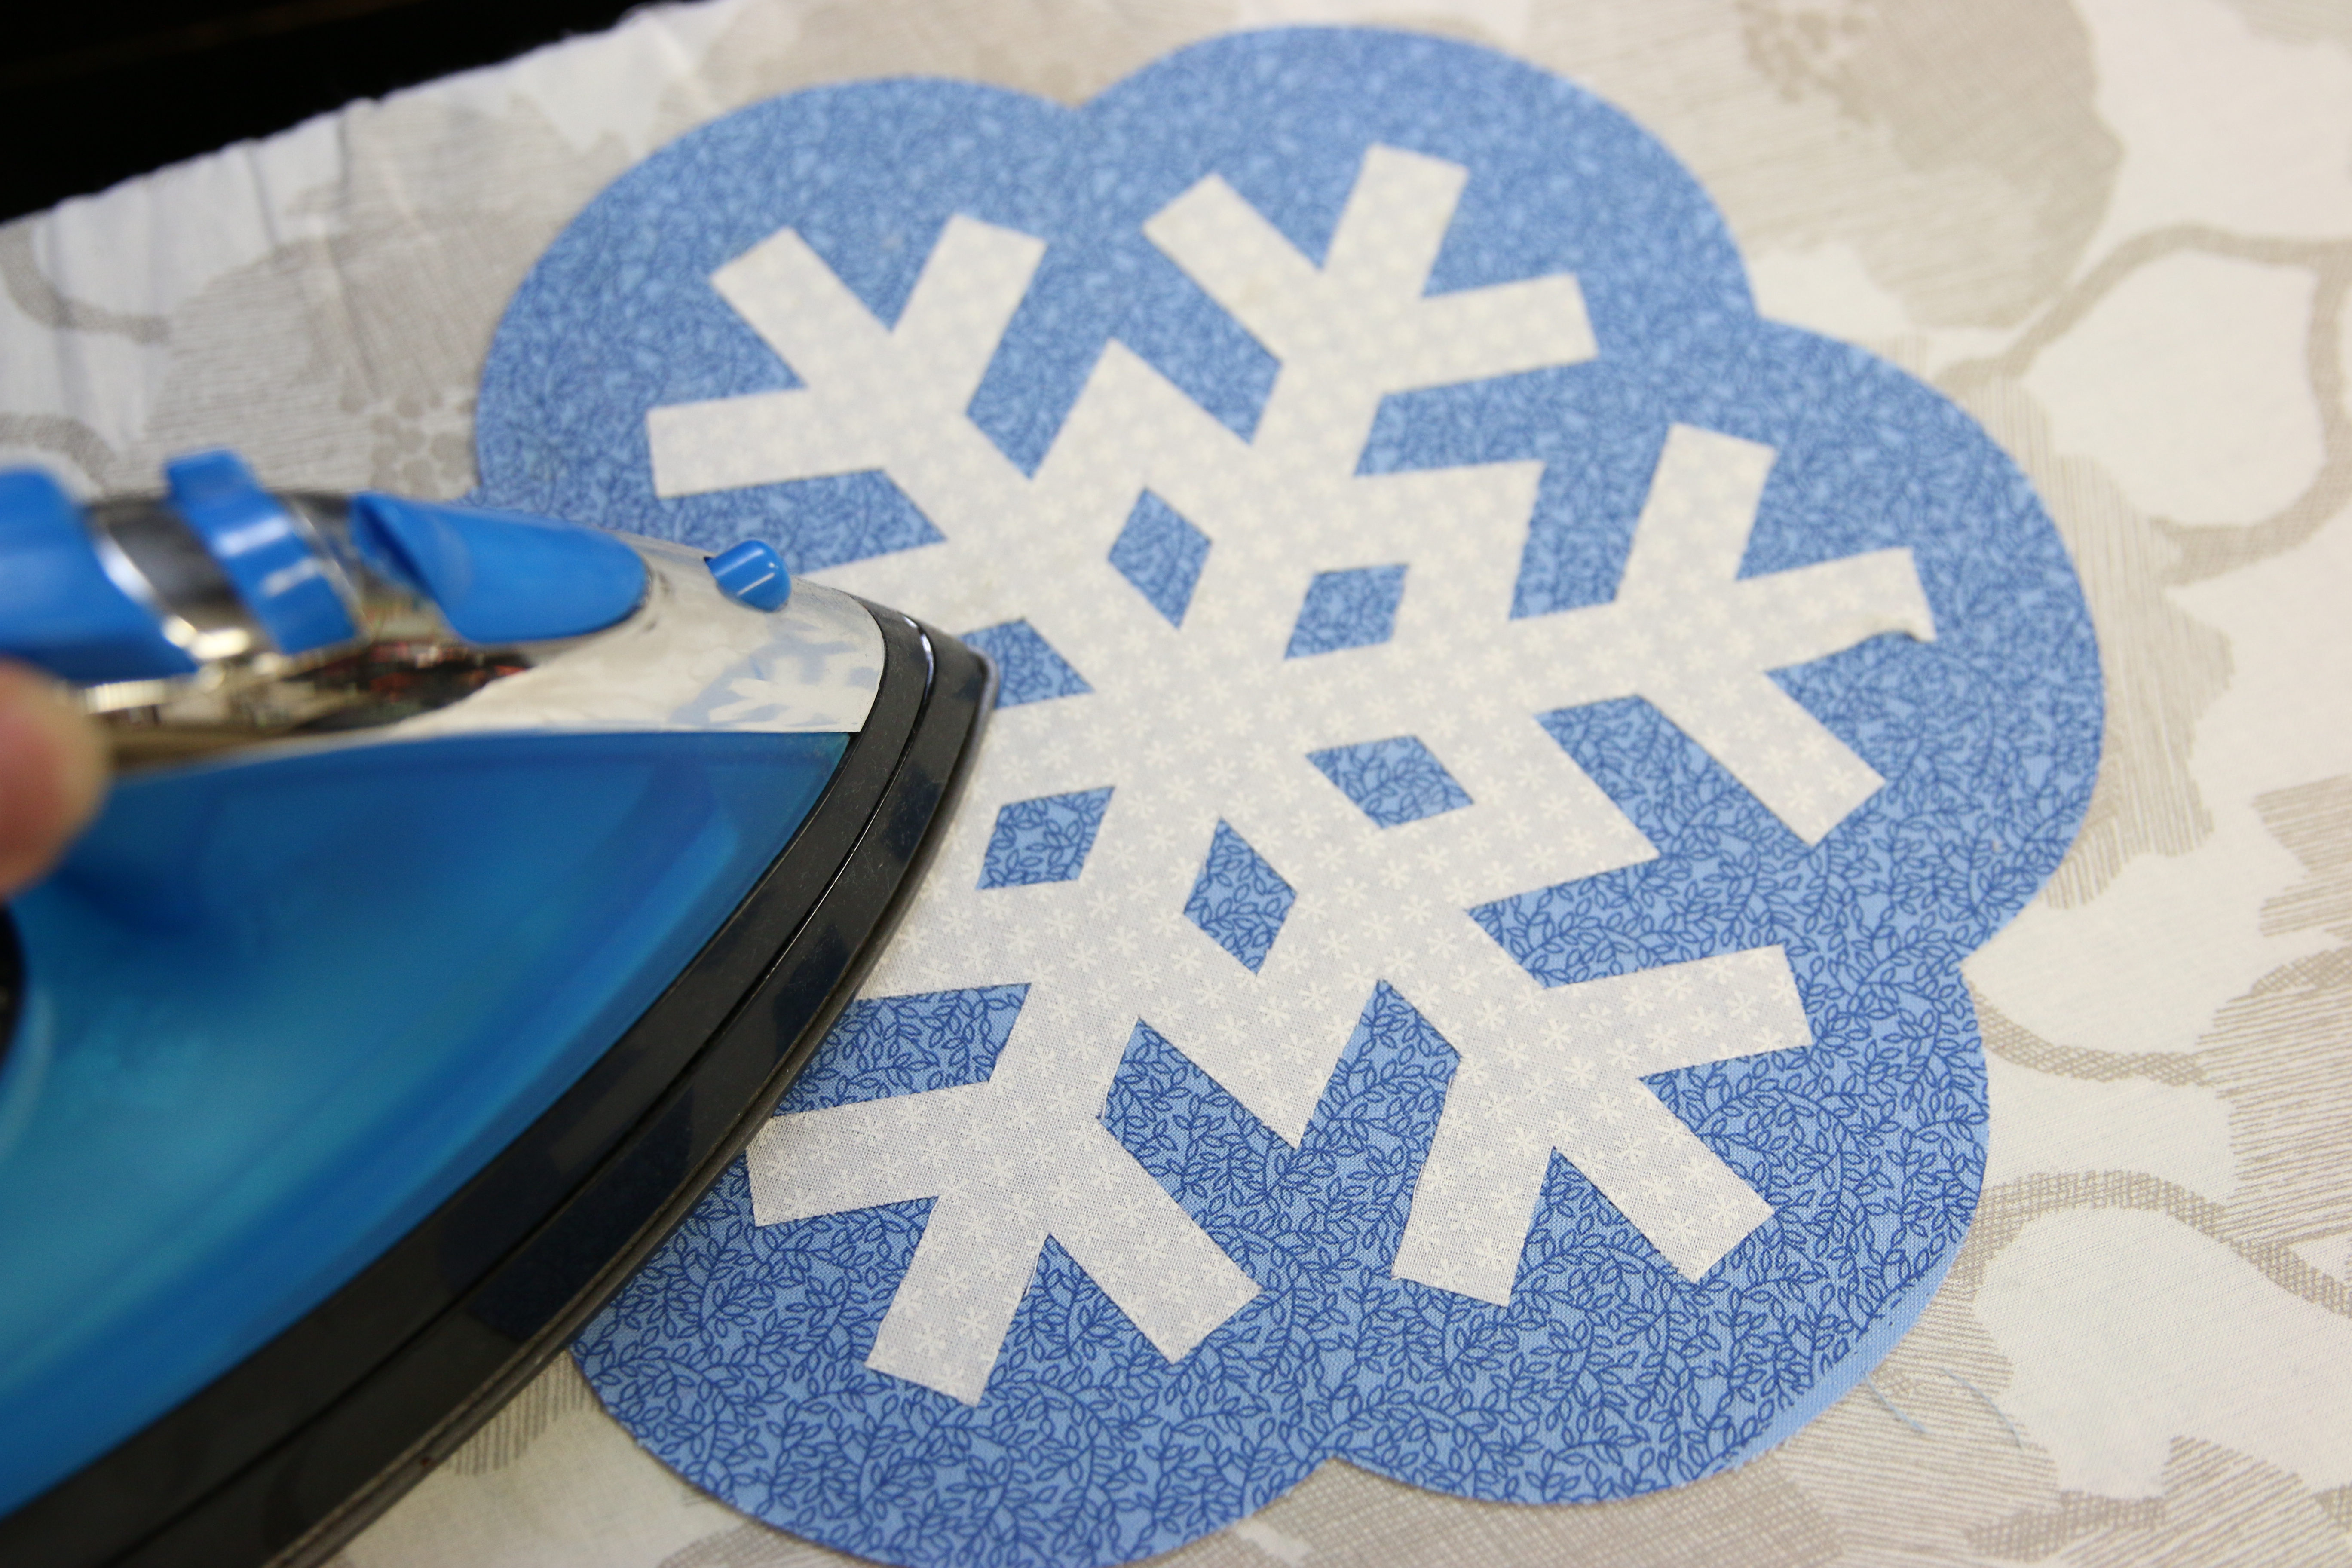
Iron the snowflake shape in place to adhere it to the front piece.
3
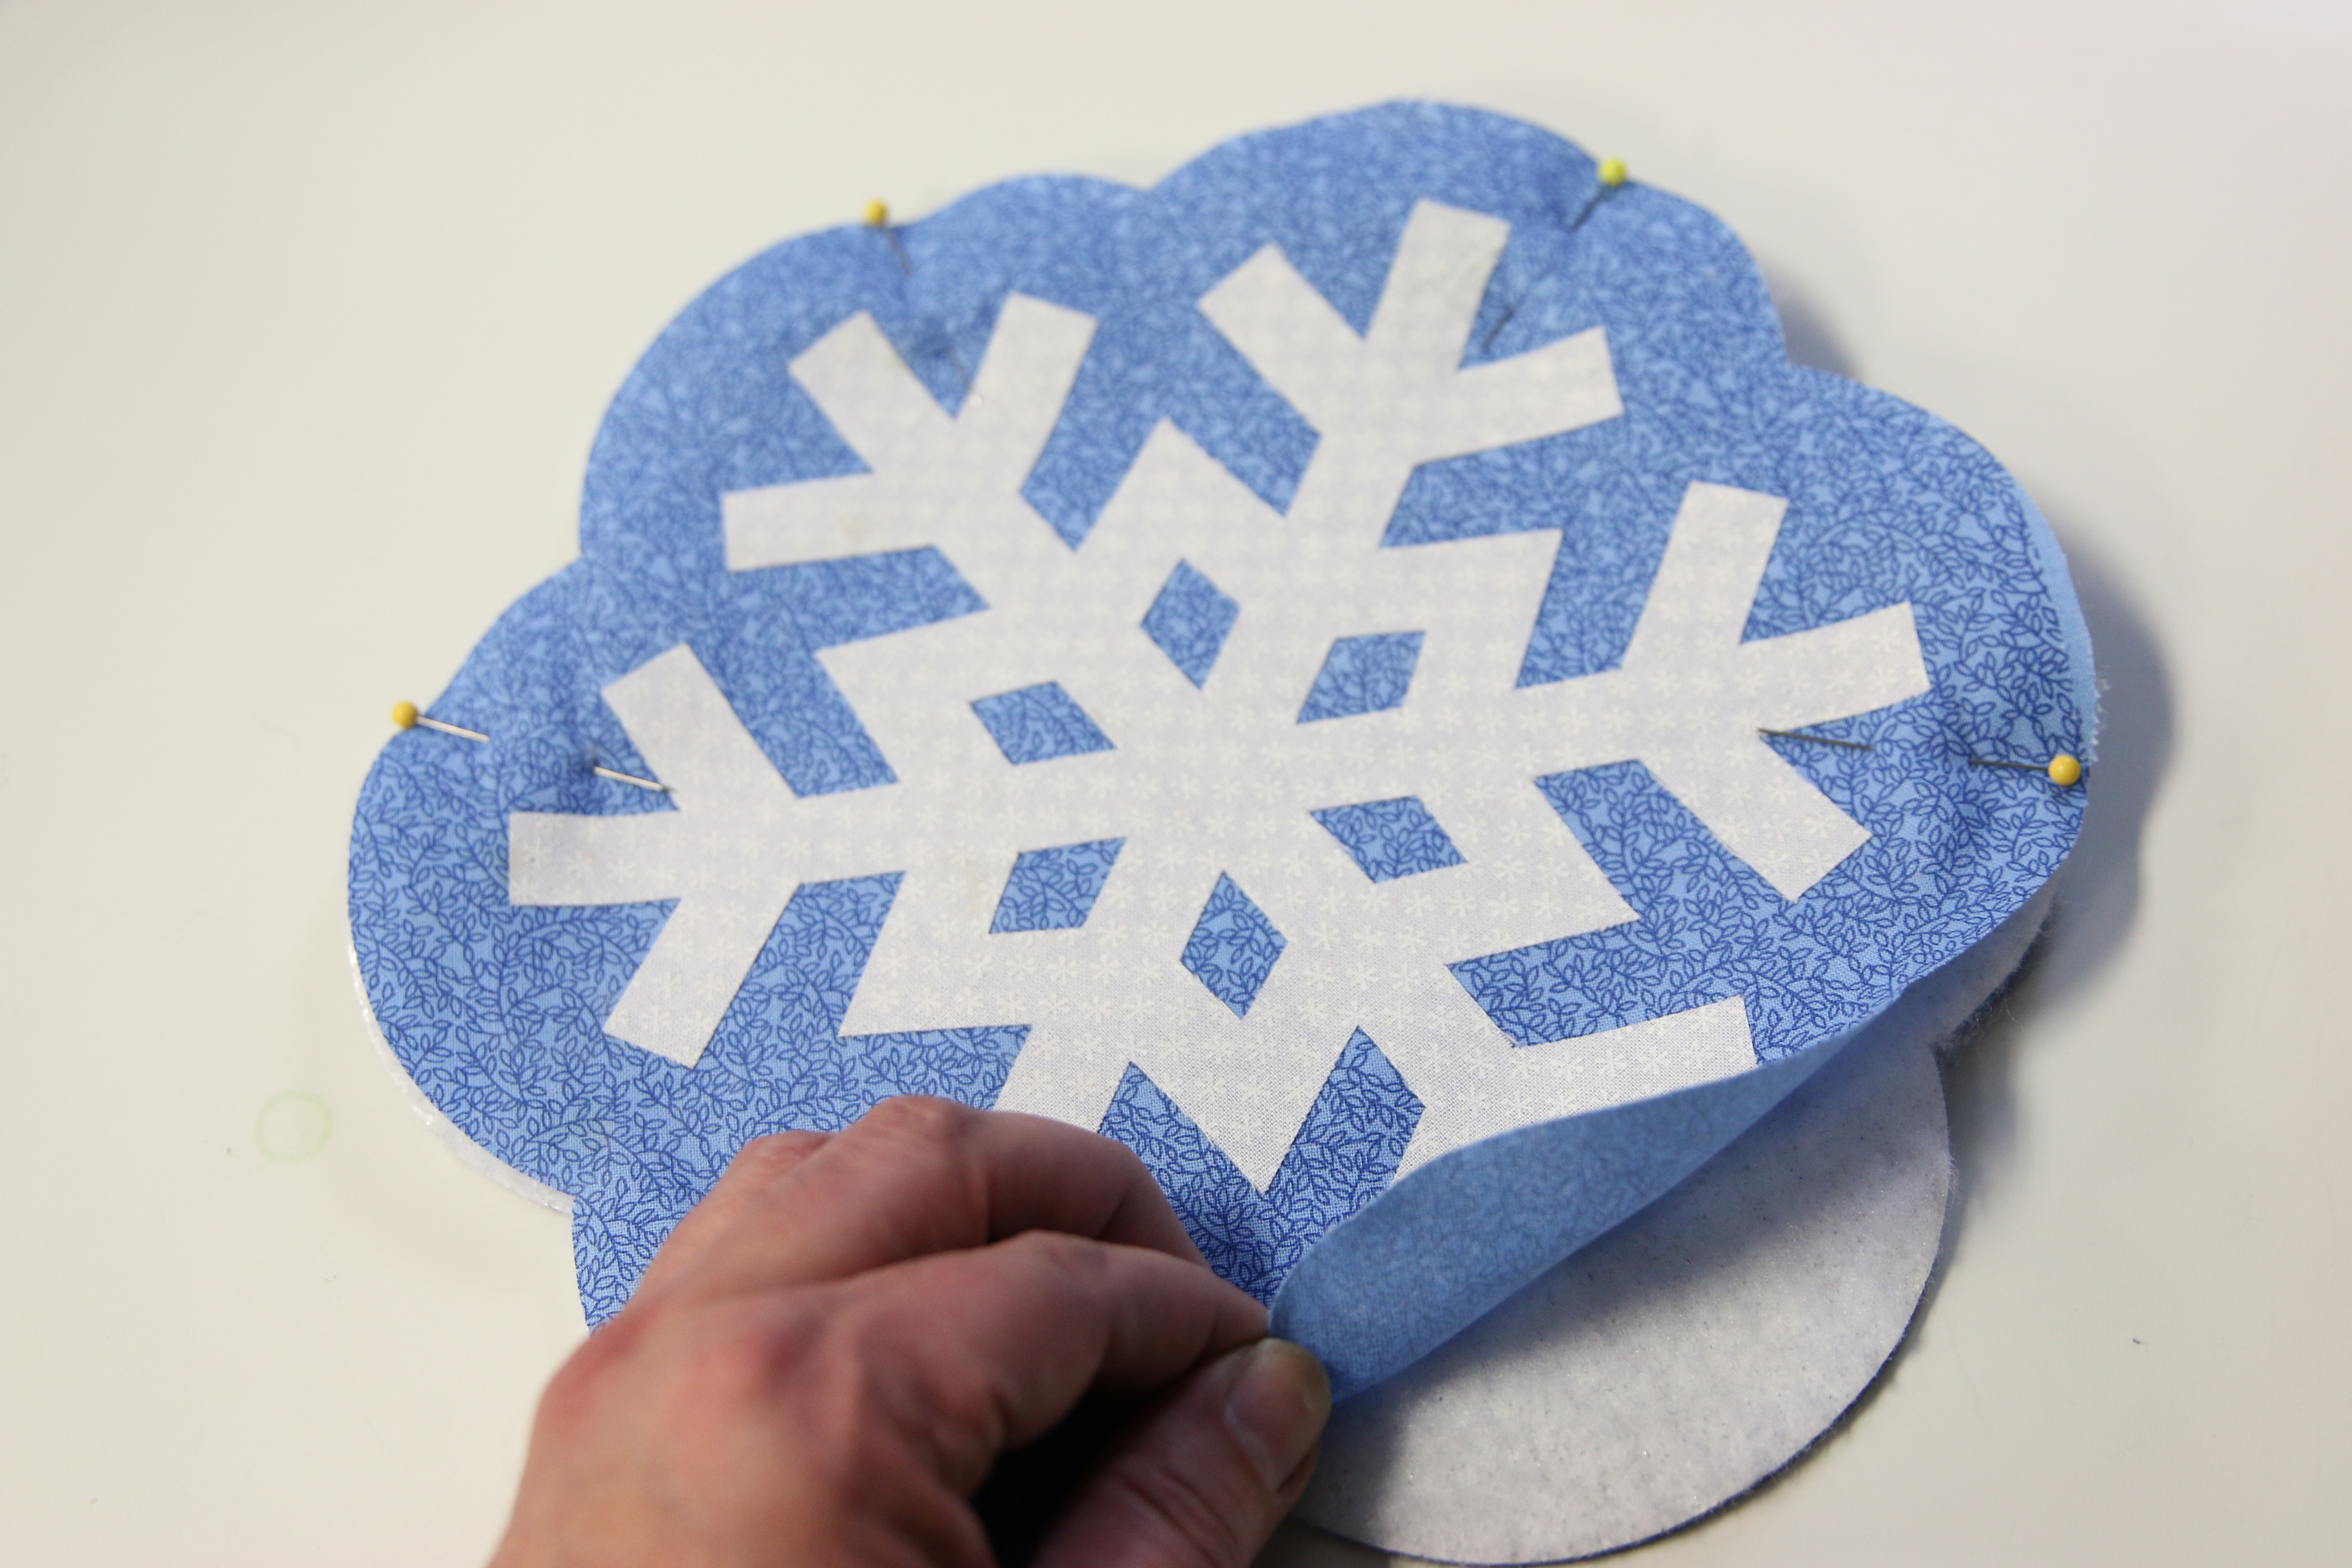
Next, lay the back piece flat with the Insul-Bright layer side facing up. Align the front piece on top, right side facing up. Pin in place. Sew a 1/4” seam along the entire outer edge of the shape to tack the layers together.
4
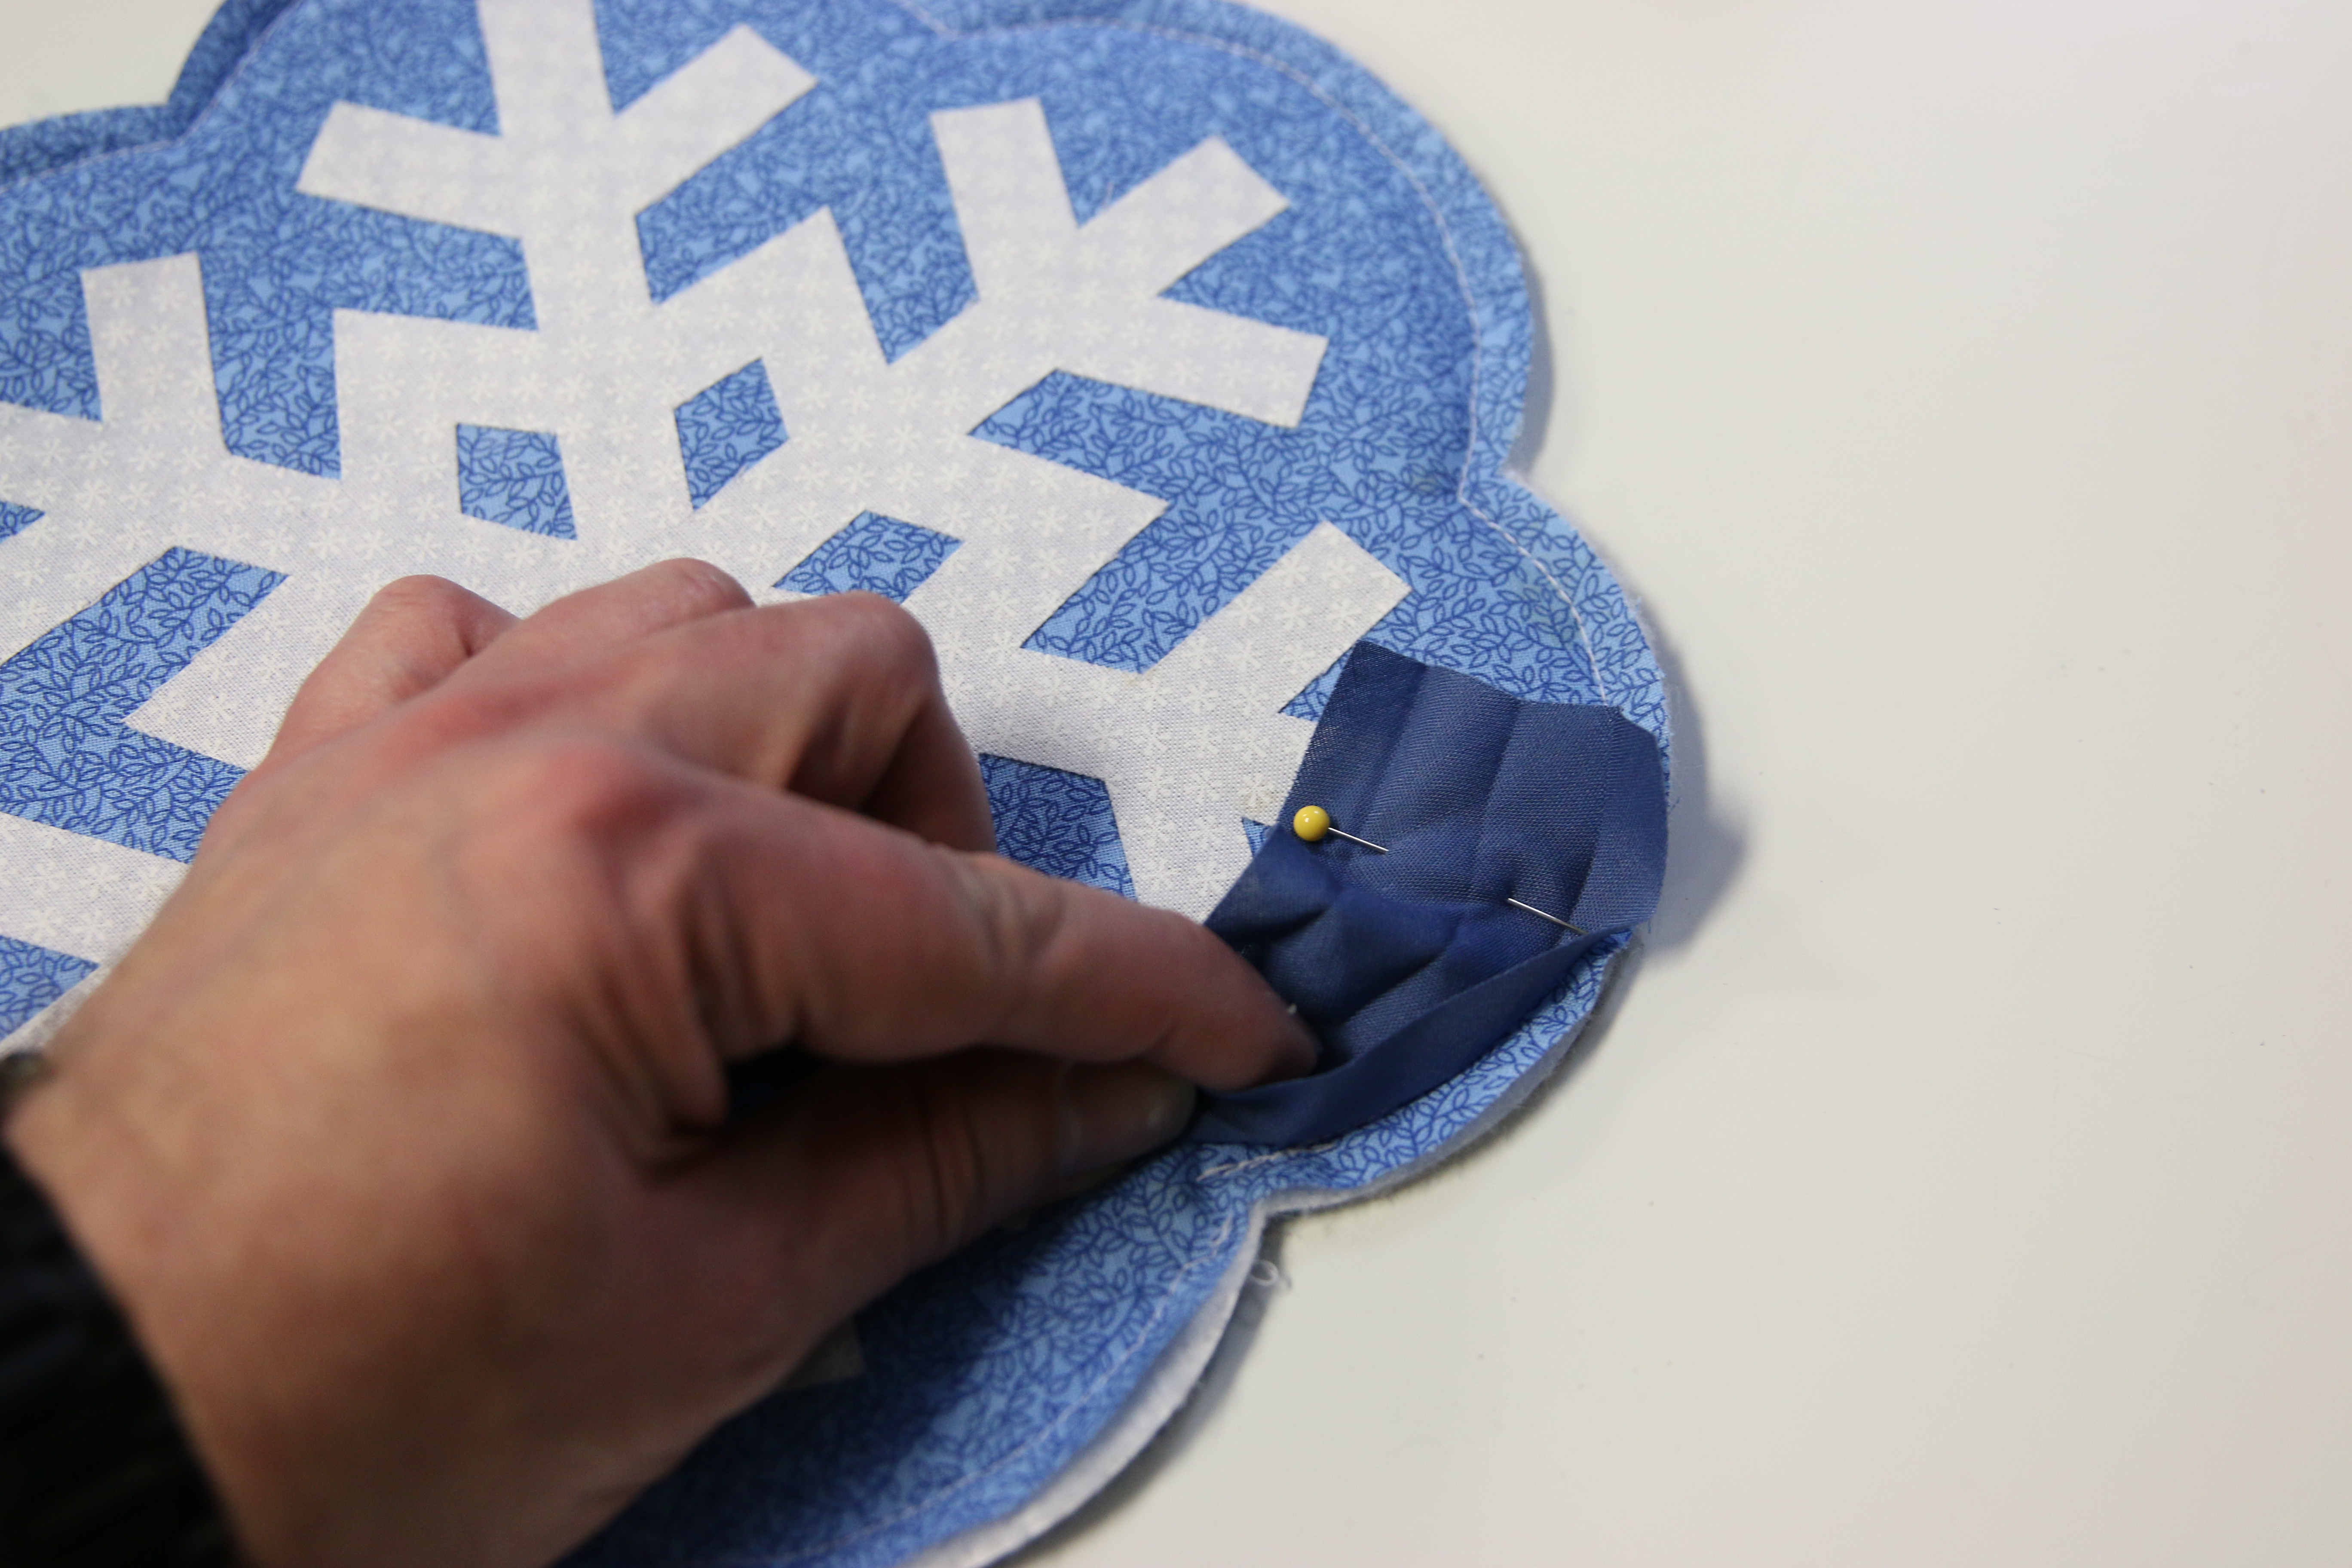
To add the bias tape, open the tape flat with the top edge of the tape aligned with the edge of the fabric. With the wrong side of the tape facing up, pin it in place on one of the outer curves. Sew a seam along the outer fold of the bias tape. Start sewing about one inch away from the raw end, so the starting end of the tape remains unsewn and loose for 1”. Sew around the entire shape, matching the outer edge of the tape with the outer edge of the fabric.
5
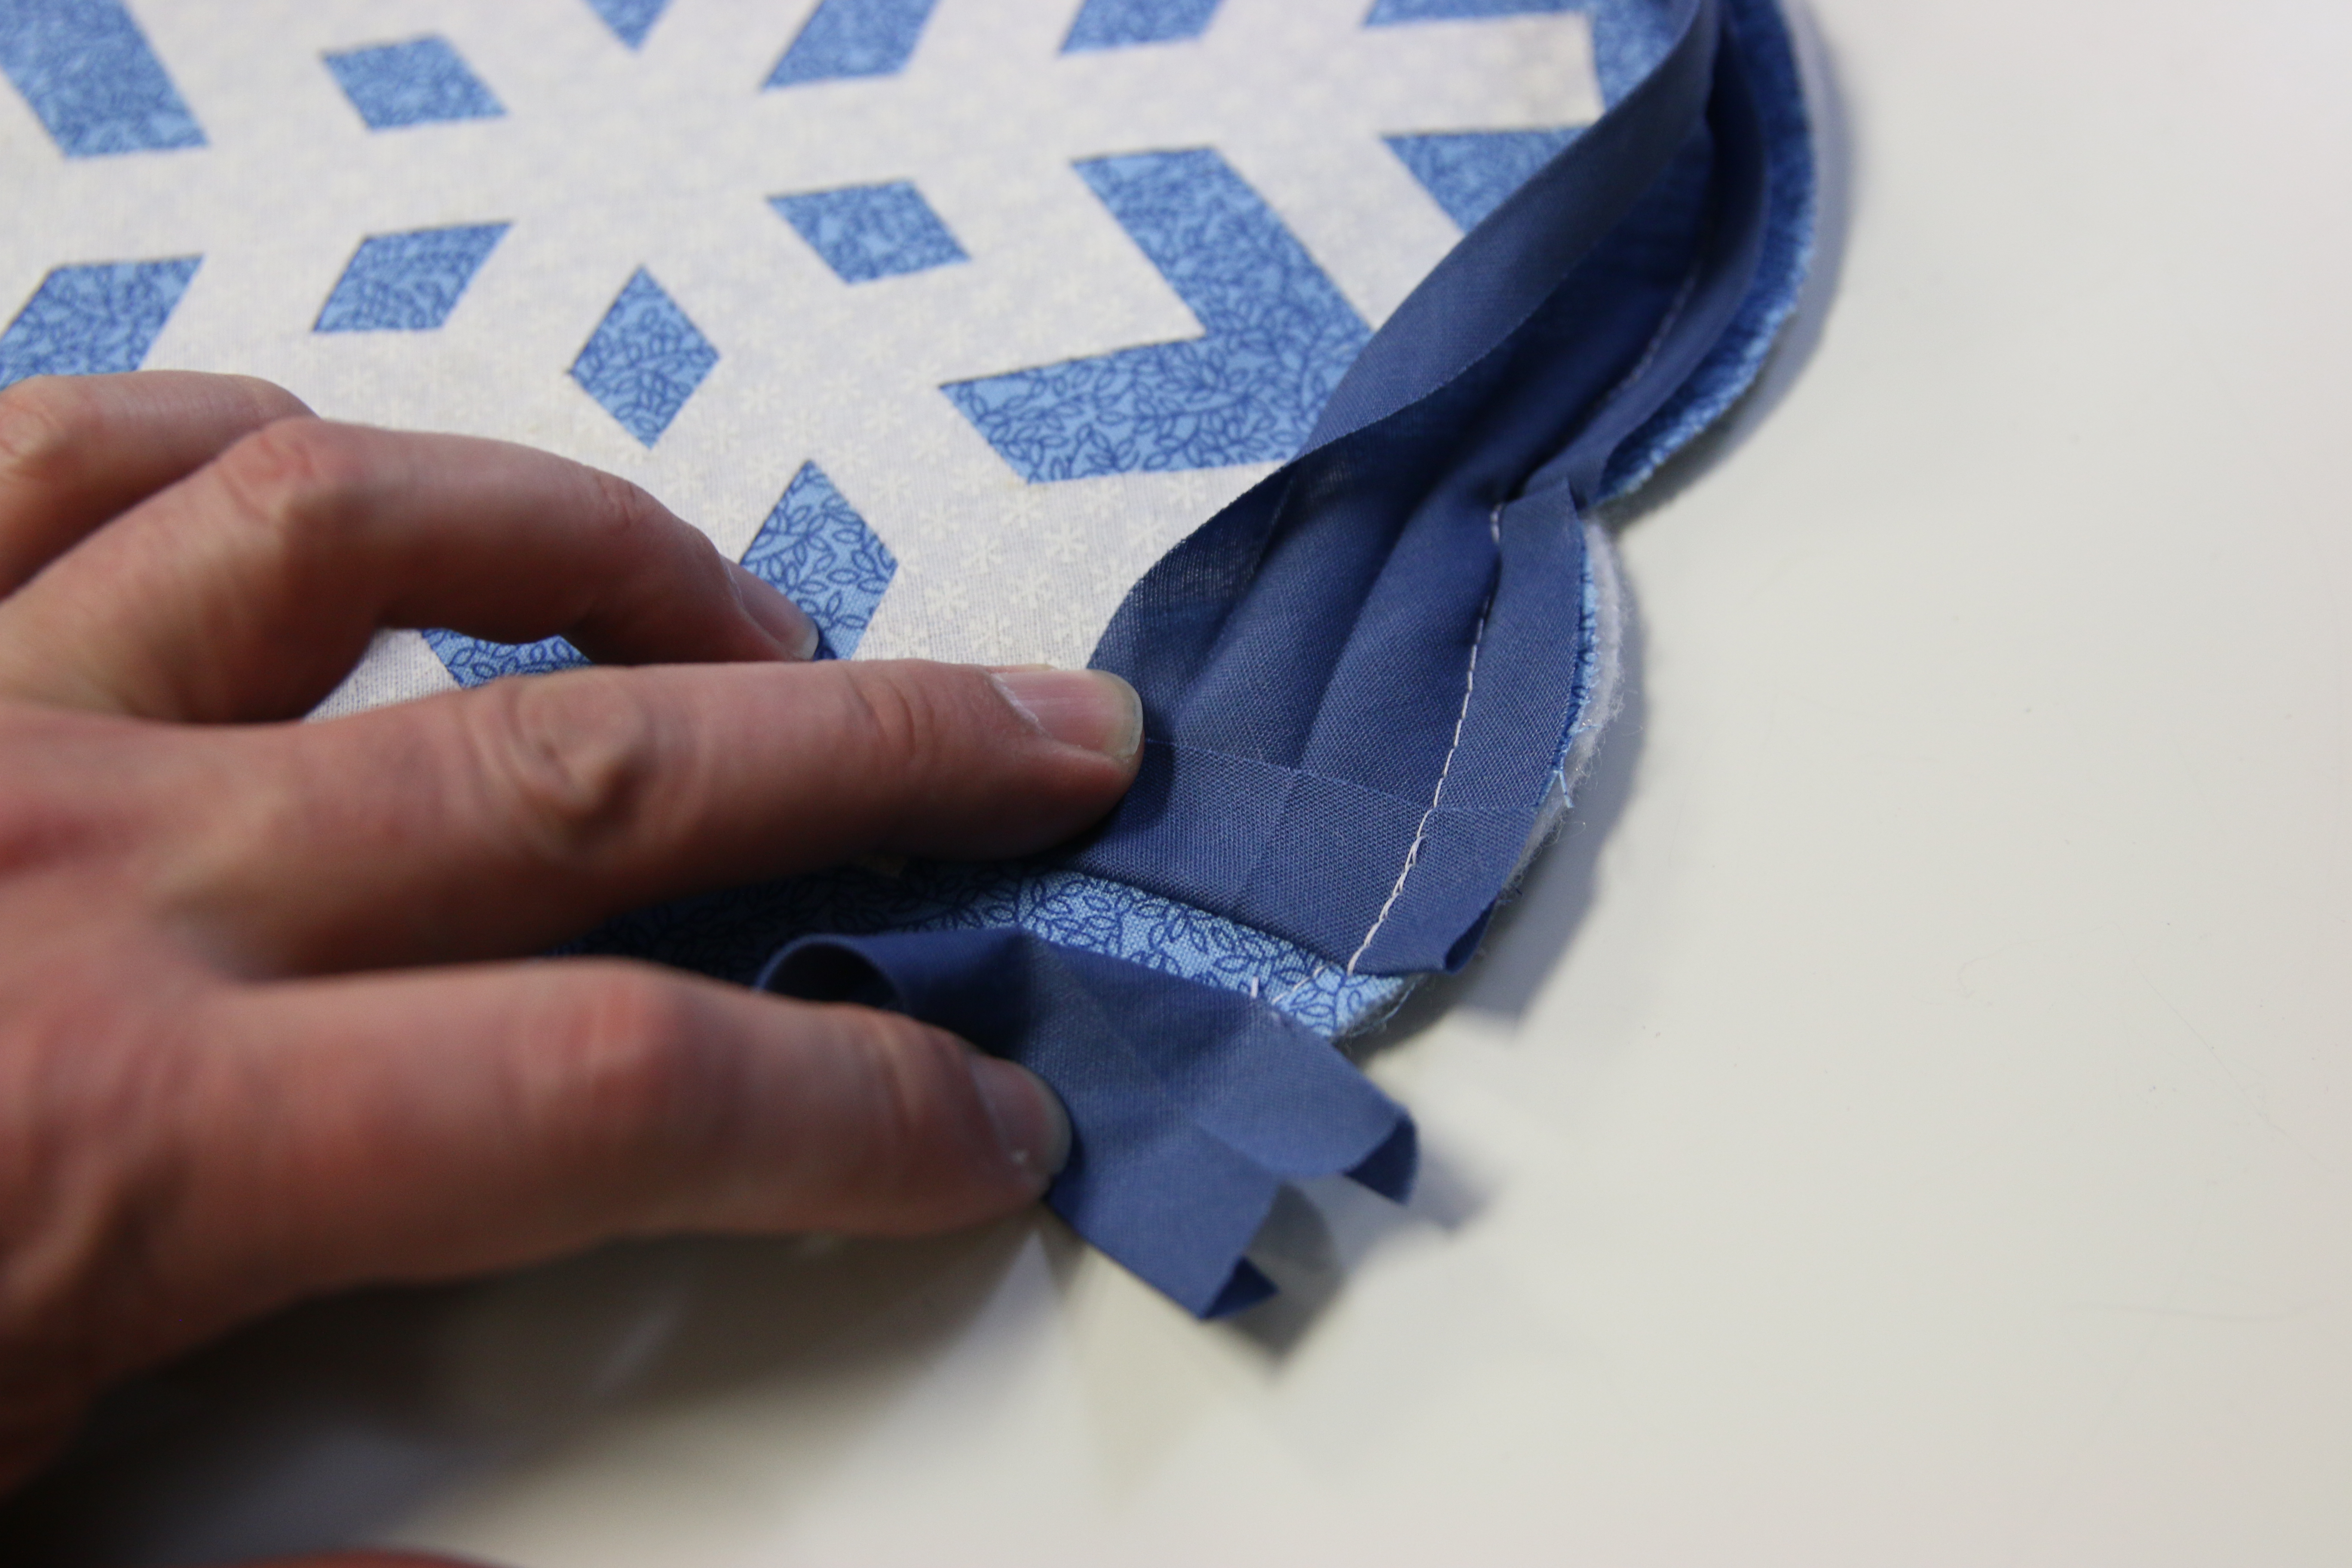
When you reach the end, trim the tape, leaving about one inch excess overlapping the starting end of the tape. Then fold the tail end of the tape over 1/2” and stitch it in place.
6
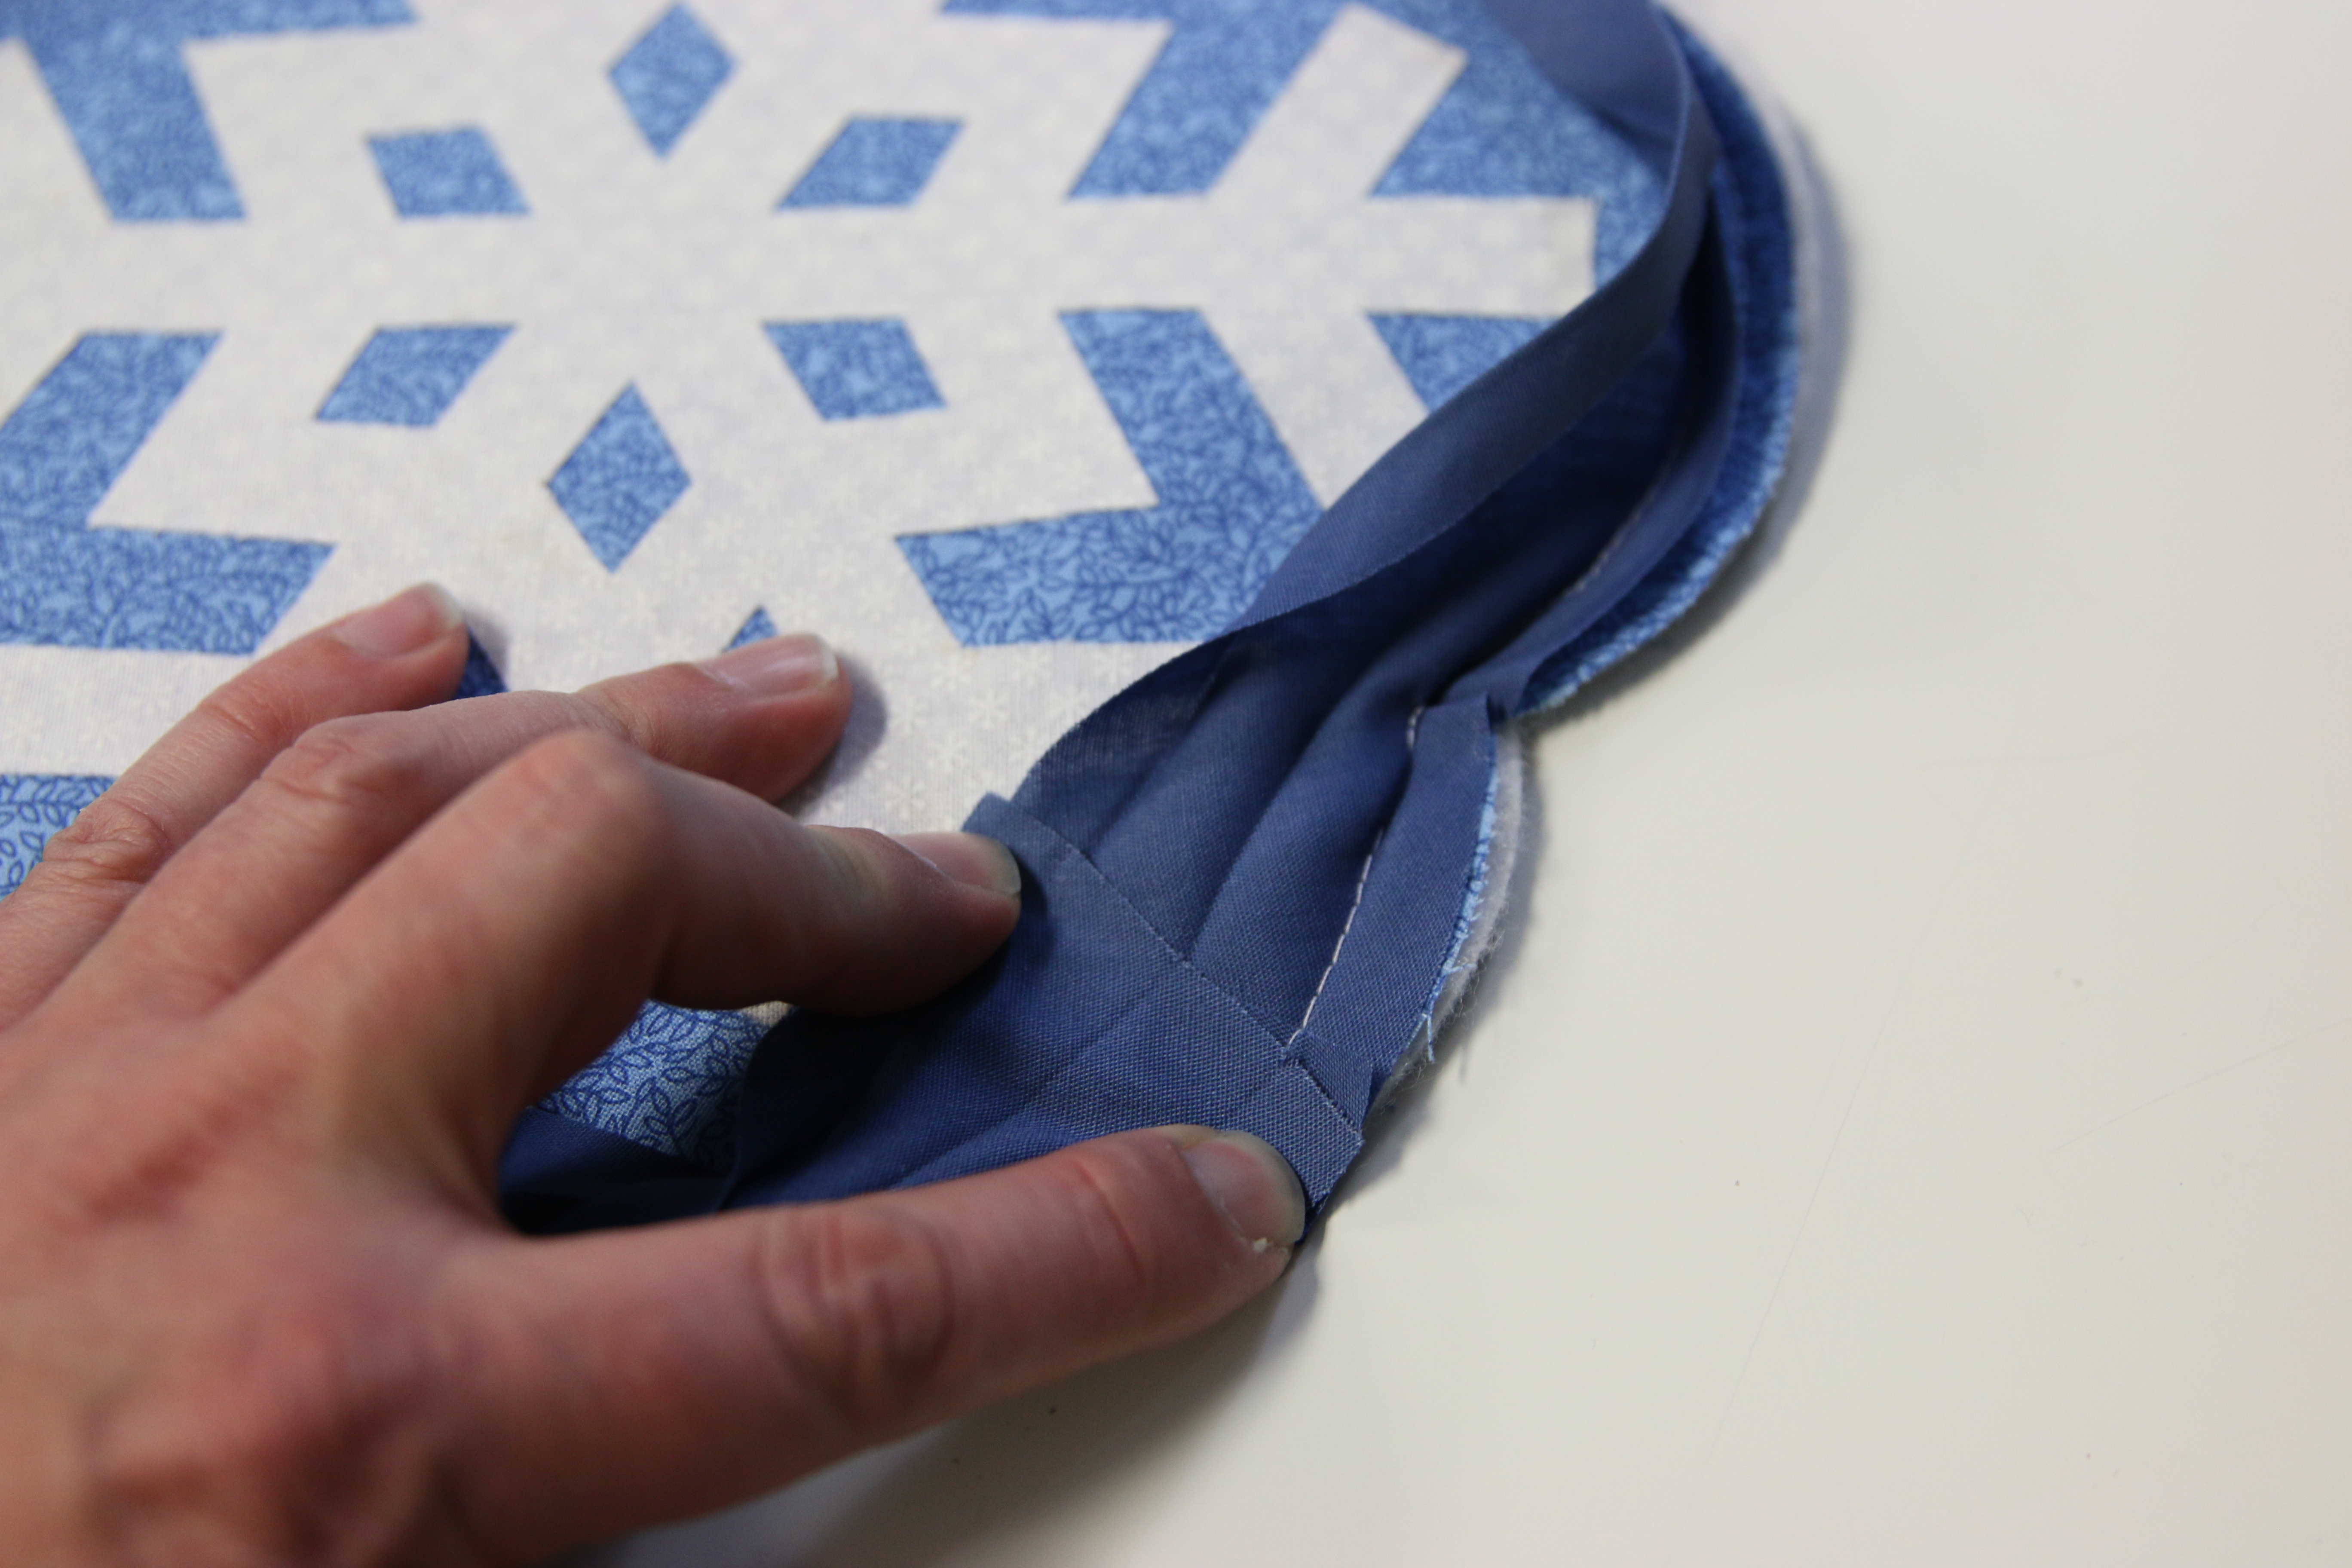
Then, align the starting end (raw end) over the folded end of the tape, and continue to stitch the bias tape in place along the outer fold.
7
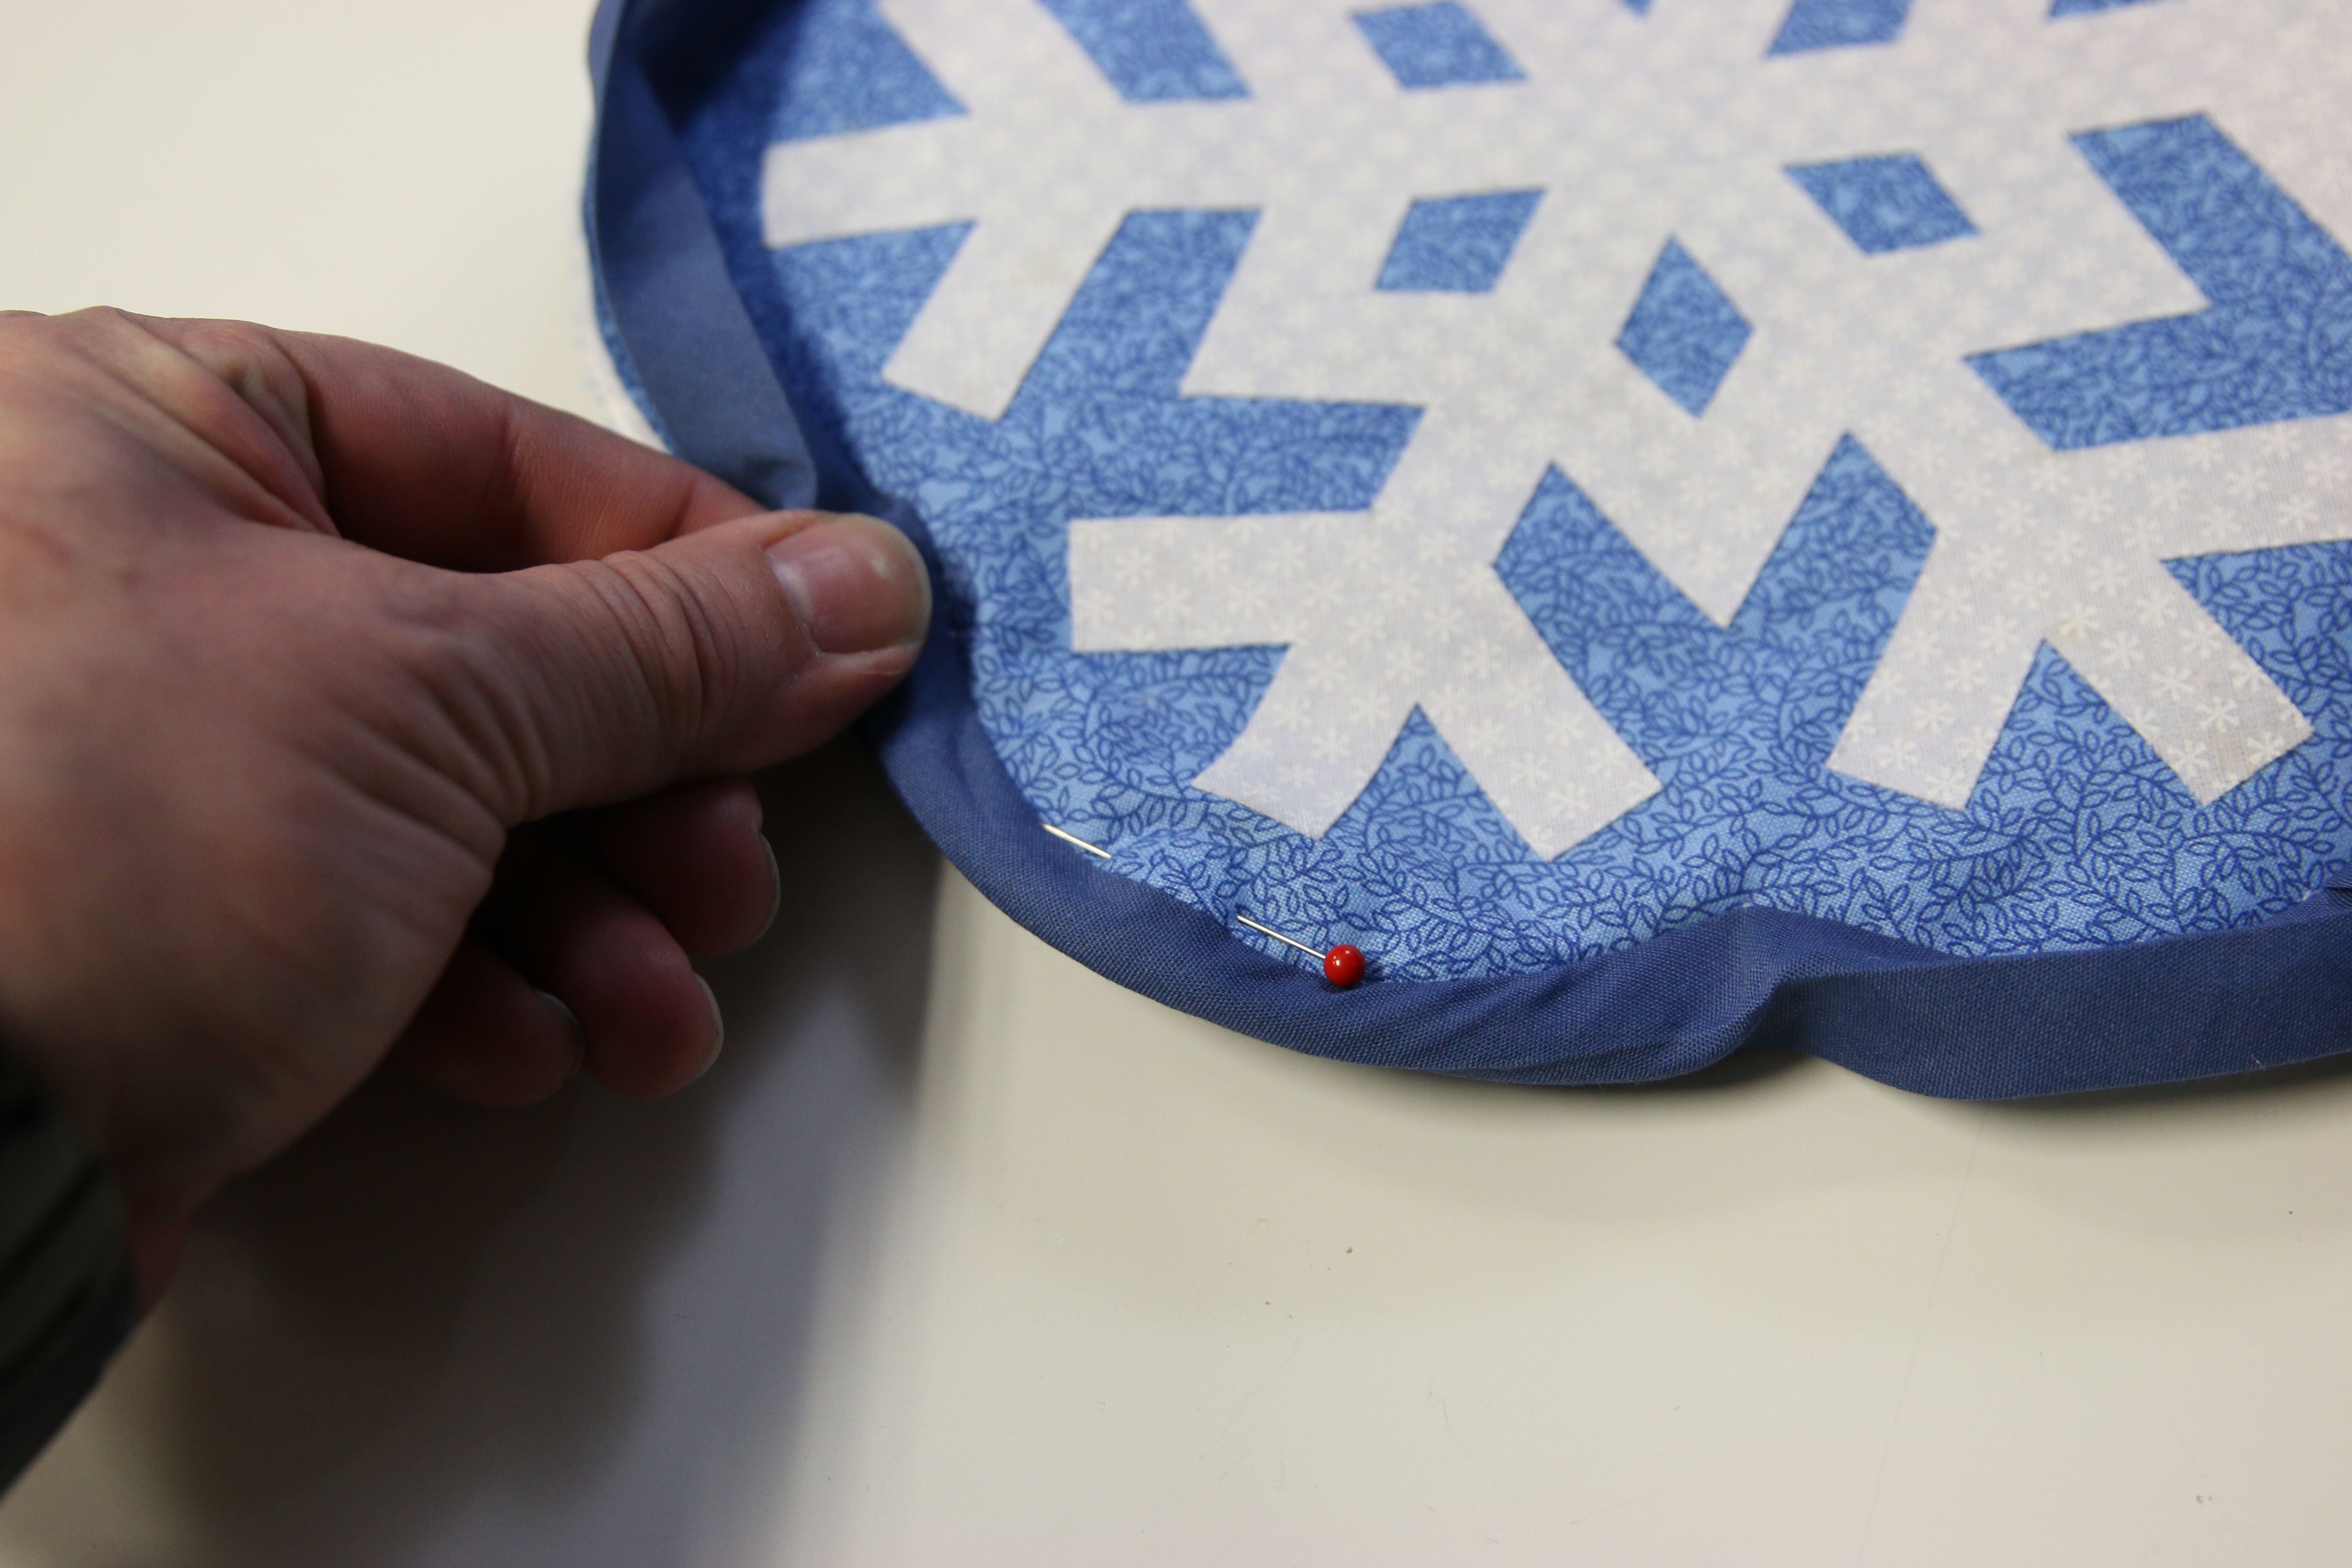
Fold each side of the tape back together and wrap it around the raw edge of the trivet. Make sure all of the raw edges are inside the bias tape, and pin it along the scalloped edge of the trivet.
8
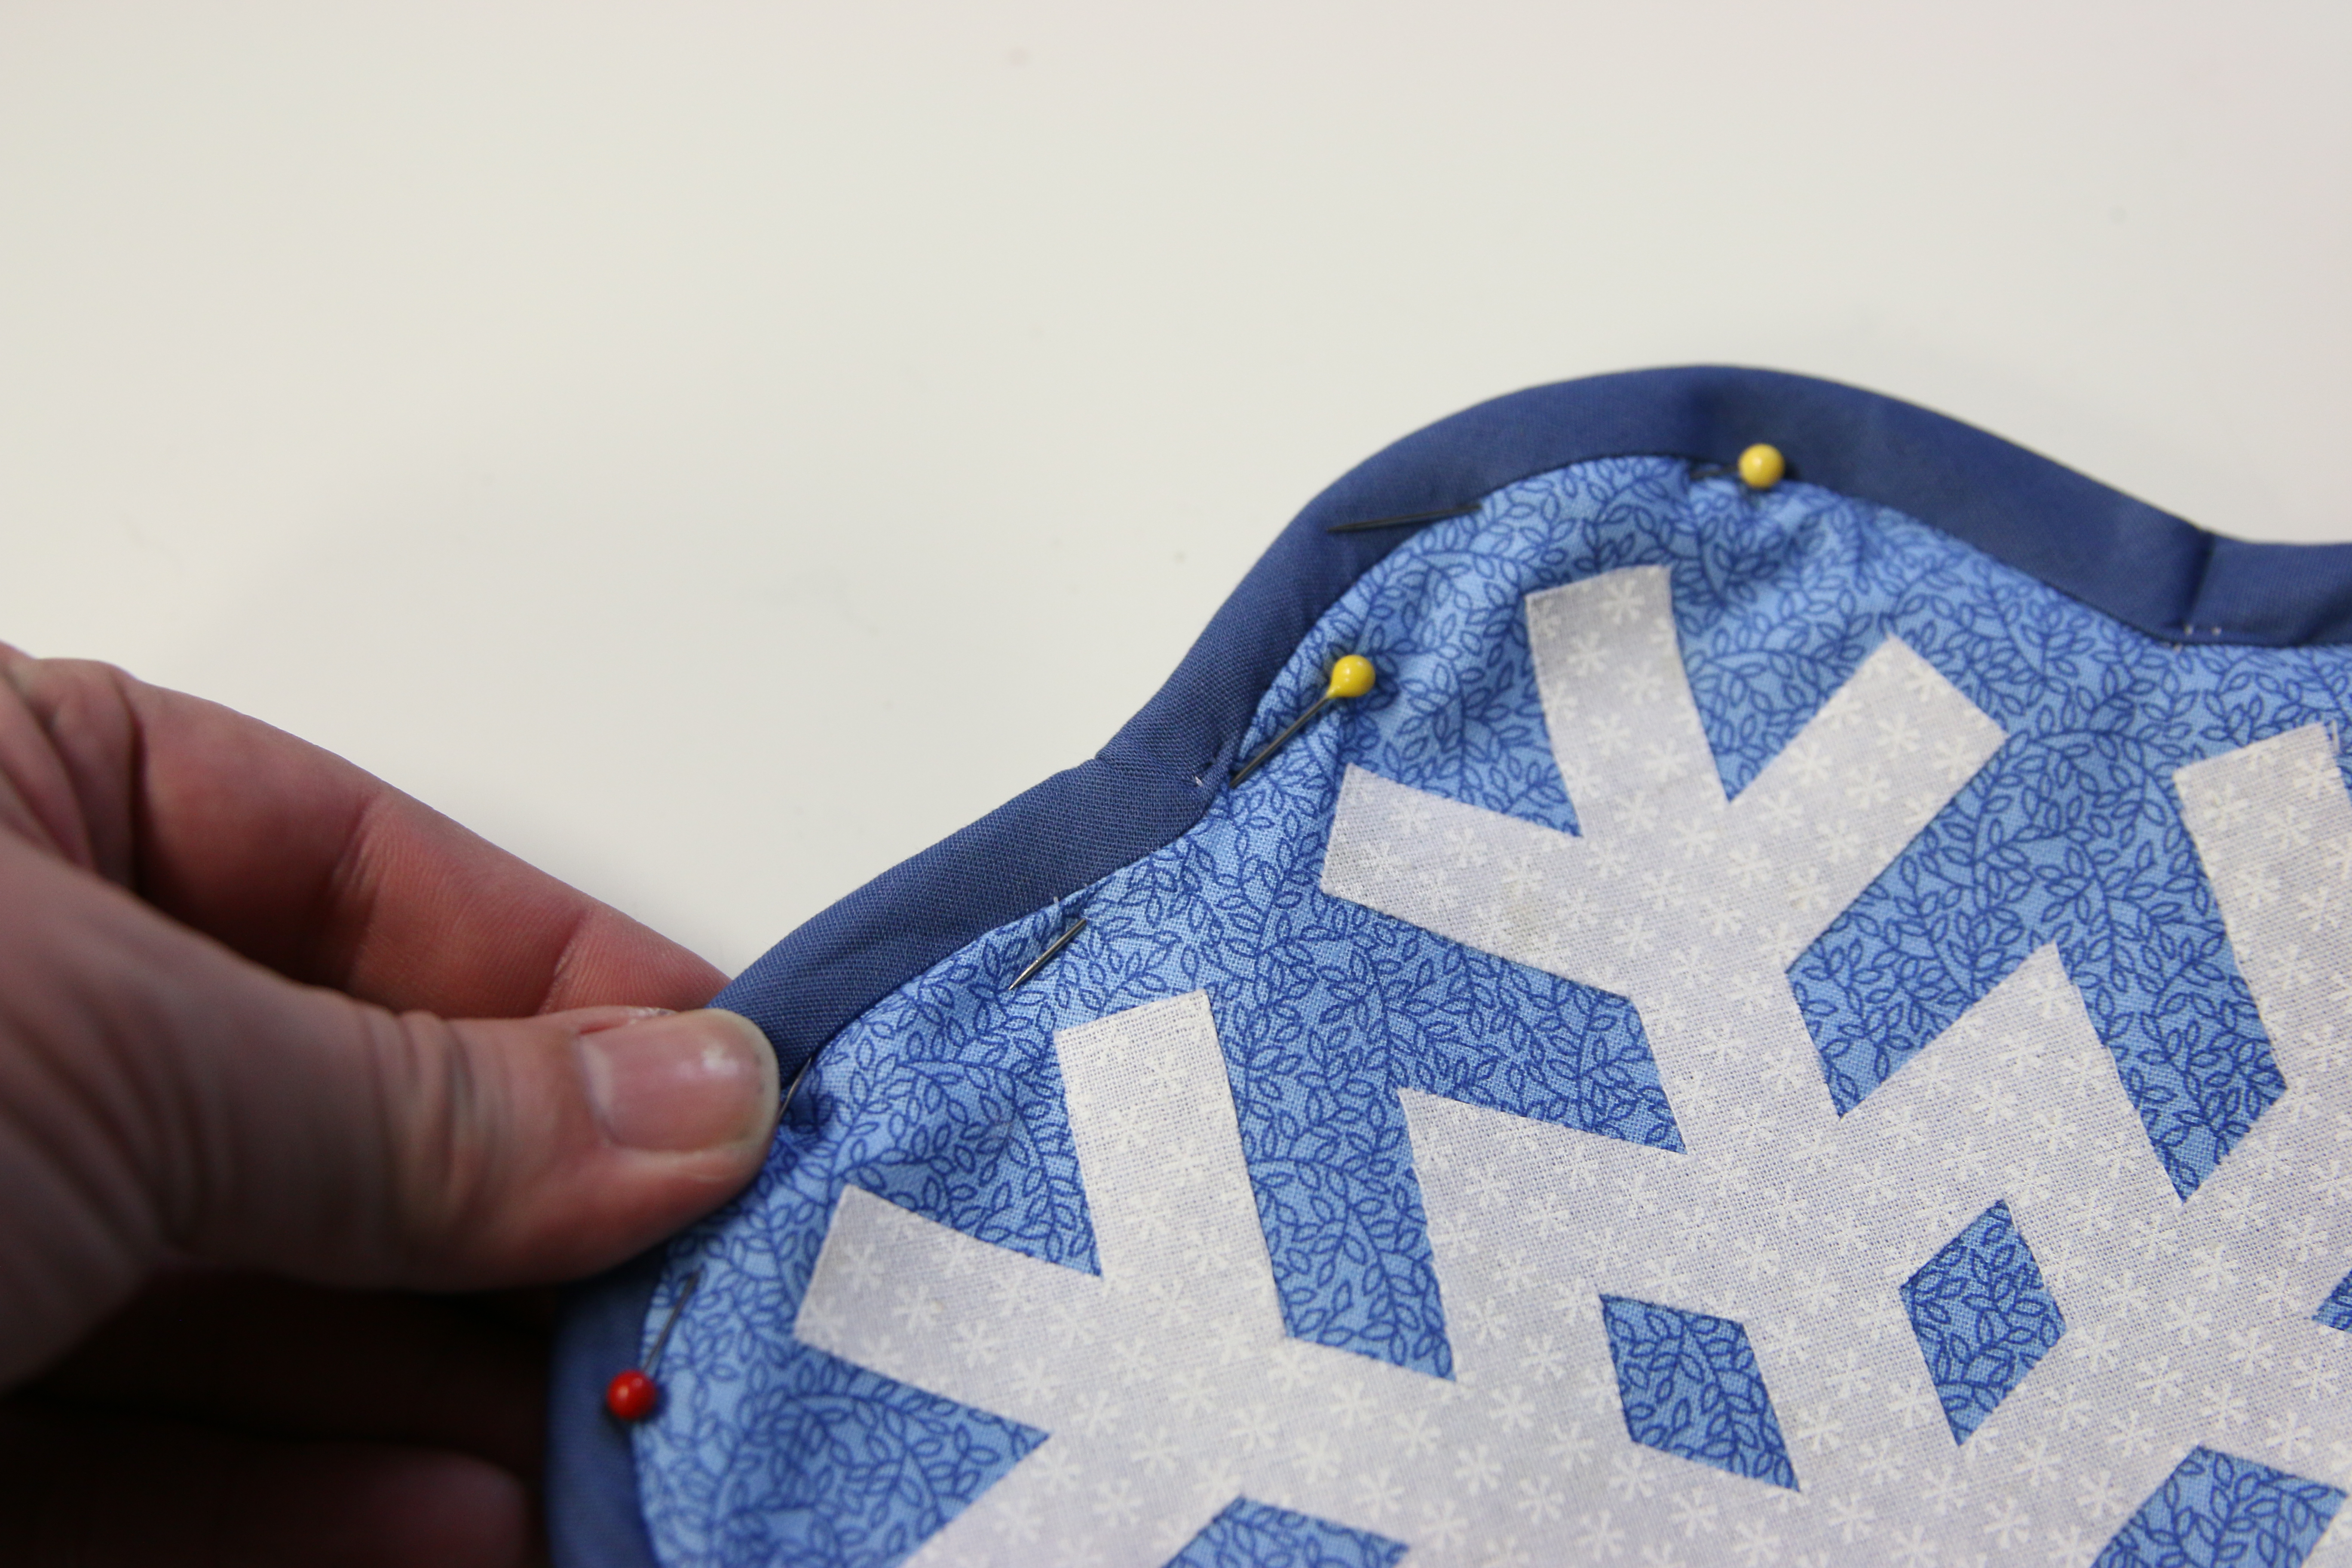
Make sure to catch the bias tape on the back side of the trivet when pinning.
9
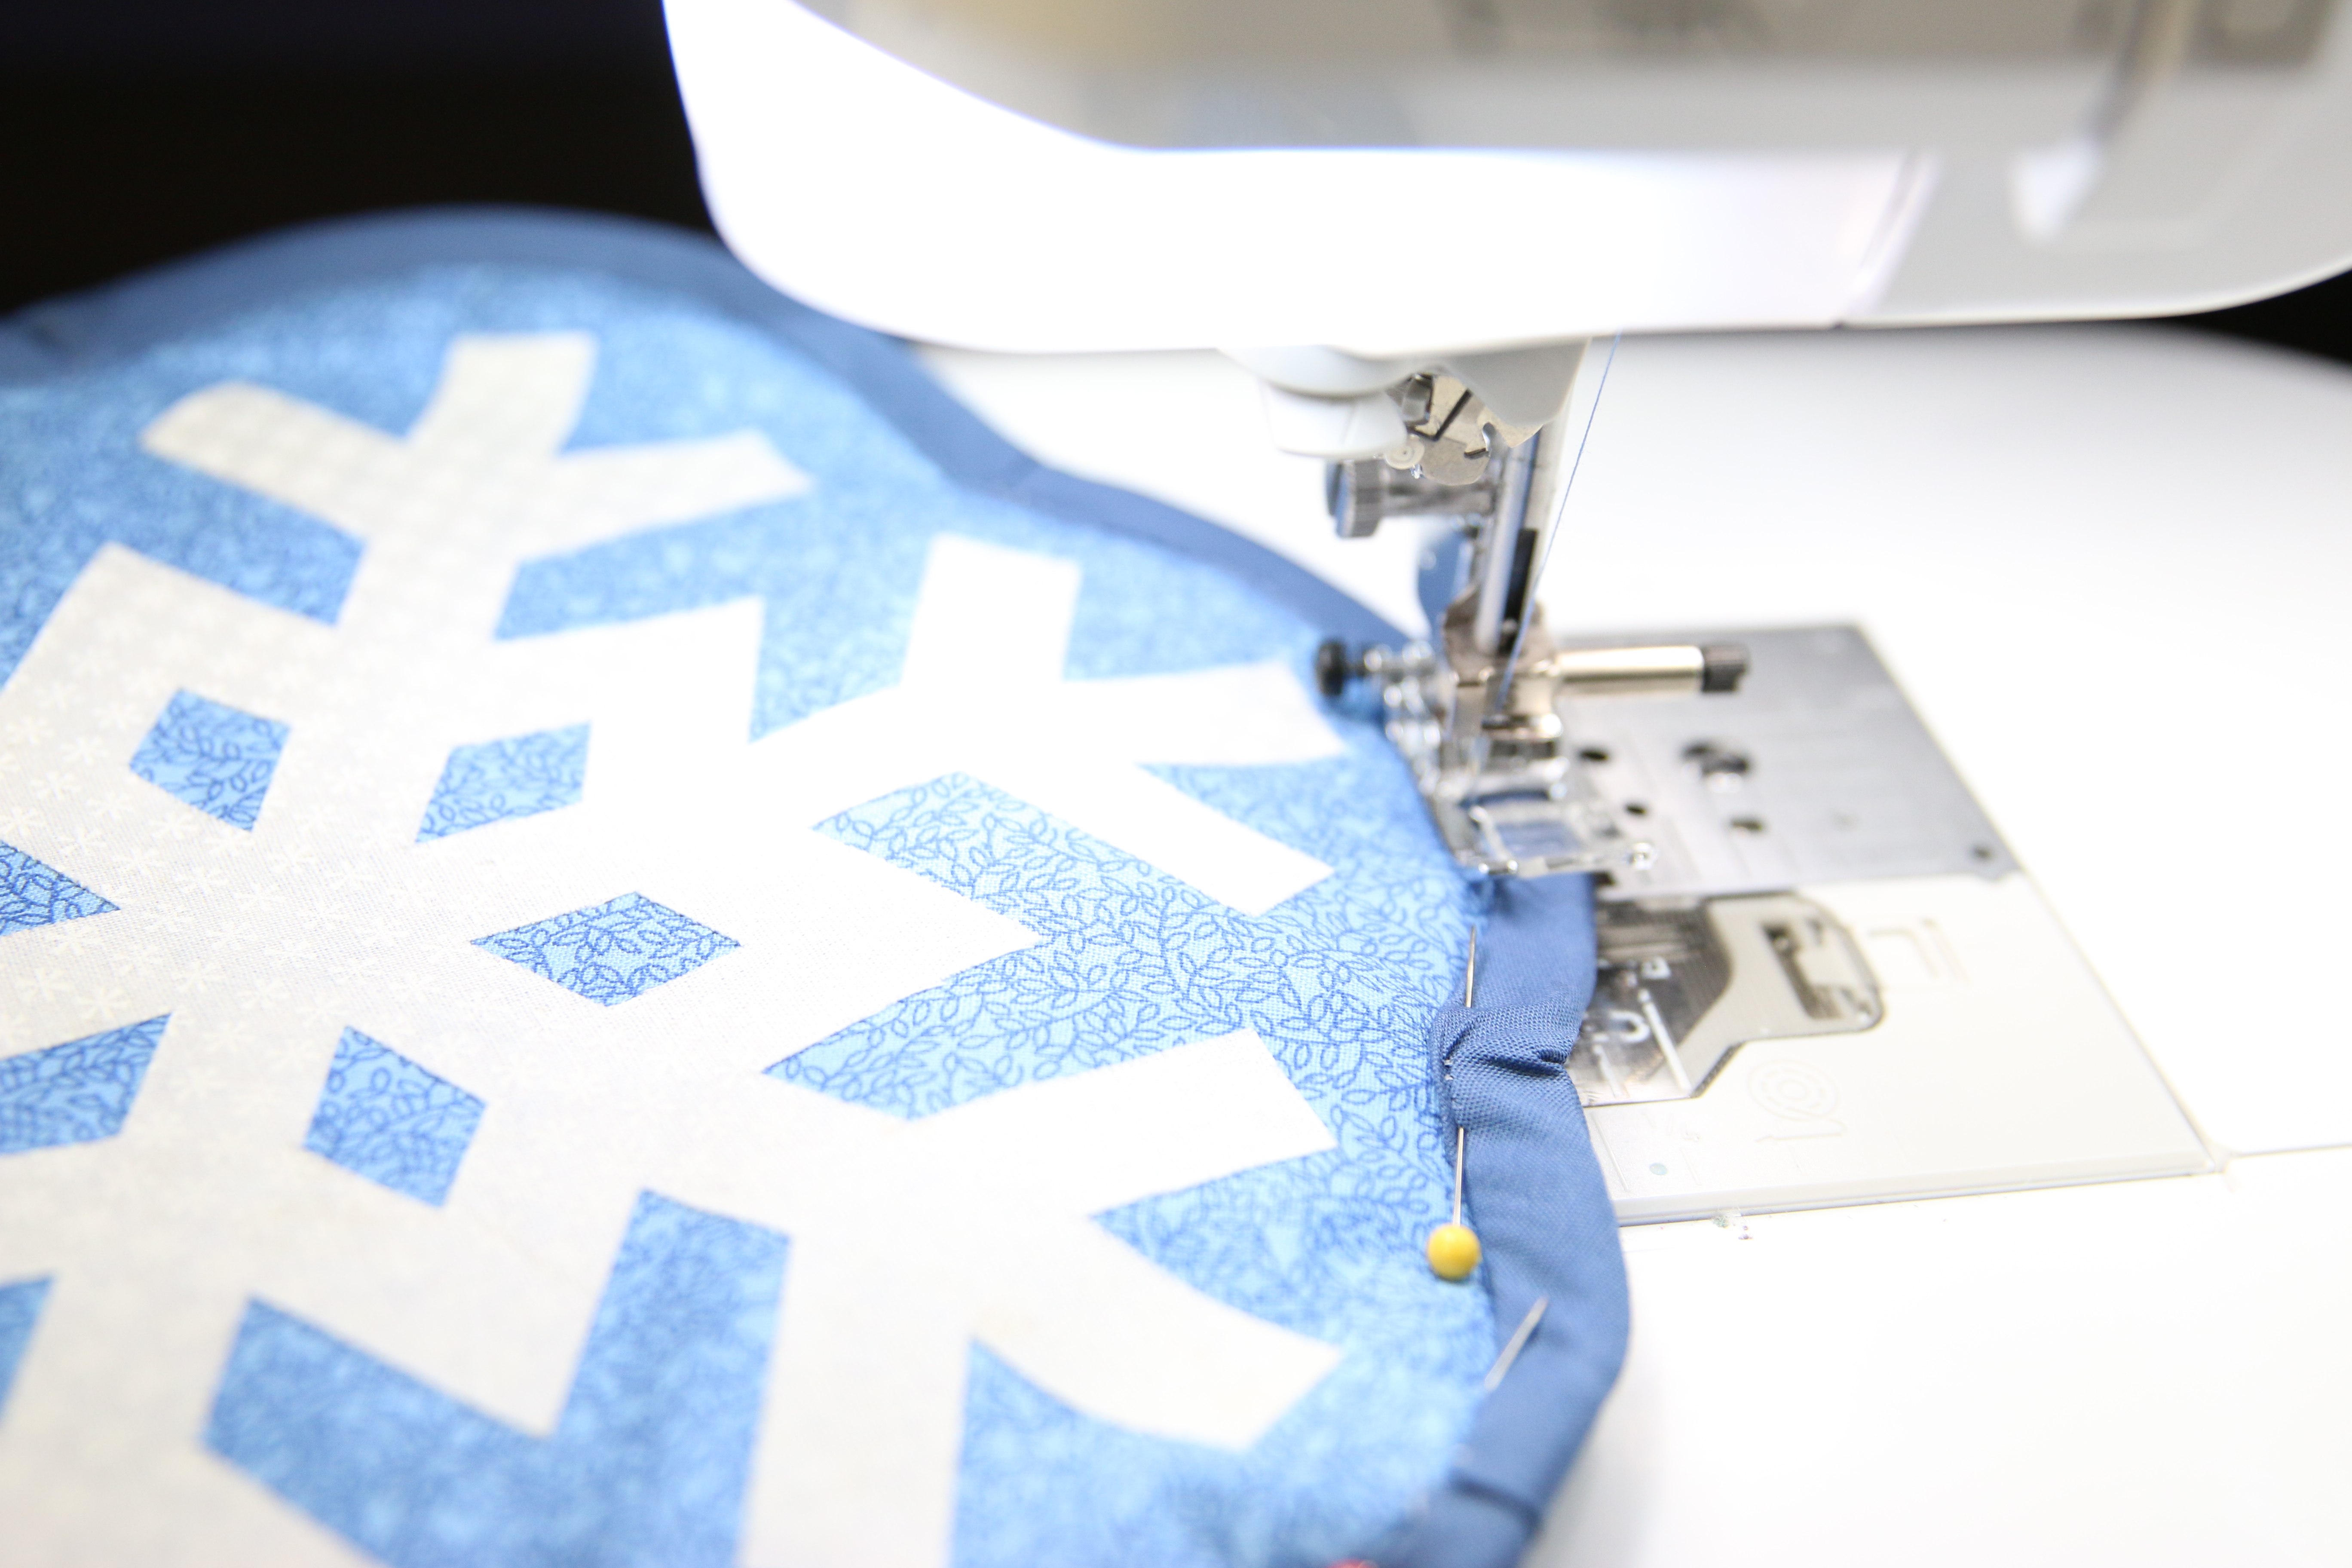
Using a thread color that matches the bias tape, sew a seam right along the inner edge of the bias tape around the entire shape.
10
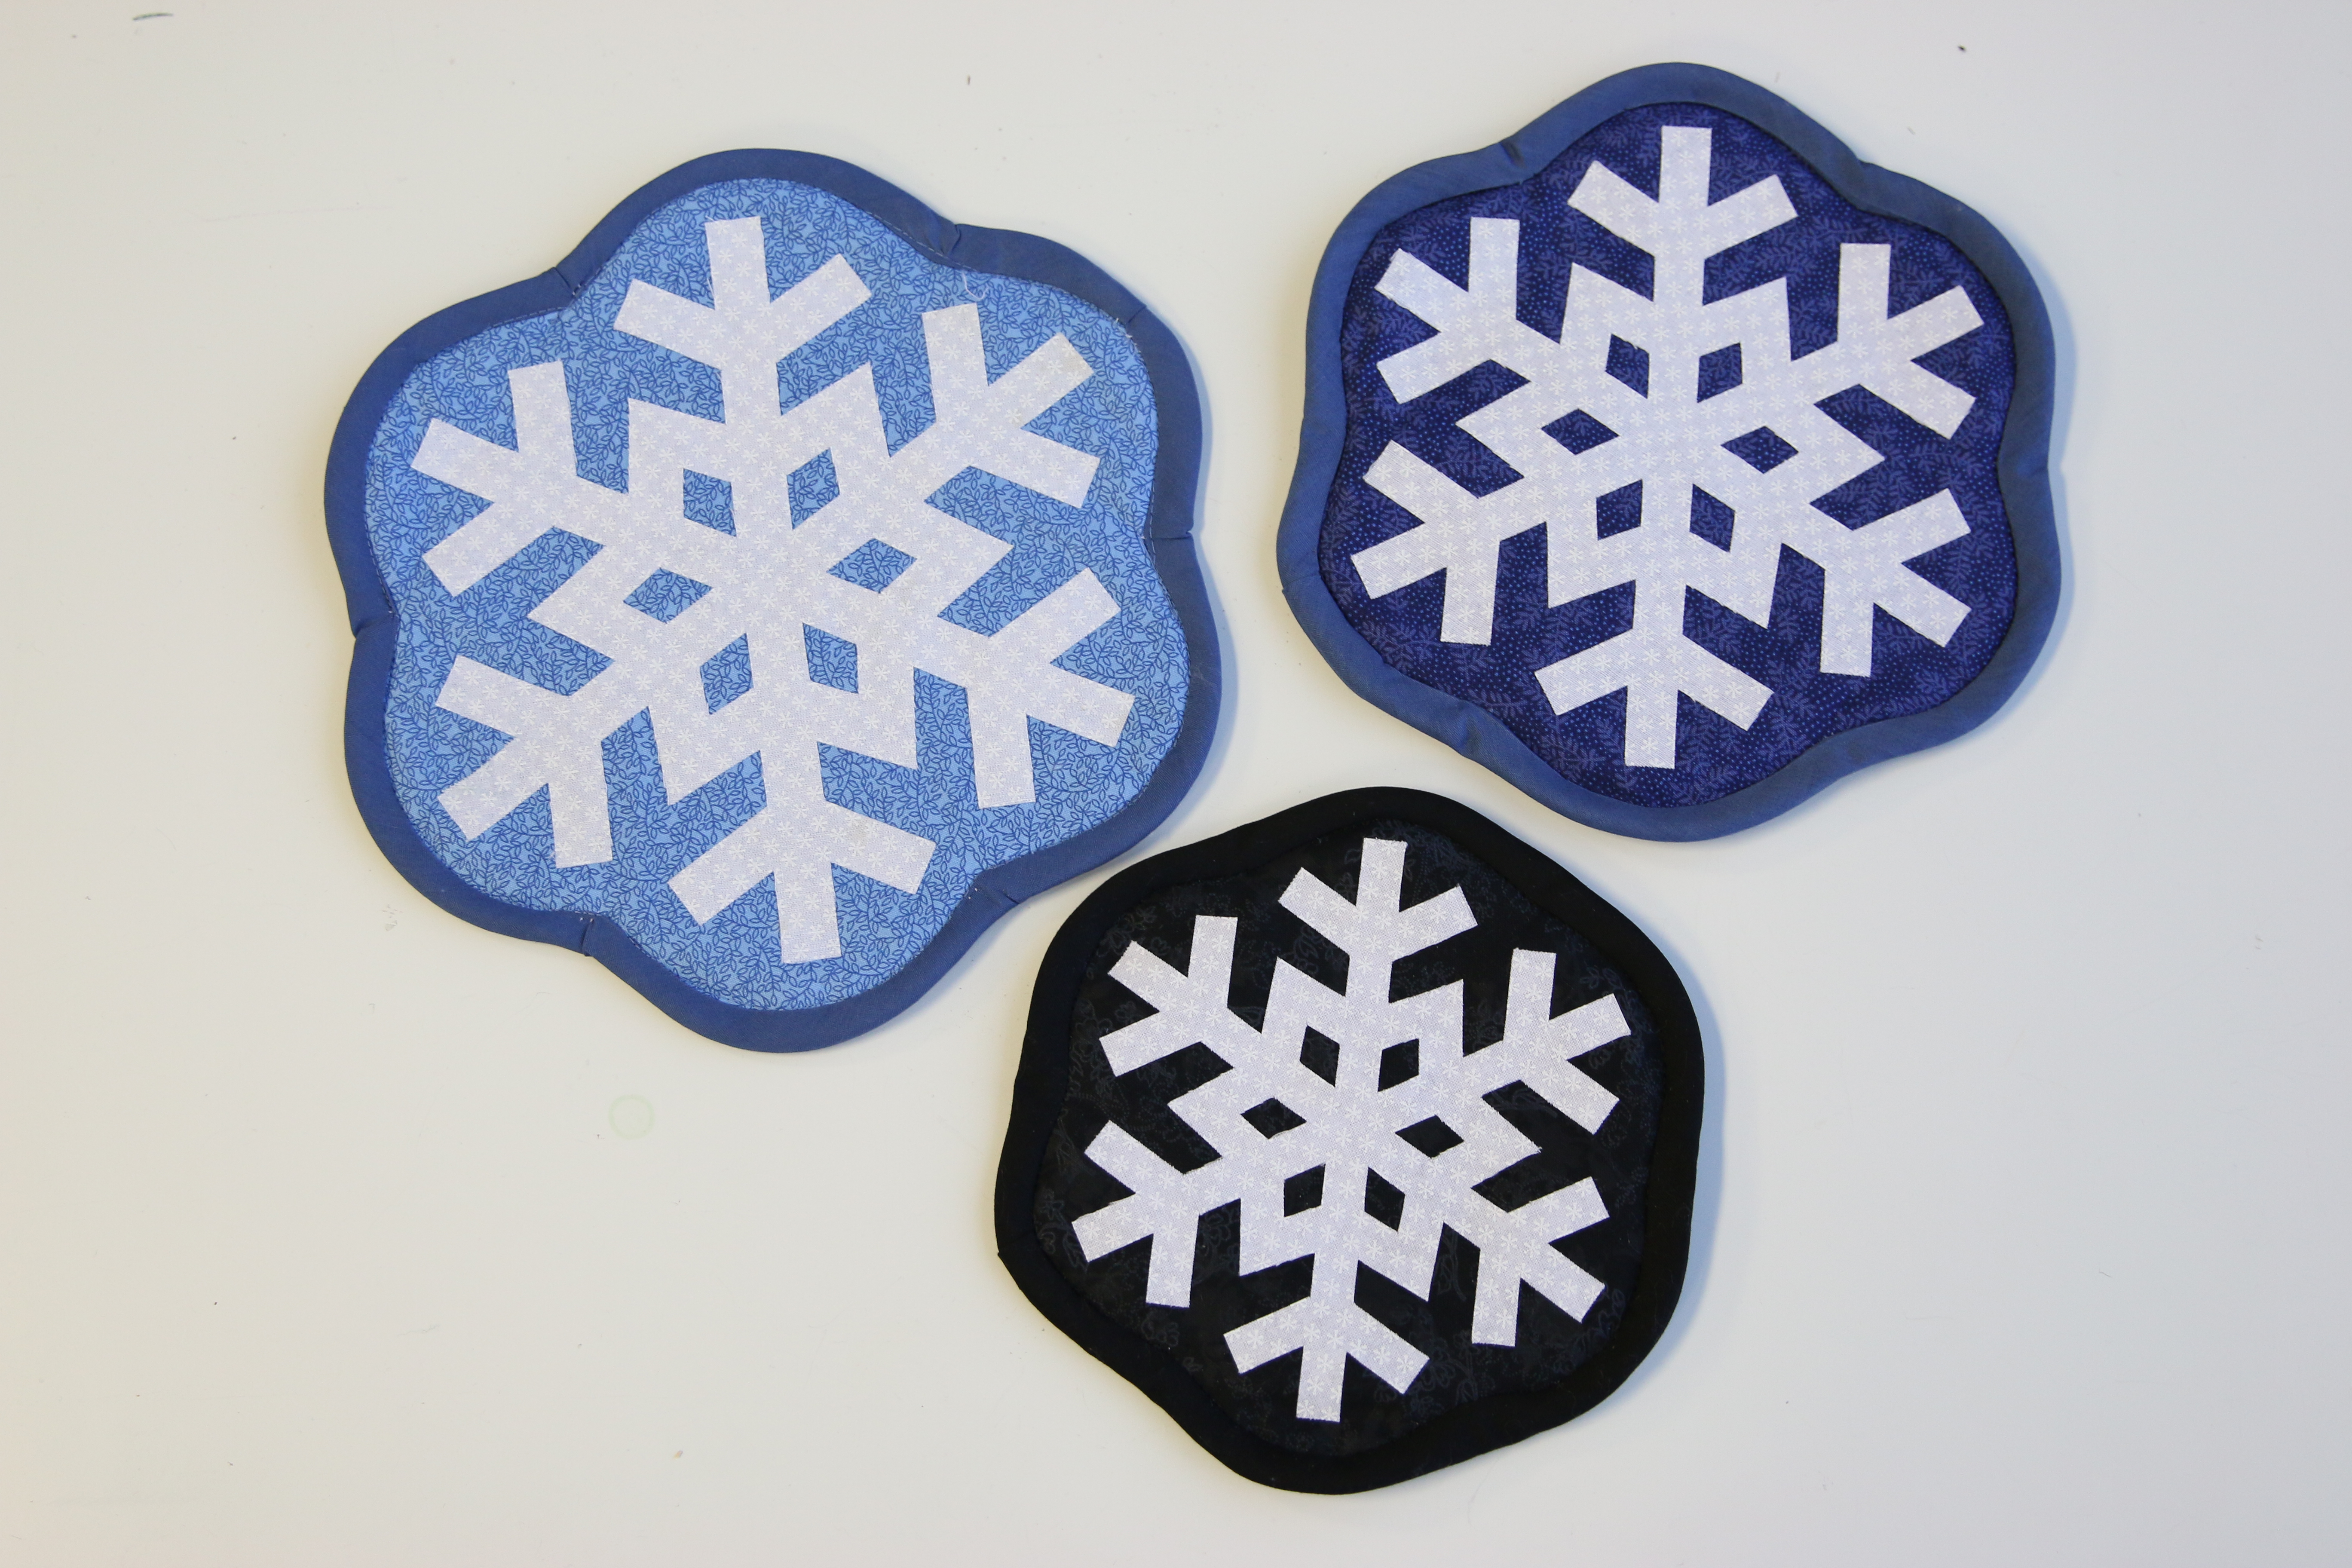
This completes the Snowflake Trivet. Repeat these steps to make a bunch of trivets in different colors and sizes, for your home and for gifts. Make sure not to resize these designs, as the seam allowance makes them unscalable.

