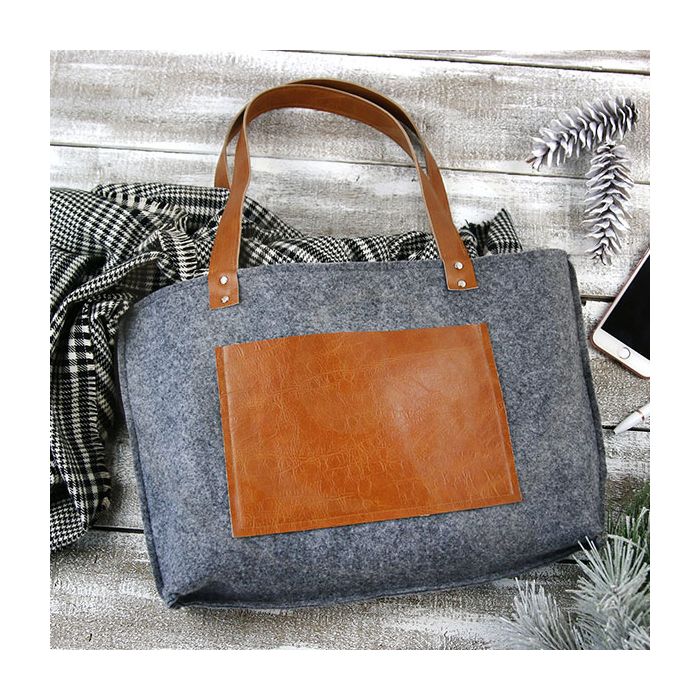
Supplies
- 3/4 yard of thin, soft leather or faux leather (color 1)
- 1/2 yard of felt or woolen felt (color 2)
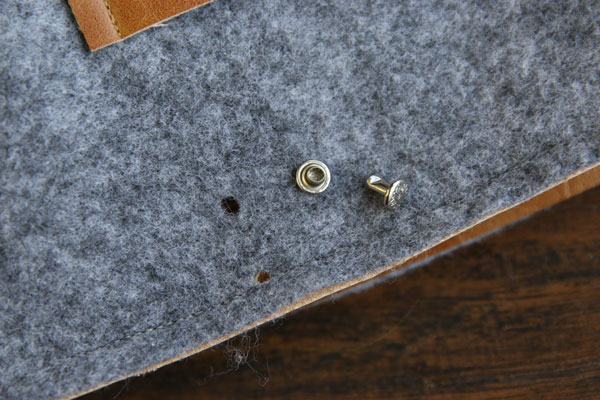
- 8 double cap rivets (5/16” (8mm) cap, and 5/16” (8mm) post)
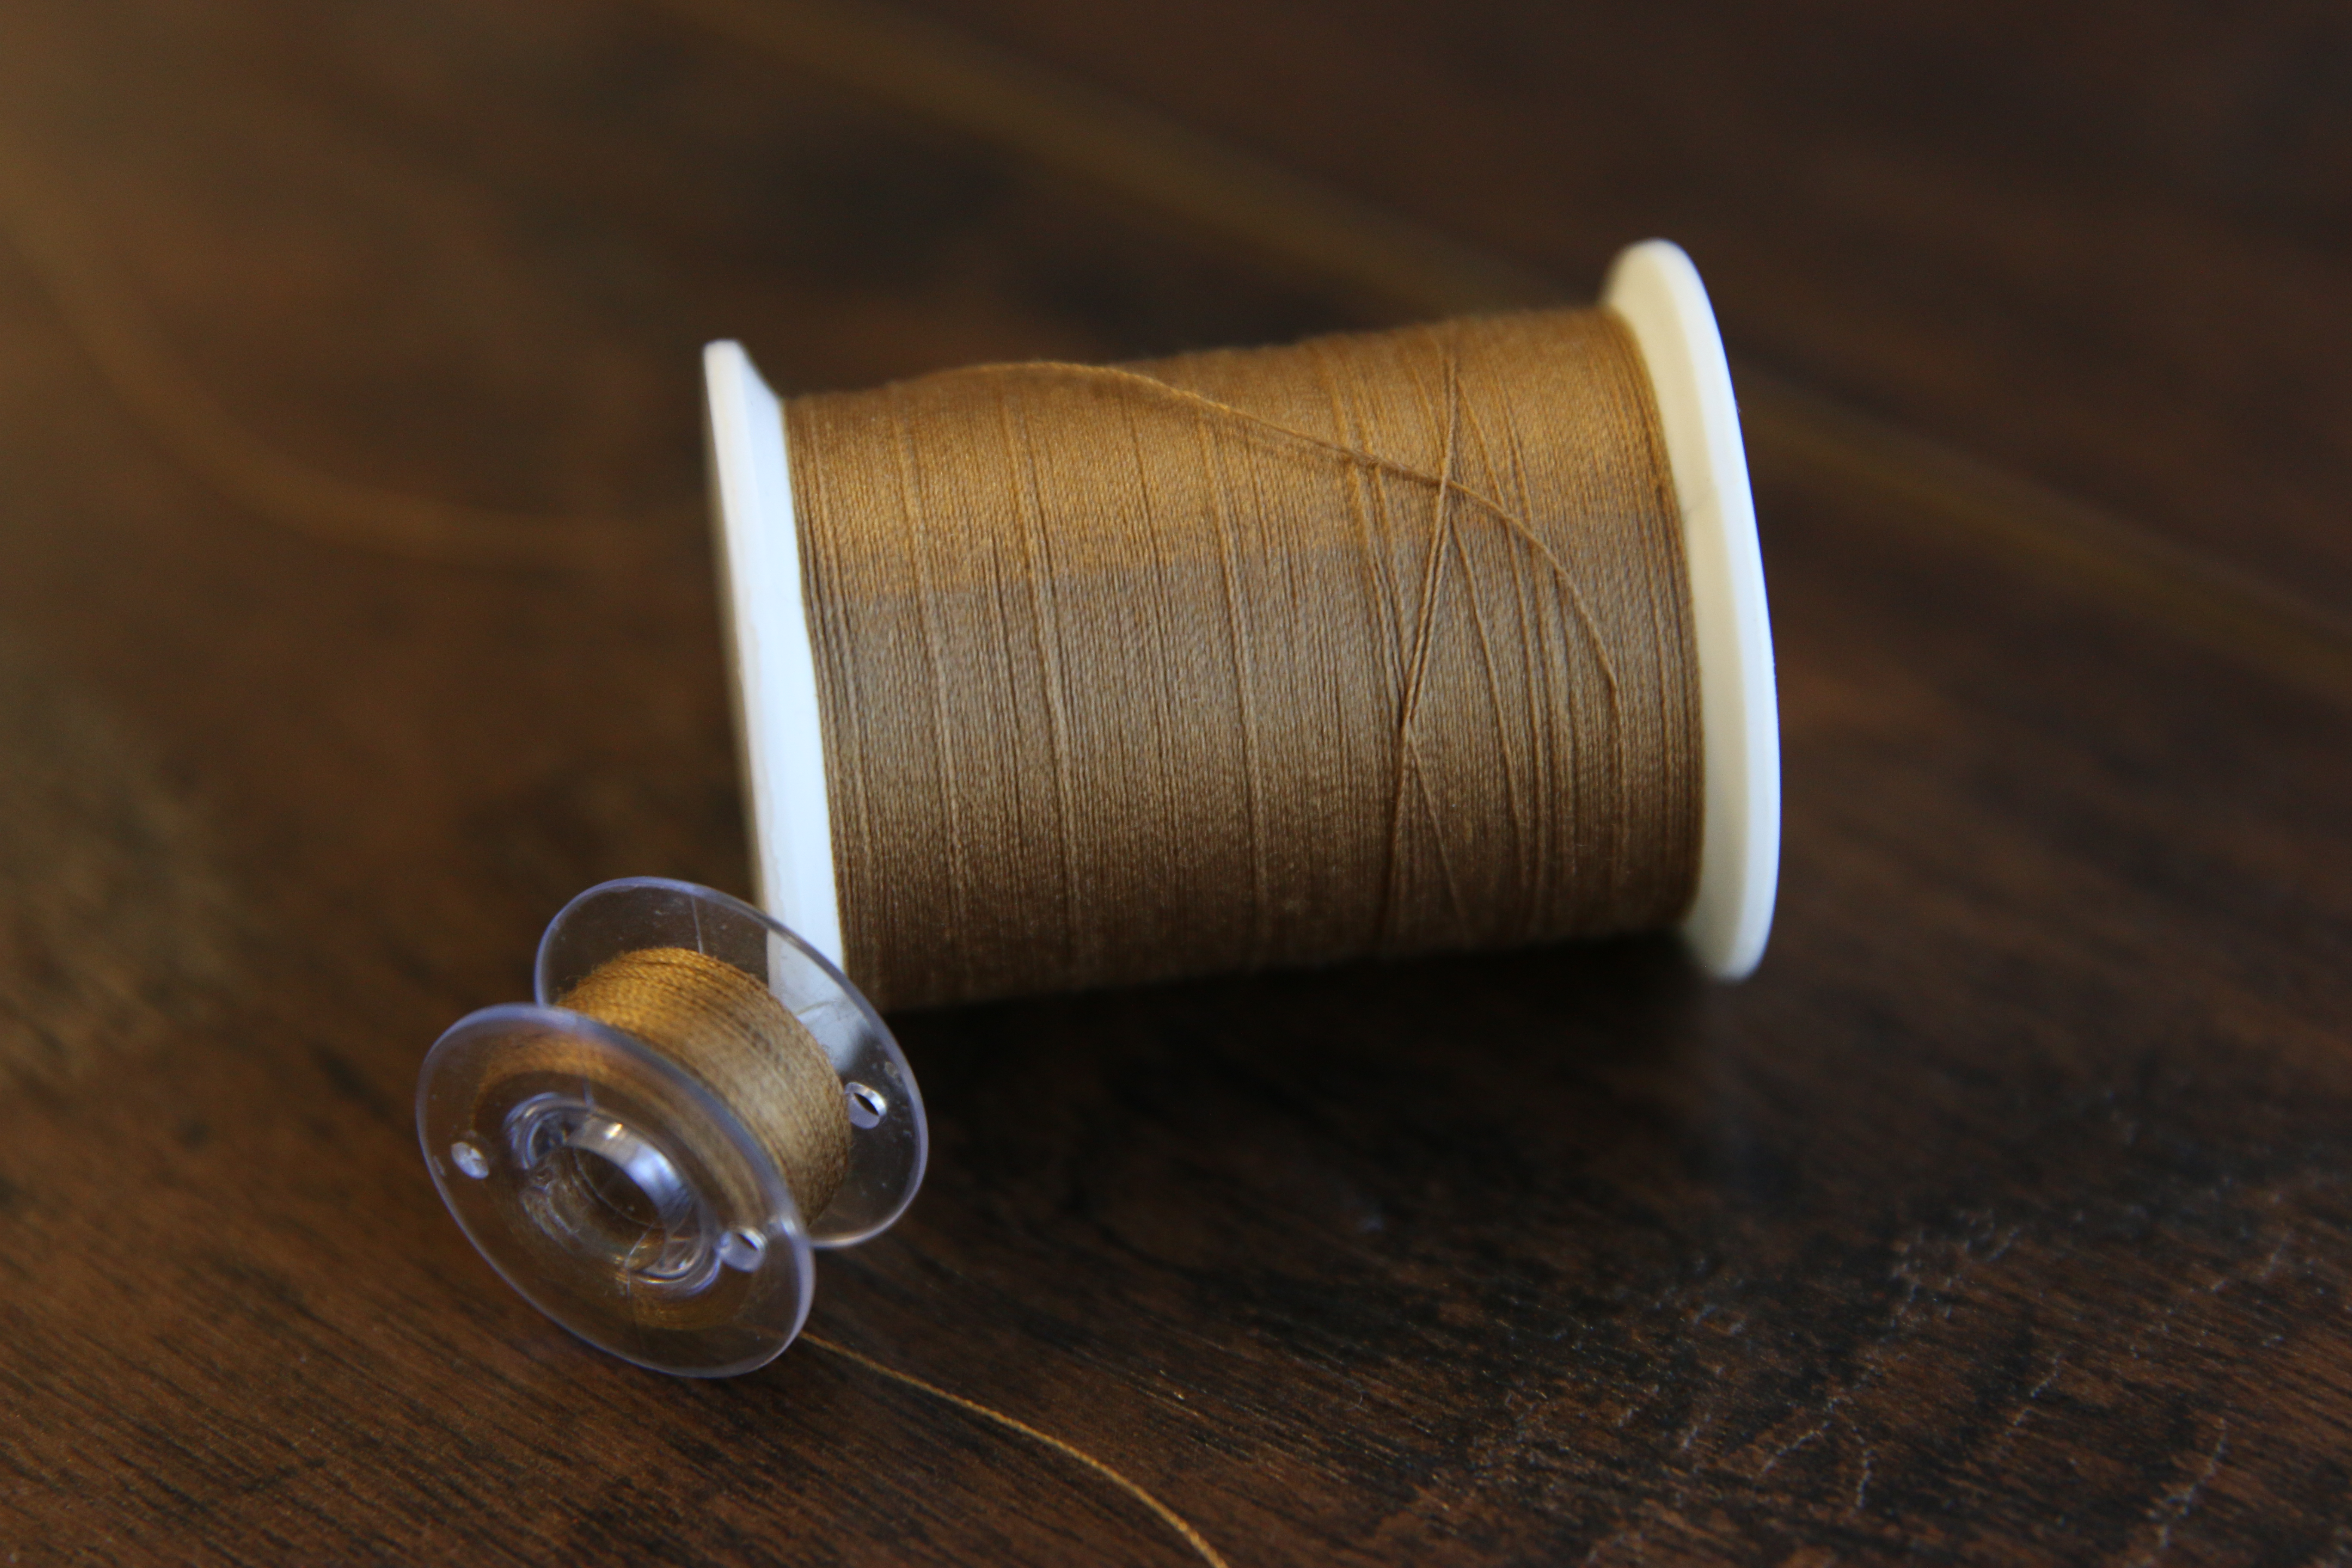
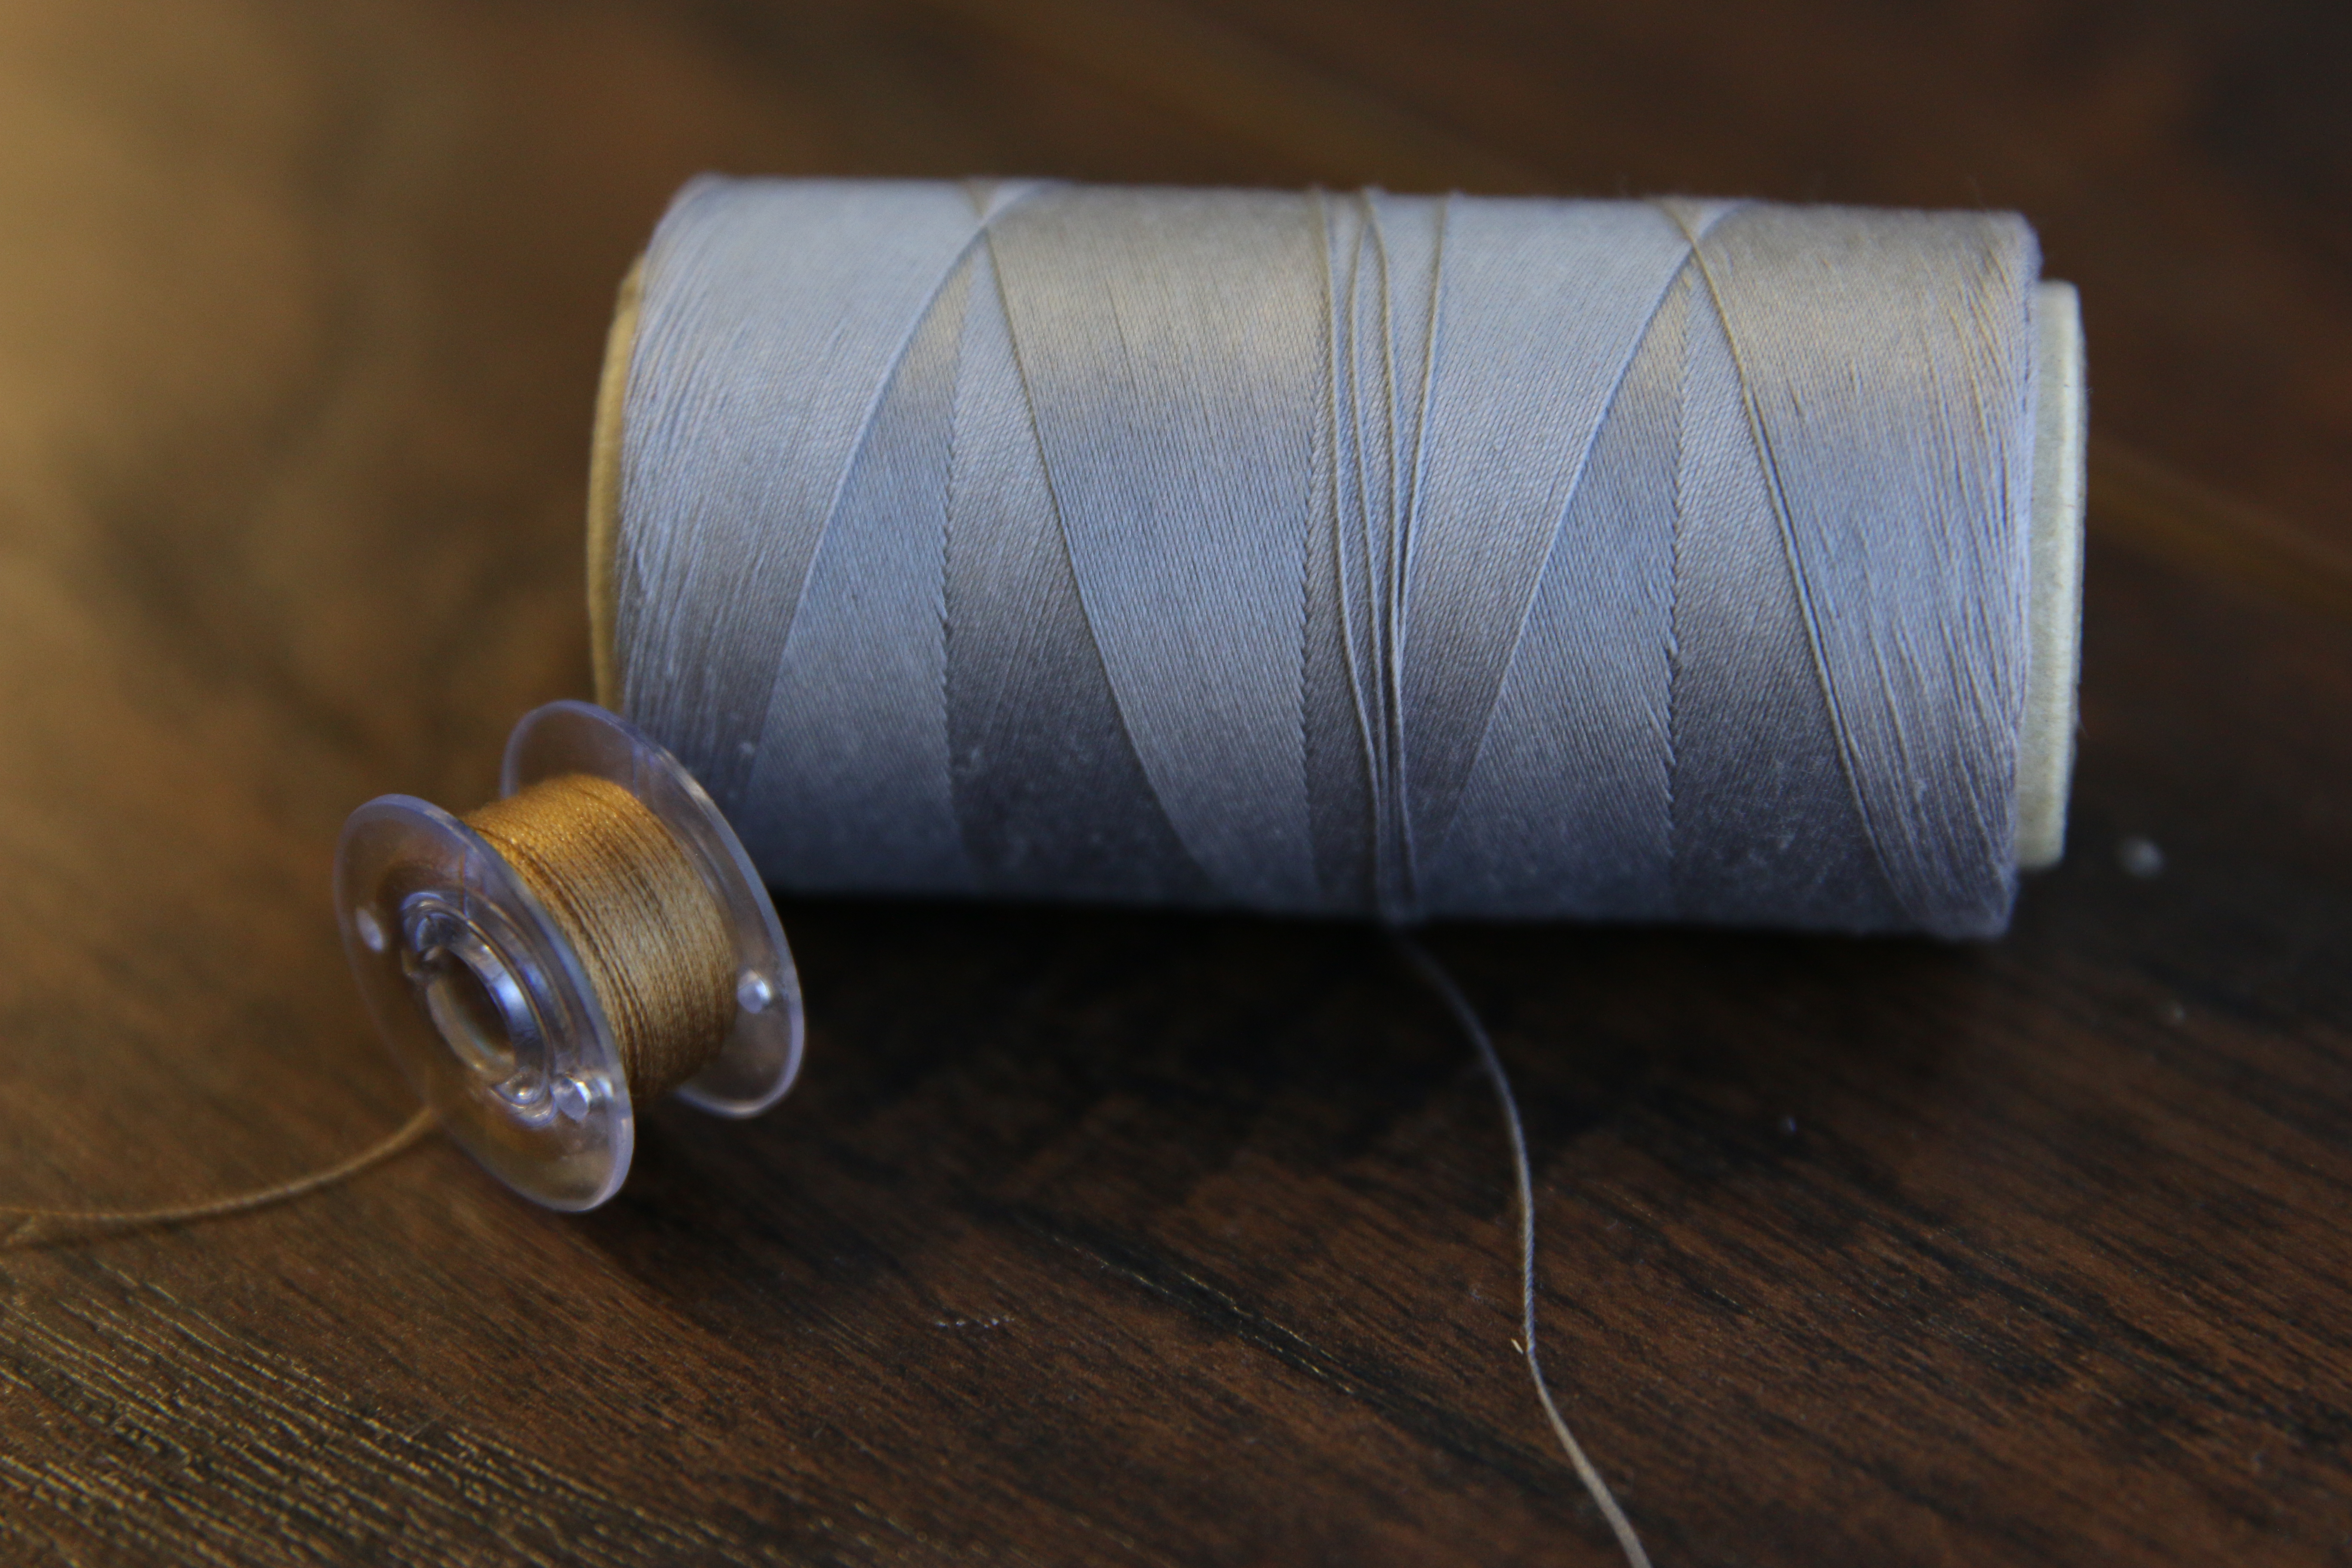
- Sewing threads matching leather color and felt color
- Mallet
- Hand sewing needle
- Temporary adhesive
Designs Used
Cutting Instructions
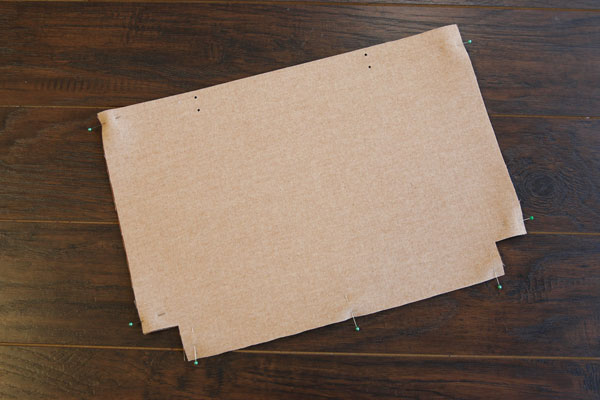
1
Load the Reversible Tote Bag (Cut & Stitch) file into your cutting machine’s software. Notice that it has five separate cutting files to fit all the pieces. These are labeled with “A” - “E”, and are organized by how they fit into a file and not necessarily by fabric.
2
This design has two different fabric colors across the five files. Proceed in the design software until the first color selection appears, and is ready to be cut.
3
Smooth the first fabric color onto the adhesive mat with the right side of the fabric facing up. Make sure the correct knife tool is in place. Then load the adhesive mat into the machine.
4
For felt and leather, you may need to increase the pressure of the blade on your cutting machine. For best results, use a setting that would be used for denim or other thick materials.
5
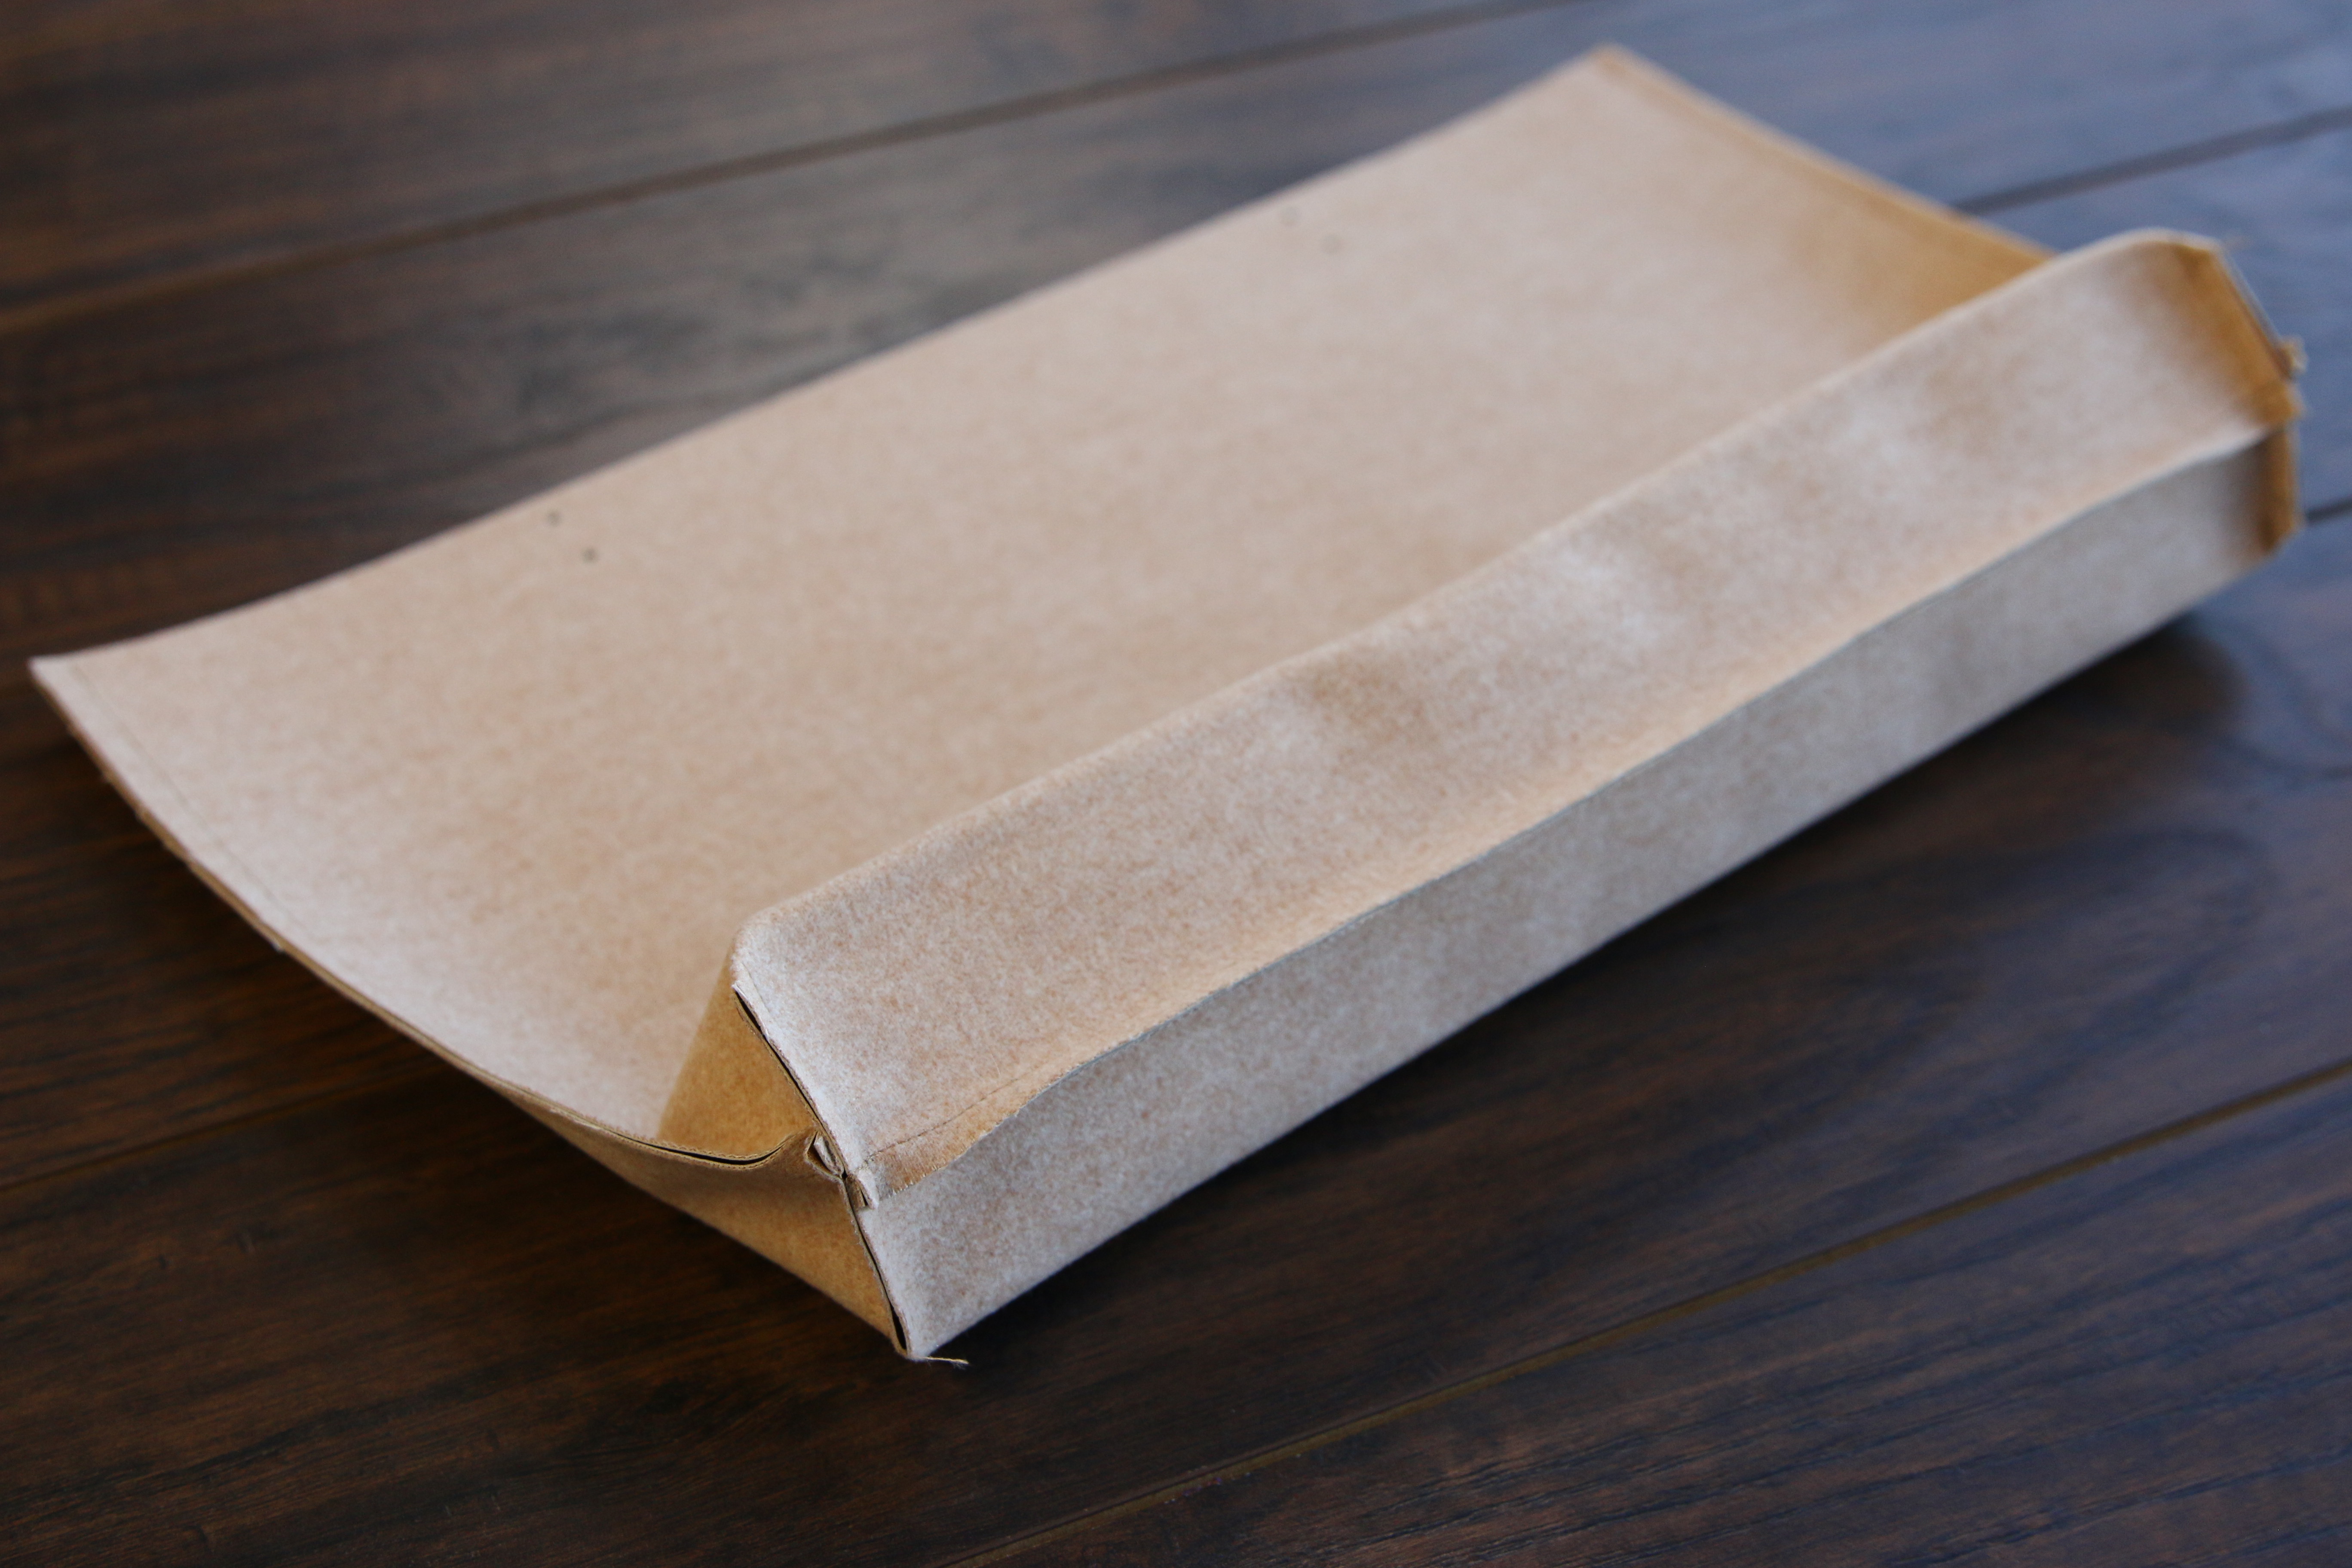
Cut out the first color. Then carefully remove the cut pieces and excess fabric.
6
Repeat to cut all of the fabric pieces for the Reversible Tote Bag out of the two fabric colors.
Crafting Instructions
1
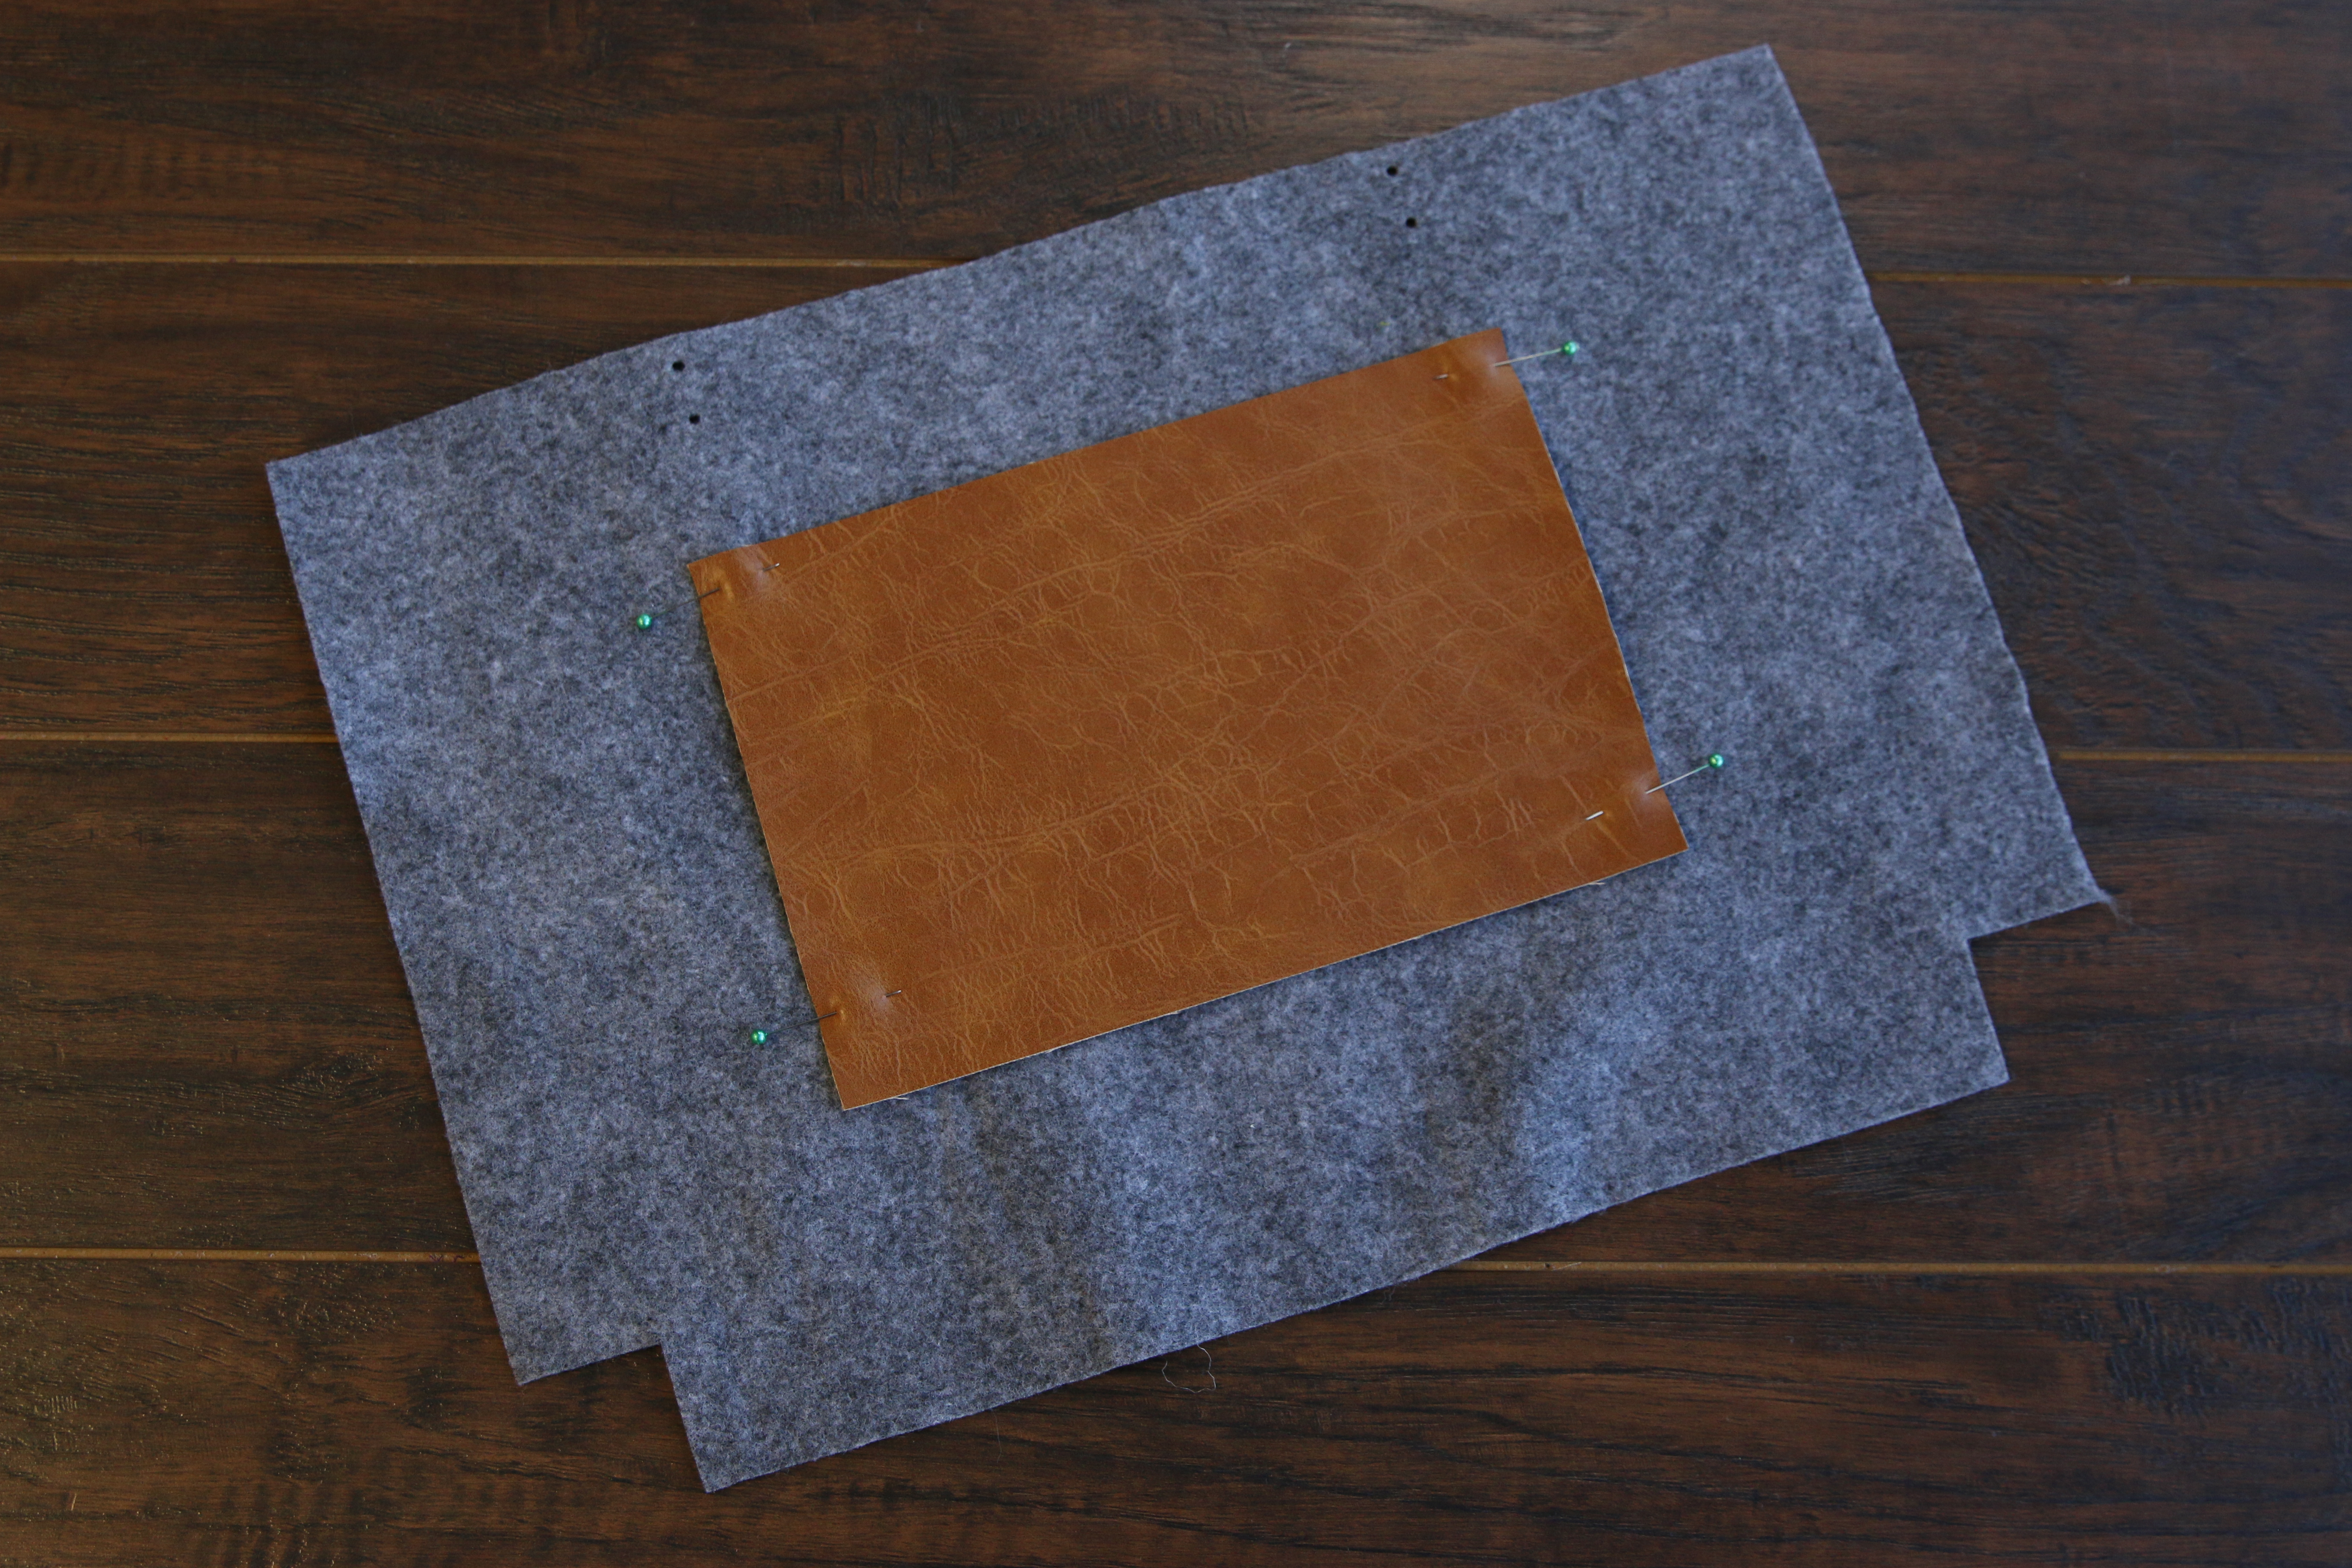
Take the rectangle pocket (color 1) and center it on one felt side (color 2). Make sure the wrong side of the pocket is against the right side of the side piece. Pin it in place.
2

Then sew a 1/4” seam along the bottom edge and two sides. Leave the top open, so it can be used as a pocket.
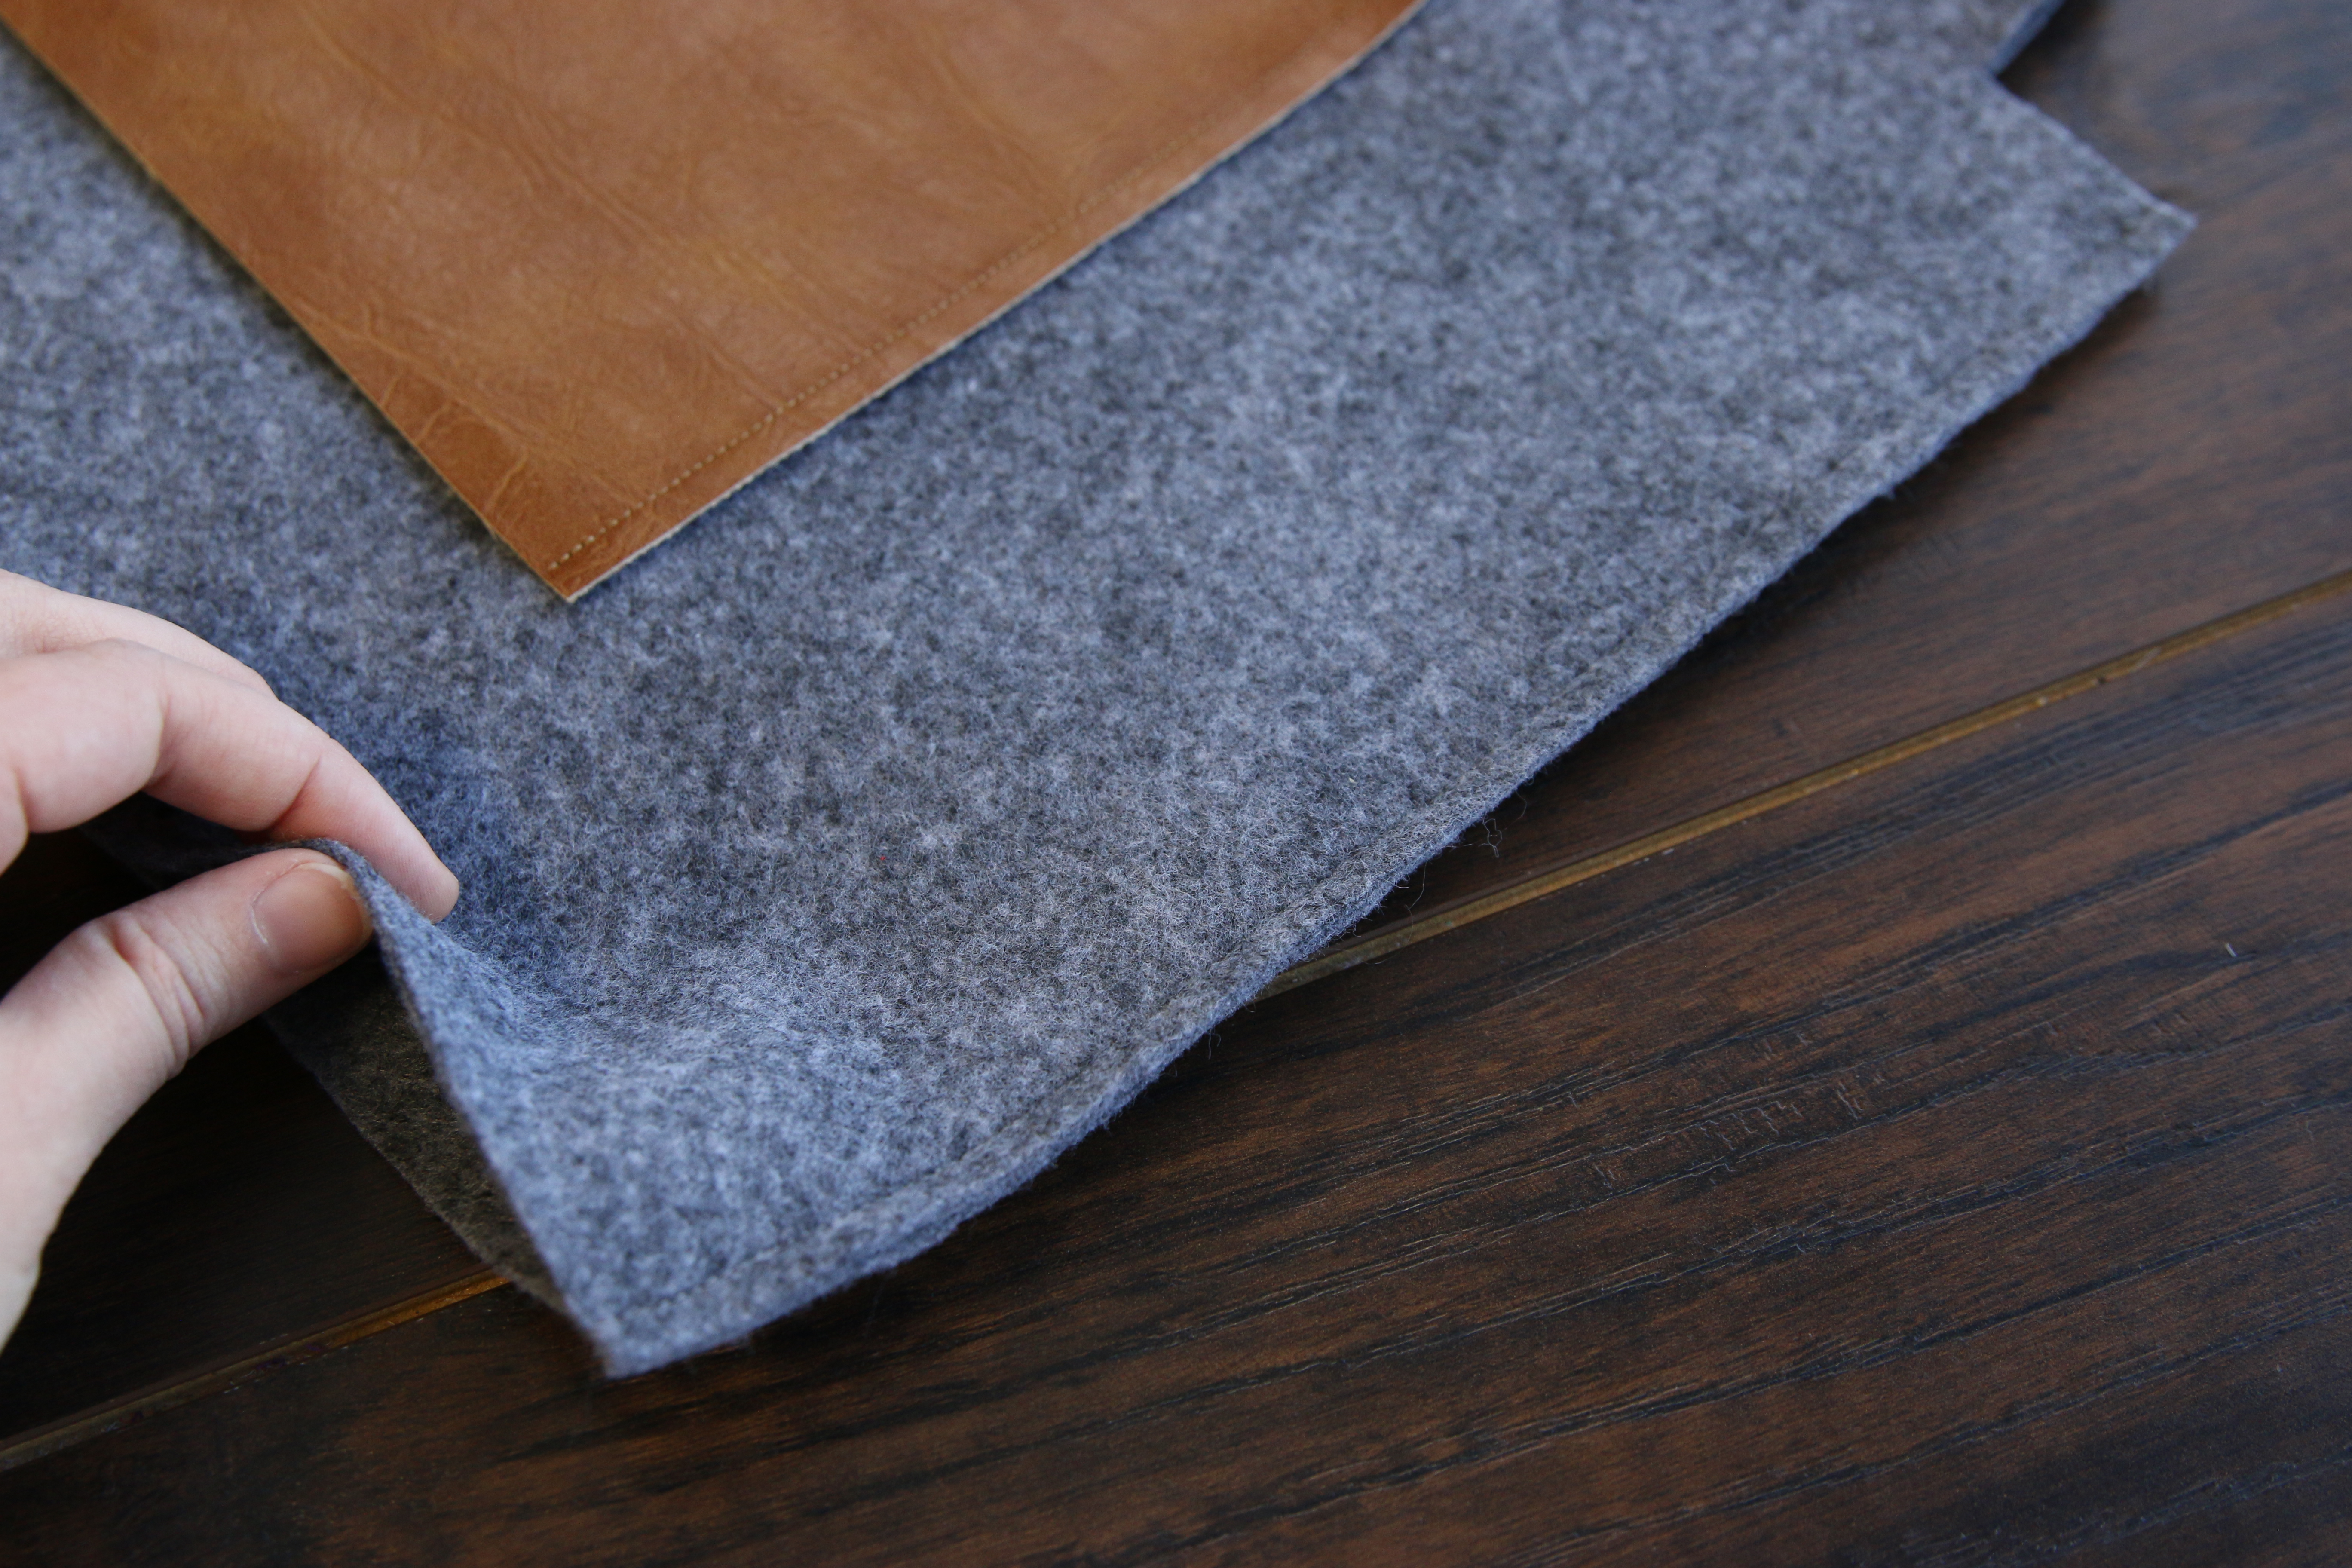
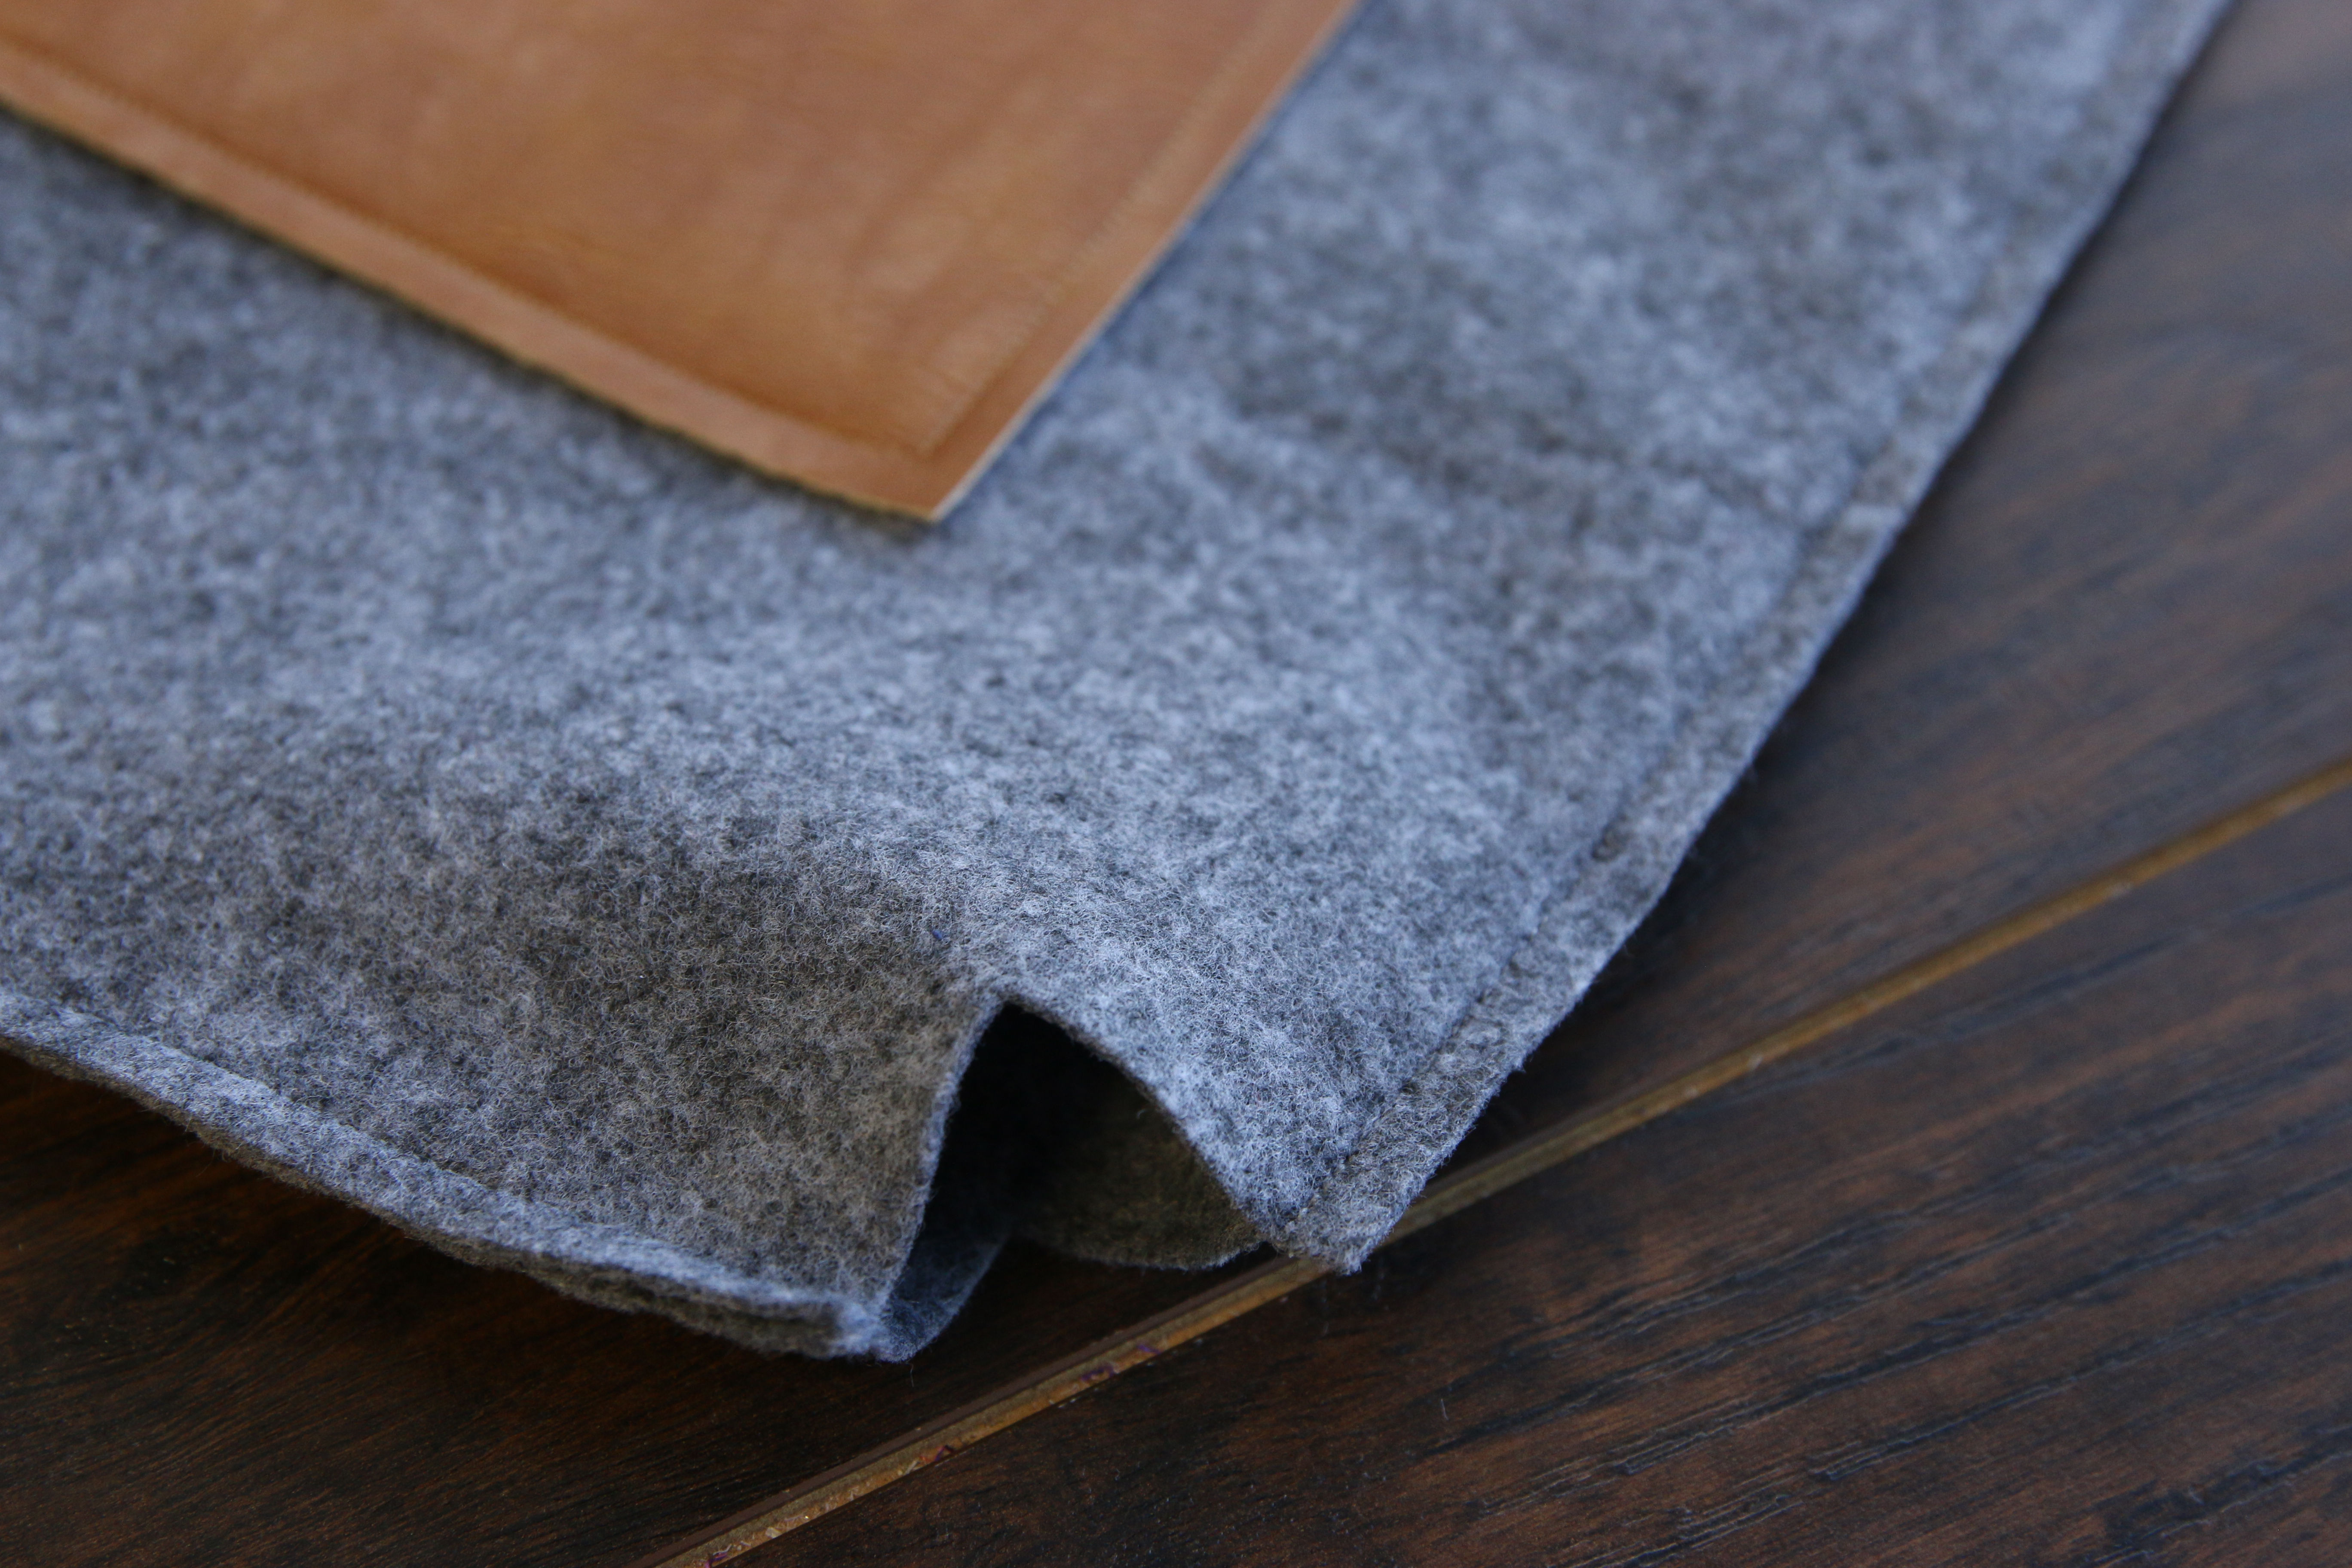
3
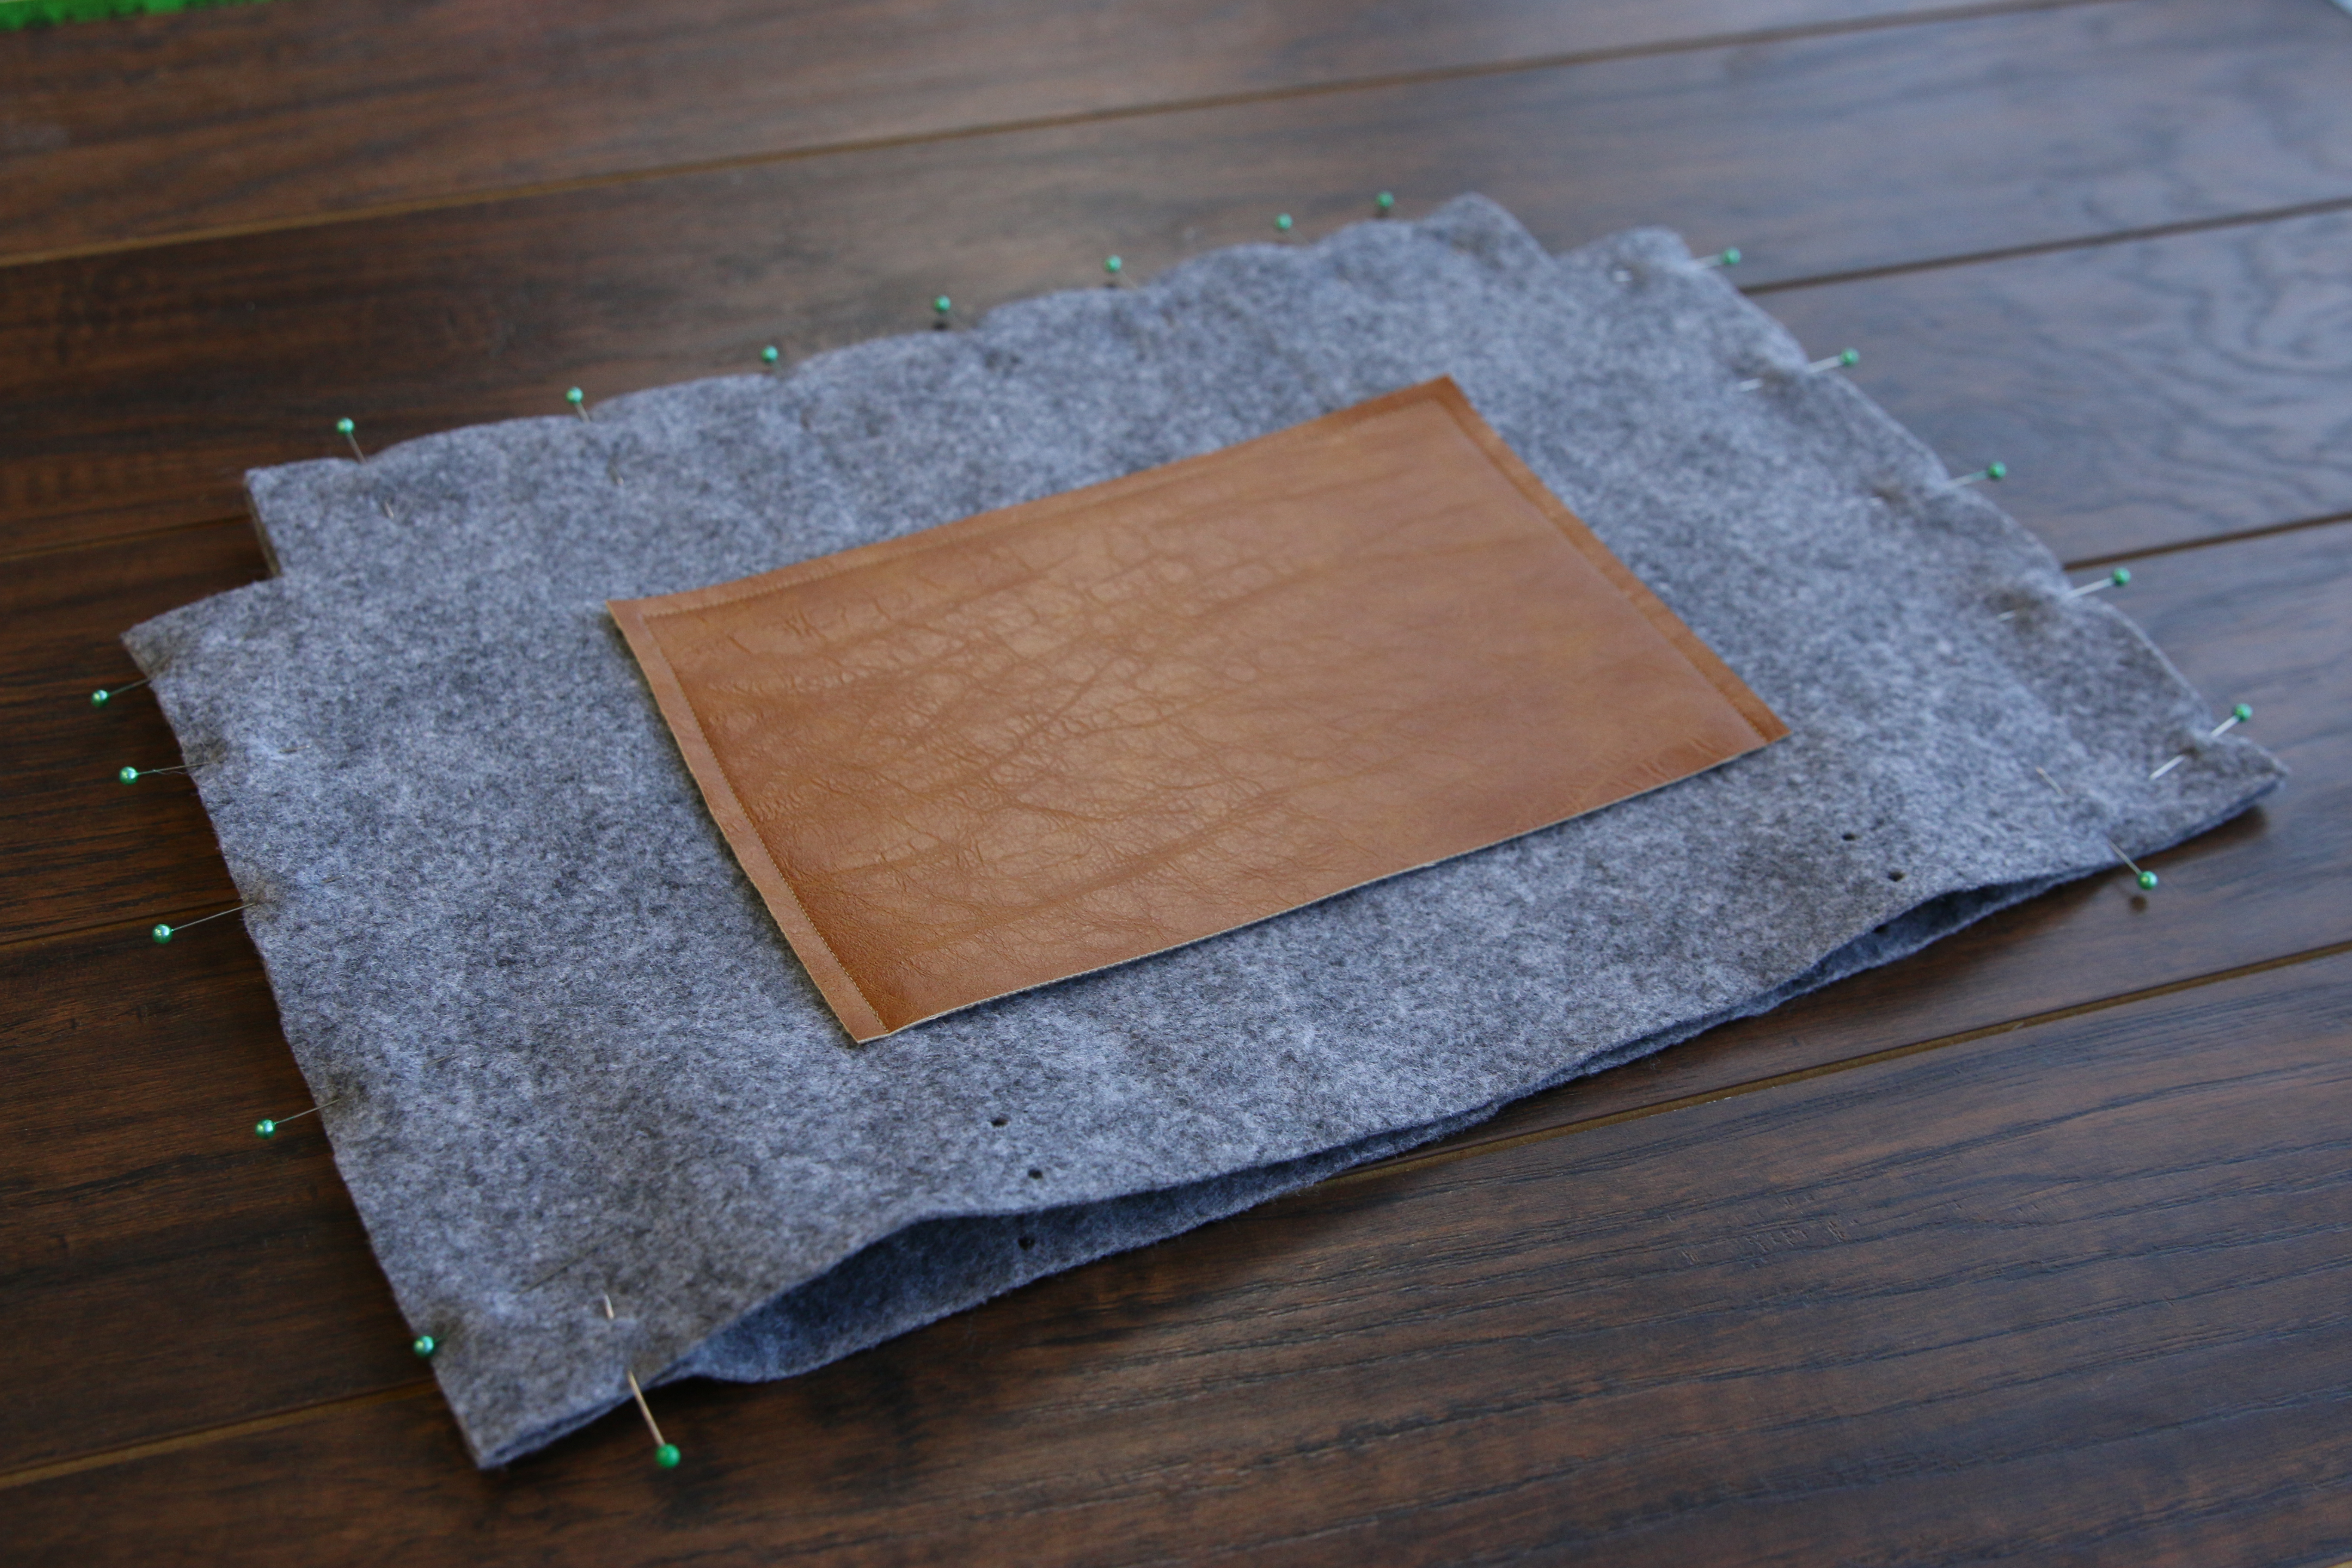
The felt side of the bag has raw, exposed seams. Take the two felt sides (color 2), and match them up with wrong sides together. The pocket should be on the outside. Pin along the two sides and the bottom edge, making sure to leave the top edge and the two cut out corners open.
4
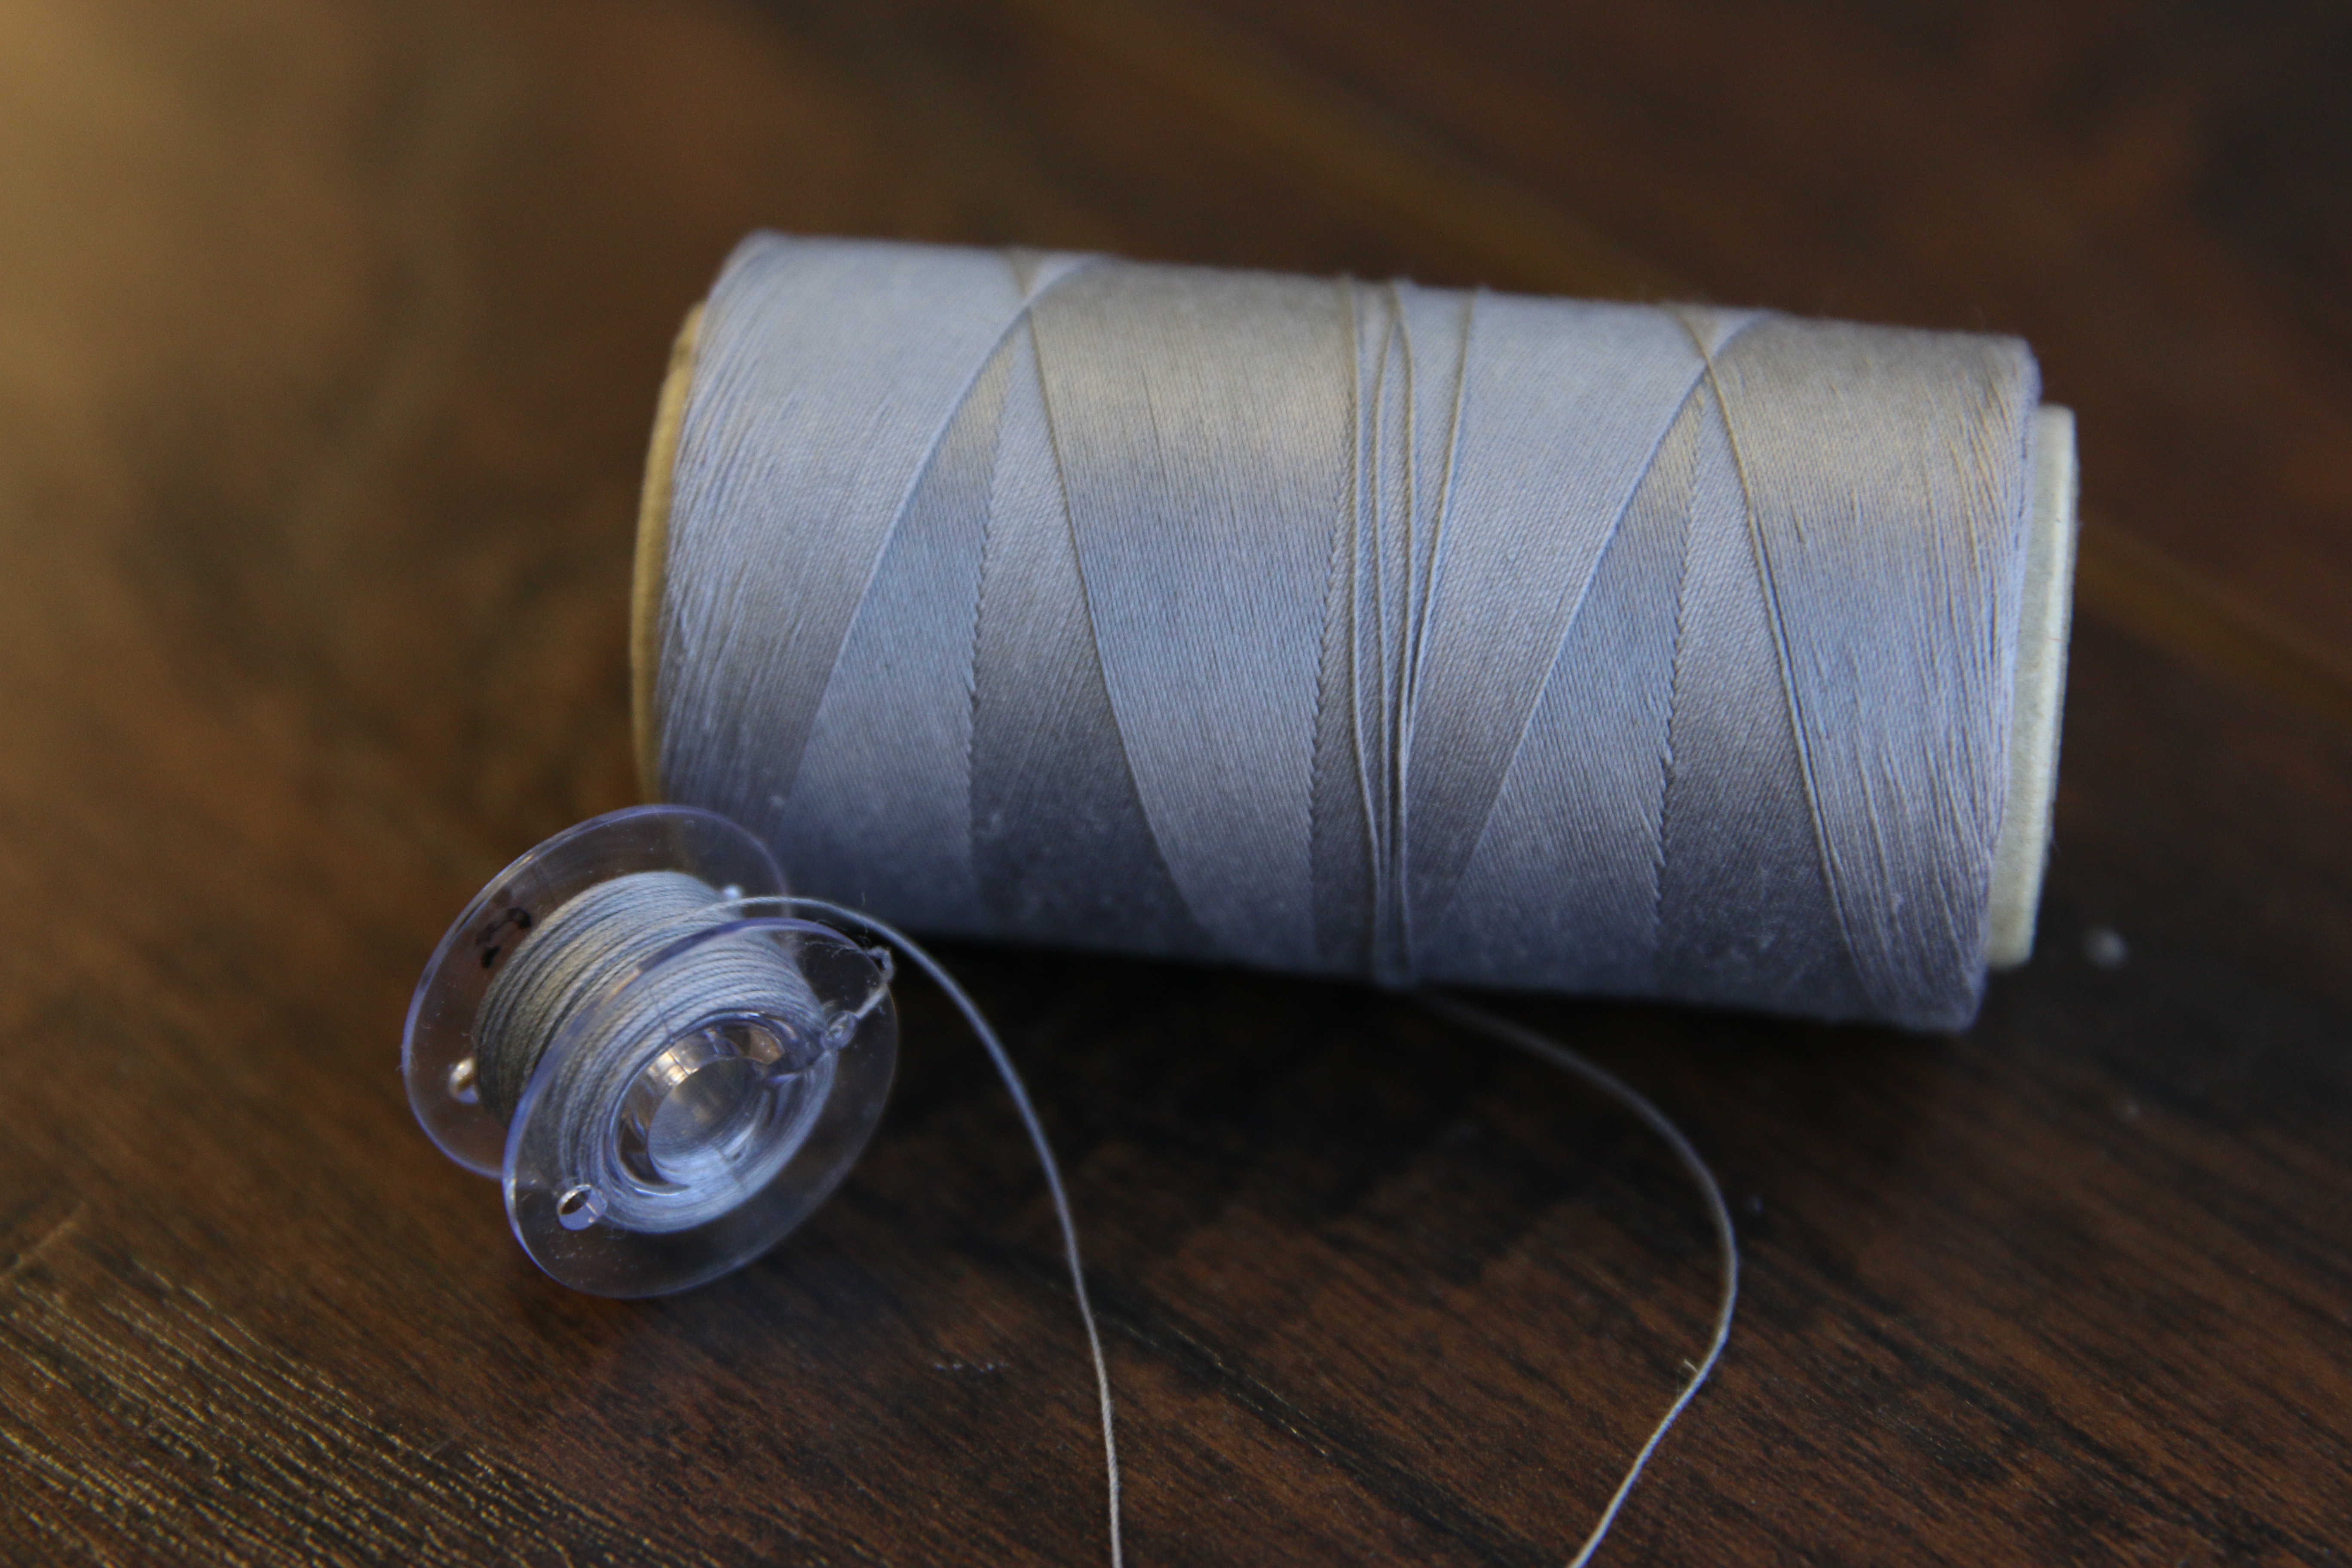
Wind a bobbin to match the same thread that is being used in the top needle, so the bag will look nice from either side.
5
Then sew a 1/4” seam along the two sides and the bottom edge. Make sure to leave the top edge open.
6
Also make sure to leave the two square, cut out corners open and unsewn for now.
7
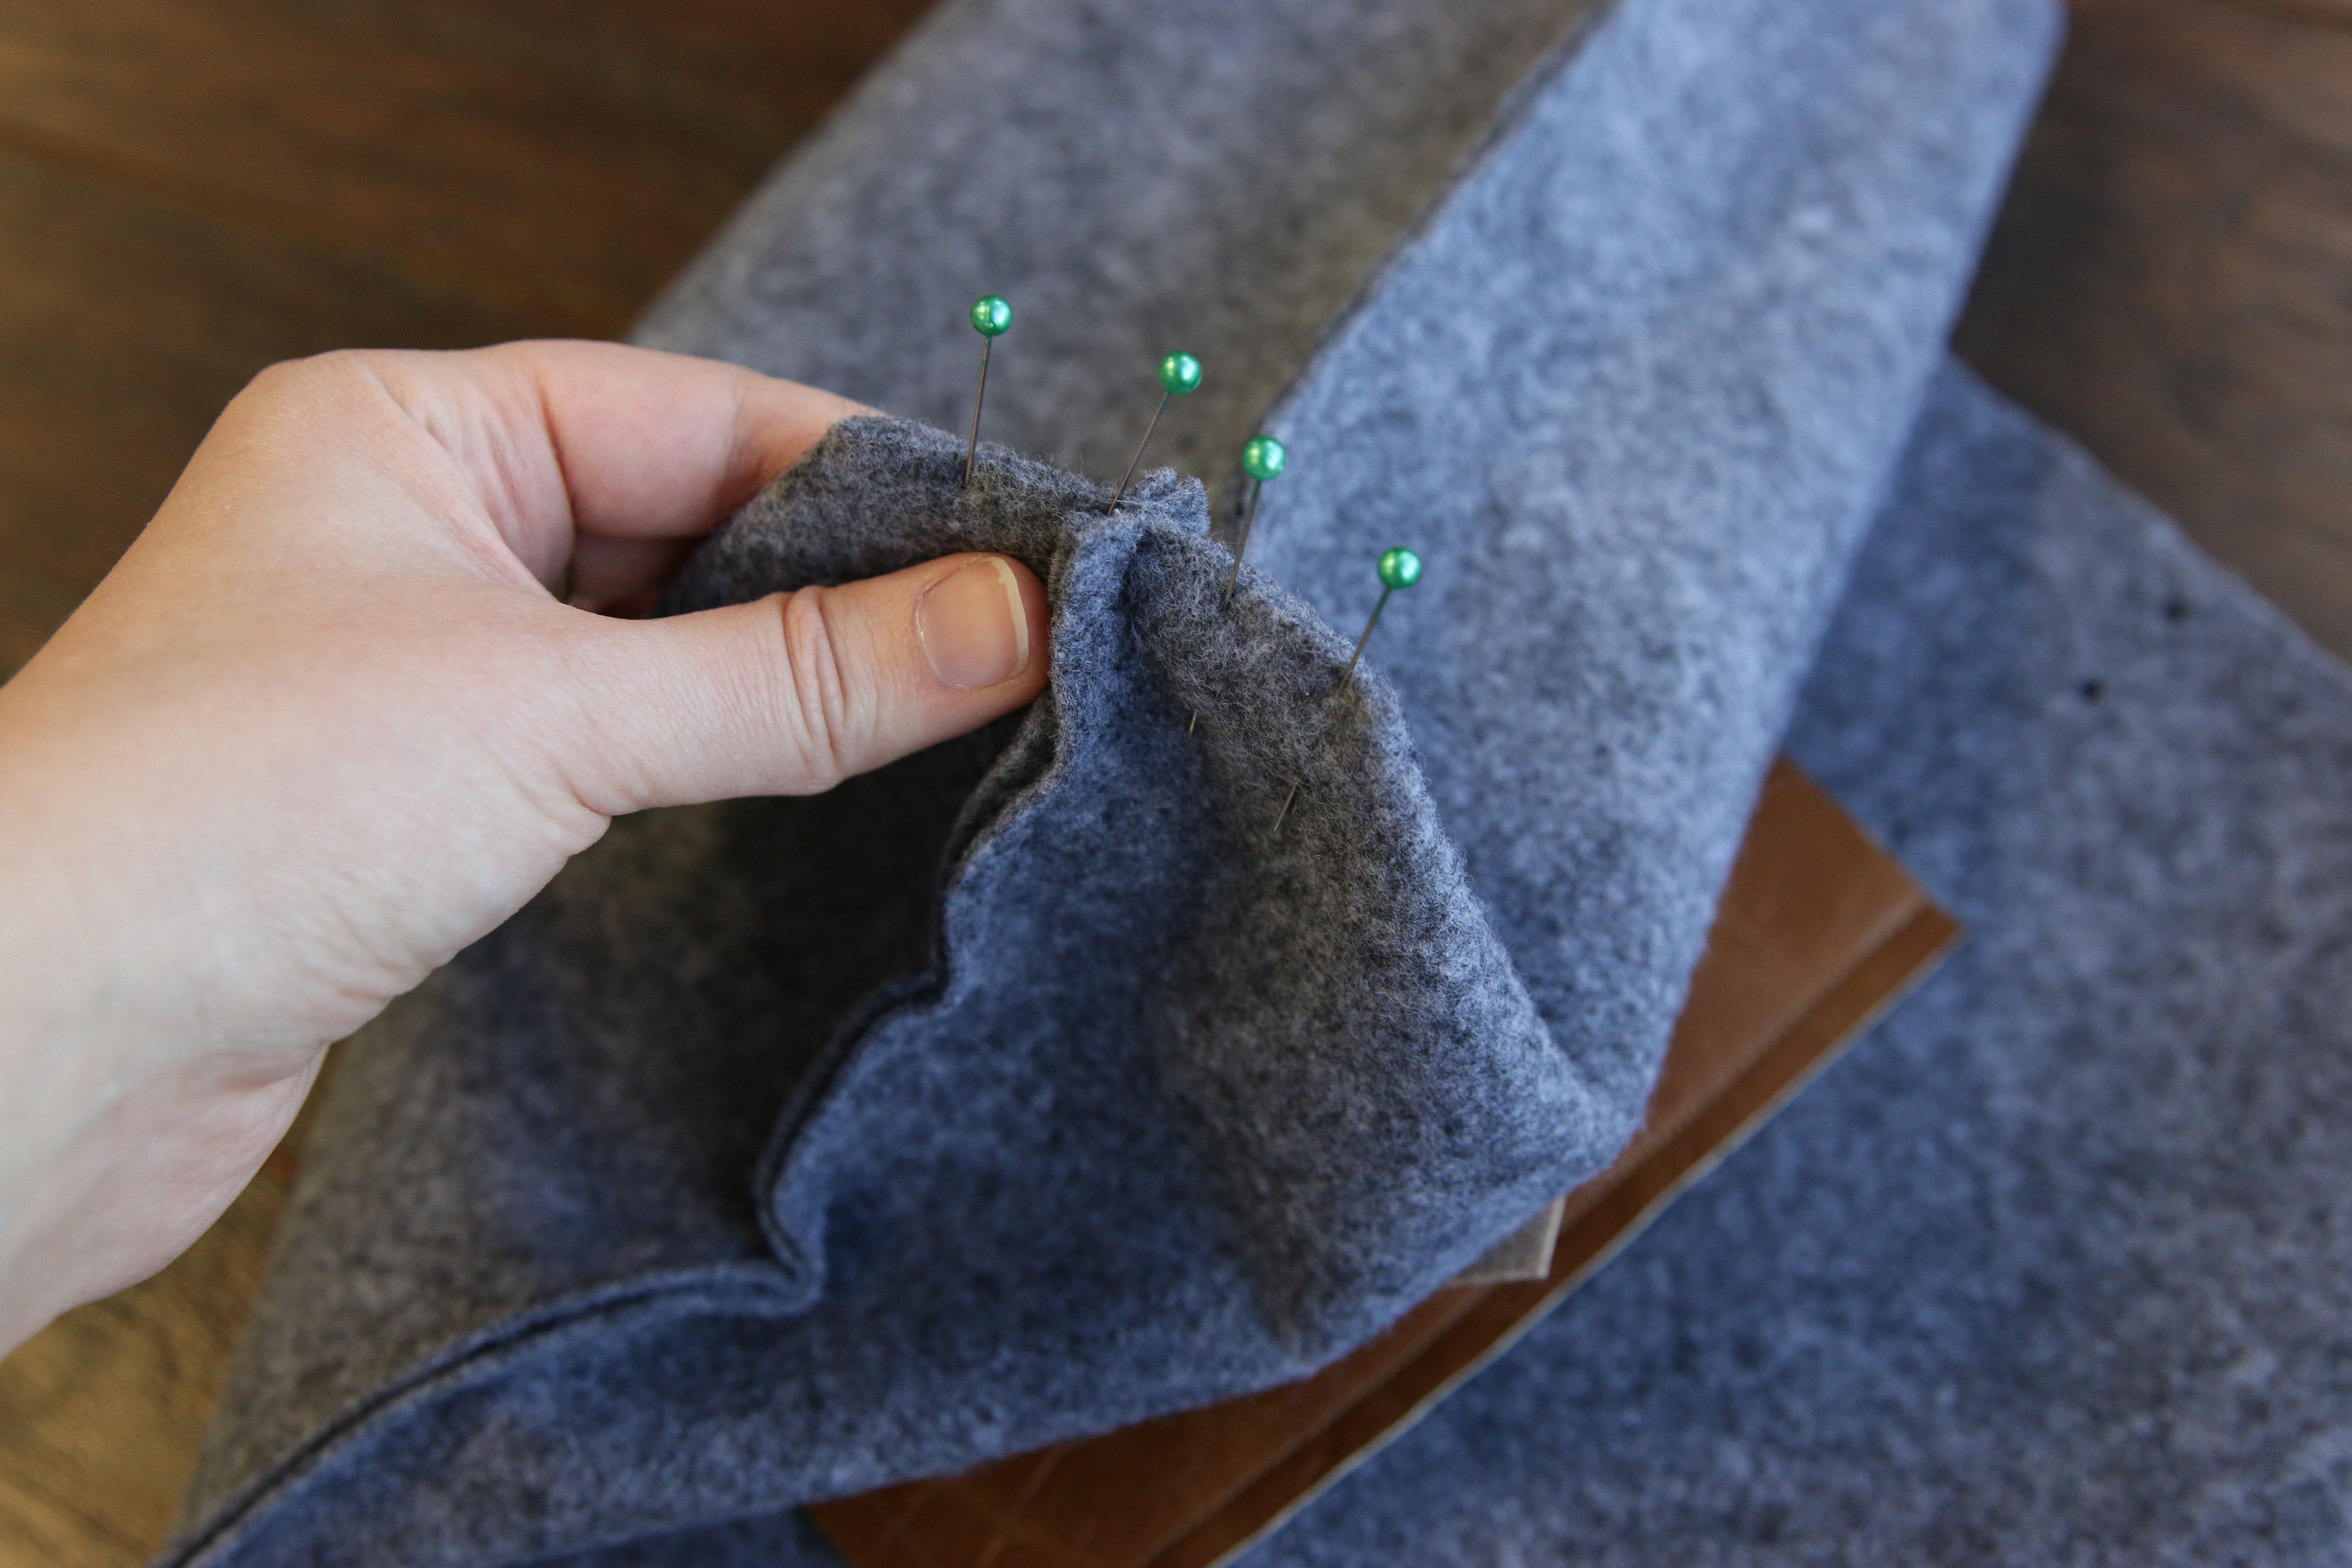
Next take one of the square, cut out corners, and match up the edges and seams. Make sure the wrong sides are together, and pin the edges together. Then sew a 1/4” seam along the pinned edge.
8
Then repeat for the other corner.
9
The leather side of the bag has hidden seams except for the top edge which will be raw. Take the two leather sides (color 1), and match them up with right sides together. Pin along the two sides and the bottom edge, making sure to leave the top edge and the two cut out corners open.
10
Wind a bobbin to match the same thread that is being used in the top needle.
11
Then sew a 1/4” seam along the two sides and the bottom edge. Make sure to leave the top edge open.
12

Also make sure to leave the two square, cut out corners open and unsewn for now.
13

Next take one of the square, cut out corners, and match up the edges and seams. Make sure the right sides are together, and pin the edges together. Then sew a 1/4” seam along the pinned edge.
14
Then repeat for the other corner.
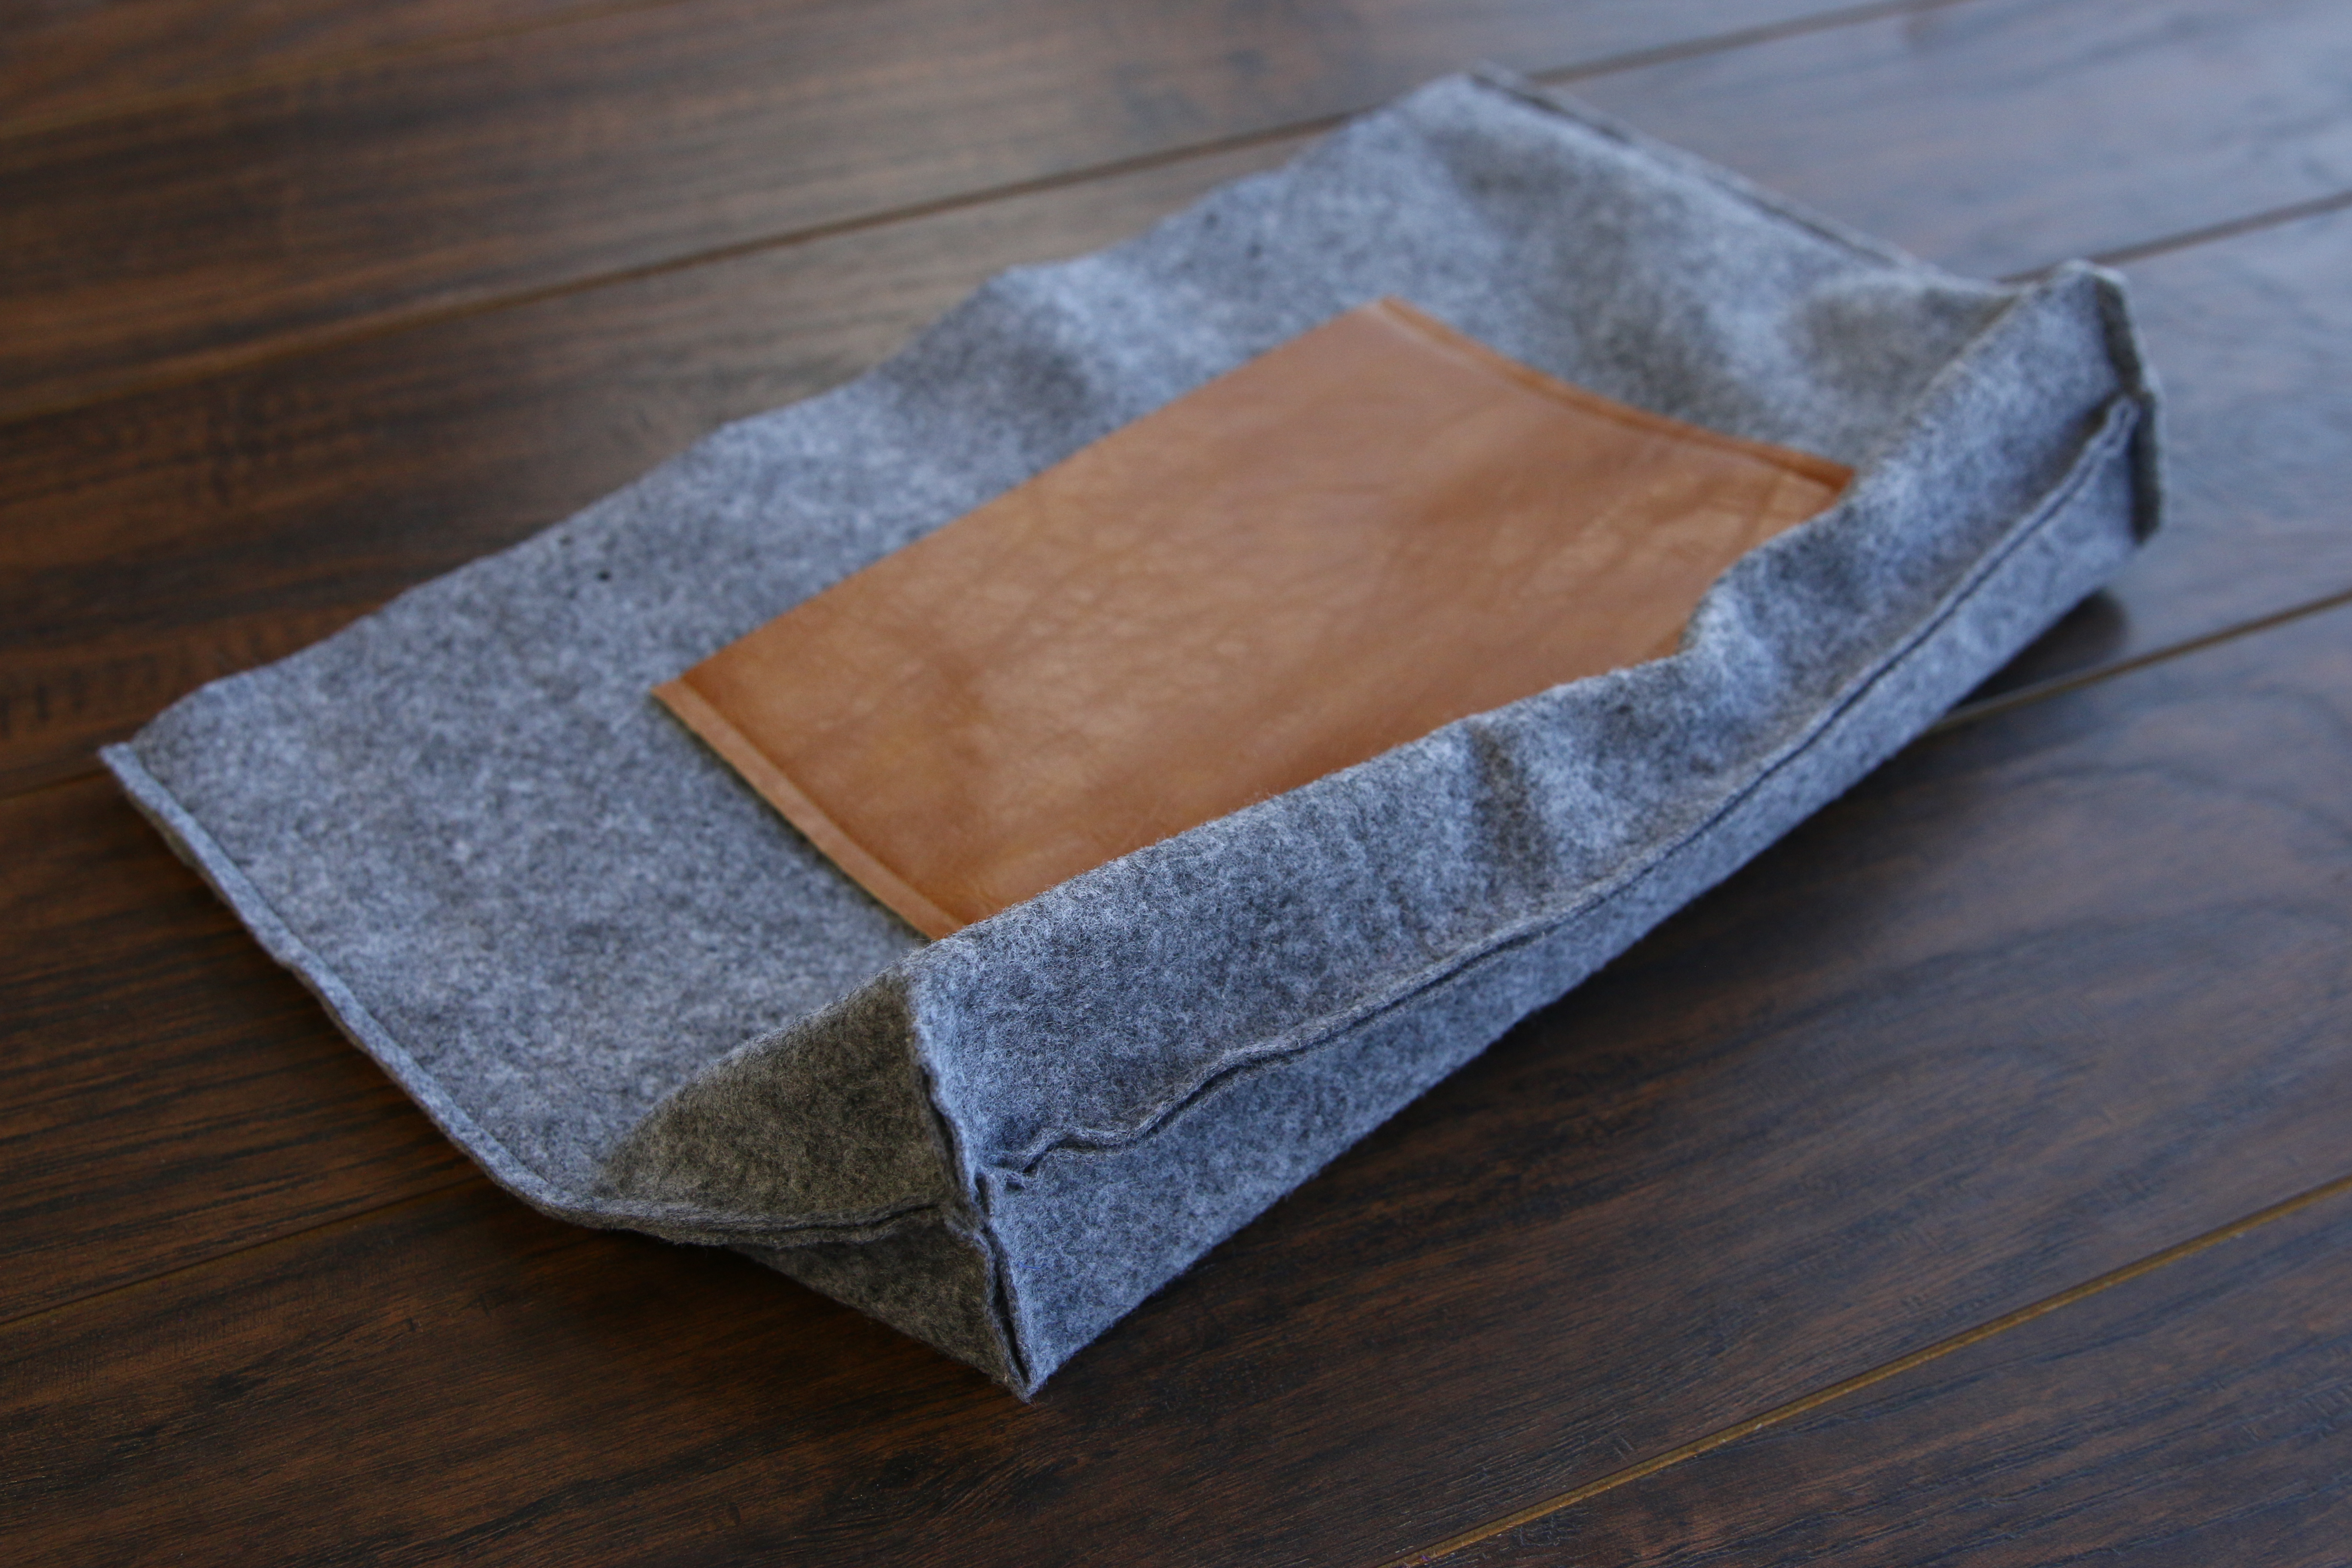
15
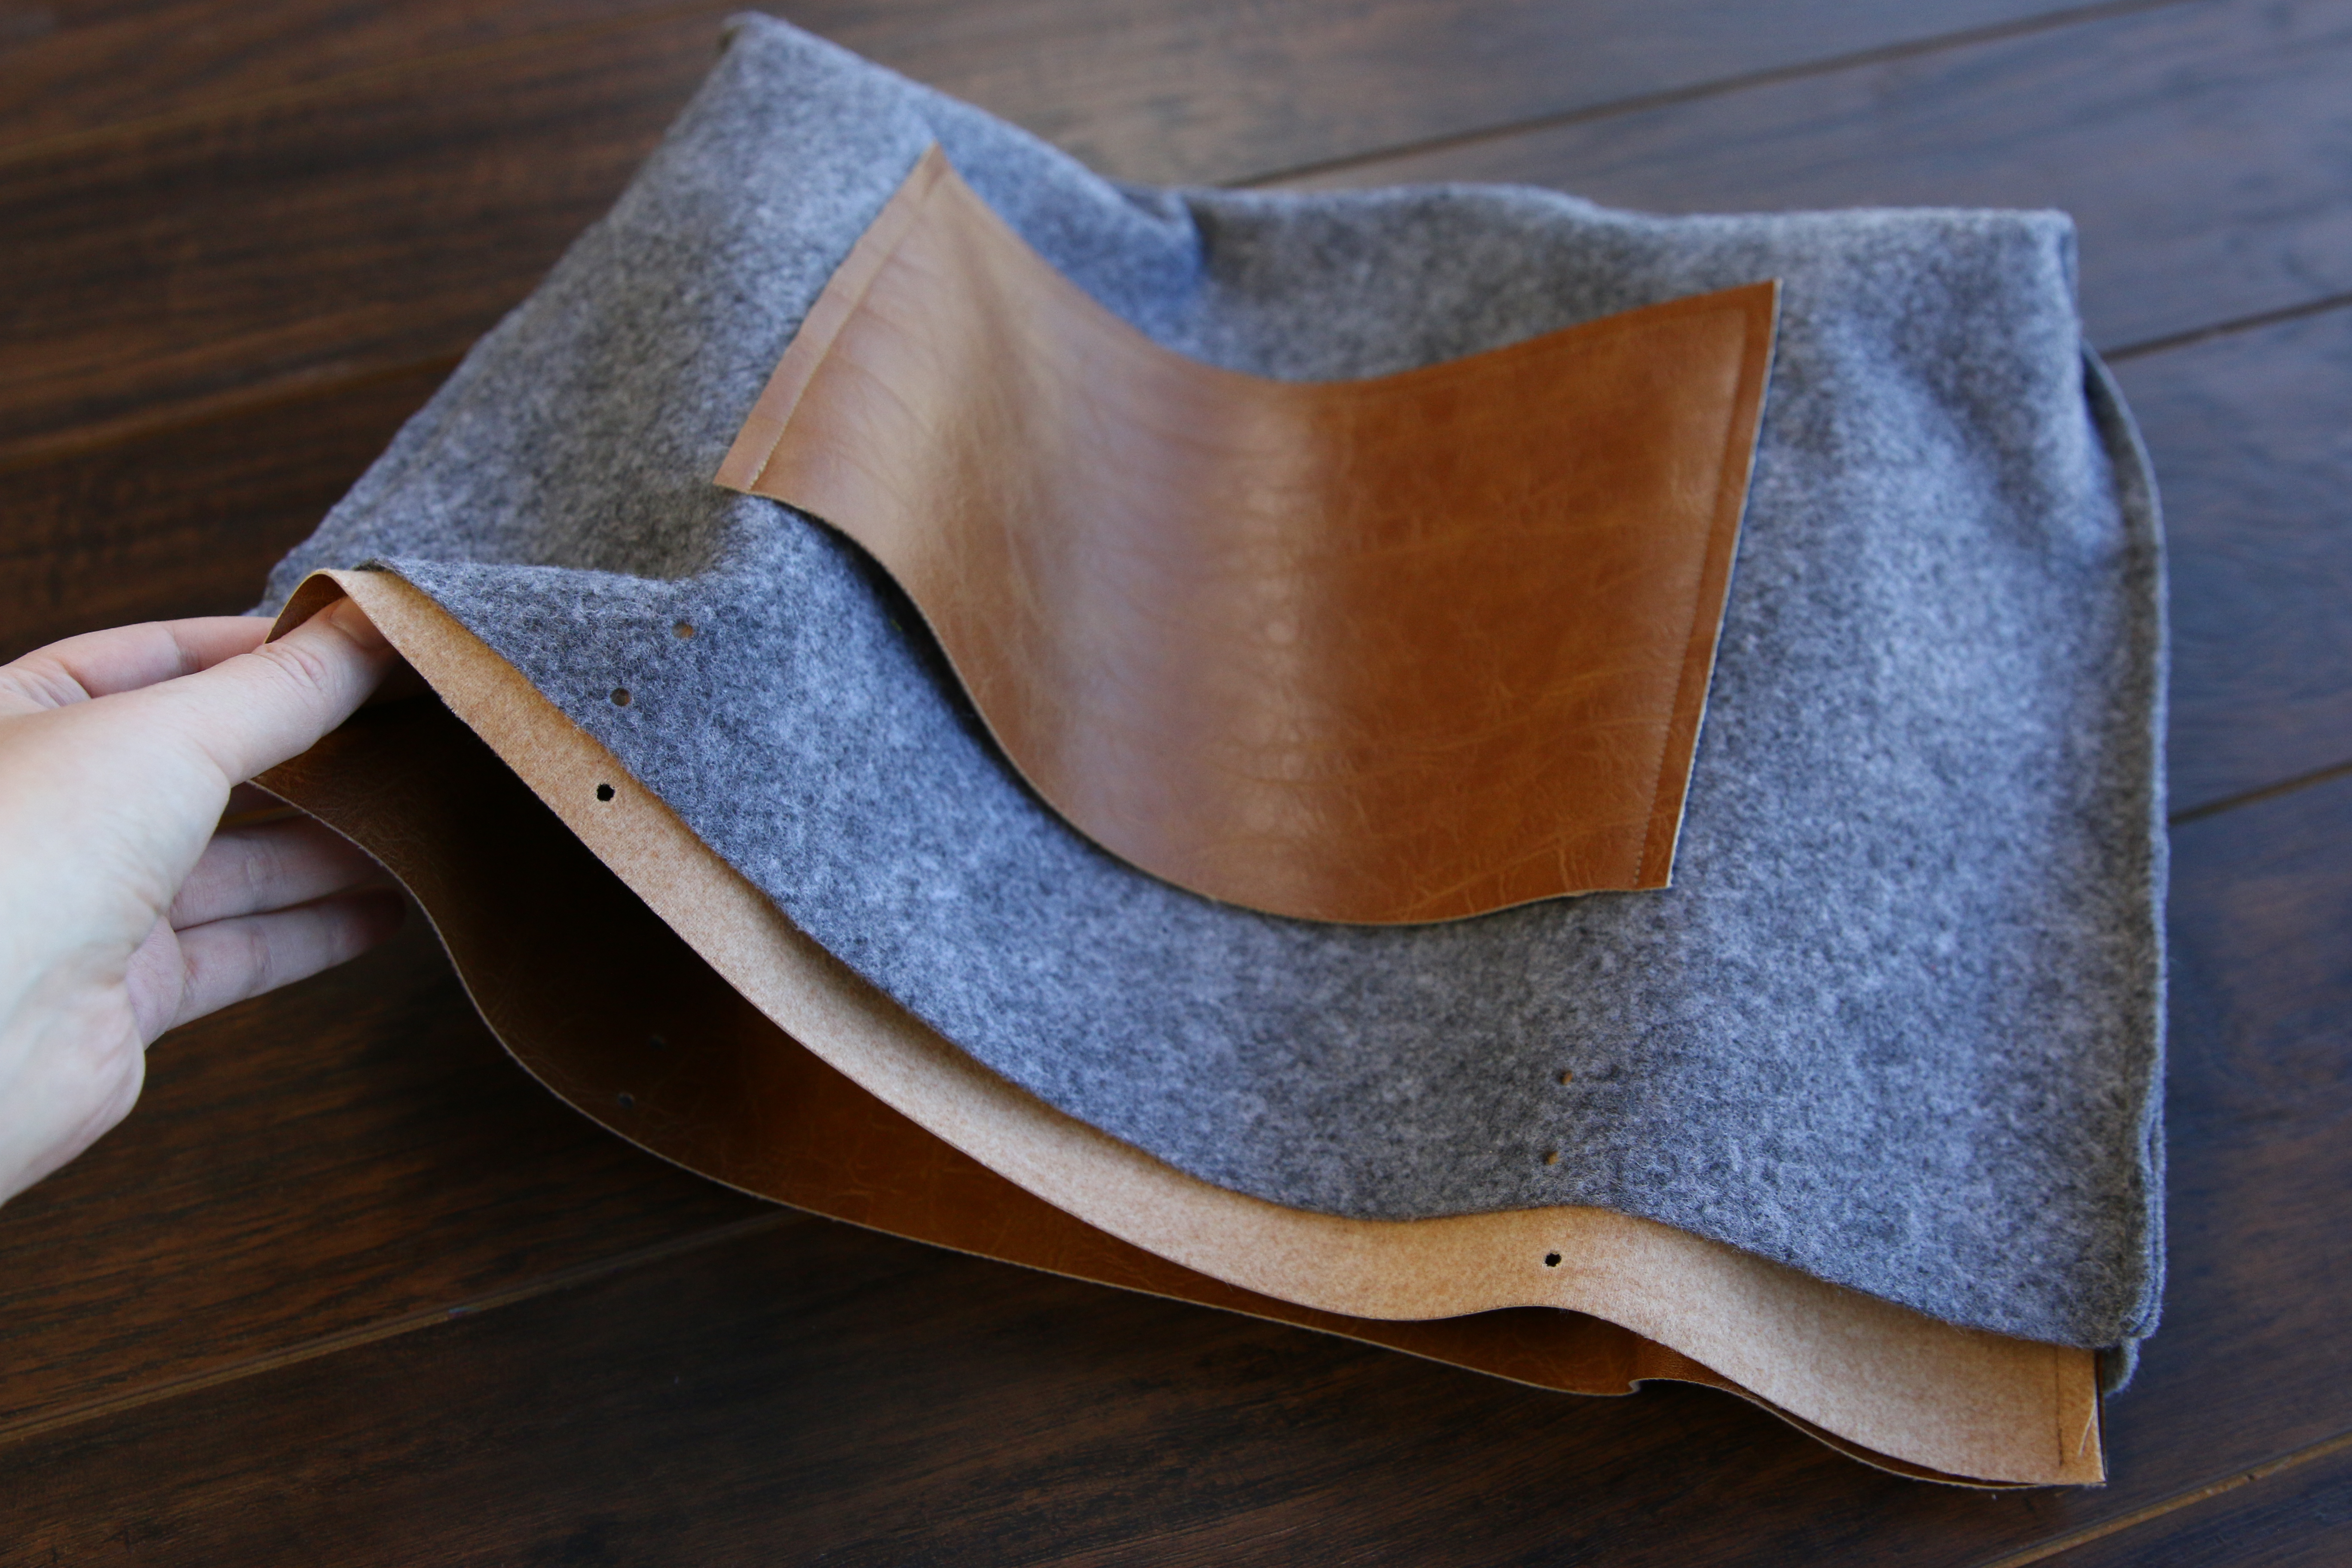
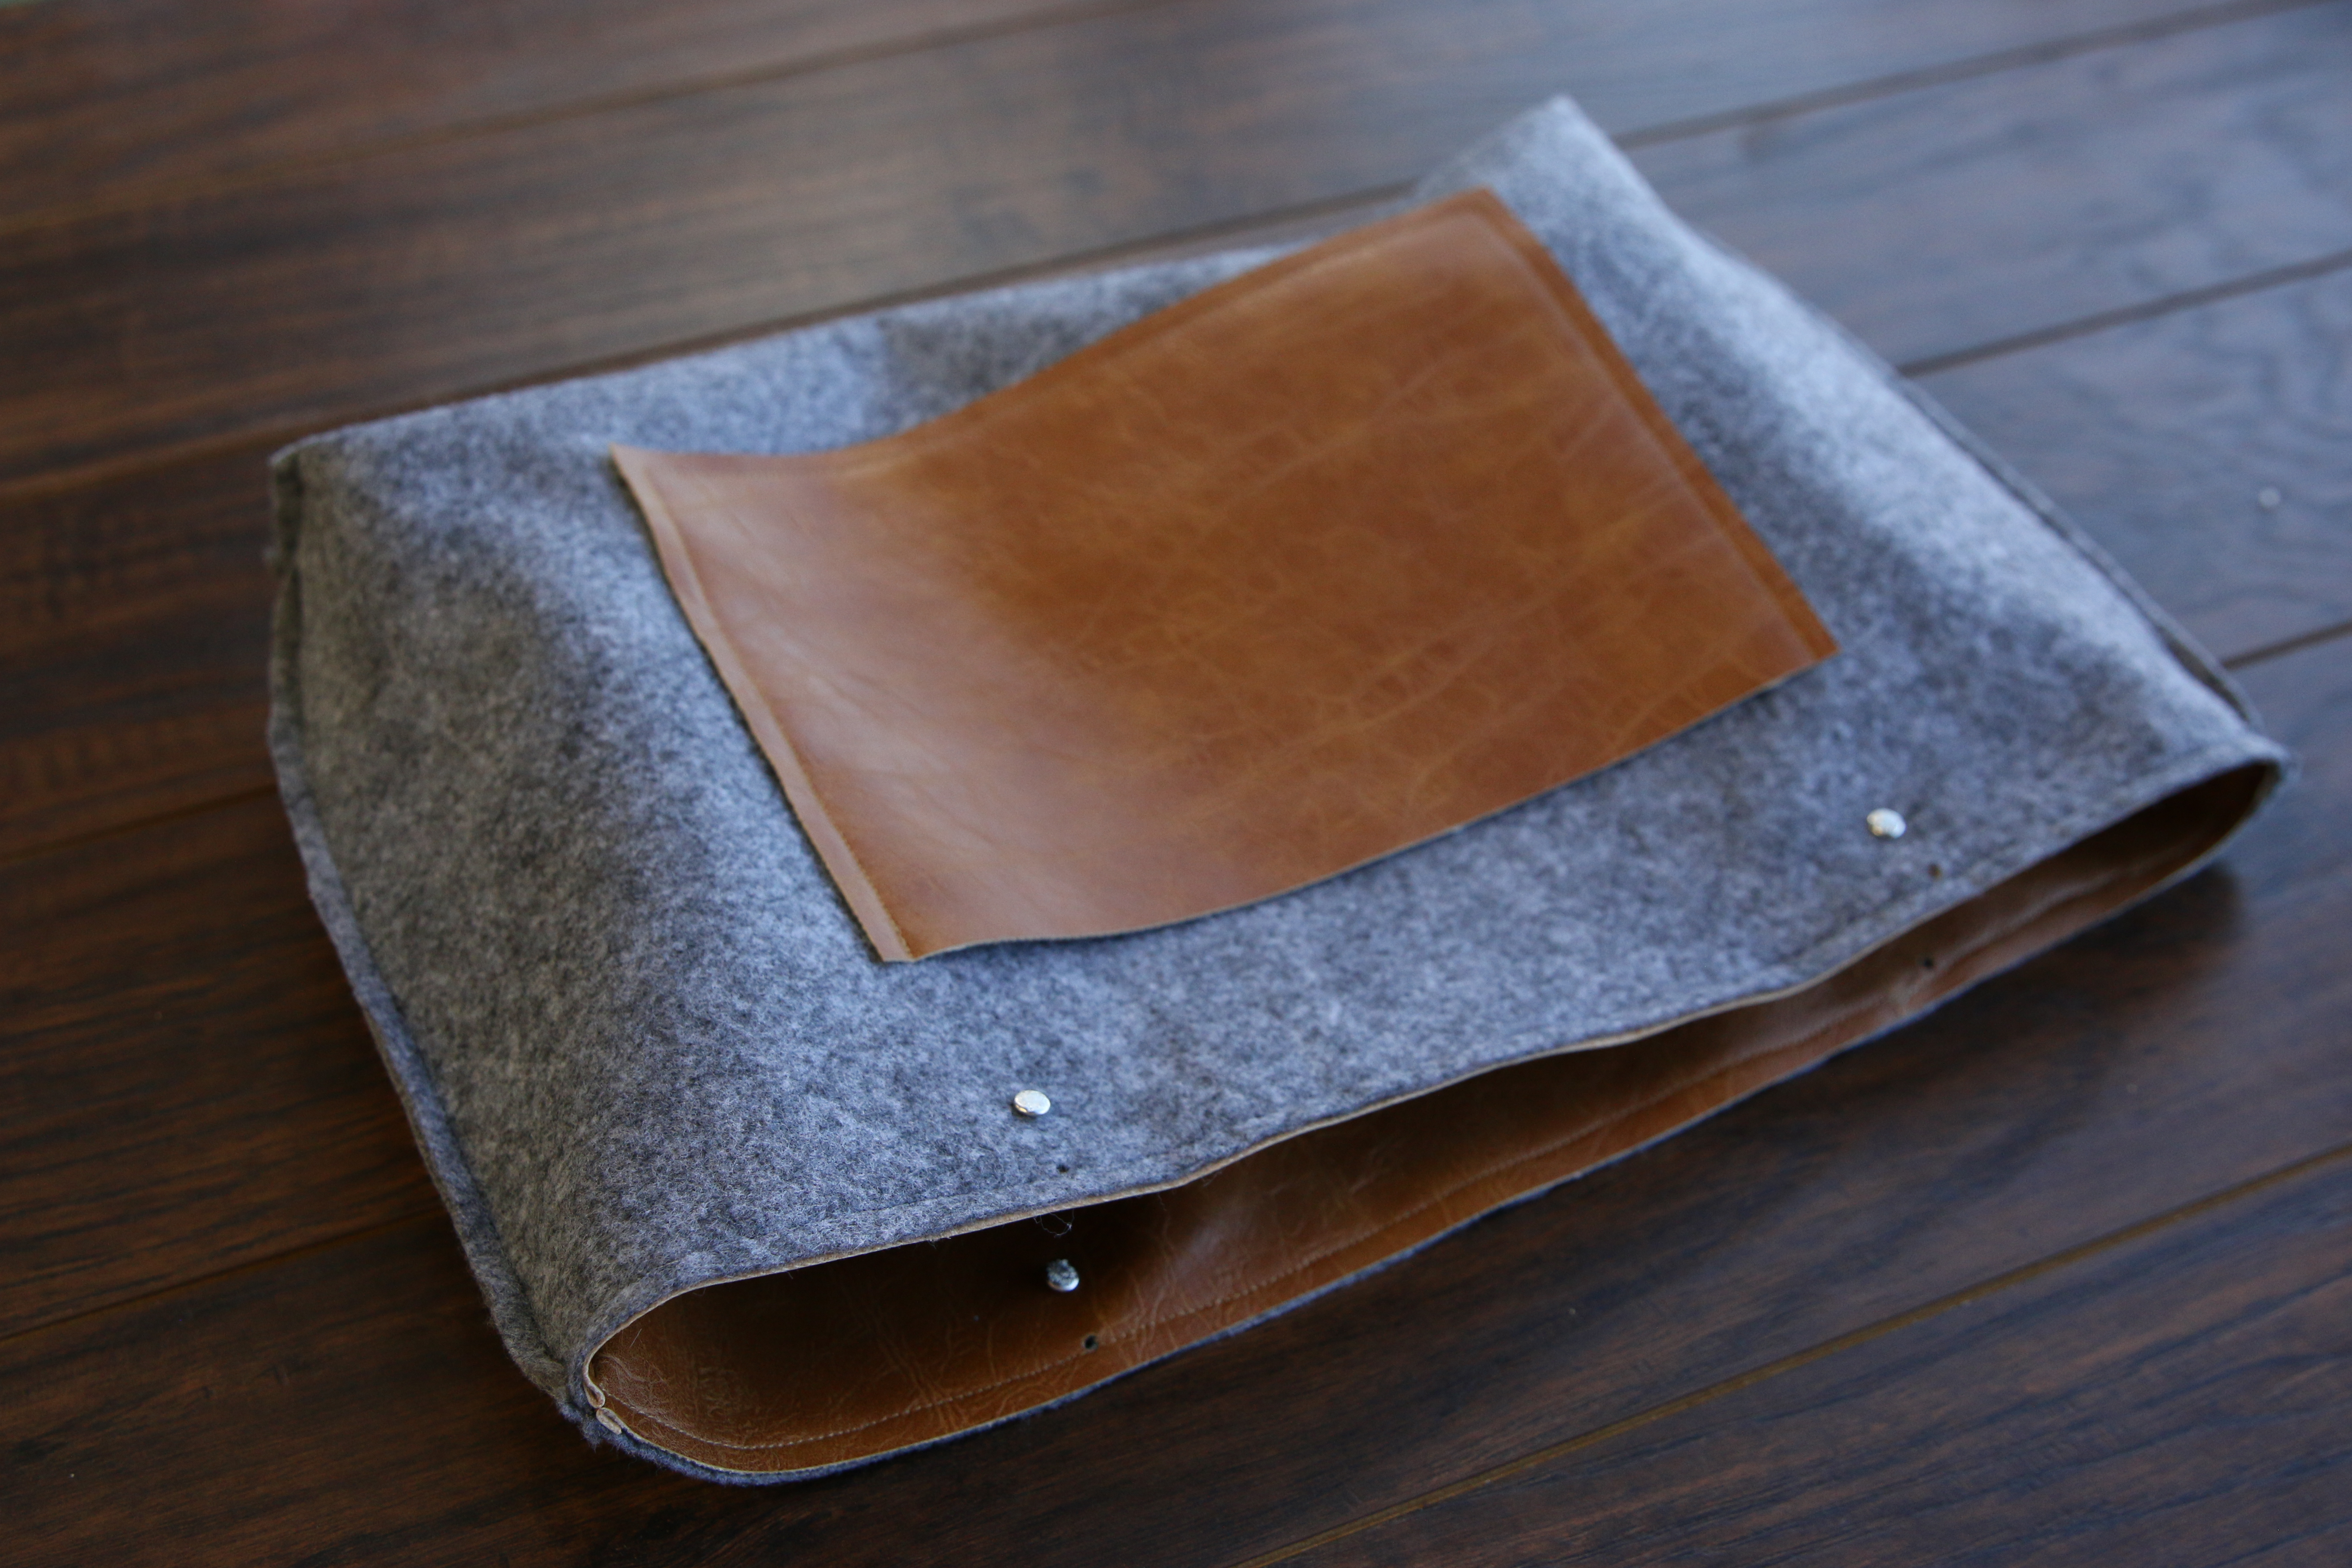
Once both the felt and the leather sides of the bags are sewn, place the leather side inside of the felt side with wrong sides together.
16
To make the thread match both the leather and the felt, place the felt’s thread color in the top needle, and the leather’s felt color in the bobbin.
17
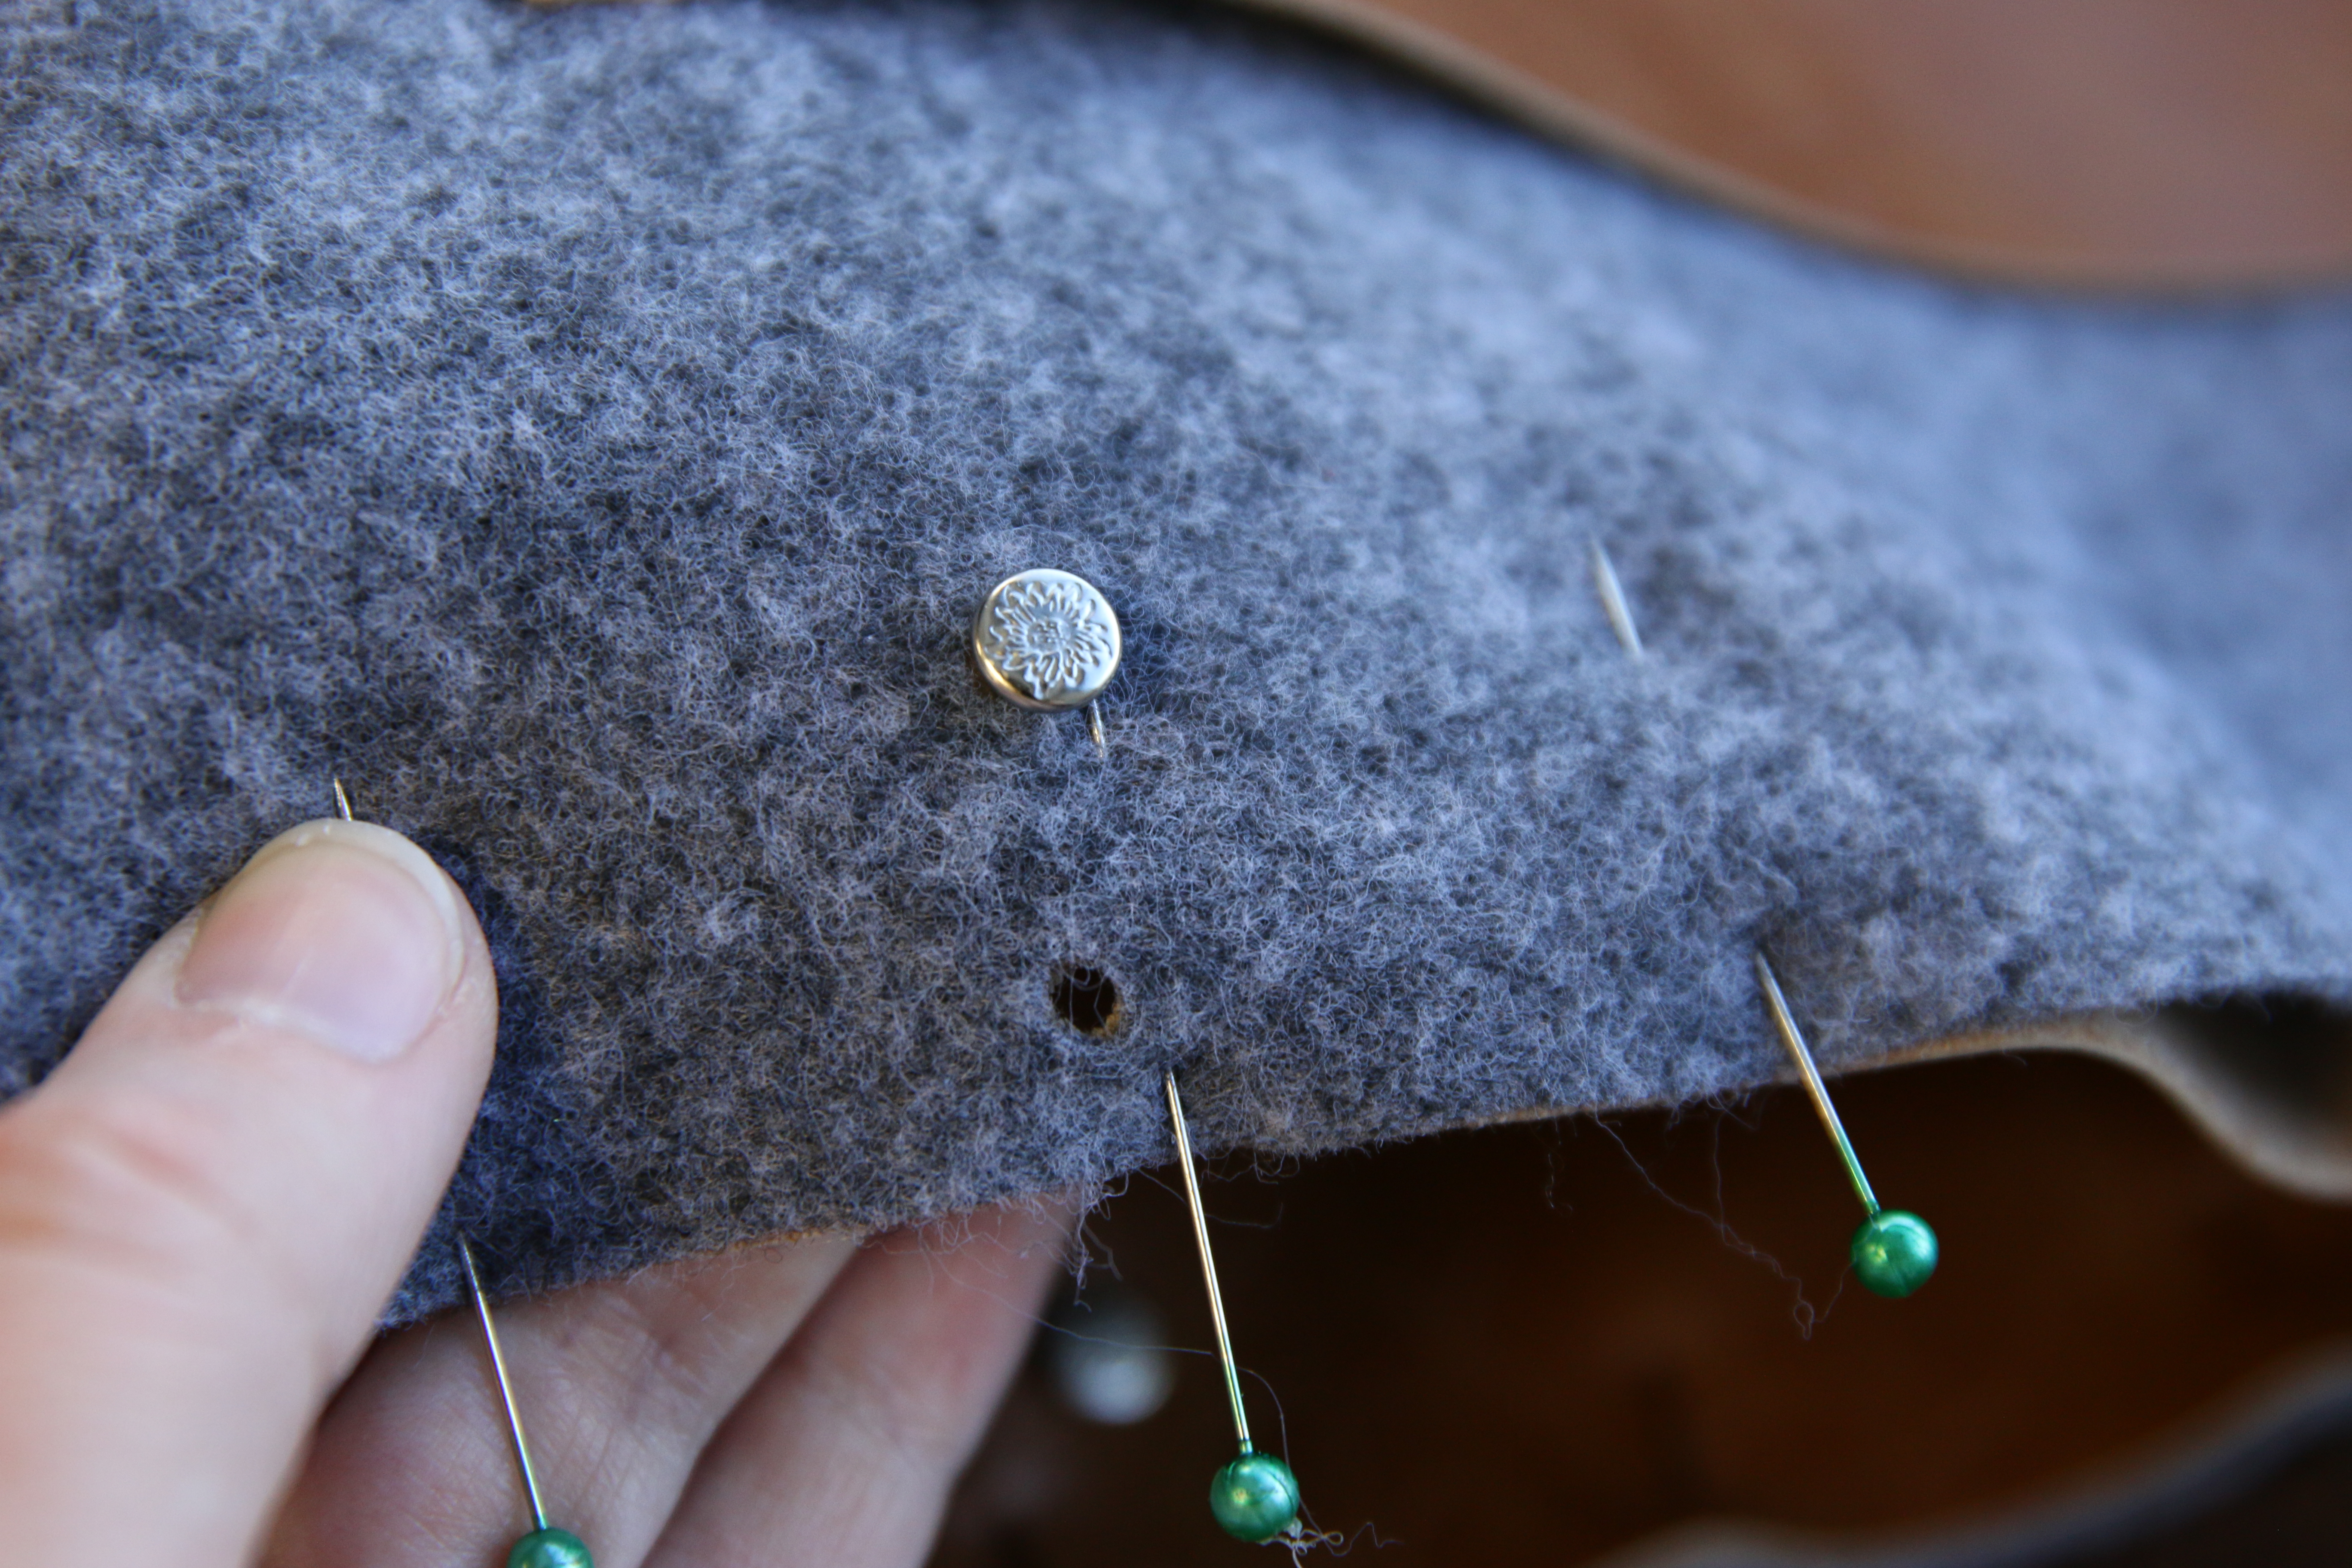
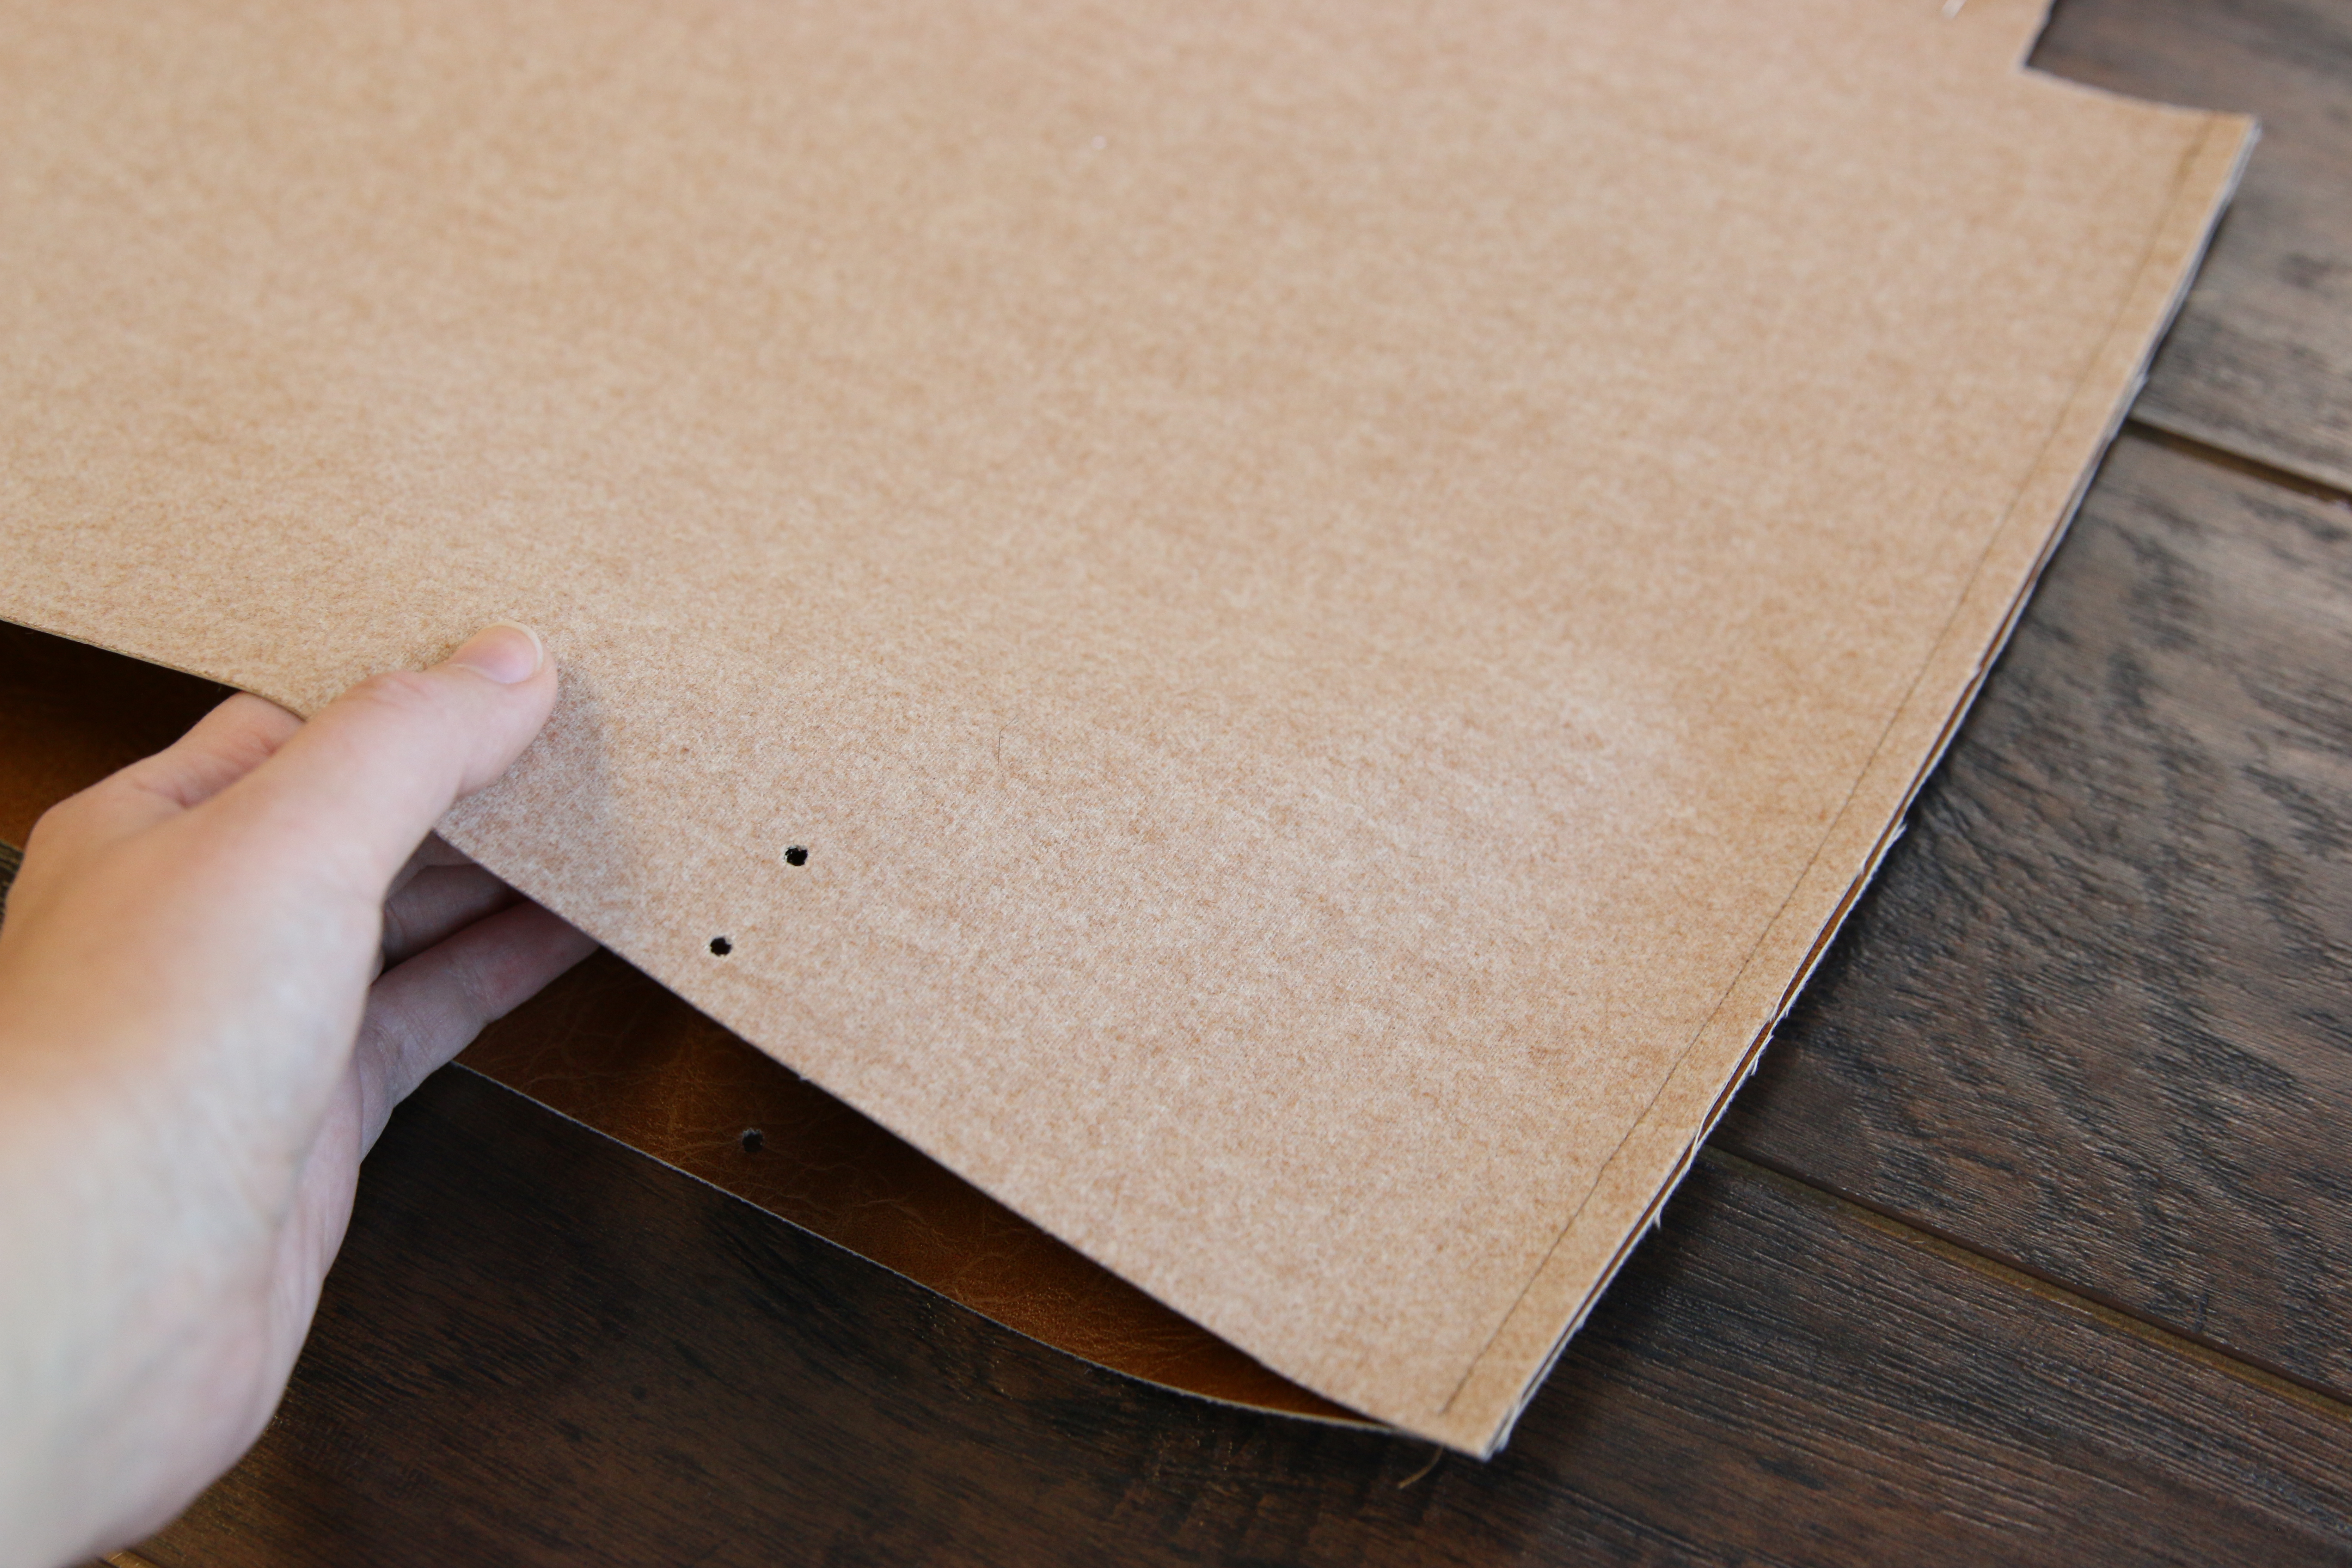
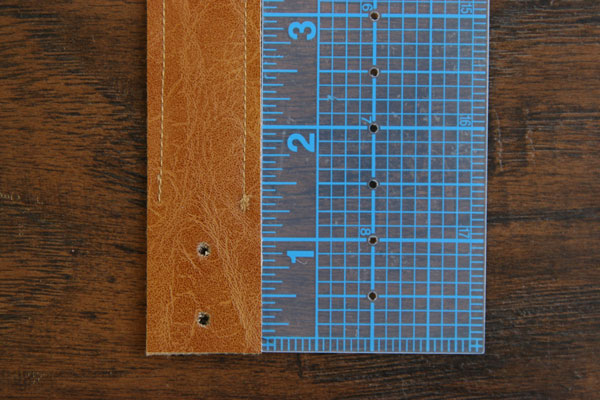
The most important thing is to match up the pre-cut holes on either side of the tote bag before sewing the top seam. Place a rivet into the bottom holes to hold the felt and leather pieces together, but do not actually set the rivets. They will be taken back out after sewing this seam.
18
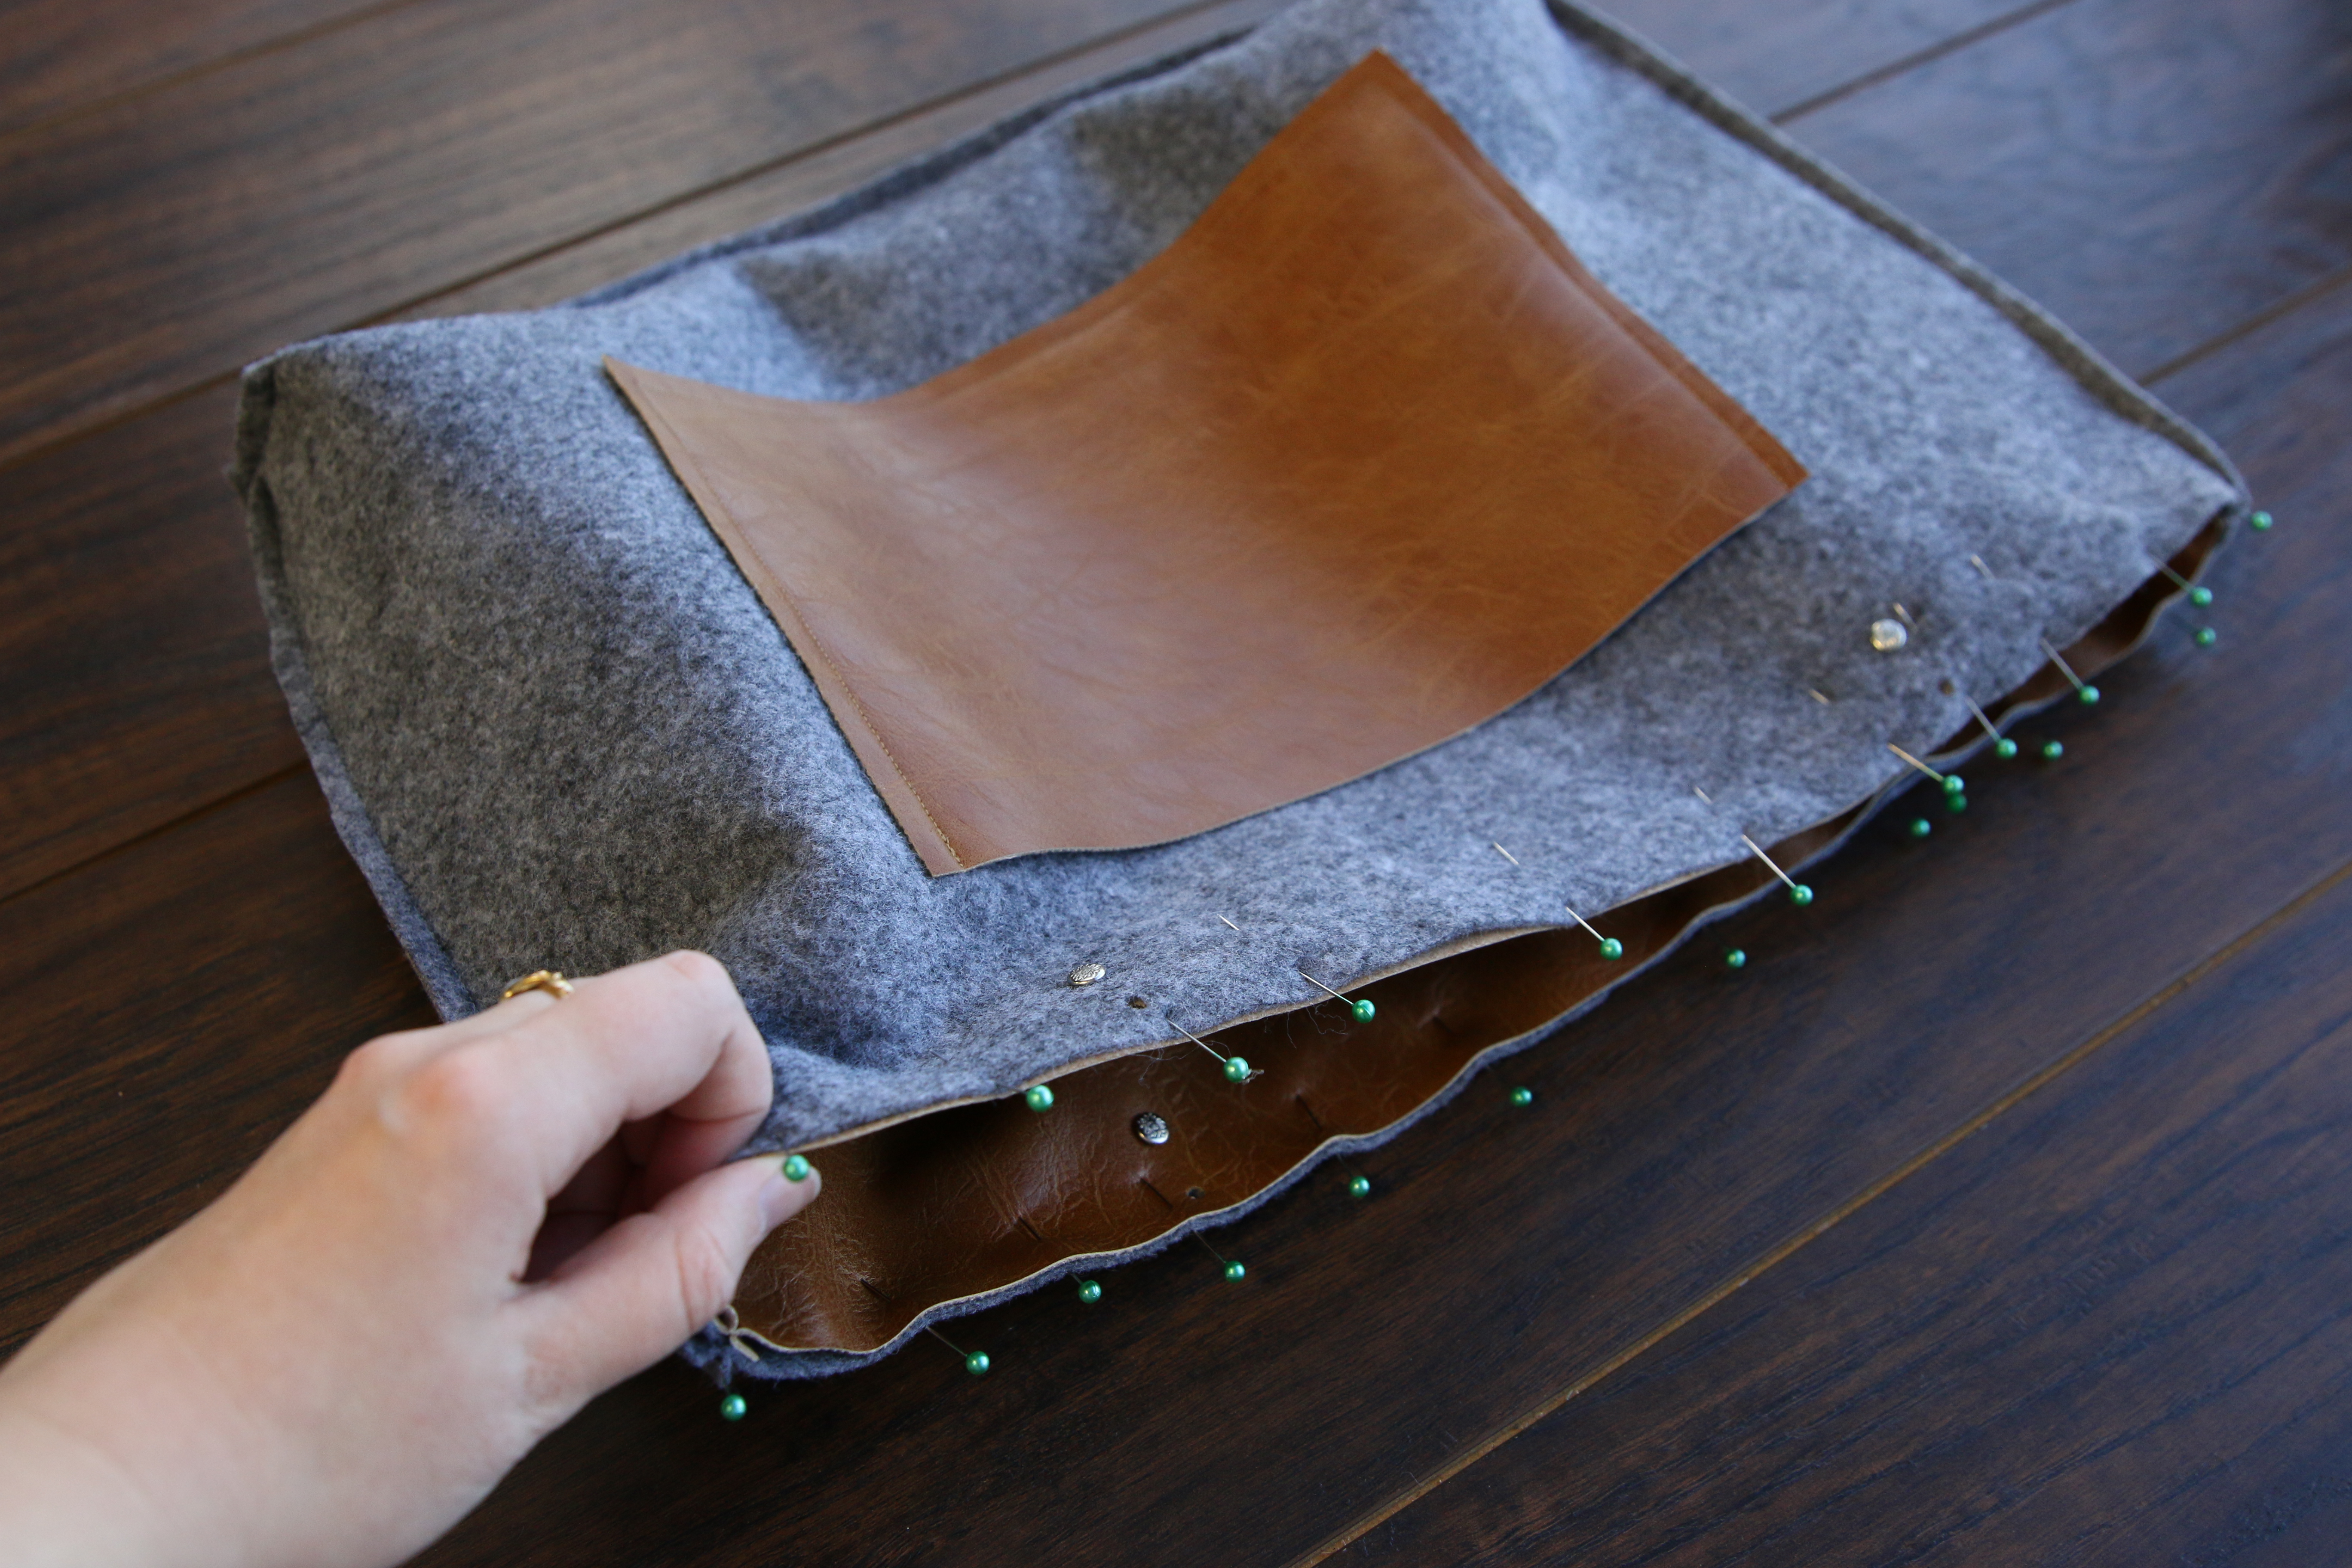
Once the holes are matched up, line up the top edges and seams and pin the leather and felt sides together all the way around the top edge.
19
Then sew a 1/4” seam along the top edge.
20
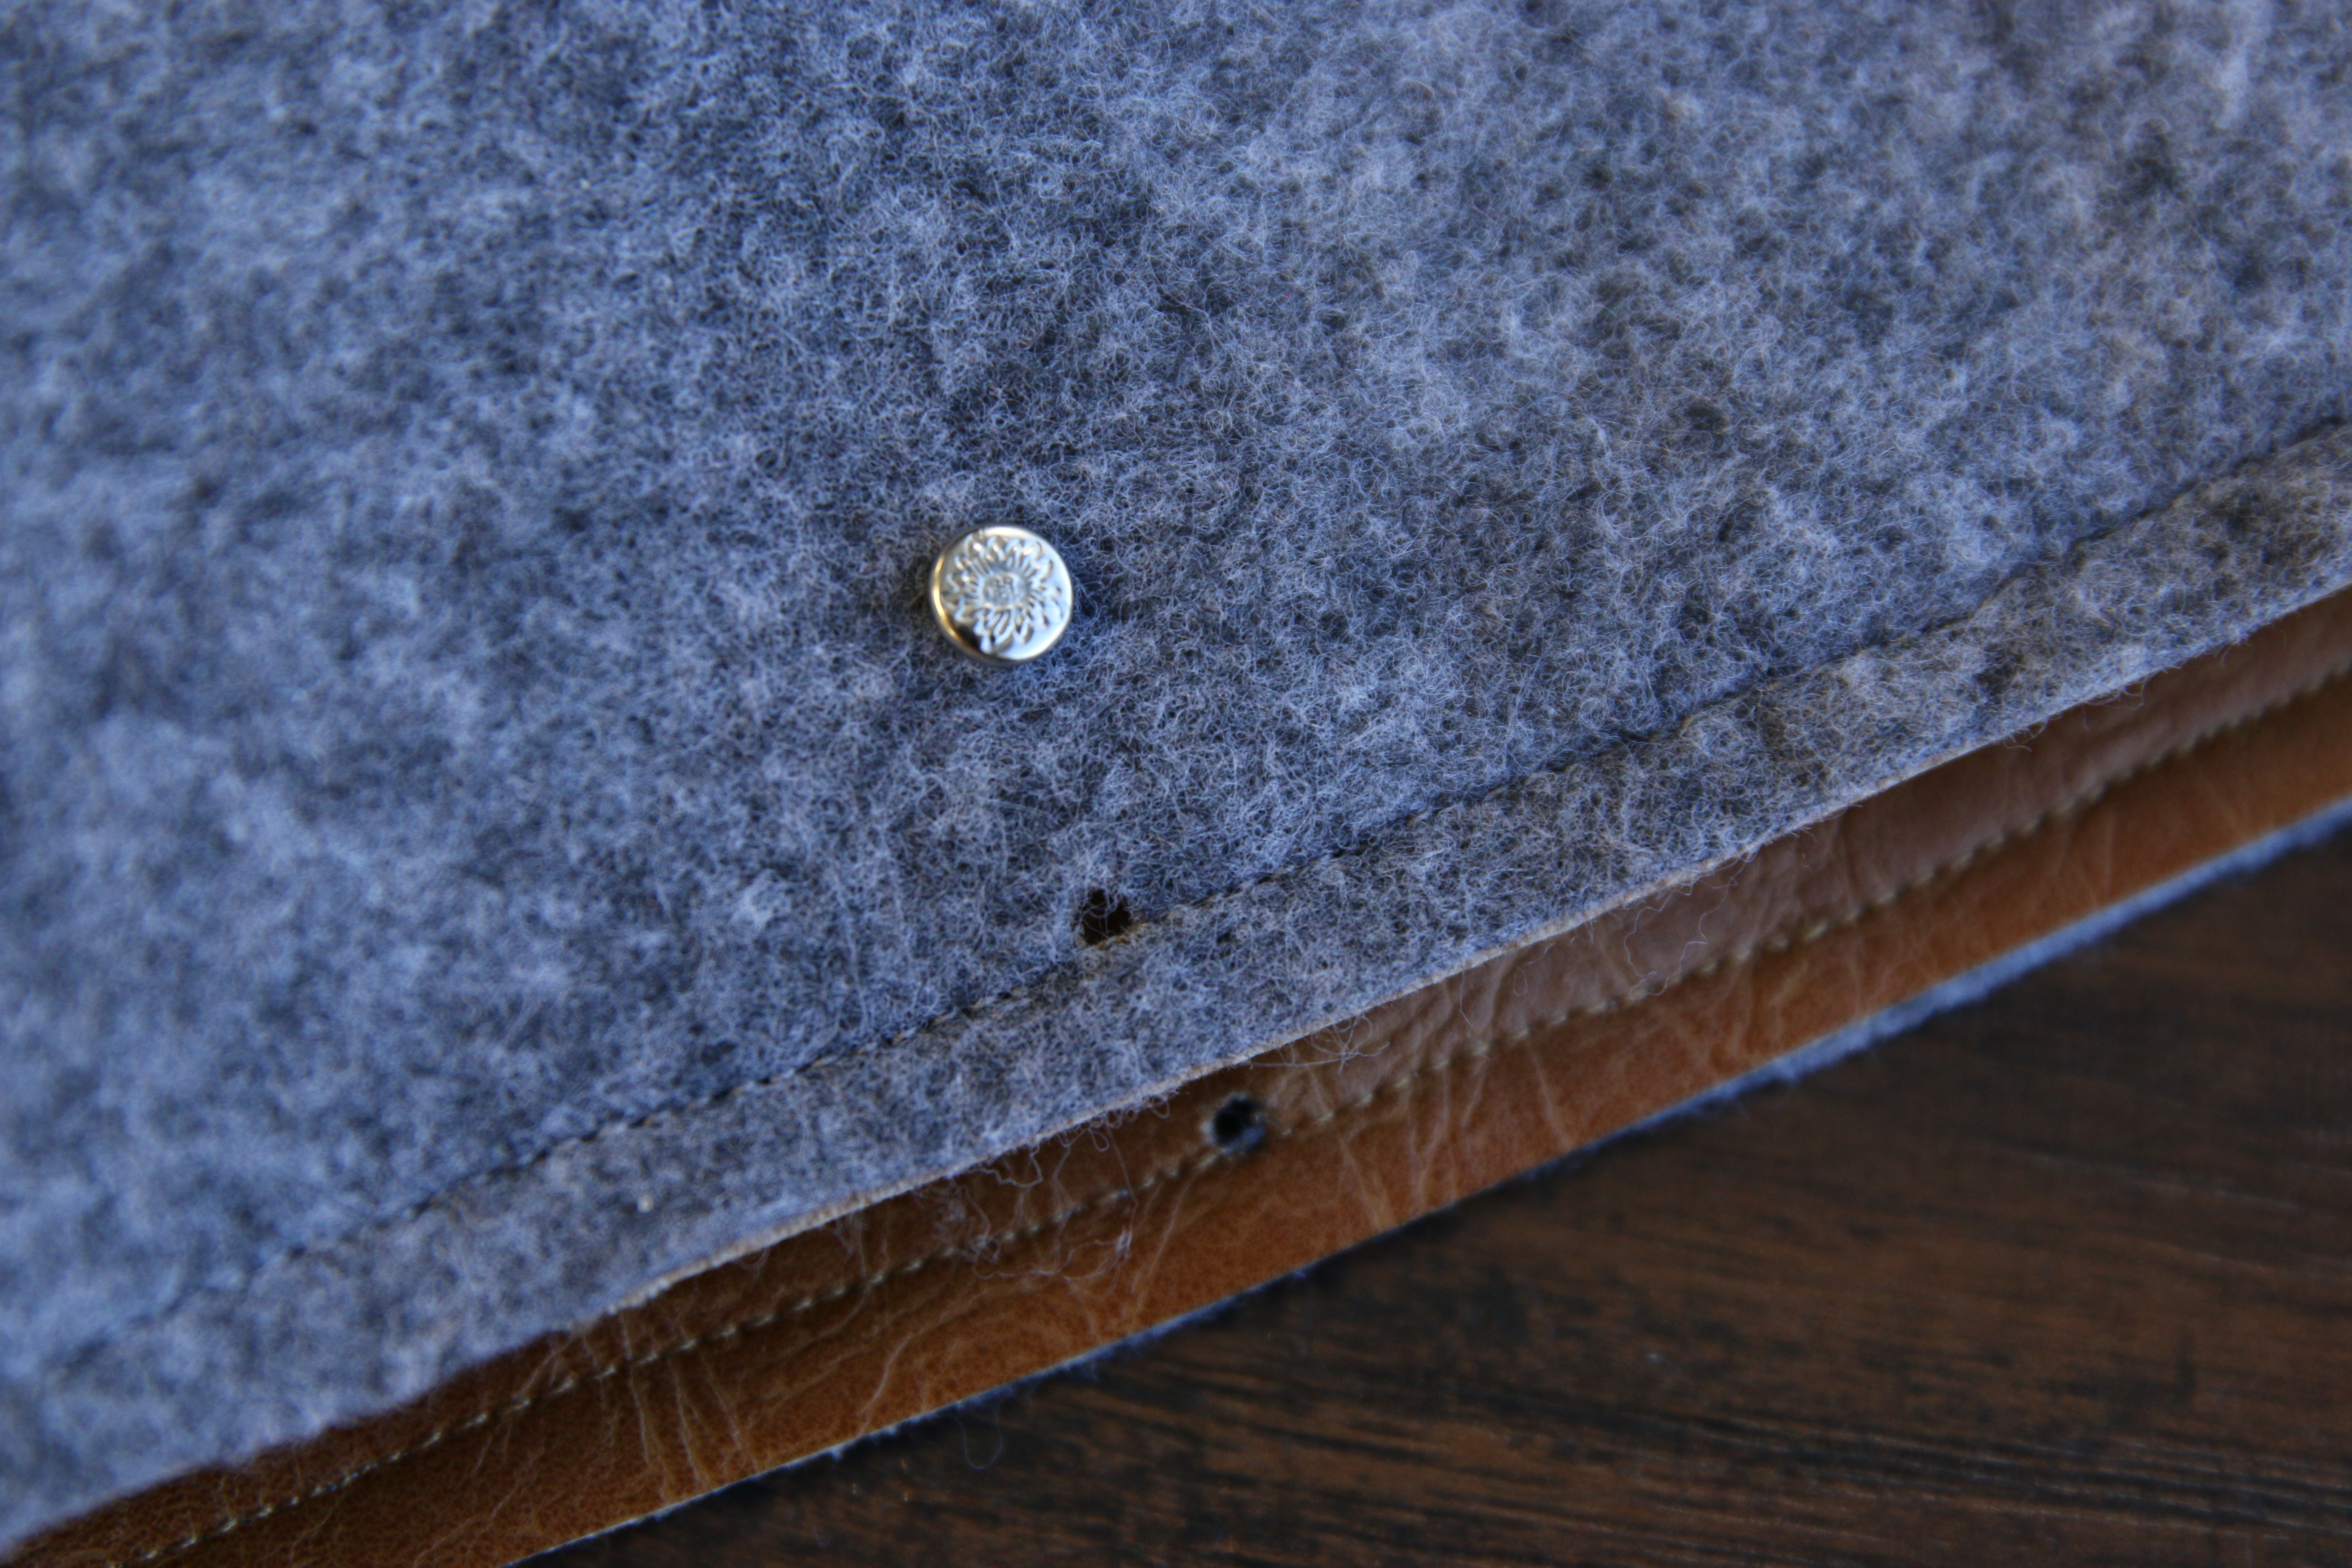
The top rivets holes are pretty close to the edge, so be careful not to sew in the hole.
21
After the top seam is finished, take out the four rivets that were in the bottom holes.
22

To hold the leather and felt sides of the reversible tote together inside of the bag, it is important to sew them together in each of the bottom four corners. Doing this will make the bag sturdier and easier to use. Take a hand sewing needle and thread, and sew through both the felt and leather layers in one bottom corner of the tote bag. Repeat to sew through all four corners to hold the two layers together securely.
23
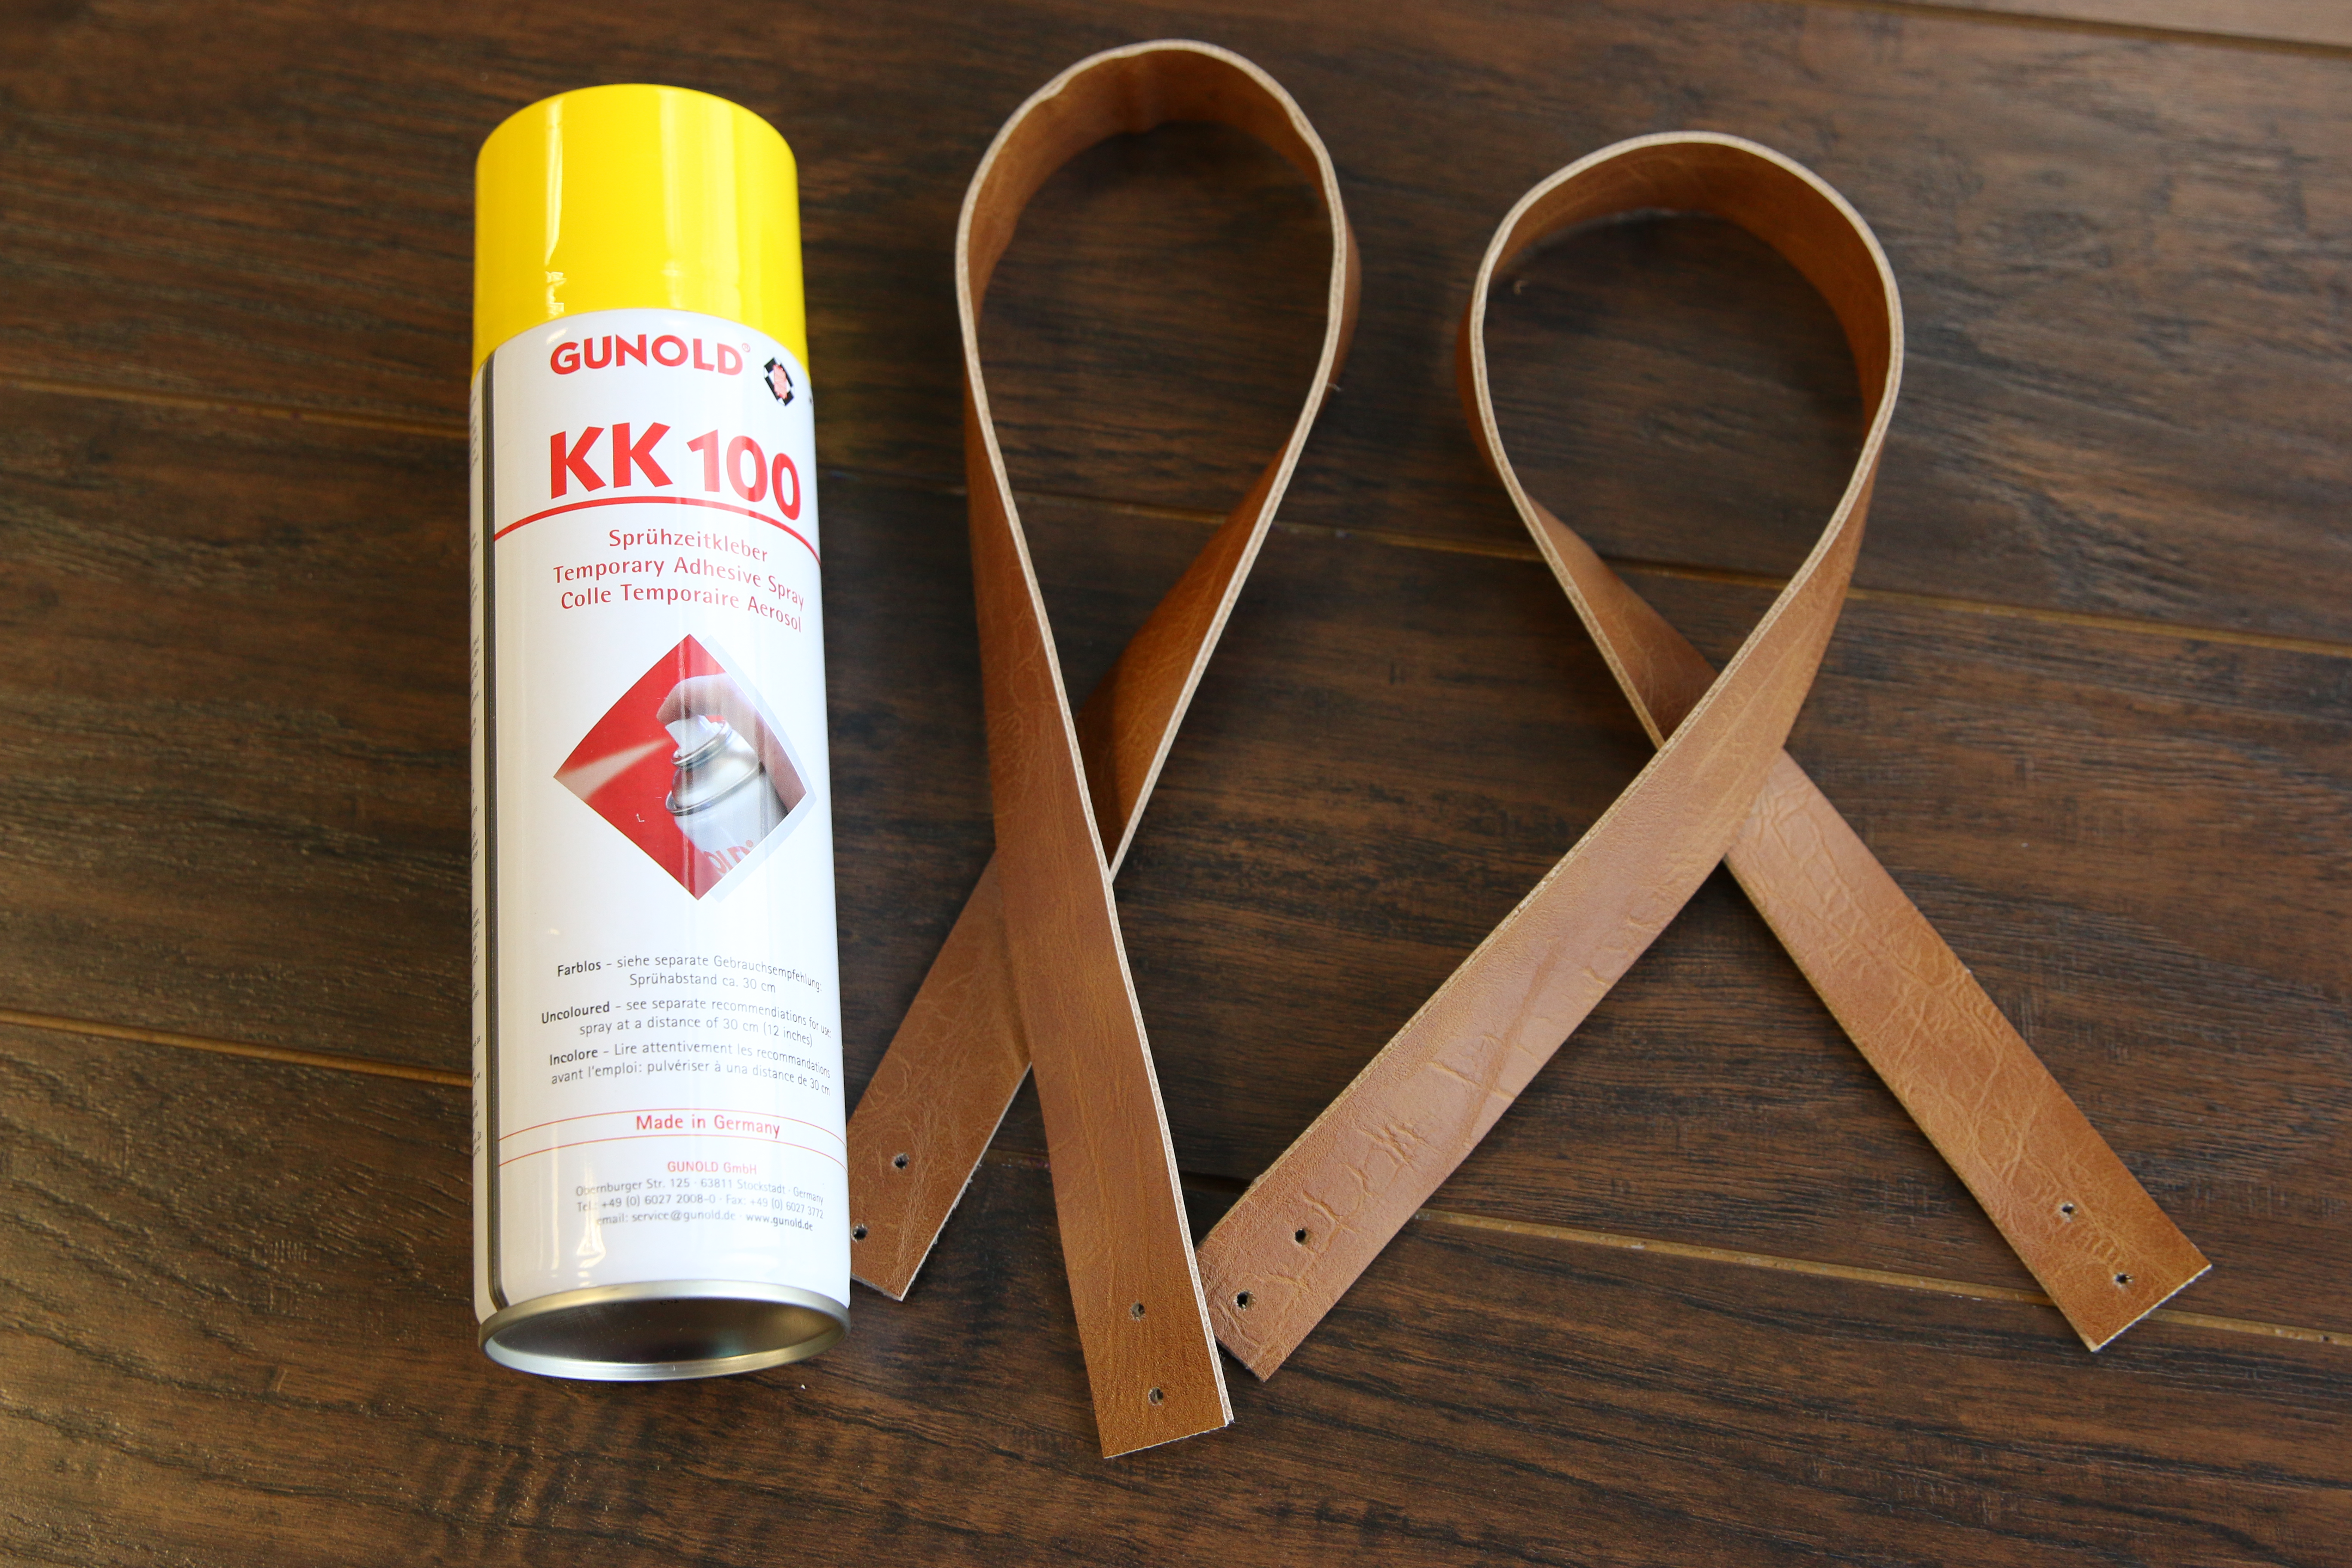
To make a strap, spray the wrong side of a strap piece (color 1) with temporary adhesive. Line up the edges, and smooth it onto another strap piece with wrong sides together. Make sure to line up the holes, and repeat for the other two strap pieces.
24

Then wind a bobbin to match the thread being used in the top needle, so the stitching matches on both sides of the strap.
25
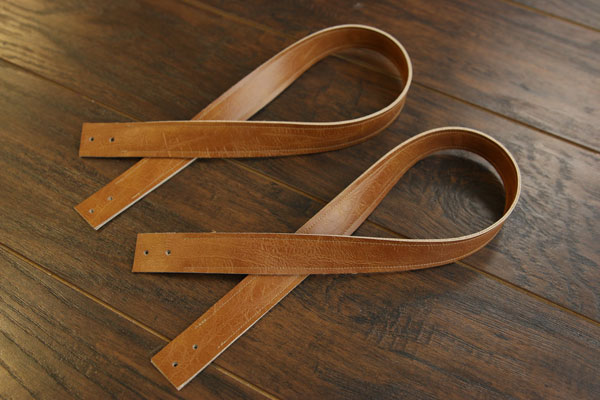
Sew a 1/8” seam along each long side.
26
It is very important to stop sewing 1 1/4” away from both ends of the straps where the holes are. This way the two connected strap pieces can be pulled apart at the end and placed around of the side tote bag.
27
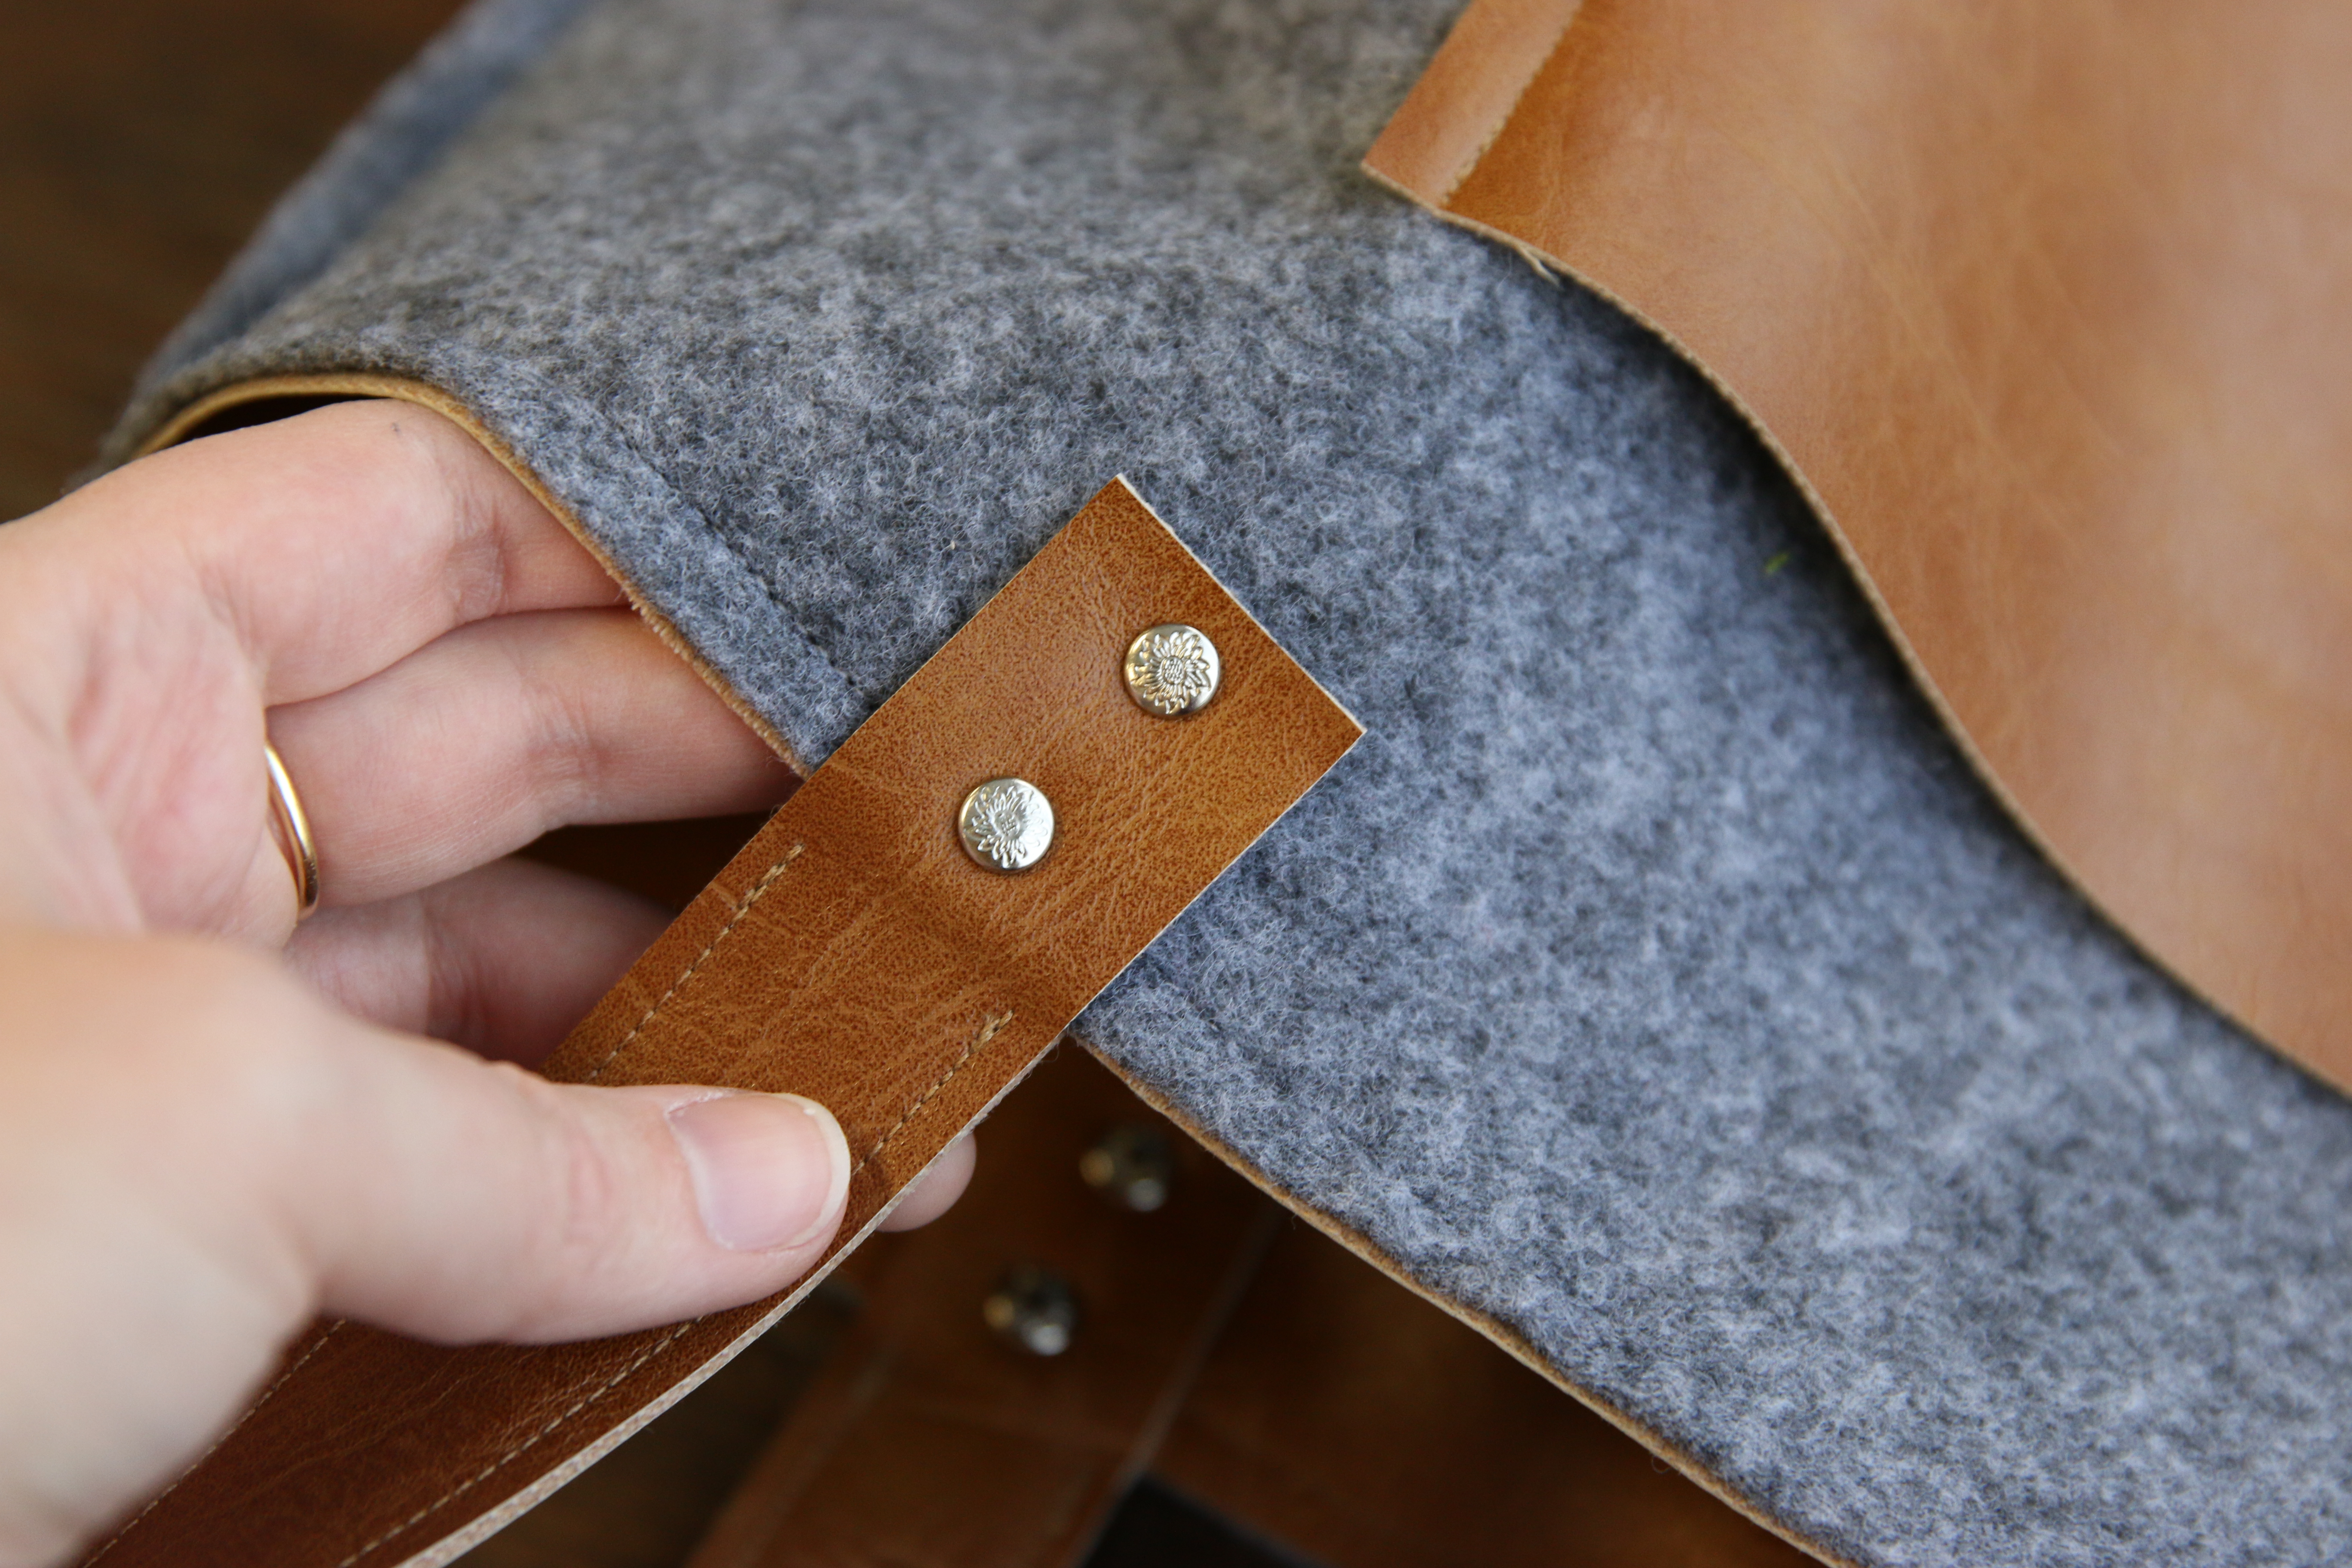
Place the end of the straps around the top edge of the tote bag so the wrong side of the strap pieces are against the right side of the leather and felt sides of the bag. Think of it almost like an alligator chomping on the top edge of the bag, so the top and bottom jaw will be around both sides. Line up the holes of the straps and the bags, and add the rivets according to the manufacturer’s instructions.
28
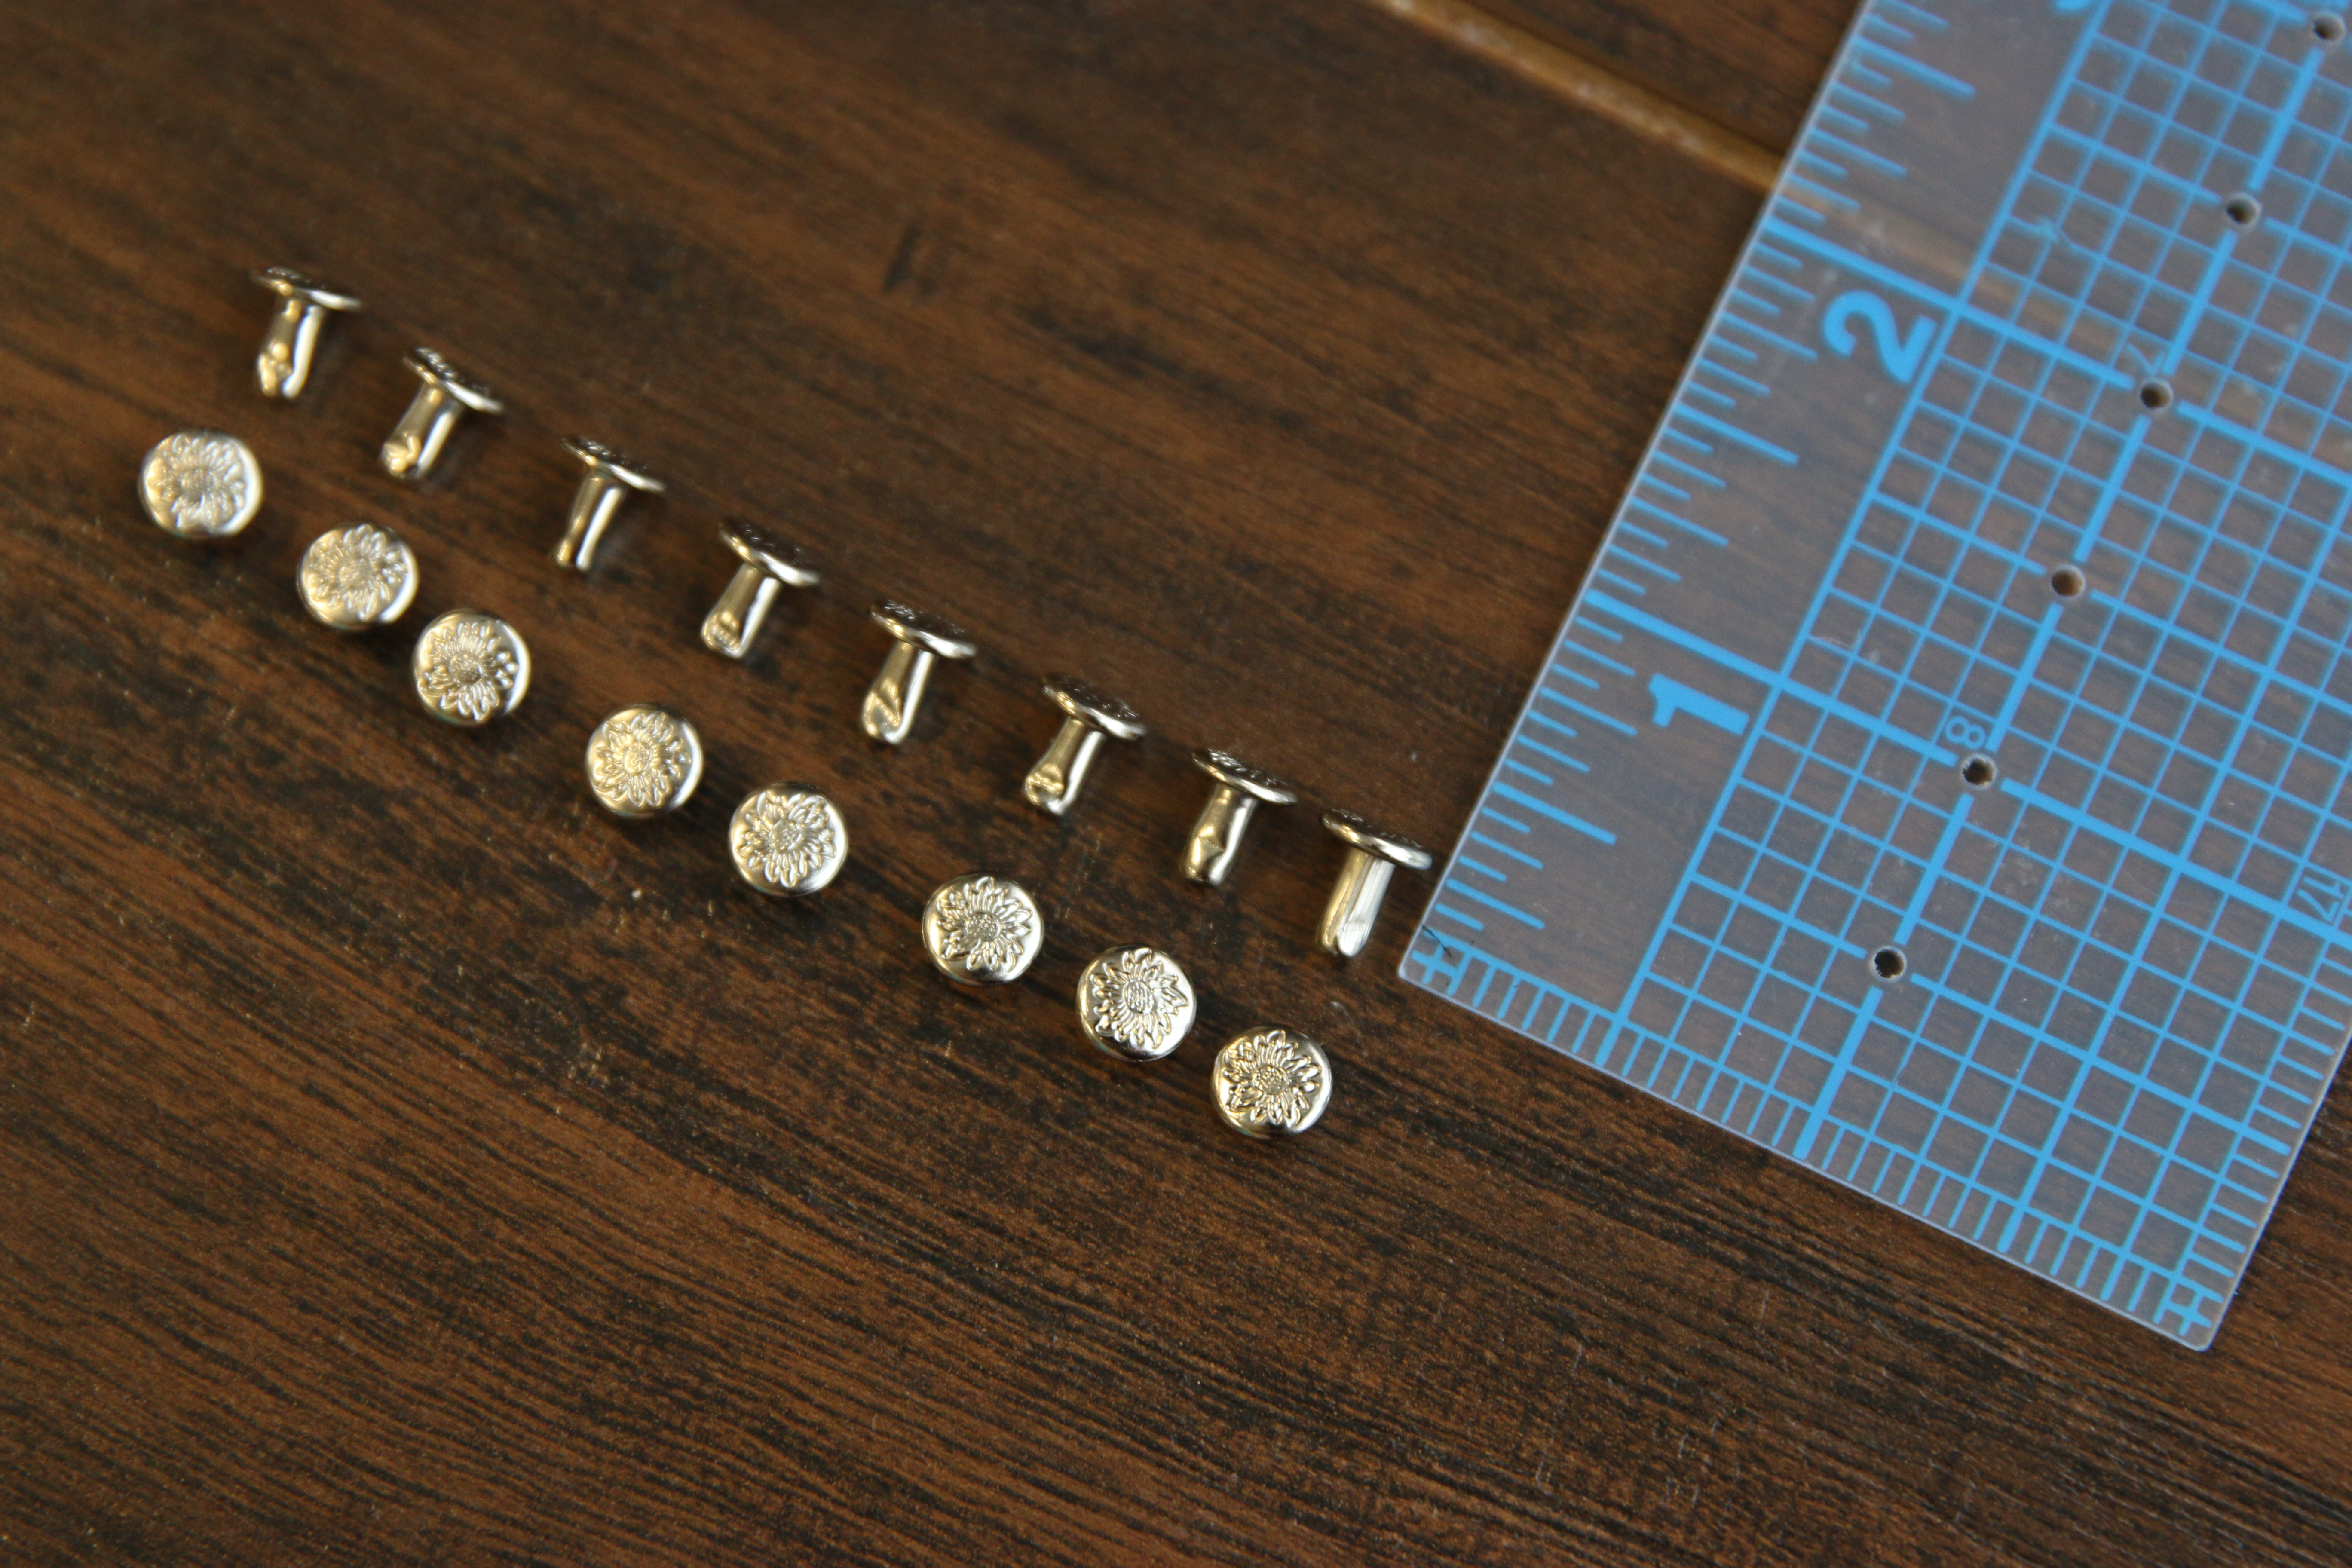
A total of eight double cap rivets will be used, and the posts need to be 5/16” (8mm) long. You can find these at Tandy Leather Factory, or other similar craft businesses.
29
This completes the Reversible Tote Bag. Repeat these steps to make a collection of totes in different colors. Make sure not to resize these designs, as the seam allowance makes them unscalable.


