Supplies
- 1/3 yard quilter’s cotton, linen, or twill (for sides - color 1)
- 1/3 yard quilter’s cotton, linen, or twill (for sides - color 2)
- 1/3 yard quilter’s cotton, linen, or twill (for sides - color 3)
- 1/4 yard quilter’s cotton, linen, or twill (for leaf - color 4)
- 1/4 yard quilter’s cotton, linen, or twill (for stem - color 5)
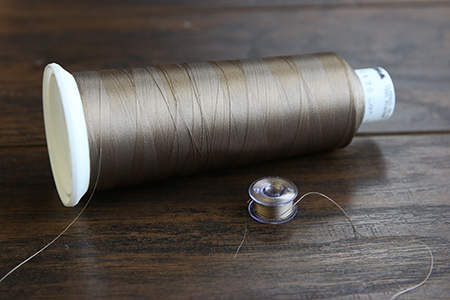
- Sewing thread to match all fabric colors
- Heavy duty thread (for hand sewing)
- Hand sewing needle
- Polyester fiber fill
- Hot glue gun
Designs Used
Cutting Instructions
1
Load the Pumpkin Plush (Cut & Stitch) file into your cutting machine’s software. This design has five different fabric colors. Proceed in the design software until the first color selection appears, and is ready to be cut.
2
Smooth the first fabric color onto the adhesive mat with the right side of the fabric facing up.
3
Make sure the Knife Tool is in place. Then load the adhesive mat and fabric into the cutting machine.
4
Cut out the first color. Then carefully remove the fabric pieces and the leftover fabric.
5
Repeat to cut out all five of the fabric colors for the Pumpkin Plush.
Sewing Instructions
1
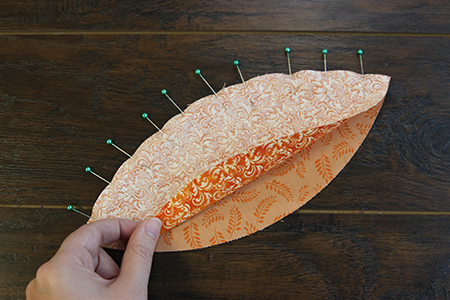
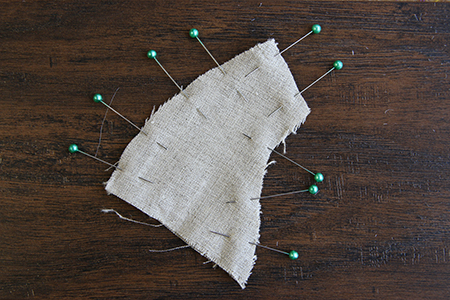
To assemble the Pumpkin Plush, first take two side pieces (colors 1 & 2), and match up the edges with right sides together. Pin along one curved side.
2

Then sew a 1/4” seam along the pinned side.
3
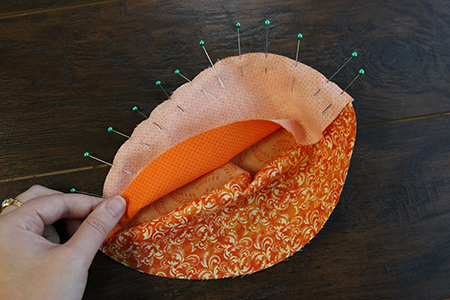
Next, repeat to match up and pin one side piece (color 3) onto the open edge of side (color 2).
4

Sew a 1/4” seam along the pinned side.
5
Then repeat again to pin and sew the second side (color 1) onto the open edge of side (color 3).
6
Repeat to also sew second side (color 2) onto the open edge of side (color 1).
7
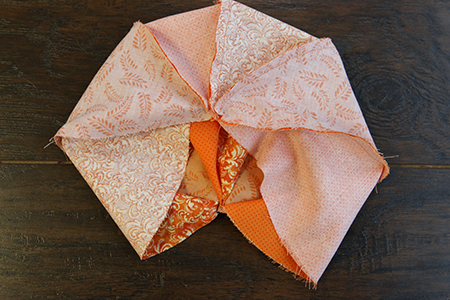
Finally add the final side piece. Sew the second side (color 3) onto the open edge of side (color 2).
8
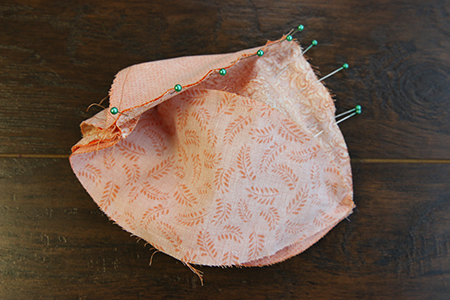
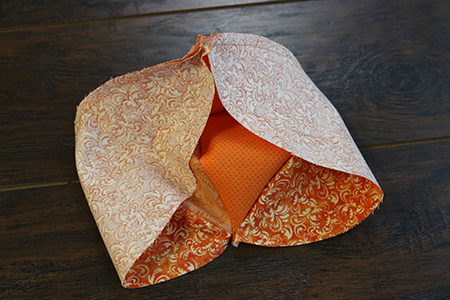
Next, match up the final two open edges, and pin them together.
9
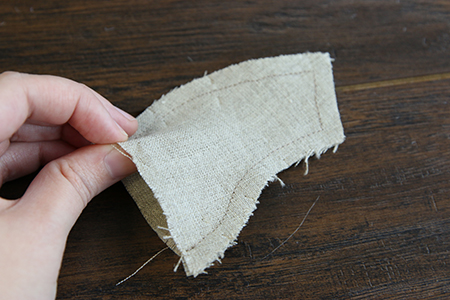
Sew a 1/4” seam, and make sure to leave a 2” opening for turning and stuffing plush.
10
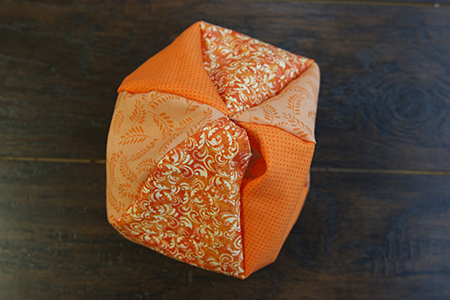
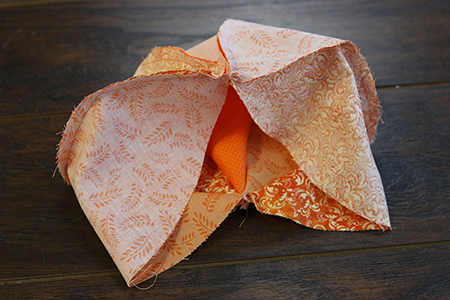
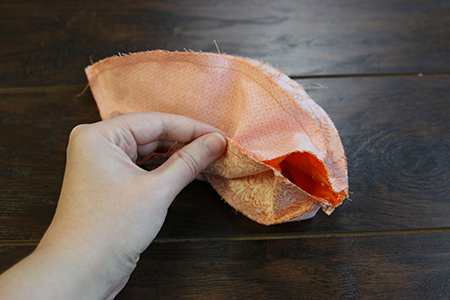
Turn the Pumpkin Plush right side out through the opening. It will be round in shape like a ball.
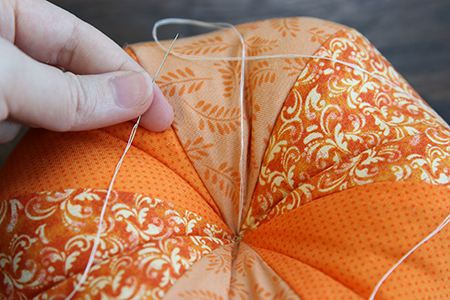
11
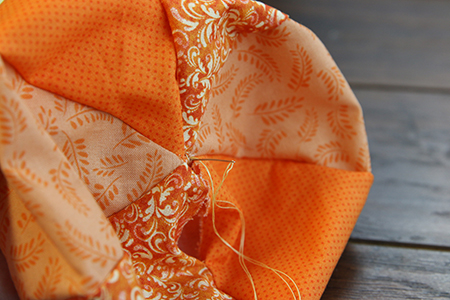
Locate the center top and center bottom where all the sides meet at a point. Match the two center points up, and bind them together by hand sewing through the entire pumpkin with a heavy-duty thread.
12
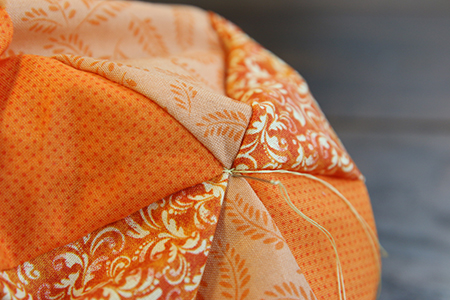
This will create the puffed shape of the pumpkin.
13
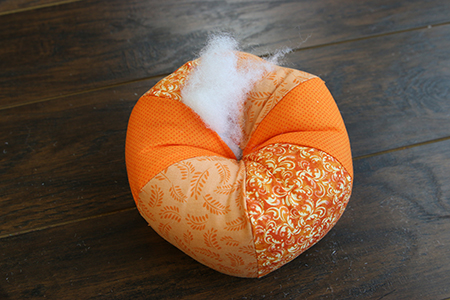
Then, stuff the pumpkin with polyester fiberfill.
14
Hand sew the opening closed.
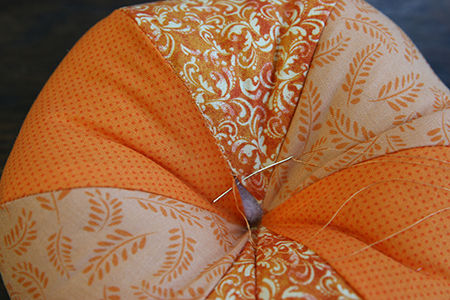
15
To make the ribbing effect of the Pumpkin Plush, thread a hand sewing needle with a heavy-duty thread, and sew once through the center of the pumpkin.
16
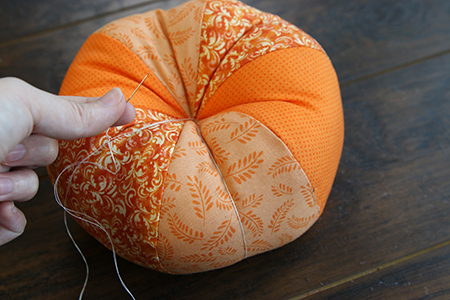
Then loop around the outside of the pumpkin, centering the thread on one side. Sew through the center again, pull the thread tight, and tie off the thread.
17
Repeat to sew around each of the six side pieces to fully create the ribbing effect.
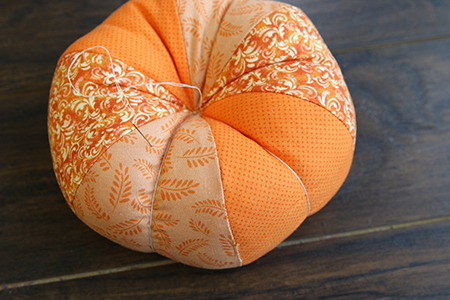
18
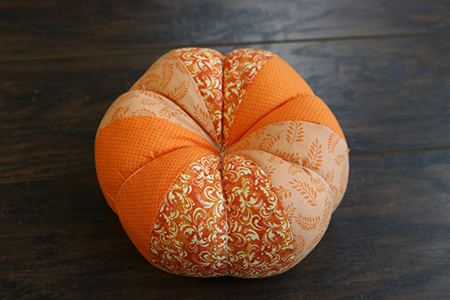
After all the sewing is completed, use your hands to gently squeeze and press the pumpkin into shape by moving the filling around.
19
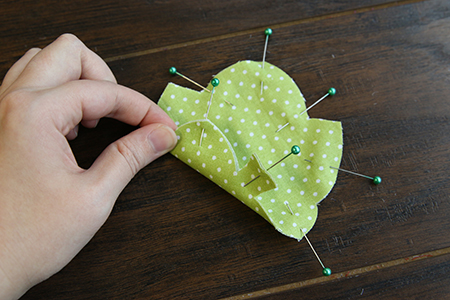
For the leaf, match up the front and back pieces (color 4) with wrong sides together, and pin them in place.
20
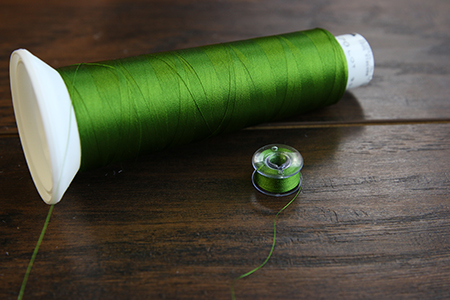
Then wind a bobbin to match the thread color used in the top needle, so the thread is the same on either side of the leaf when sewing.
21
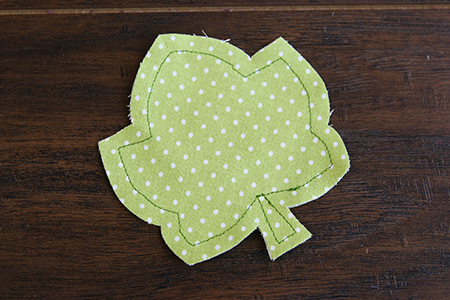
Then sew 1/4” away from the outer edge of the leaf to bind the front and back together.
22
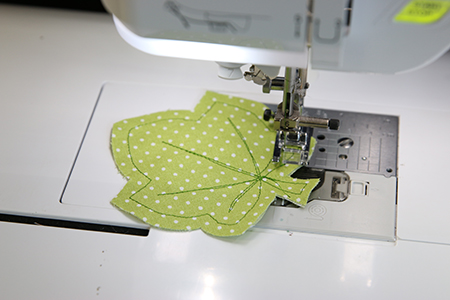
If desired, you can also sew veining details onto the leaf by hand or using your sewing machine.
23
To make the stem, take the front and back pieces (color 5), and pin them together with the right sides together.
24
Then wind a bobbin to match the thread color used in the top needle, so the thread is the same on either side of the stem when sewing.
25
After the bobbin is in place, sew a 1/4” from the two sides and top edge to bind the pieces together. Make sure to leave the bottom edge open for turning and stuffing the stem.
26
Trim the corners, and cut slits along the curved edges, but be careful not to cut into the seam. This will help the stem keep its shape when turned.
27
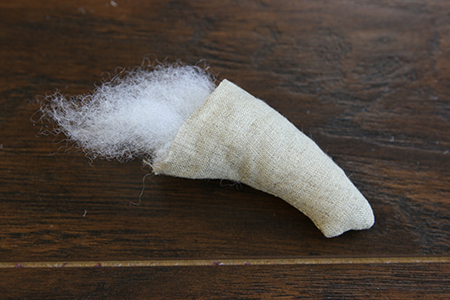
Then turn the stem right side out, and stuff it with polyester fiber fill.
28
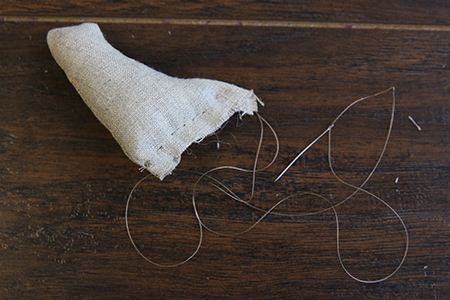
Hand sew a gathering stitch along the open edge, and then pull it shut to gather the bottom edge together.
29
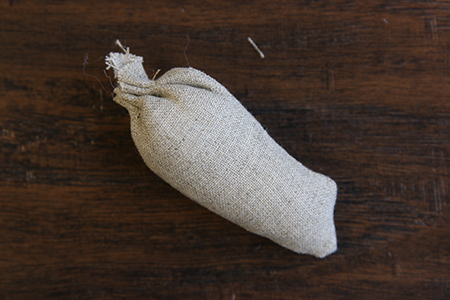
Sew the gather securely in place, and then tie off the thread.
30
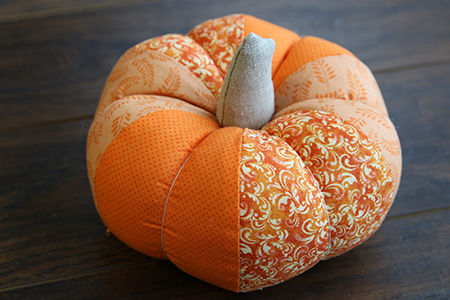
Using a hot glue gun or hand sewing needle and thread, secure the stem in place over the top center of the pumpkin.
31
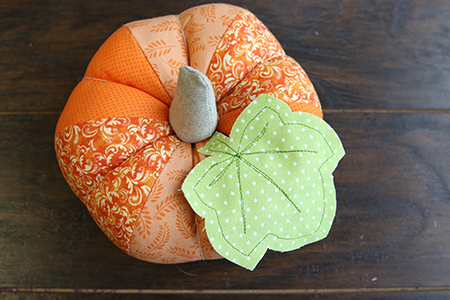
Then secure the stem of the leaf alongside the pumpkin’s stem. This completes the Pumpkin Plush. Repeat these steps to make a garden of pumpkins in a variety of sizes and fabrics. Just make sure to to not resize these designs, as the seam allowance makes them unscalable.


