Supplies
- 65 lb paper
- White glue (such as Elmer’s)
- Bone folder
- Foam spacers
Designs Used
Cutting Instructions
1
Load the Papercut Retro Truck (Cut & More) file into your cutting machine’s software.
2
This design has four colors of paper, and works best if cut out of 65lb paper. Proceed in the design software until the first pieces appear, and are ready to be cut.
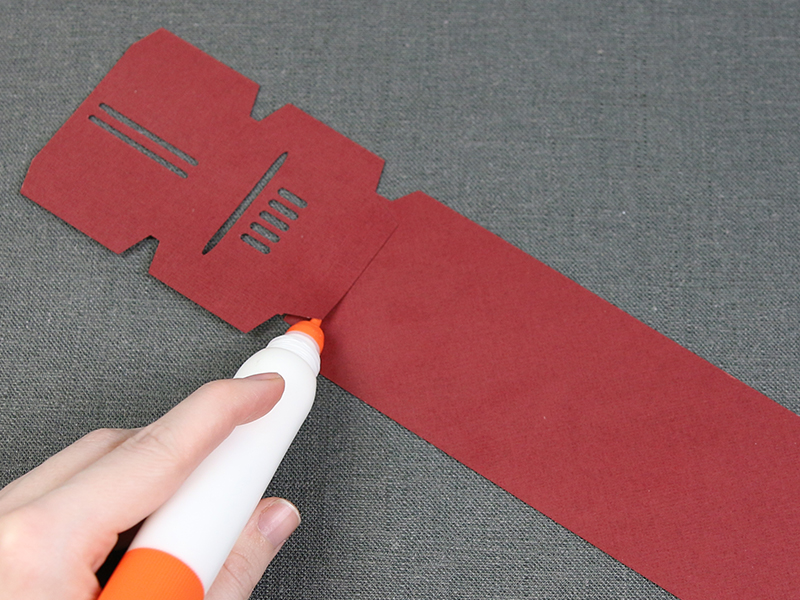
3
Smooth the first piece of paper onto the adhesive mat. Make sure the correct knife tool is in place. Then load the adhesive mat into the machine.
4
Score and cut out the pieces. Then carefully remove the cut pieces and excess paper.
5
Repeat to score and cut all of the pieces for the Papercut Retro Truck.
Crafting Instructions
1
First take the bottom piece of the truck as well as the front piece of the truck. Glue the front piece to the bottom by the tab along the bottom edge of the front piece, and let dry.
2
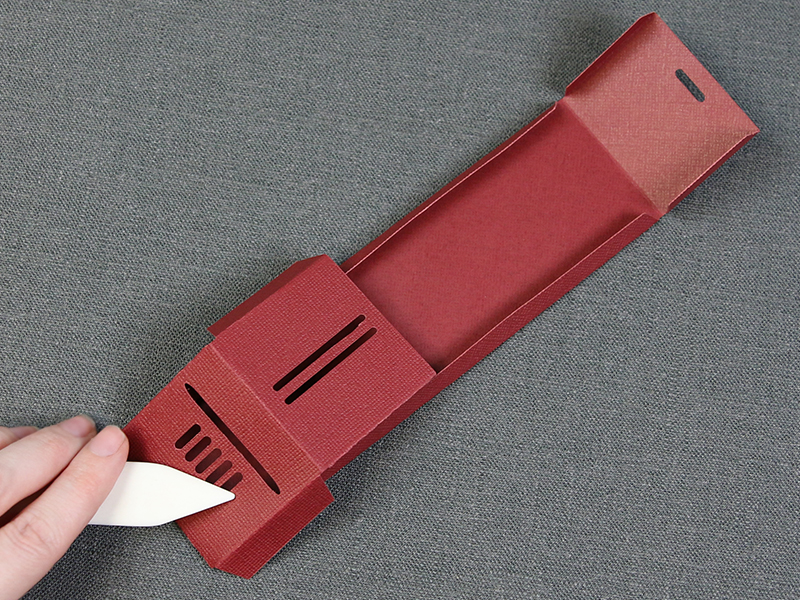
Then fold all of the scoring lines up.
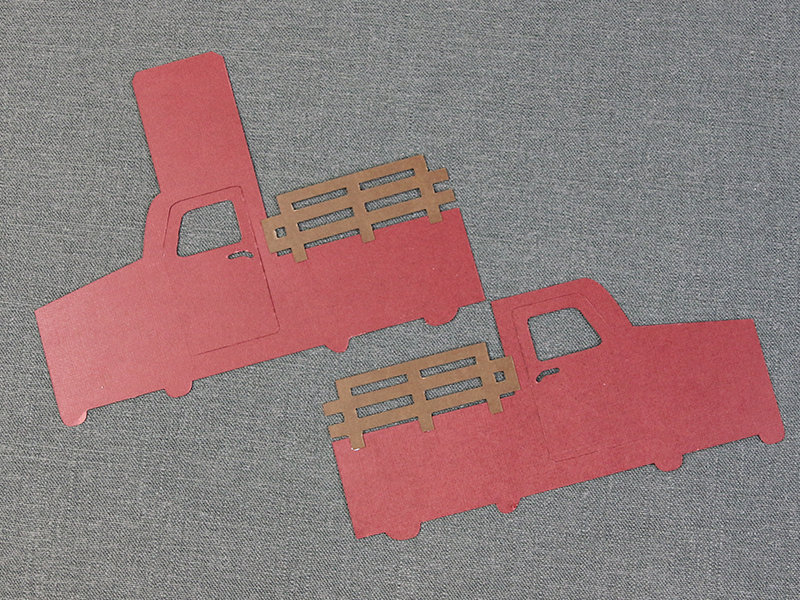
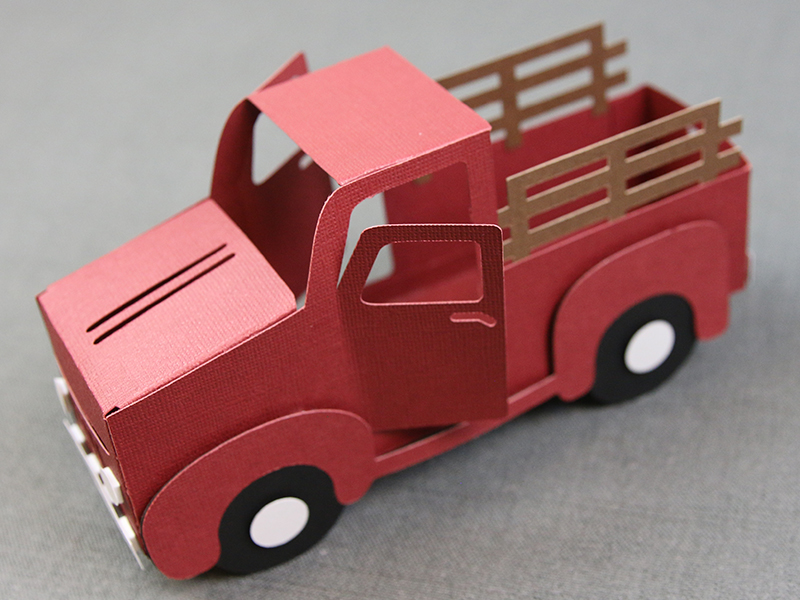
3
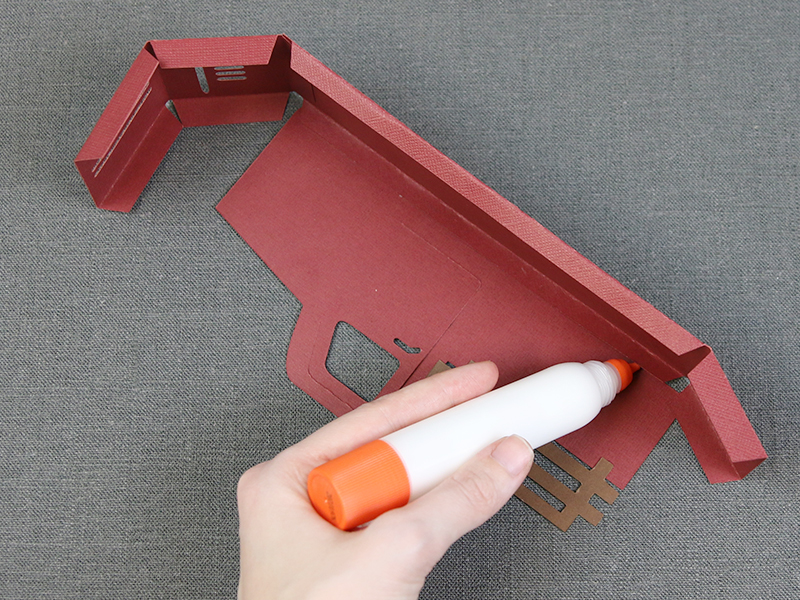
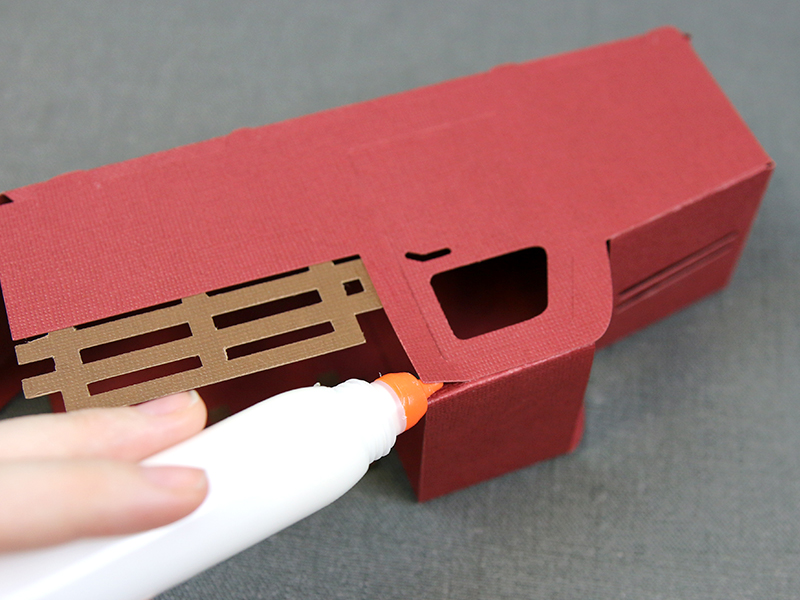
Glue the sides to the back of the right side of the truck.
4
Repeat for the left side.
5
Now take the right side of the truck, line up the bottom of the right side pieces with the tab of the bottom piece, and glue them together.
6
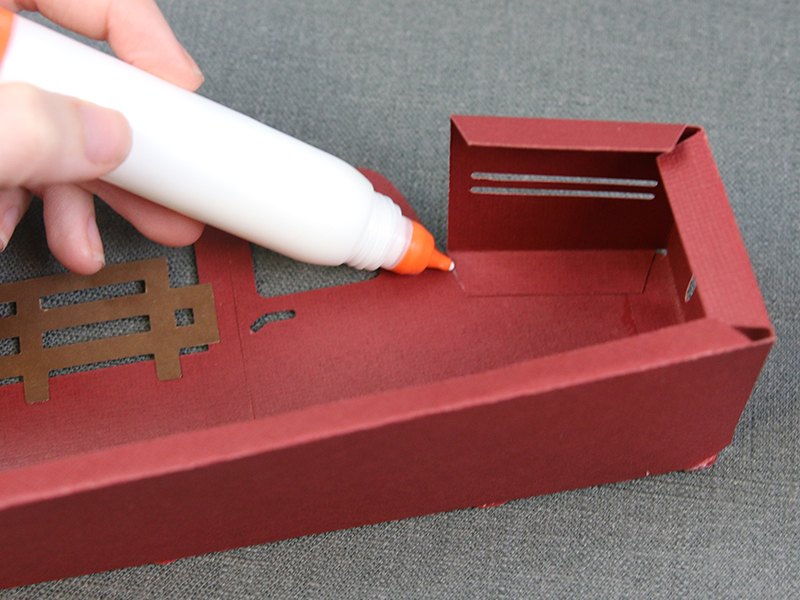
Then glue down the tabs on the right side of the front piece to make the front grill and hood of the truck.
7
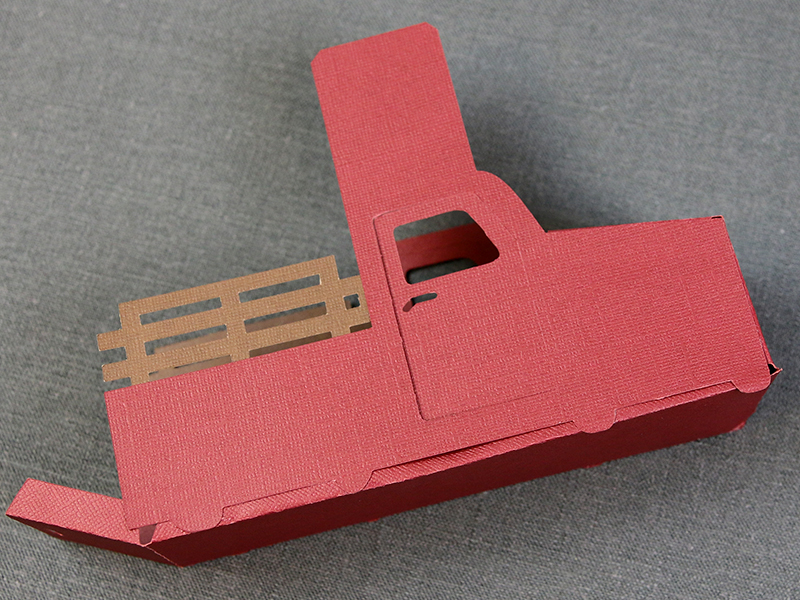
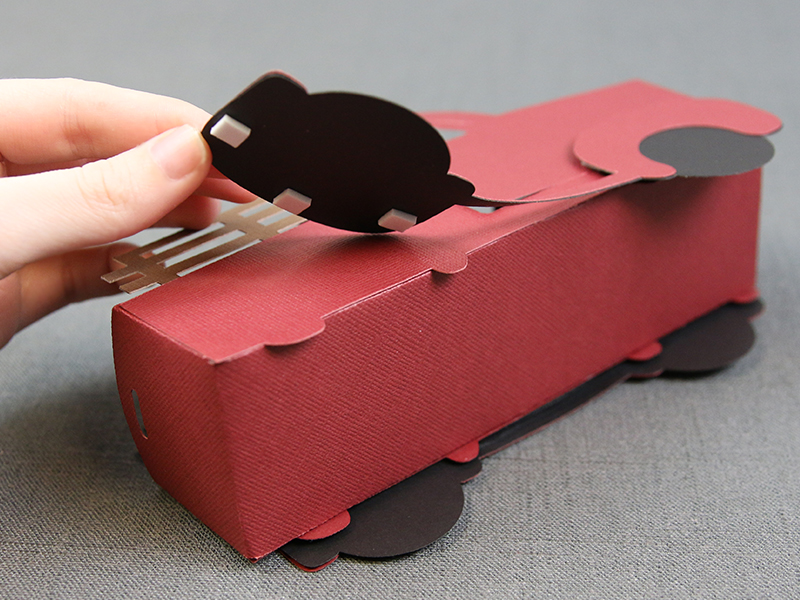
Repeat for the left side of the truck, leaving the top flap free.
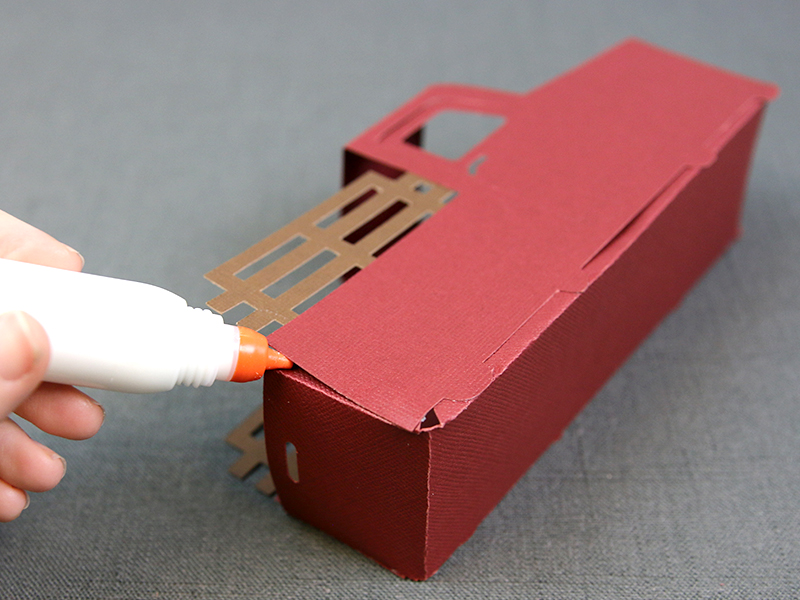
8
Fold the top flap and the thin tab over until it reaches the right side piece of the truck.
9
Then glue into place.
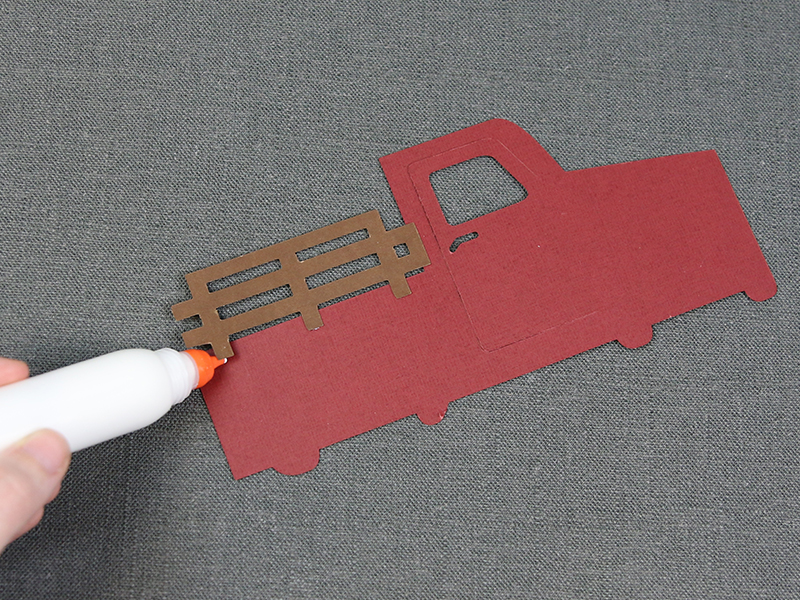
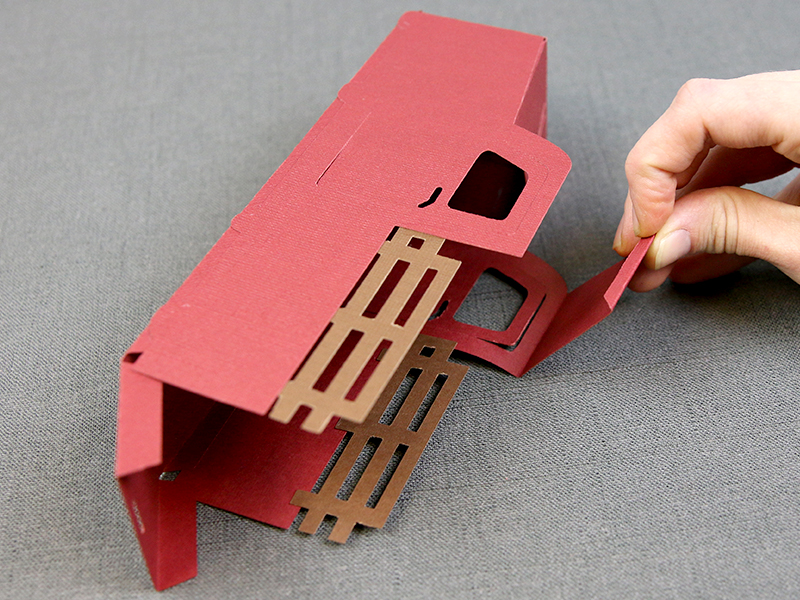
10
Next fold up the tailgate and line the back edges up, and glue into place on both sides.
11
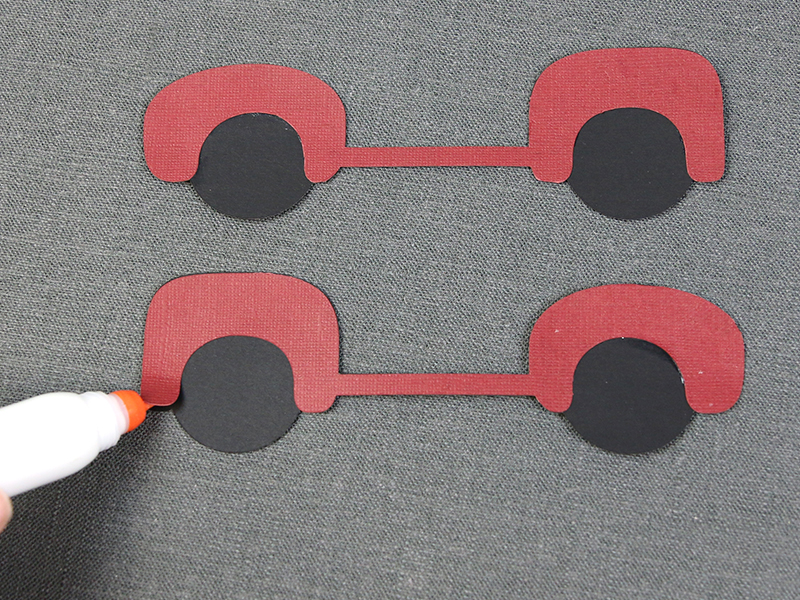
Lightly spread glue onto the back of the red fender pieces, and then smooth on top of the tire pieces. Make sure to match the rounded front tire with the rounded fronts of the fenders.
12
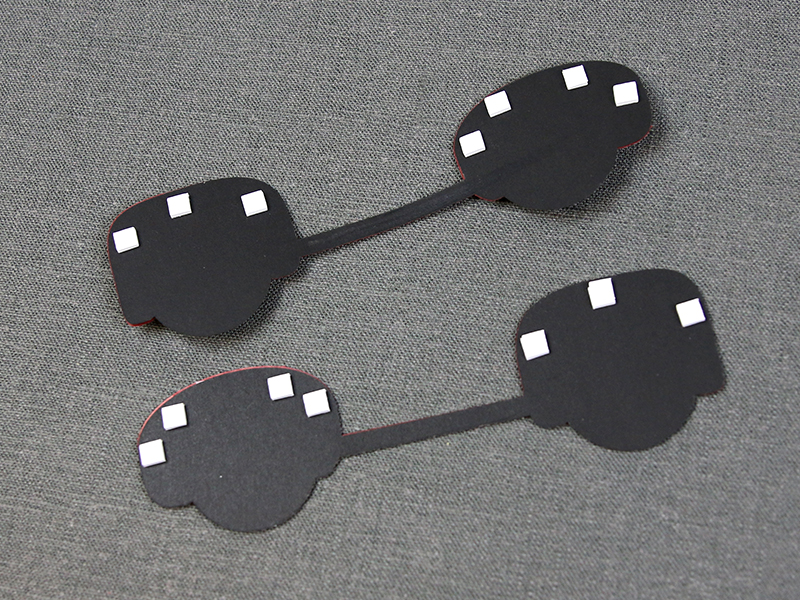
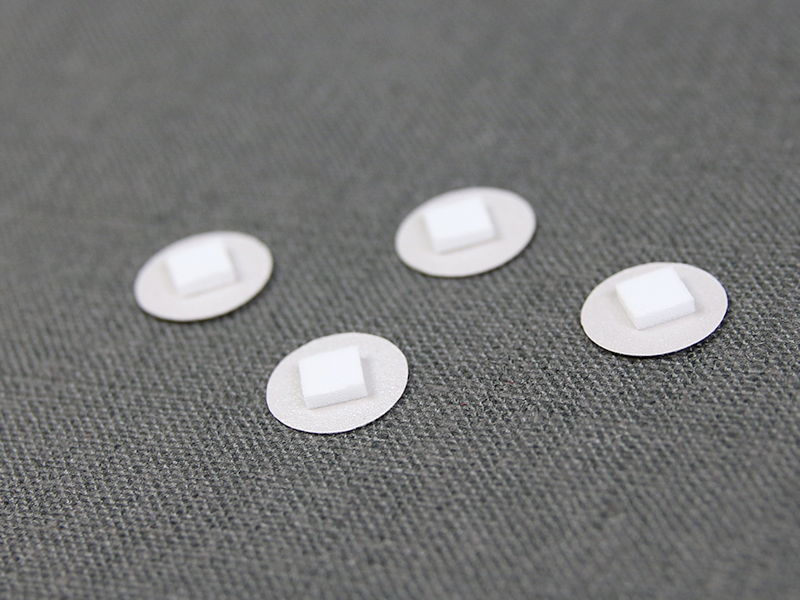
Then flip over to the back side of the tires and add spacers.
13
Place the tires, with the rounded fender and tire in the front and the more squared shaped one in the back.
14
Now take four spacers and put them in the center of the four hubcaps, the four larger circles of the six that cut out.
15
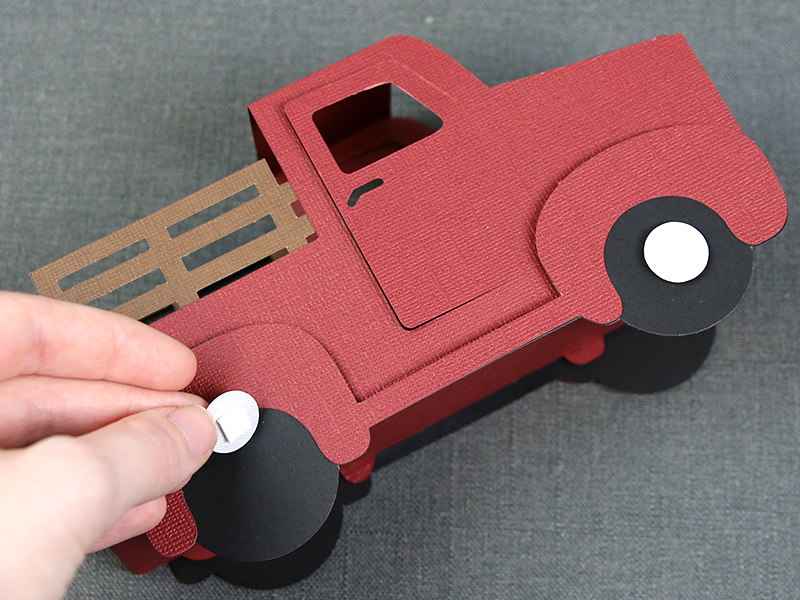
Remove the backing on the spacers and place them in the center of the tire.
16
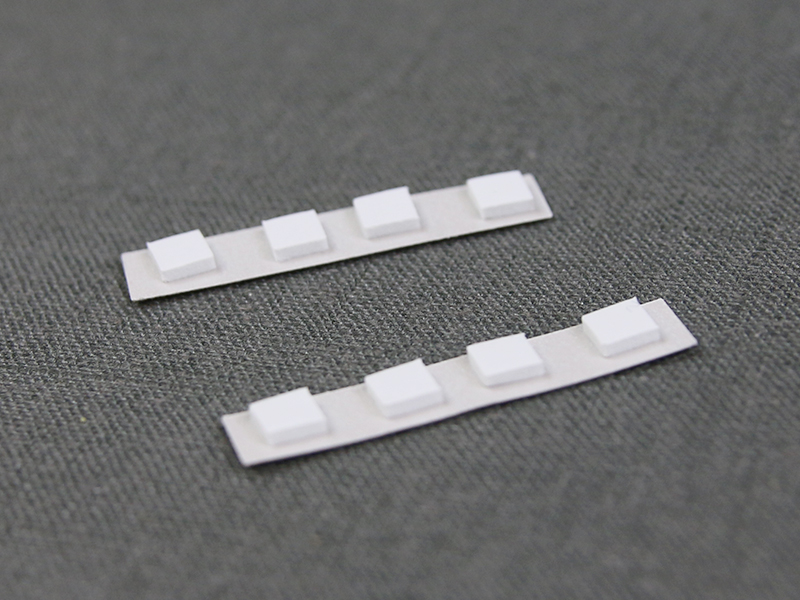
Both the front and rear bumpers will also need spacers placed on them.
17
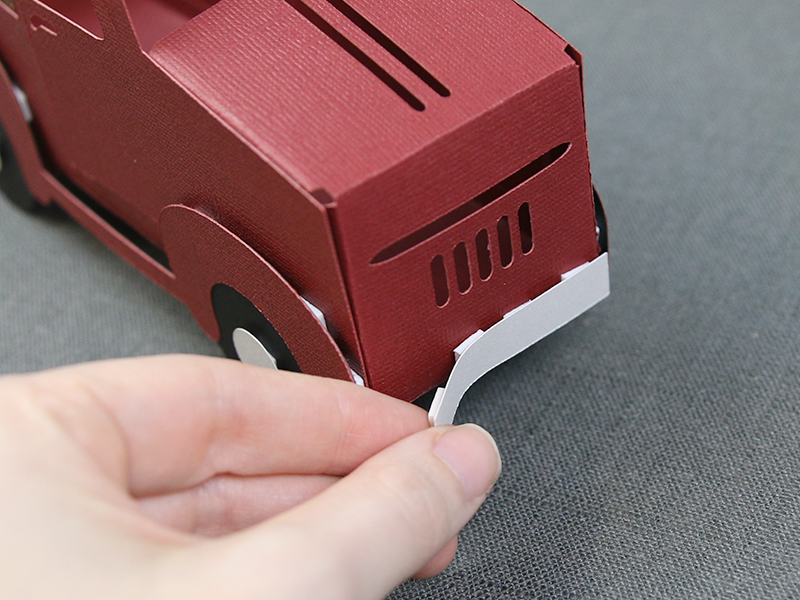
Place the front bumper, lining it up with the bottom edges of the bottom of the truck.
18
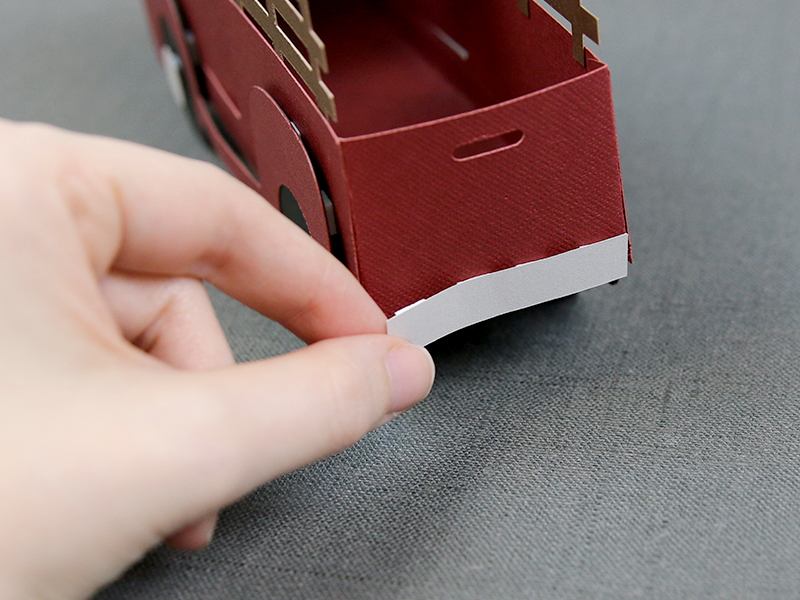
Repeat with the back bumper.
19
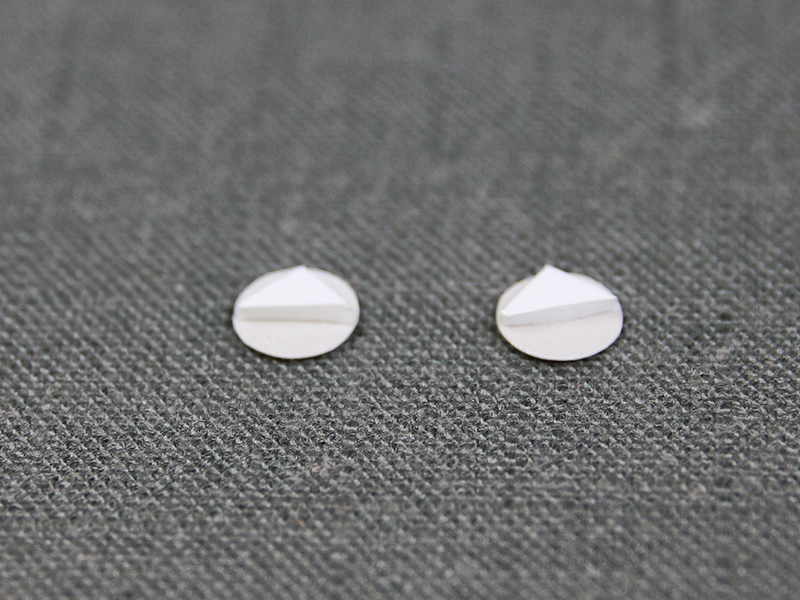
Cut a spacer in half diagonally and center within the lights, these are the two smaller circles that cut out.
20
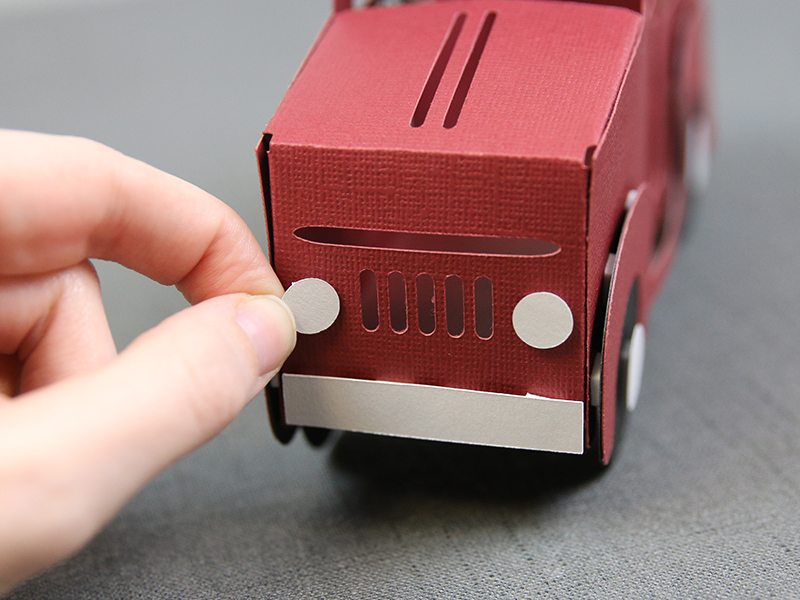
Then place the lights one either side of the truck’s grill.
21
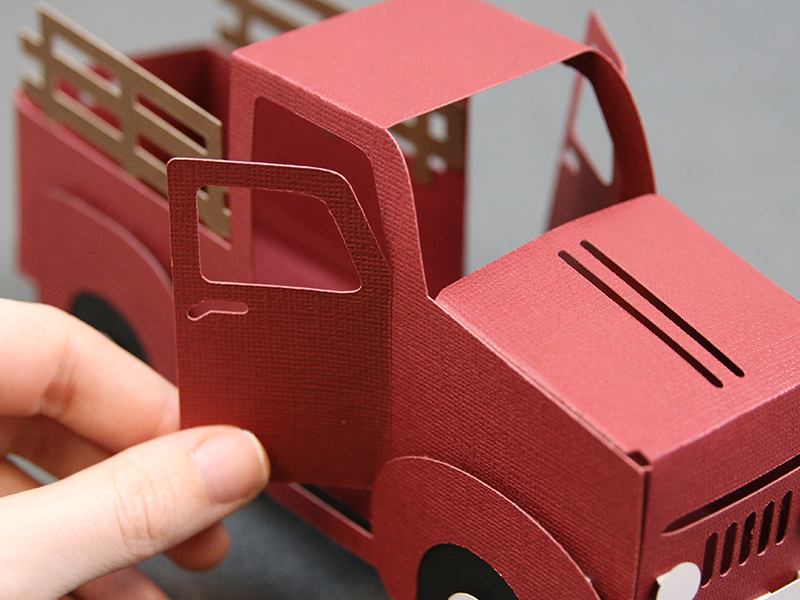
Fold open the doors.
22
This completes the 3D Paper Retro Truck. Repeat these steps to make a collection of trucks in different colors and sizes. The truck can be scaled bigger as long as all pieces are scaled together, but be cautious when shrinking the design as the intricate details will not cut well once smaller.


