Supplies
- 1 yard of corduroy, flannel, or quilters cotton (color 1)
- 1/2 yard of minky, flannel, or quilters cotton (color 2)
- 4” square of black felt (color 3)
- 2” square of white felt (color 4)
- Sewing threads matching all four fabric colors
- Hand sewing needle
- Sewing pins
- Temporary spray adhesive (such as Gunold KK100)
- Polyester fiberfill
- 24”+ sturdy dowel rod (for stuffing and turning)
Designs Used
Cutting Instructions
1
Load the Octopus Plush (Cut & Stitch) file into your cutting machine’s software. Notice that it has multiple cutting files to fit all the pieces. These are labeled with “A”, “B”, “C”, etc., and are organized by how they fit into a file and not necessarily by fabric.
2
This design has four different fabric colors across the files. Proceed in the design software until the first color selection appears, and is ready to be cut.
3
Smooth the first fabric color onto the adhesive mat with the right side of the fabric facing up. Make sure the correct knife tool is in place. Then load the adhesive mat into the machine.
4
For thicker fabrics, make sure to use the correct setting on your cutting machine to match the material you’ve chosen.
5
Cut out the first color. Then carefully remove the cut pieces and excess fabric.
6
Repeat to cut all of the fabric pieces for the Octopus Plush out of the four fabric colors.
Crafting Instructions
1
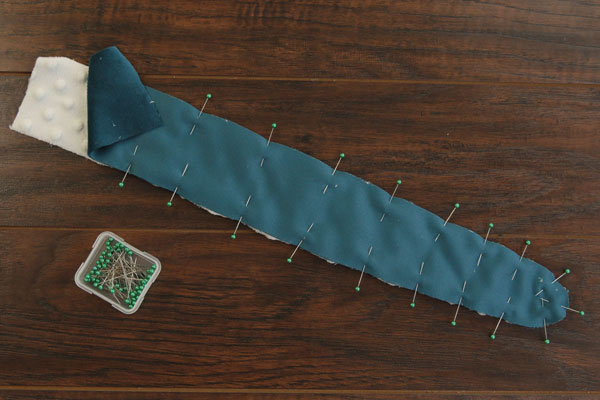
To sew the first tentacle, take one front tentacle piece (color 1) and one back tentacle piece (color 2), and match up the edges with right sides together. Pin along the two long sides and curved end.
2
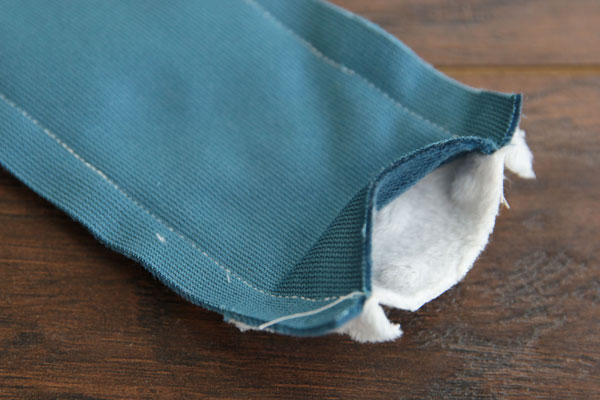
Then sew along the pinned edges with a 1/2” seam allowance. Leave the top end open for turning.
3
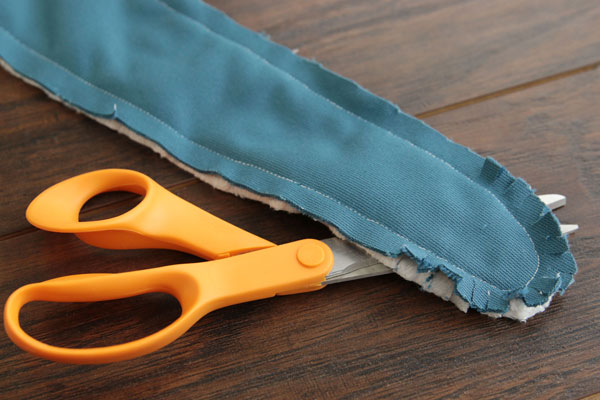
Then cut notches into the seam allowance around the curved end to help the tentacle keep its shape once turned. Be careful not to cut into the seam.
4
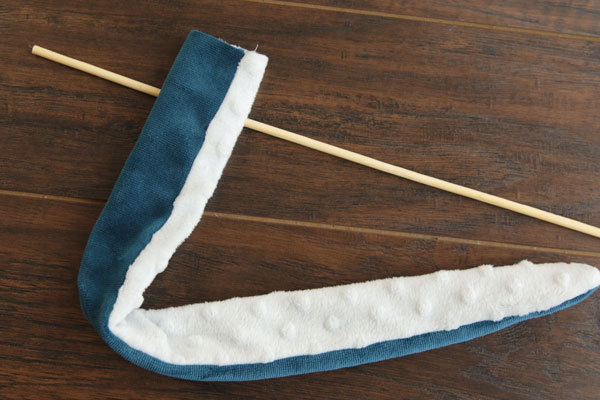
After the notches are cut, turn the tentacle right side out. A sturdy dowel rod can help with turning.
5
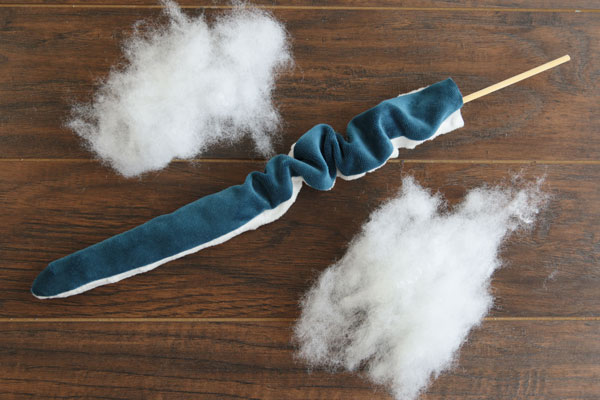
Using a sturdy dowel rod to help push the stuffing to the end of the tentacle, carefully stuff the tentacle with polyester fiberfill. Make sure to leave the last 3/4” at the open end of the tentacle unstuffed to help with sewing.
6
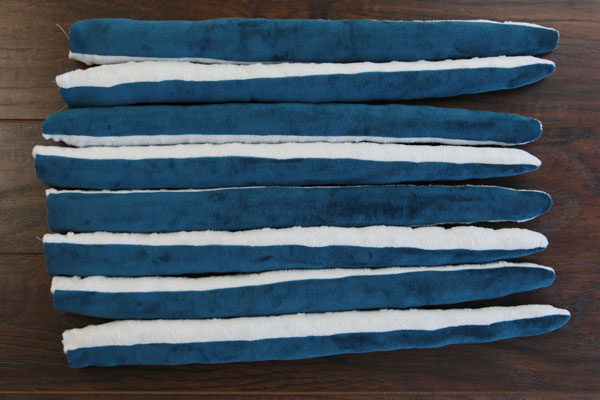
Then repeat the previous steps to sew, turn, and stuff the other seven tentacles.
7
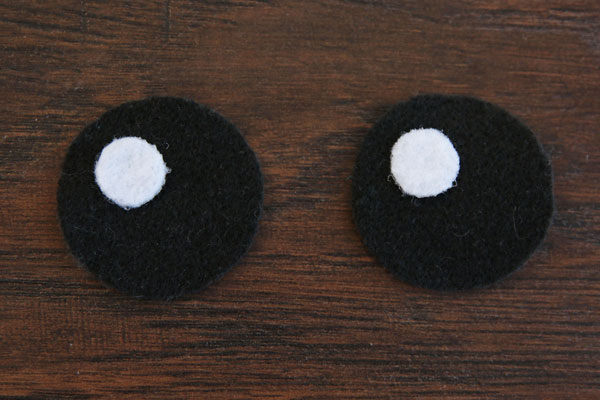
To make the eyes, place one eye highlight (color 4) onto each of the eyes (color 3). Align the highlights so they are both 1/4” away from the upper left side of the eyes.
8
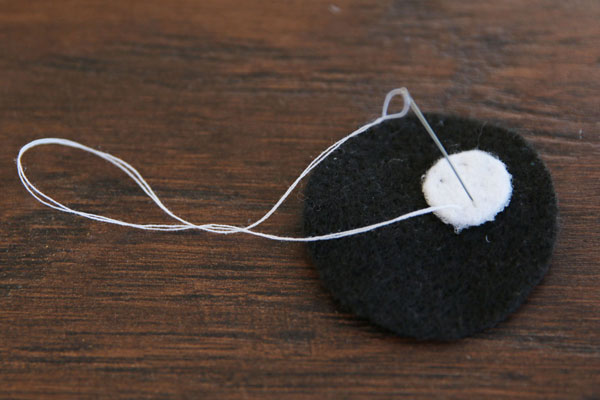
Then carefully hand stitch, glue, or topstitch the highlights in place on the eyes.
9
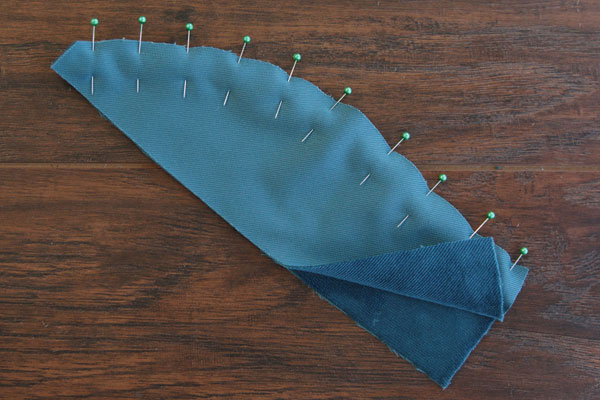
To make the head, start by taking one left and one right head piece (color 1), and match up the edges with right sides together. Pin along the curved side, and then sew the pieces together where pinned. Make sure to use a 1/2” seam allowance.
10
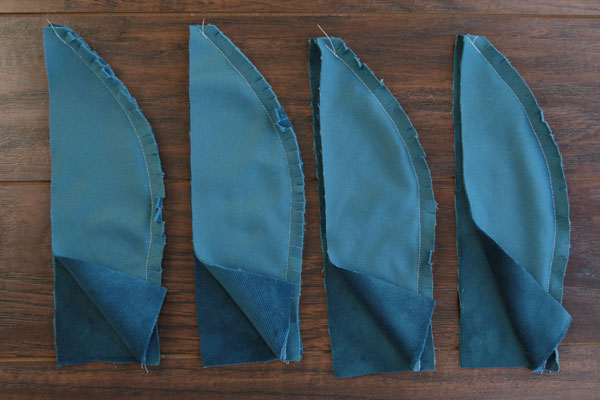
Then repeat to sew the remaining three left head pieces to the remaining three right head pieces. This creates the four sides of the head.
11
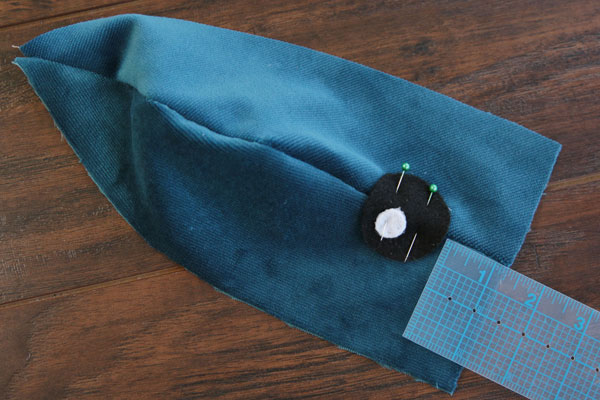
Take one of the head sides (color 1) that was just created, and center one of the eyes right on the seam. Position the eyes so that it is 1 1/4” up from the bottom edge. Then pin and adhere the eye to the face side by hand sewing or topstitching around the edges, or gluing it in place.
12
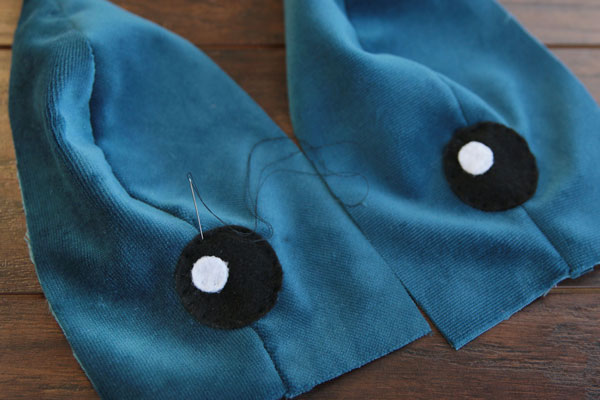
Then repeat for the other eye. Make sure the highlights are facing the same direction.
13
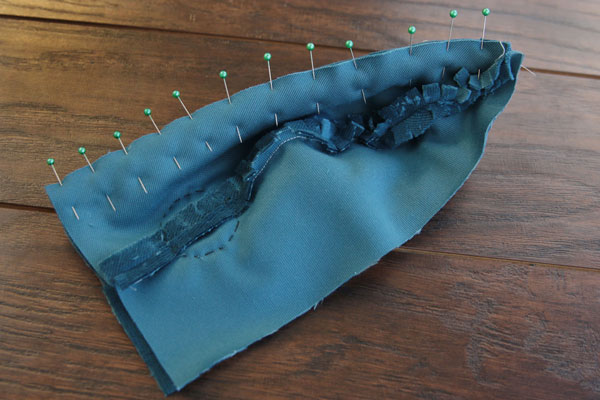
To create the front half of the octopus’s head, match up the two head sides with eyes (colors 1, 3, & 4) with right sides together. Pin along one of the long sides.
14
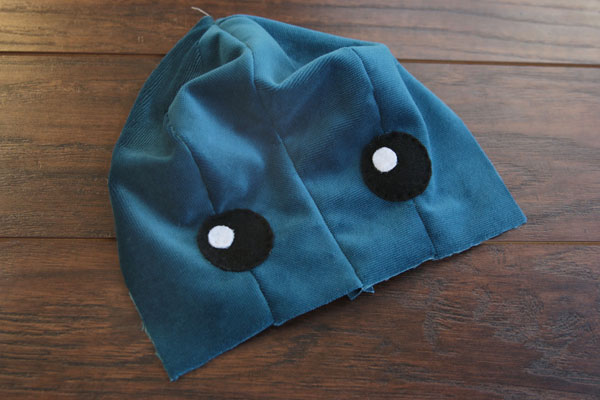
Sew along the pinned edge with a 1/2” seam allowance.
15
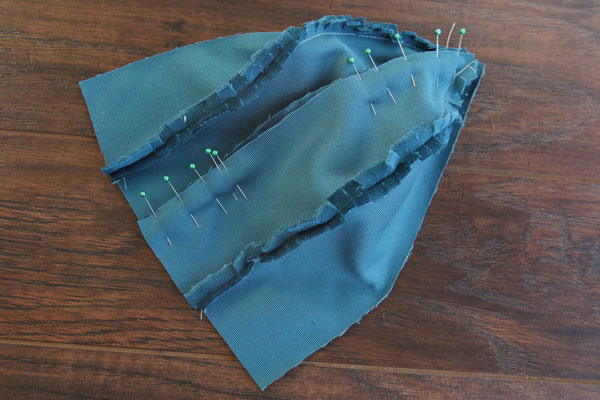
To create the back half of the octopus’s head, match up the two head sides without eyes (color 2) with right sides together. Pin along one of the long sides, and sew a 1/2” seam at the top and bottom edges of the two sides, leaving a 7 1/2” - 8” opening in the seam for turning.
16
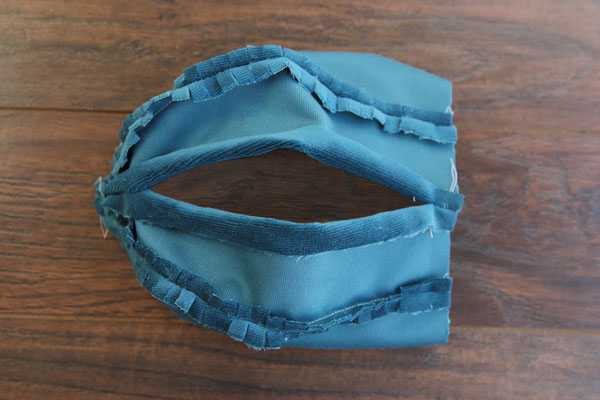
Do not make the opening any smaller than this as the tentacles will not fit through it.
17
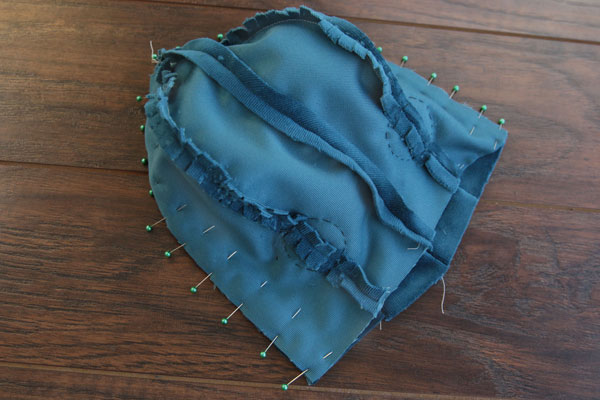
Take the front and back halves of the octopus’s head, and match up the edges. Pin along the two sides and the top of the head, matching up the seams.
18
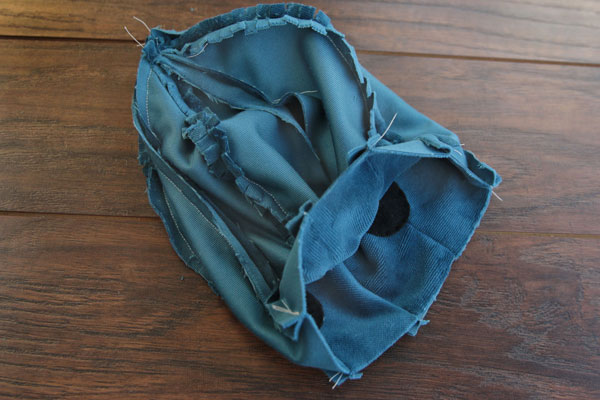
Leaving the bottom edge open and unsewn, sew a 1/2” seam along the pinned edge.
19
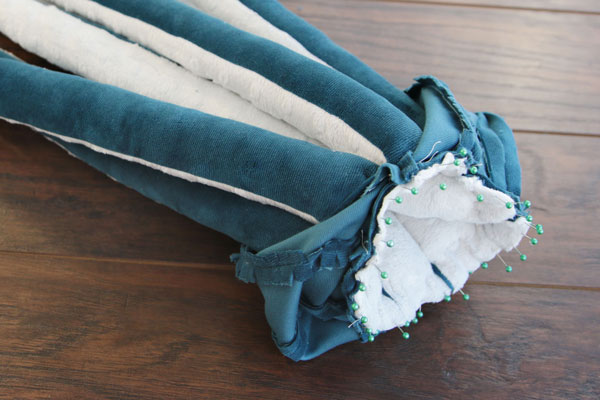
Next, take all eight tentacles, and match them up with the bottom edge of the head with front sides (color 1) together. Also make sure to stick the legs out the large opening left on the back half of the head as they won’t fit inside. Each leg should match up with one of the eight sides (or sections) of the head, so the edges of the tentacles line up with the seams of the head.
20
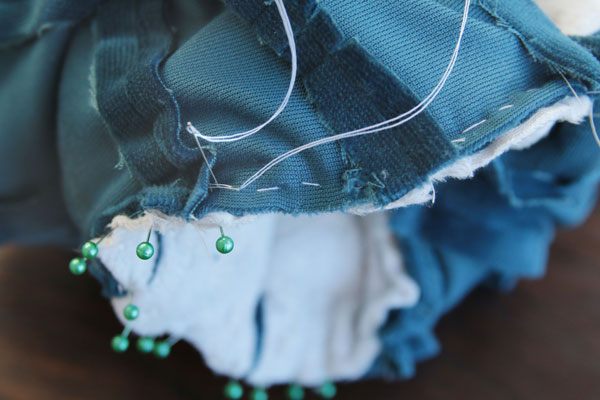
As this can be hard to sew on a sewing machine, hand baste the tentacles onto the head with a 1/4” seam allowance.
21
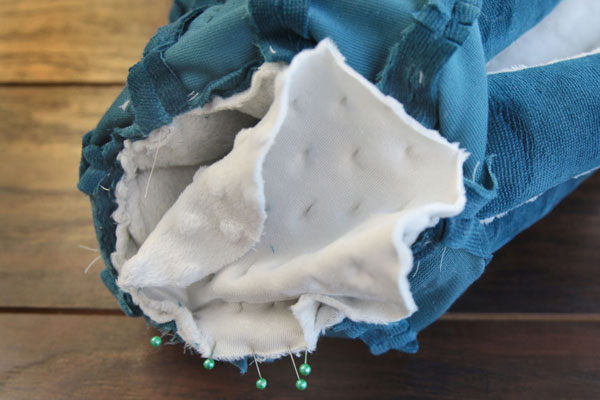
Then take the base piece (color 2), and match up its edges with the bottom edge of the head. Pin as you go.
22
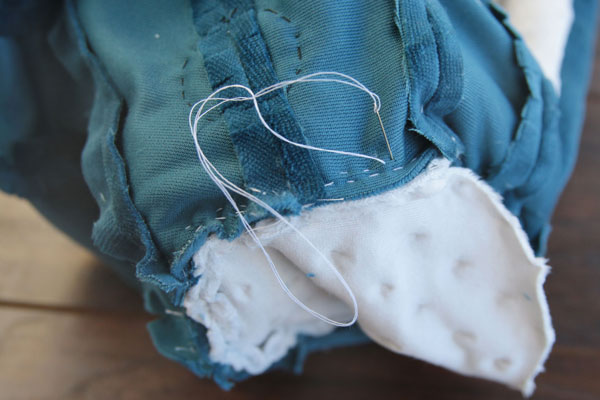
Hand or machine sew the base onto the bottom edge of the head and tentacles with a 1/2” seam allowance.
23
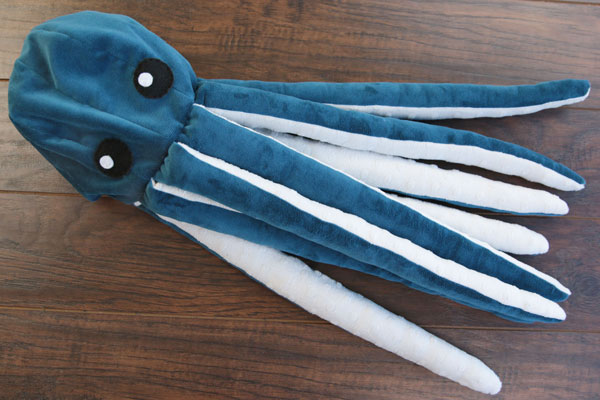
Once everything is sewn together, turn the octopus right side out.
24
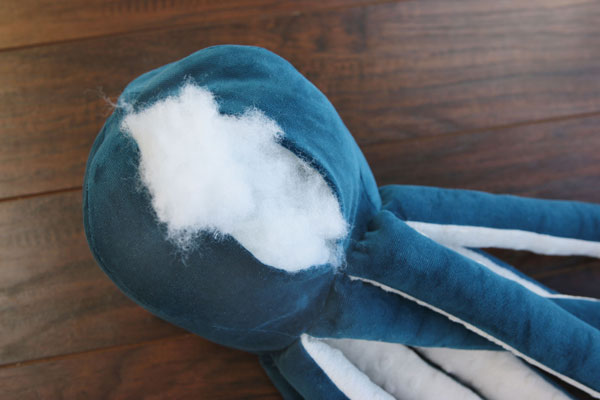
Stuff it firmly with polyester fiberfill.
25
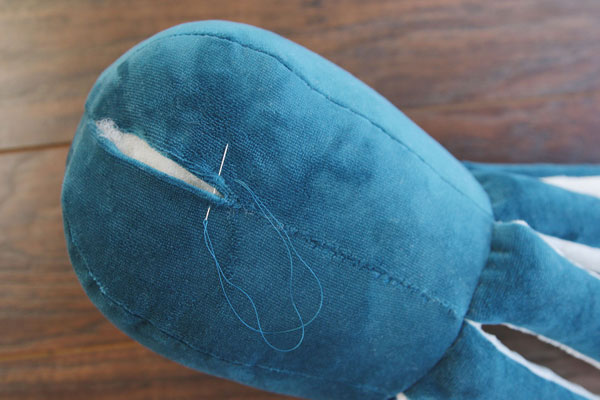
Then hand sew the back opening closed with thread matching the head fabric (color 1). This completes the Octopus. Repeat these steps to make a collection of octopus in different colors and fabrics. Make sure not to resize these designs, as the seam allowance makes them unscalable.

