Supplies
- Approximately a 10”x10” piece of vegetable tanned leather. We used 2-3 oz leather for this product.
- Masking paper
- Leather dye
- A sponge or wool dauber
- Gloves
- Paper towels
- 2 Leatherworking needles
- Waxed thread (90” of it)
- Gum tragacanth
- Medium and fine grit sandpaper
- A smooth, hard object to use as a slicker (we used a bone folder)
Designs Used
Cutting Instructions
1
Load the file into your laser cutting machine’s software.
2
Follow the cutting guide and set the respective steps to cutting or scoring in your laser cutter’s software interface.
3
Apply masking paper to the finished side of your vegetable tanned leather.
4
Place the leather in your laser machine’s cutting bed. It may help to use cutting bed pins to hold down the leather and prevent it from curling while it cuts.
5
Cut the wallet pieces, then remove them from your laser cutting machine.
6
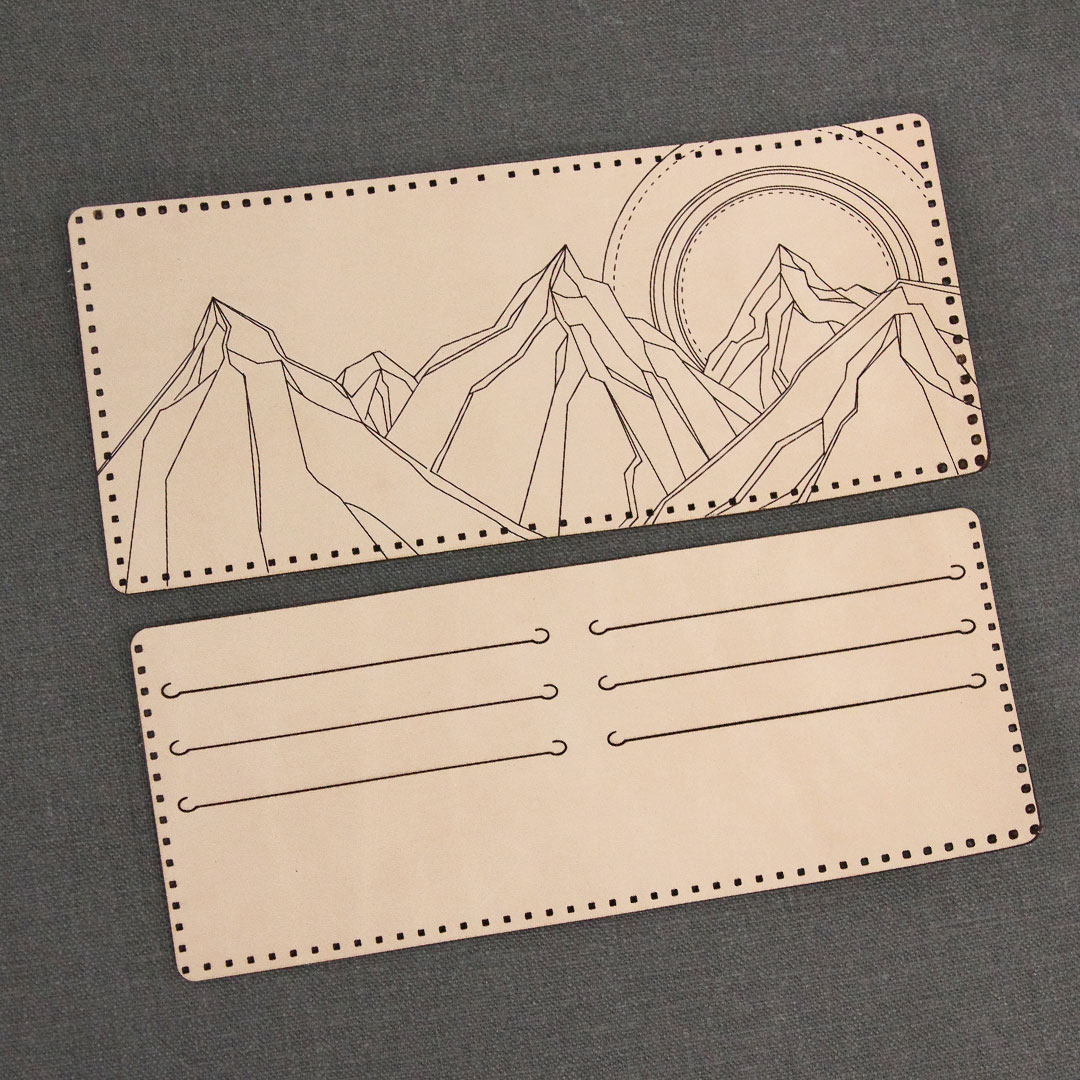
Cut out the wallet body and pocket pieces. Carefully remove the cut pieces and excess fabric.
Crafting Instructions
1
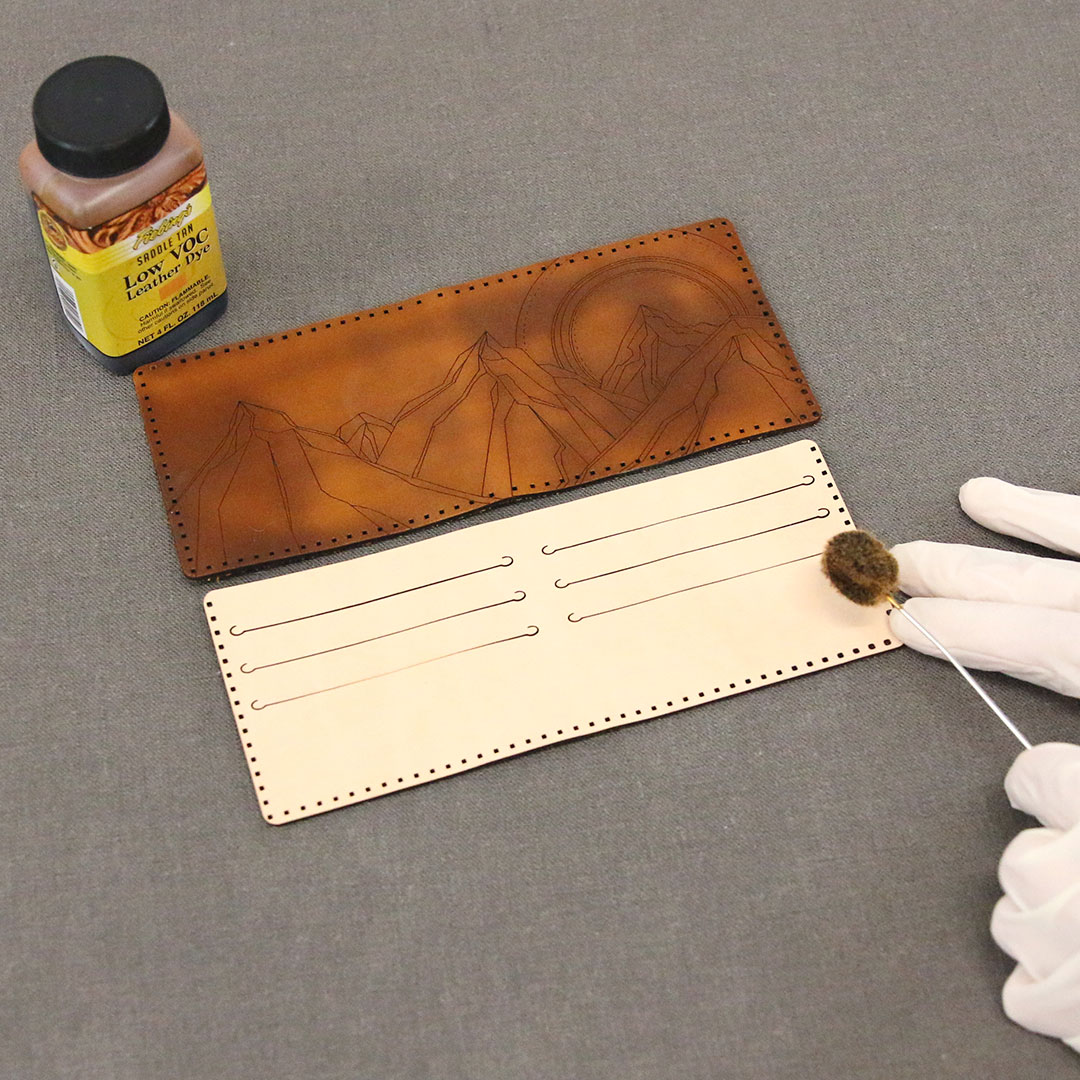
Using a sponge or wool dauber, apply leather dye evenly to both the inner and outer wallet pieces. Let dry. It may help to wear gloves during this step to prevent the dye from staining your fingers.
2

Cut a piece of waxed thread that is 90” long.
3

Thread one leatherworking needle on either end of the waxed thread.
4
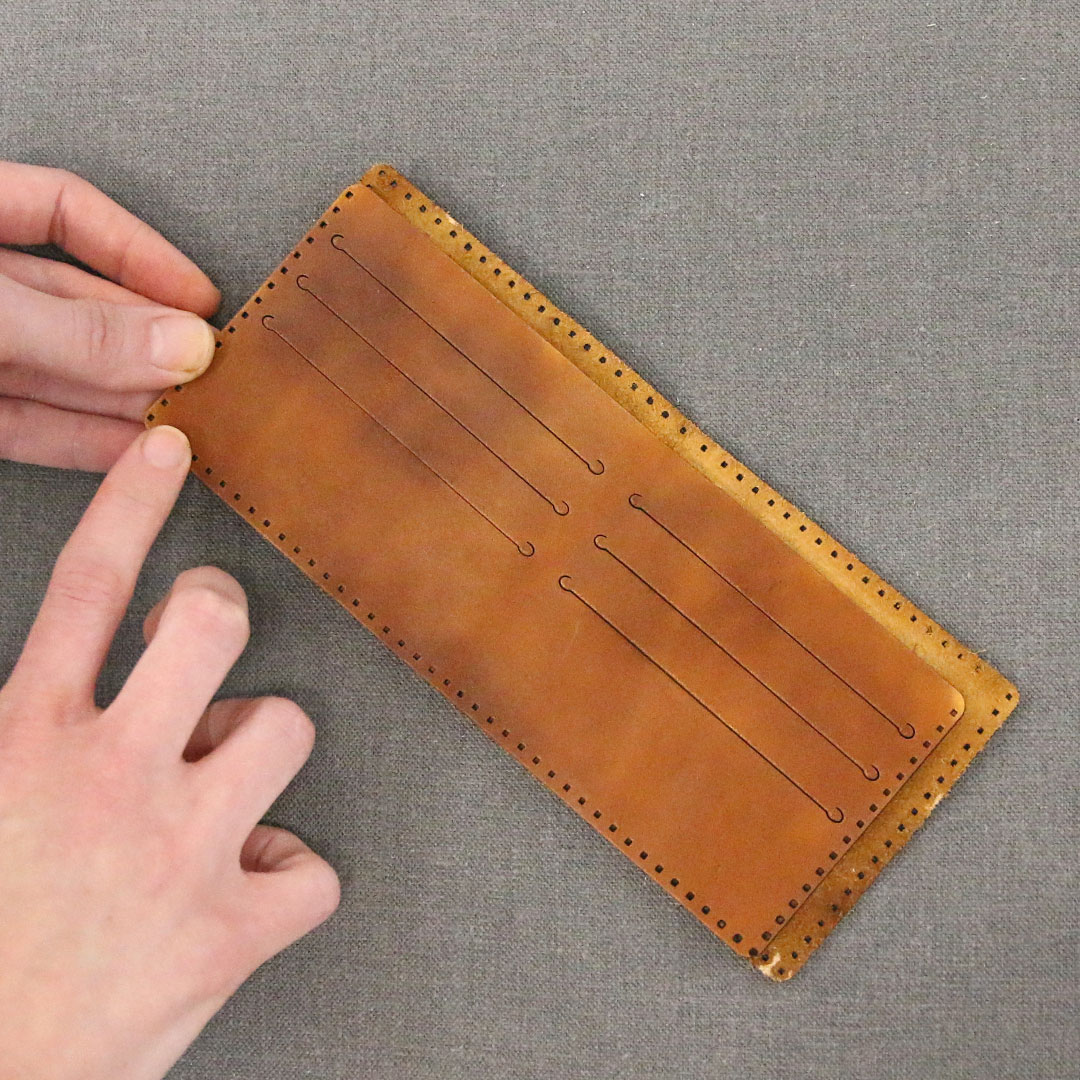
Place the inner pocket piece inside the wallet, lining up the holes on the left side.
5
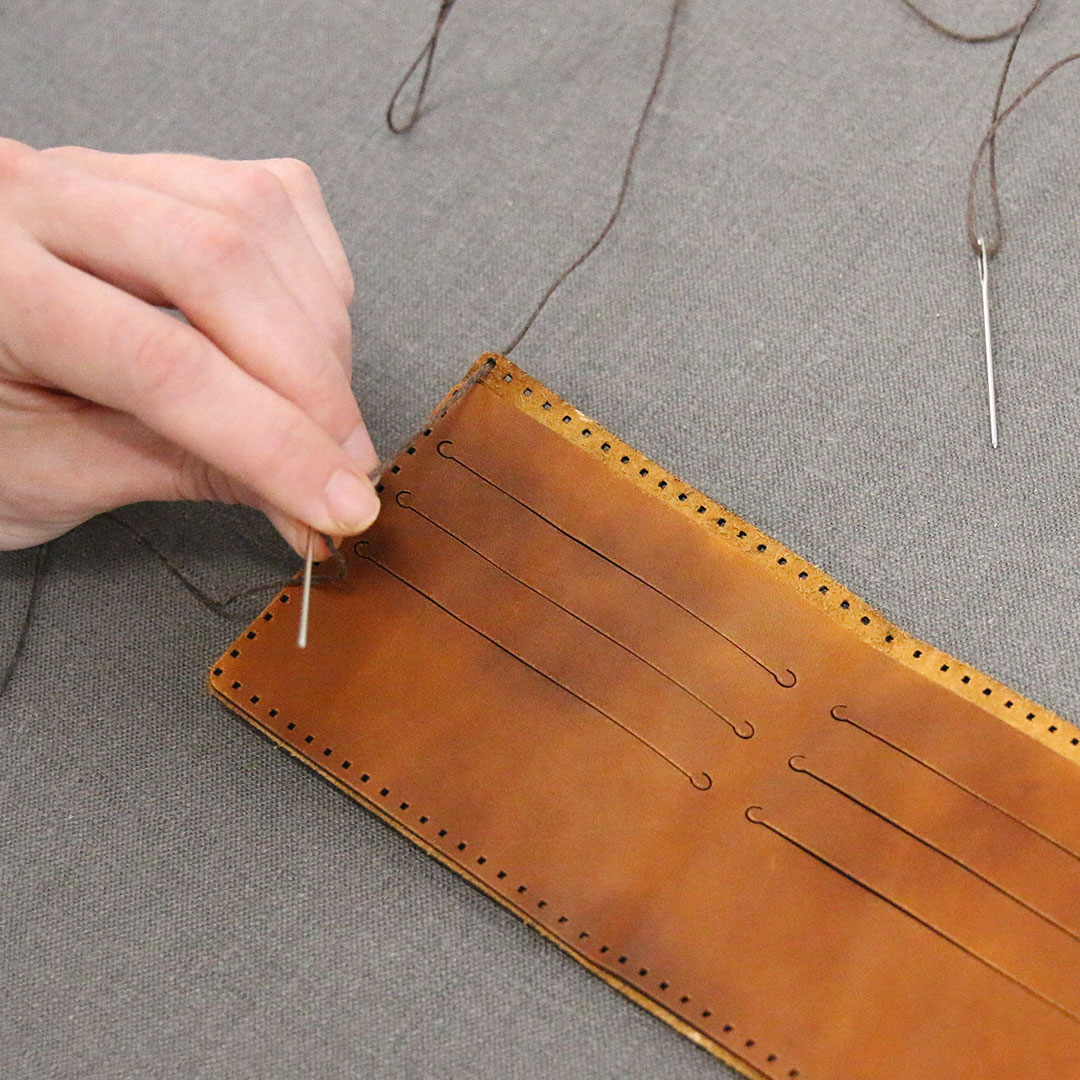
Pull the needle on one end of the thread through the first stitch hole until there is an equal amount of thread on each side of the leather.
6
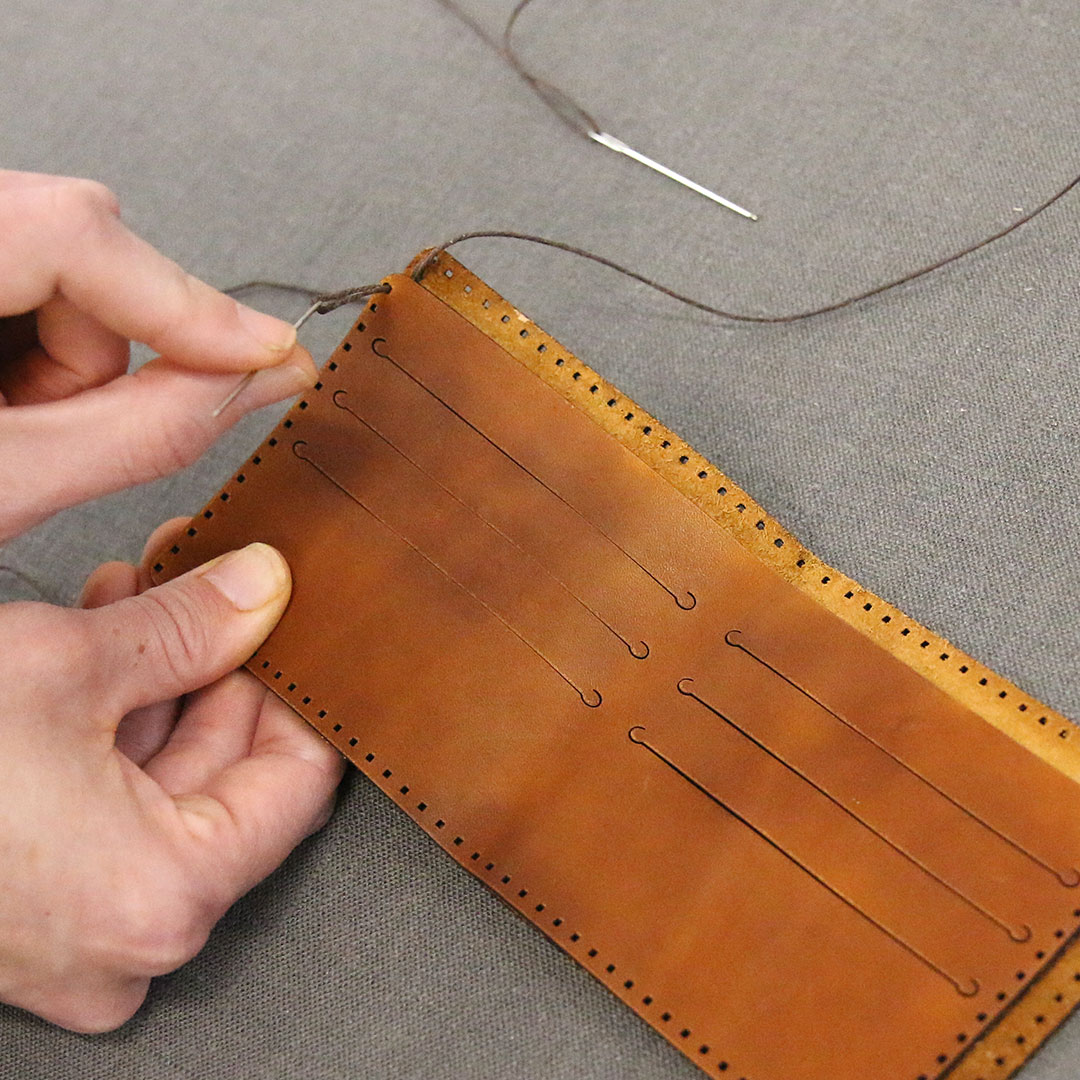
With needle 1, begin a saddle stitch by inserting the needle into the next hole and pulling it through to the opposite side of the leather.
7
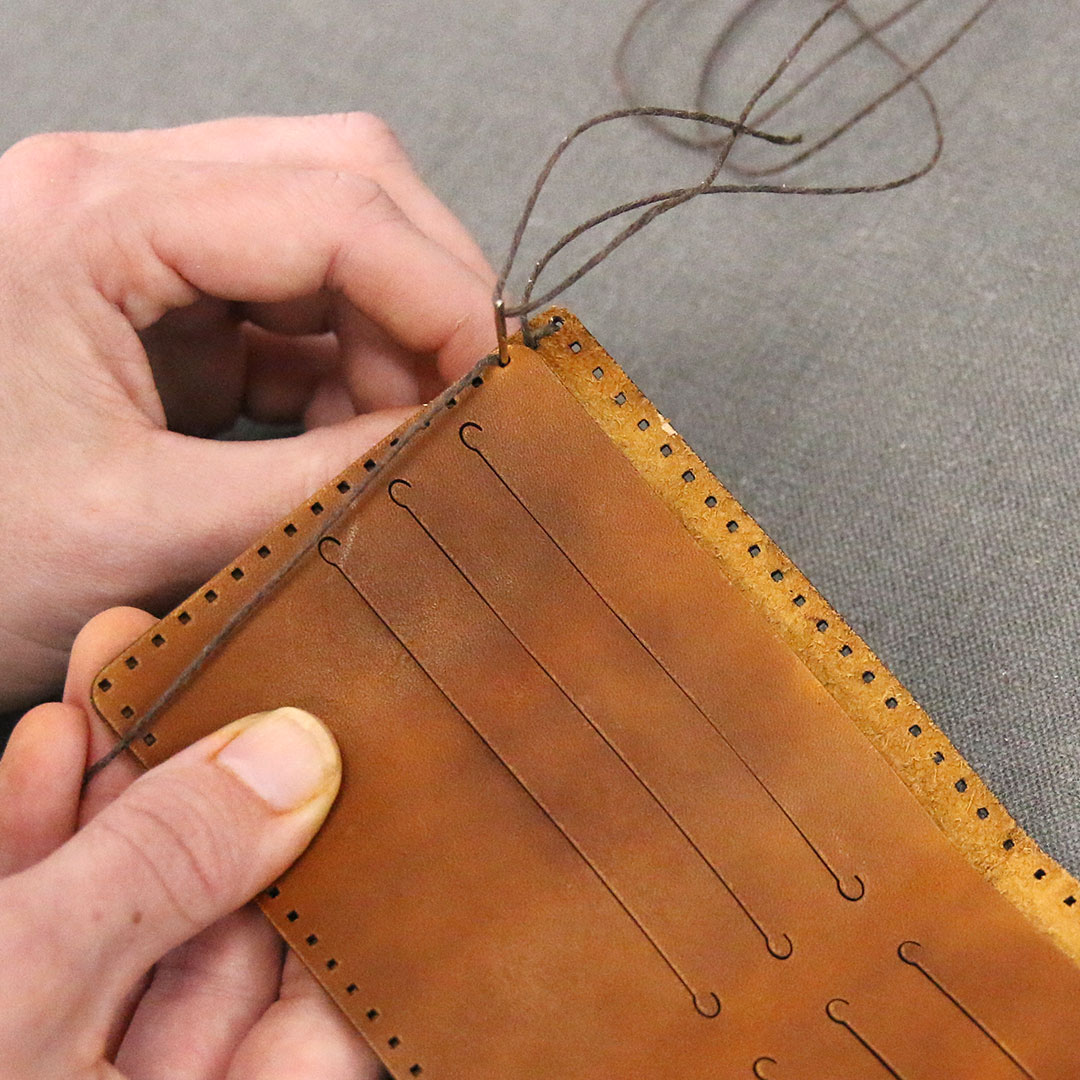
Now take needle 2, and starting from the unfinished side of the leather, insert the needle into the hole that was just sewn and pull it through to the opposite side of the leather. This completes a single saddle stitch.
8
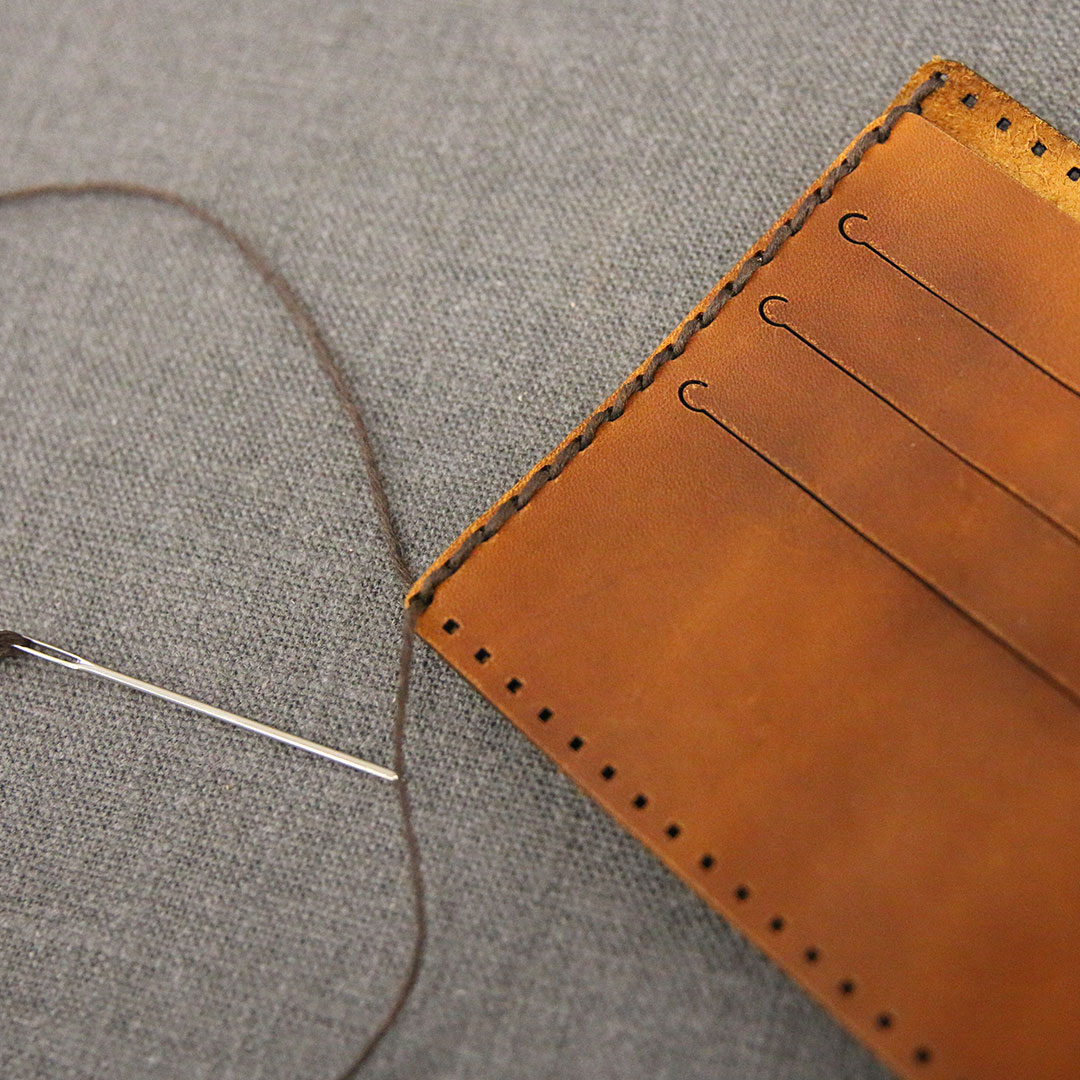
Repeat steps 6 and 7 to sew the left side of the wallet together. For best results, stitches should not be too tight or too loose.
9
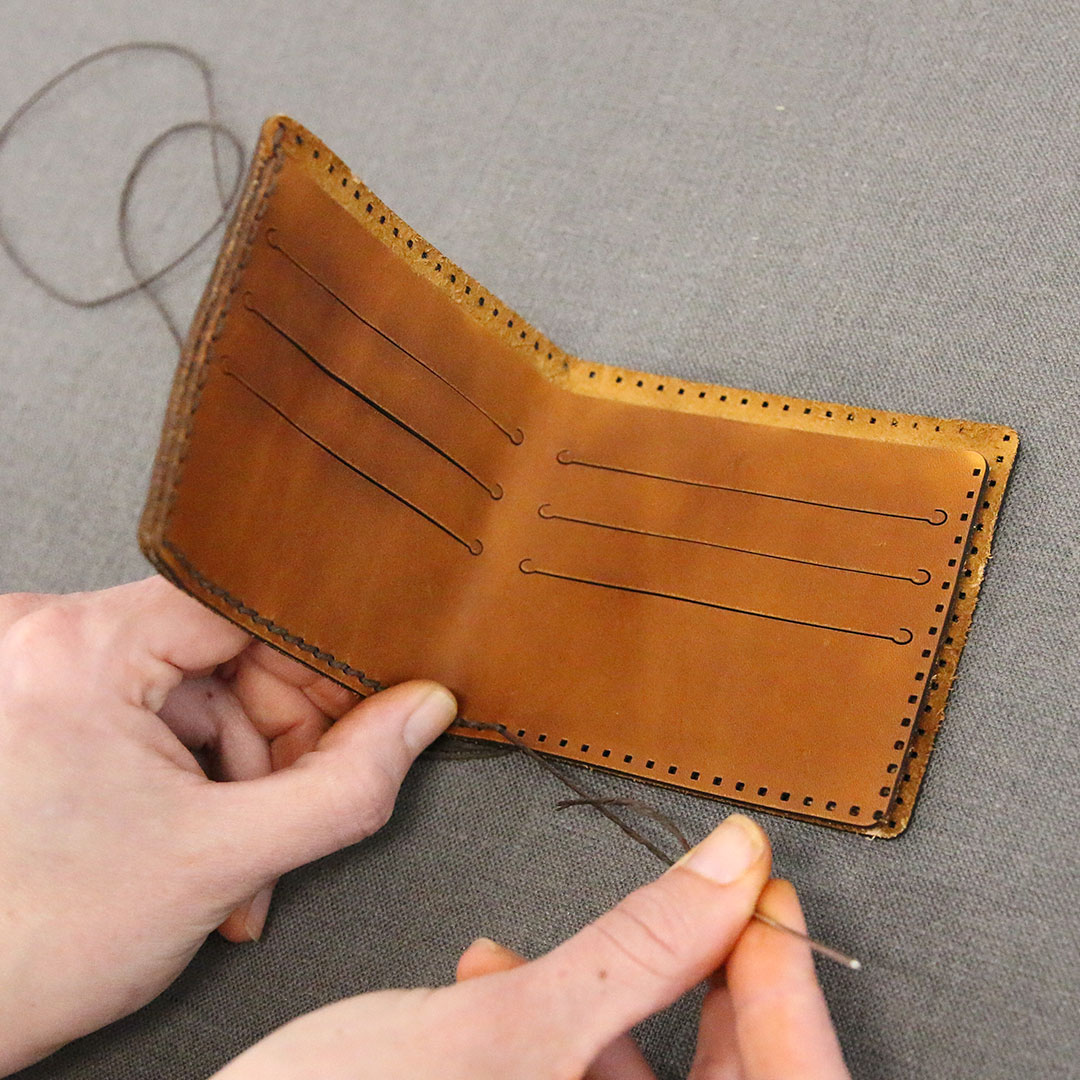
Continue lining up the holes of the inner pocket piece and the exterior wallet body and saddle stitch them together until you have stitched around the entire wallet. As you near the middle bottom of the wallet, it helps to allow the wallet to fold so that the inner pocket piece lines up correctly.
10
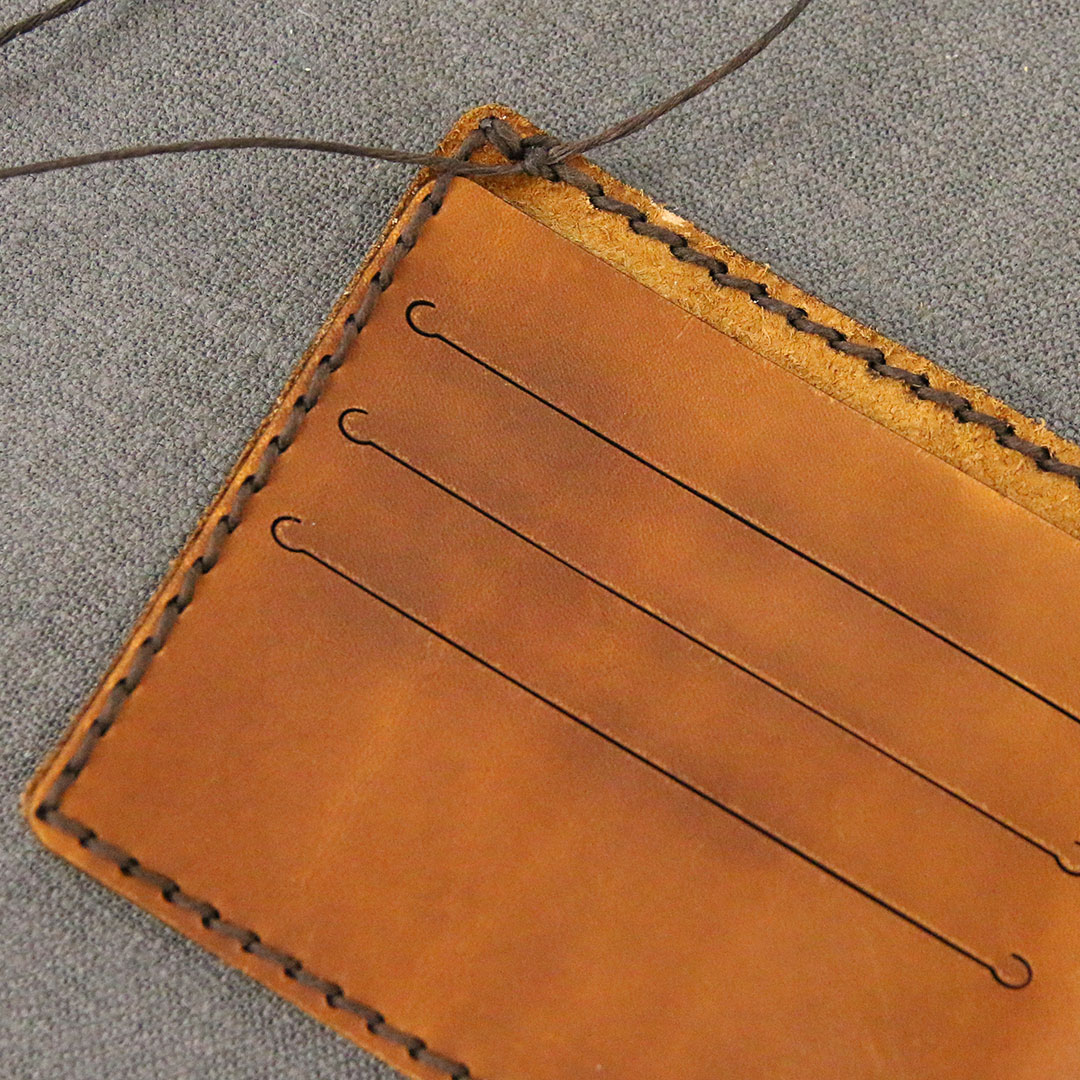
Once you have stitched around the entire wallet, backstitch two stitches and tie a knot to complete the sewing portion.
11
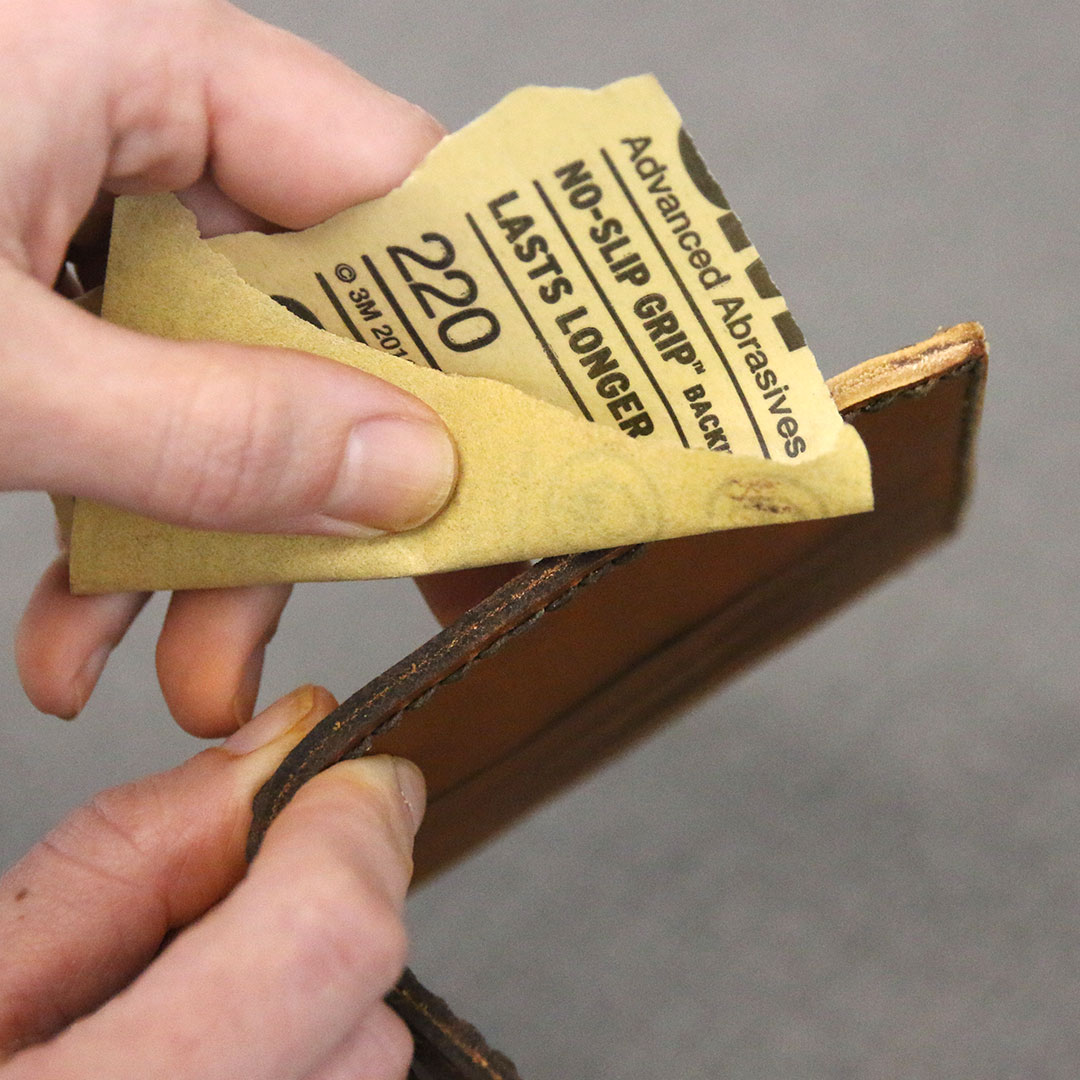
Using a medium grit sandpaper, sand the edges to remove the darker charred marks left by the laser, even out the two pieces, and round the edges. Repeat with fine grit sandpaper to further smooth if desired.
12
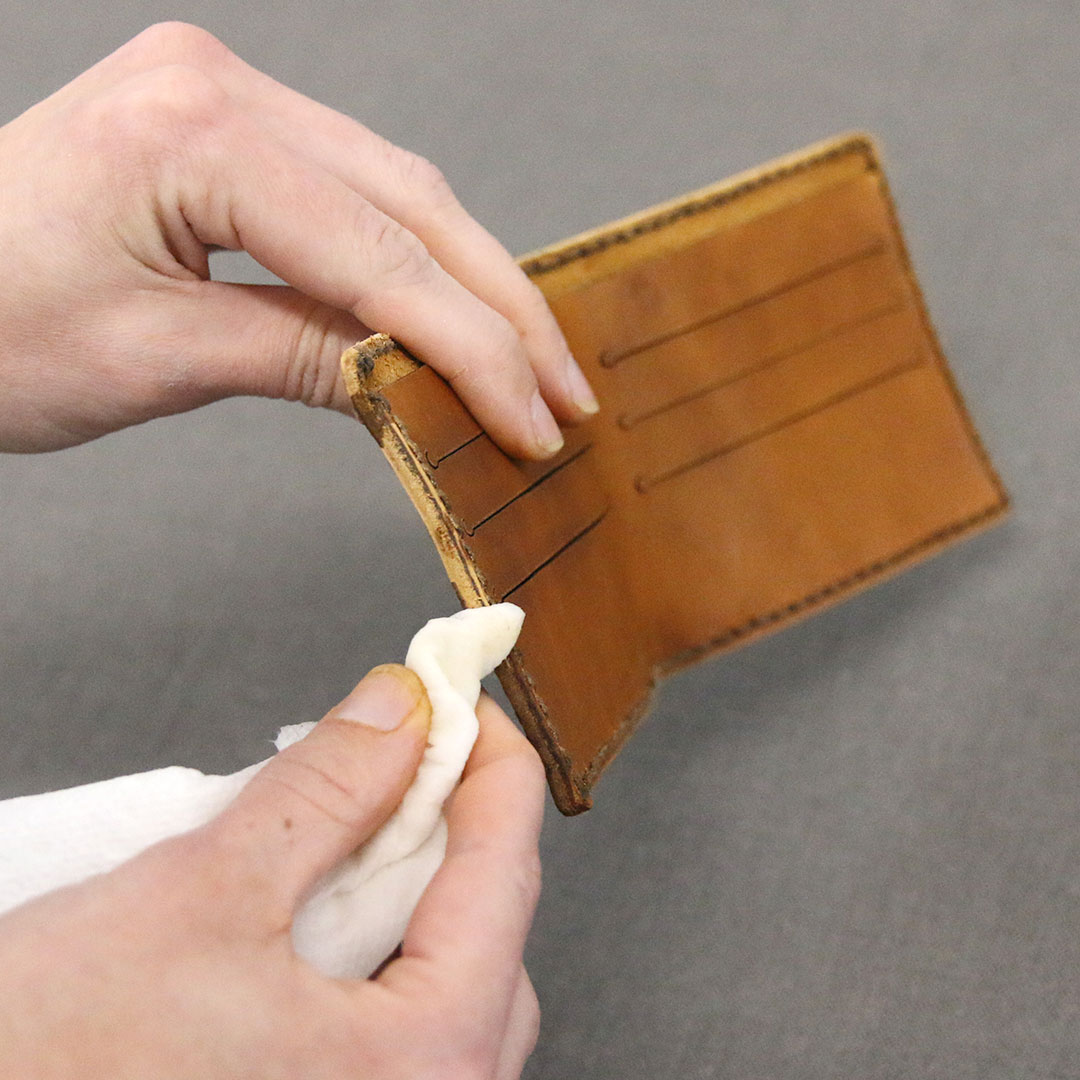
Wet a short segment of the leather with gum tragacanth on a paper towel and let it sit for approximately 30 second before proceeding to the next step.
13
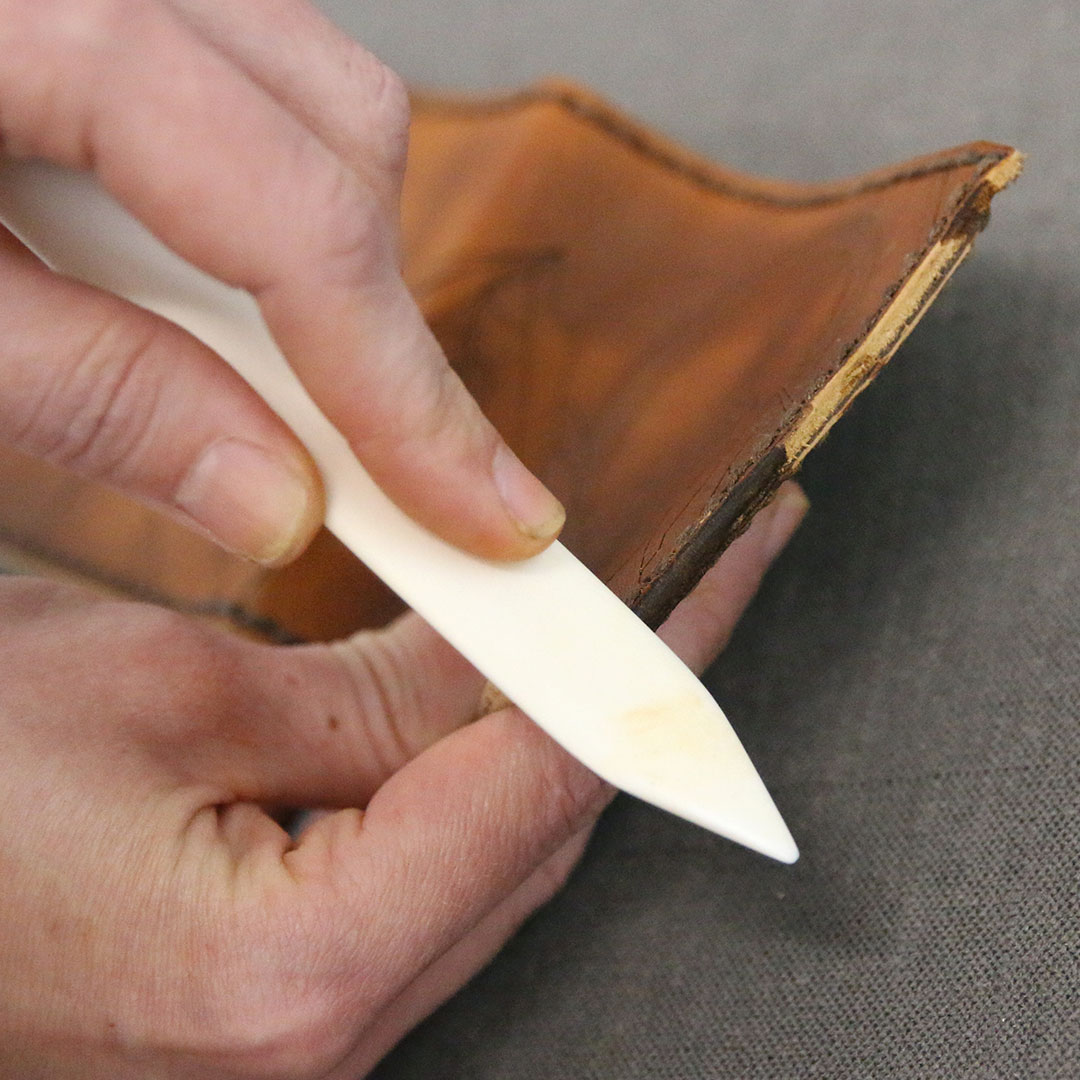
Using a hard and smooth tool as a slicker, rub up and down the edge rapidly with slight pressure. This will burnish the edge to create a smooth polished effect.
14
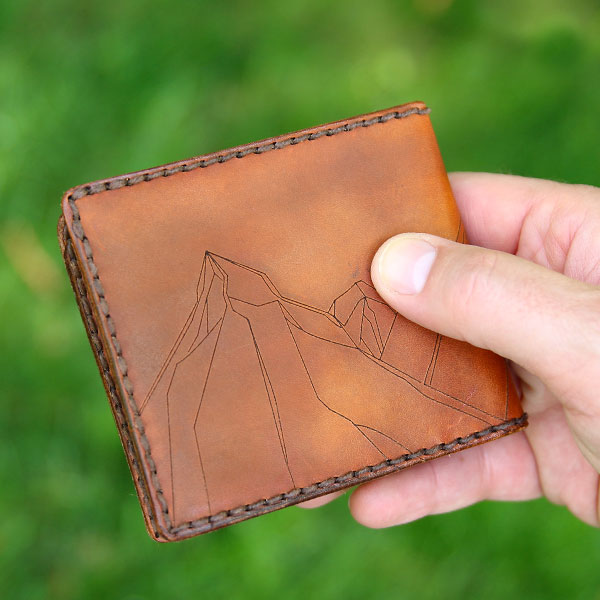
Repeat steps 2 and 3 until all the edges are finished.


