Supplies
- One 12” x 24” piece of thin faux leather, suede or leather (color 1)
- 1/2 yard of quilter’s cotton (color 2)
- Sewing thread matching leather color
- Hand sewing needle
- Temporary spray adhesive (such as Gunold KK100)
- Clips (for holding fabric together while sewing)
- Bone folder
- Polyester fiberfill
Designs Used
Cutting Instructions
1
Load the Mandala Bolster Pillow (Cut & Stitch) file into your cutting machine’s software. Notice that it has multiple cutting files to fit all the pieces. These are labeled with “A”, “B”, “C”, etc., and are organized by how they fit into a file and not necessarily by fabric.
2
This design has two different fabric colors across the cutting files. Proceed in the design software until the first color selection appears, and is ready to be cut.
3
For faux leather, you may need to increase the pressure of the blade on your cutting machine. For best results, use a setting for thin leather.
4
Smooth the first fabric color onto the adhesive mat. Make sure the correct knife tool is in place. Then load the adhesive mat into the machine.
5
Cut out the first color. Then carefully remove the cut pieces and excess fabric.
6
Repeat to cut all of the fabric pieces for the Mandala Bolster Pillow out of the two fabric colors.
Crafting Instructions
1
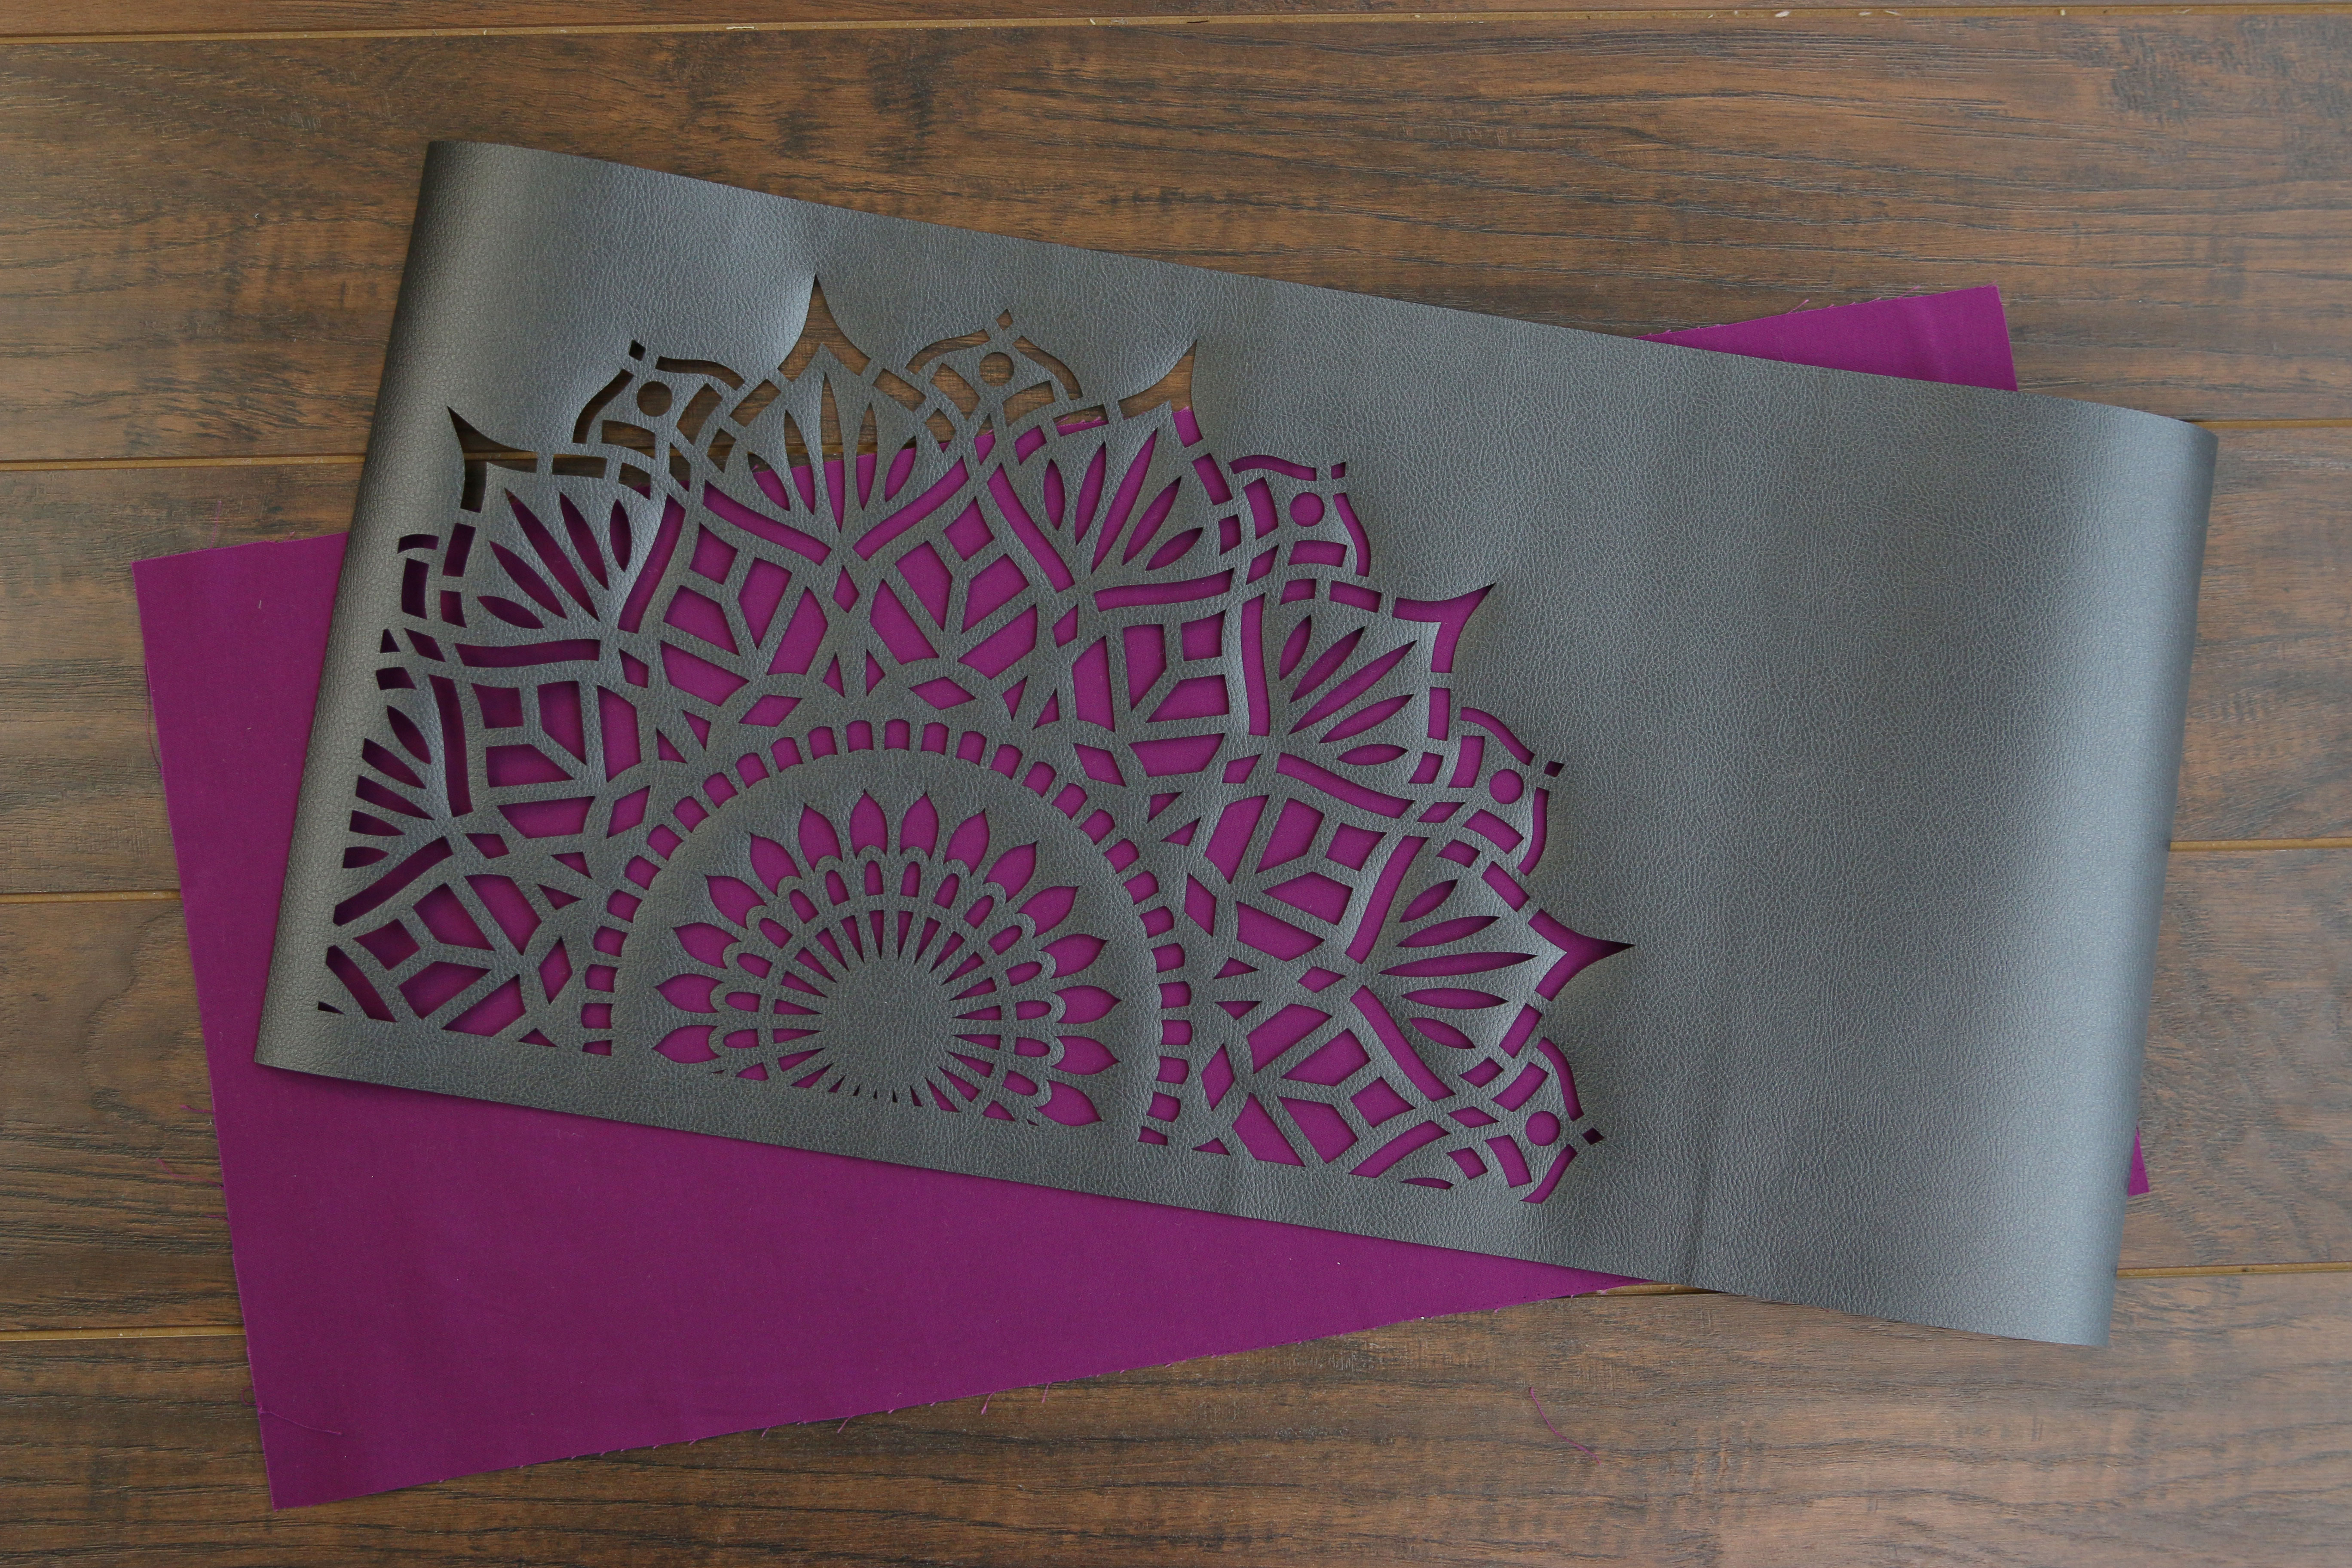
To make the bolster pillow, first spray the wrong side of the front leather piece (color 1) just along the outer edges, and set it on top of the front fabric piece (color 2).
2
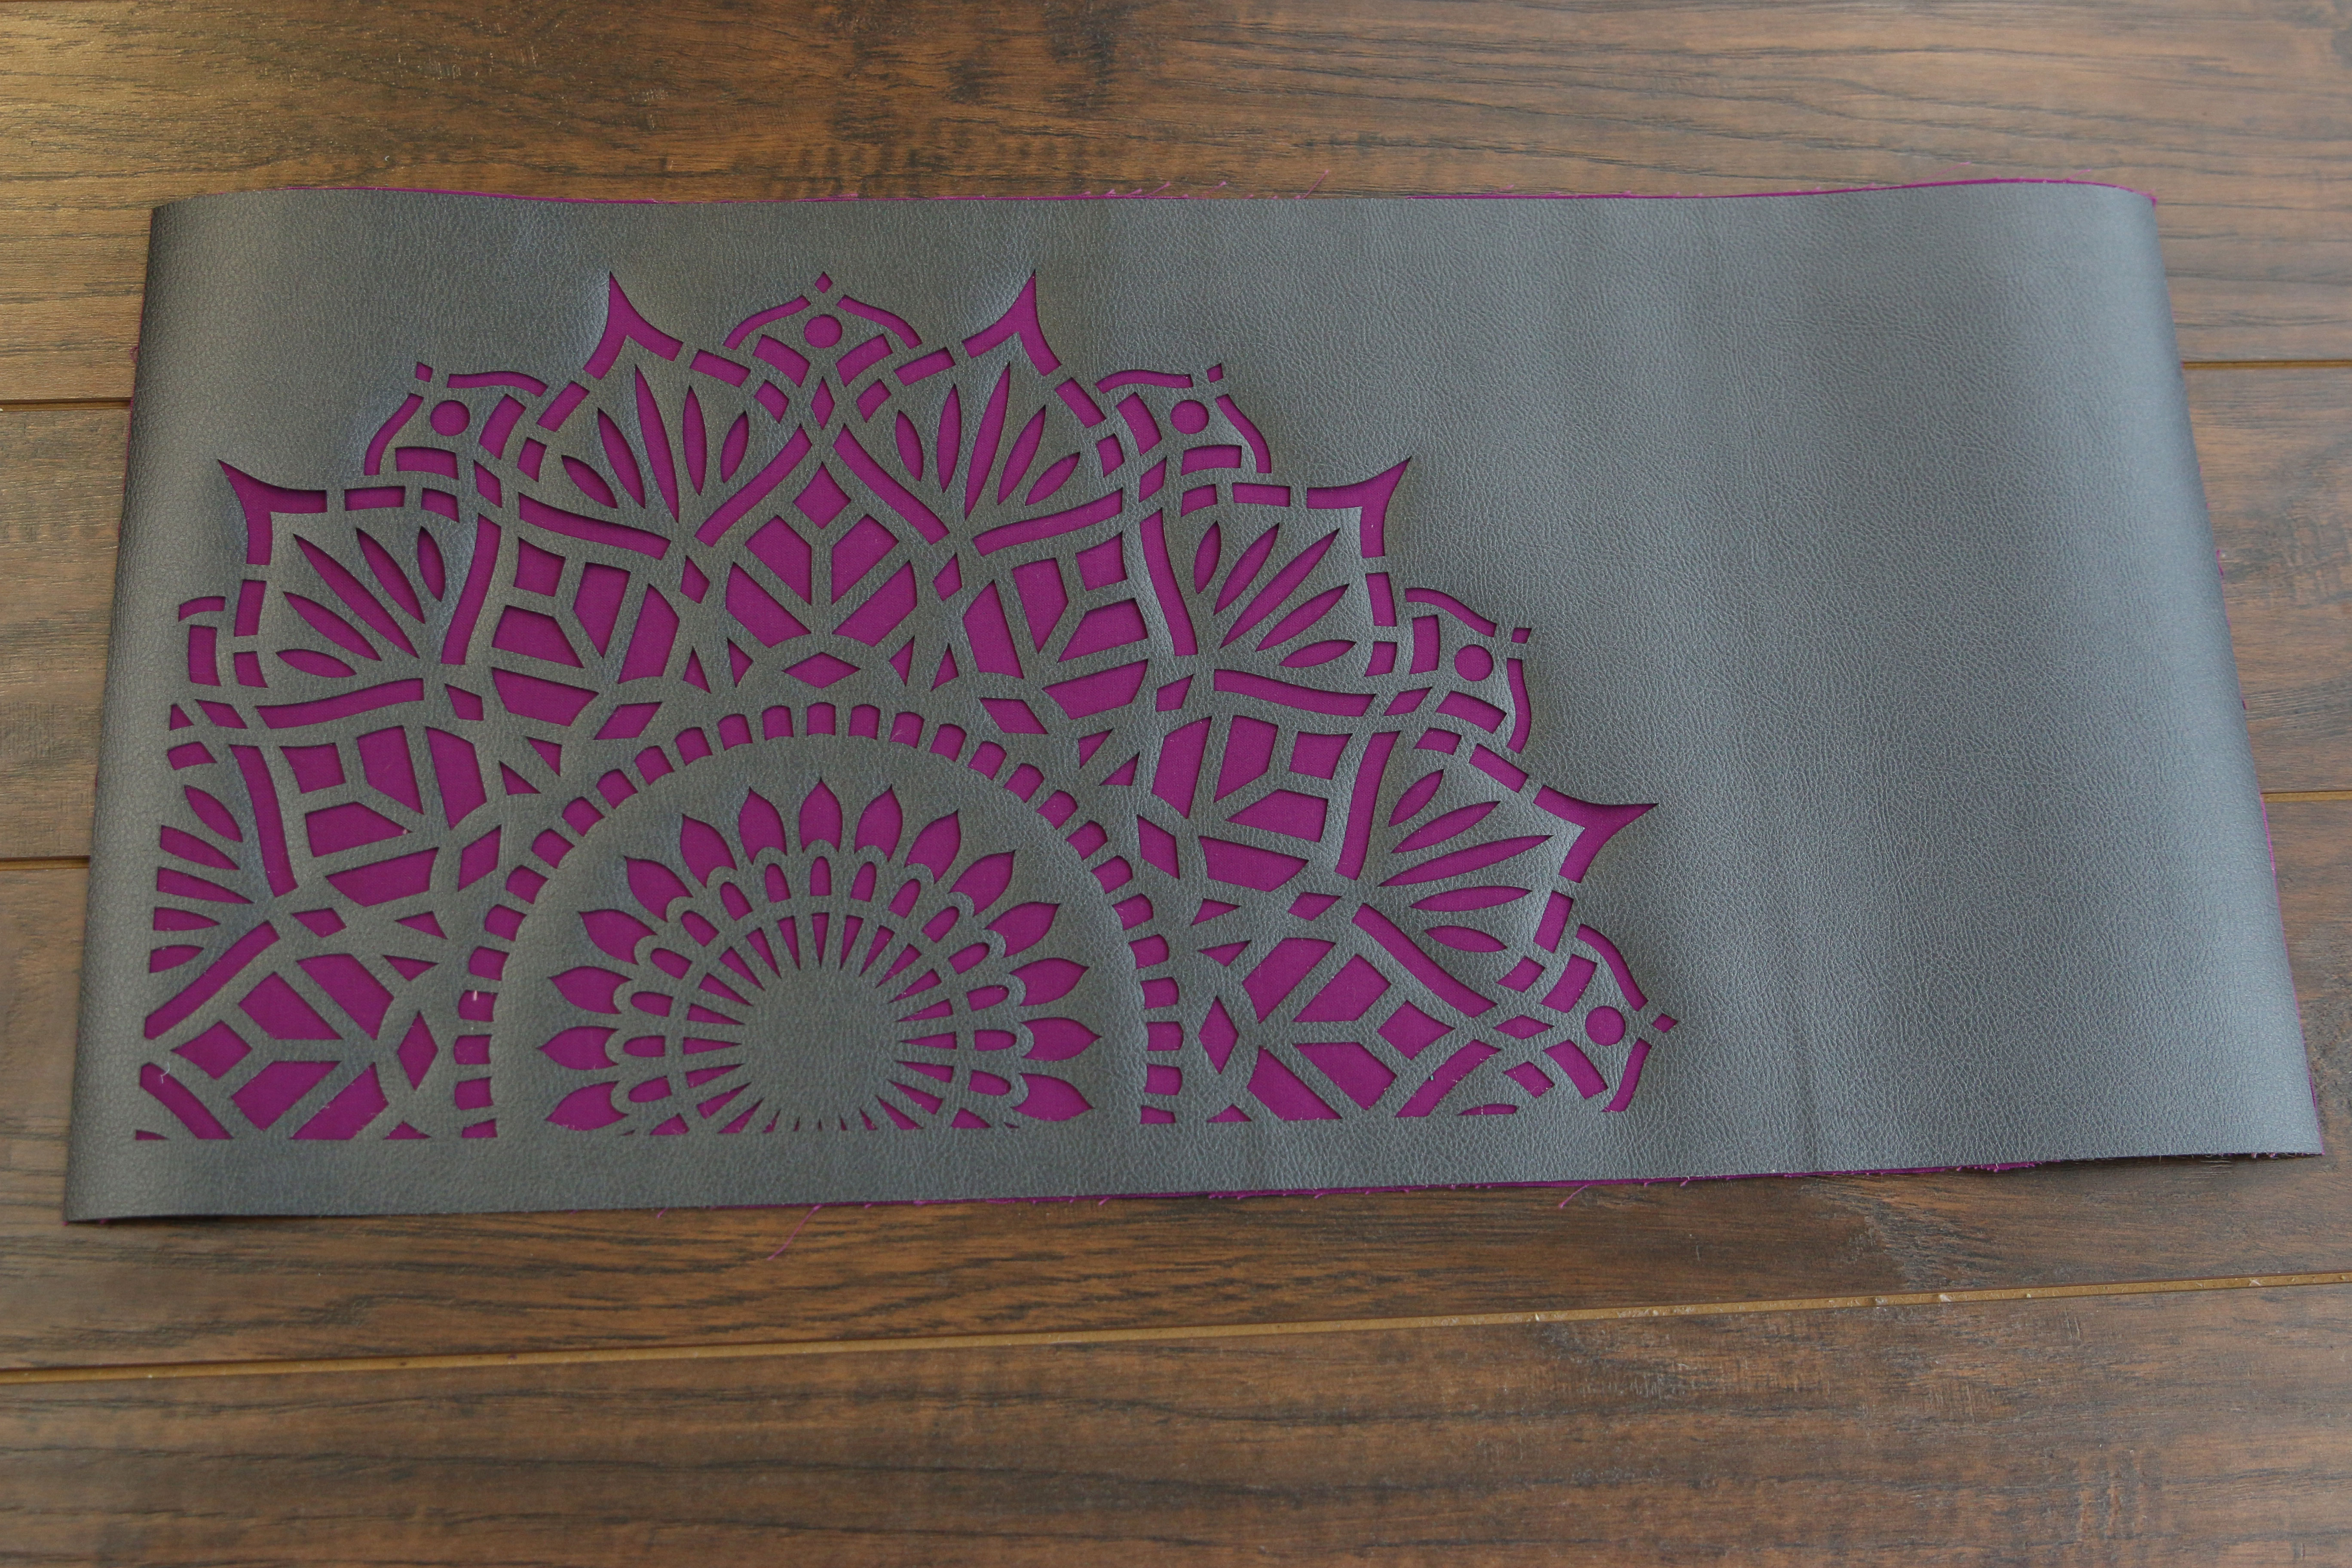
Make sure the wrong side of the leather is against the right side of the fabric, and match up the edges.
3
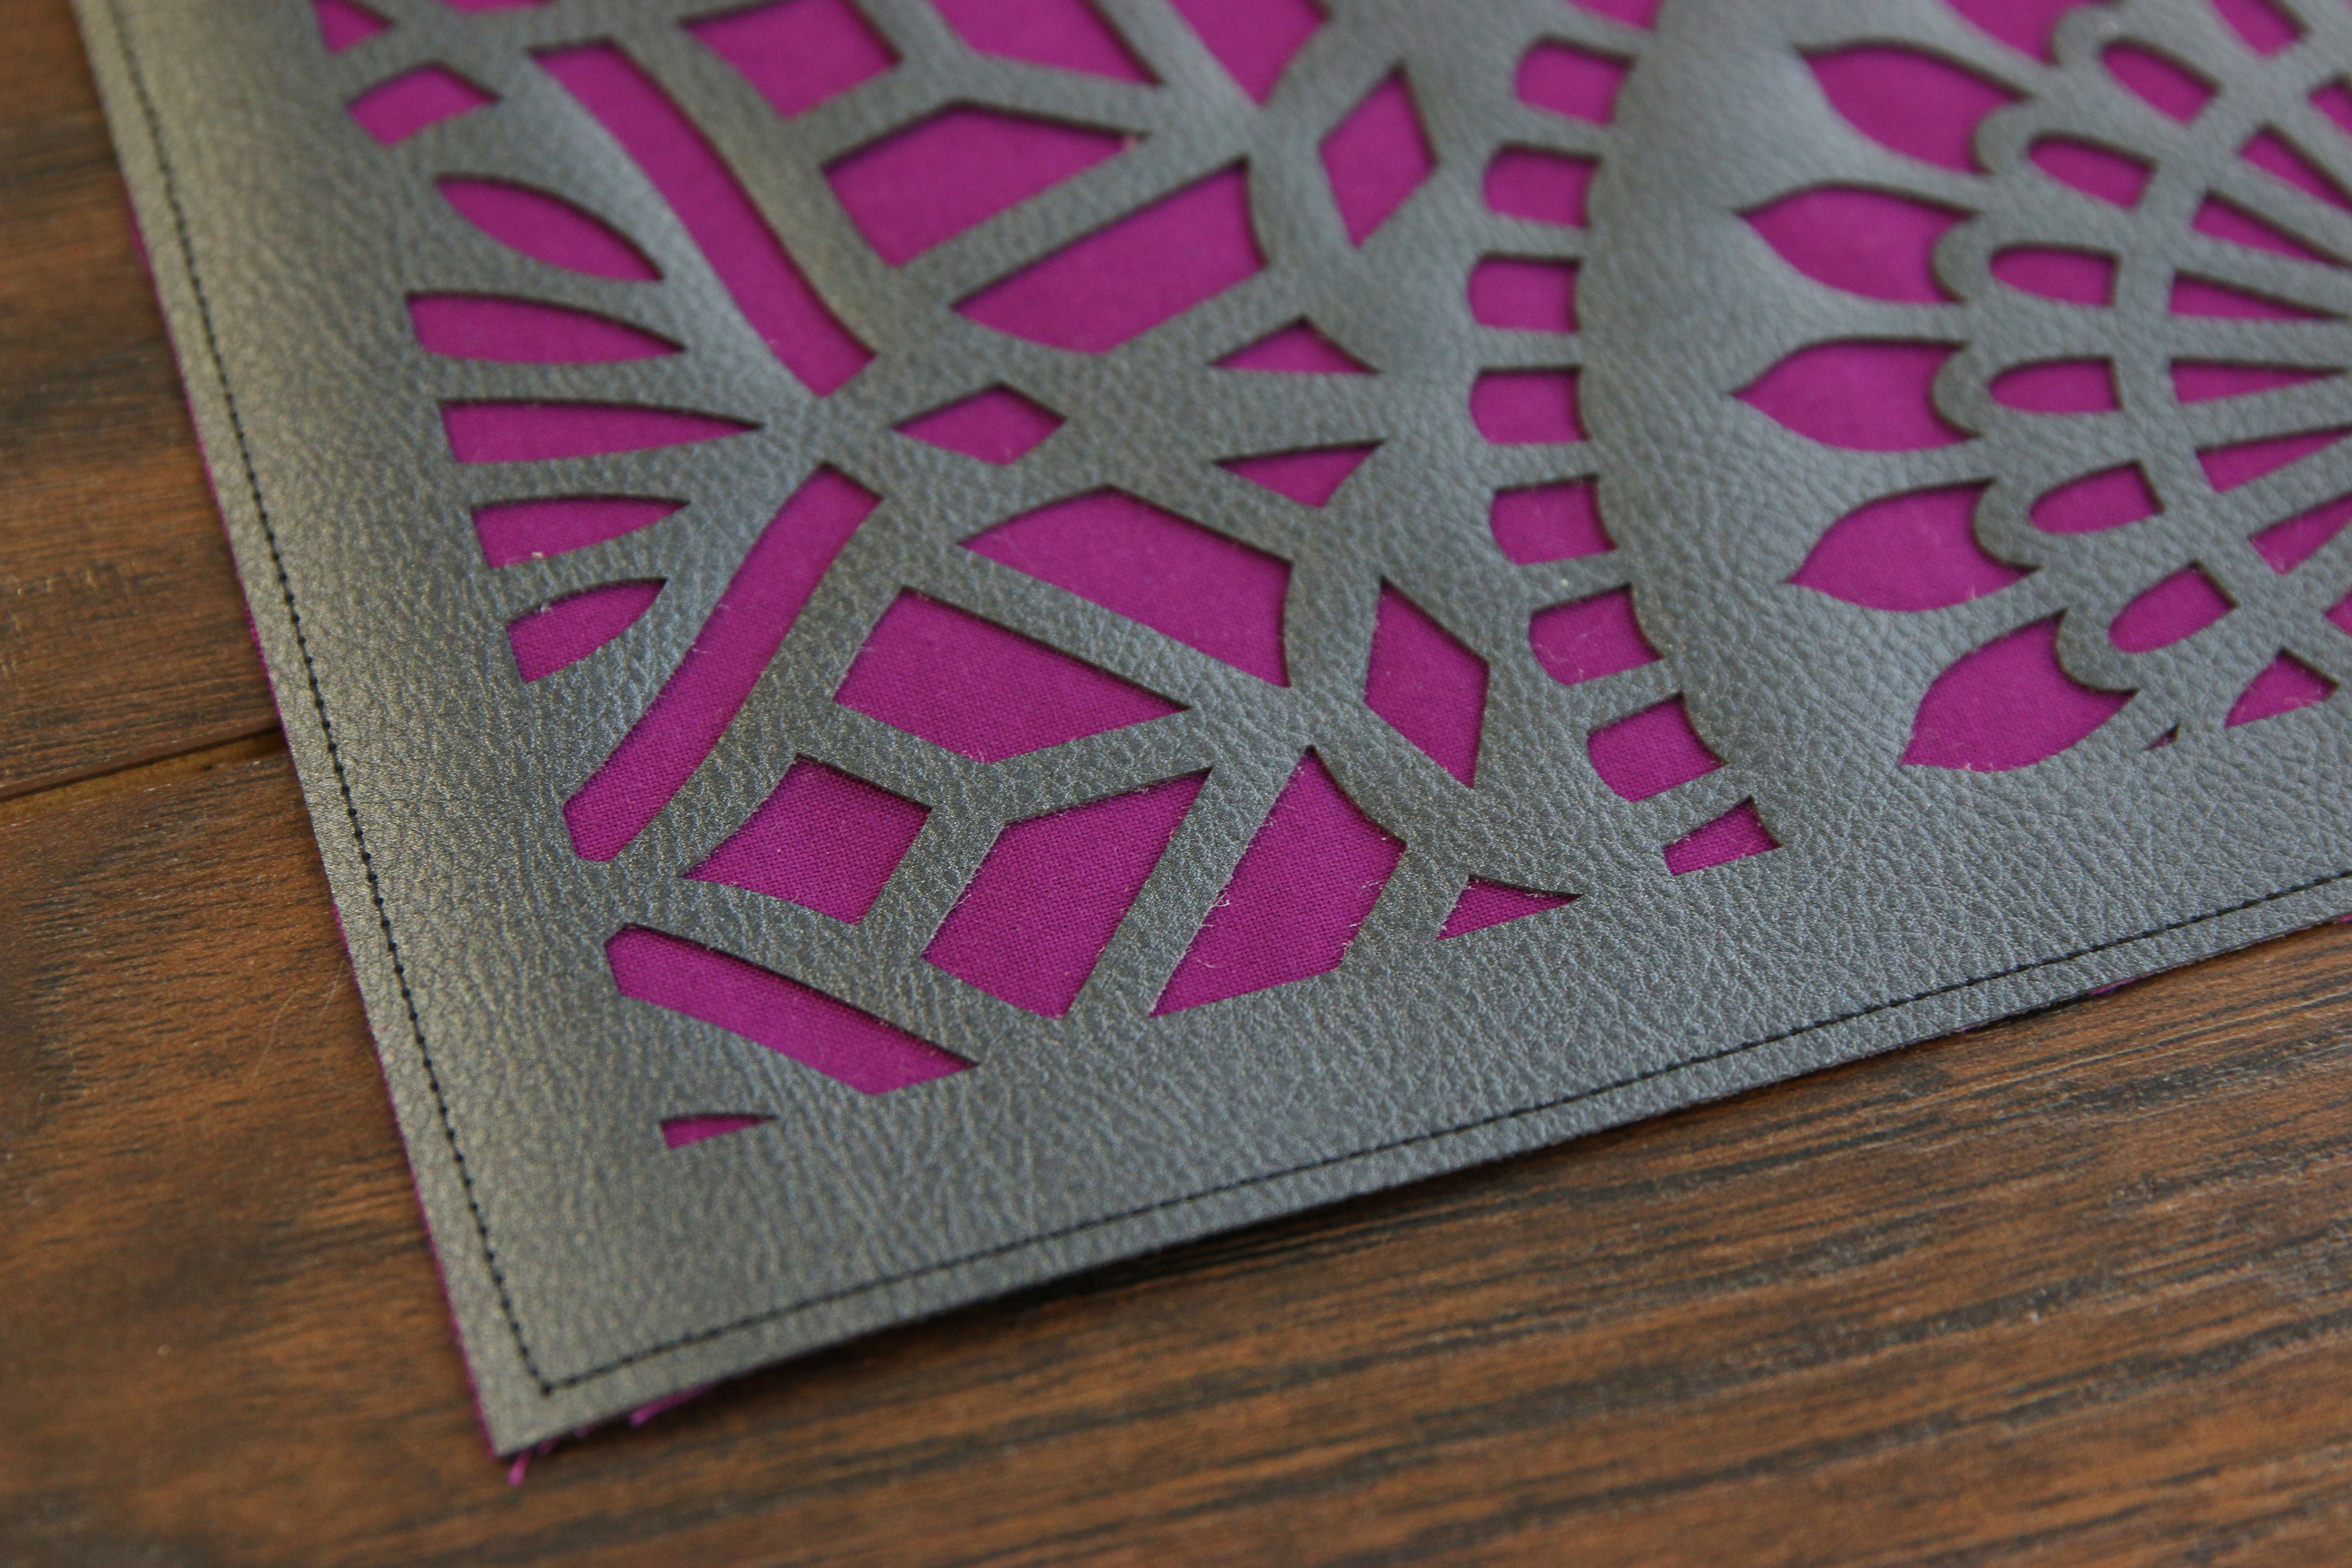
Check to make sure there are no wrinkles or bubbles in the fabric. Then sew a 1/8” basting stitch around all four sides.
4
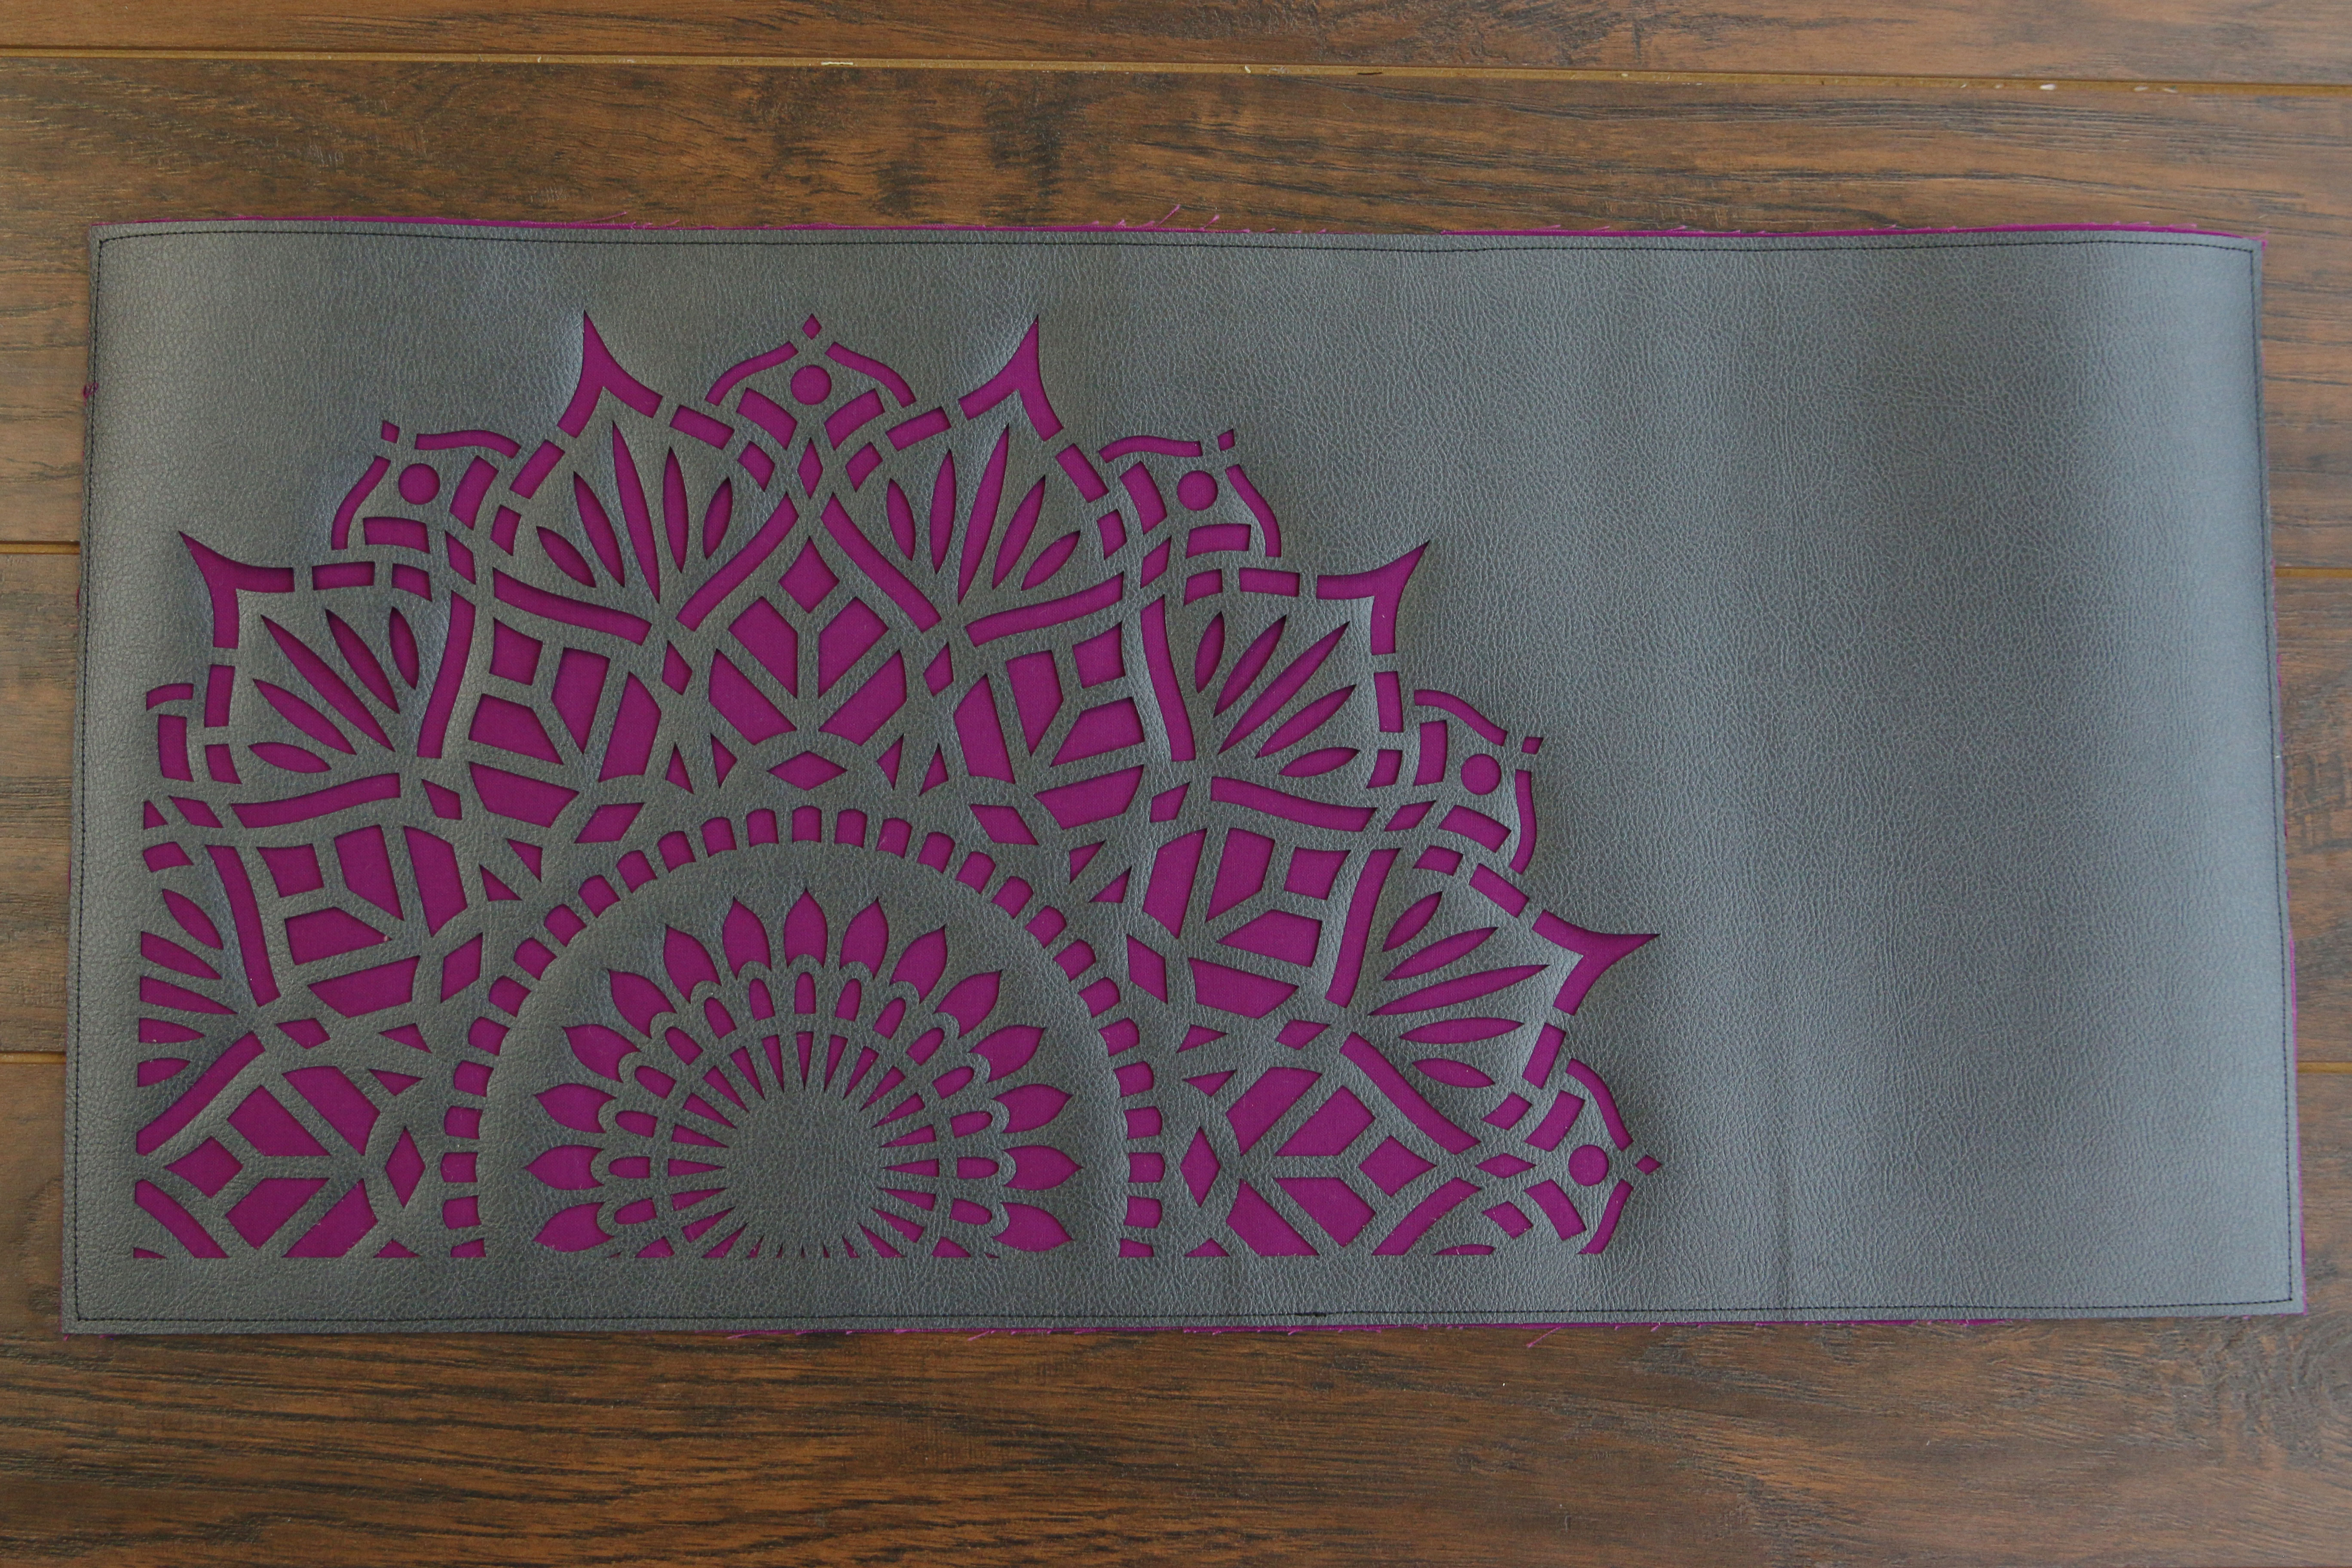
This adheres the leather and fabric pieces permanently together.
5
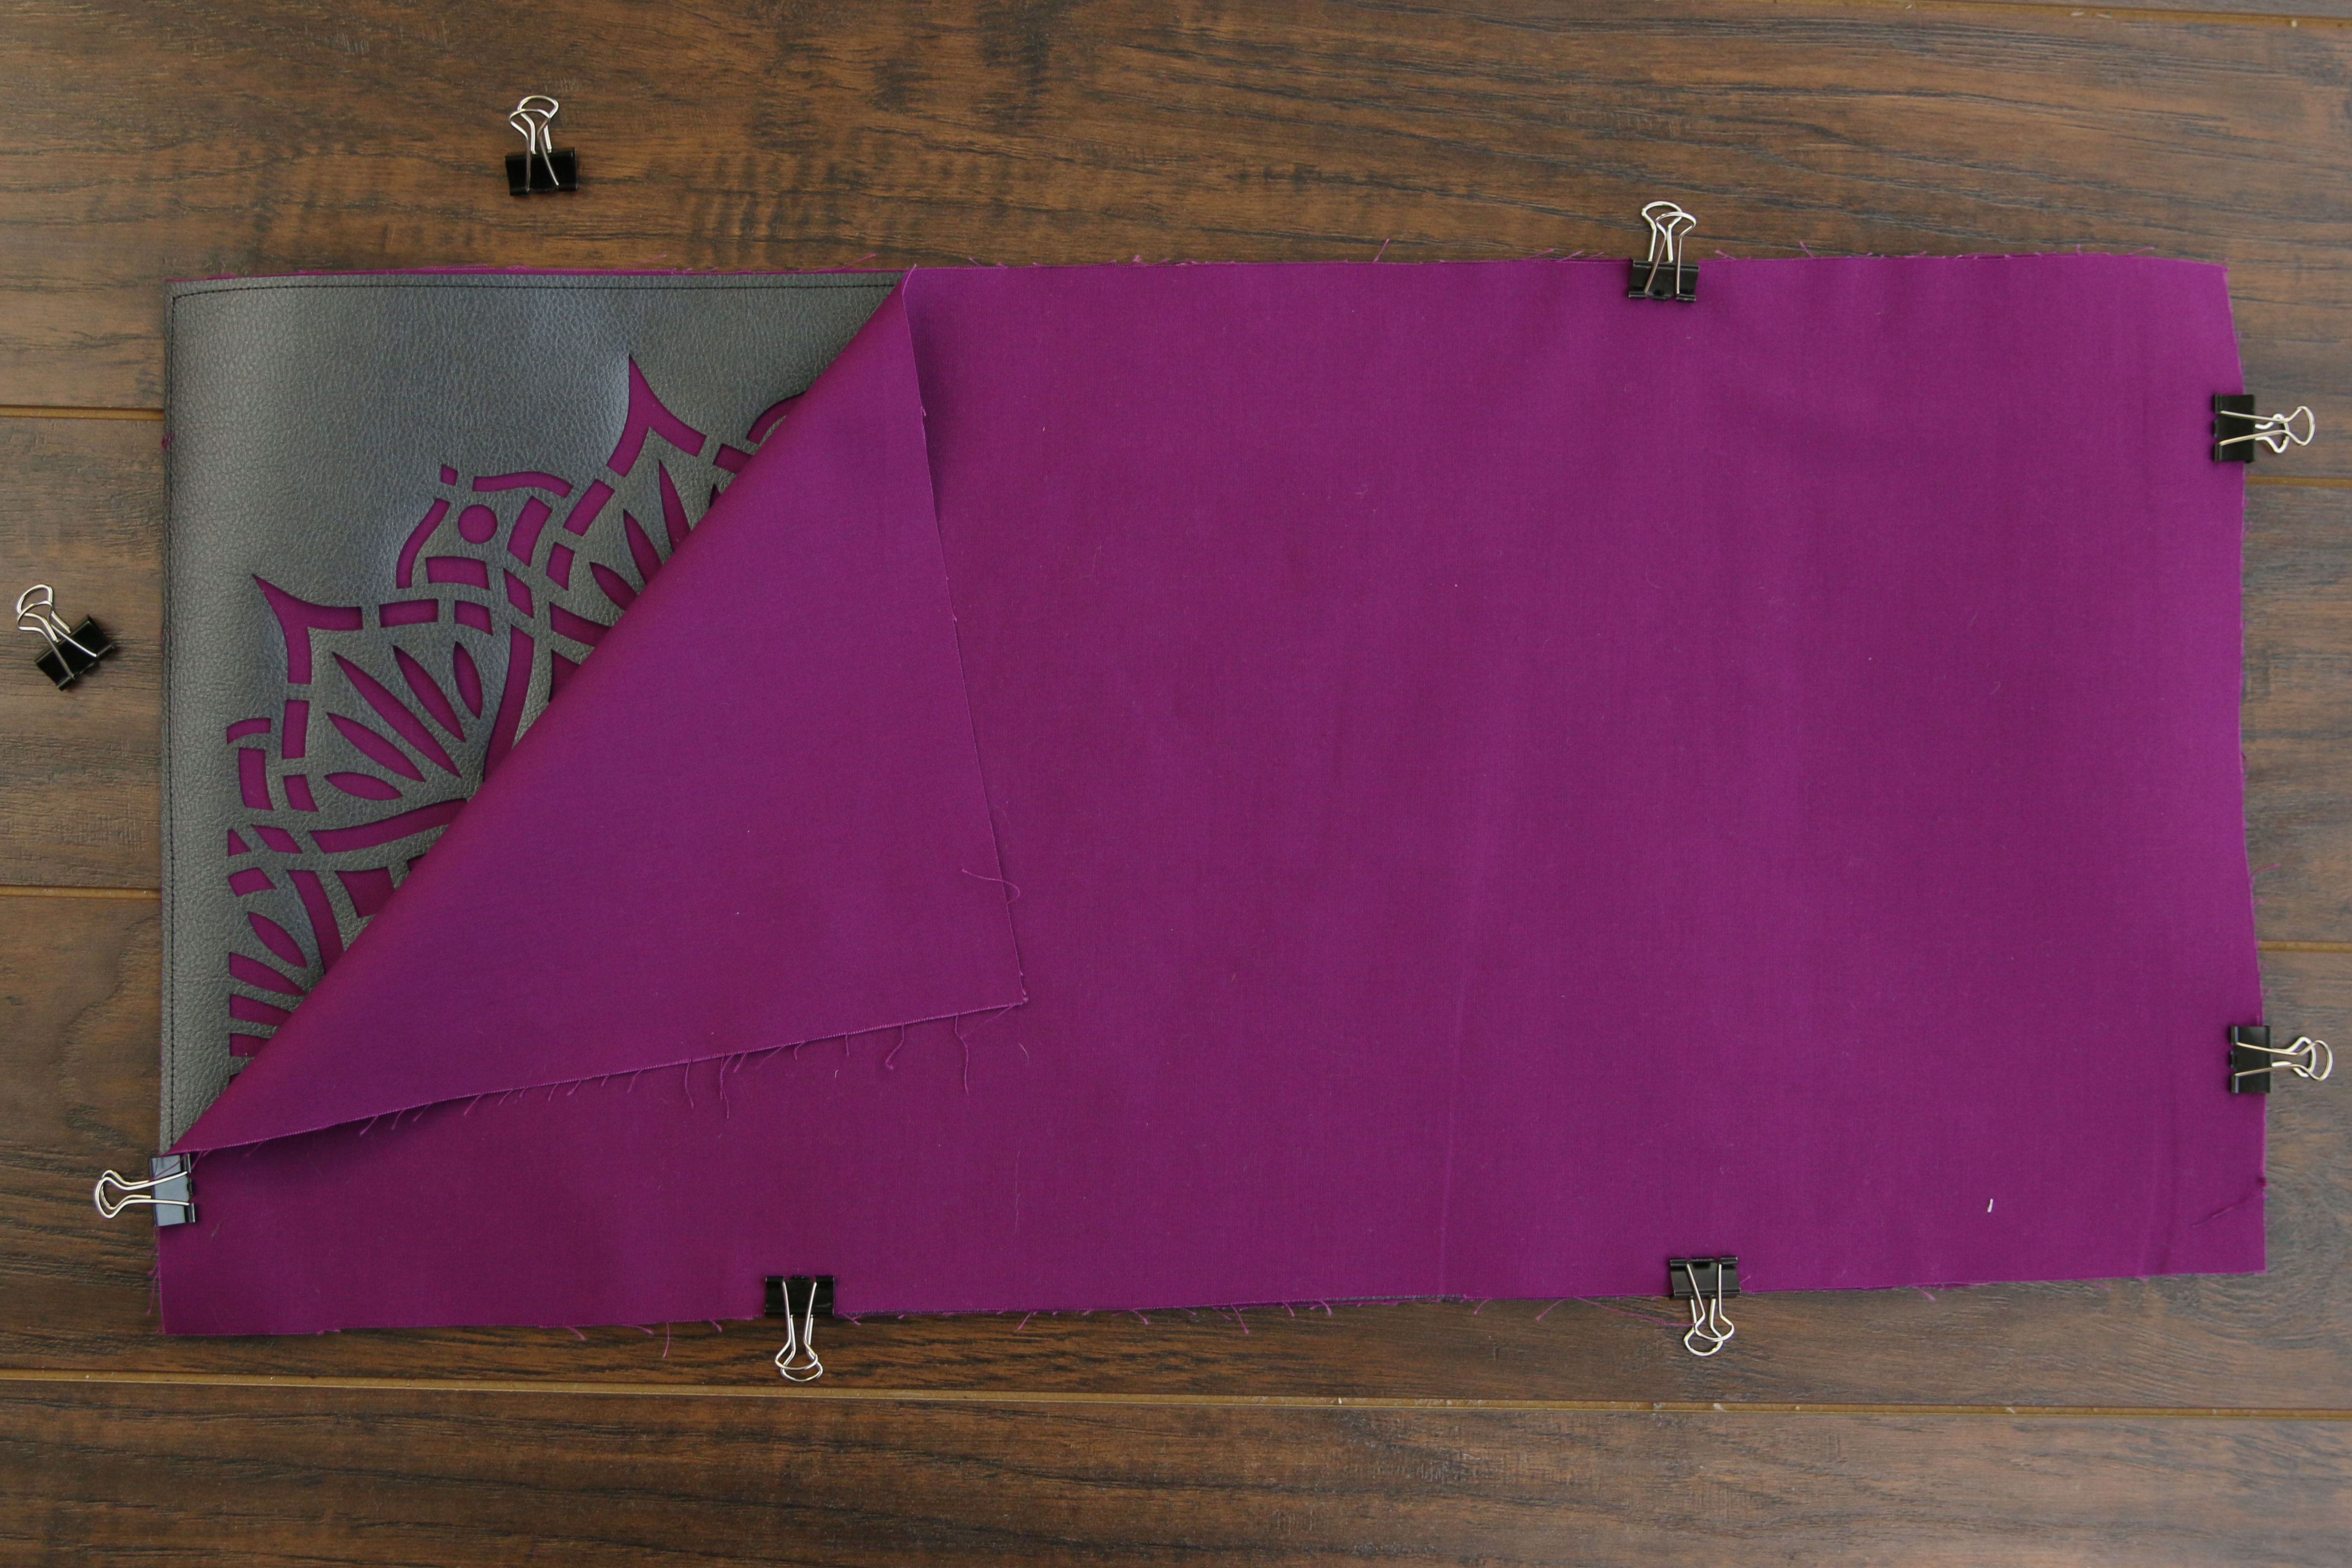
Next lay the back fabric piece (color 2) on top of the sewn front piece (colors 1 & 2) Make sure right sides are together, match up the edges, and place clips around all four sides to hold the fabric pieces together. Do not use sewing pins as they will leave holes in the leather.
6
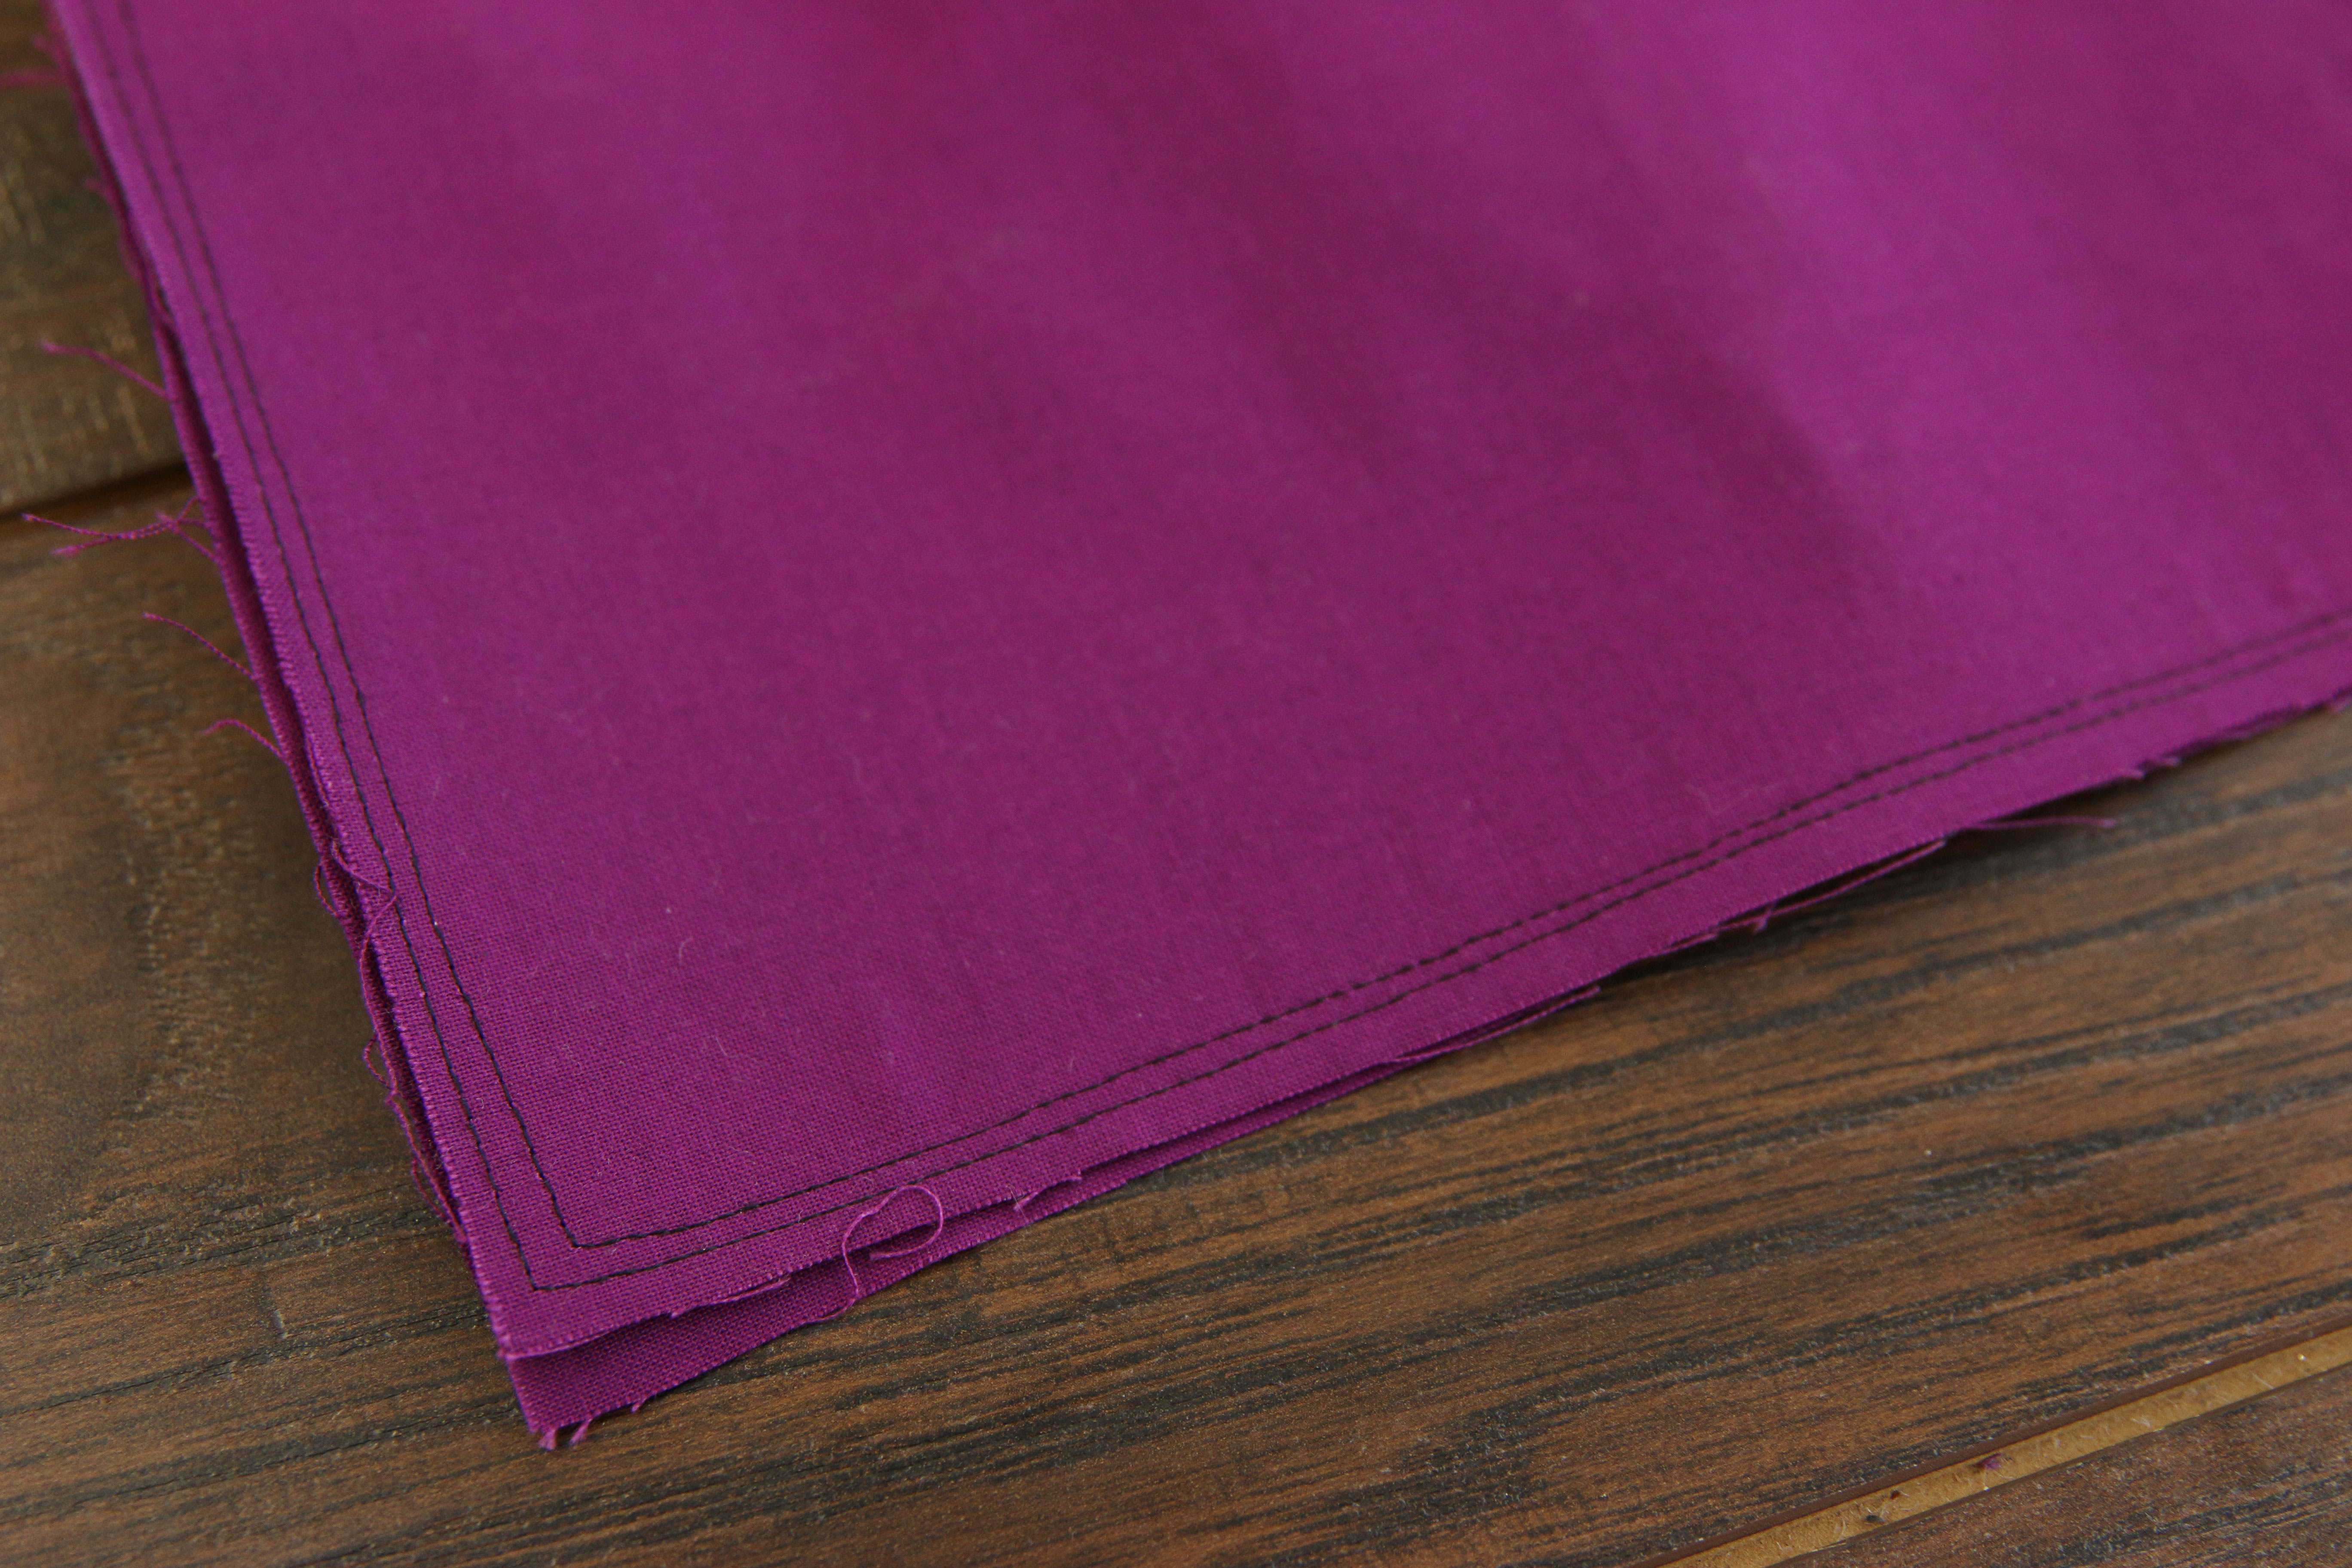
Sew a 1/4” seam around all four sides.
7
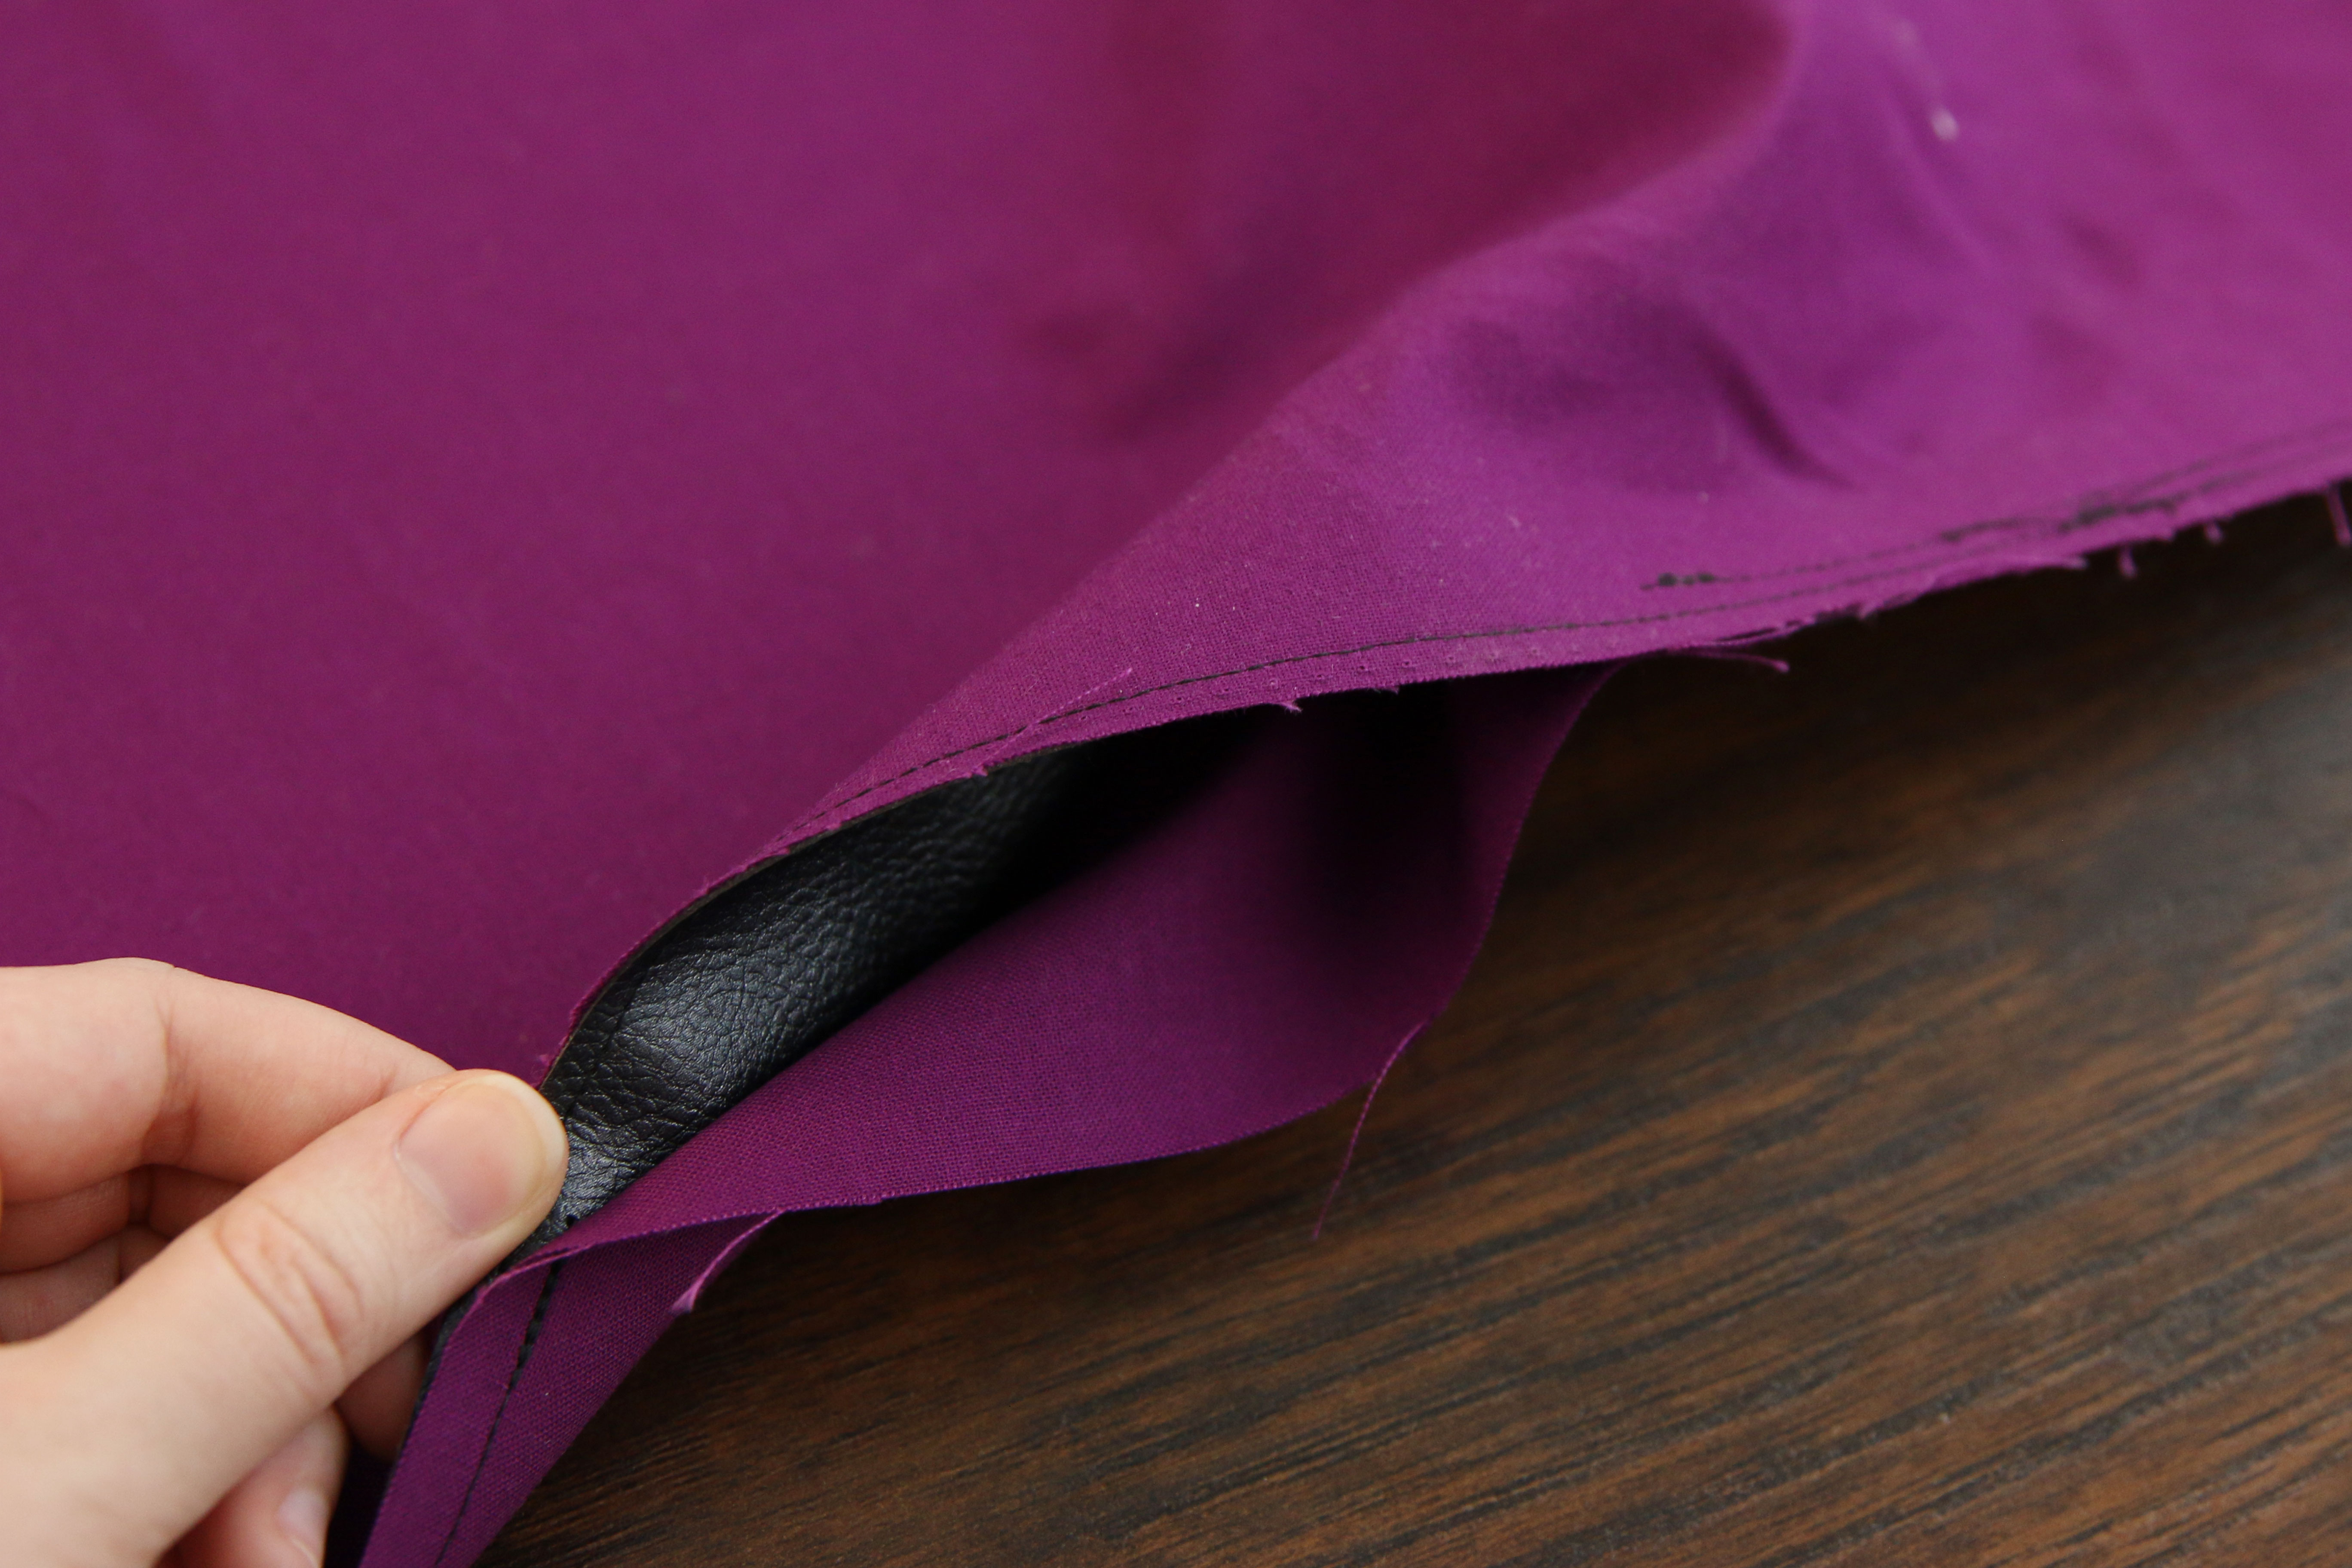
Make sure to leave a 5”-7” hole for turning.
8
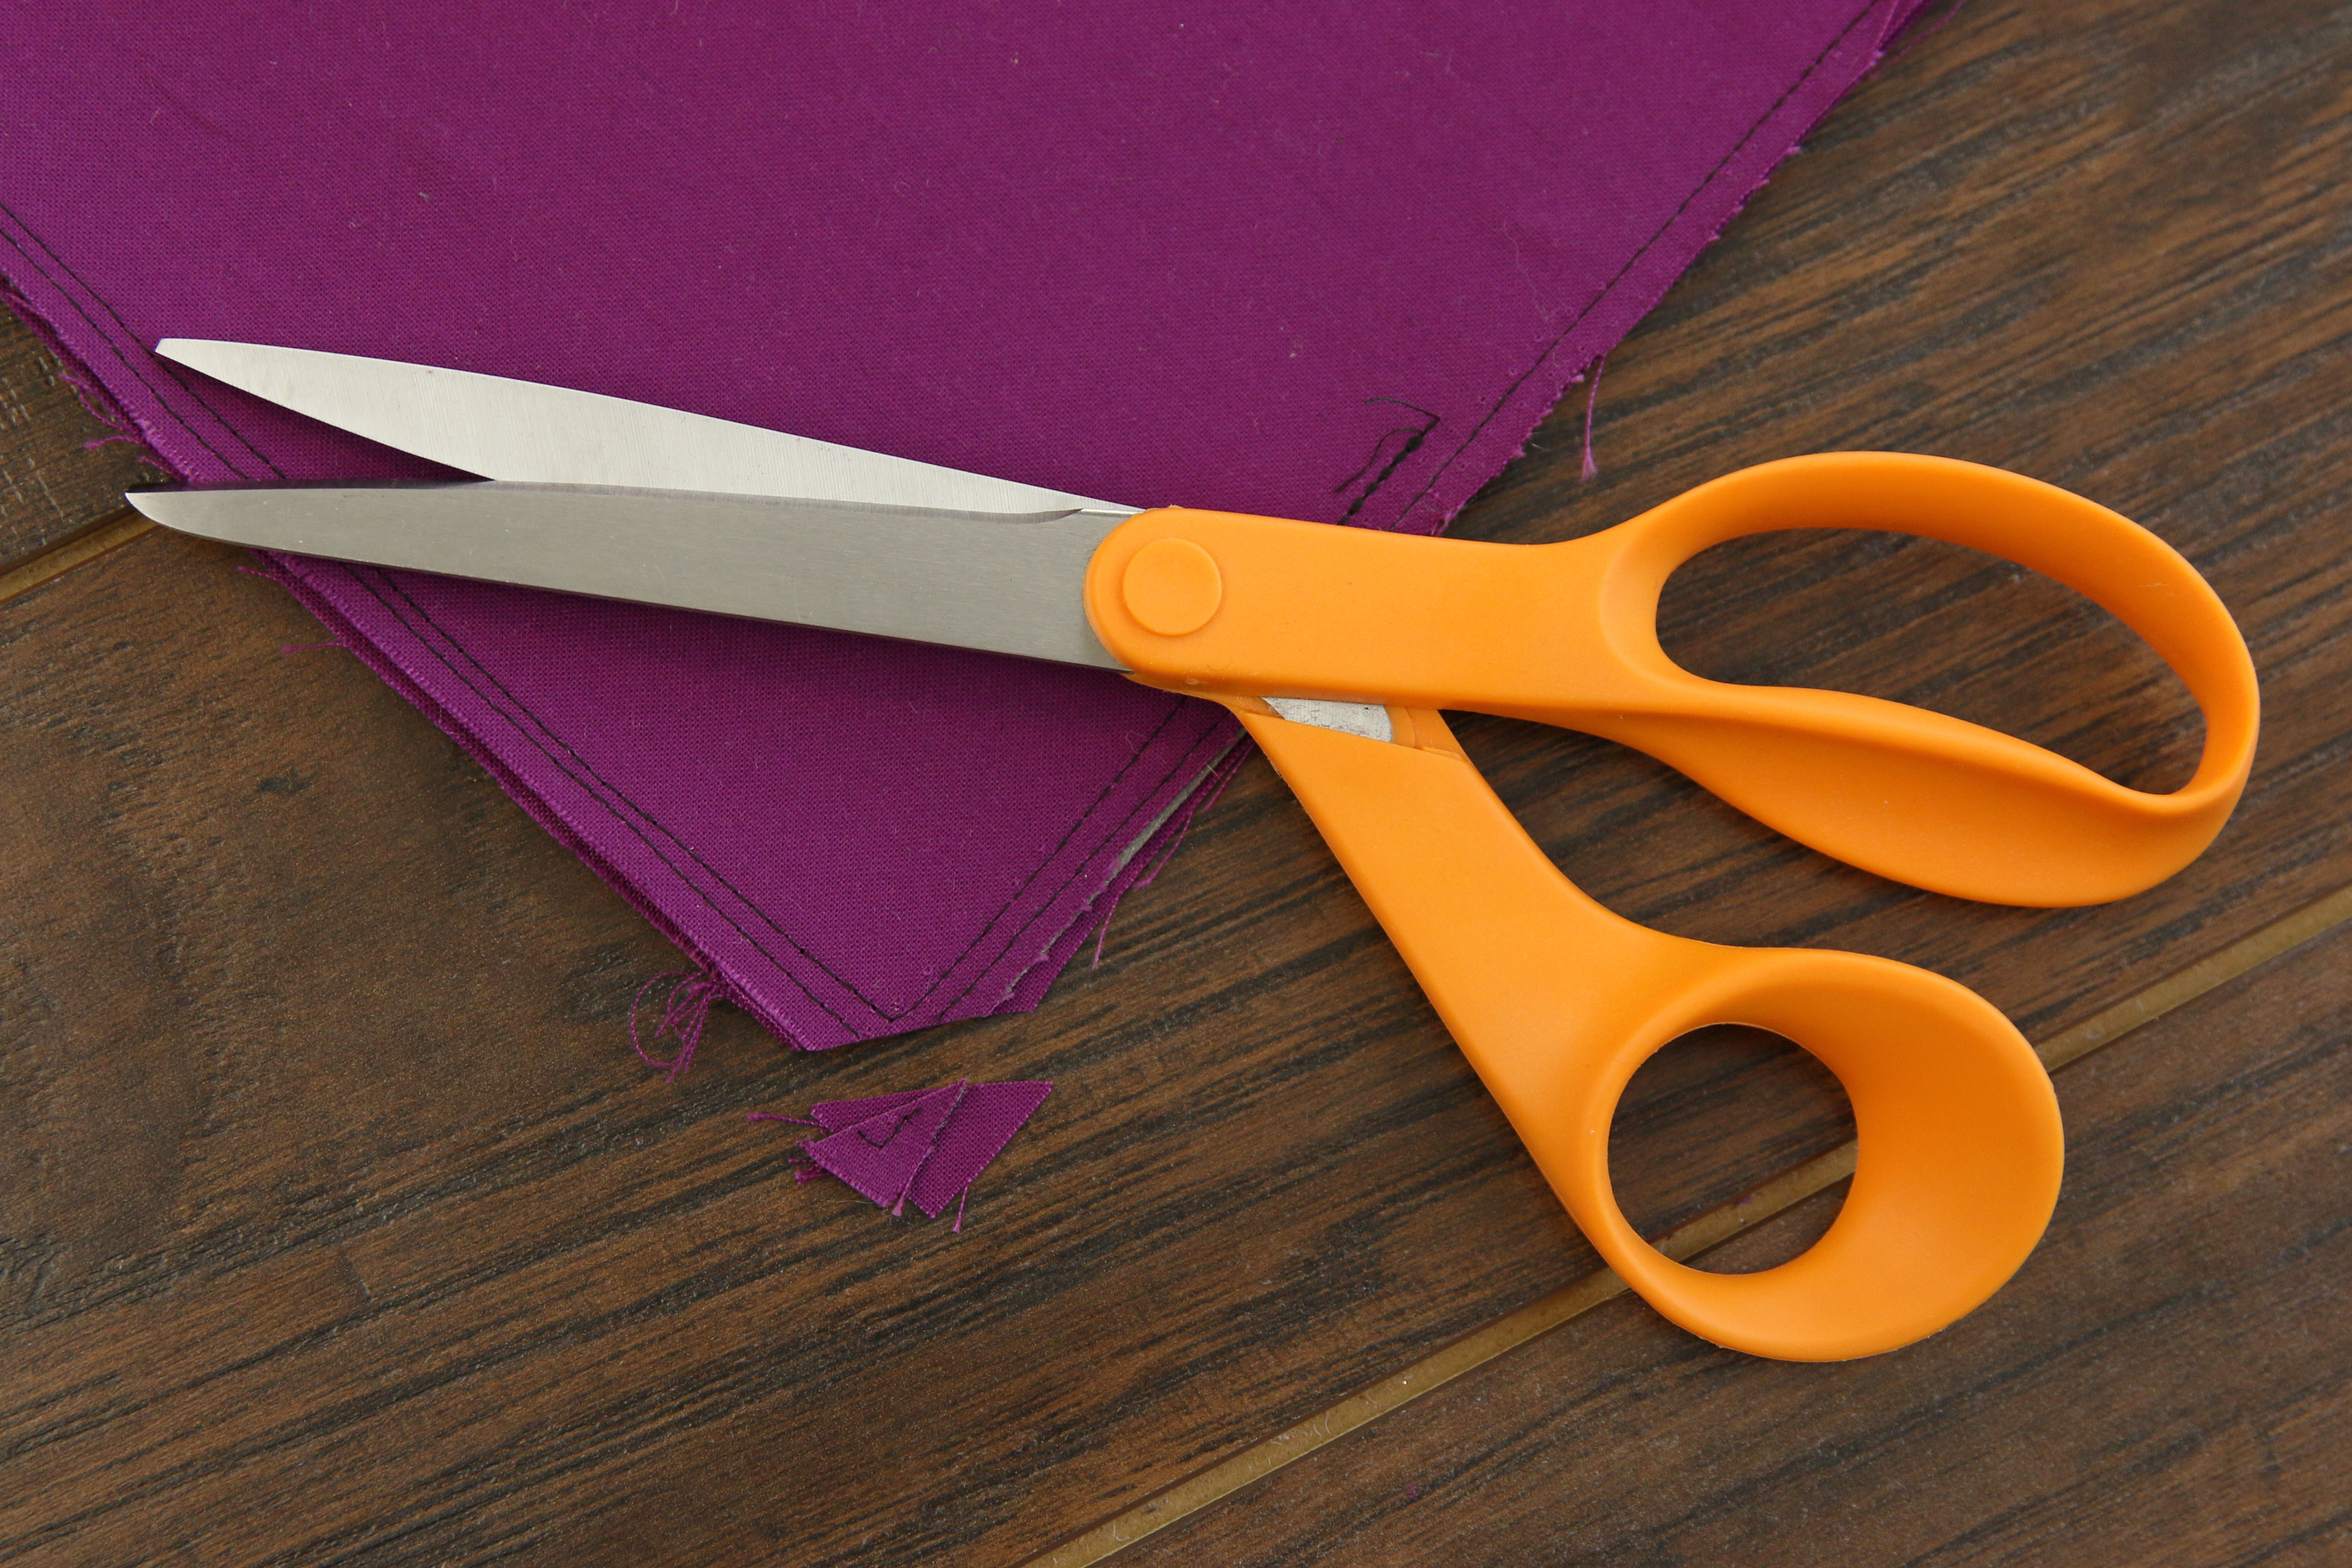
Then trim the four corners to make the pillow easier to turn. Cutting through the basting stitch is okay, but be careful not to cut through the actual seam.
9
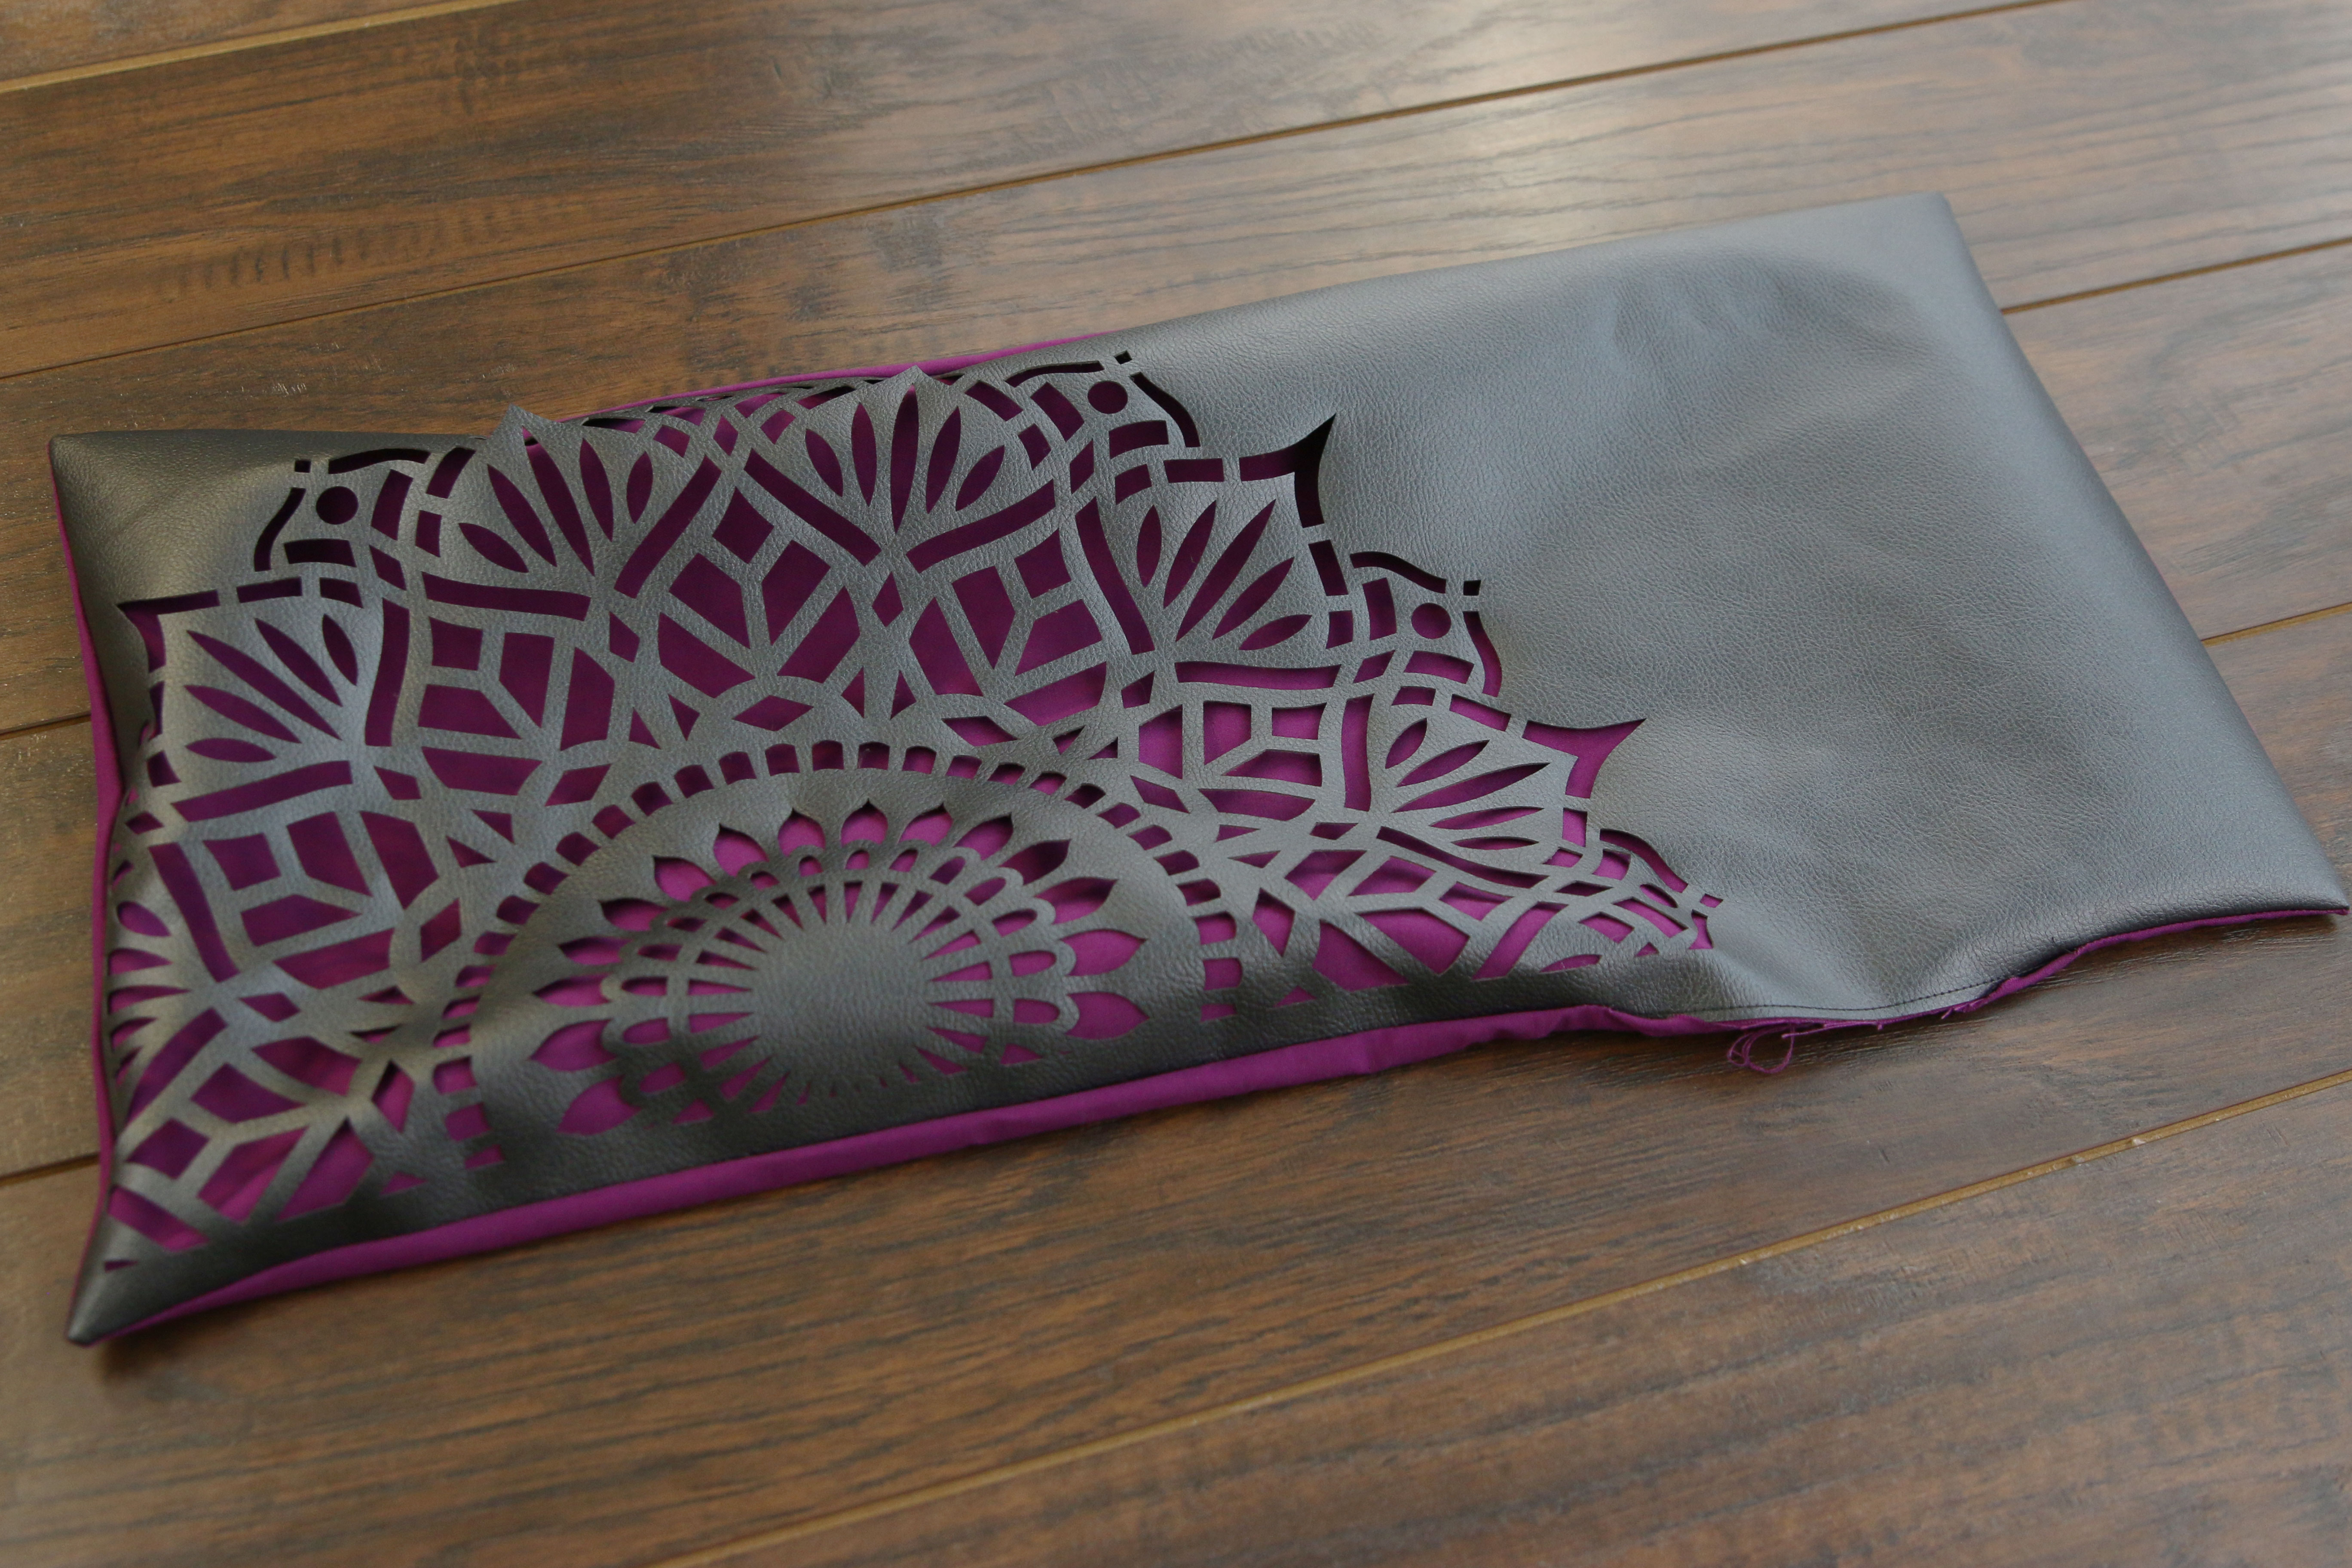
Then turn the pillow right side out through the opening.
10
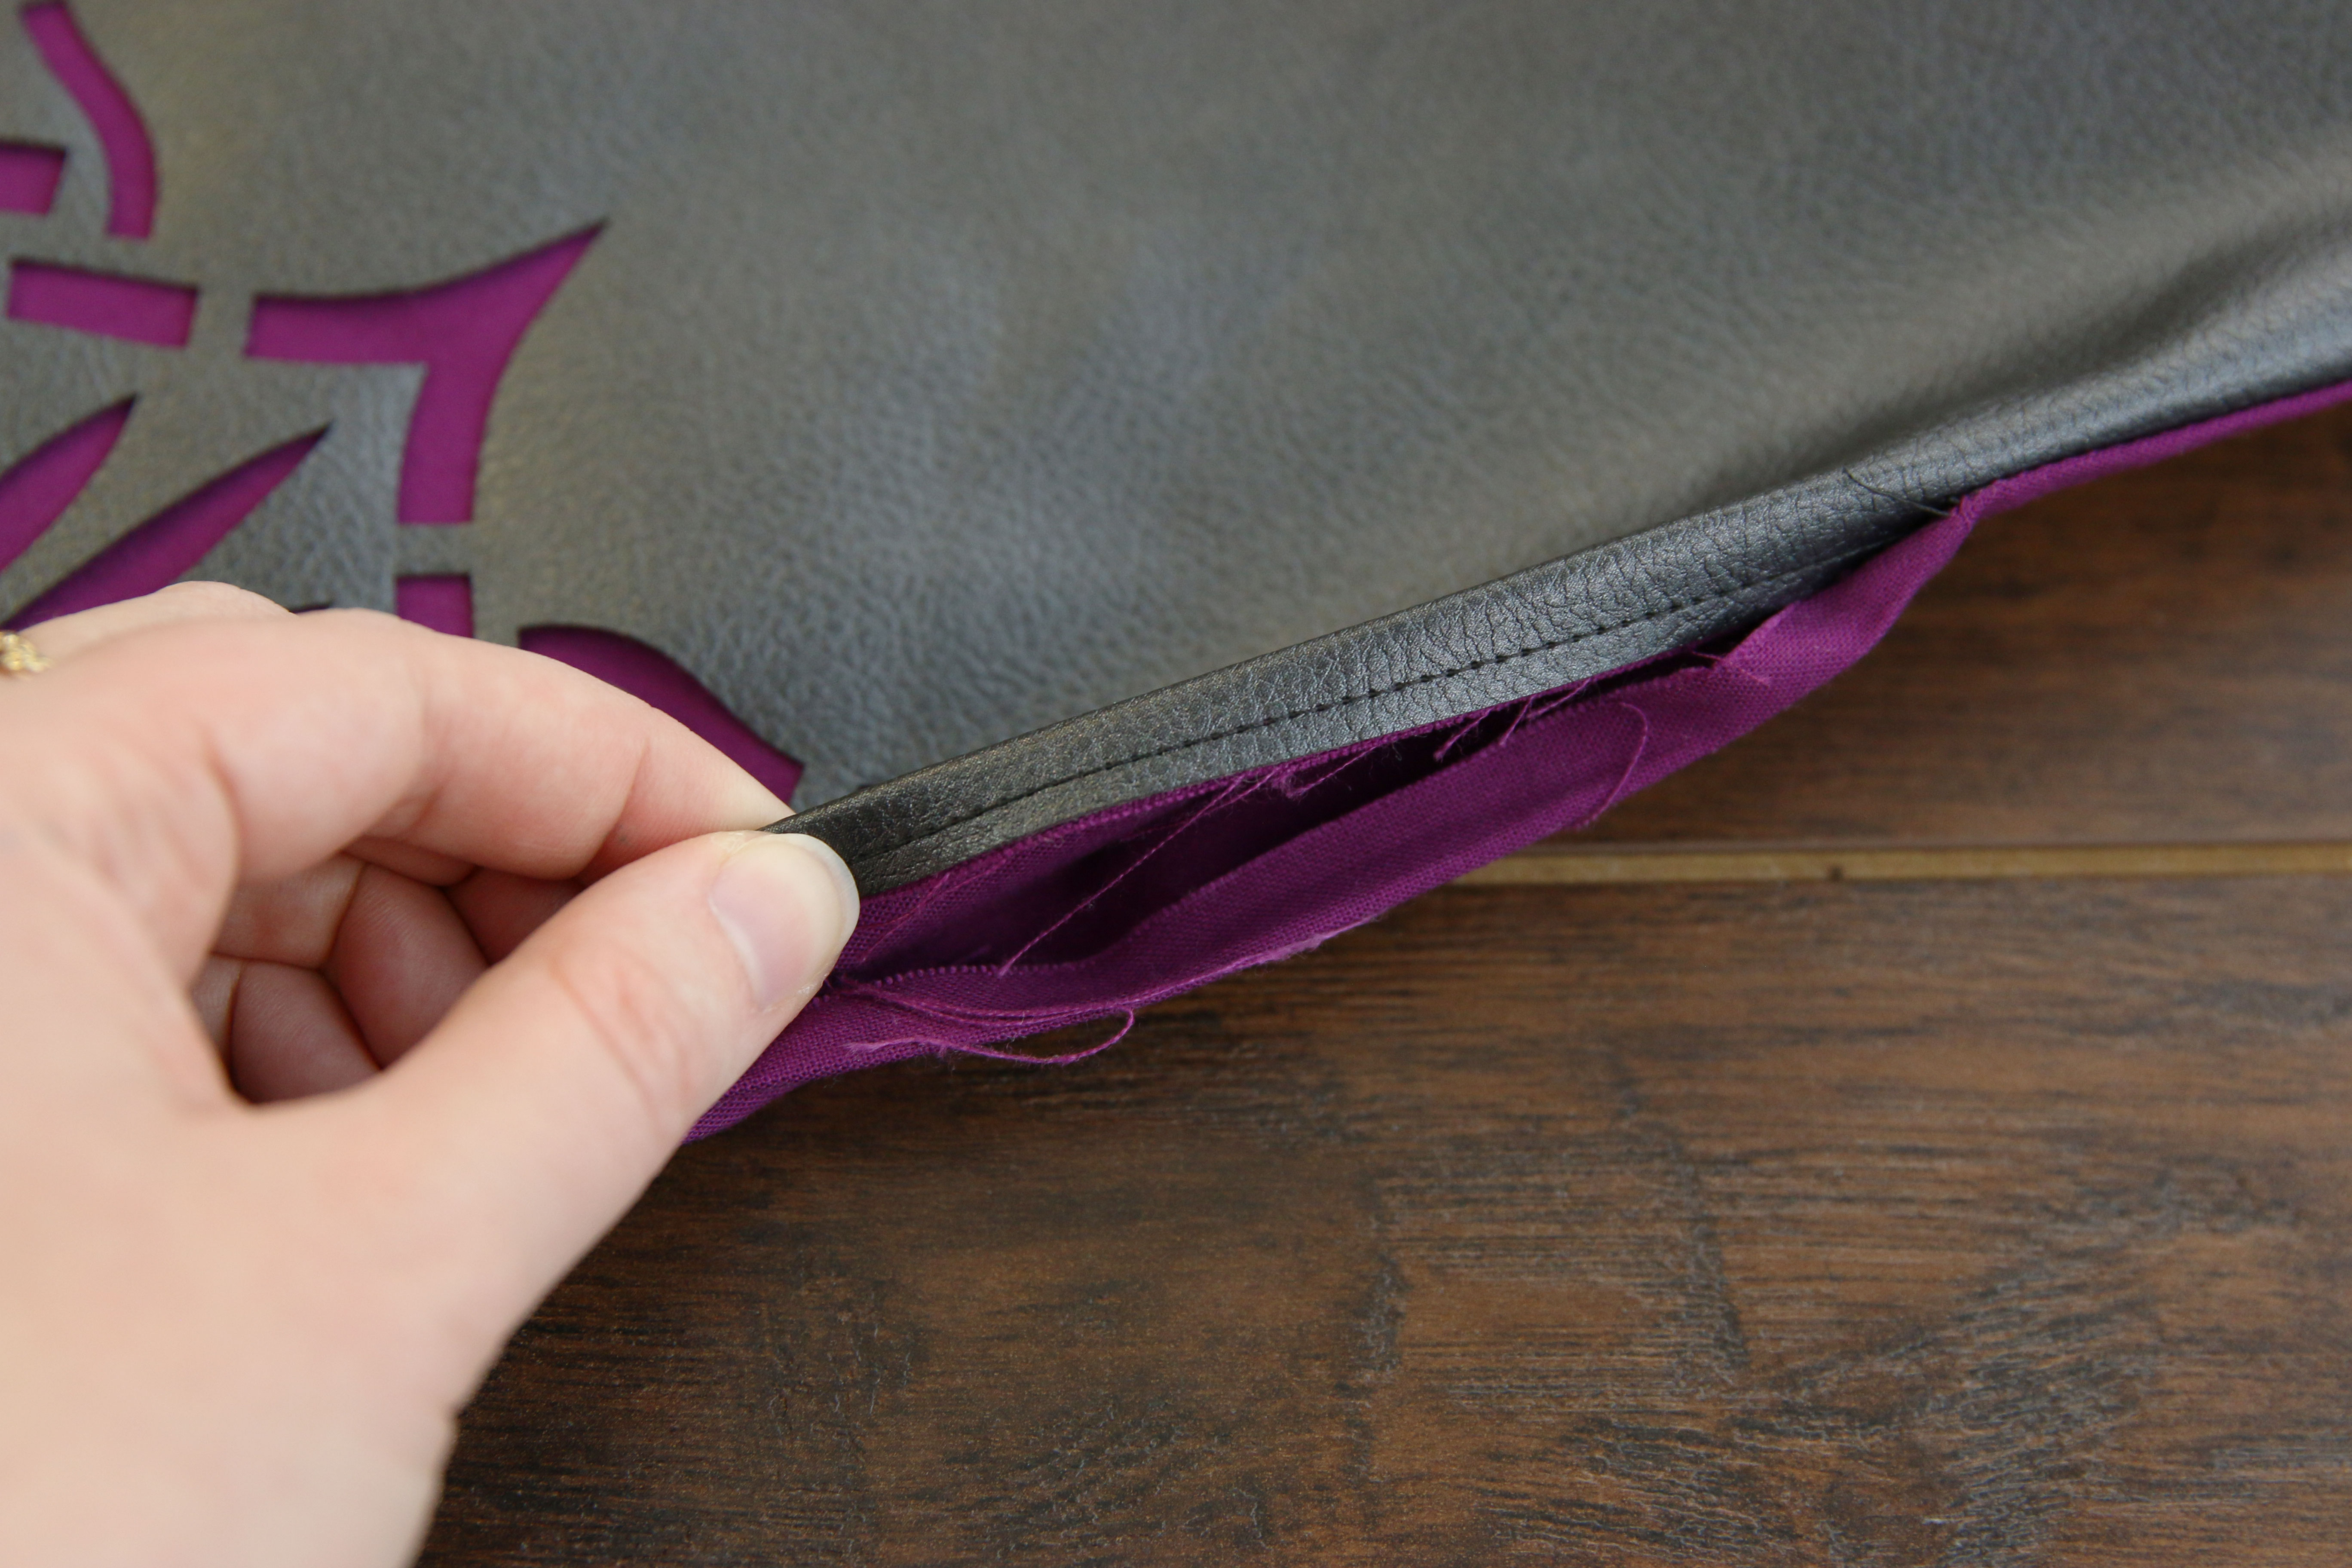
As leather cannot be pressed, crease the seams with your fingers along all four edges so that they lay nicely. Also make sure to press the raw edges of the opening in 1/4”.
11
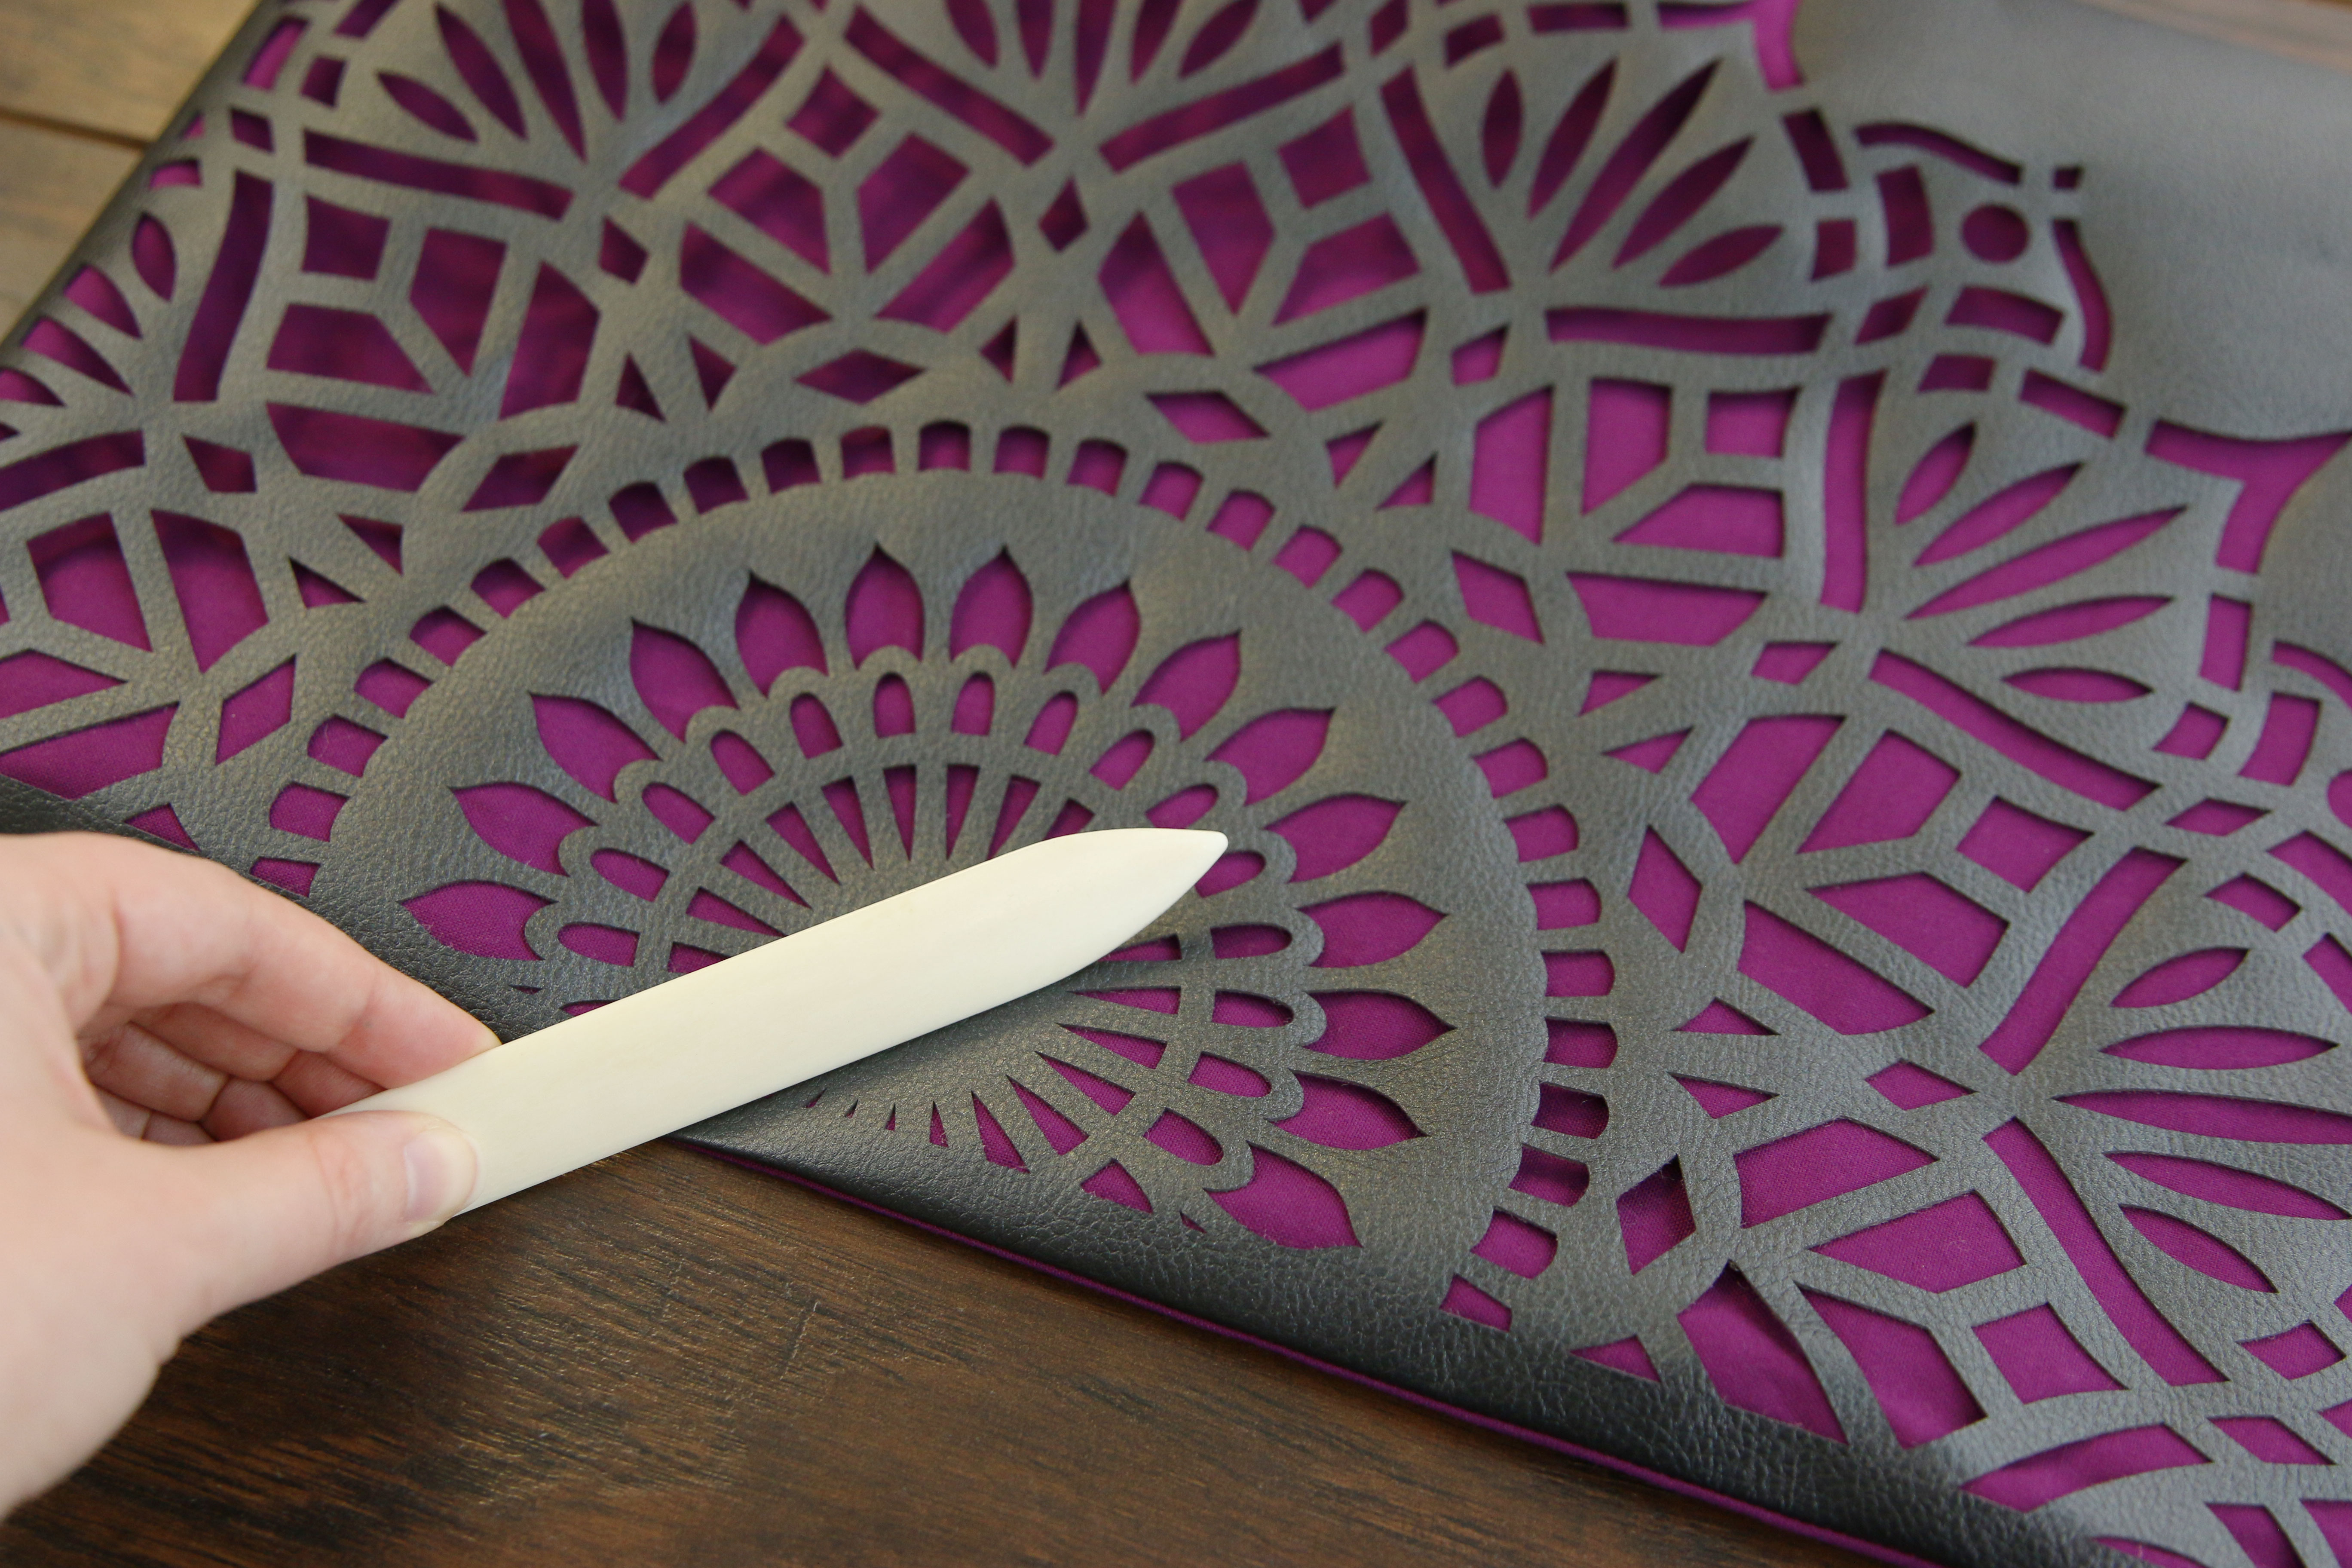
Then use a bone folder to press all edges to get a crisp fold.
12
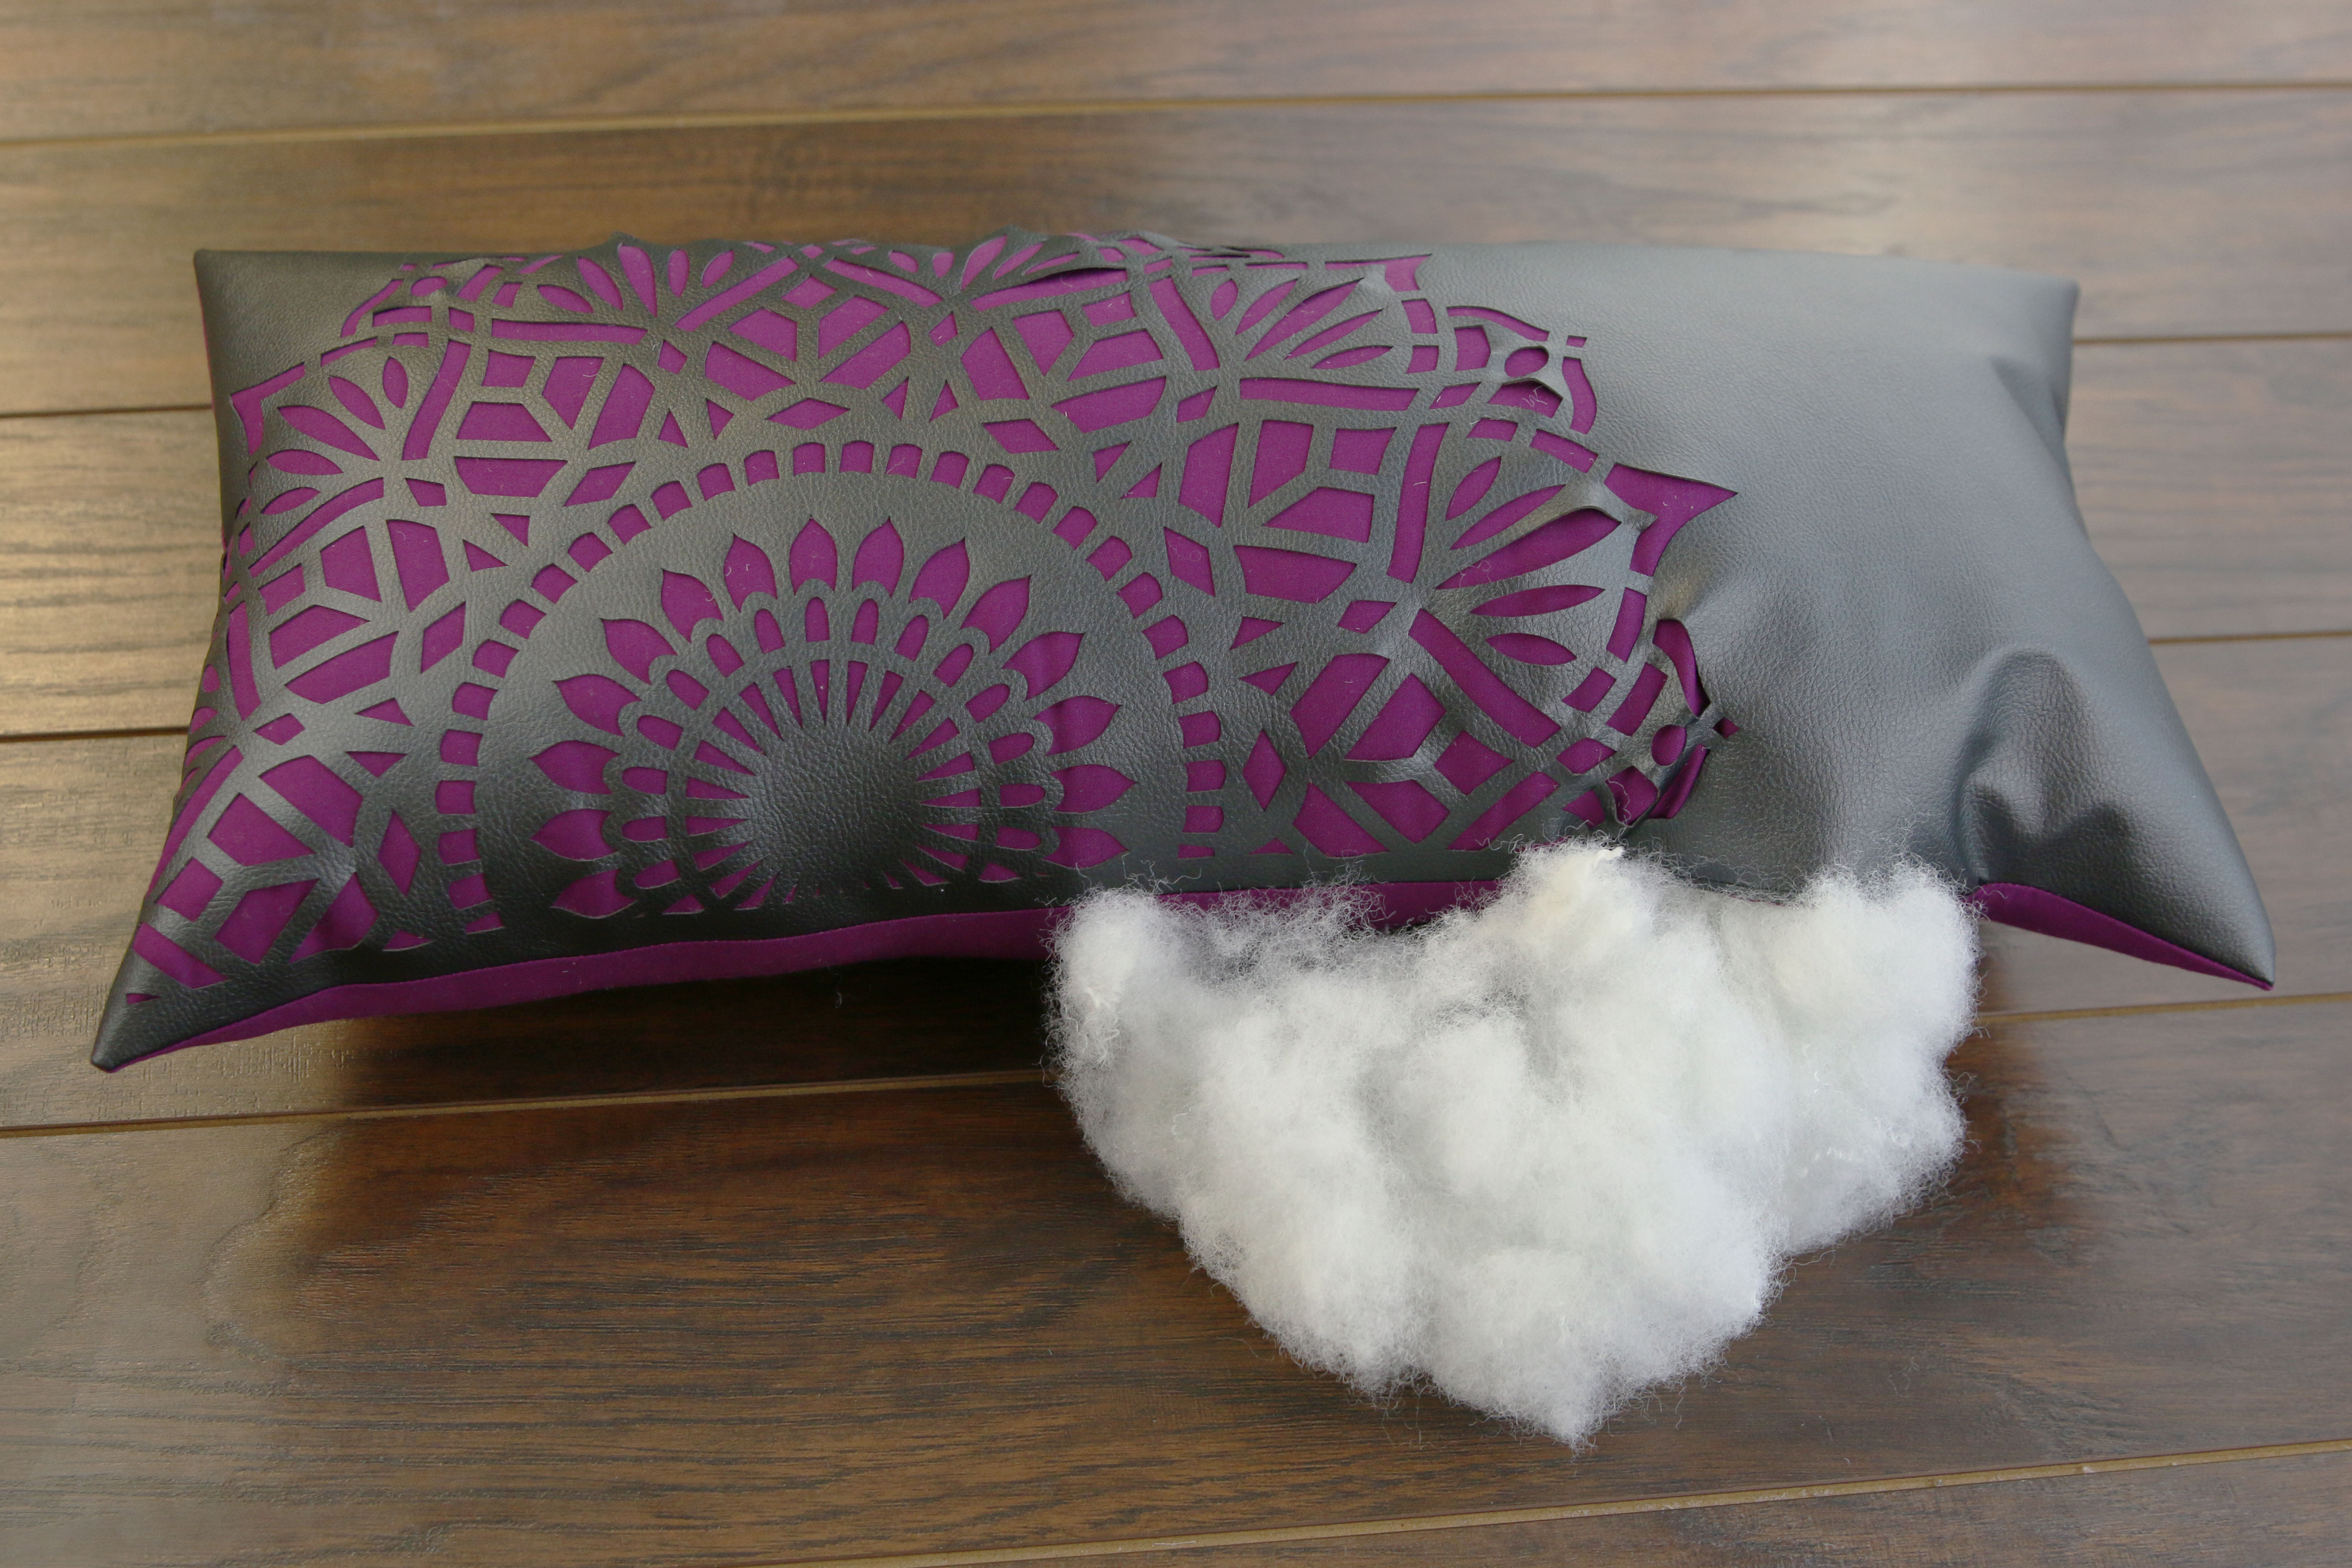
Stuff the pillow firmly with polyester fiberfill. Due to the cut outs on the leather piece, it is very important to stuff the pillow firmly and evenly to get the leather design to lay flat.
13
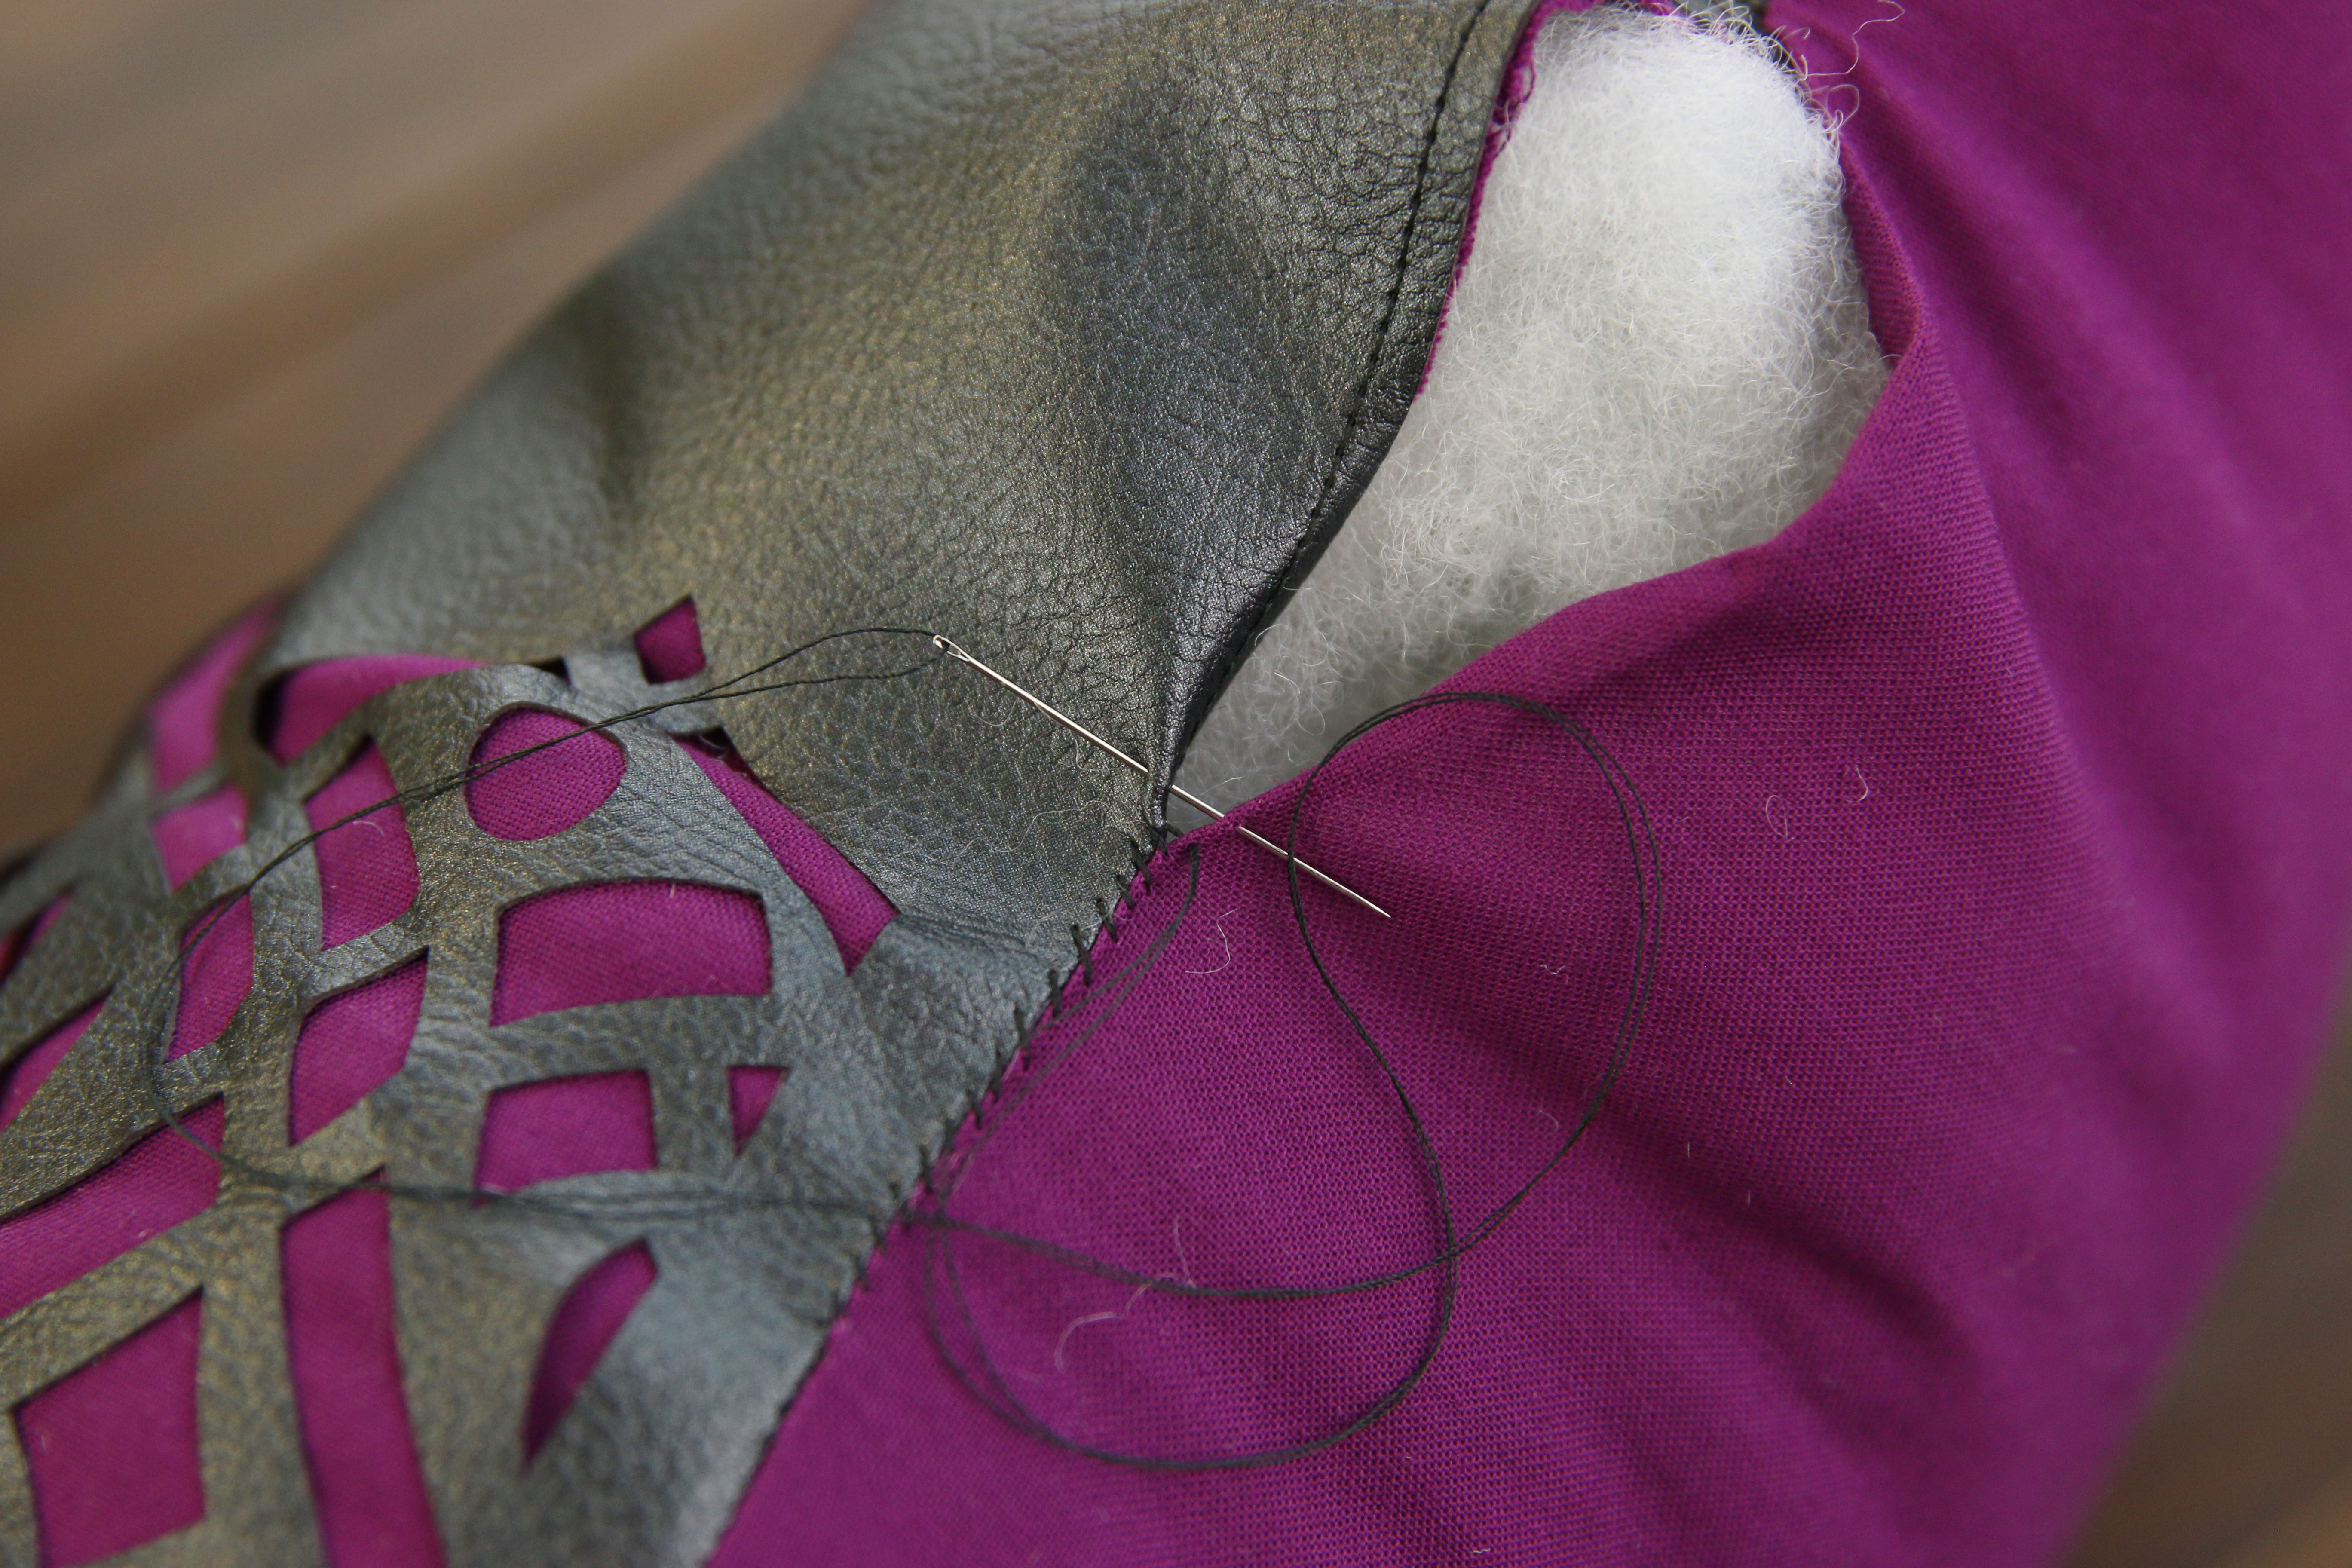
Then hand sew the opening closed with thread matching the leather (color 1).
14
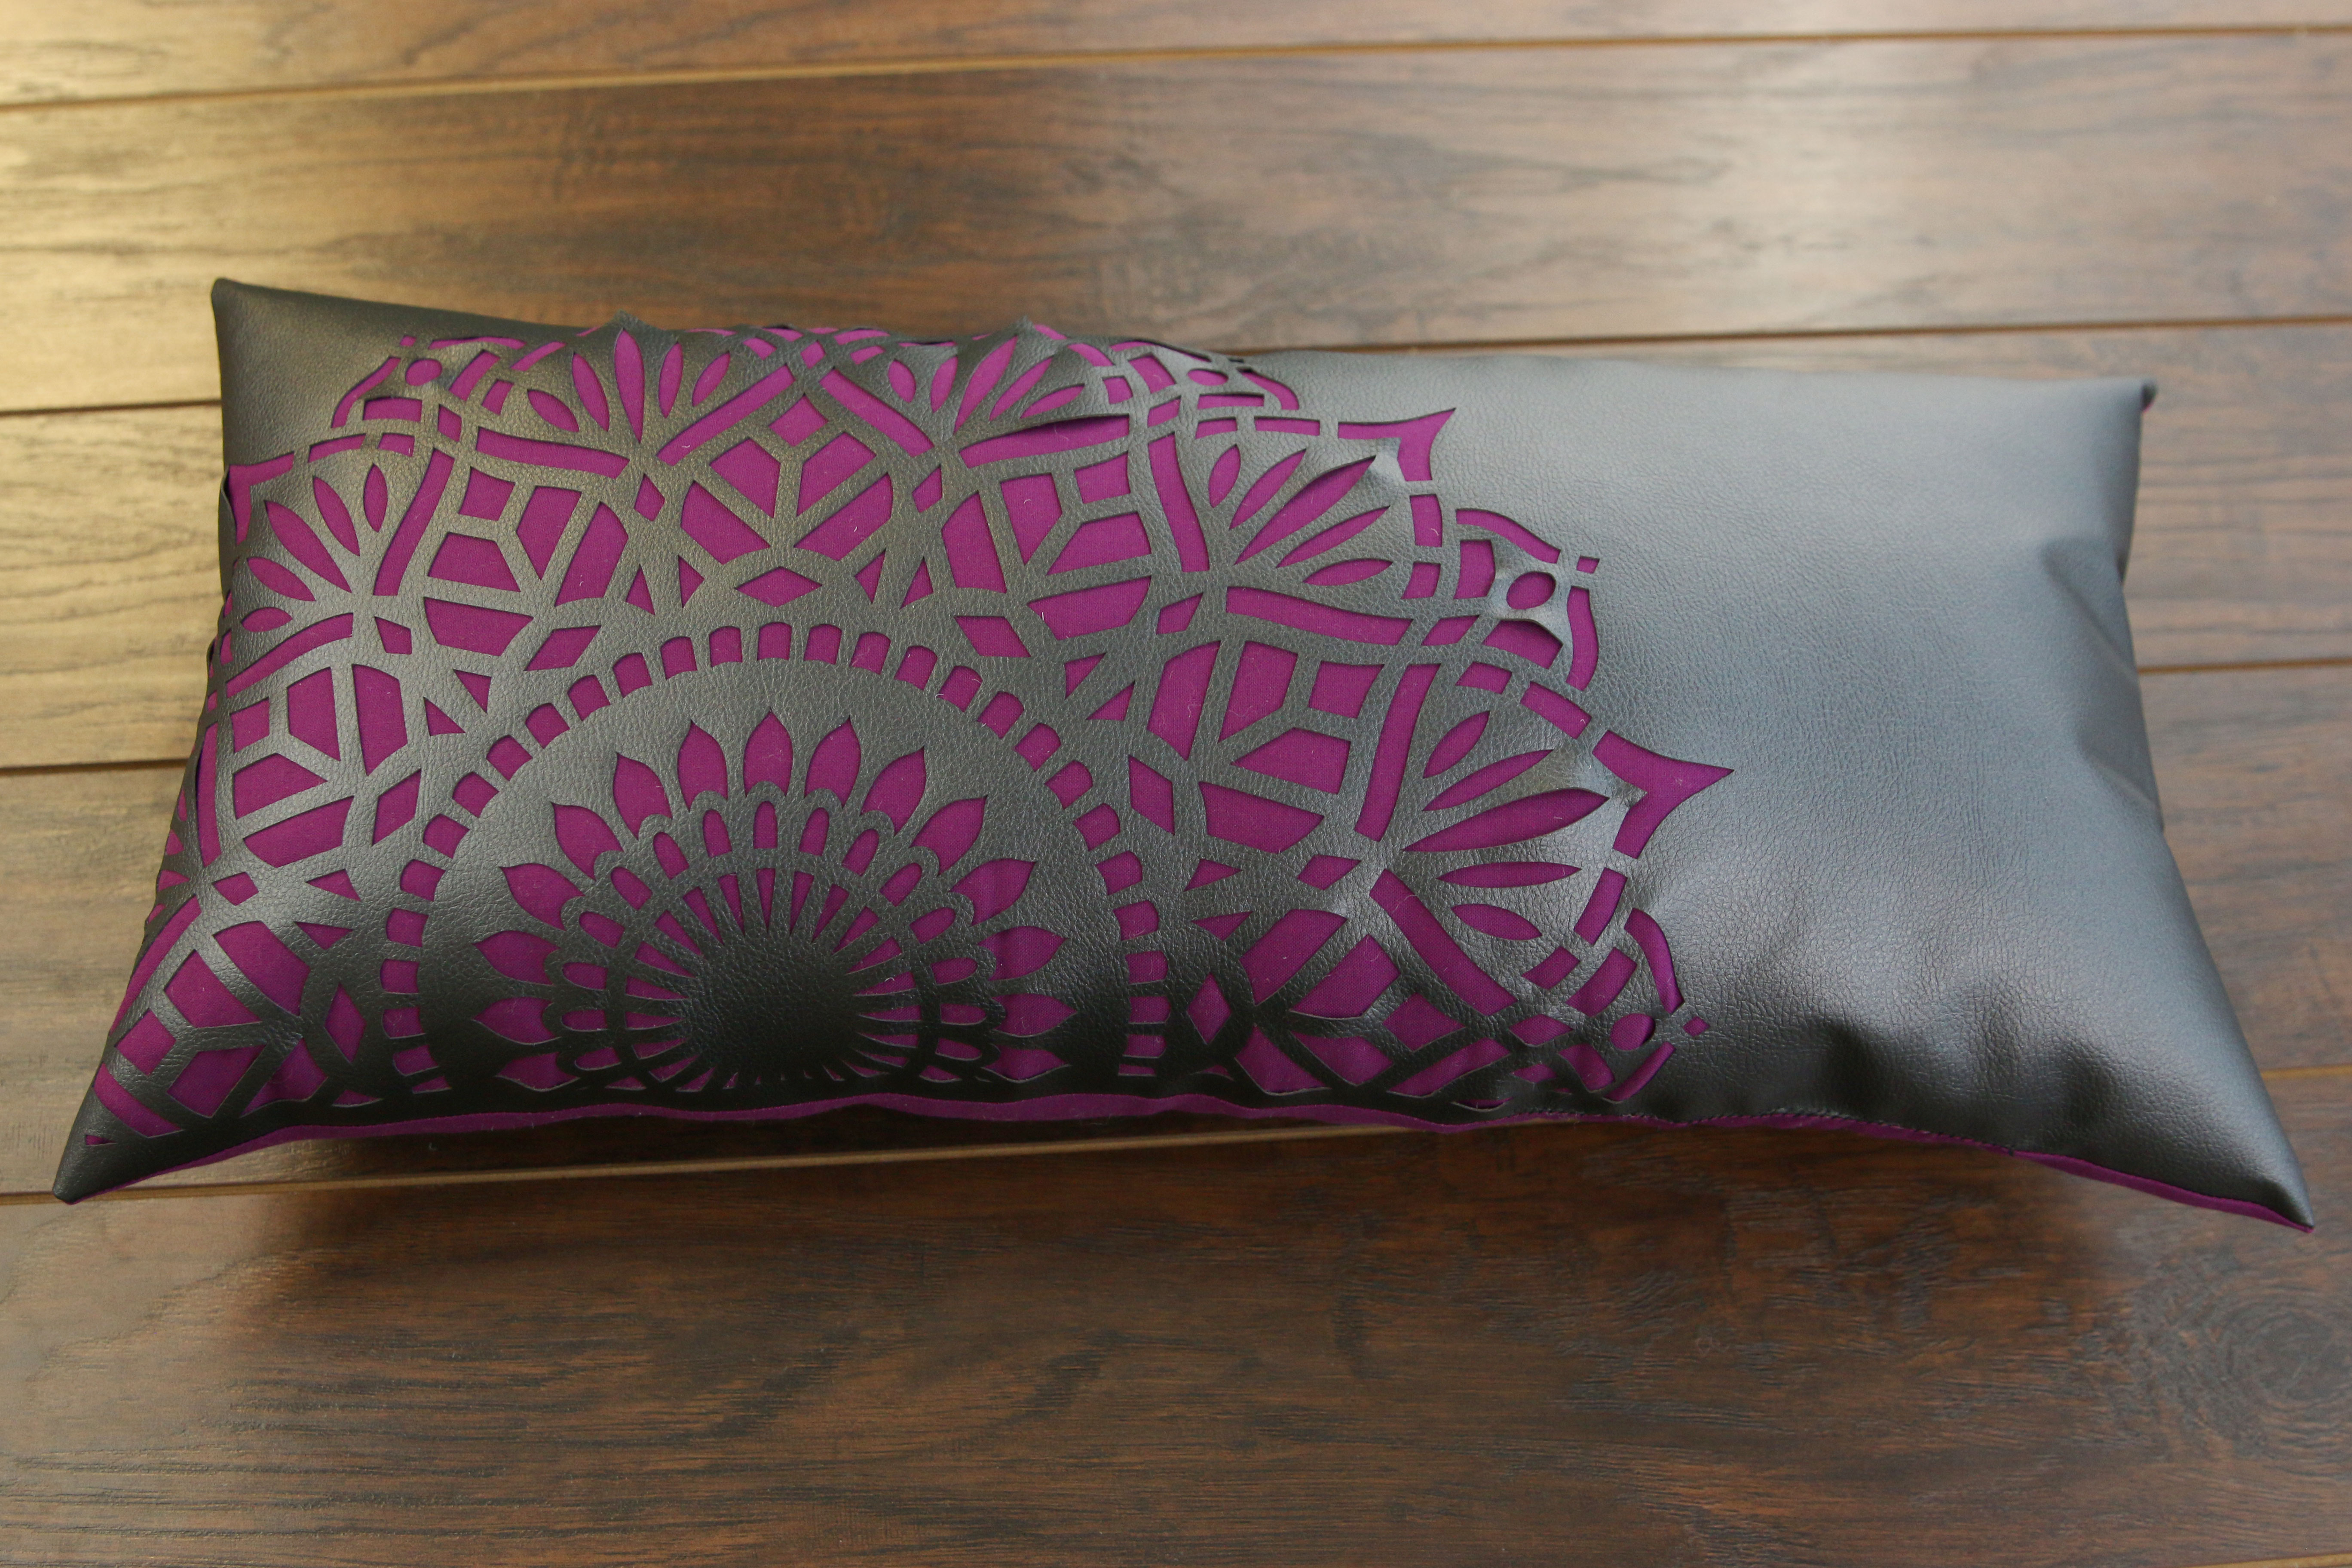
This completes the Mandala Bolster Pillow. Repeat these steps to make a variety of pillows in different colors and sizes. If sizing, be aware of the width of the border around the outer edge of the pillow, and adjust the seam allowances as needed.


