Supplies
- 1/2 yard of faux sherpa (color 1)
- 1/4 yard of quilters cotton (color 2)
- 1/4 yard of quilters cotton (color 3)
- 5” square of felt (color 4)
- 3 1/2” square of black stiff felt (color 5)
- 4” square of black heat transfer vinyl (color 6)
- Two 7” squares of heat transfer vinyl (color 7)
- 1/2 yard of pom pom trim for blanket
- Yarn, cord, or embroidery floss for halter
- Sewing threads matching color 1, color 2, color 4, and color 5
- Hand sewing needle
- Sewing pins
- Polyester fiberfill
- Masking or painter’s tape
- Hot press or iron
- Pressing cloth
- Ironing board
Designs Used
Cutting Instructions
1
Load the Llama Plush (Cut & Stitch) file into your cutting machine’s software. Notice that it has multiple cutting files to fit all the pieces. These are labeled with “A”, “B”, “C”, etc., and are organized by how they fit into a file and not necessarily by fabric.
2
To ensure that the measurements and seam allowances are correct, make sure all the pieces are sized correctly in your cutting software. Group and scale all the pieces together. File A is 11.49” W x 23.48” H, and file B is also 11.49” W x 23.48” H.
3
This design has seven different fabric and heat transfer vinyl colors across the files. Proceed in the design software until the first color selection appears, and is ready to be cut.
4
Smooth the first material onto the adhesive mat with the right side of the fabric or iron-on vinyl facing down. However, if cutting the faux sherpa fabric, the wrong side of the fabric is stuck against the mat instead. Make sure the correct knife tool is in place. Then load the adhesive mat into the machine.
5
Make sure to always use the correct settings and blade on your cutting machine to match the material you’ve chosen. If unsure, try cutting a scrap of fabric to test different settings until you find one that works.
6
Cut out the first color. Then carefully remove the cut pieces and excess materials.
7
Repeat to cut all of the fabric and iron-on pieces for the Llama Plush out of the five colors.
Crafting Instructions
1
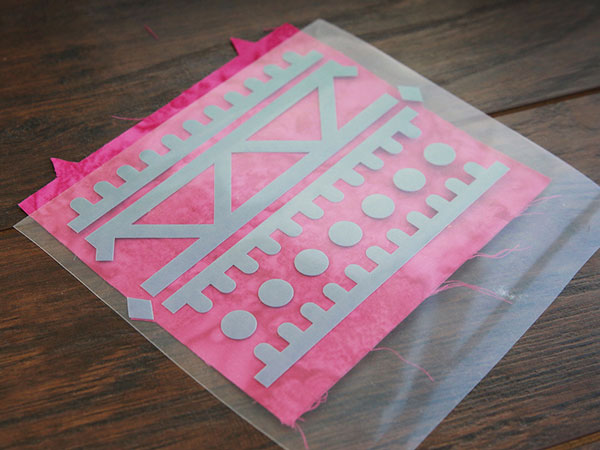
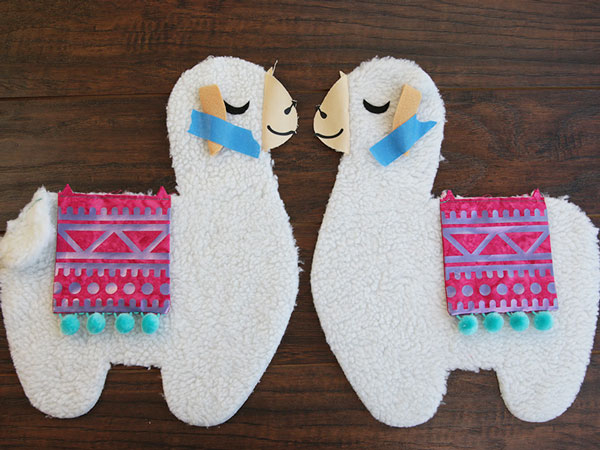
To add the first heat transfer vinyl piece, position one of the blanket detail pieces (color 7) on one of the blanket pieces (color 2). Match the leftmost and rightmost, vinyl diamonds up with the triangle notches on each side of the fabric blanket piece.
2
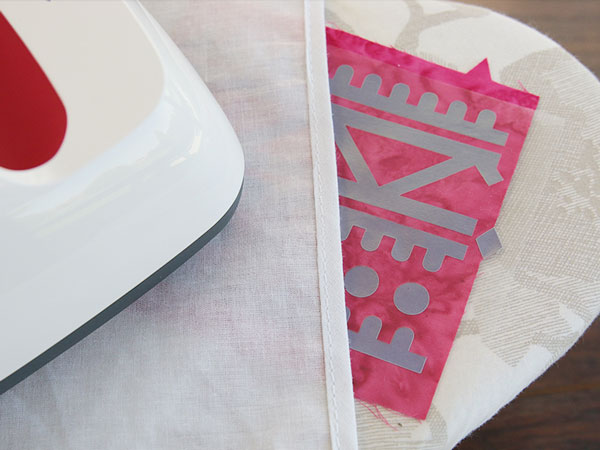
Following the manufacturer’s instructions, use a heat press or dry iron and a pressing cloth the adhere the first heat transfer vinyl piece in place.
3
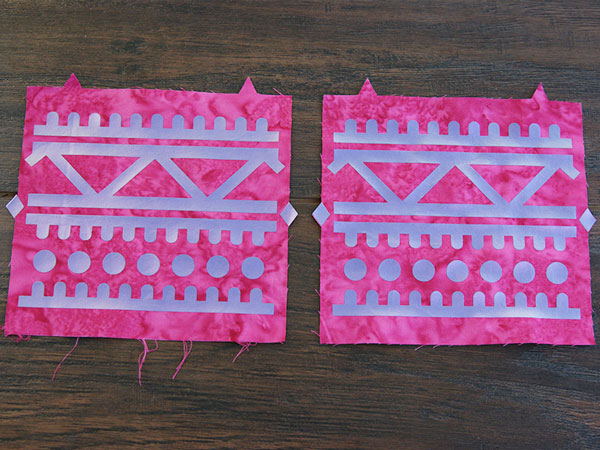
Then repeat to adhere the other blanket detail piece (color 7) onto a different blanket piece (color 2).
4
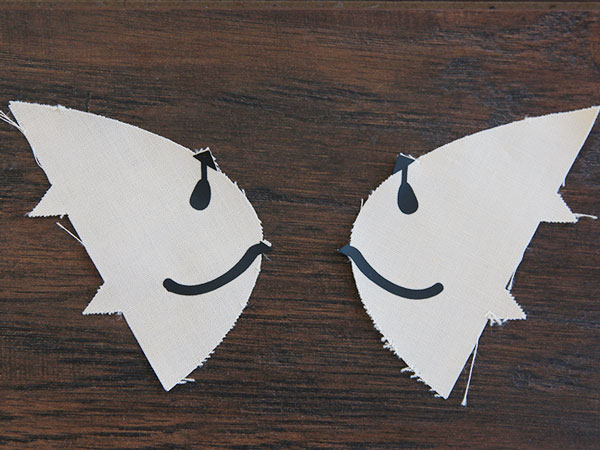
Then follow the same instructions to match up and adhere the face detail (color 6) onto each of the face pieces (color 3). The face detail also has triangles in the design that match up with two, triangle notches on the fabric piece to help with placement.
5
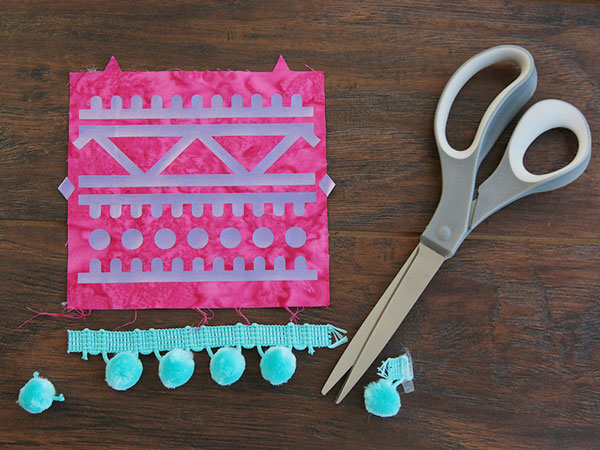
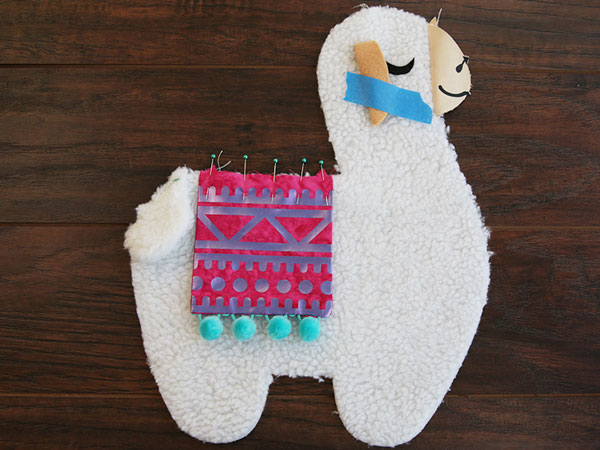
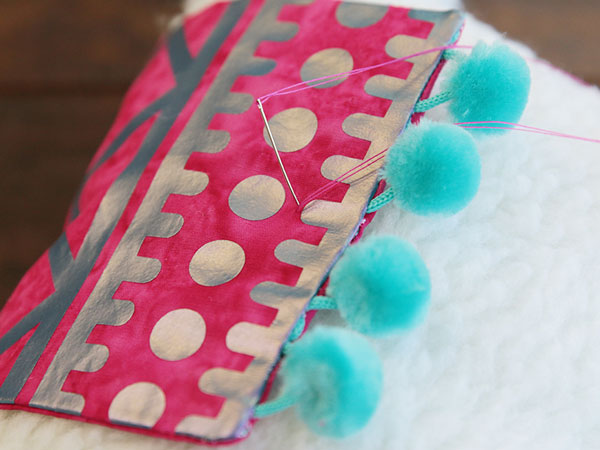
Cut a piece of trim the same length as a blanket piece (color 2). Make sure there is at least 1/2” of just trim (so no pom poms) on each side, so you don’t end up sewing over a pom pom when sewing the seam. If there are a pom poms near the sides, cut them off.
6
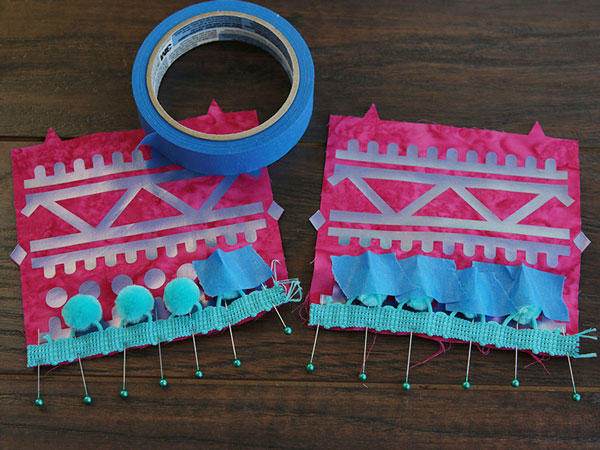
Then match the trim up with the bottom edge of the blanket (the edge with no triangles), and pin it in place with the pom poms facing up. Tape the pom poms out of the way, so they don’t get caught in the seam while sewing.
7
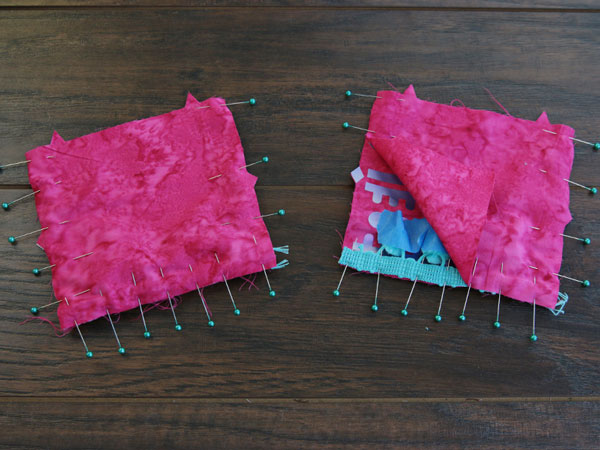
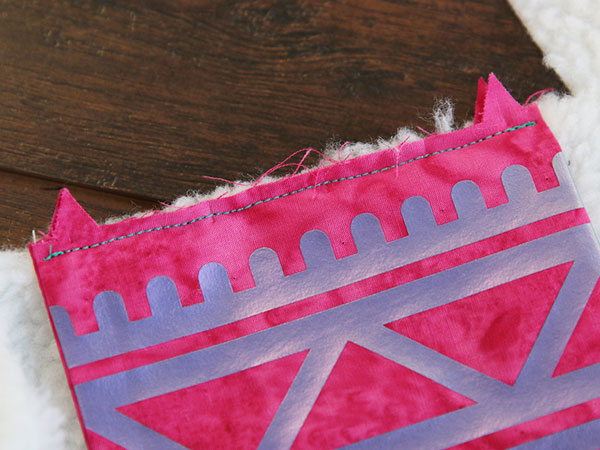
Take a blank blanket piece (color 2) without any vinyl on it, and match up the edges with one of the blanket pieces that does have vinyl and trim.
8
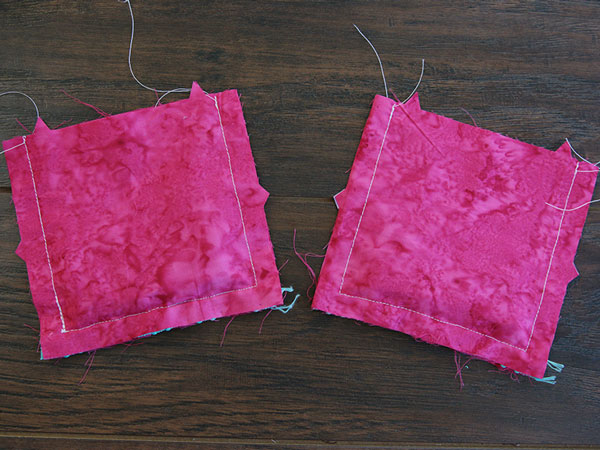
Make sure right sides are together (so the trim and vinyl are inside), and sew a 1/2” seam along the sides and bottom edge. Make sure to leave the top edge open (the side with two triangle notches). Repeat for the other two blanket pieces.
9
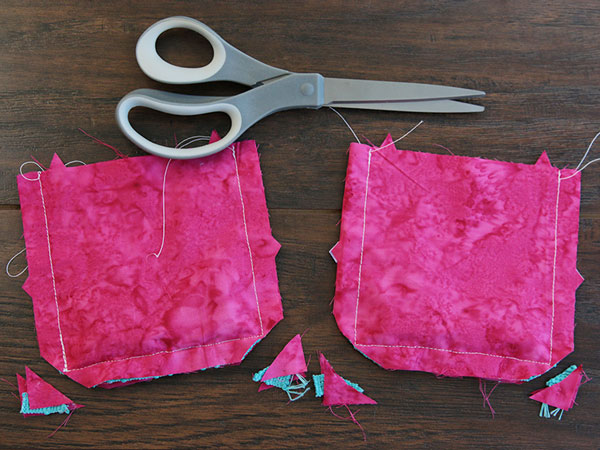
Trim the bottom corners to help prevent wrinkling along the seam, and turn the two blankets right side out.
10
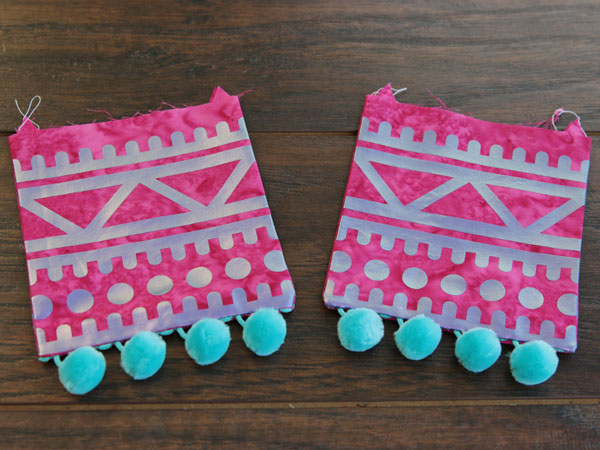
Press them flat with a dry iron and pressing cloth. Make sure not to melt the trim and heat transfer vinyl.
11
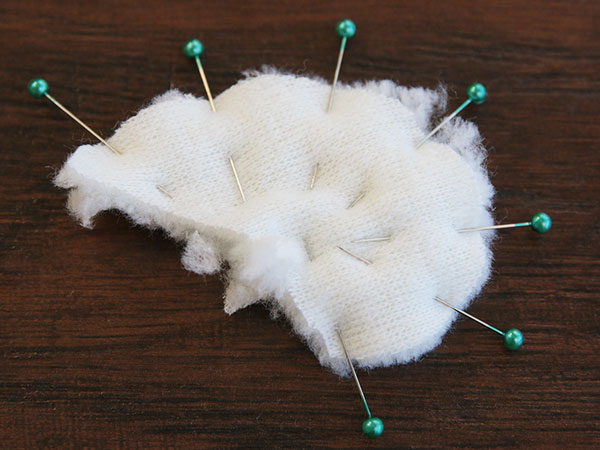
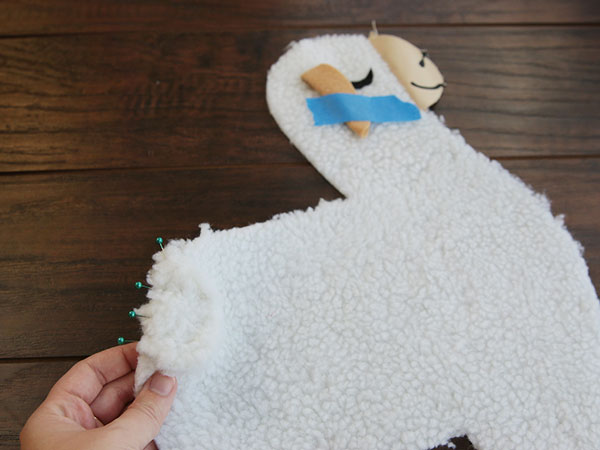
To make the tail (color 1), match up the two pieces with right sides together, and pin along the outer curved edge (without the triangle notch).
12
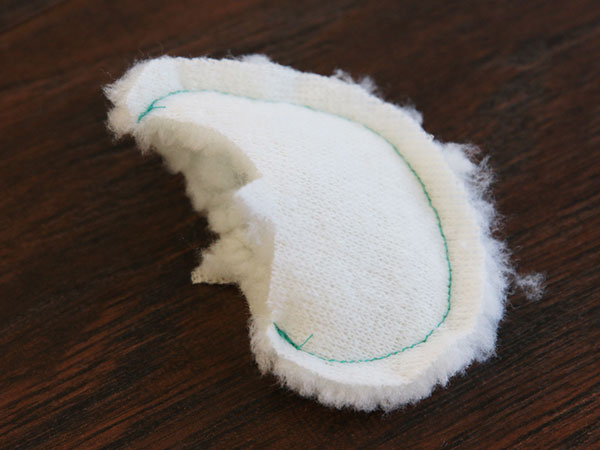
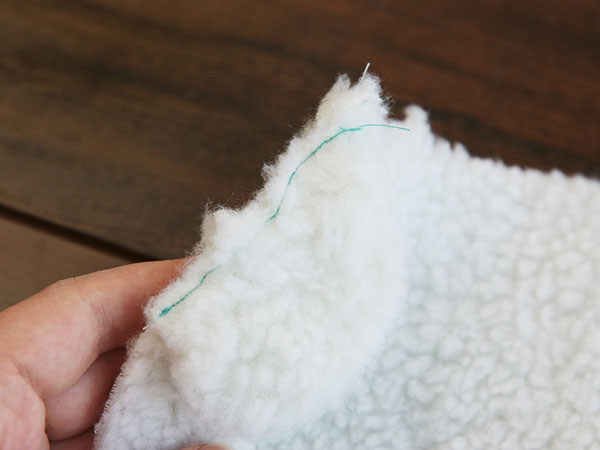
Sew a 1/4” seam, but make sure to leave the inner curved edge (with the triangle notch) open for turning.
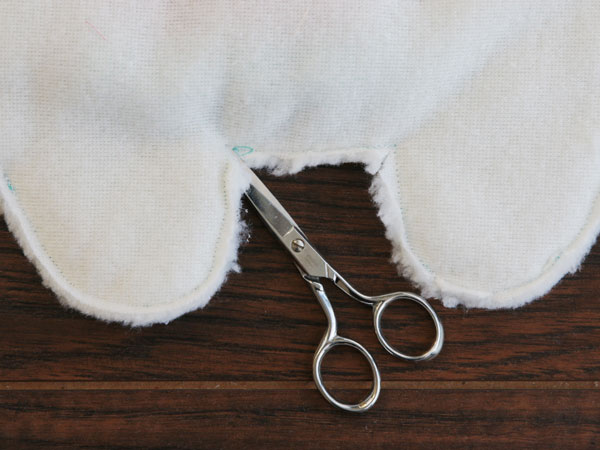
13
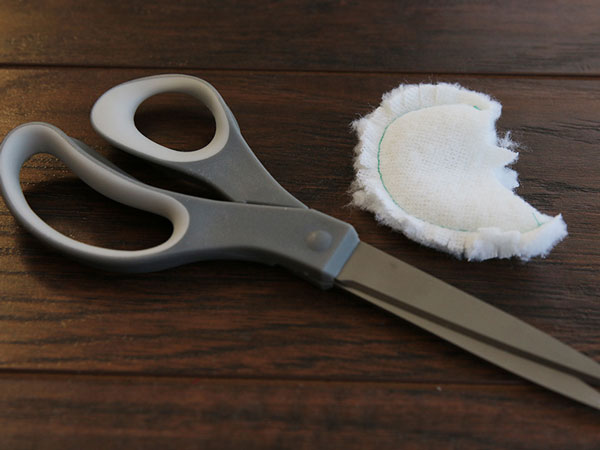
Then trim away or cut little slits or triangles into the seam allowance along the outer curved edge. This will prevent puckering around the seams when turned.
14
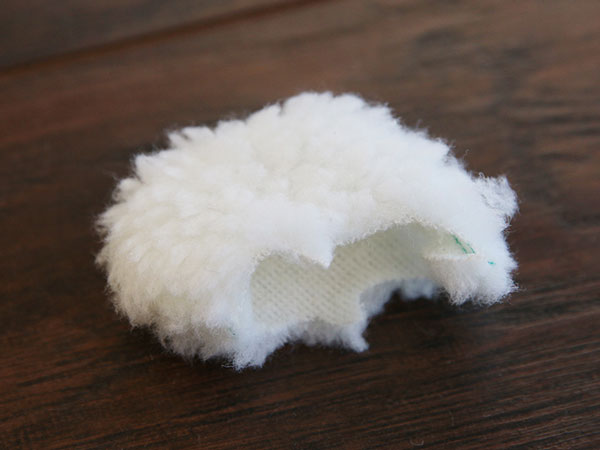
Then turn the tail right side out. Repeat for both ears, and set them aside for later.
15
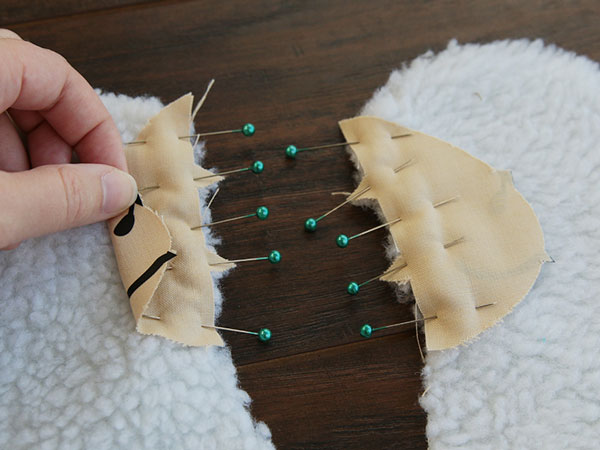
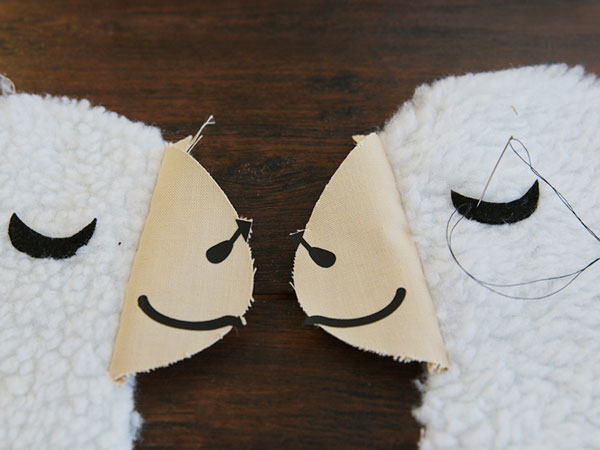
To add the face (colors 3 & 6) onto the body (color 1), match up the triangle notches along the straight edges, and pin one face piece onto both of the body pieces. Make sure right sides are together.
16
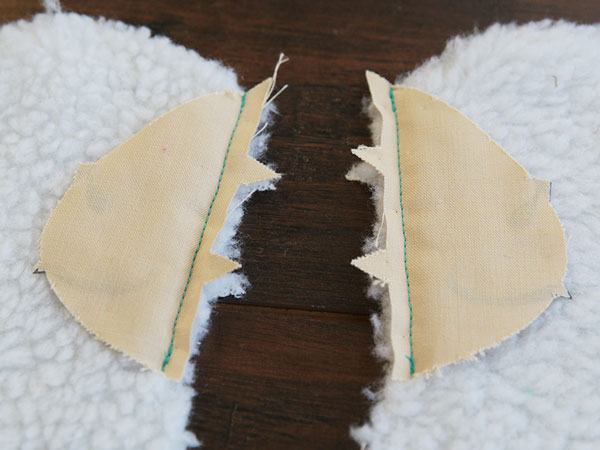
Then sew a 1/4” seam along the straight edge.
17
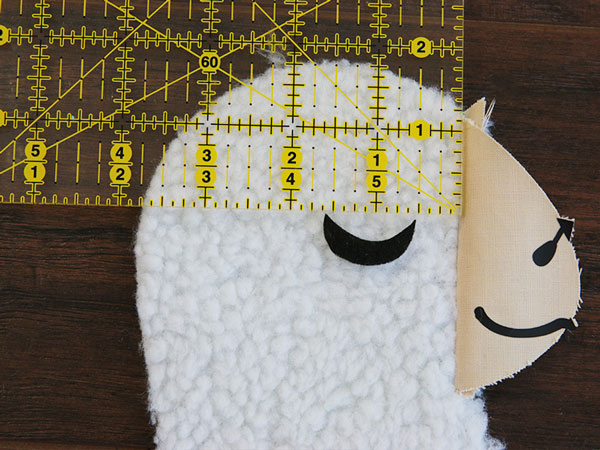
To add the eye (color 5), position it 1/2” away from the sewn seam, and 1 3/4” down from the top edge of the llama’s head. Using thread to match the eye, hand sew it in place by stitching through the eye and the body piece three or four times. If desired, you can also glue it in place, just make sure not to melt the fabric with the hot glue gun.
18
Repeat to add the second eye onto the other side of the llama.
19
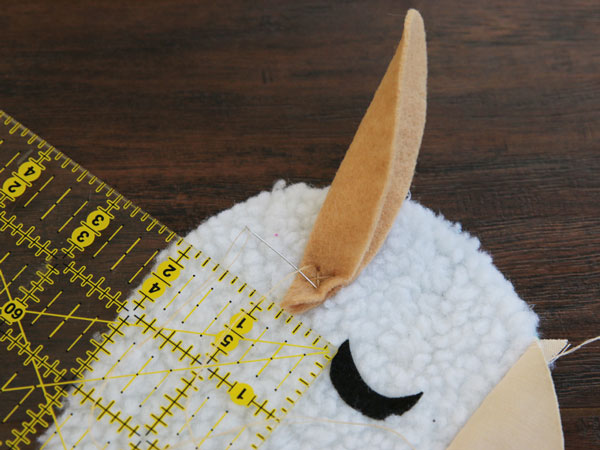
To add the ears, fold them in half and position them 5/8” away from the outer corner of the eyes. Make sure the opening of the fold is facing towards the eye of the llama. Then hand stitch it in place by sewing an “X” over the bottom point of the ear. Repeat to sew the second ear in place on the other side of the body.
20
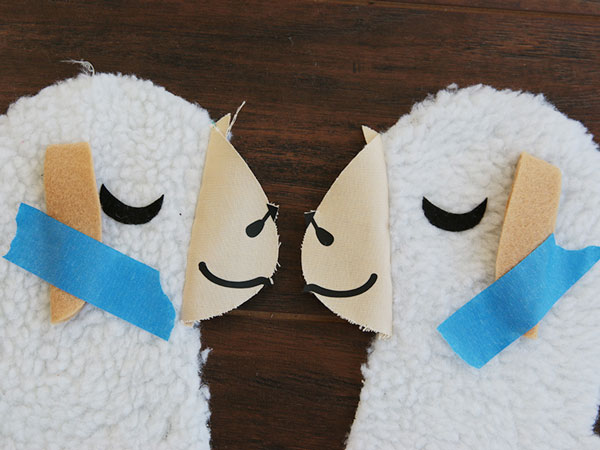
Then fold and tape both ears down, so they will not get caught in the seam while sewing.
21
Take the sewn and turned tail, and match the triangle notch up with the triangle notch on either body piece. The wider end of the tail is the bottom. Pin it in place along the curved edge, making sure to keep the triangle notches matched up.
22
Then baste a 1/8” seam to hold the tail in place.
23
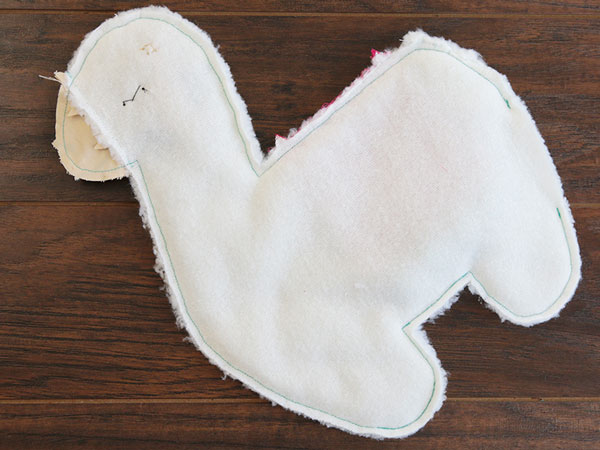
Take a blanket, and match its two, top triangle notches up with the two remaining triangle notches on either body piece. Make sure the blank side of the blanket is against the right side of the body. Pin along the straight edge.
24
Baste an 1/8” seam along that edge to hold the blanket in place.
25
Then repeat to place, pin, and baste the second blanket onto the second body piece of the llama. Again make sure the blank side of the blanket is against the right side of the body.
26
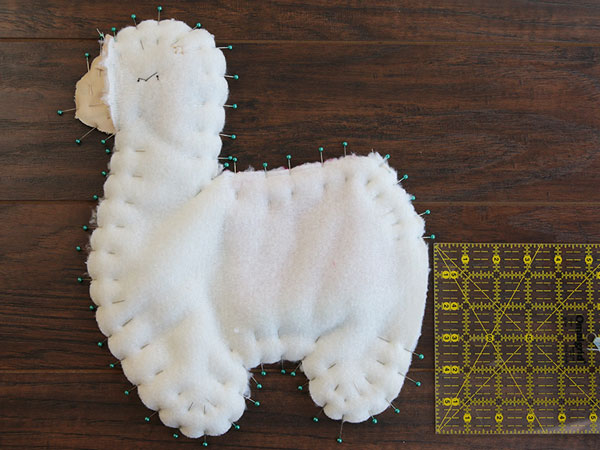
With right sides together, match up the two body pieces. Make sure all the added fabric pieces (tail, blanket, and ears) are flat between the two body pieces. Also match up the face pieces with right sides together just like they are part of the body. Pin along all the way around the outer edges of the body and face, leaving an opening under the tail for turning.
27
Sew a 1/4” seam all around the outer edges of the body and face. Leave a 3” or larger opening just under the tail for turning and stuffing the llama plush.
28
You will want to be able to fit your hand in this hole. Keep that in mind, and make it larger by opening the hole down the leg of the llama as needed.
29
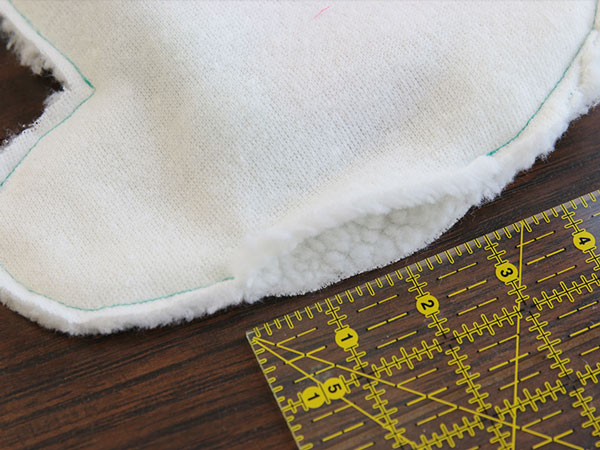
Trim the seam allowance around the curves, and also at the points of the legs, back and face. This will prevent puckering around the seams when turned.
30
Turn the llama right side out, and remove the tape from the ears.
31
Stuff the llama firmly starting with the face and working your way down towards the opening.
32
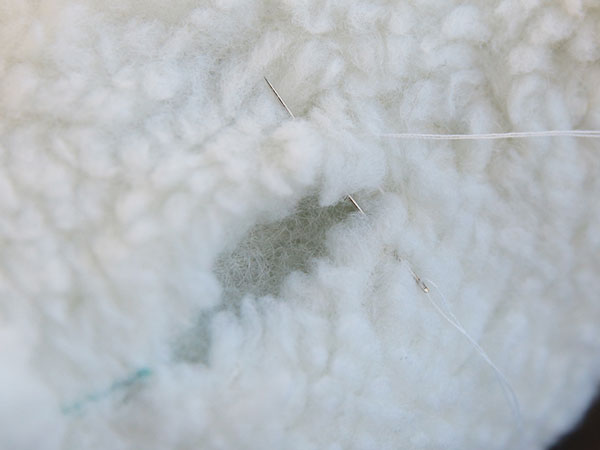
Then use a thread matching the body fabric (color 1) to sew the opening closed.
33
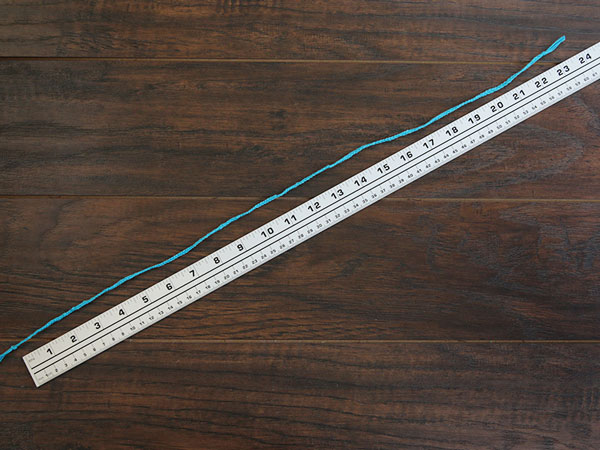
To make the halter, cut a length of cord to about 24” long. In this example, we did a simple three strand braid with 6 strands of craft thread to make the halter. Then fold the cord in half to find the center. Match the center of the cord up with the top center seam of the face where the face (color 3) meets the body (color 1).
34
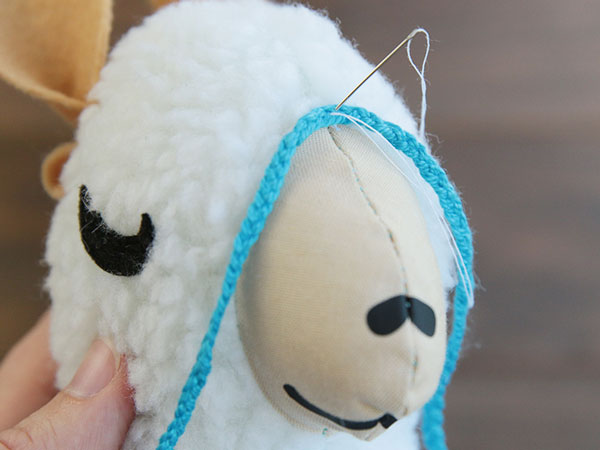
Using thread matching the body fabric (color 1), hand sew the center of the cord in place here.
35
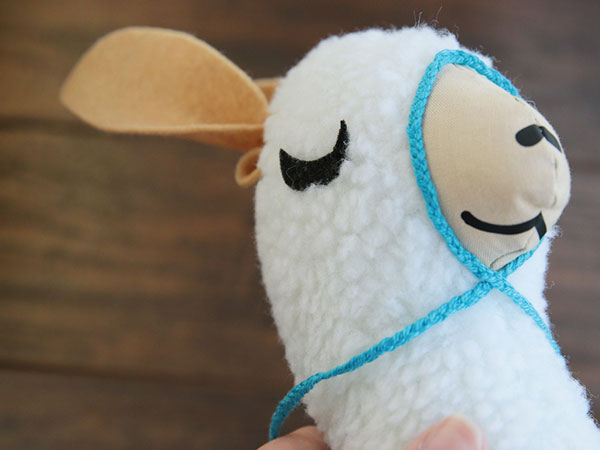
Wrap the cord around both sides of the face, and crisscross the two strands under the llama’s chin.
36
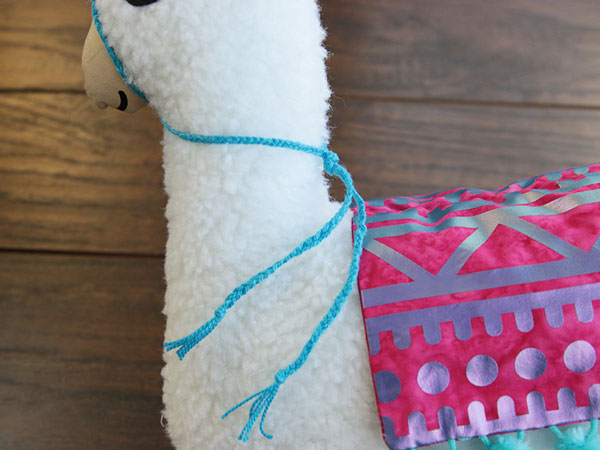
Wrap the two strands around the neck of the llama, and tie them together in a knot against the back seam of the neck.
37
Secure the blanket in place on both sides of the llama by either gluing or sewing it in place using thread matching the blanket (color 2).
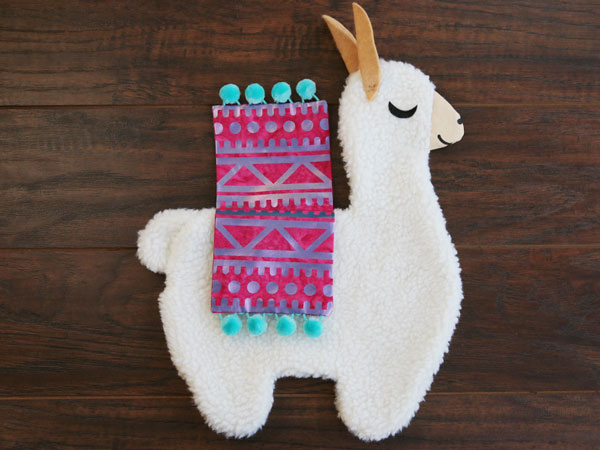
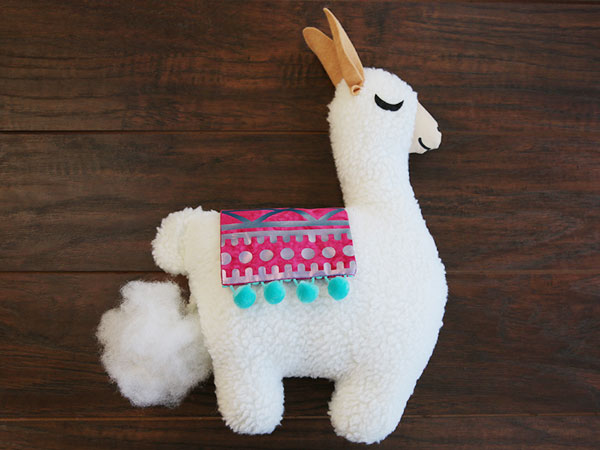
38
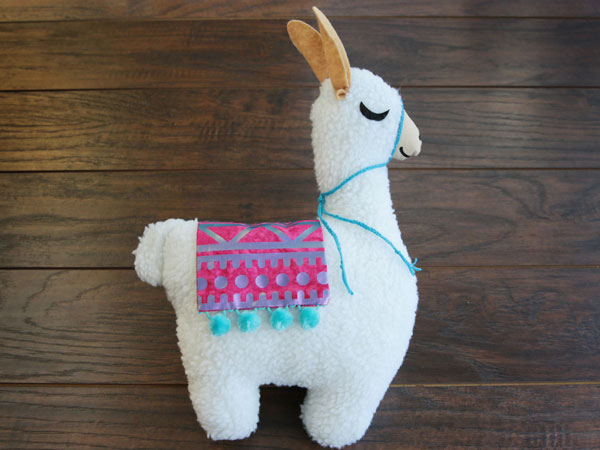
This completes the Llama Plush. Repeat these steps to make many llamas in different colors and fabrics. Make sure the cutting files are sized as noted earlier in these instructions, as the seam allowance makes them unscalable.


