Supplies
- 1/4 yard faux fur (for beard - color 1)
- 1/3 yard (for body - color 2)
- 1/3 yard (for hat - color 3)
- 1/3 yard (for legs - color 4)
- 1/3 yard (for shoes - color 5)
- Sewing thread to match all fabrics
- Hand sewing needle
- Hot glue gun
- Wooden knob or ball (for nose)
- Polyester fiber fill
- Metal washer, beans, rice, or poly- pellets (for weight - optional)
Tools
Designs Used
Cutting Instructions
1
Load the Leggy Gnome Plush (Cut & Stitch) file into your cutting machine’s software. Notice that it has multiple cutting files to fit all pieces. These are labeled with “A” and “B” and are organized by how they fit into a file and not necessarily by material.
2
To ensure that the measurements and seam allowances are correct, make sure all pieces are sized correctly in your cutting software. Group and scale all pieces together. For CGS6447 Gnome With Legs Plush, file “A” is 9.89” x 24.40”, file “B” is 11.42” x 24.17”.
3
This design has several different fabric and faux fur colors across the files. Proceed in the design software until the first color selection appears, and is ready to be cut.
4
Smooth the first material onto the adhesive mat with the right side facing down. Then load the adhesive mat into the machine.
5
Use the correct setting on your cutting machine to match each material you’ve chosen. Make sure the correct knife tool is also in place.
6
Cut out the first color. For faux fur you may need to increase the pressure of the blade on your cutting machine. Use a setting that would be used for denim or other thick materials. Then carefully remove the pieces and the leftover fabric.
7
Repeat to cut out all five of the fabric colors for the gnome plush.
Crafting Instructions
1
To assemble the leggy gnome plush, first take the beard (color 1) and line it up against the right side of the front body piece (color 2).
2
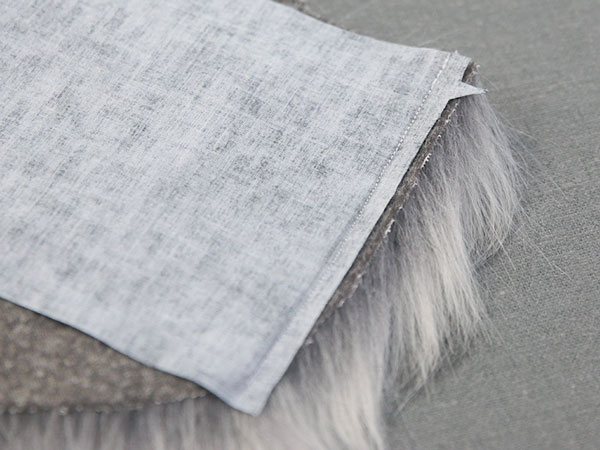
Topstitch 1/4” from the edges down the two sides only, leaving the top and bottom edges open.
3
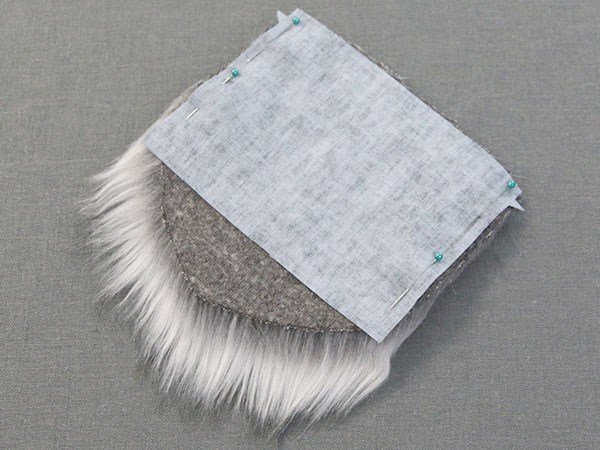
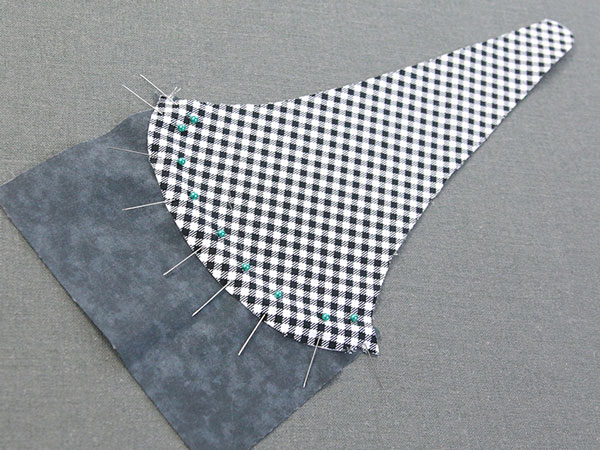
Take the front hat piece (color 3) and lay it on the beard with the right side up. Overlap until the notches from the hat and the front body piece match up. Pin in place.
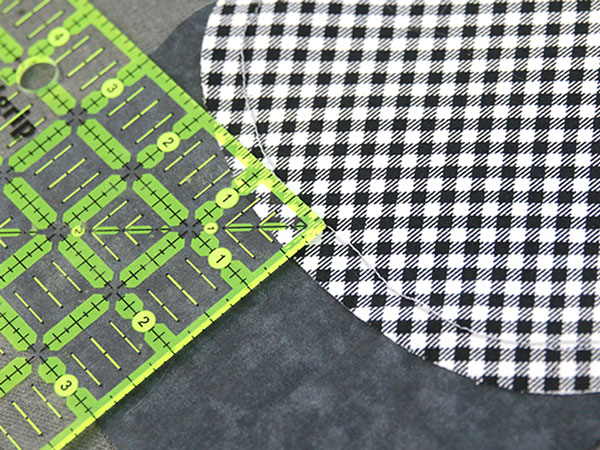
4
Then topstitch following 1/2” from the hat’s edge.
5
Next repeat for the back body piece (color 2) and the back hat piece (color 3). Overlap with the right sides facing up. Matching up the notches, pin in place.
6
Topstitch 1/2” from the hat’s edge.
7
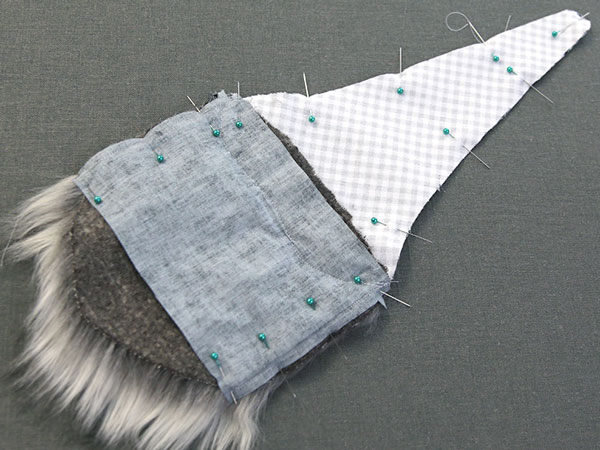
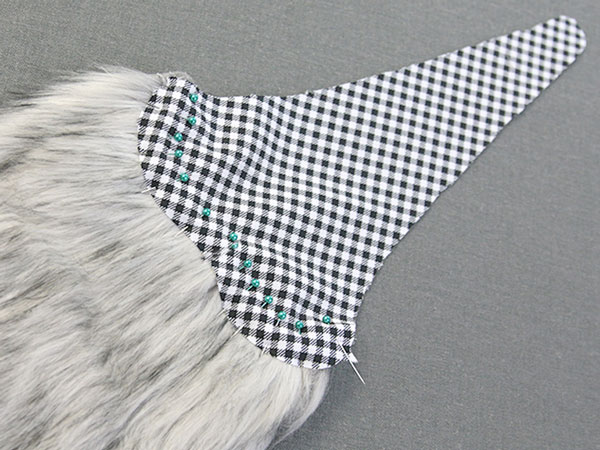
With right sides together, now pin the front and back pieces together.
8
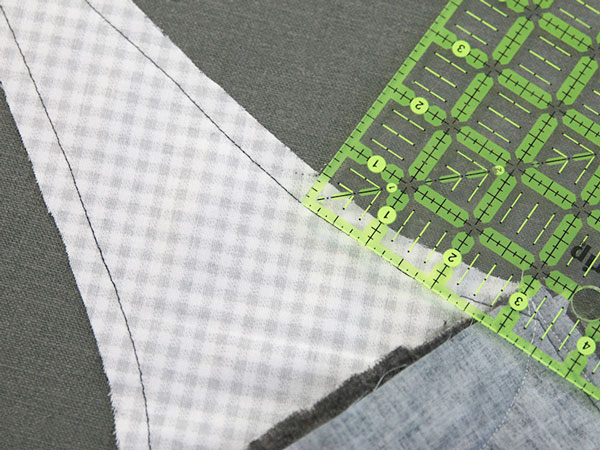
Sew them together with 1/2” seam allowance. Keep the bottom open for the base that will be sewn in later.
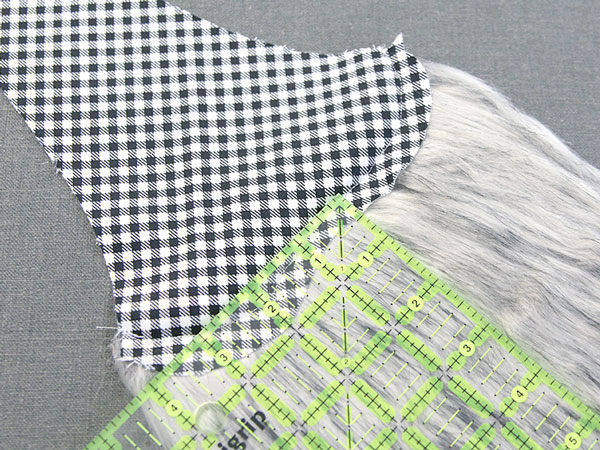
9
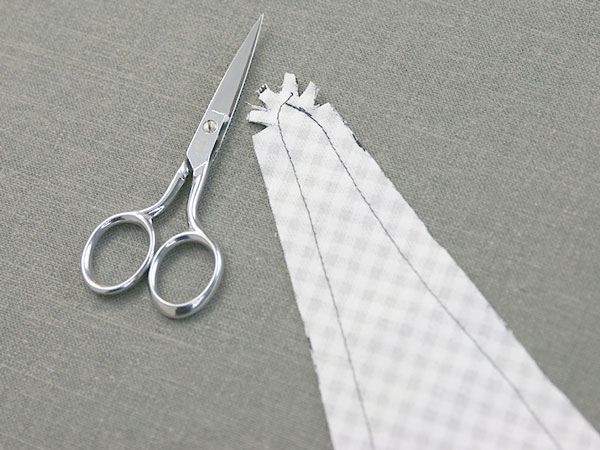
Before turning right side out, cut slits in the seam allowance along the top edge of the hat, but be careful not to clip the seam. This will help the gnome keep its shape when turned.
10
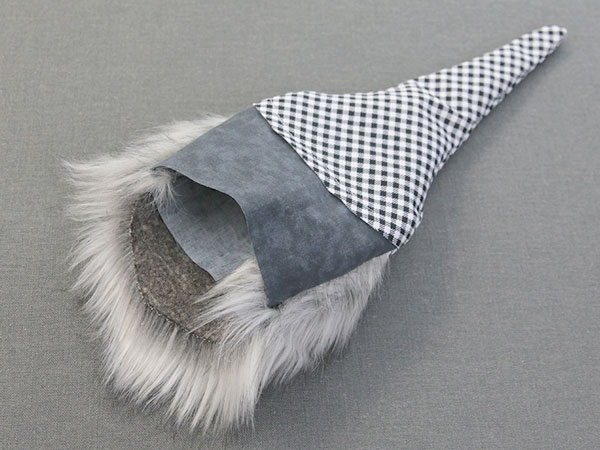
Then turn right side out.
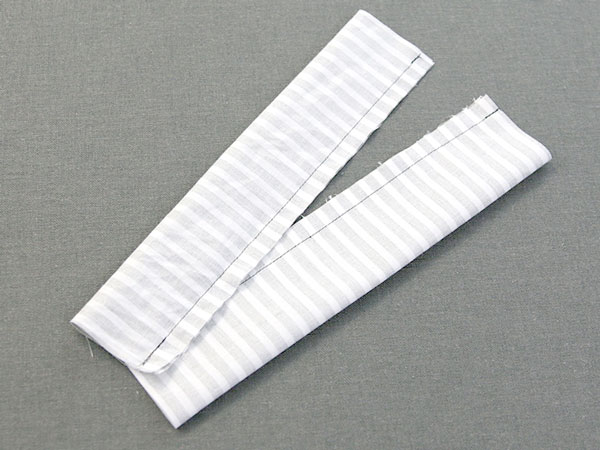
11
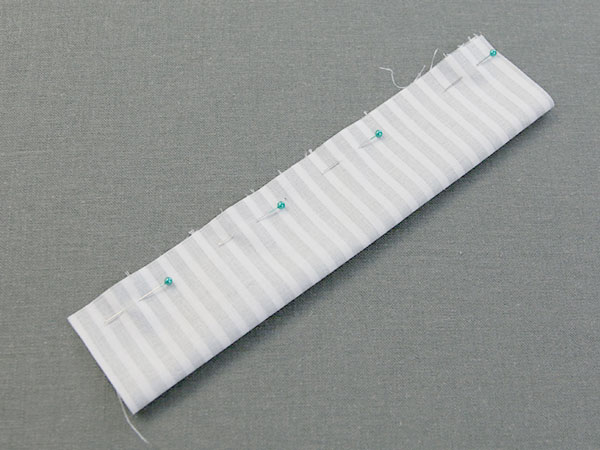
Now, take one of the legs (color 4) and fold it in half with right sides together. Pin in place.
12
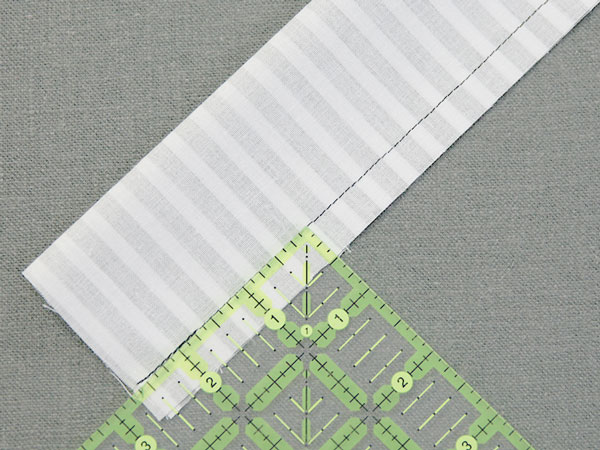
Sew a 1/2” seam allowance up the back of the leg.
13
Repeat with the second leg. Pin with right sides together, and sew with a 1/2” seam allowance.
14
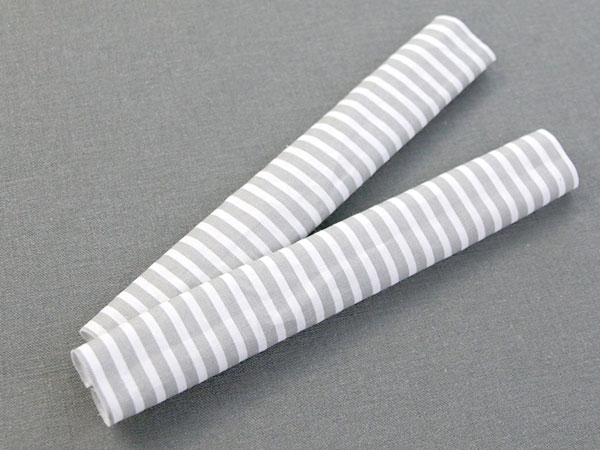
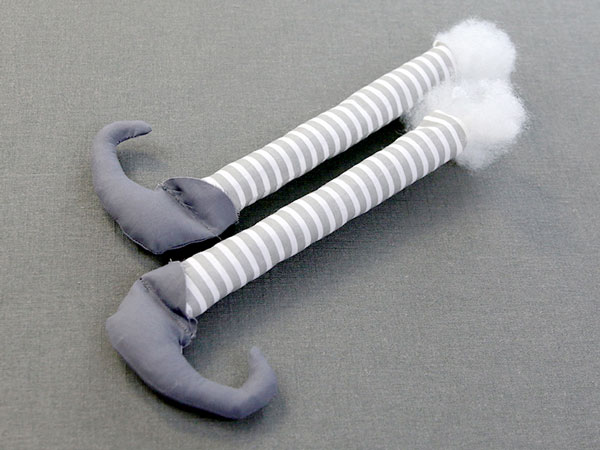
Turn the legs right side out.
15

Take two of the shoe pieces (color 5), and line them up with the right sides together. Pin them from the front notch to the top of the back edge.
16
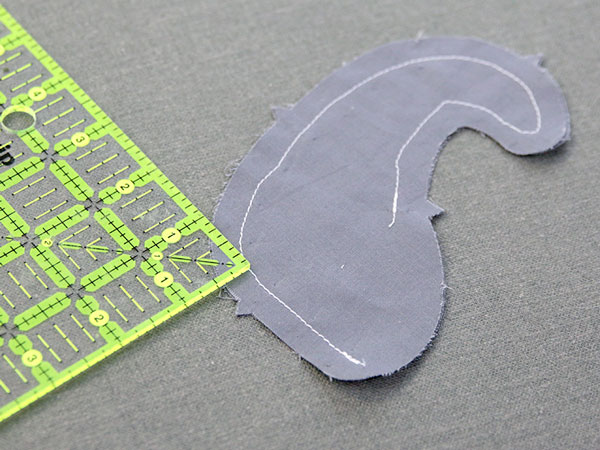
With a 1/2” seam allowance, sew along the pinned edge.
17
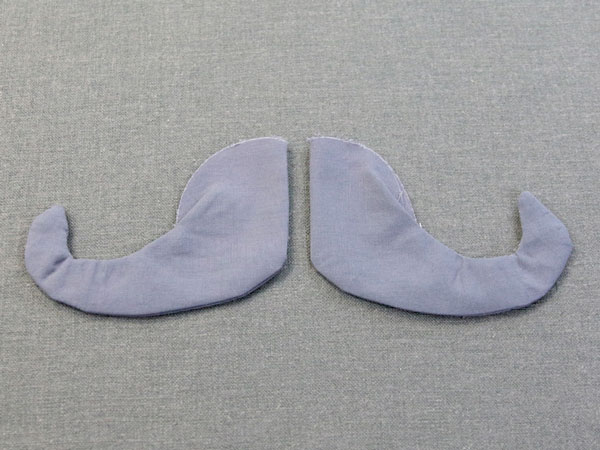
Repeat for the other shoe, and turn right side out.
18
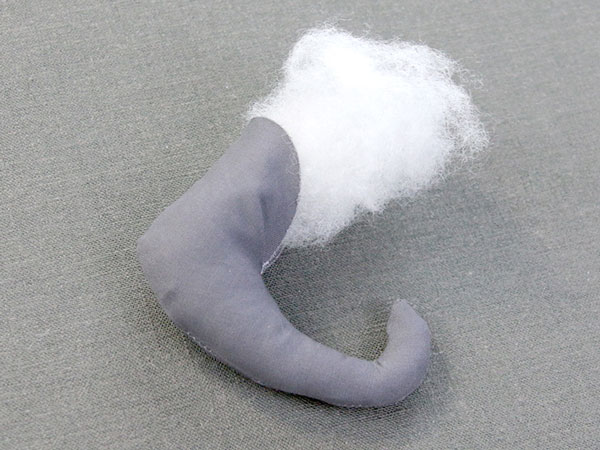
Begin by stuffing one foot.
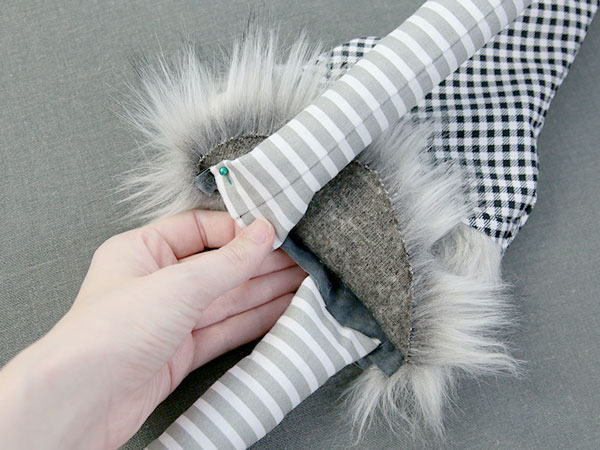
19
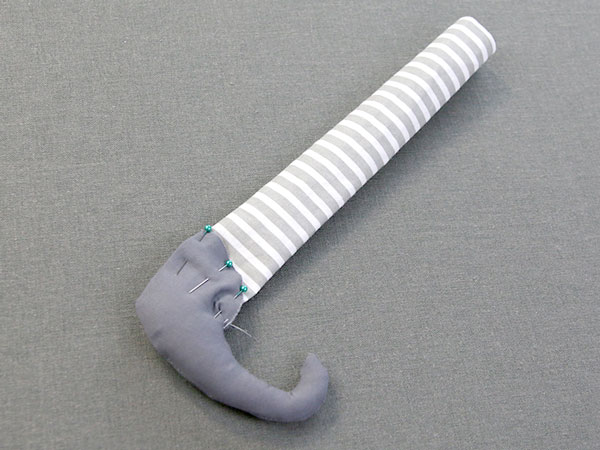
Once it is stuffed enough, insert one of the legs and pin them together.
20
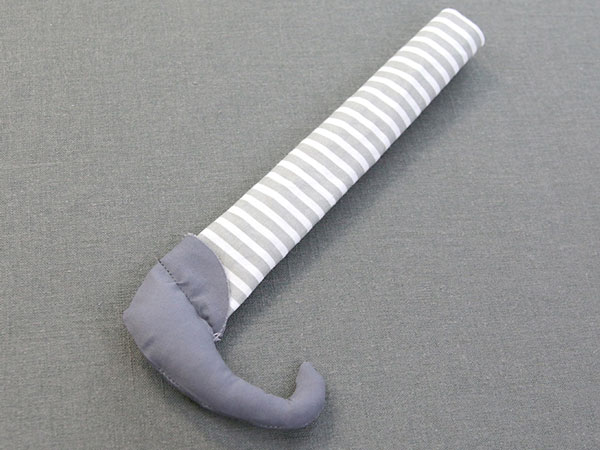
Sew the leg and foot together.
21
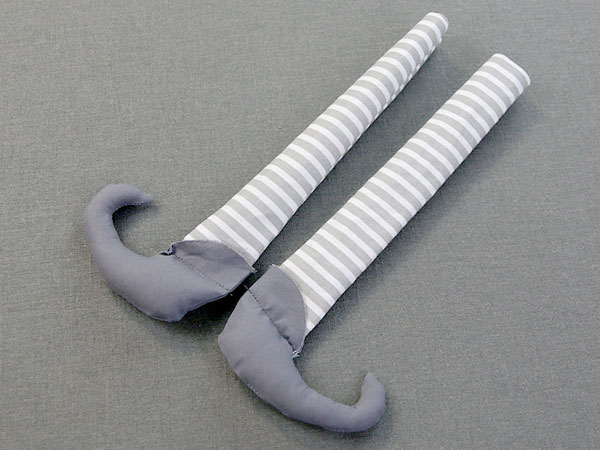
Then repeat for the second leg and foot.
22
Next stuff both legs lightly and then pin to the bottom of the front body piece.
23
Do not pin to the beard, only the fabric piece.
24
Sew the legs to the front body piece with a 1/4” seam allowance.
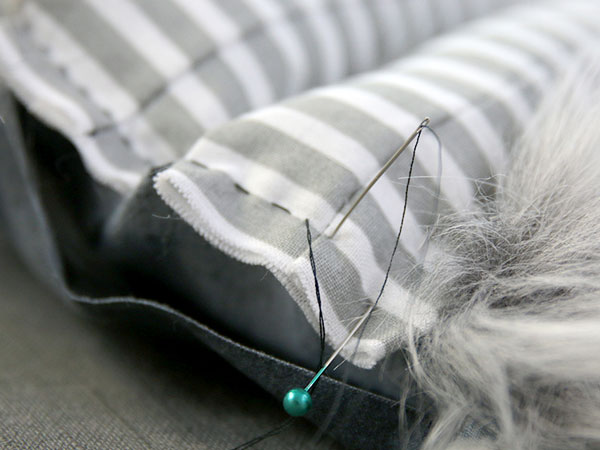
25
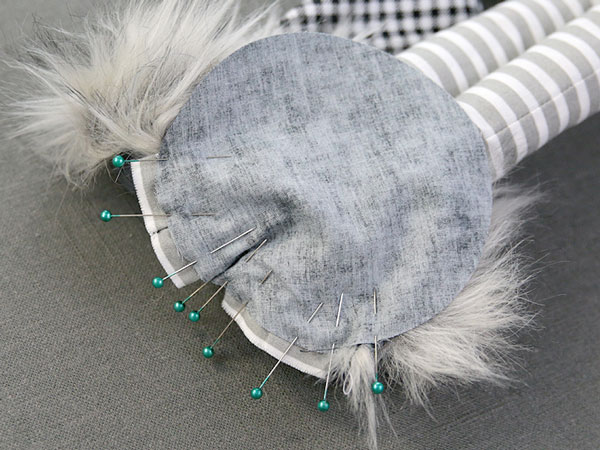
Take the base and carefully pin the front.
26
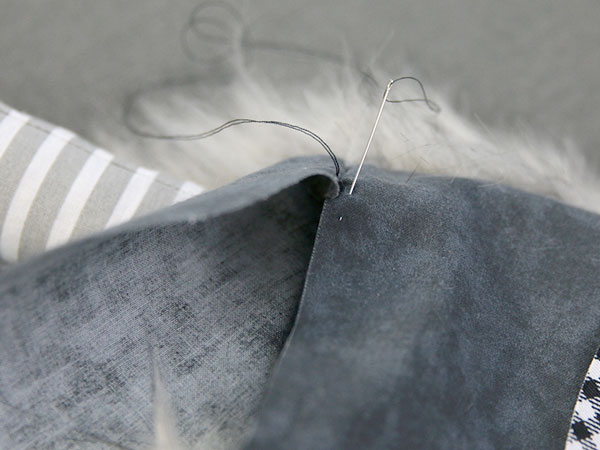
With a 1/2” seam allowance, hand sew the pieces together.
27
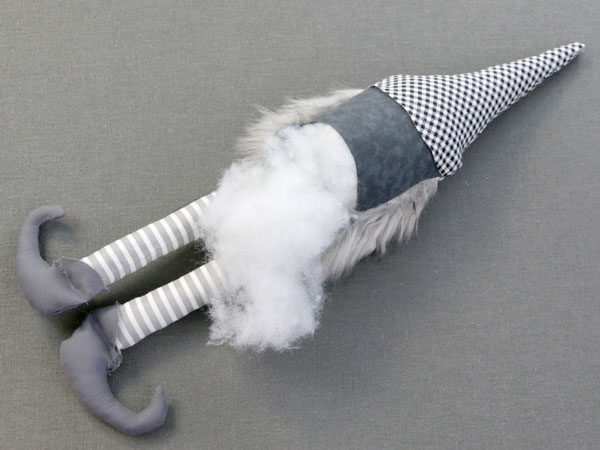
Stuff the gnome.
28
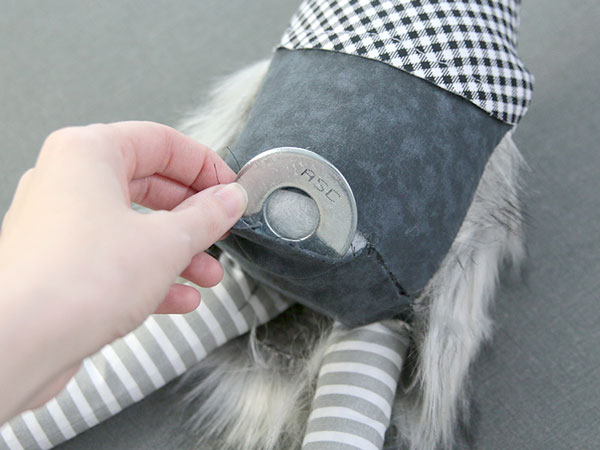
Once it’s stuffed, it’s optional at this point to add something to weigh down the gnome’s bottom. For this demonstration large metal washers were used.
29
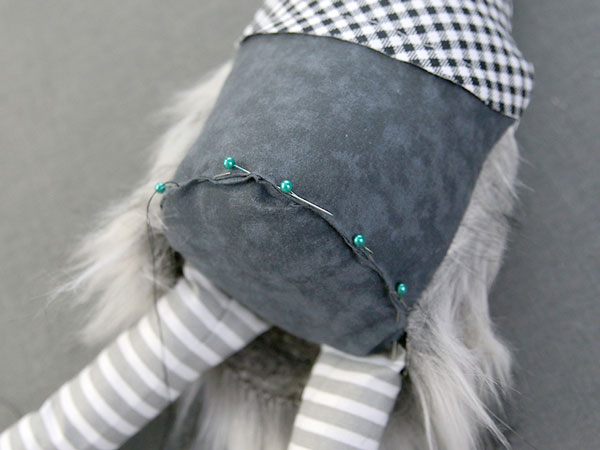
Pin the remaining opening shut.
30
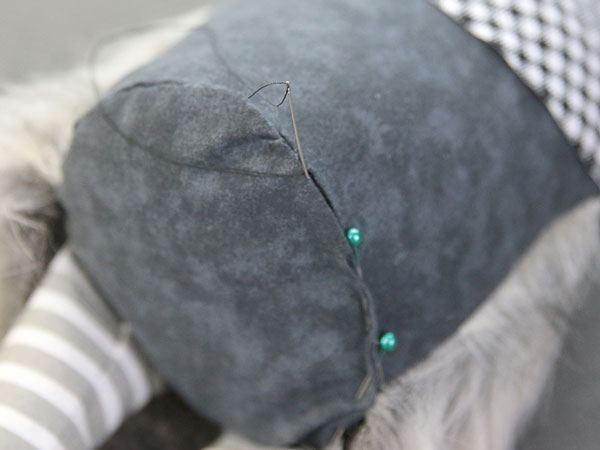
Hand sew the opening closed.
31
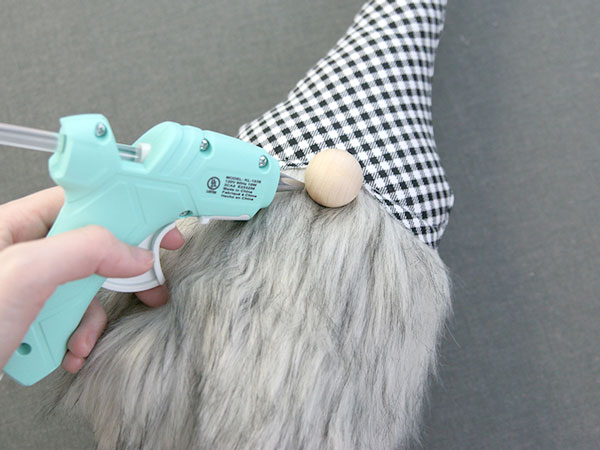
Once the hand sewing is finished, hot glue the nose to the beard under the center front of the hat.
32
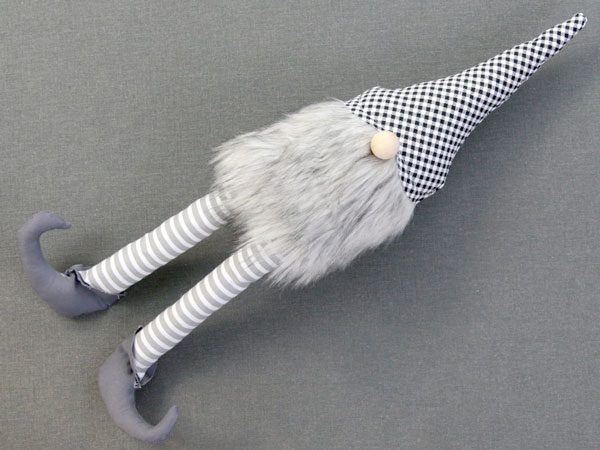
Repeat these steps to make a collection of gnomes in a variety of sizes and fabrics. Just make sure not to resize these designs, as the seam allowance makes them unscalable.


