Supplies
- 1/2 yard of quilter’s cotton, linen, thin denim, or twill (color 1)
- 1/2 yard of quilter’s cotton (color 2)
- 1 roll of Cricut faux leather or 1/2 yard of thin and soft leather, faux leather, or vinyl (color 3)
- Sewing threads matching all fabric colors
- Hand sewing needle
- Temporary spray adhesive (such as Gunold KK100)
- Zipper (11”+ for large or 9”+ for small)
- Fabric marking tool
- Quilting ruler
- Iron and ironing board
Designs Used
Cutting Instructions
1
Load the Zipper Pouch (Cut & Stitch) file into your cutting machine’s software. Notice that it has multiple cutting files to fit all the pieces. These are labeled with “A”, “B”, “C,” etc., and are organized by how they fit into a file and not necessarily by fabric.
2
This design has three different fabric colors across the cutting files. Proceed in the design software until the first color selection appears and is ready to be cut.
3
Smooth the first fabric color onto the adhesive mat with the right side of the fabric facing up. Make sure the correct knife tool is in place. Then load the adhesive mat into the machine.
4
Cut out the first color. Then carefully remove the cut pieces and excess fabric.
5
For faux leather, you may need to increase the pressure of the blade on your cutting machine. For best results, use a setting that would be used for denim or other thick materials.
6
Repeat to cut all the pieces for the Zipper Pouch out of the three fabric colors.
Crafting Instructions
1
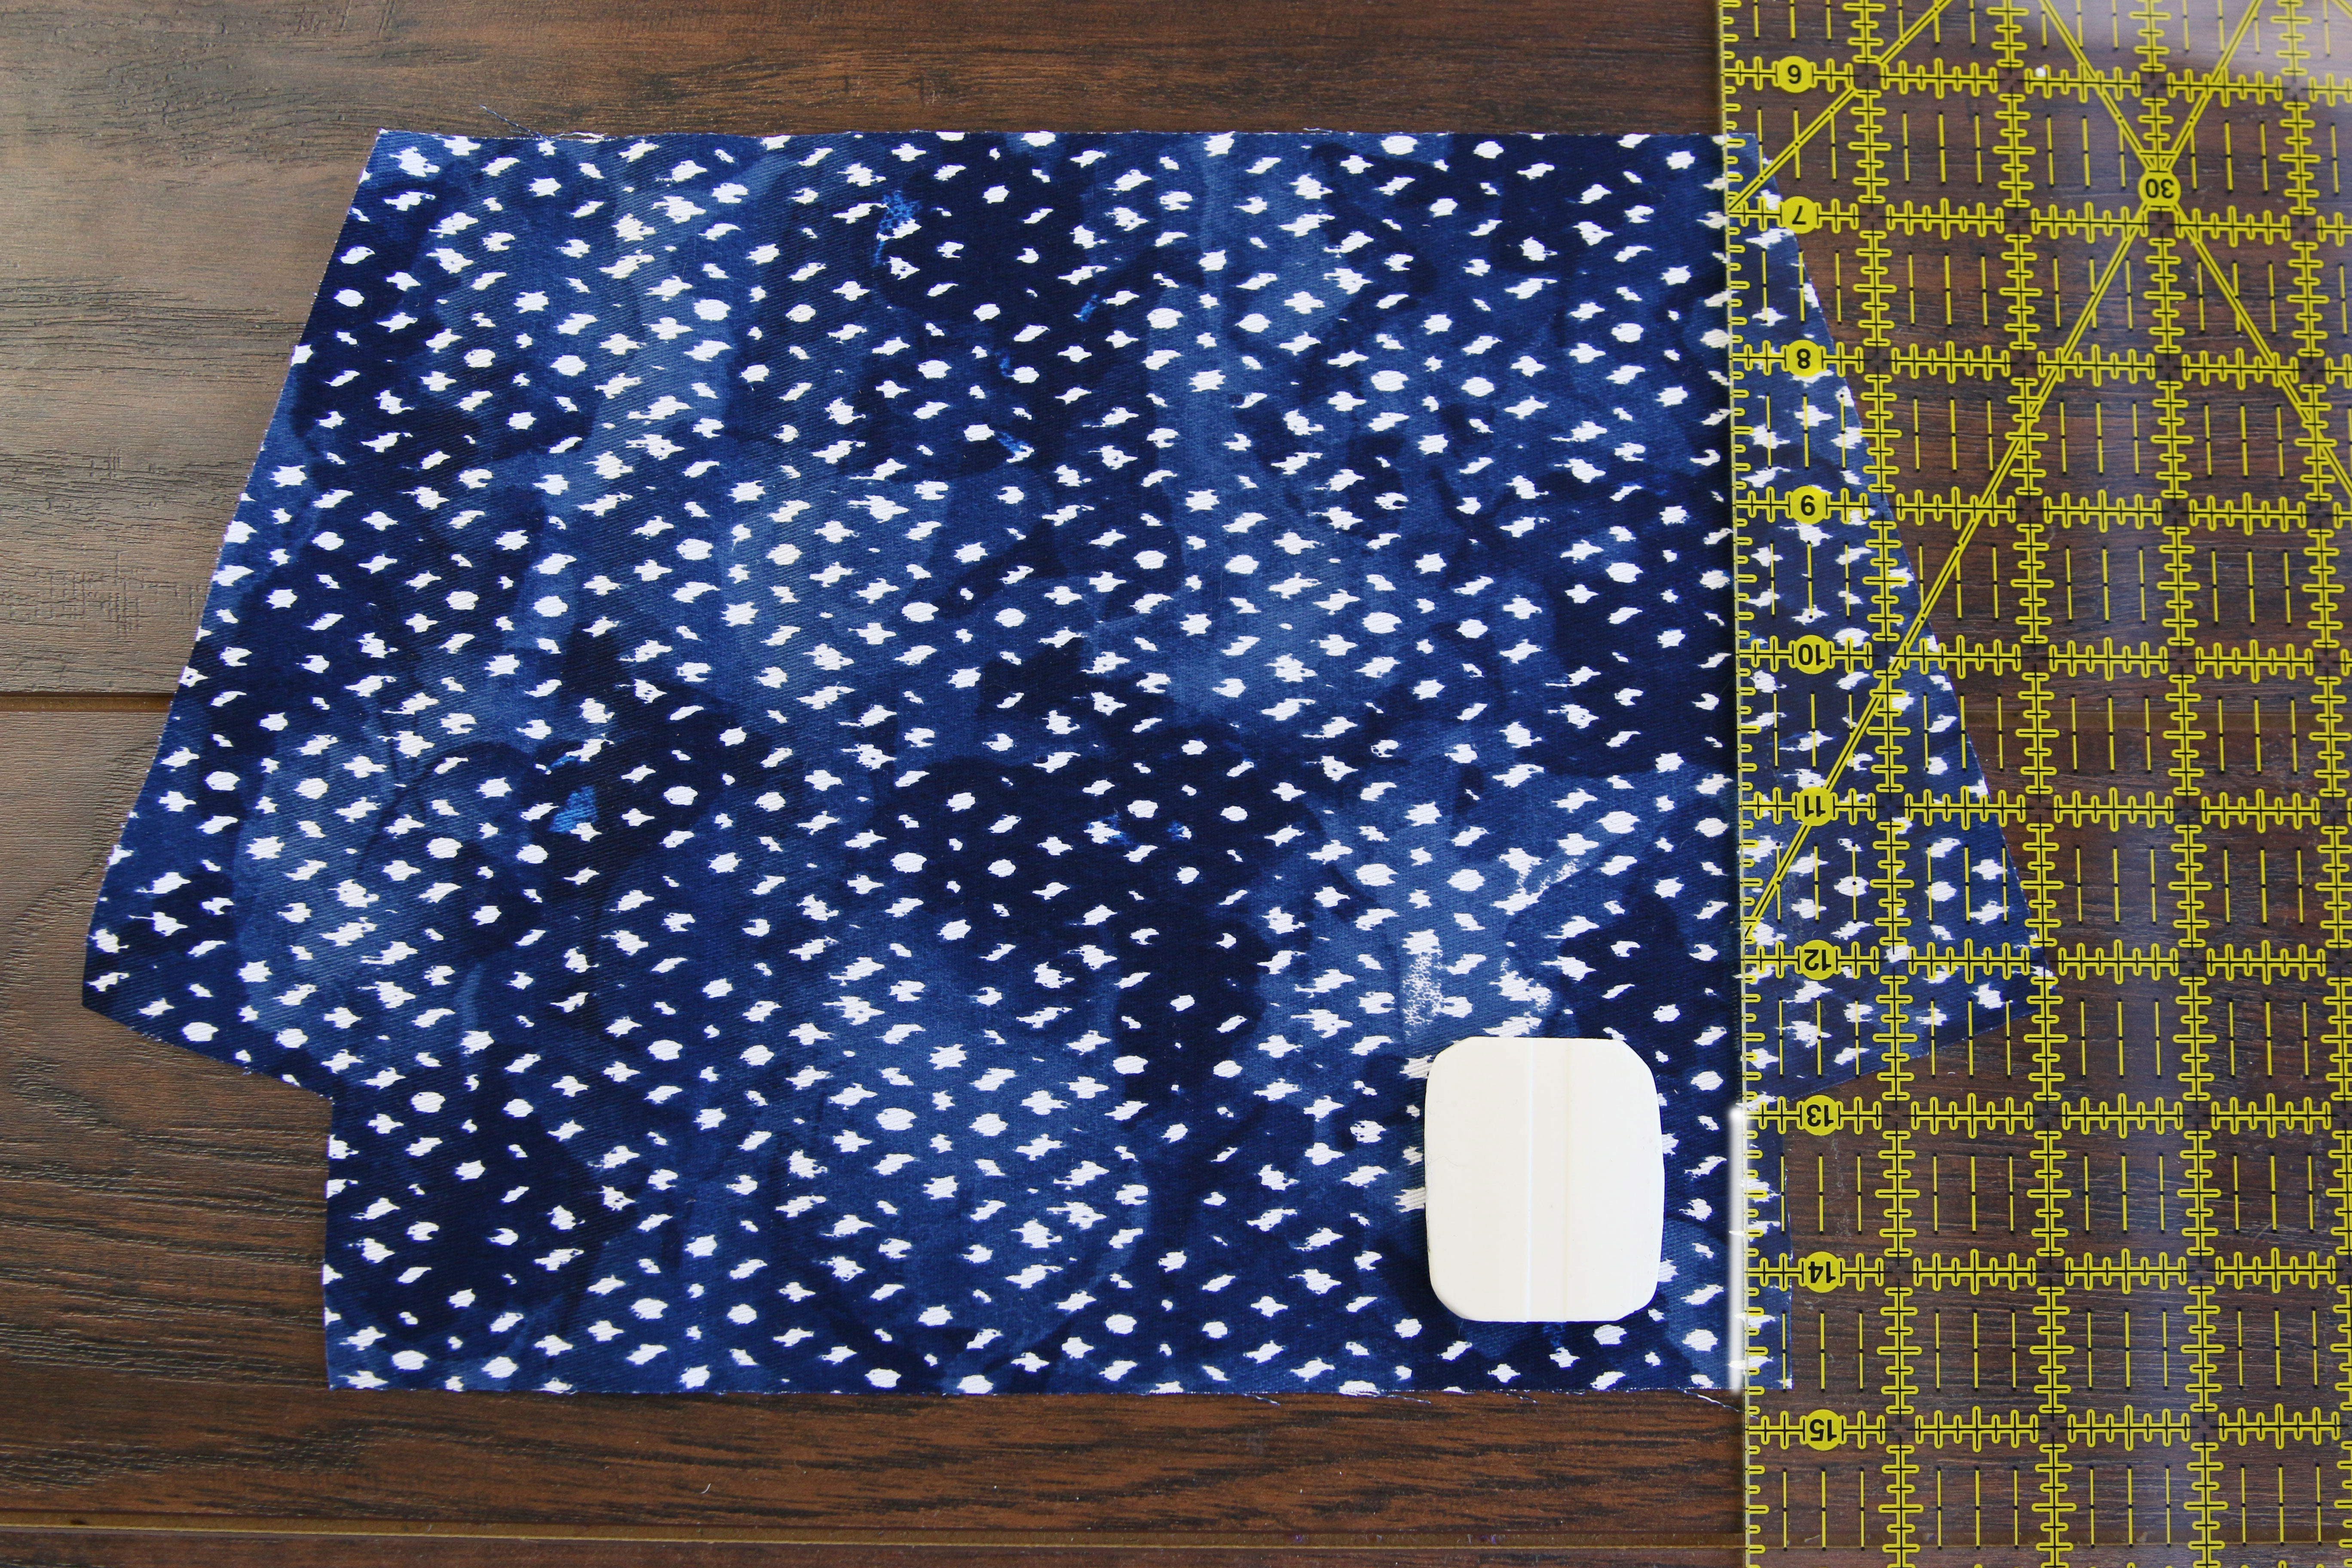
First the outer fabric pieces (color 1) will need to be marked to show where the applique will be placed. Measuring and marking the fabric will ensure that the applique is not crooked, and that the corners line right up with the seams after the zipper pouch is sewn together. On the front piece (color 1) take a quilting ruler and measure 1/4” away from the small inner side. Mark it with a marking tool just to about 2” up from the bottom edge.
2
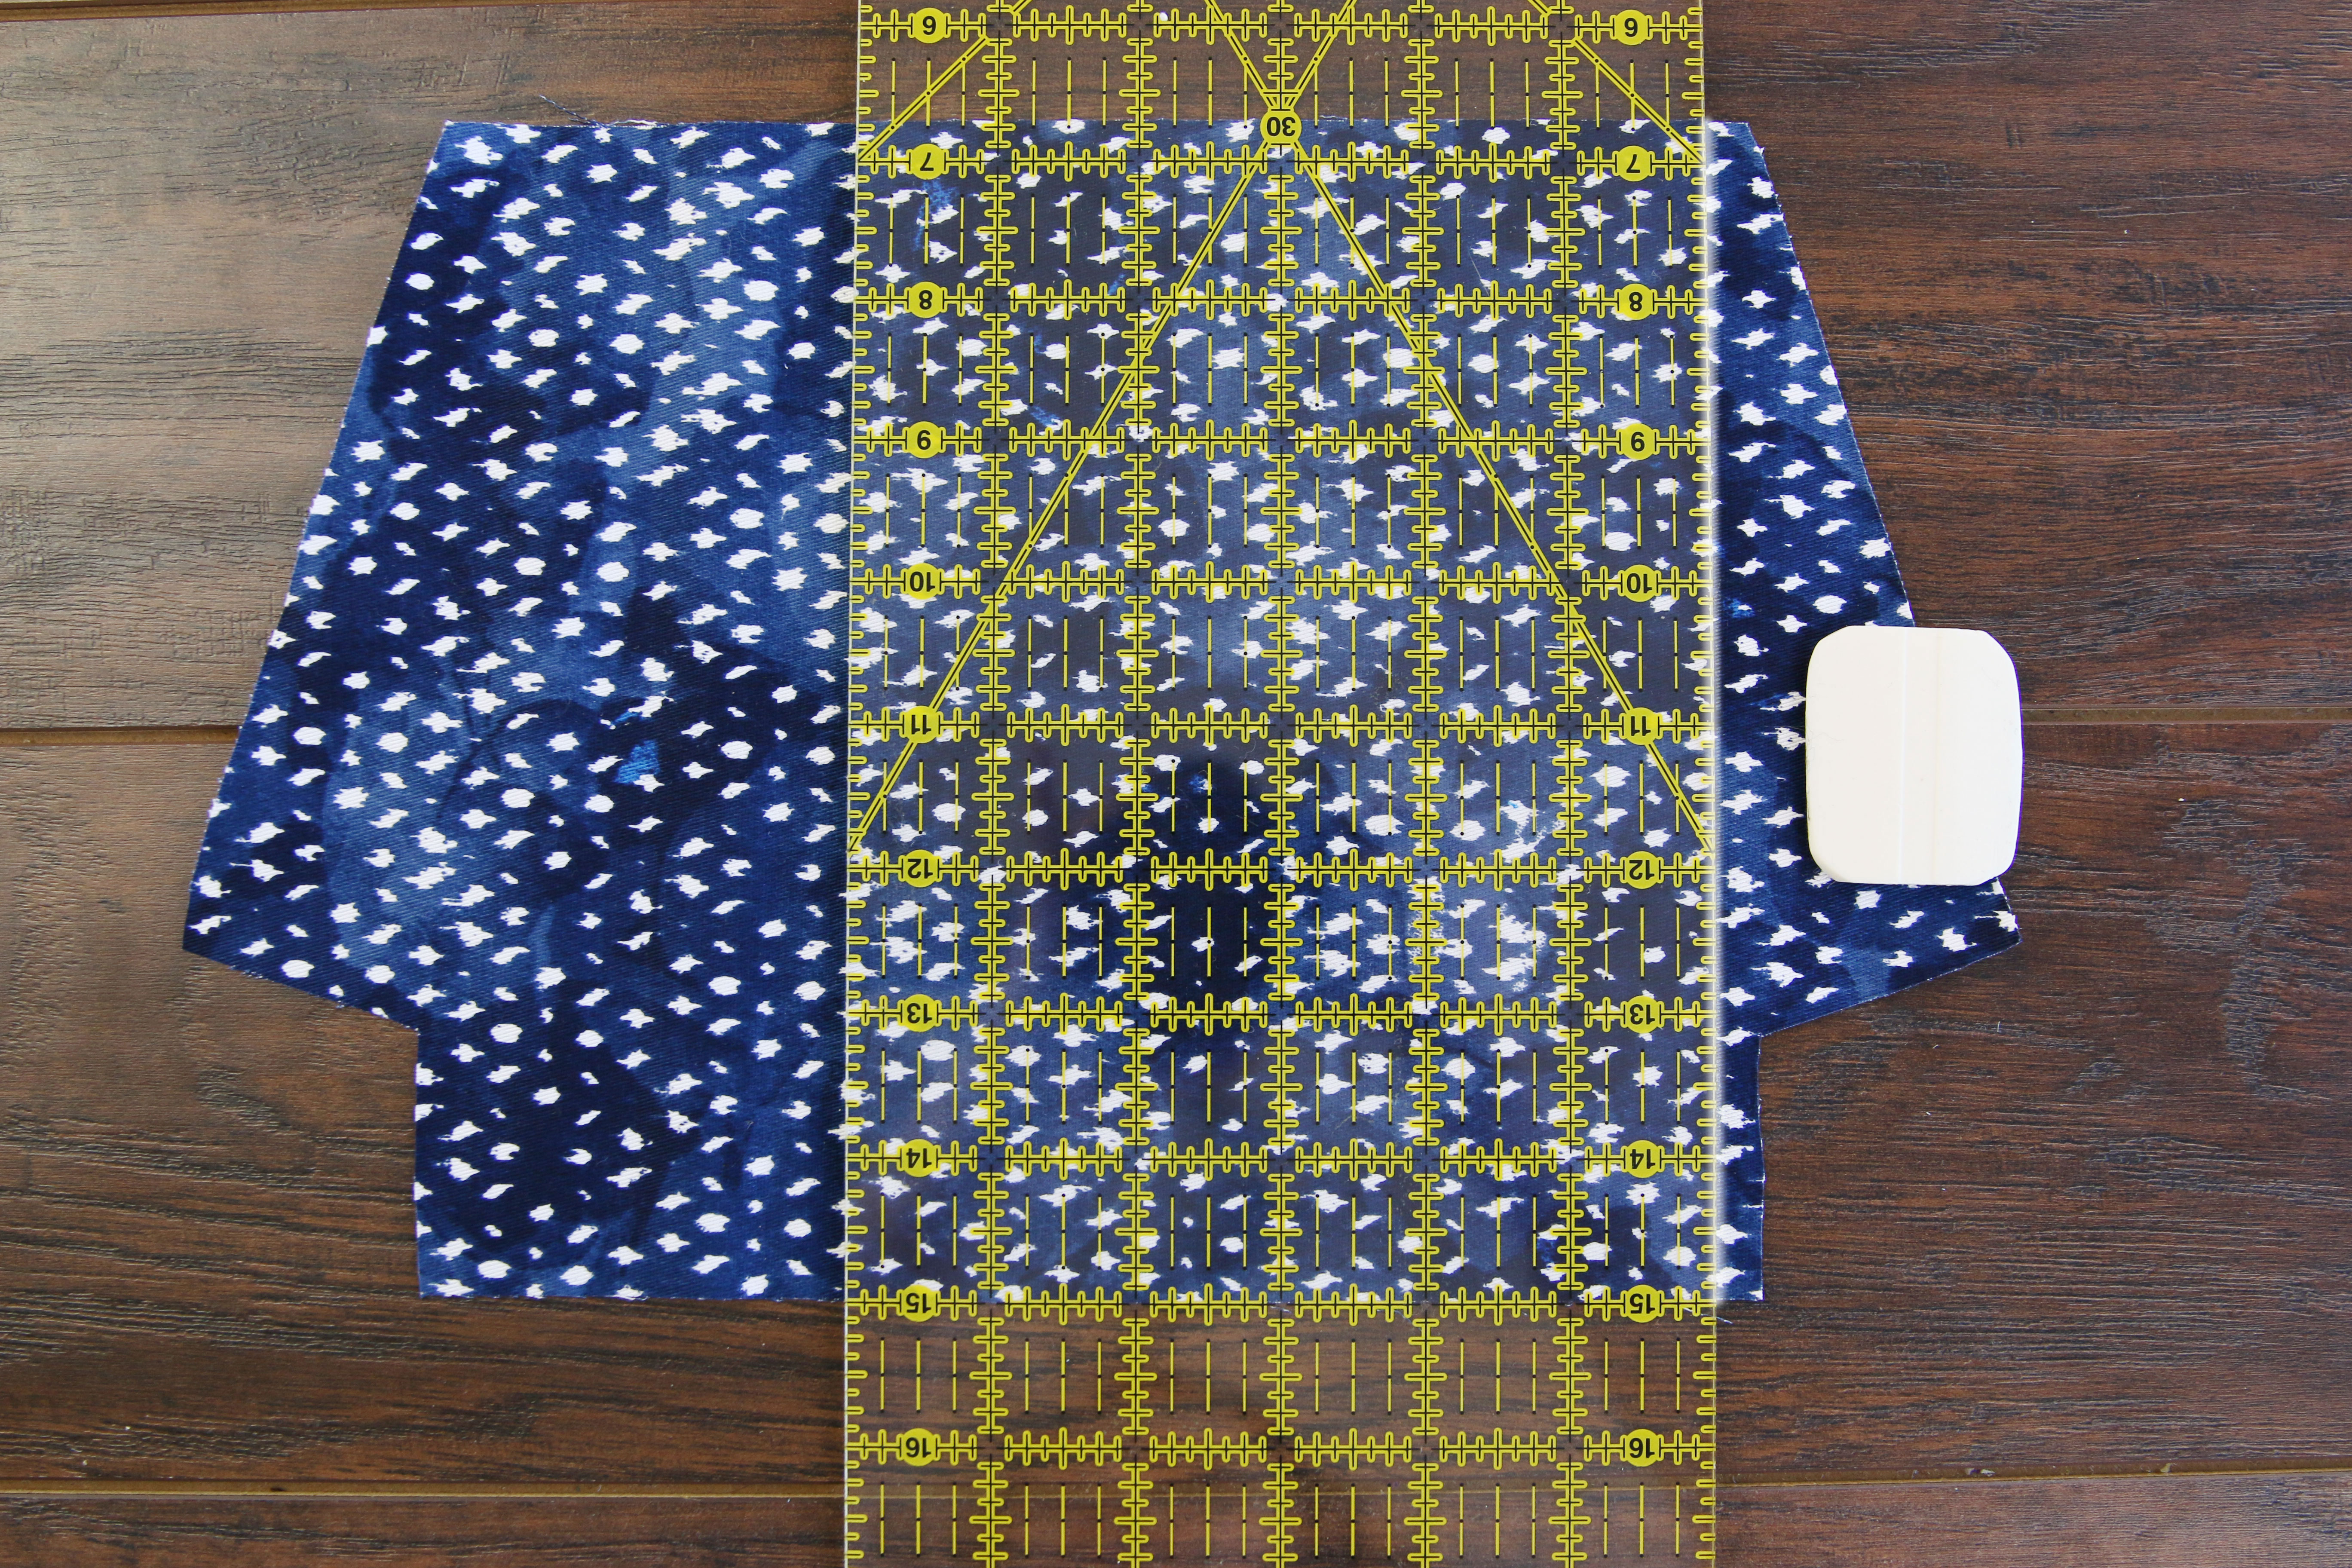
Then line the quilting ruler up with the bottom edge of the front piece to ensure that the line ends up at a perfect 90 degrees. Then extend the first 1/4” mark up about half way onto the purse with the marking tool.
3
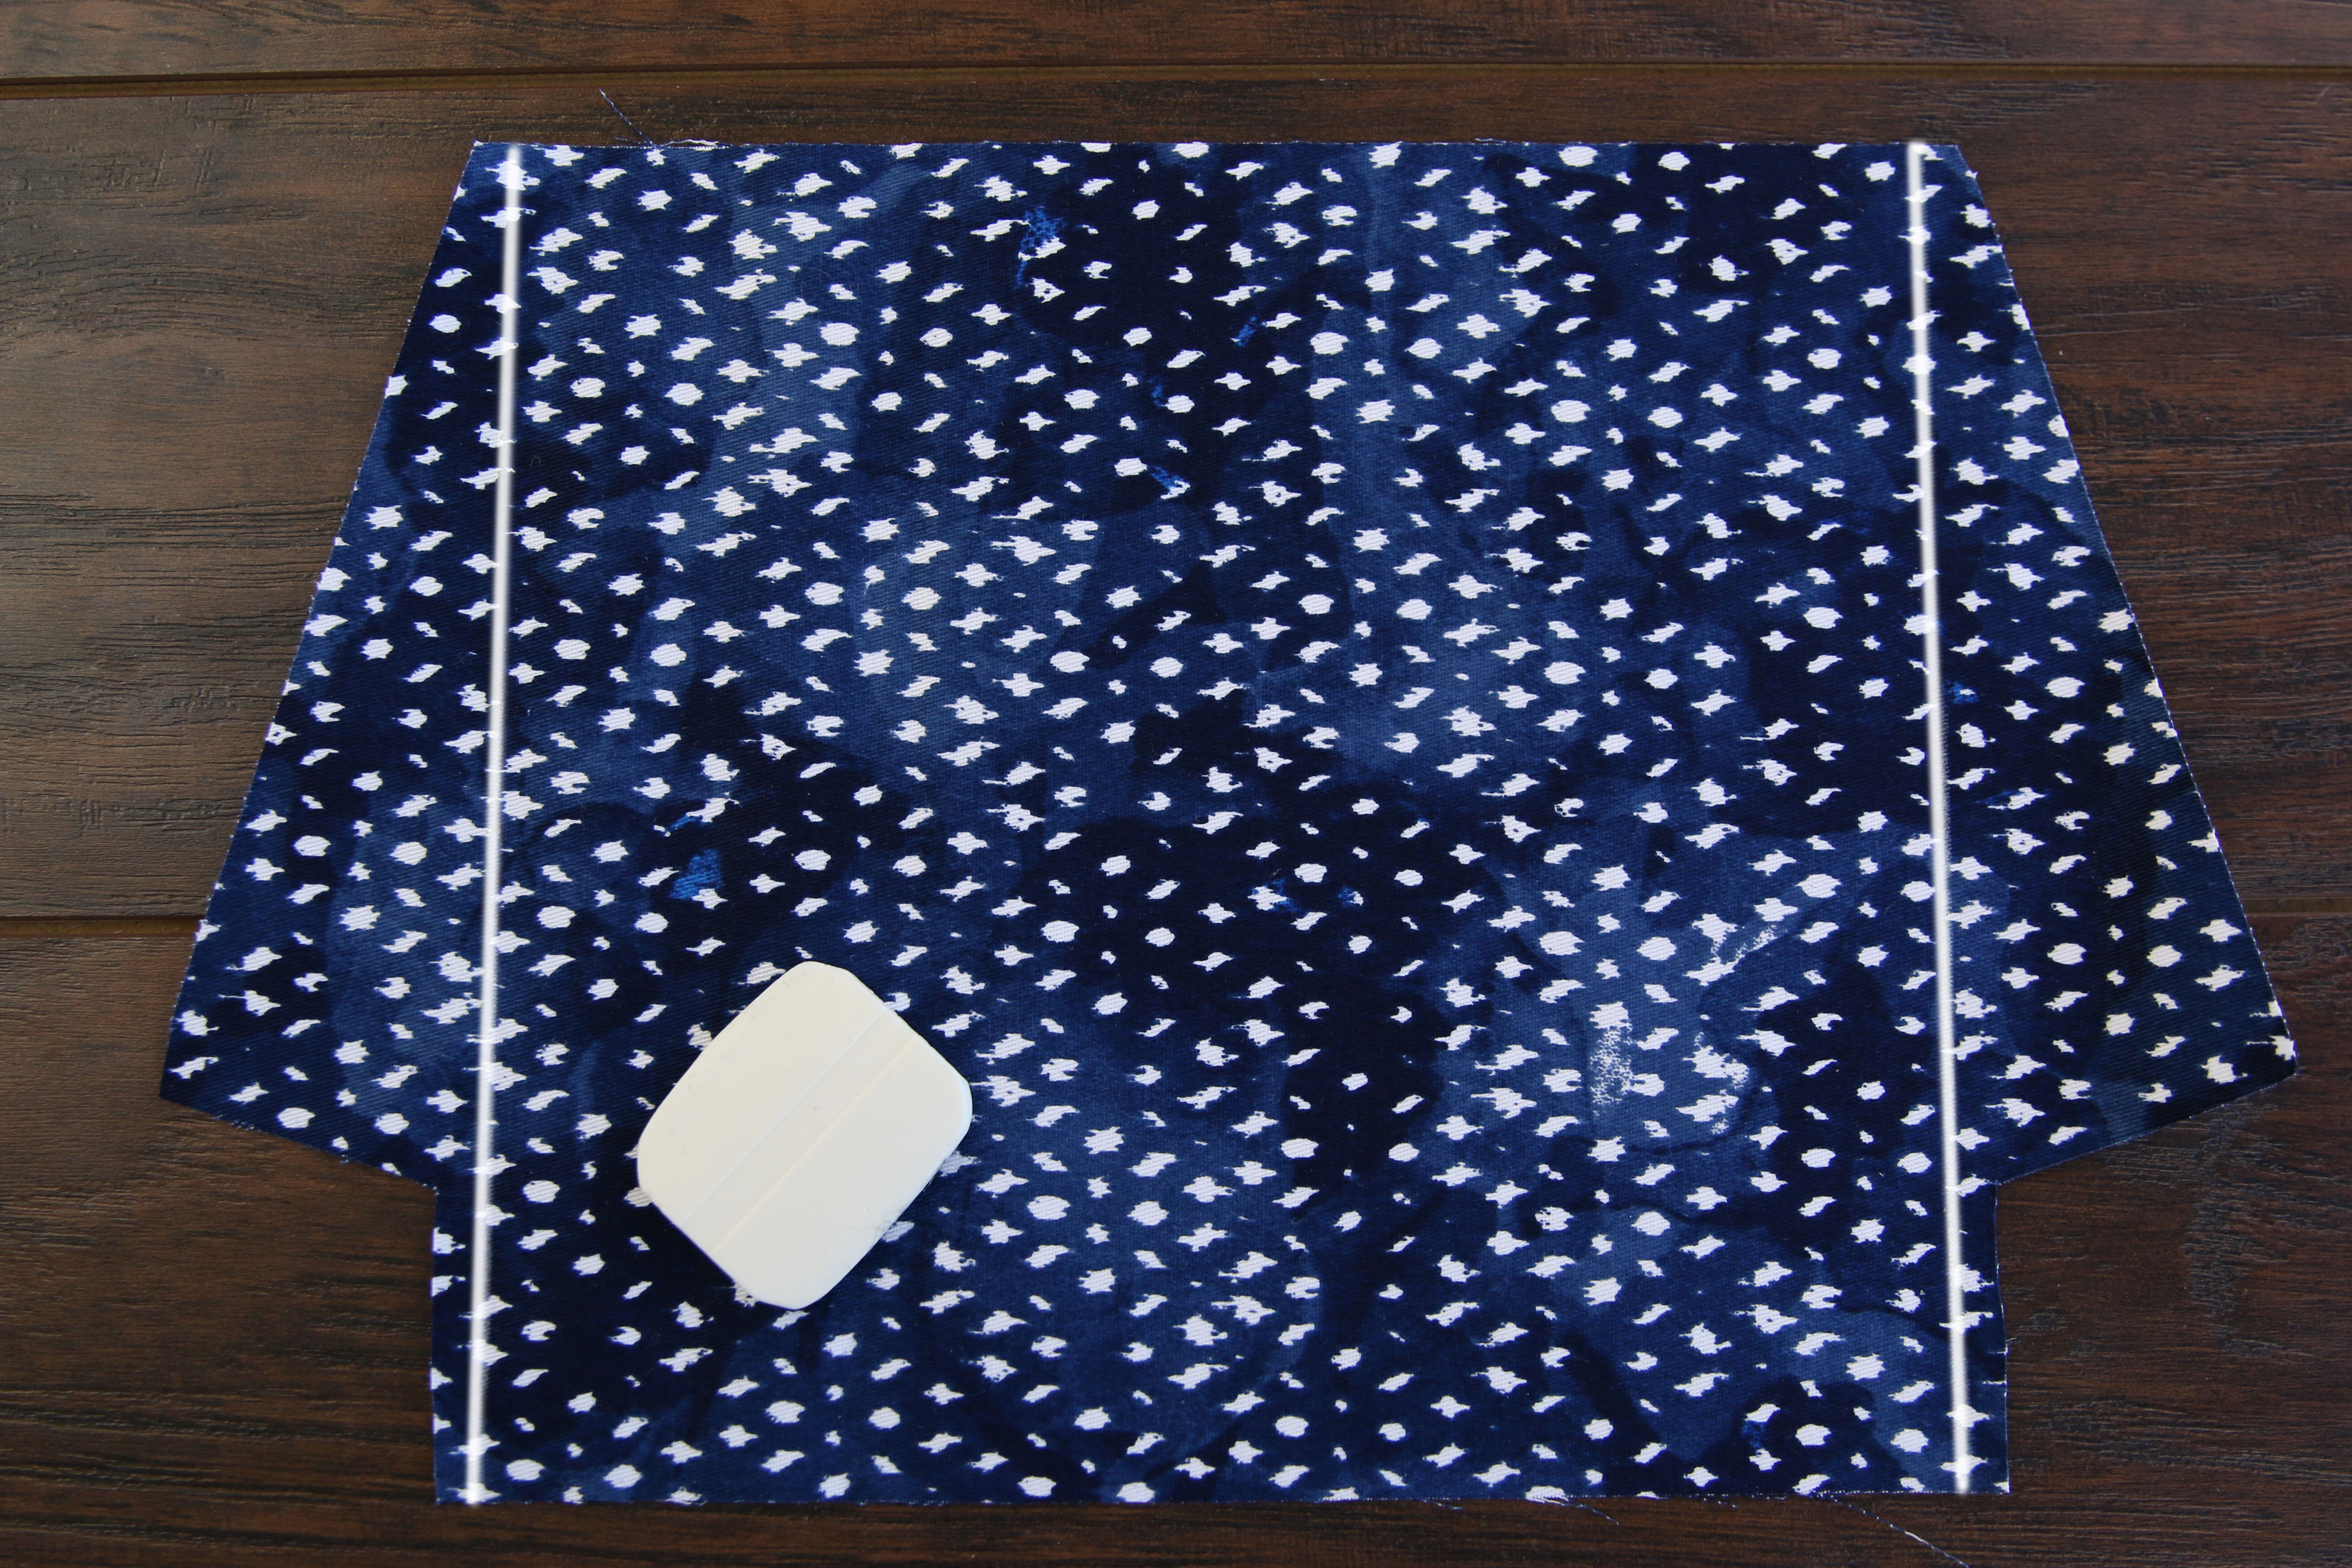
Repeat for the opposite inner corner, so there are two lines drawn straight up both sides of the pouch.
4
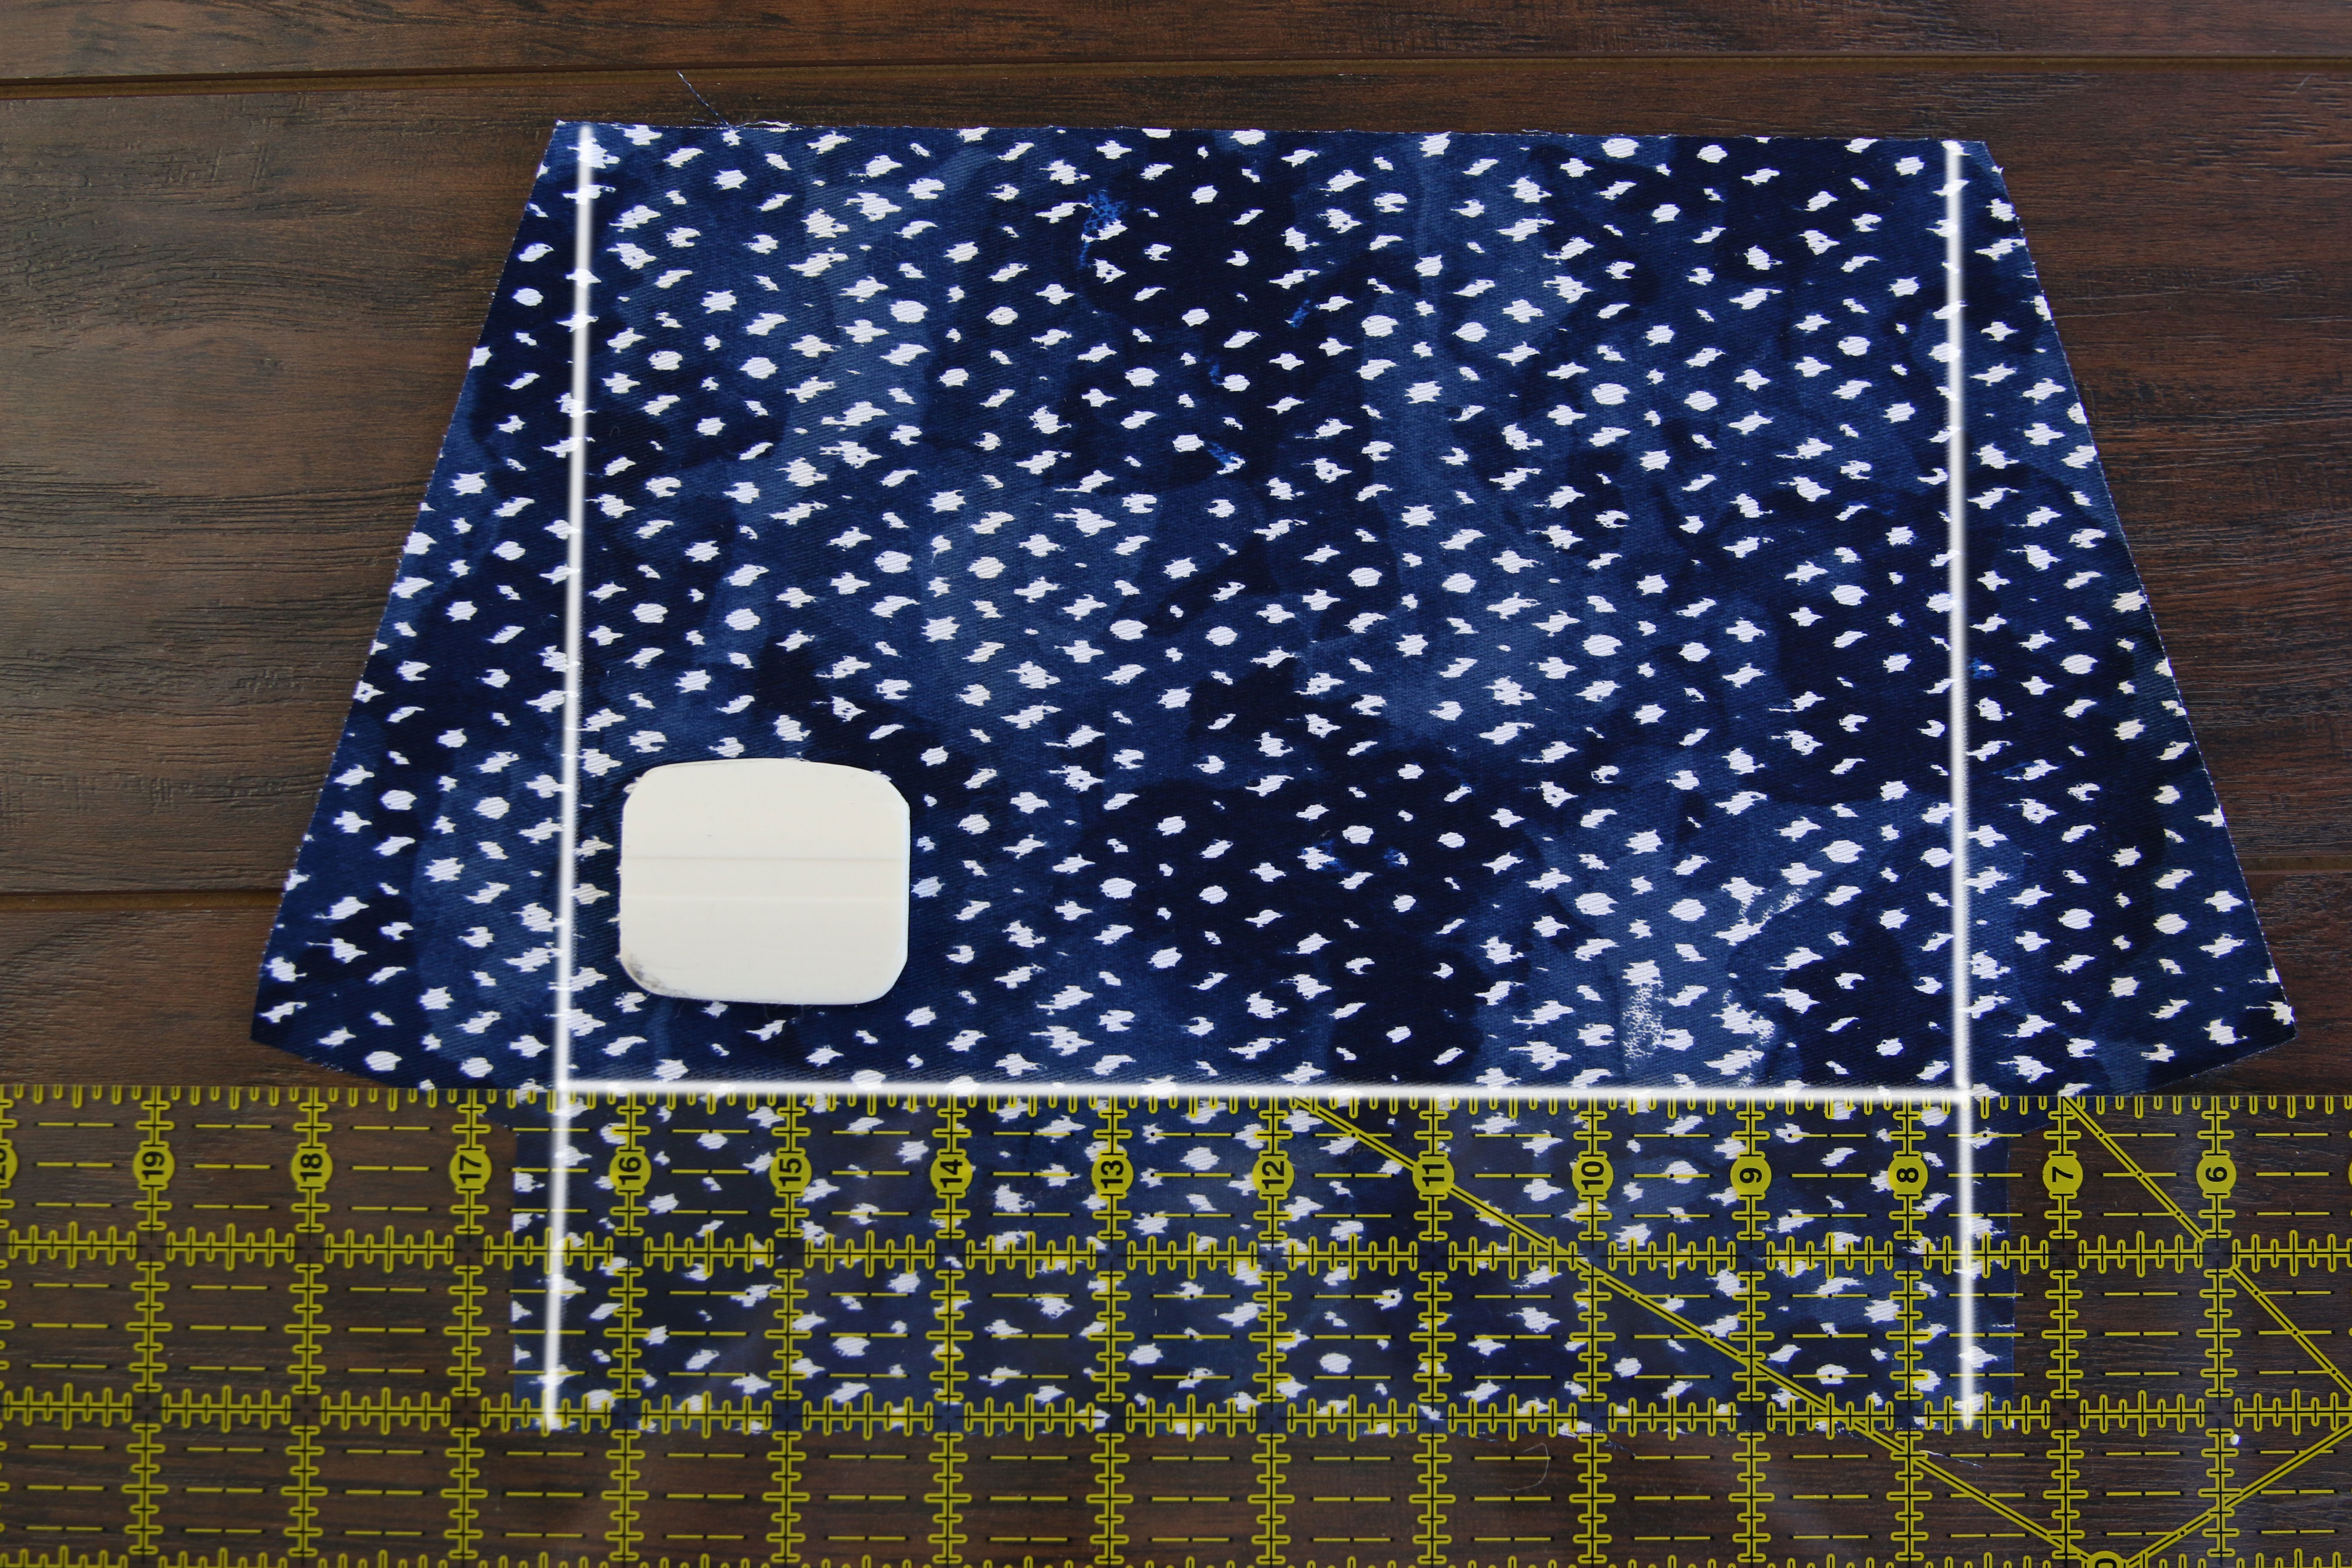
Then locate the two inner corners of the front piece. Line the ruler up, and draw a line 1/4” above those two inner corners that runs along the full width of the bag.
5
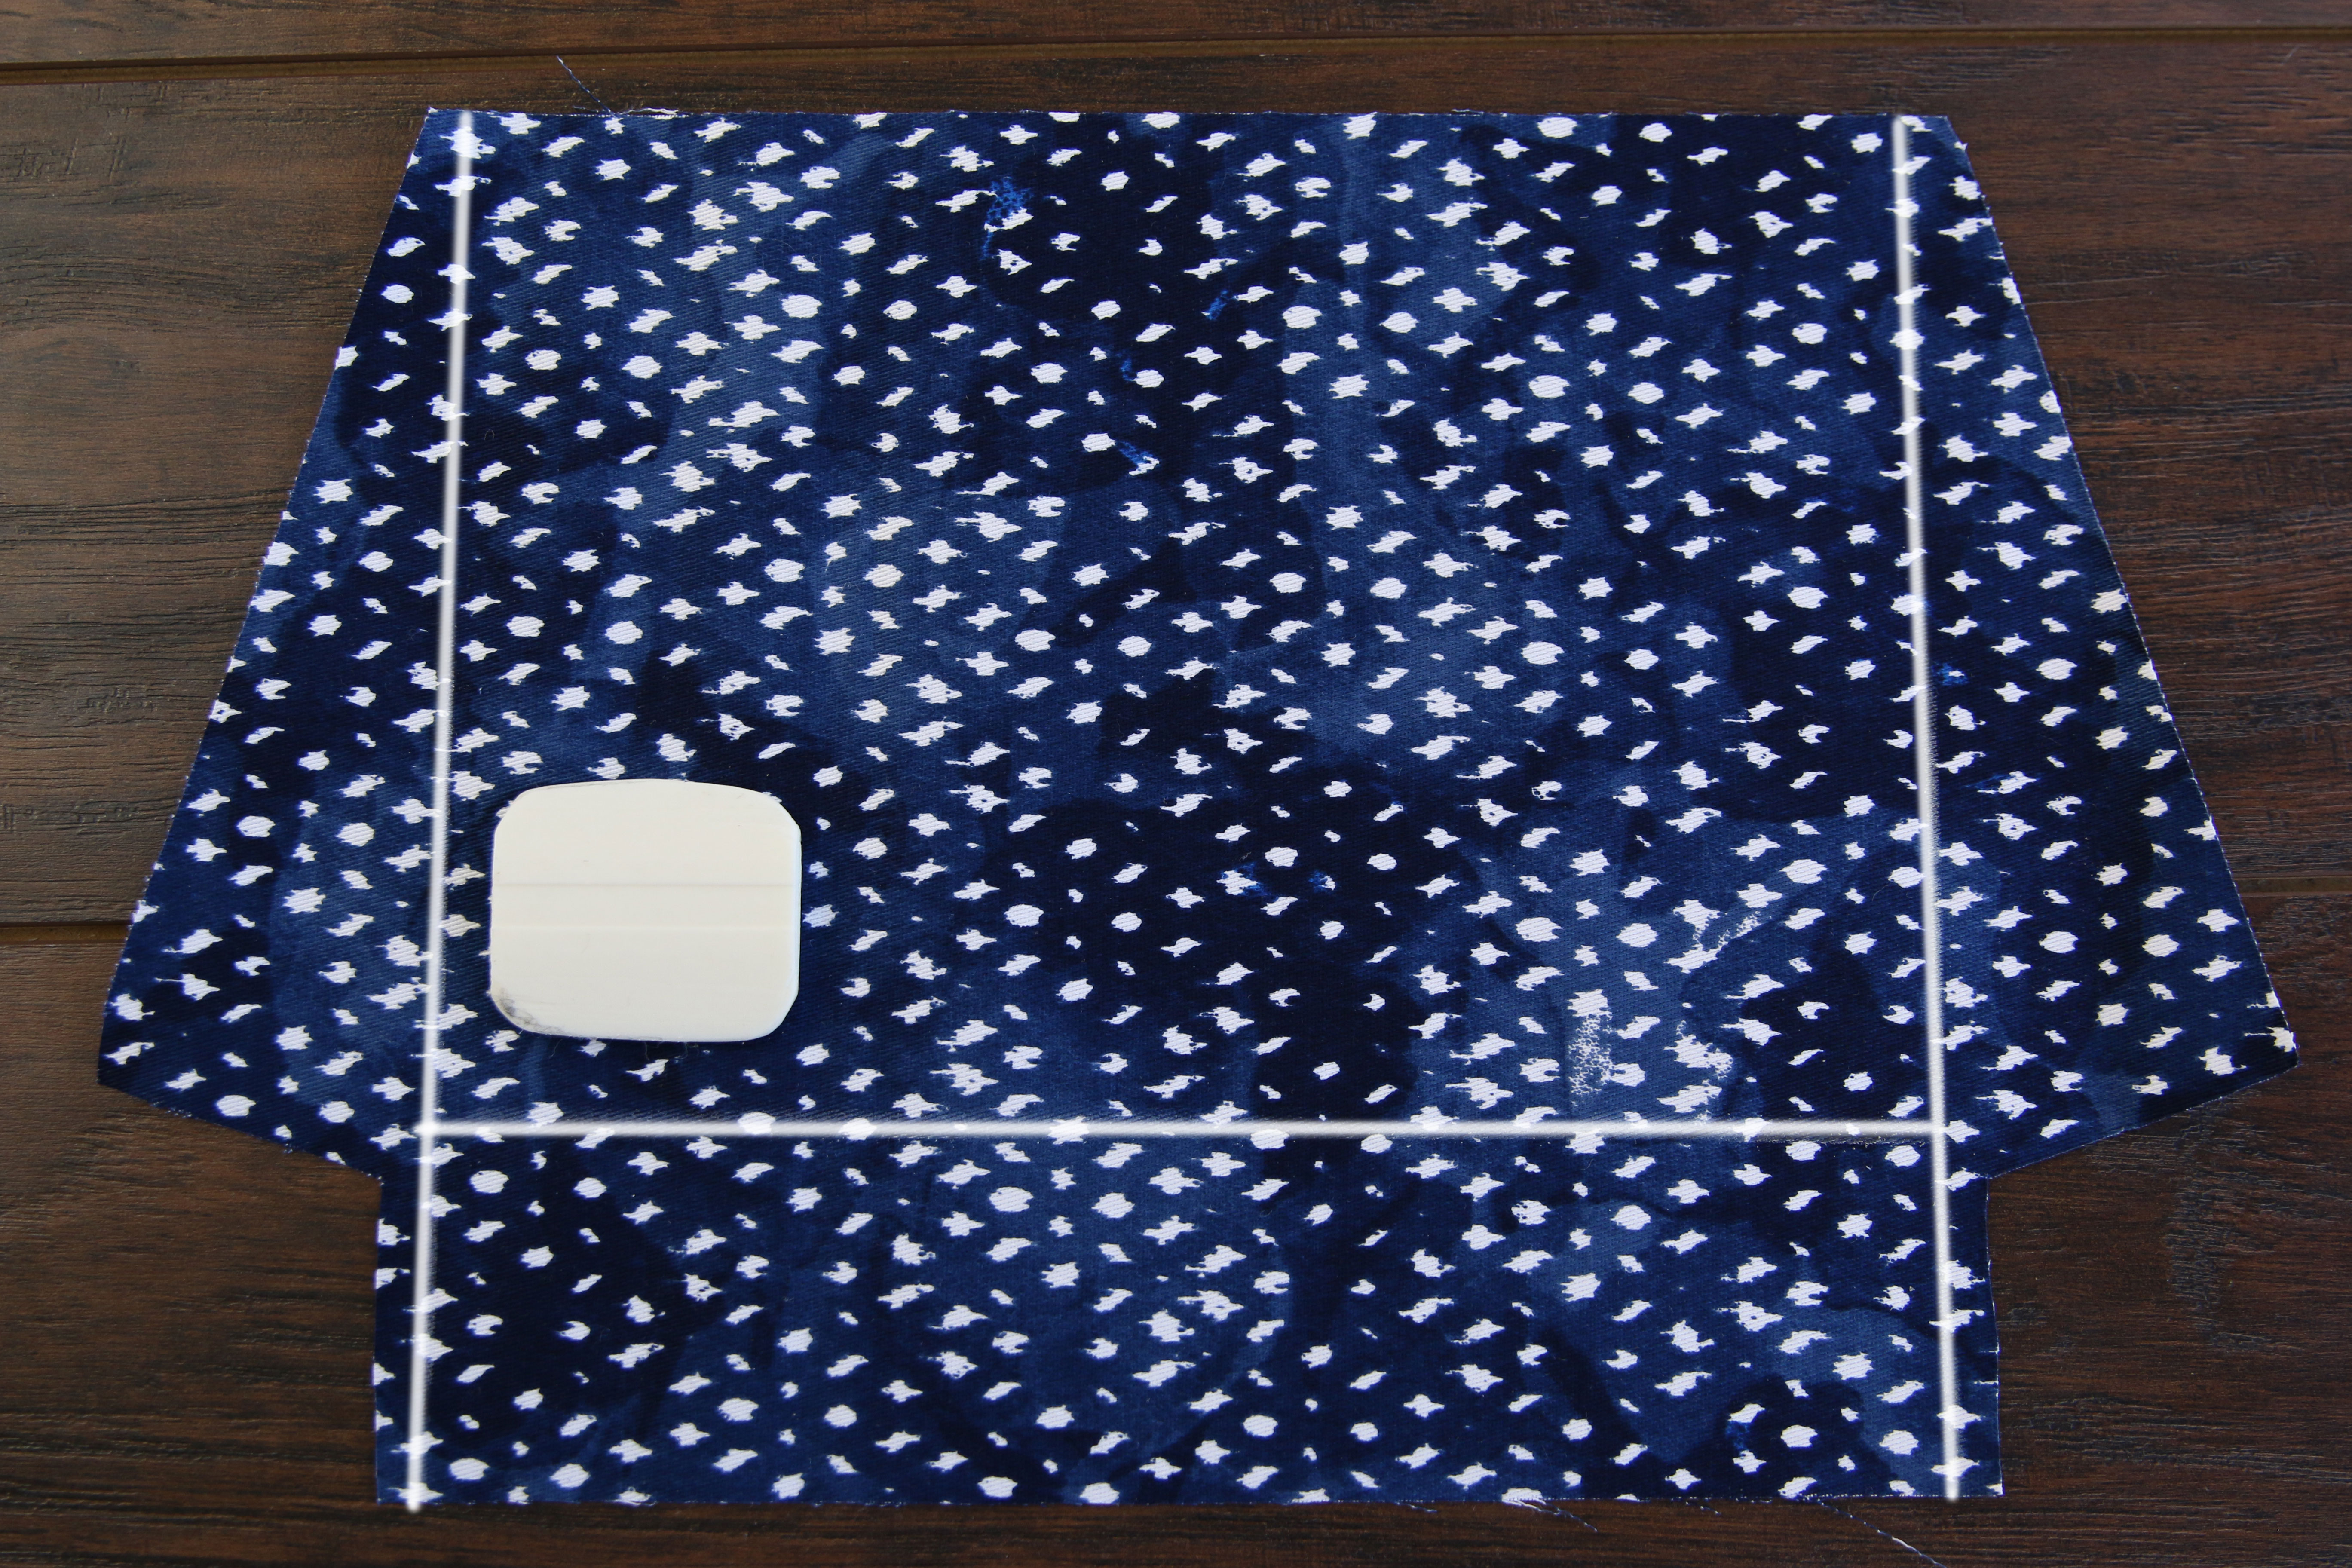
Make sure this line is parallel to the bottom edge, and that it overlaps the first two drawn lines.
6
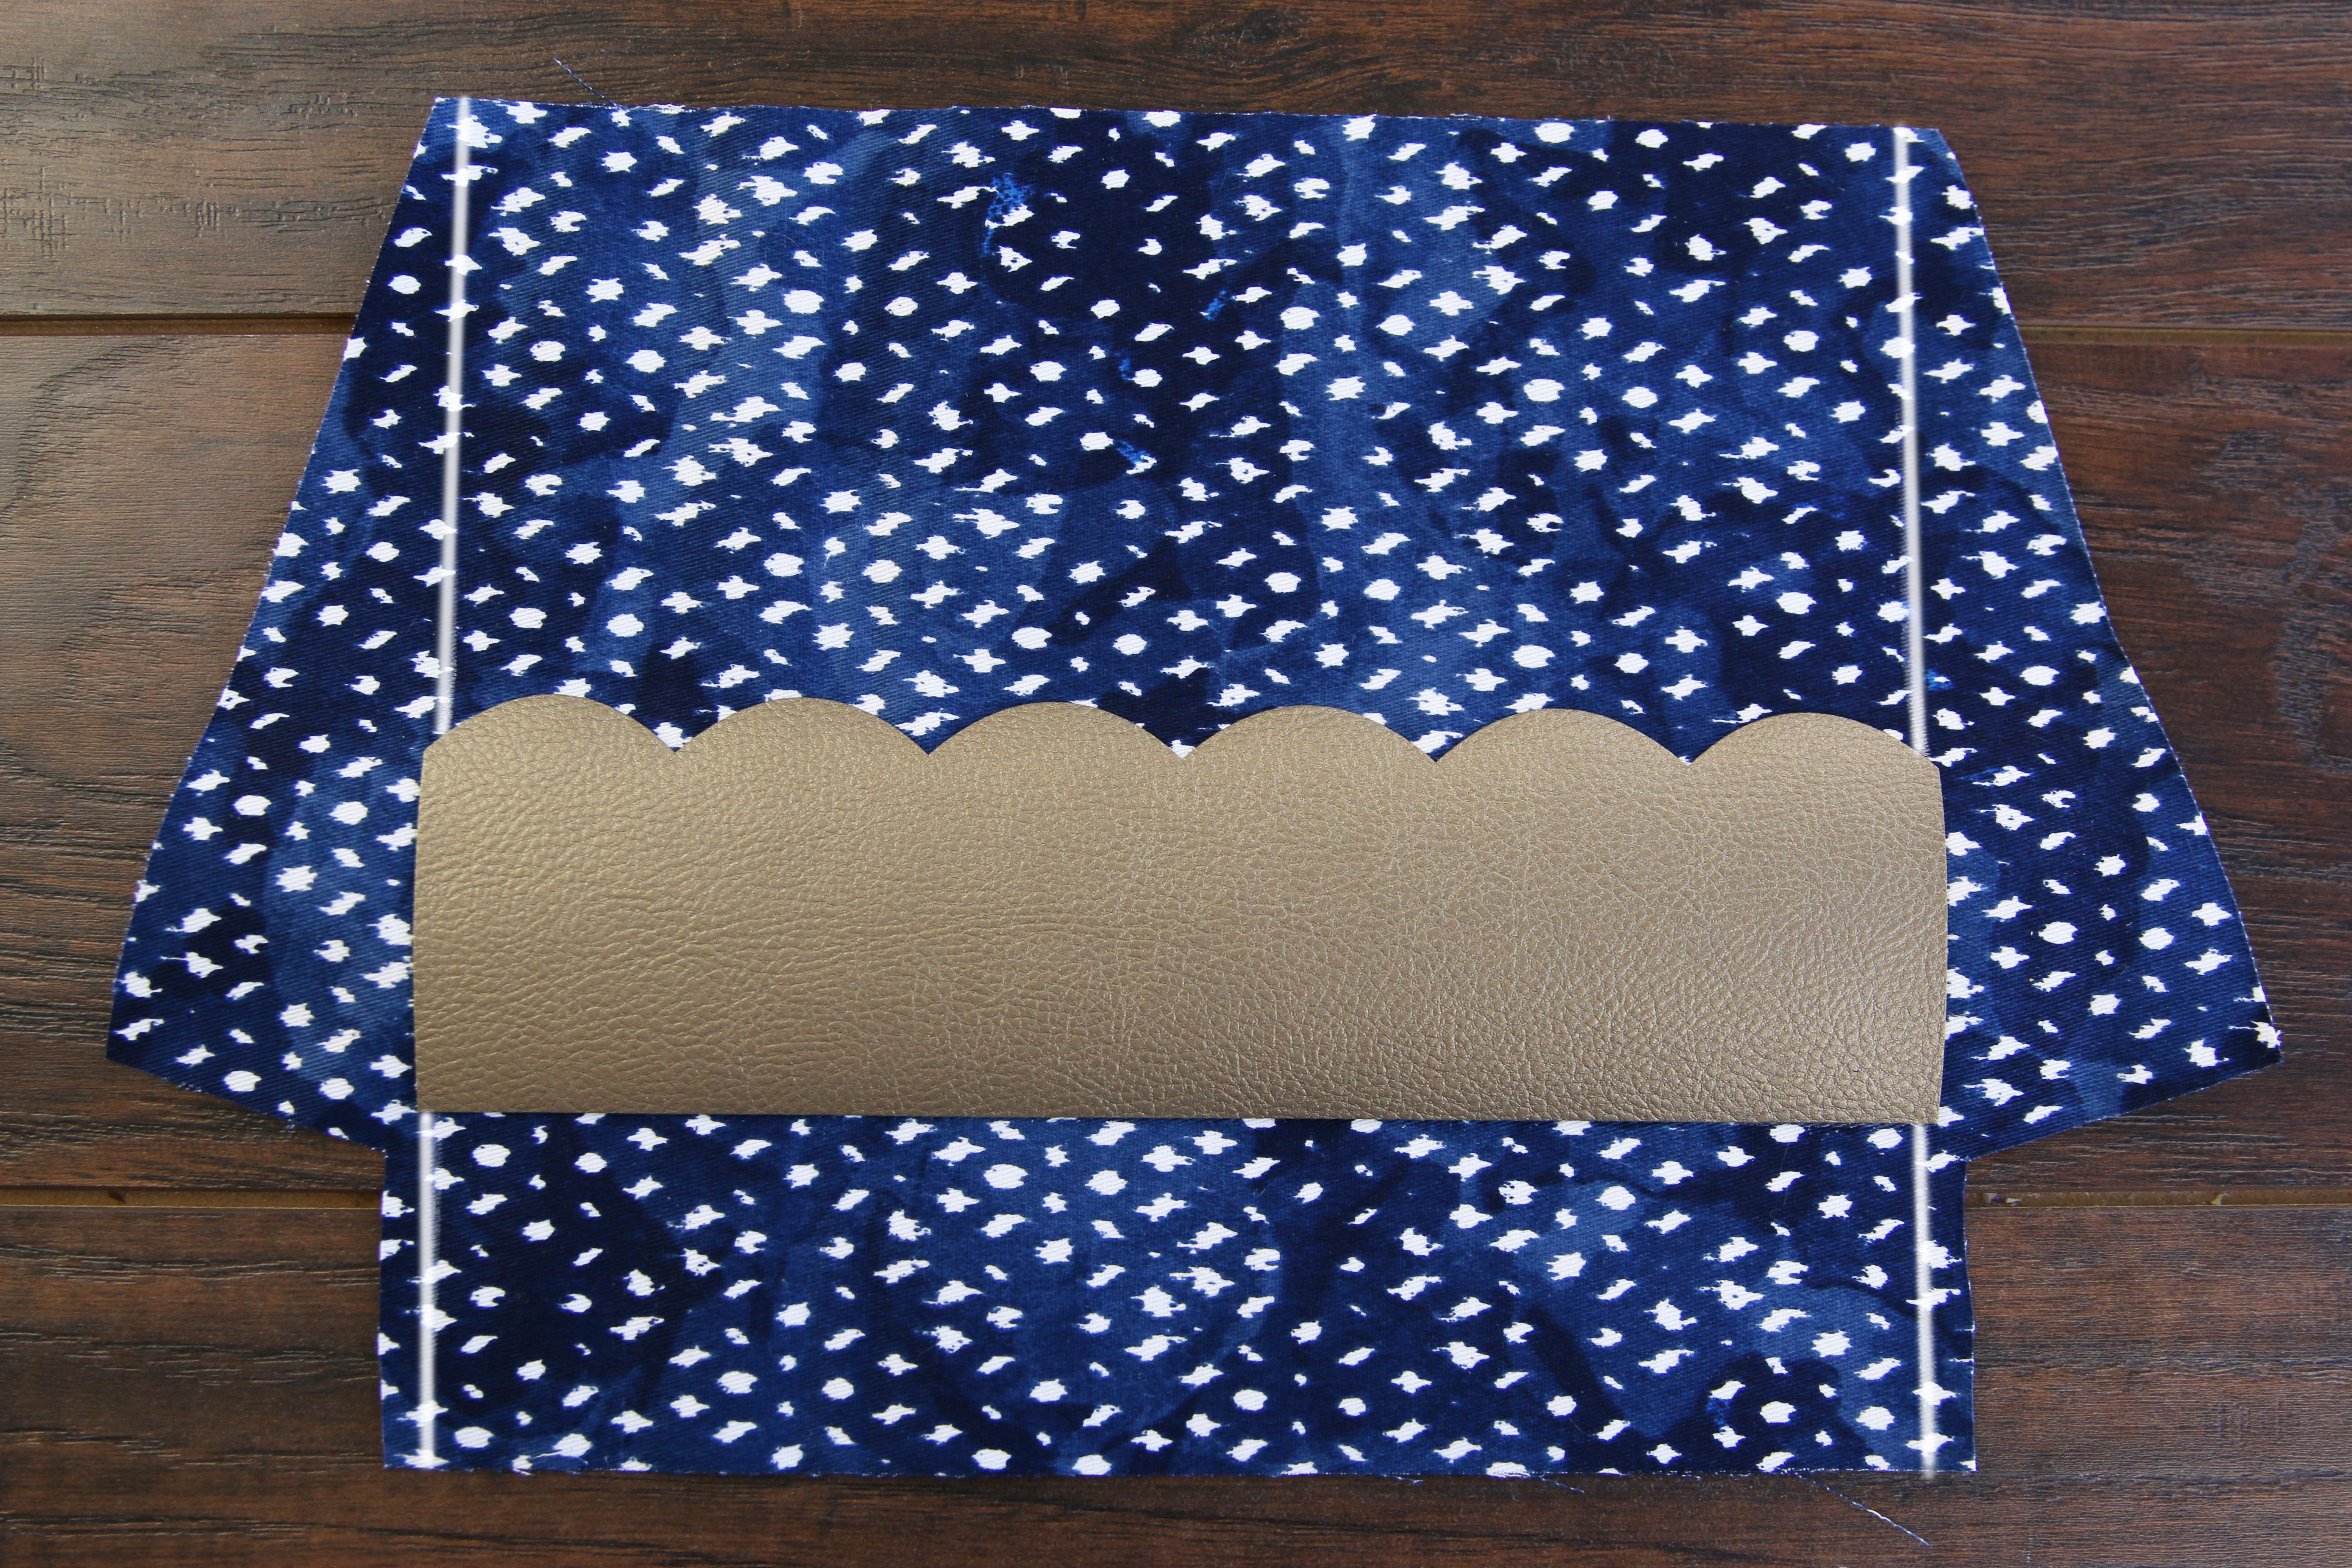
Now that the front piece is finished being marked, spray the back side of the first applique piece (color 3) with temporary adhesive, and smooth it into place using the drawn guides. The corners, sides, and bottom edge of the applique pieces will match up with the three drawn lines.
7
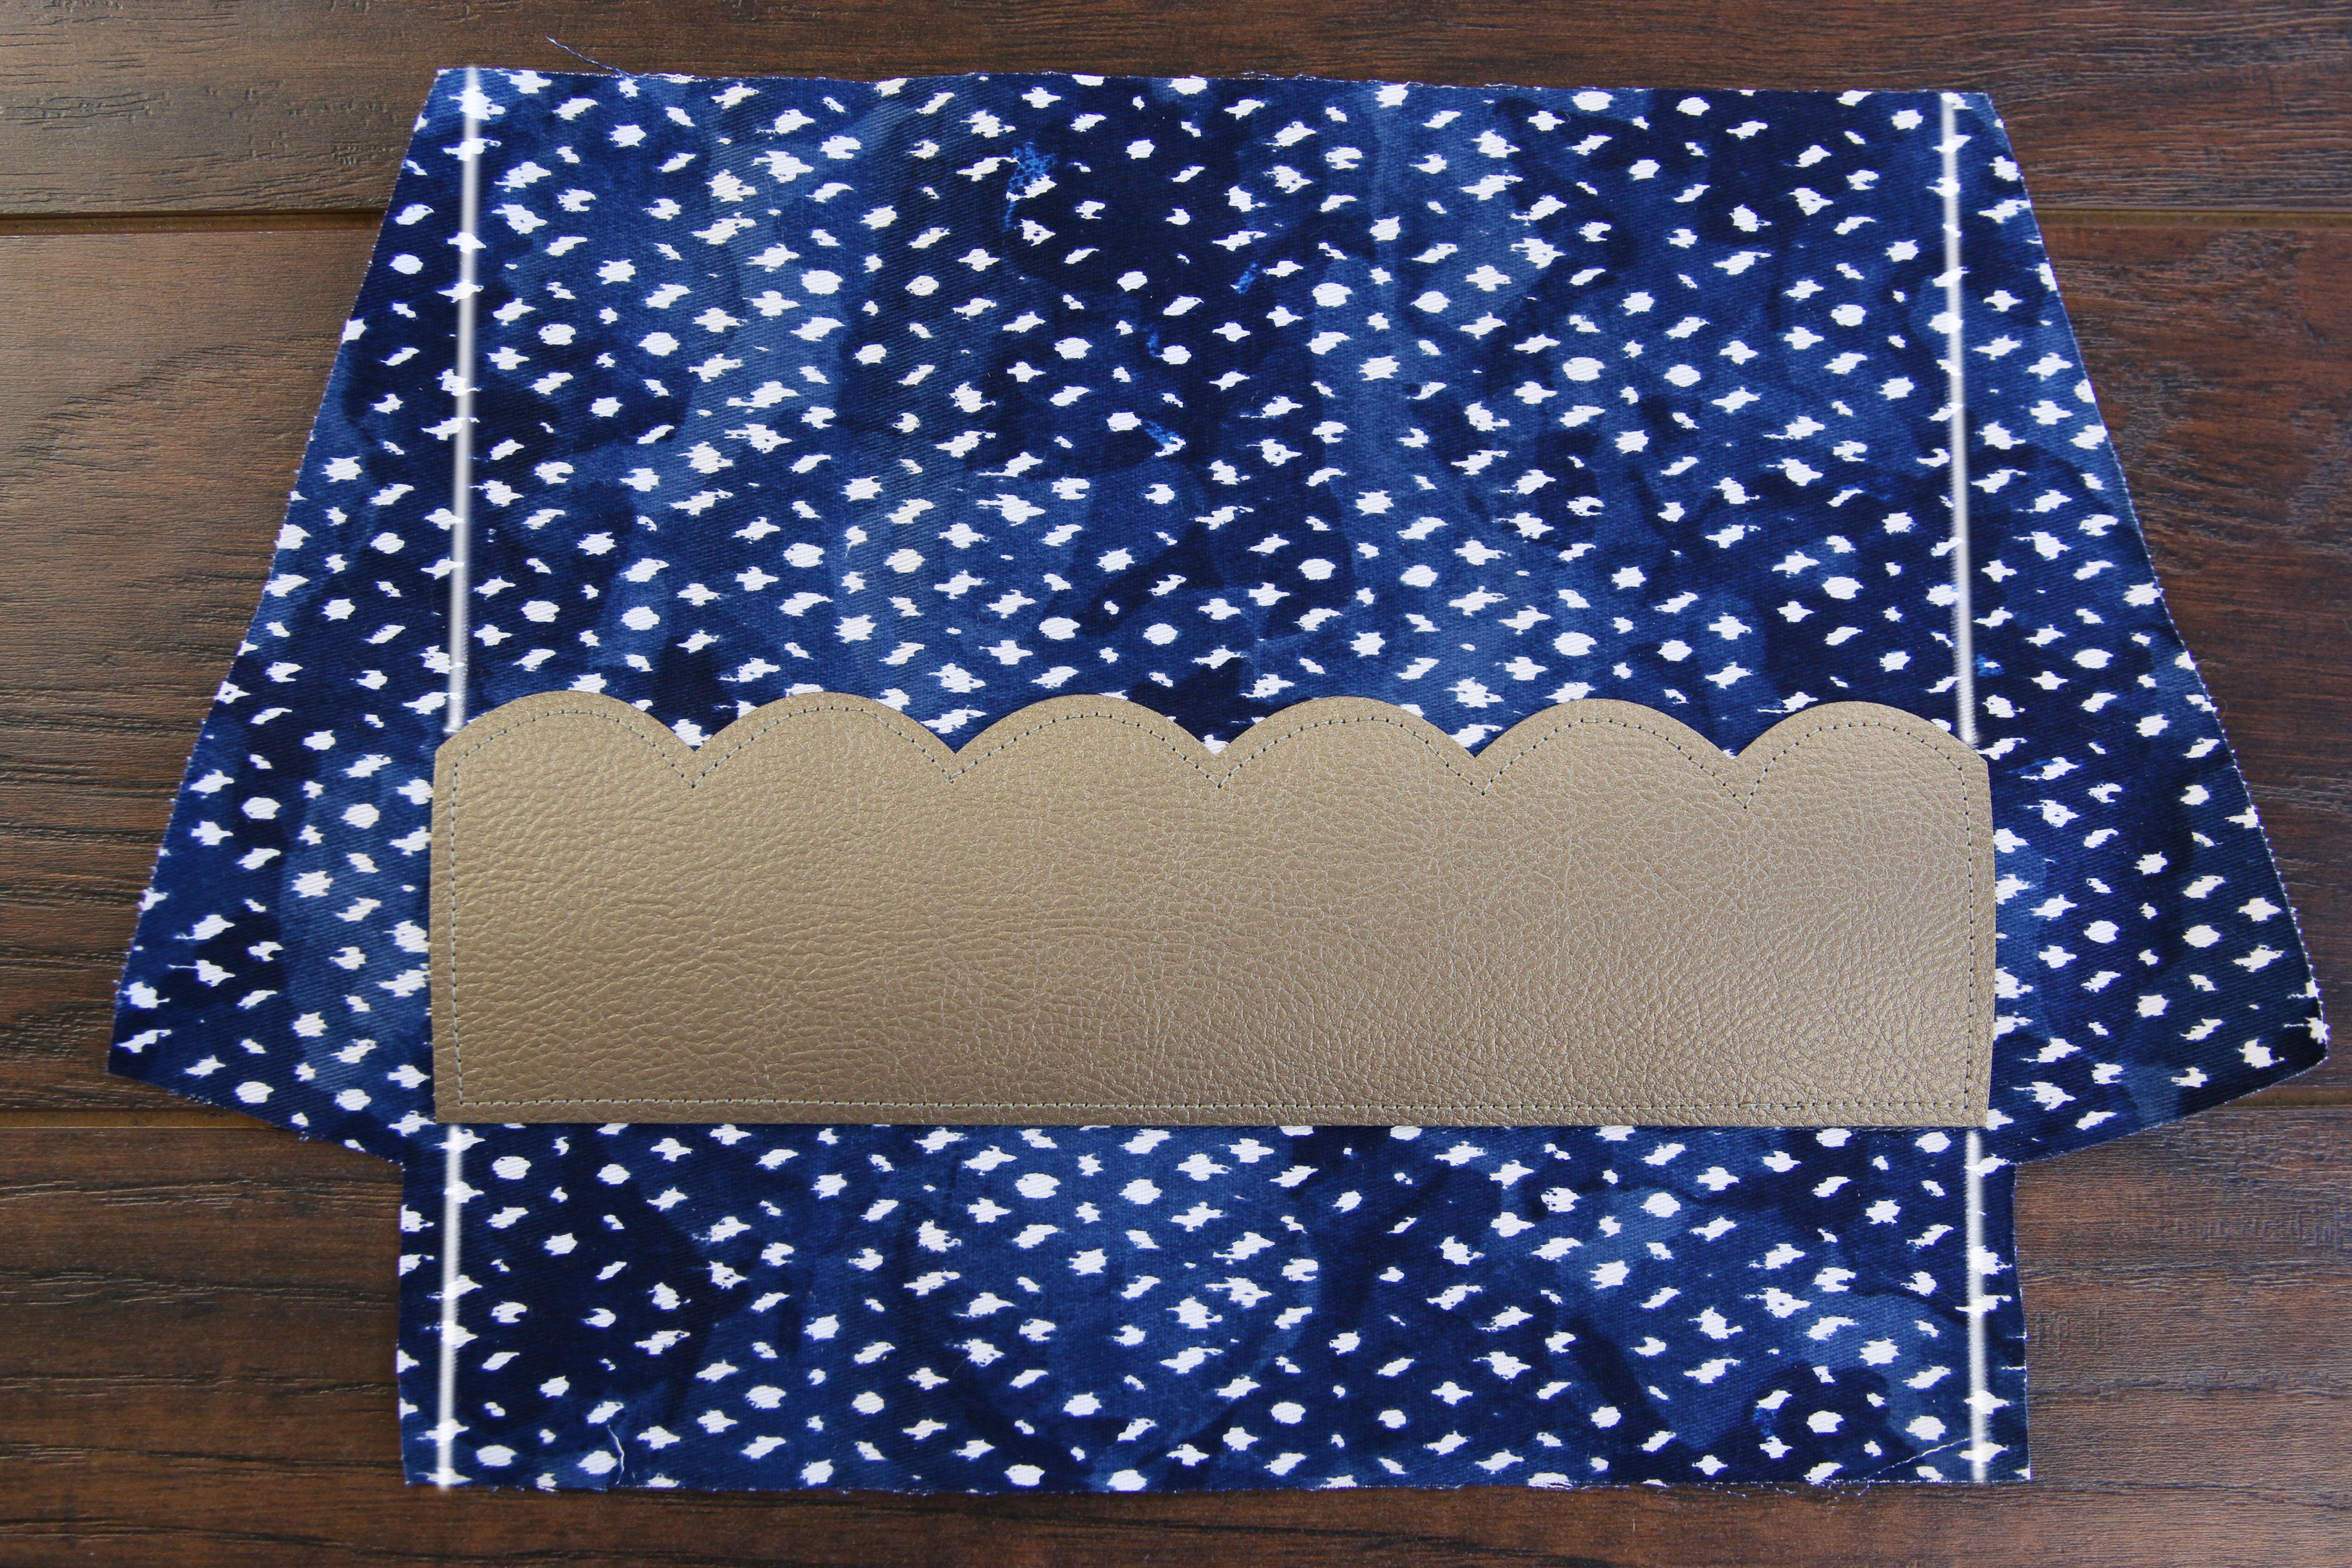
Once the applique piece is adhered in place, use a sewing machine and thread matching the applique fabric to topstitch a 1/8” seam around the entire applique piece.
8
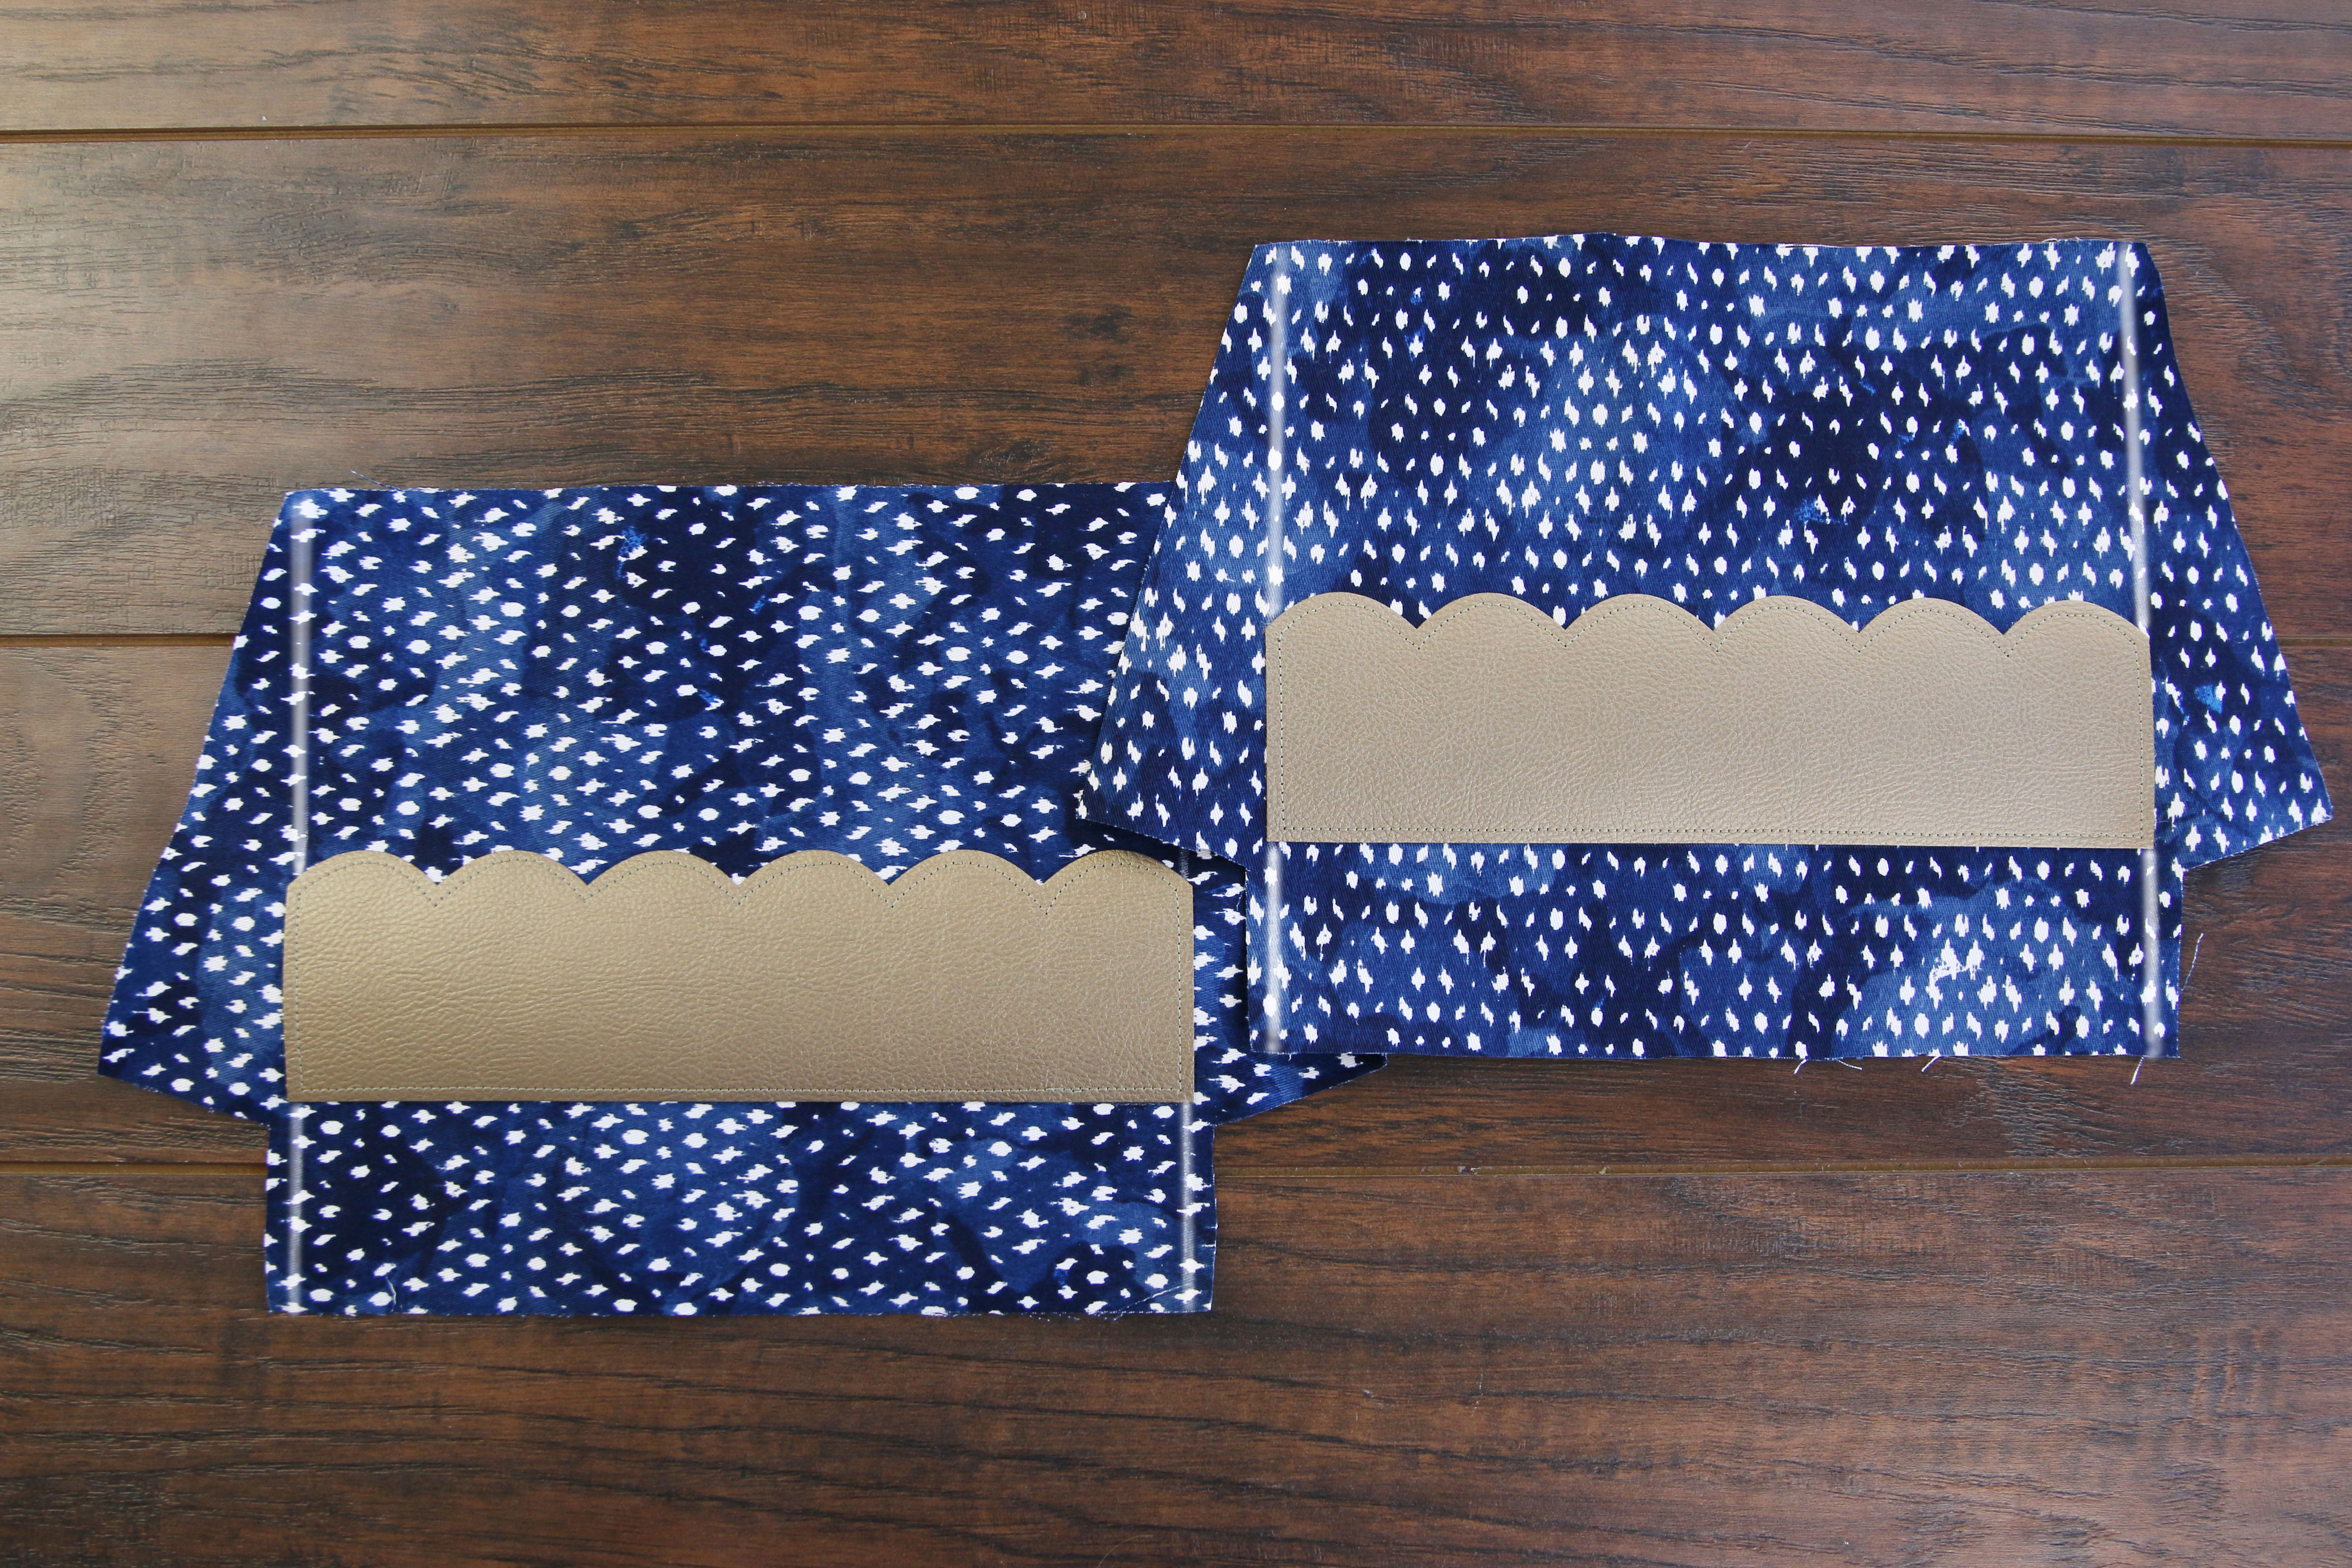
Repeat the previous steps to mark the back side (color 1) of the zipper pouch, adhere the applique piece (color 3) in place, and sew it to the back side.
9
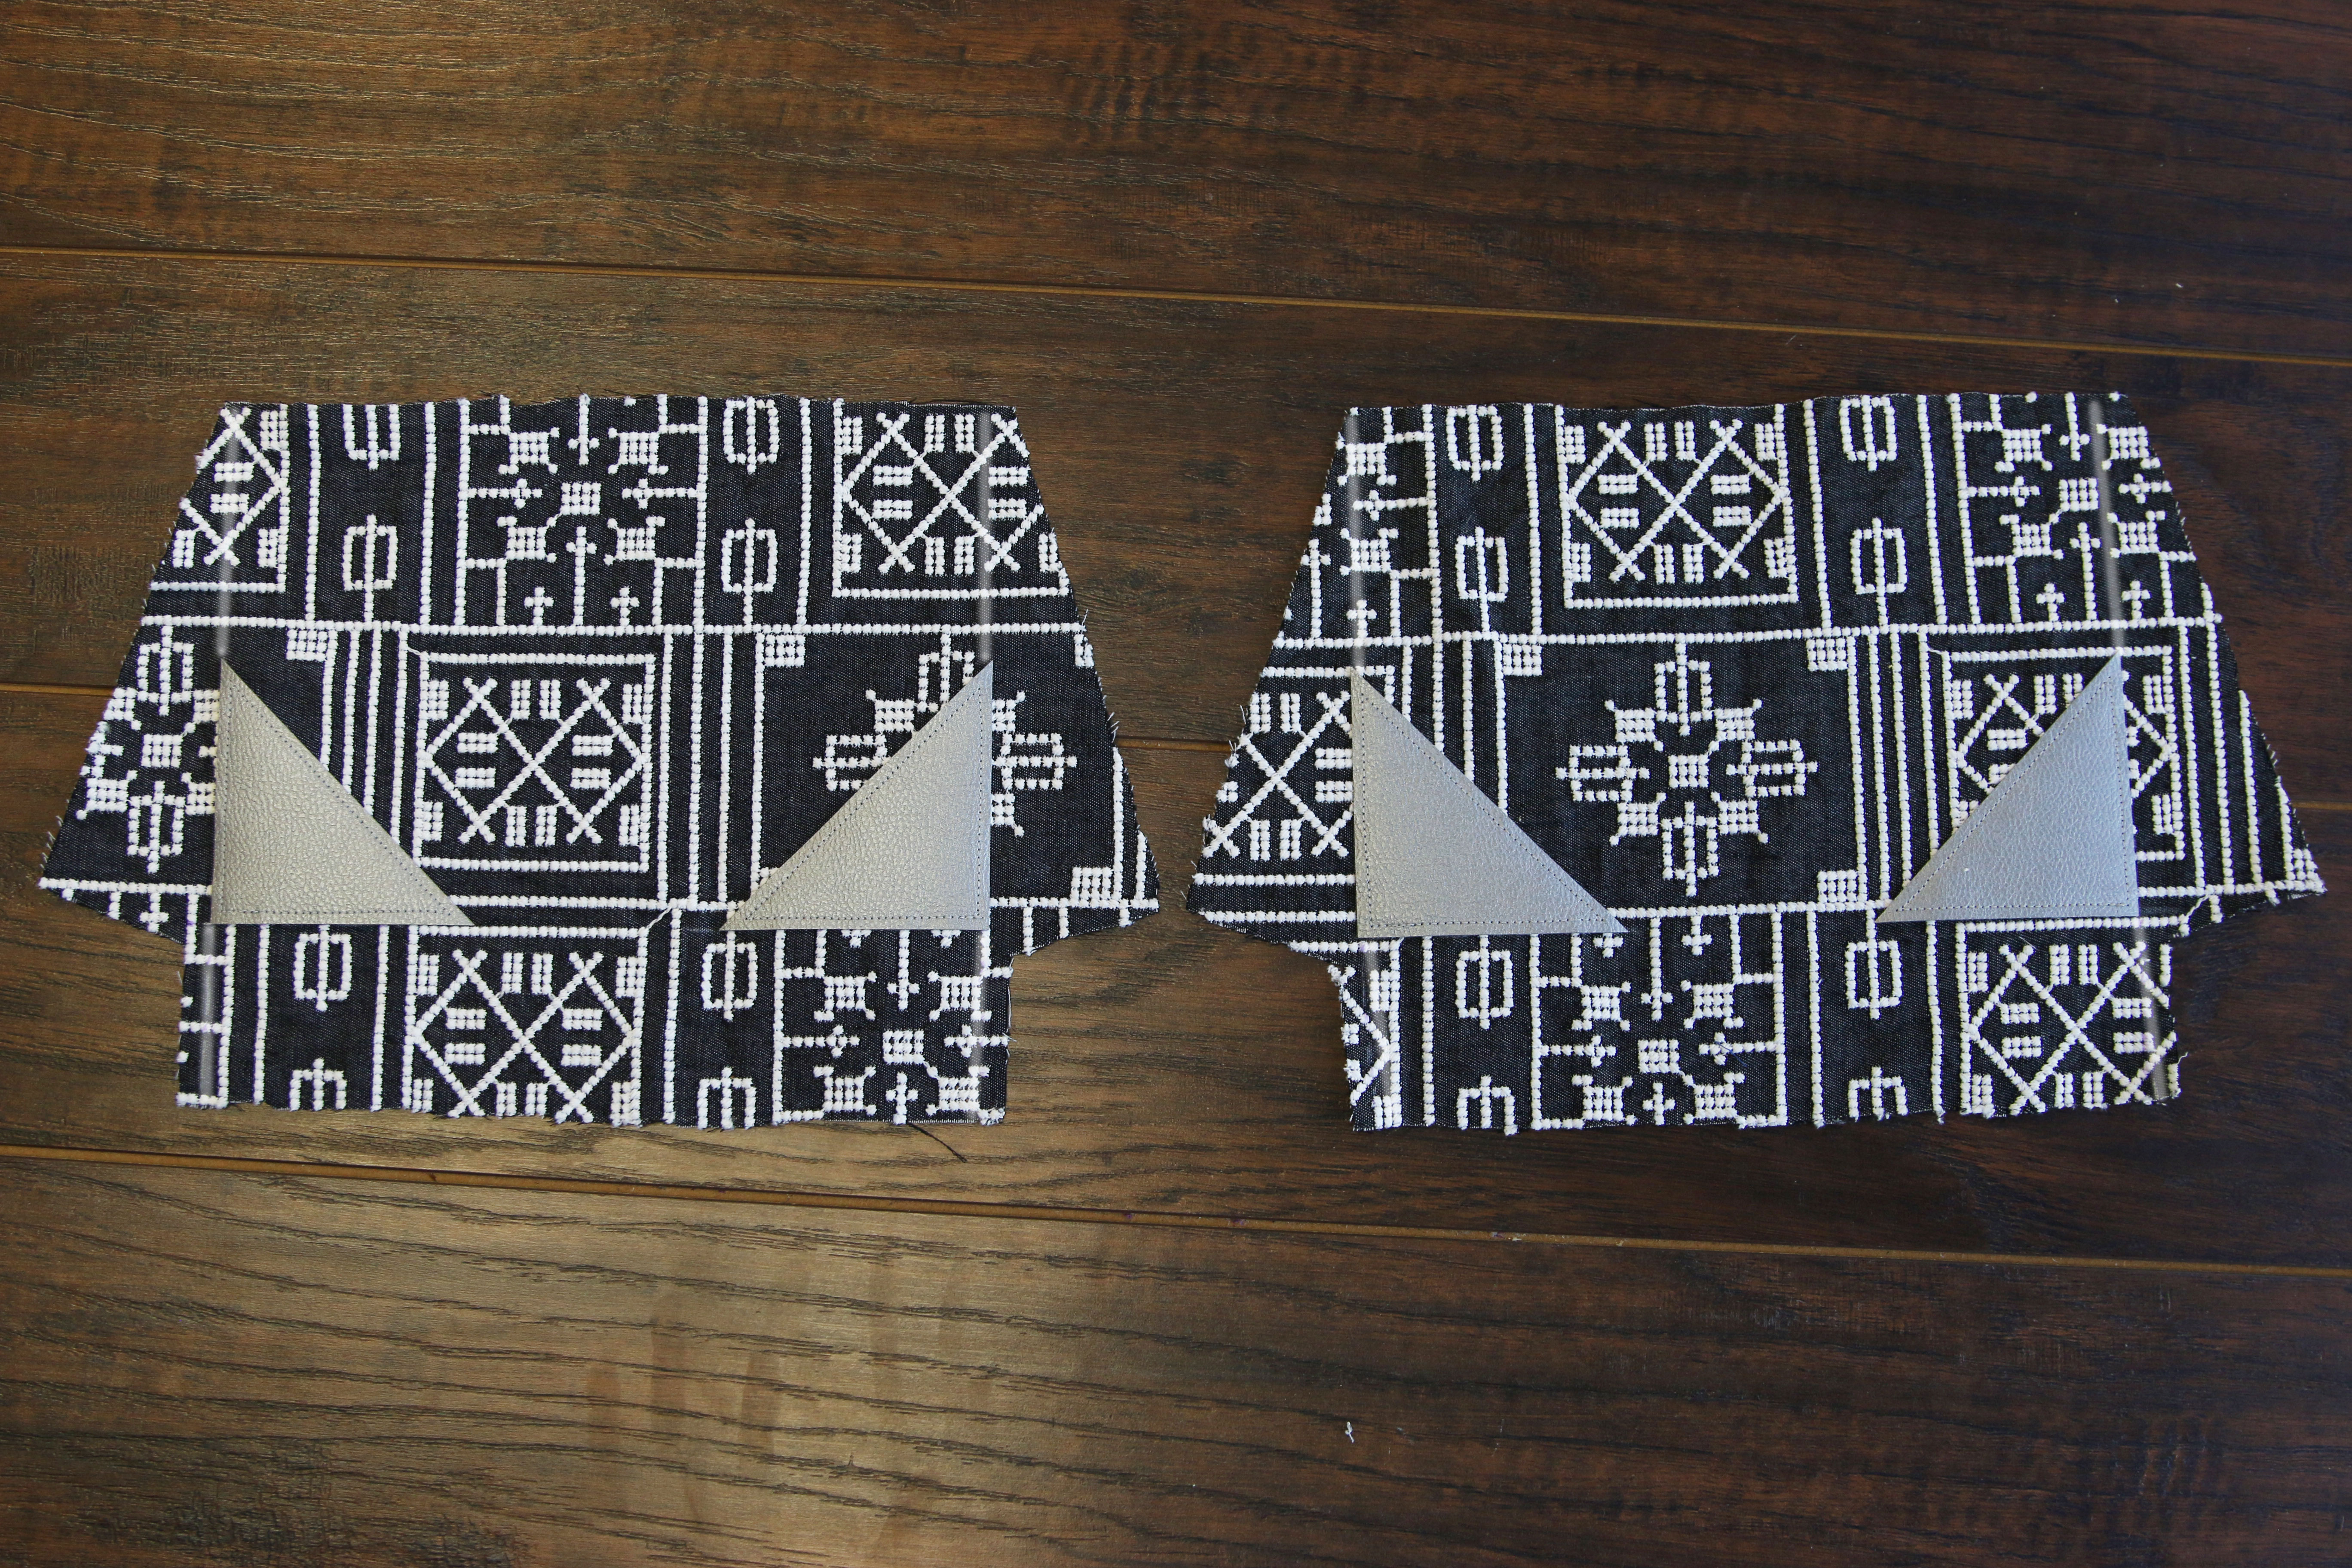
Some zipper pouches have different shaped applique pieces. Still draw the same guide lines onto the fabric, adhere and sew them in place the same way, and simply make sure to always be matching up the corners when placing them.
10
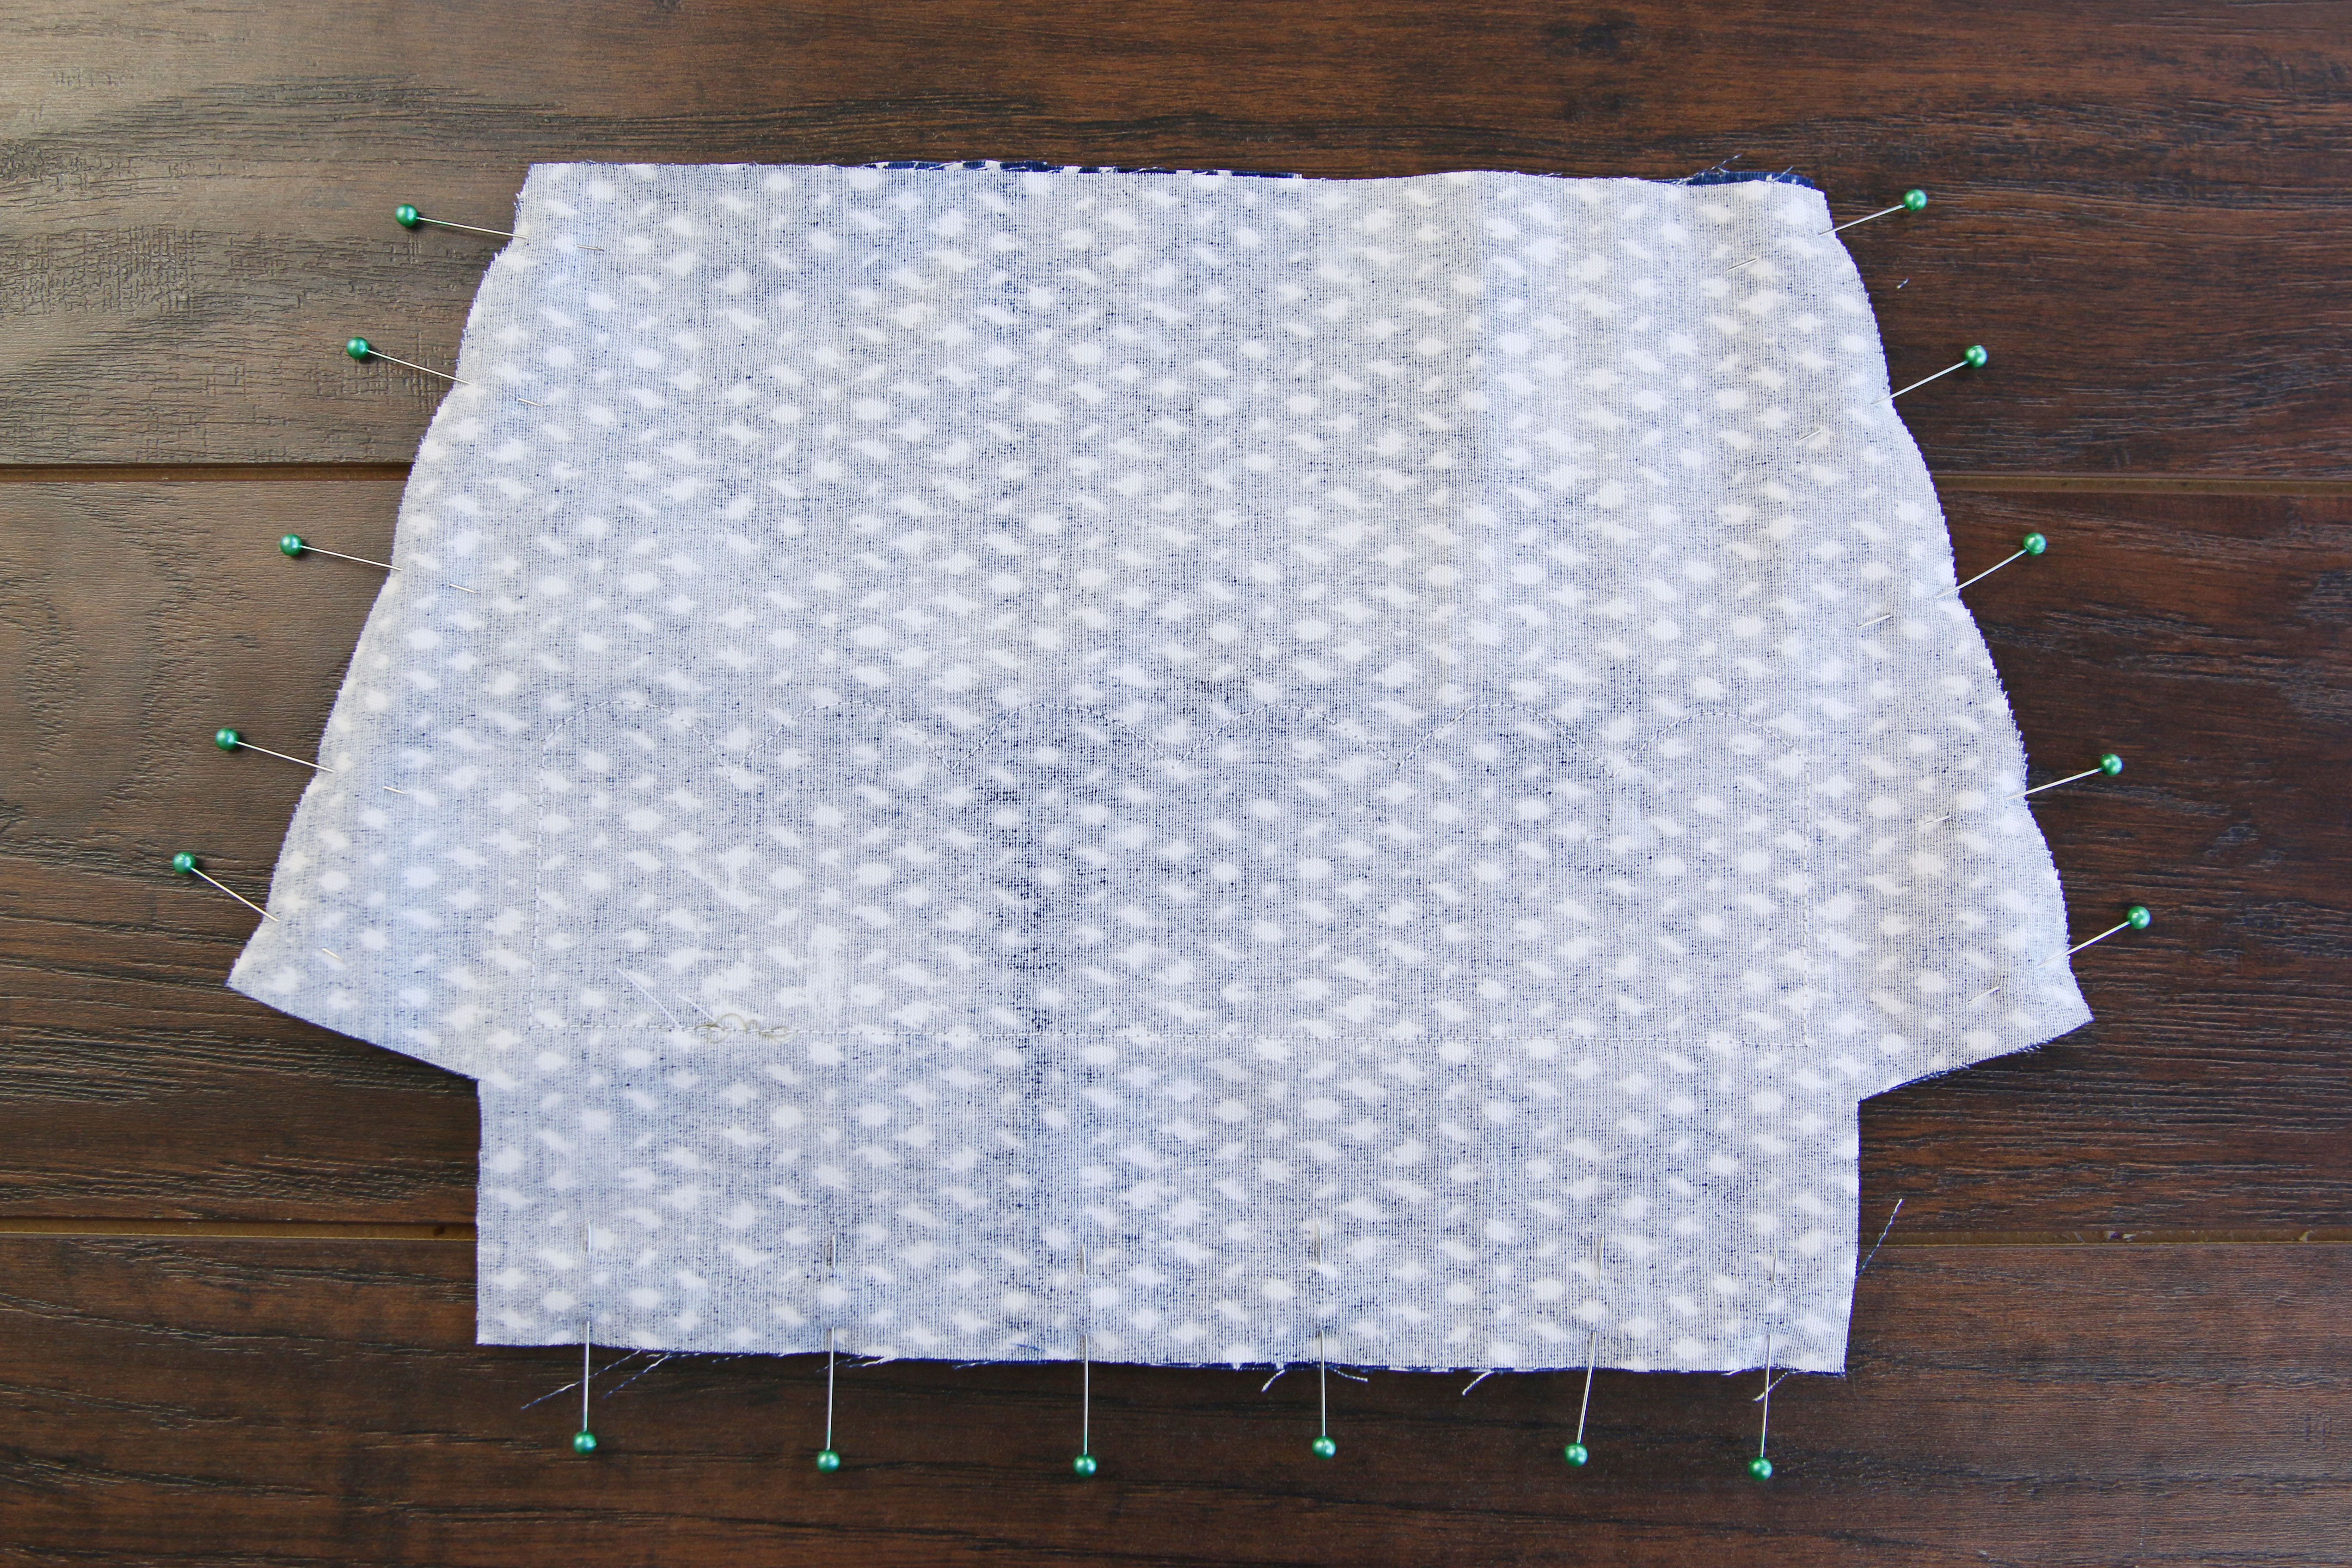
Now that the applique is in place it’s time to assemble the zipper pouch. First take the front and the back pieces (colors 1 & 3), match up the edges, and pin them together with right sides together.
11
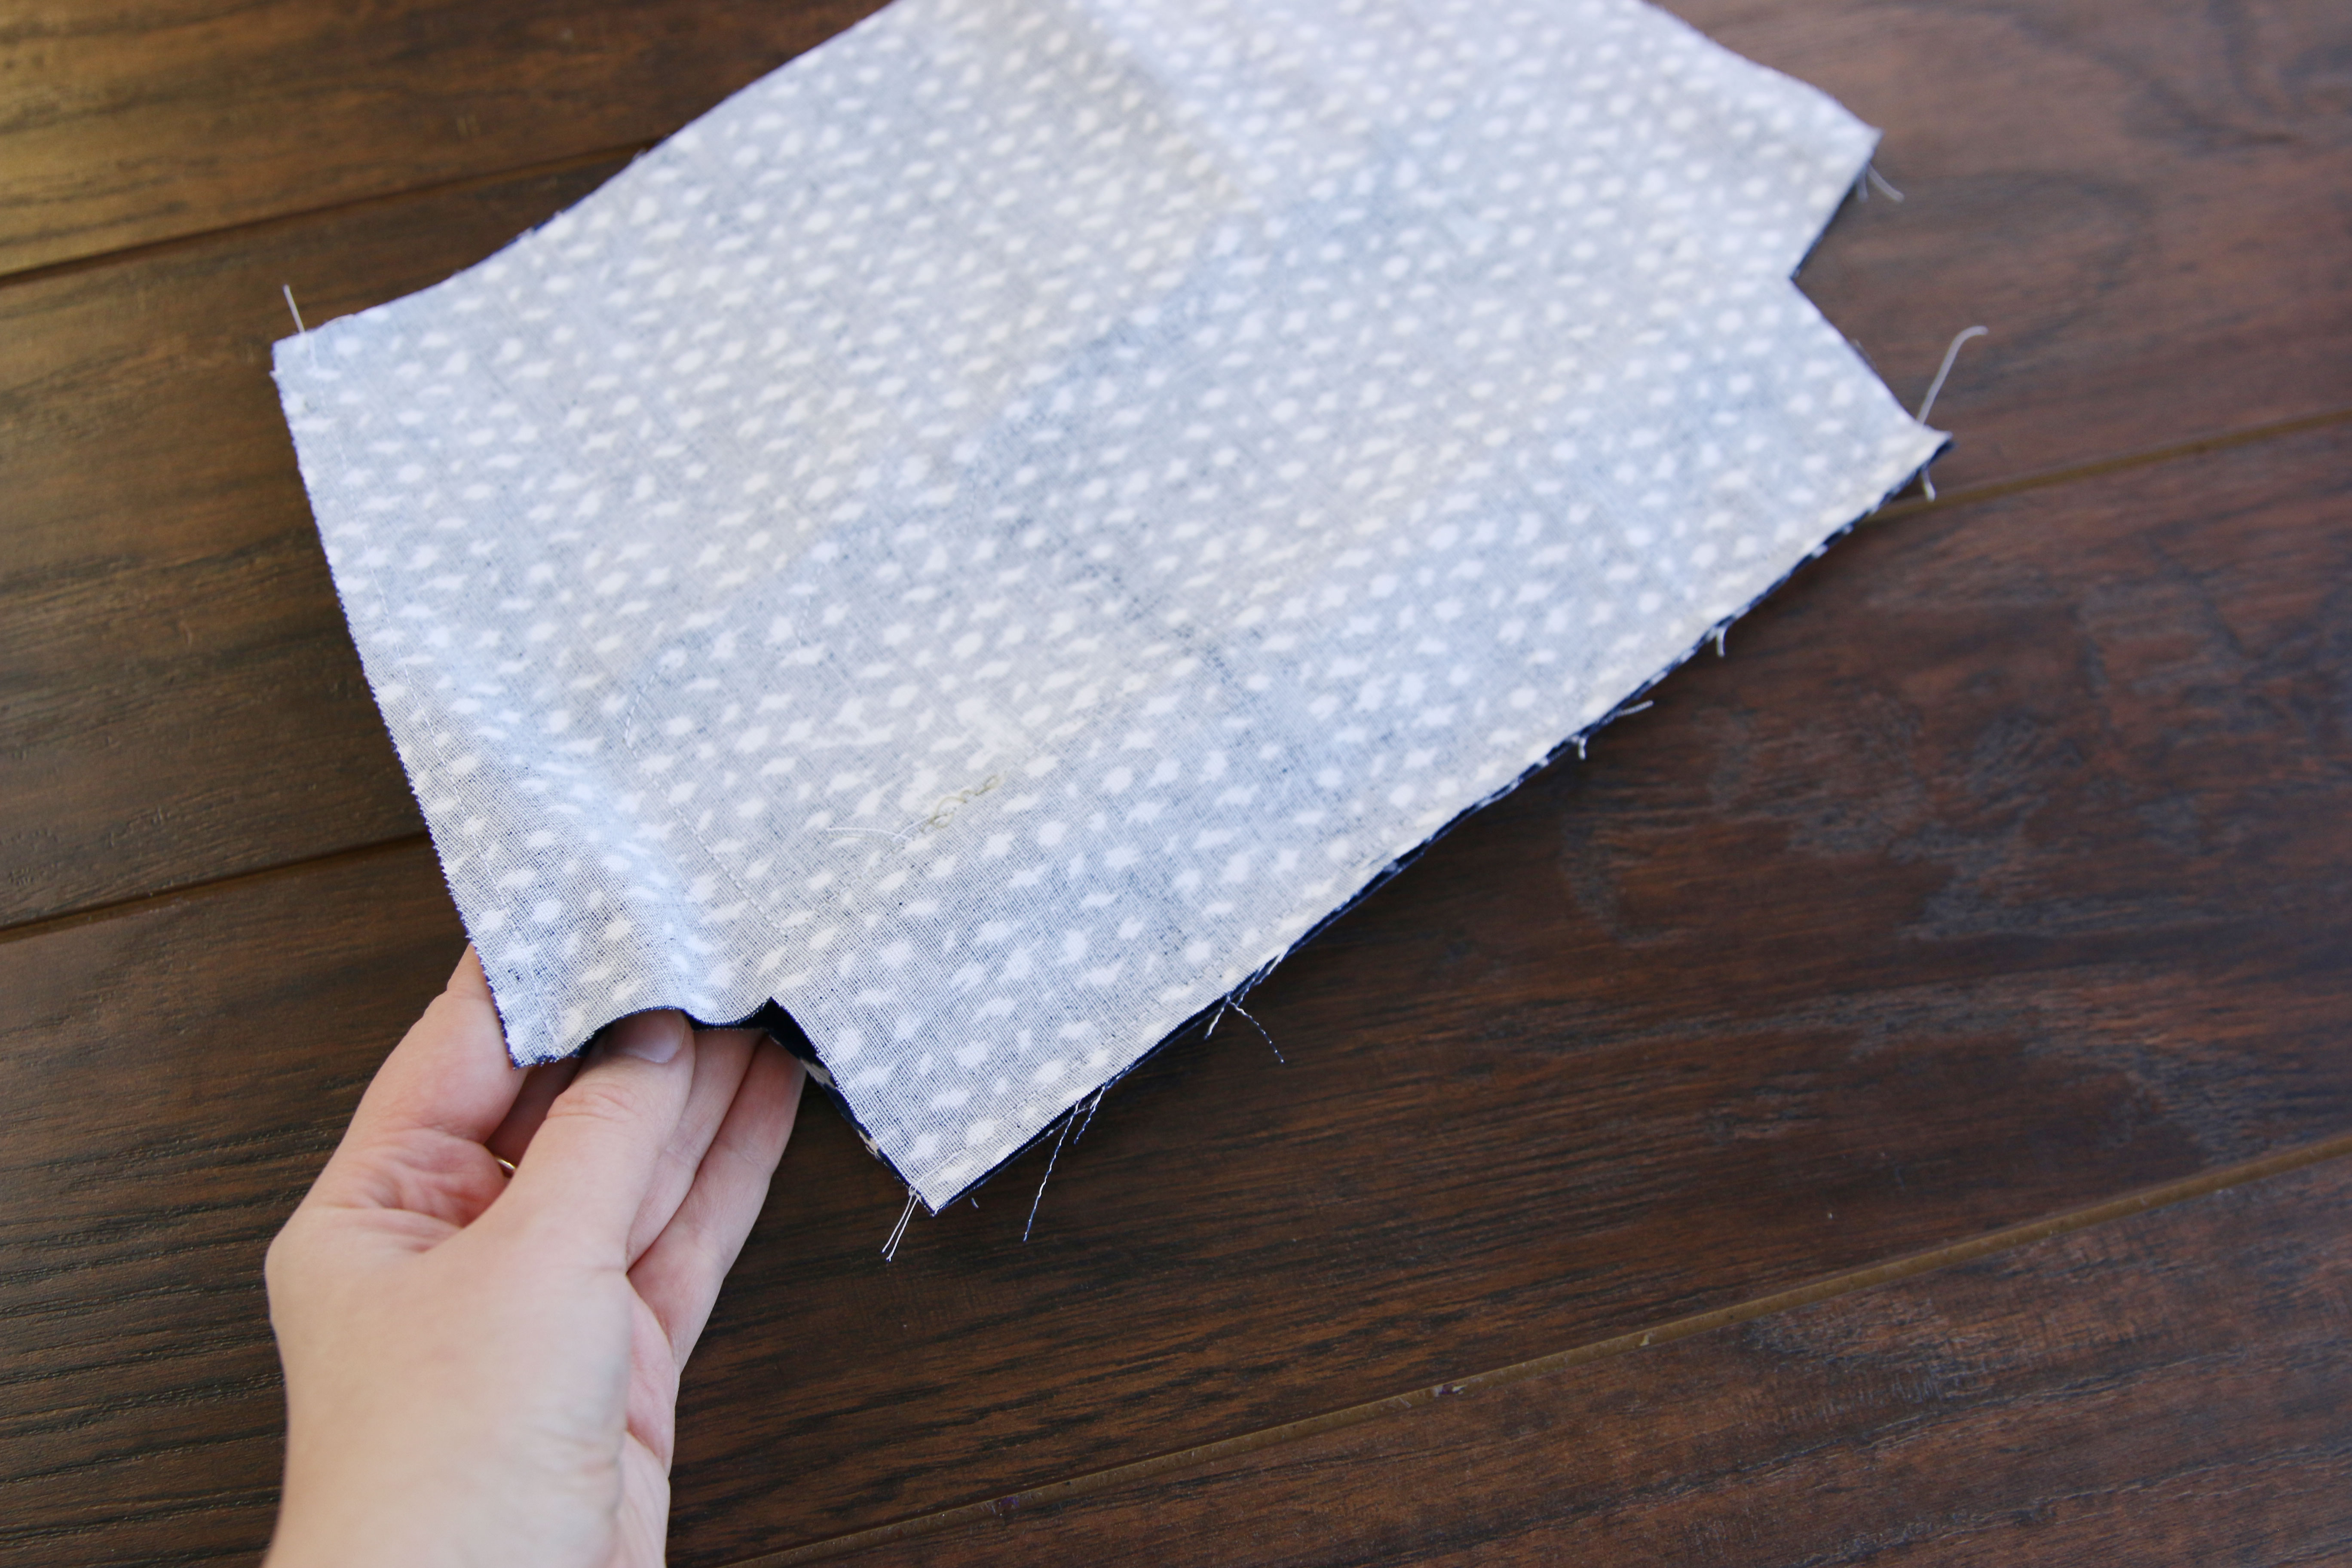
Sew a 1/4” seam along the two sides and bottom edge of the shape. Make sure to leave the top edge and two indented corners unsewn.
12
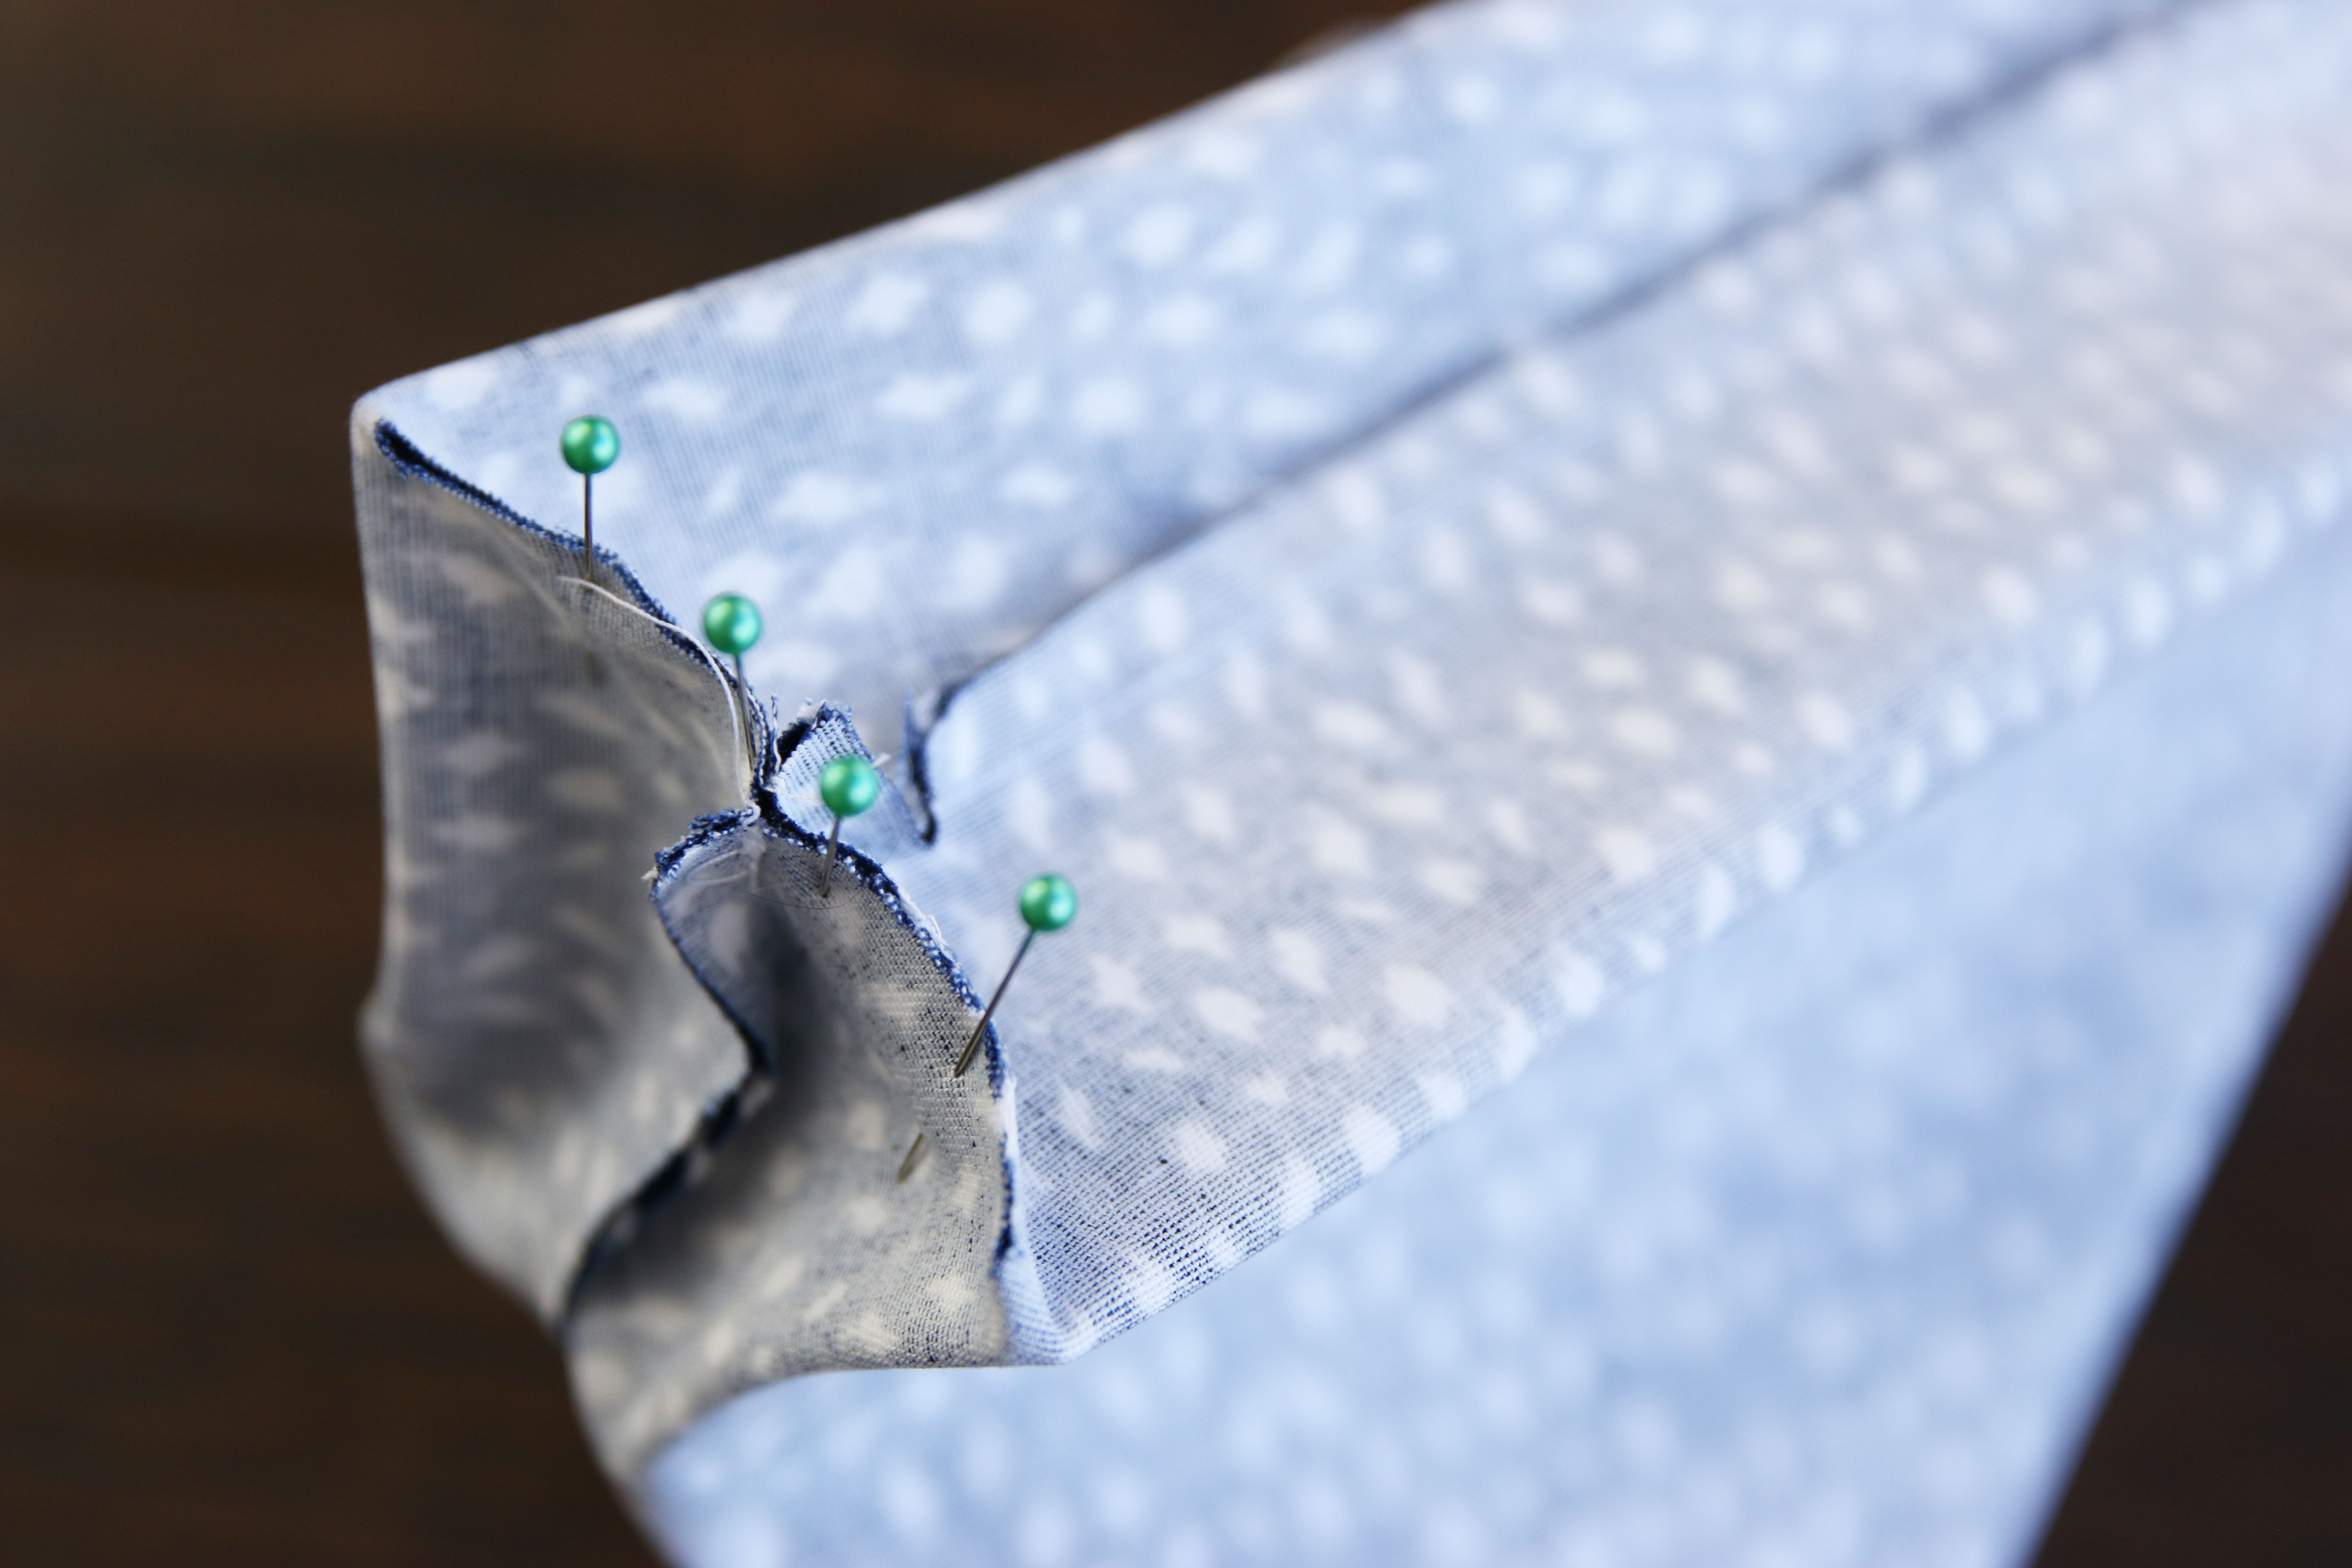
Next, open up one of the indented corners, and match up the seam and edges with right sides together. Pin along the edge.
13
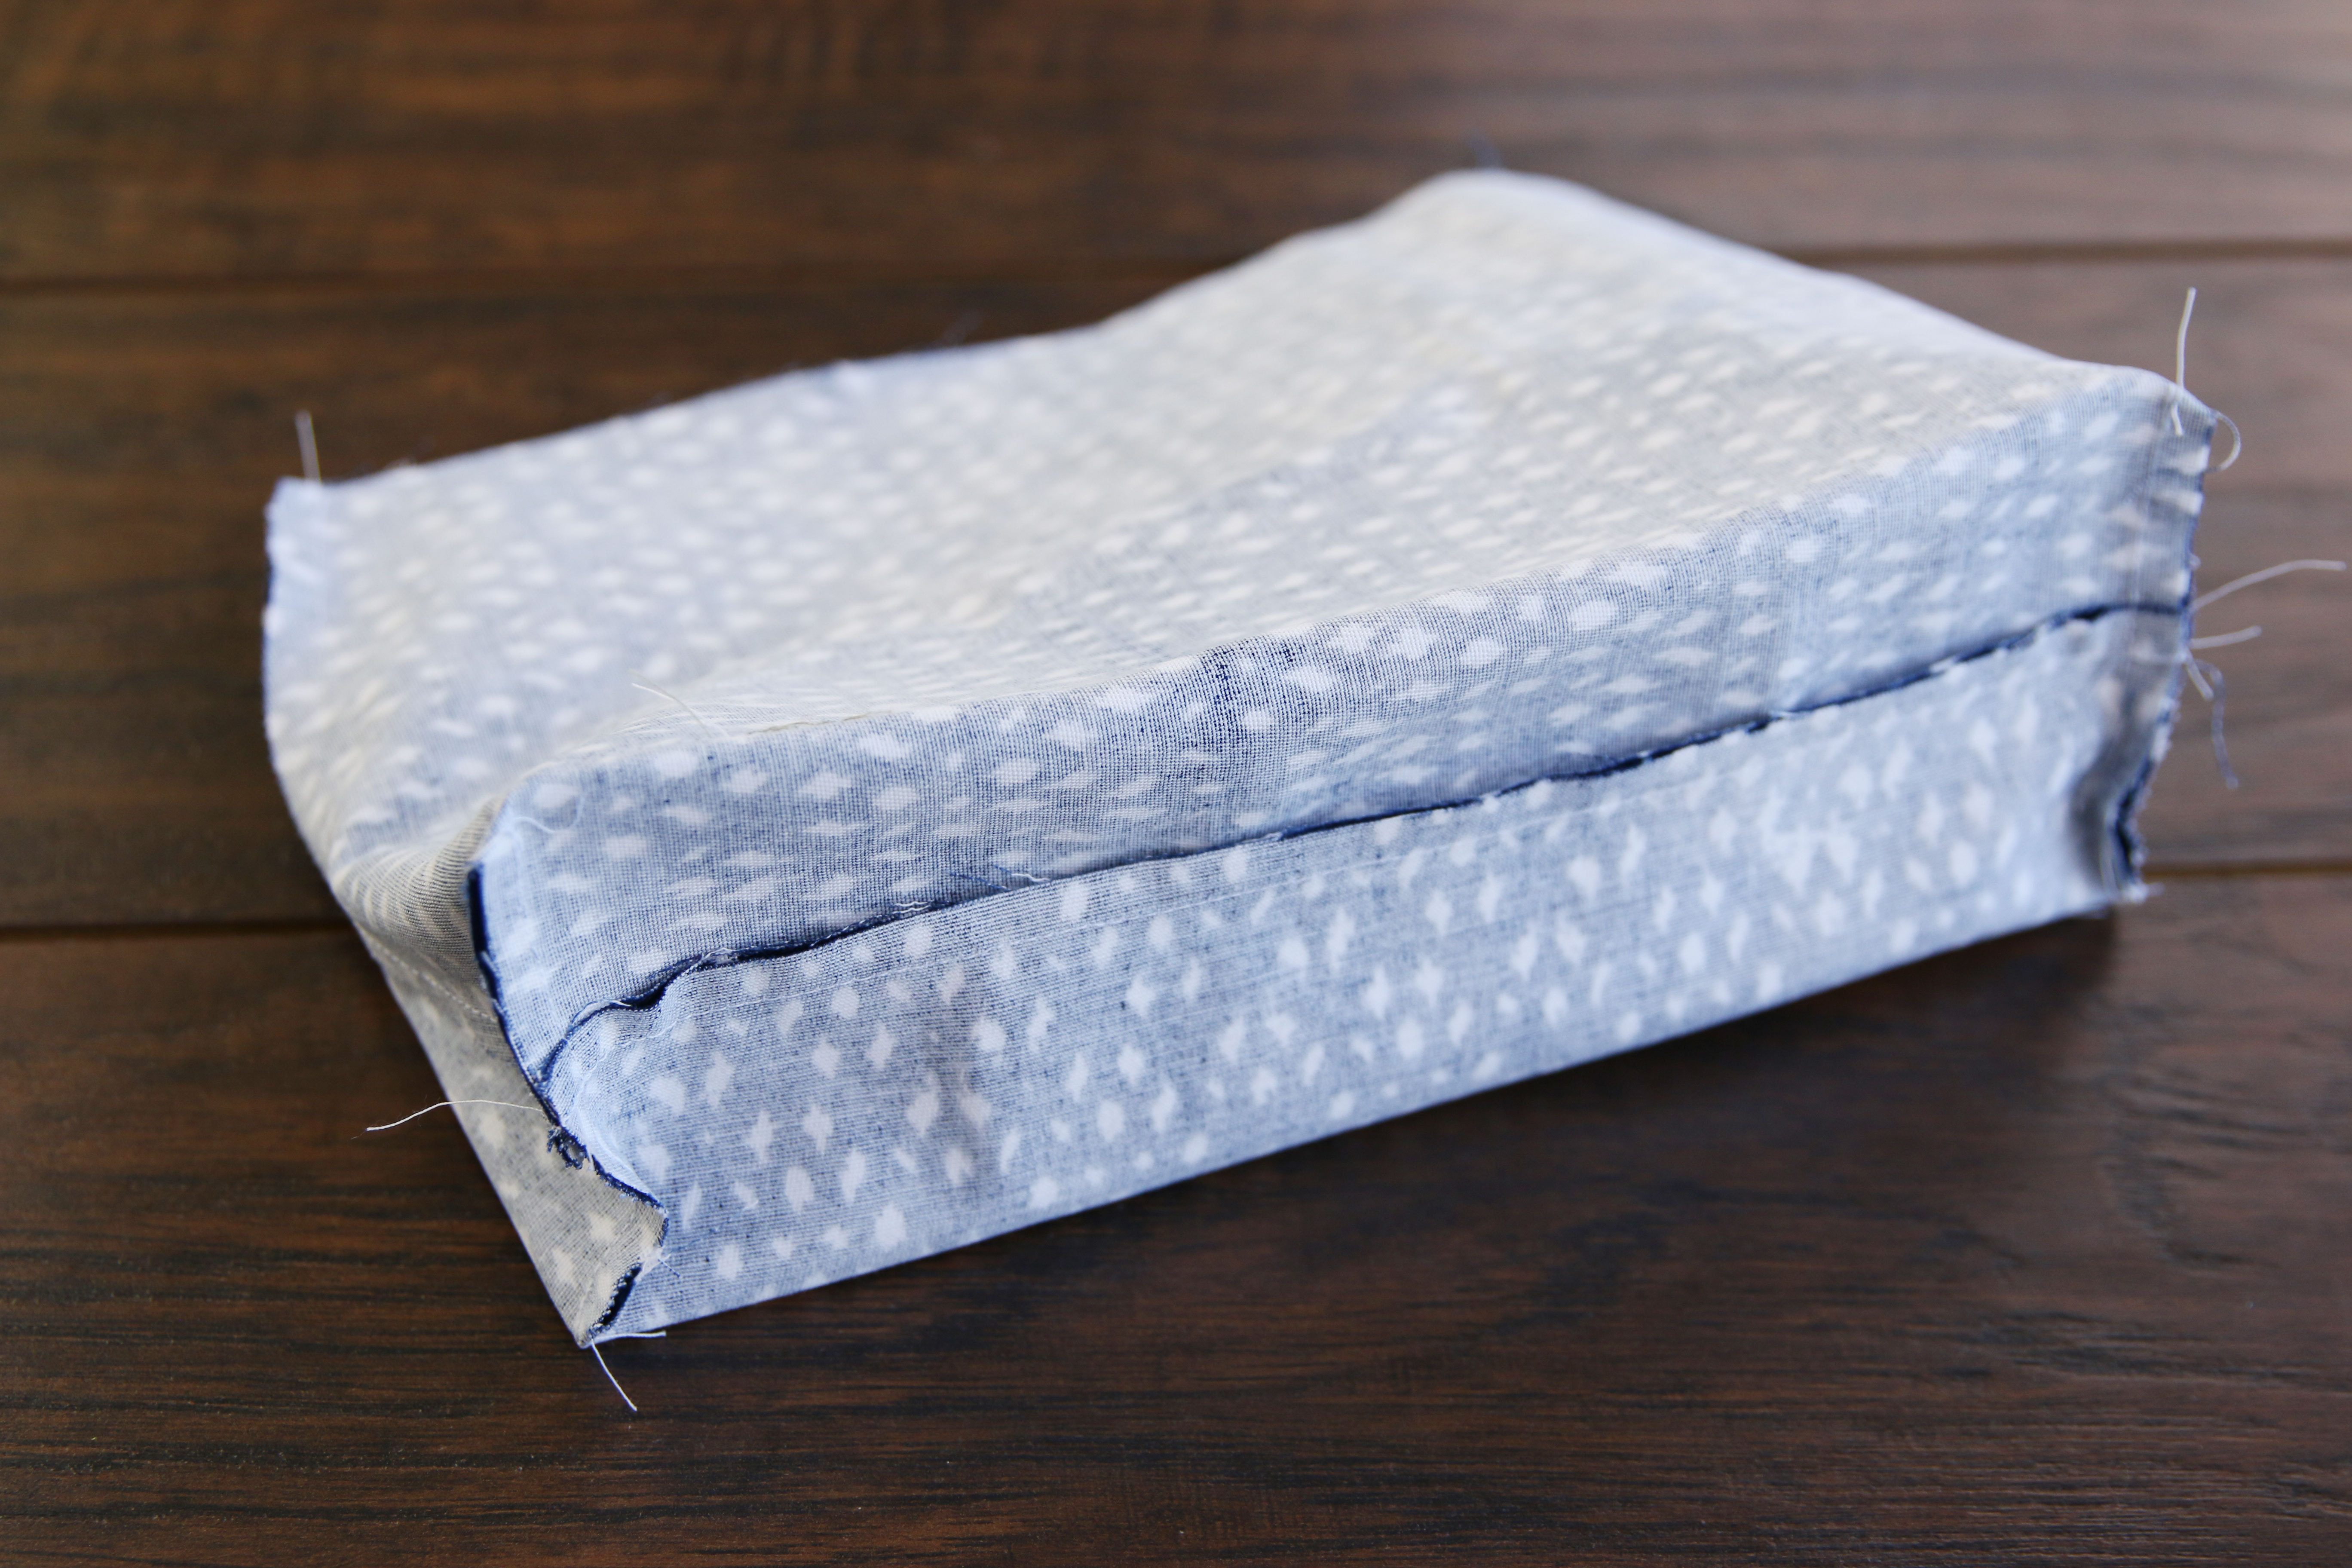
Then sew a 1/4” seam along the pinned section. Repeat for the opposite indented corner, making sure to match up the seam. This completes the outer shell of the zipper purse.
14
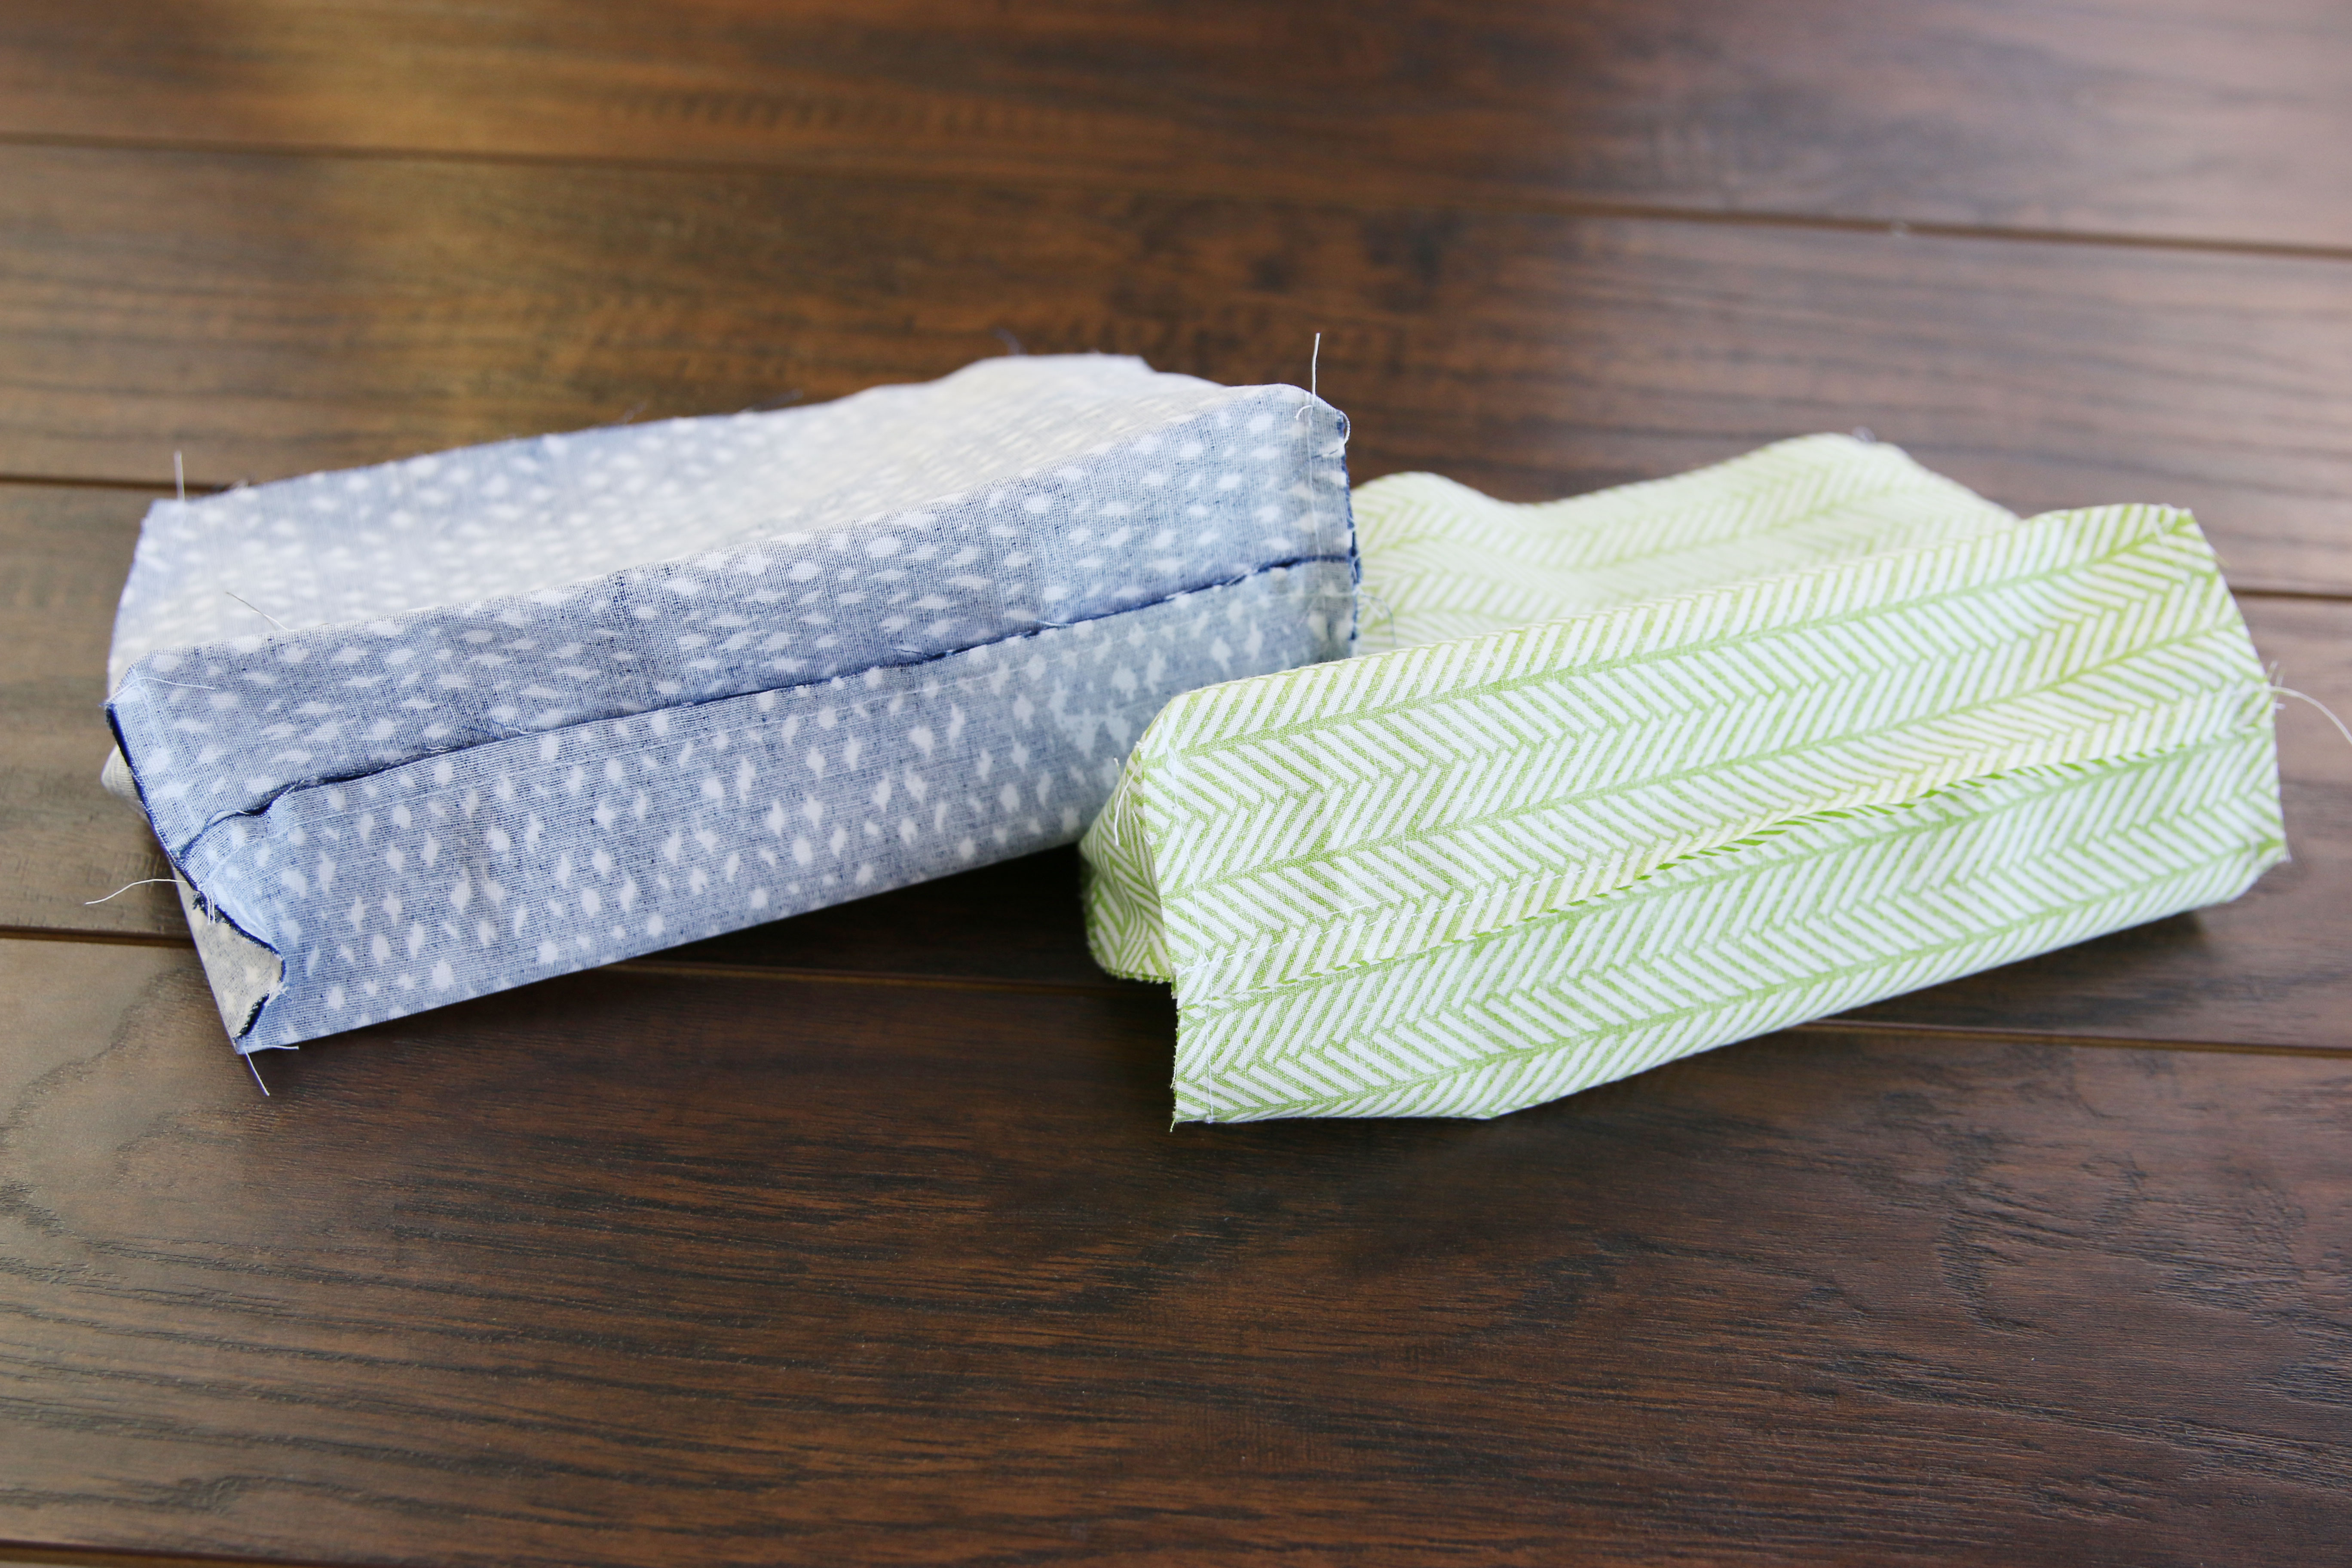
Then take the front and back lining pieces (color 2), and repeat the previous steps to sew them together to make the lining of the zipper purse.
15
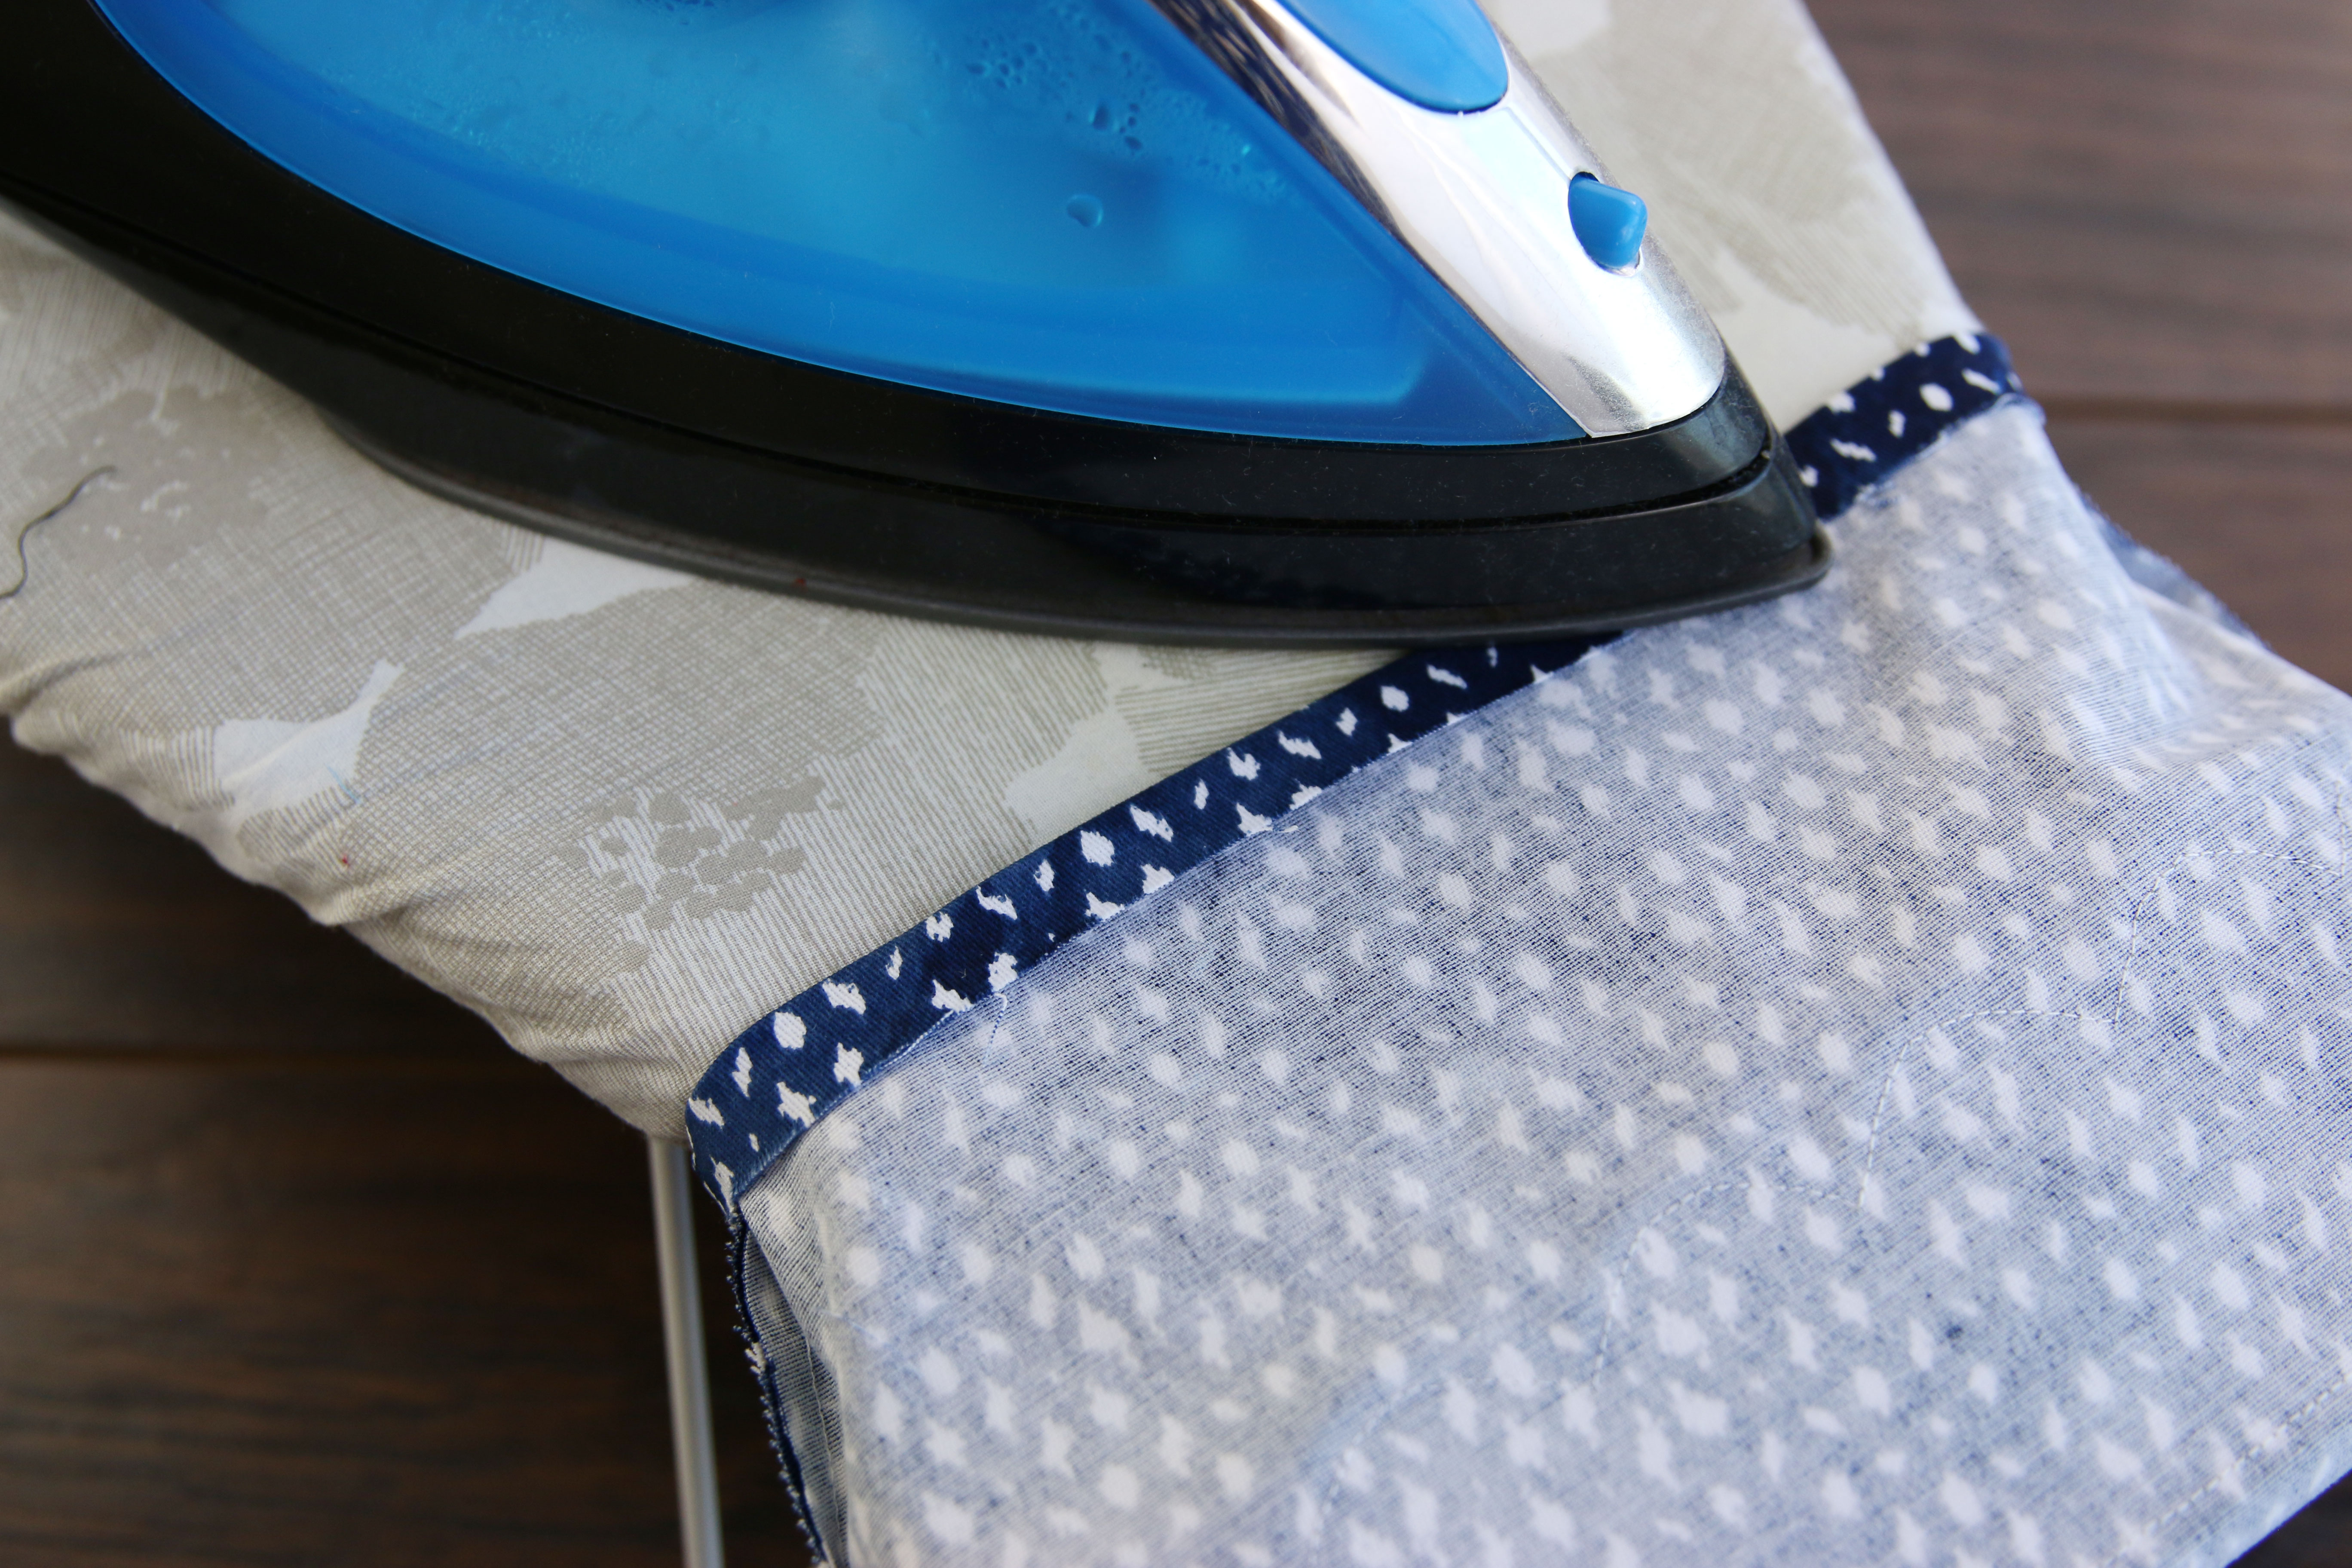
Once the lining and outer shell are completed, press the raw, top edge of the outer shell in 1/2”.
16
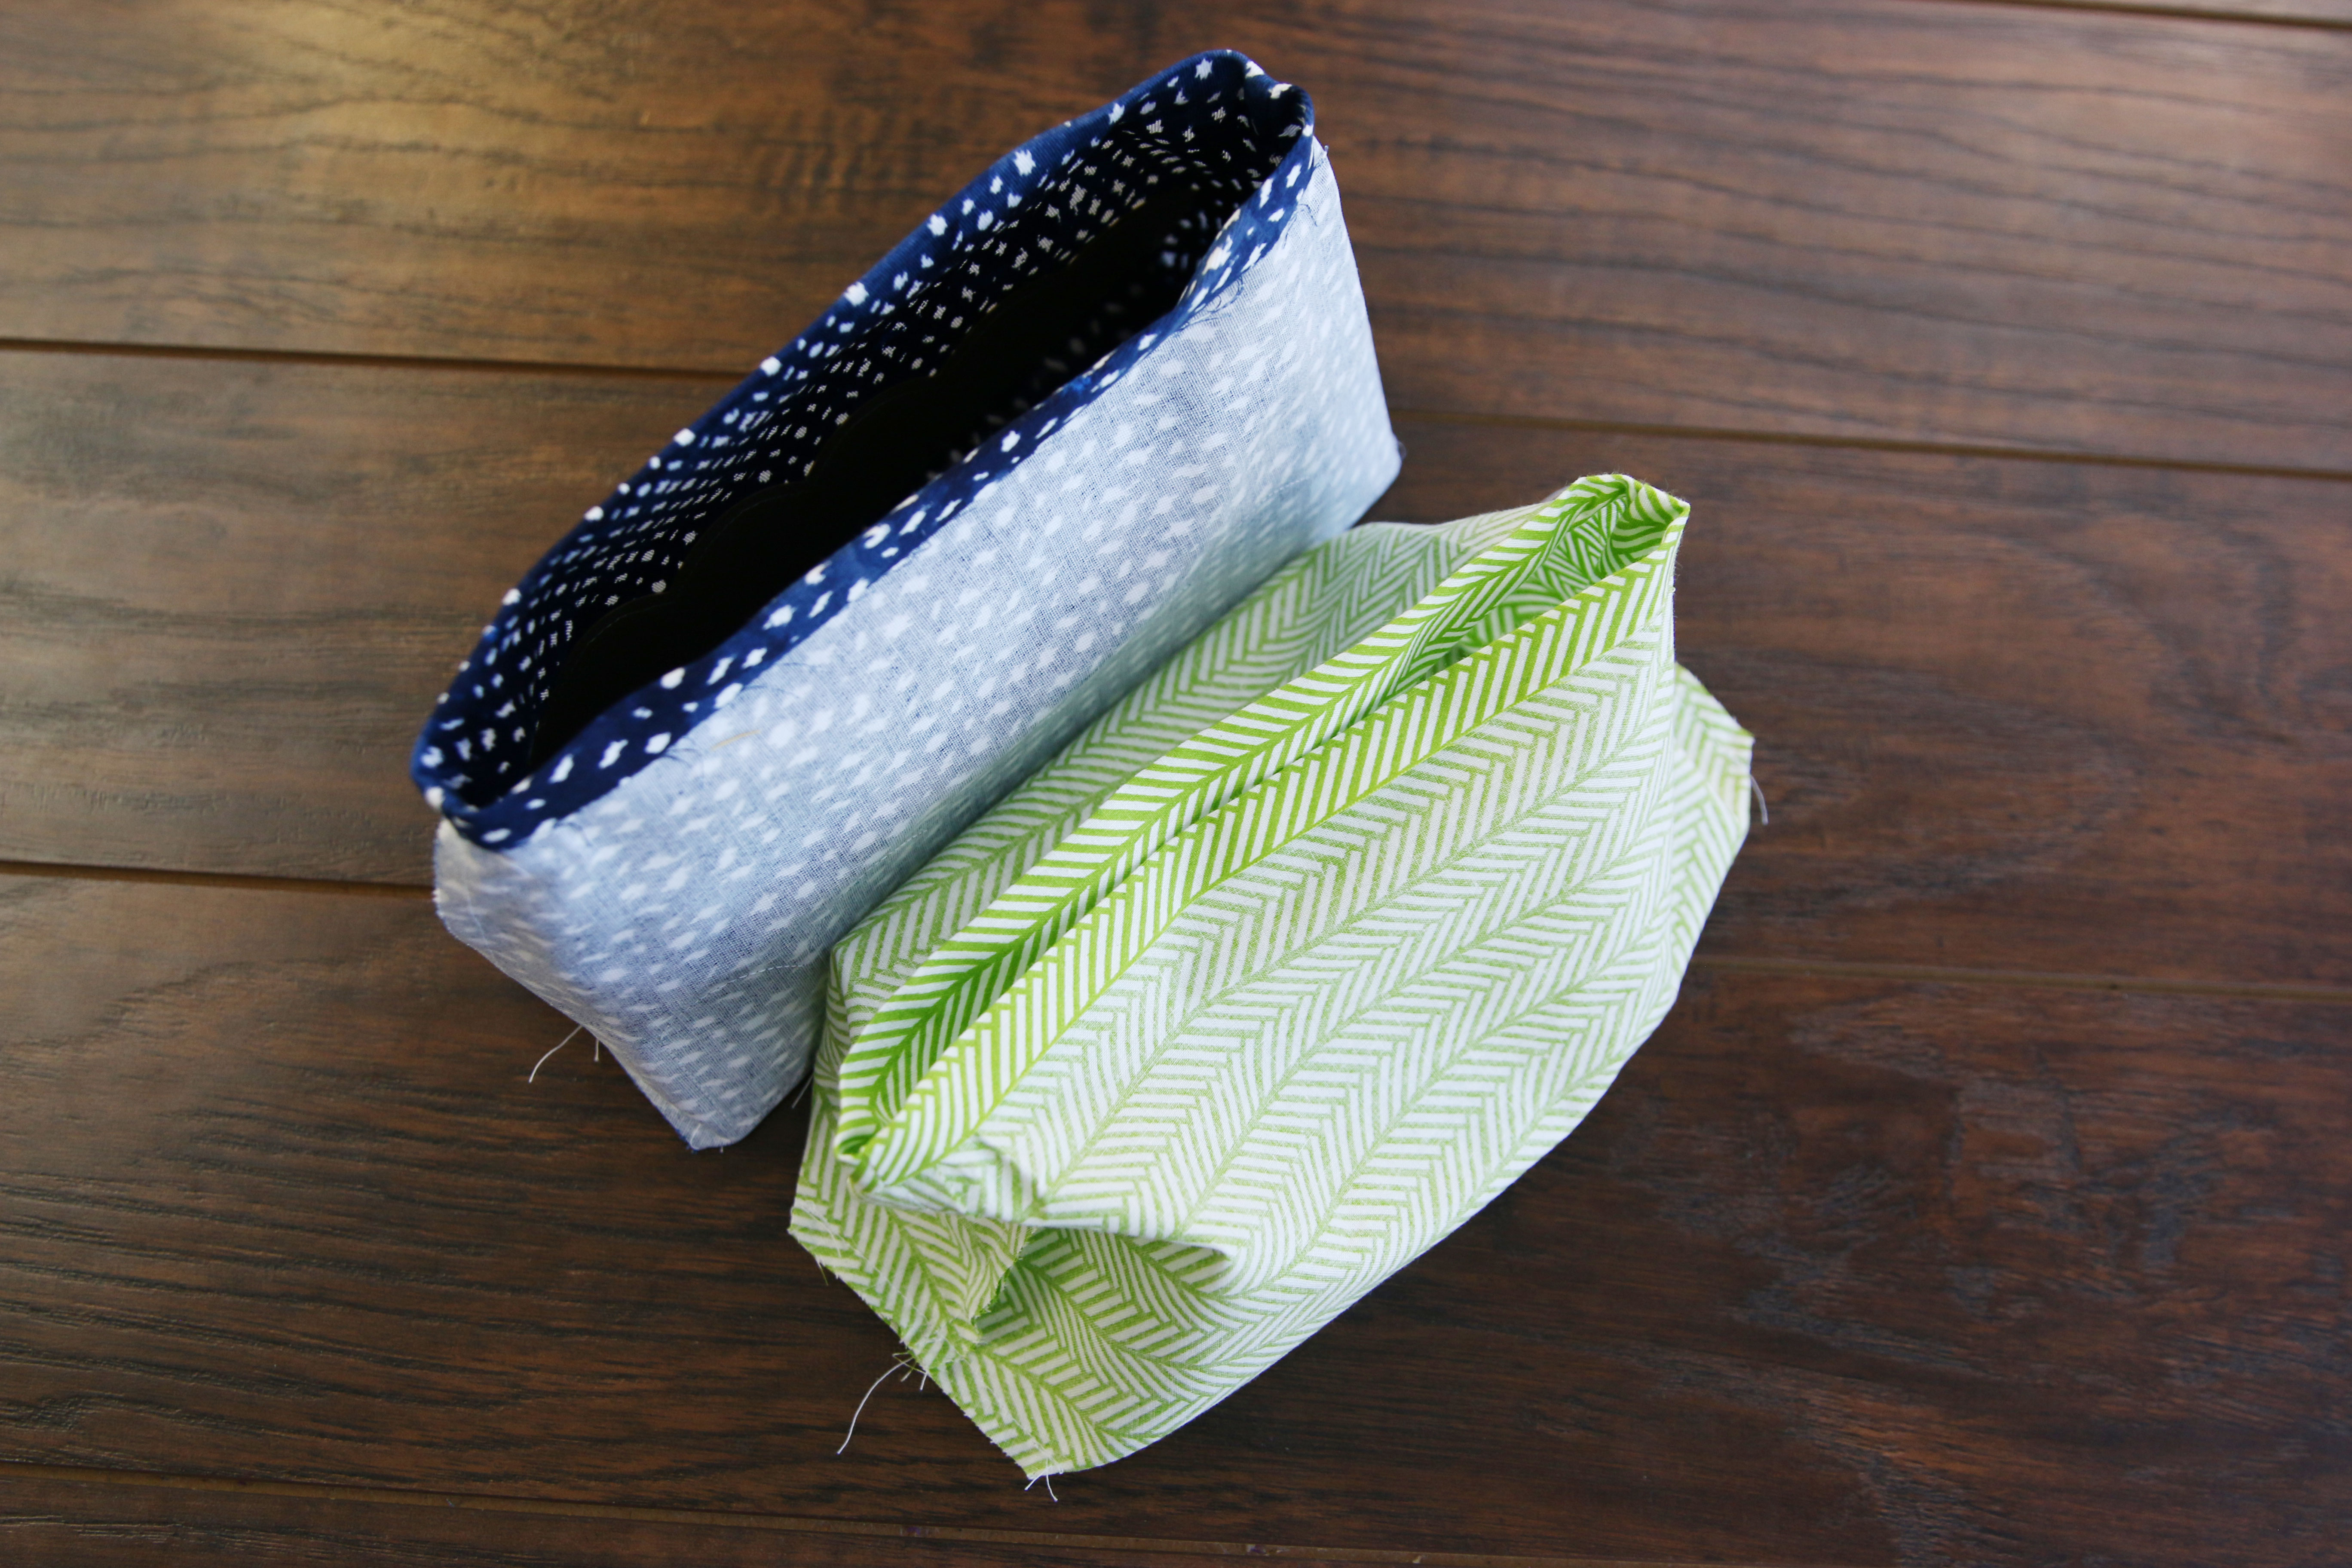
Repeat with the lining.
17
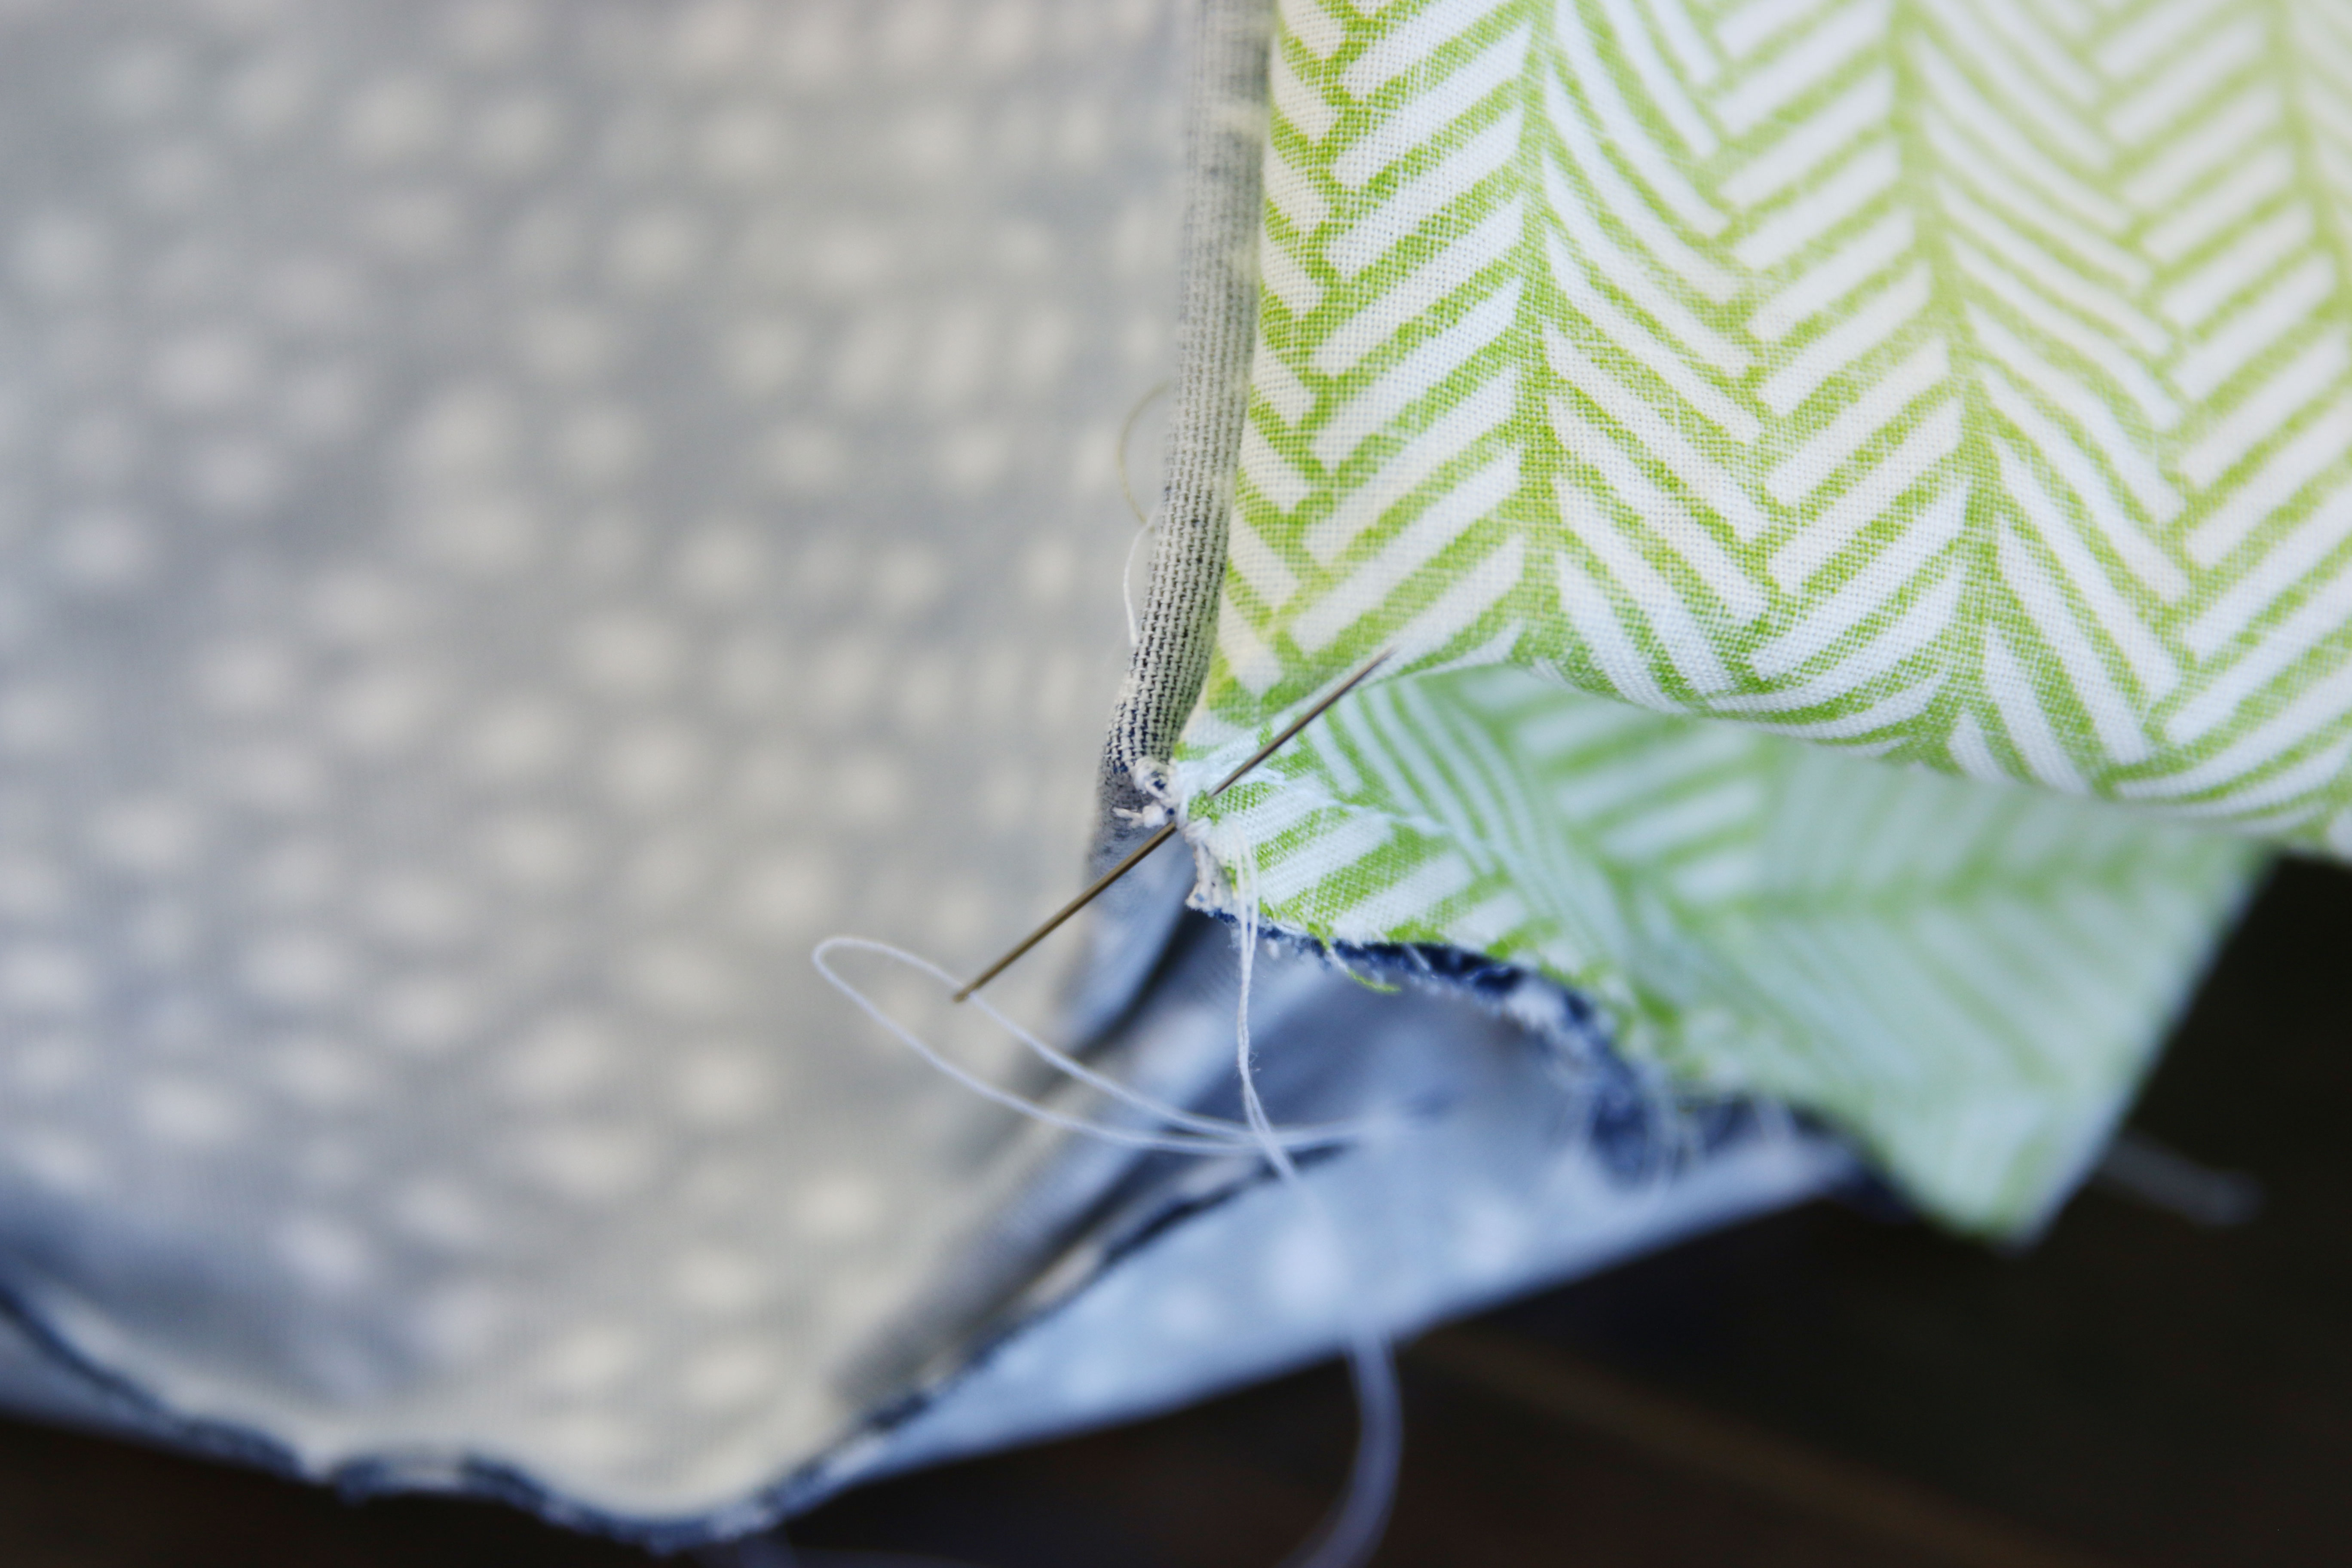
Then with both the lining and outer shell still wrong side out, match them up with the bottom sides together. Then use a hand sewing needle and thread to sew one bottom corner of the outer shell to the matched up bottom corner of the lining. Make sure to sew them together in the seam allowance, so it won’t be seen once the zipper pouch is finished.
18
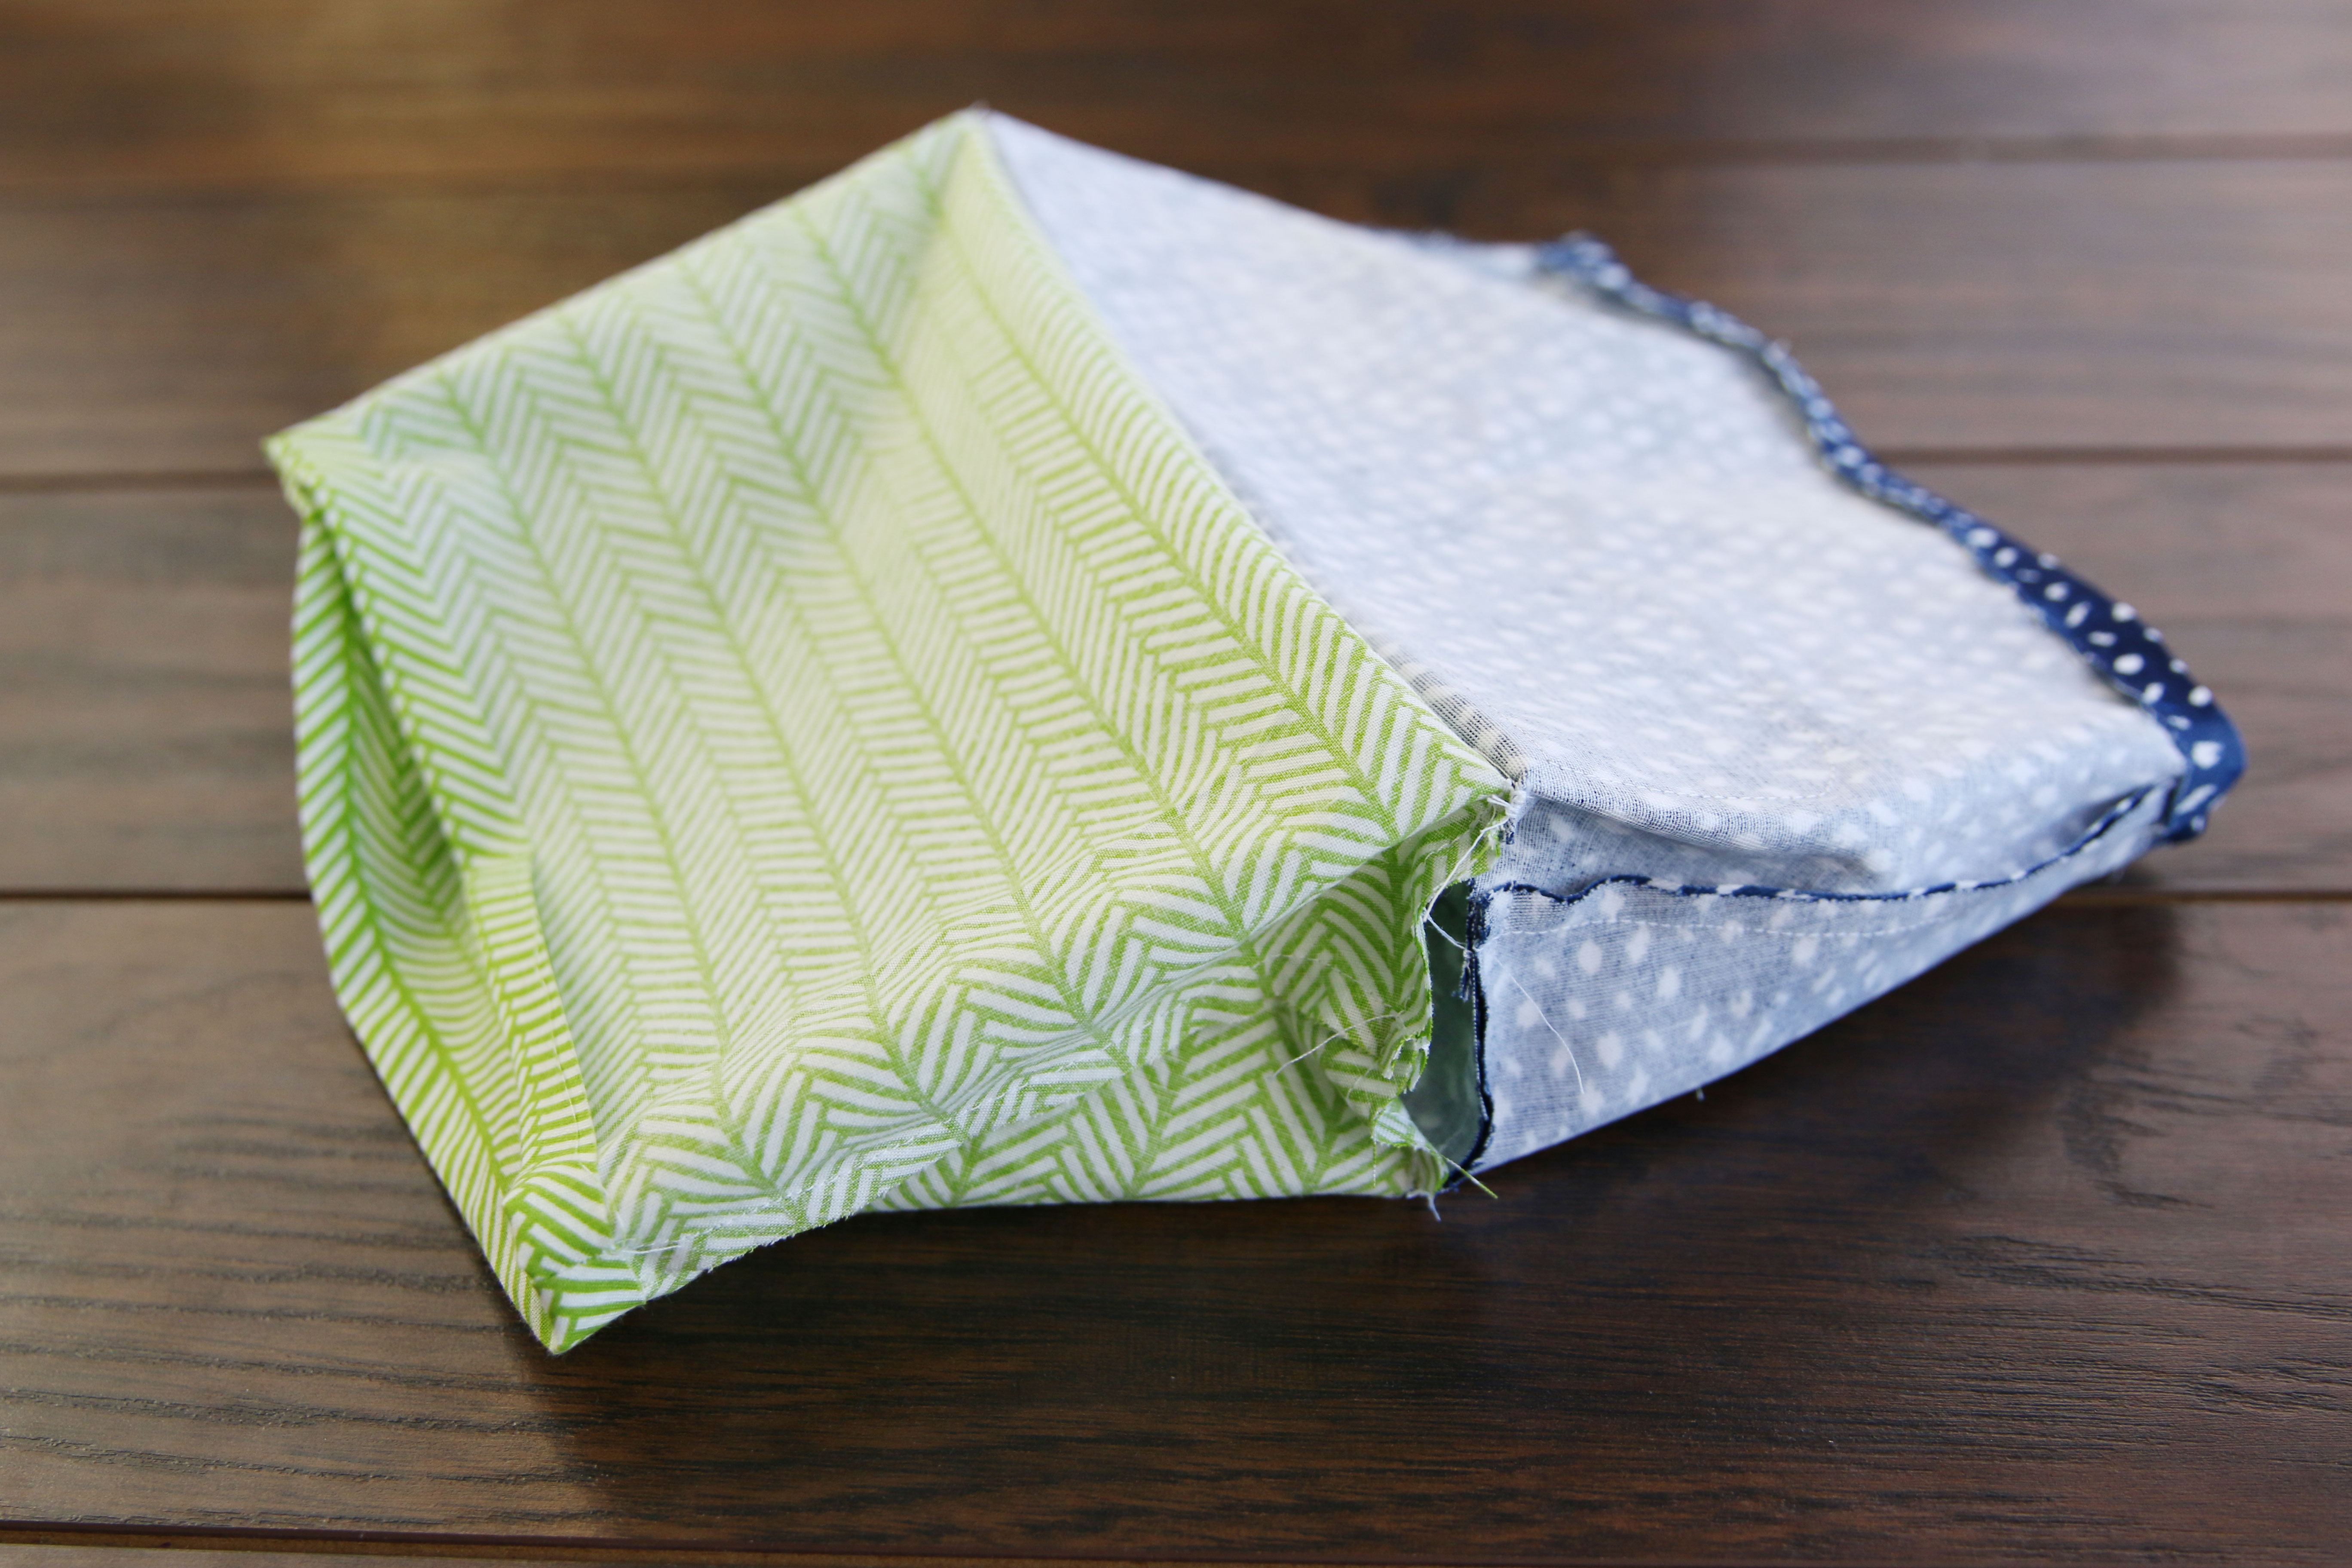
Repeat to sew all four of the outer shell corners to the correct lining corners.
19
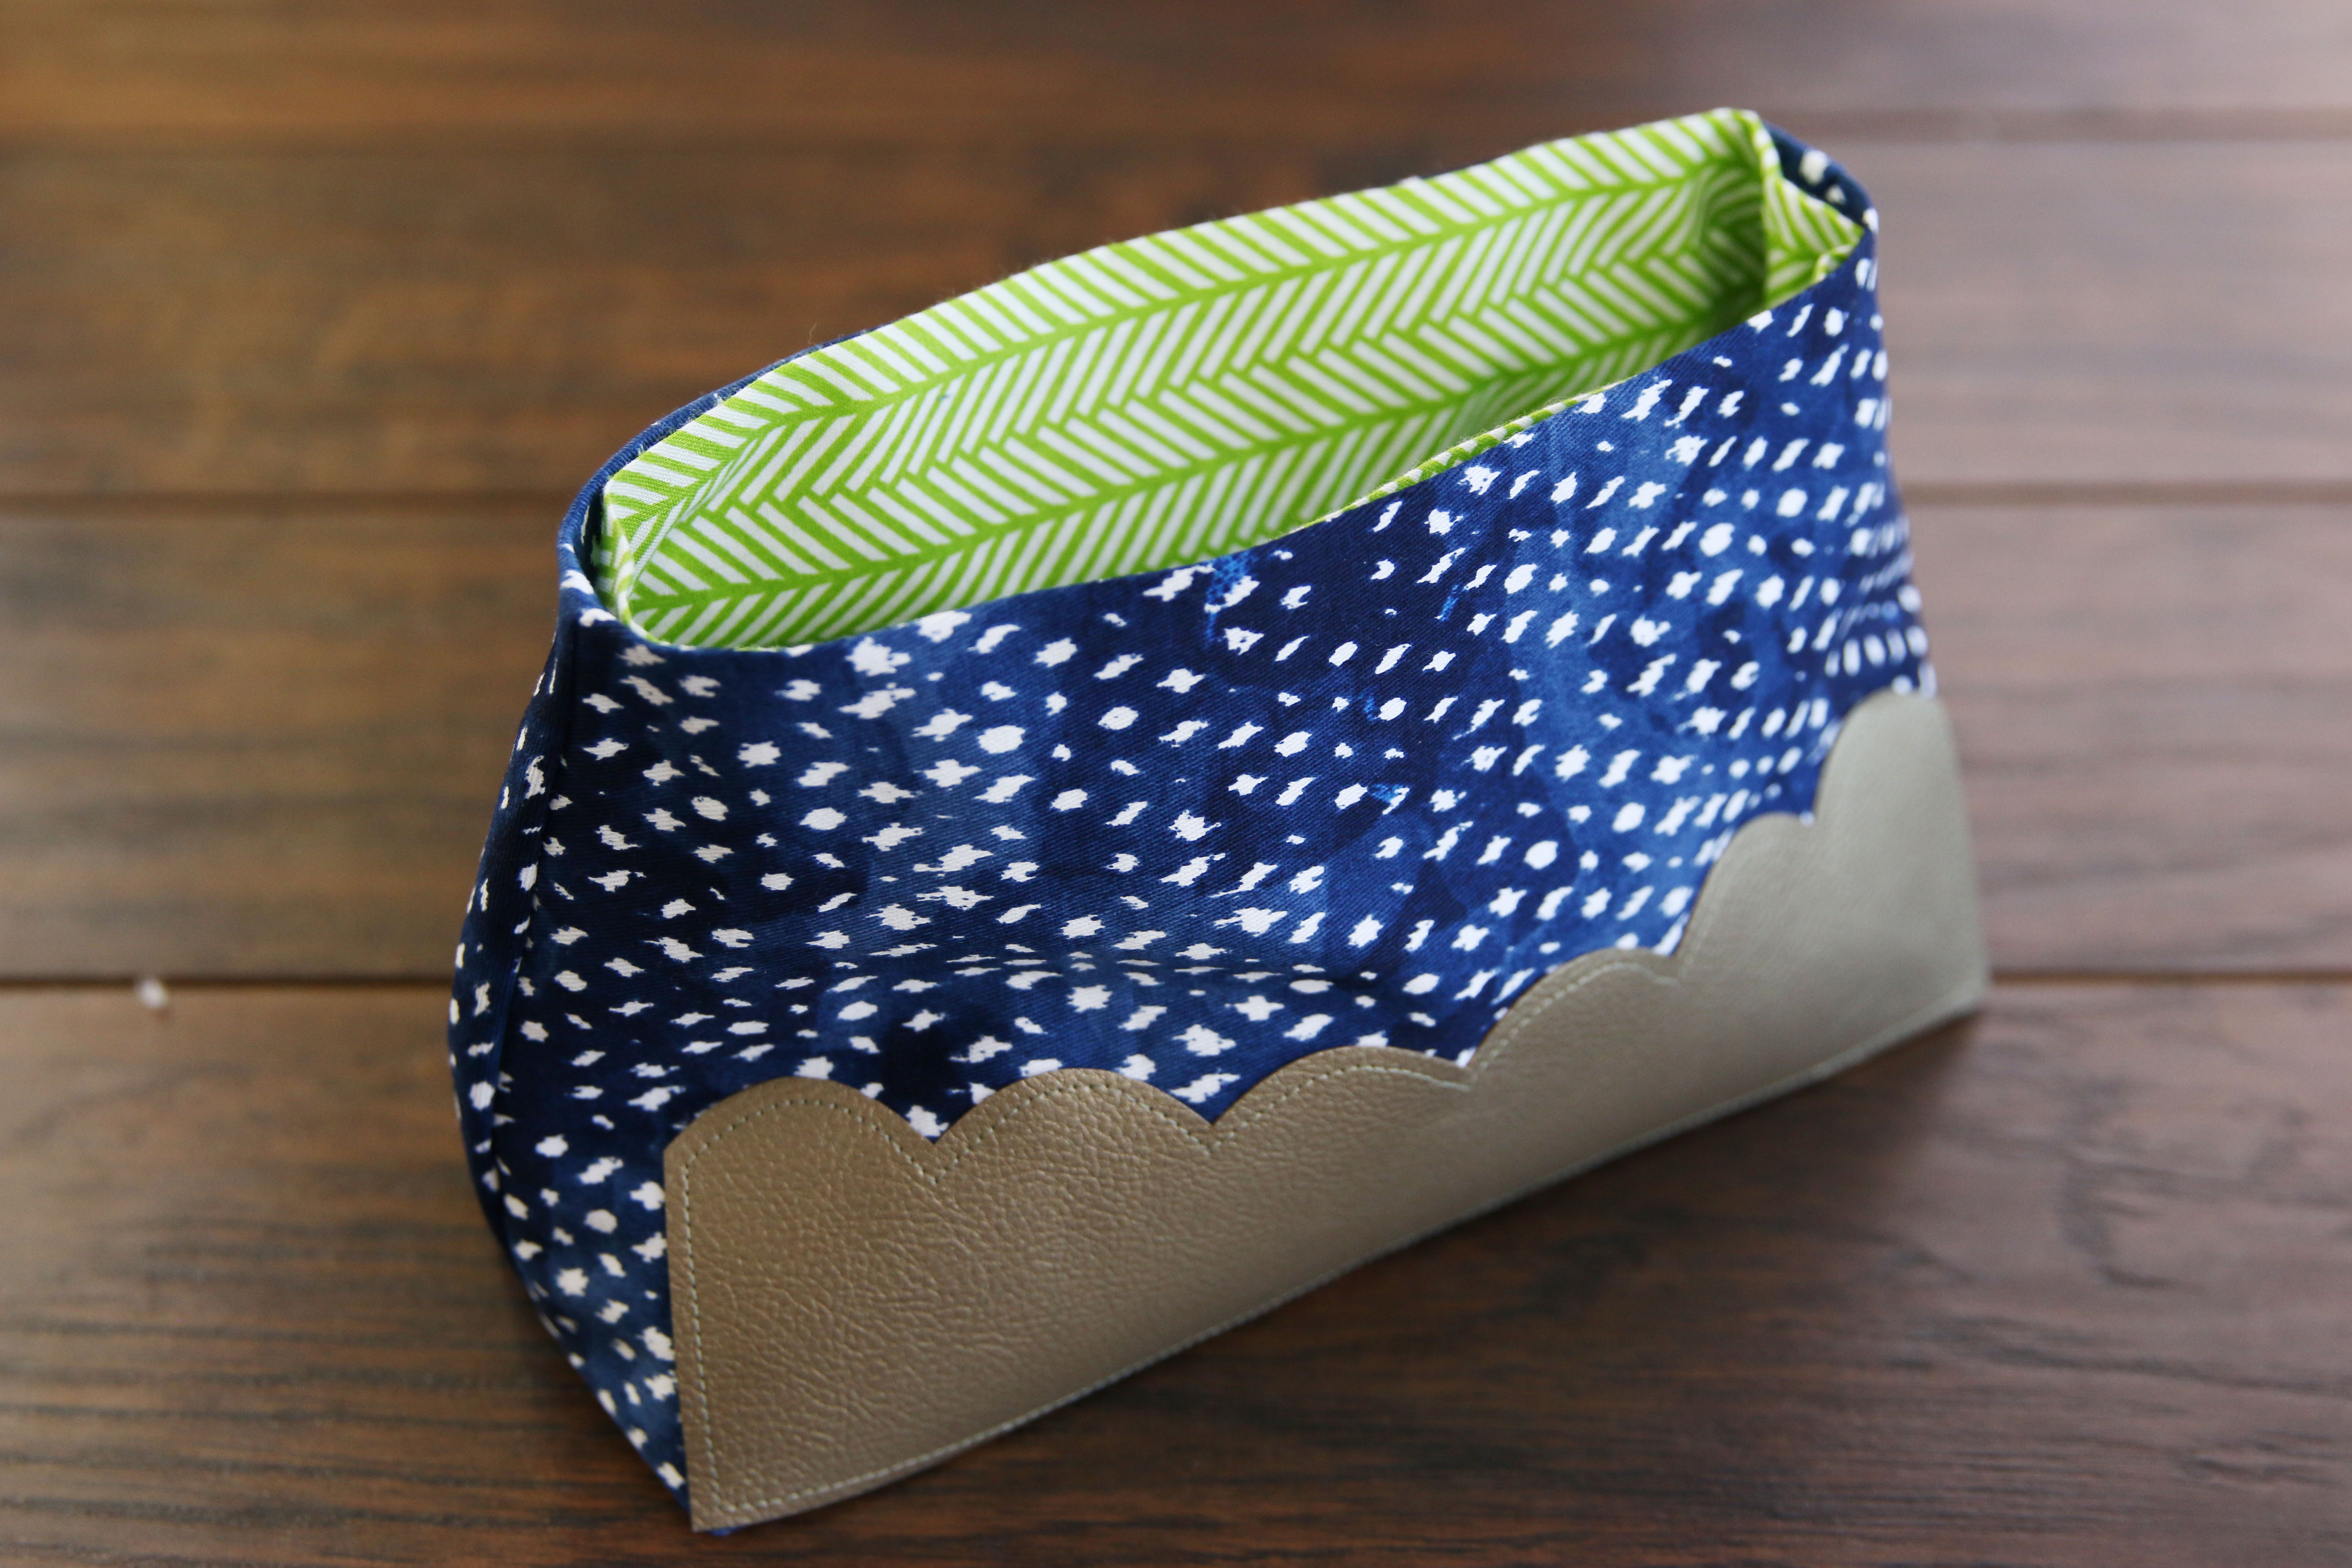
Next, turn the zipper pouch right side out, so that the lining is inside the outer shell, and the wrong sides are together.
20
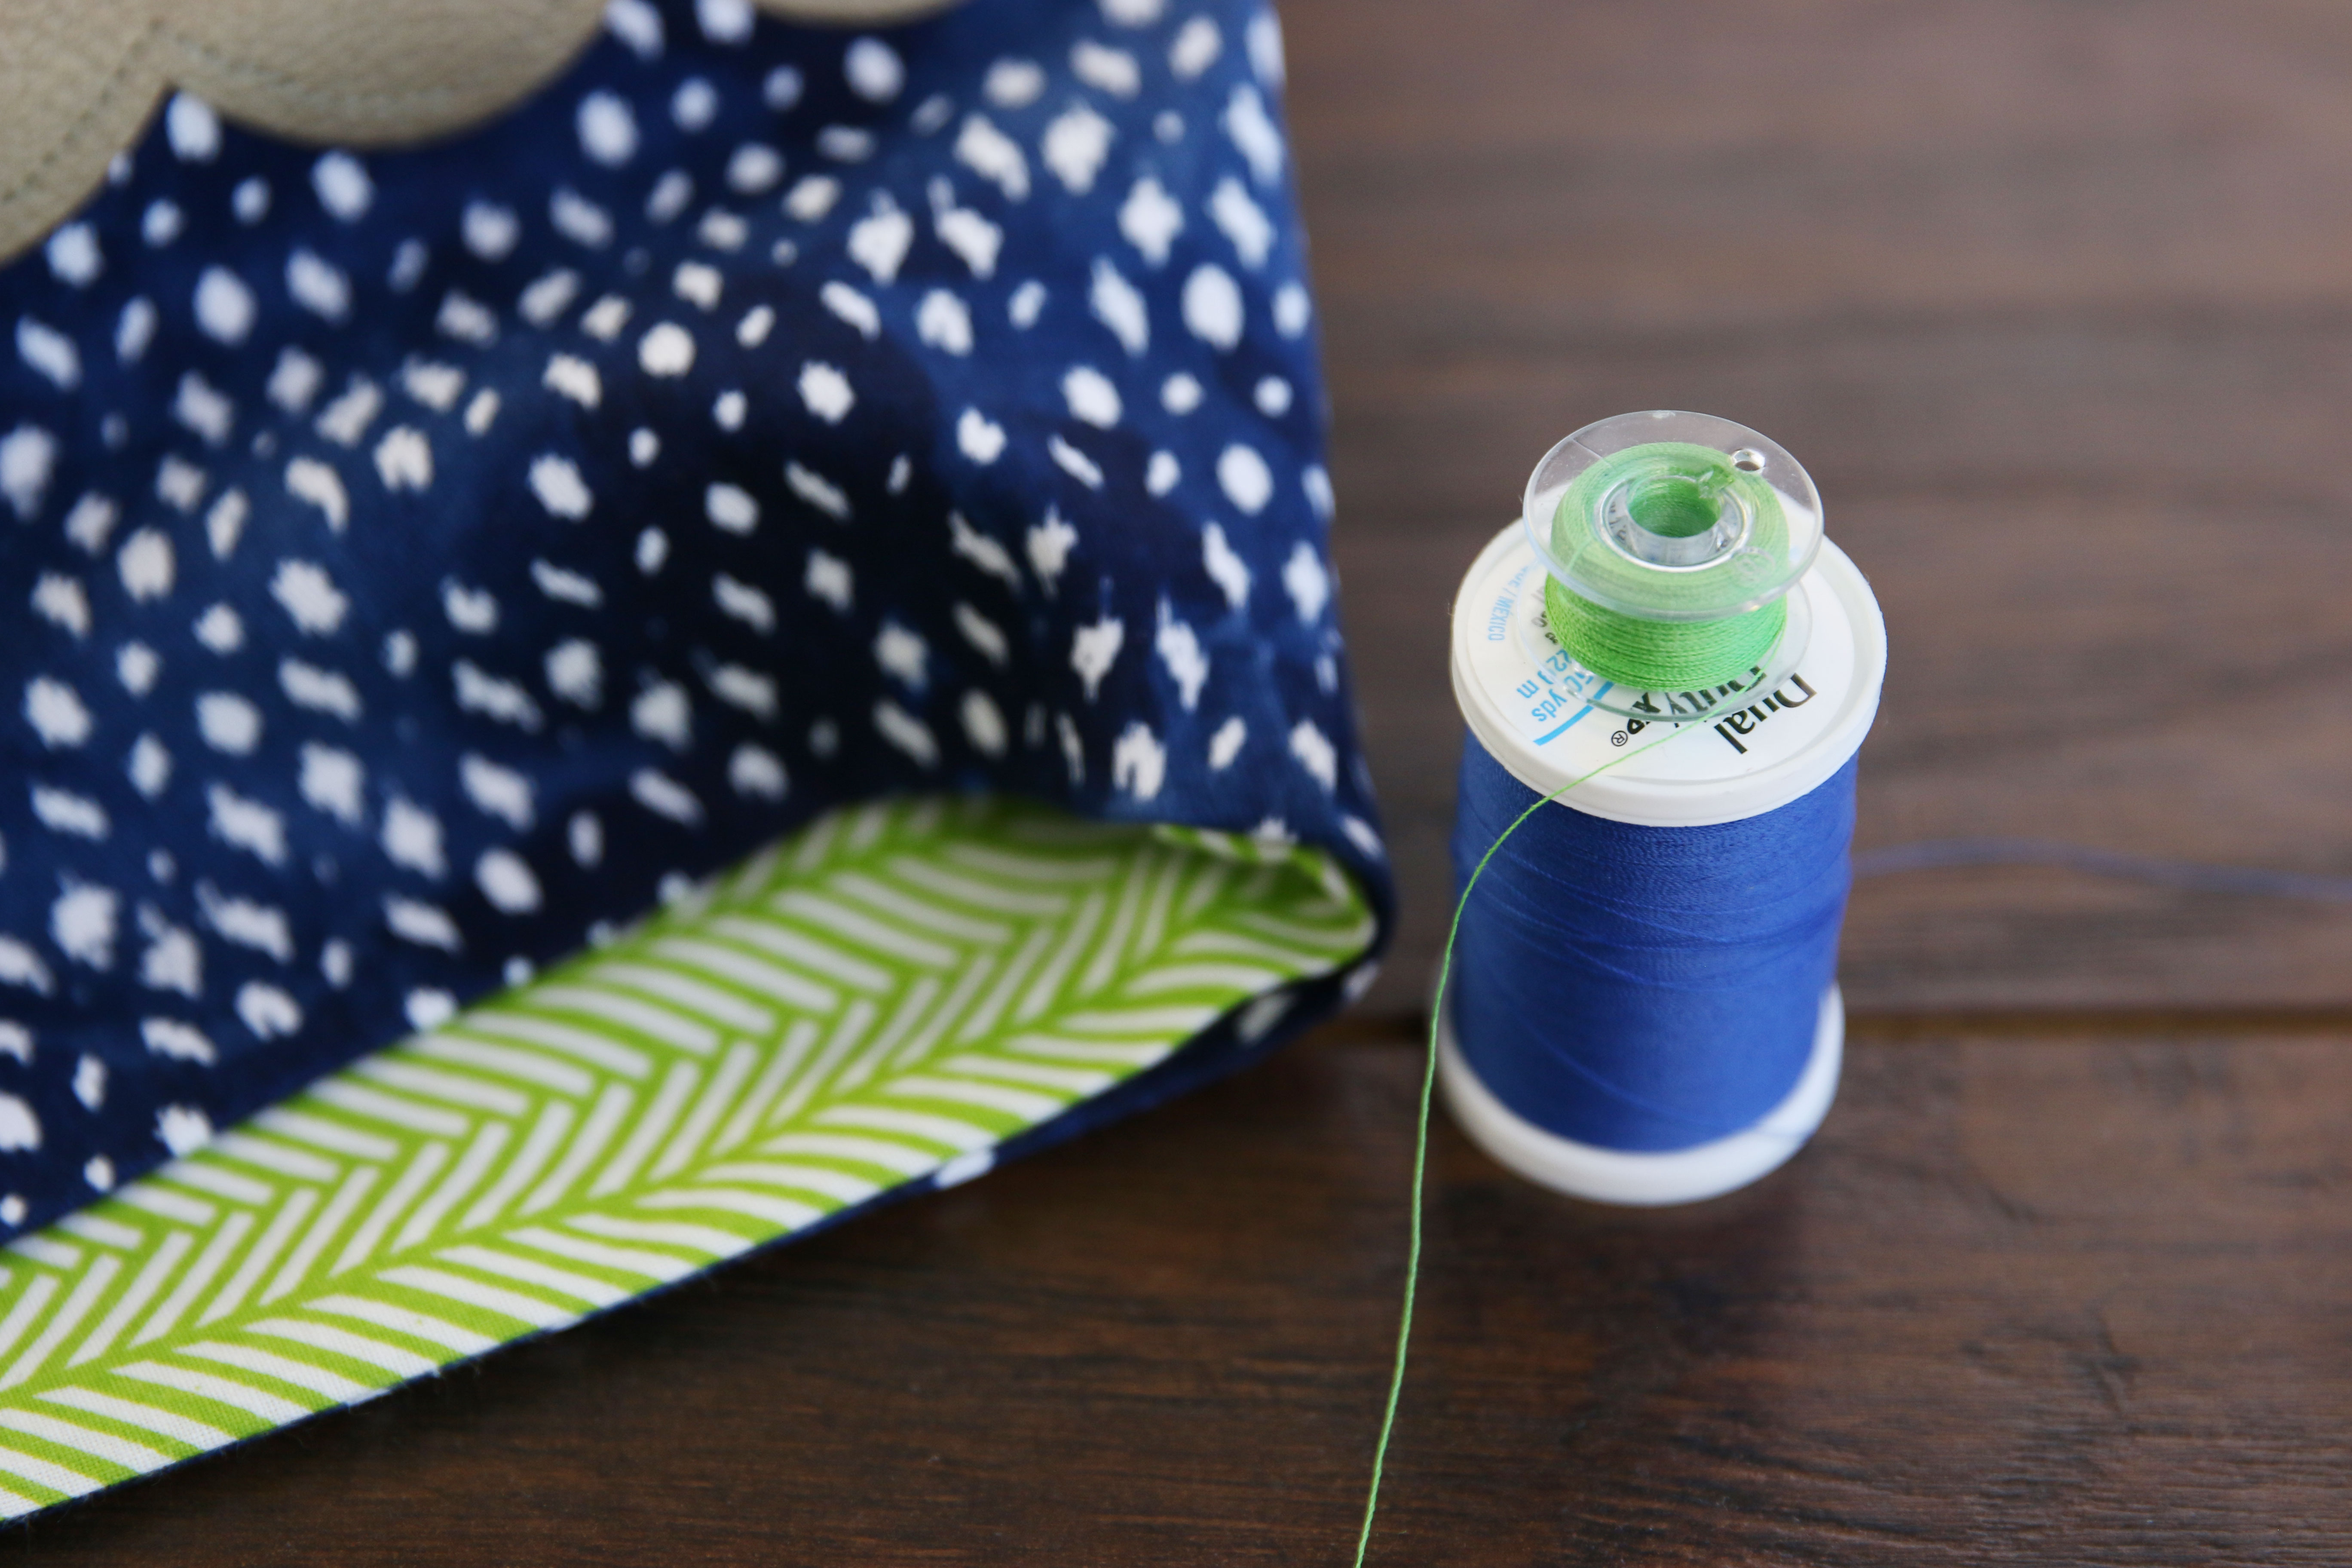
As all stitching from here on out will be seen from both sides, wind a bobbin with sewing thread that matches the lining fabric (color 2), and place thread that matches the outer shell (color 1) in the top needle.
21
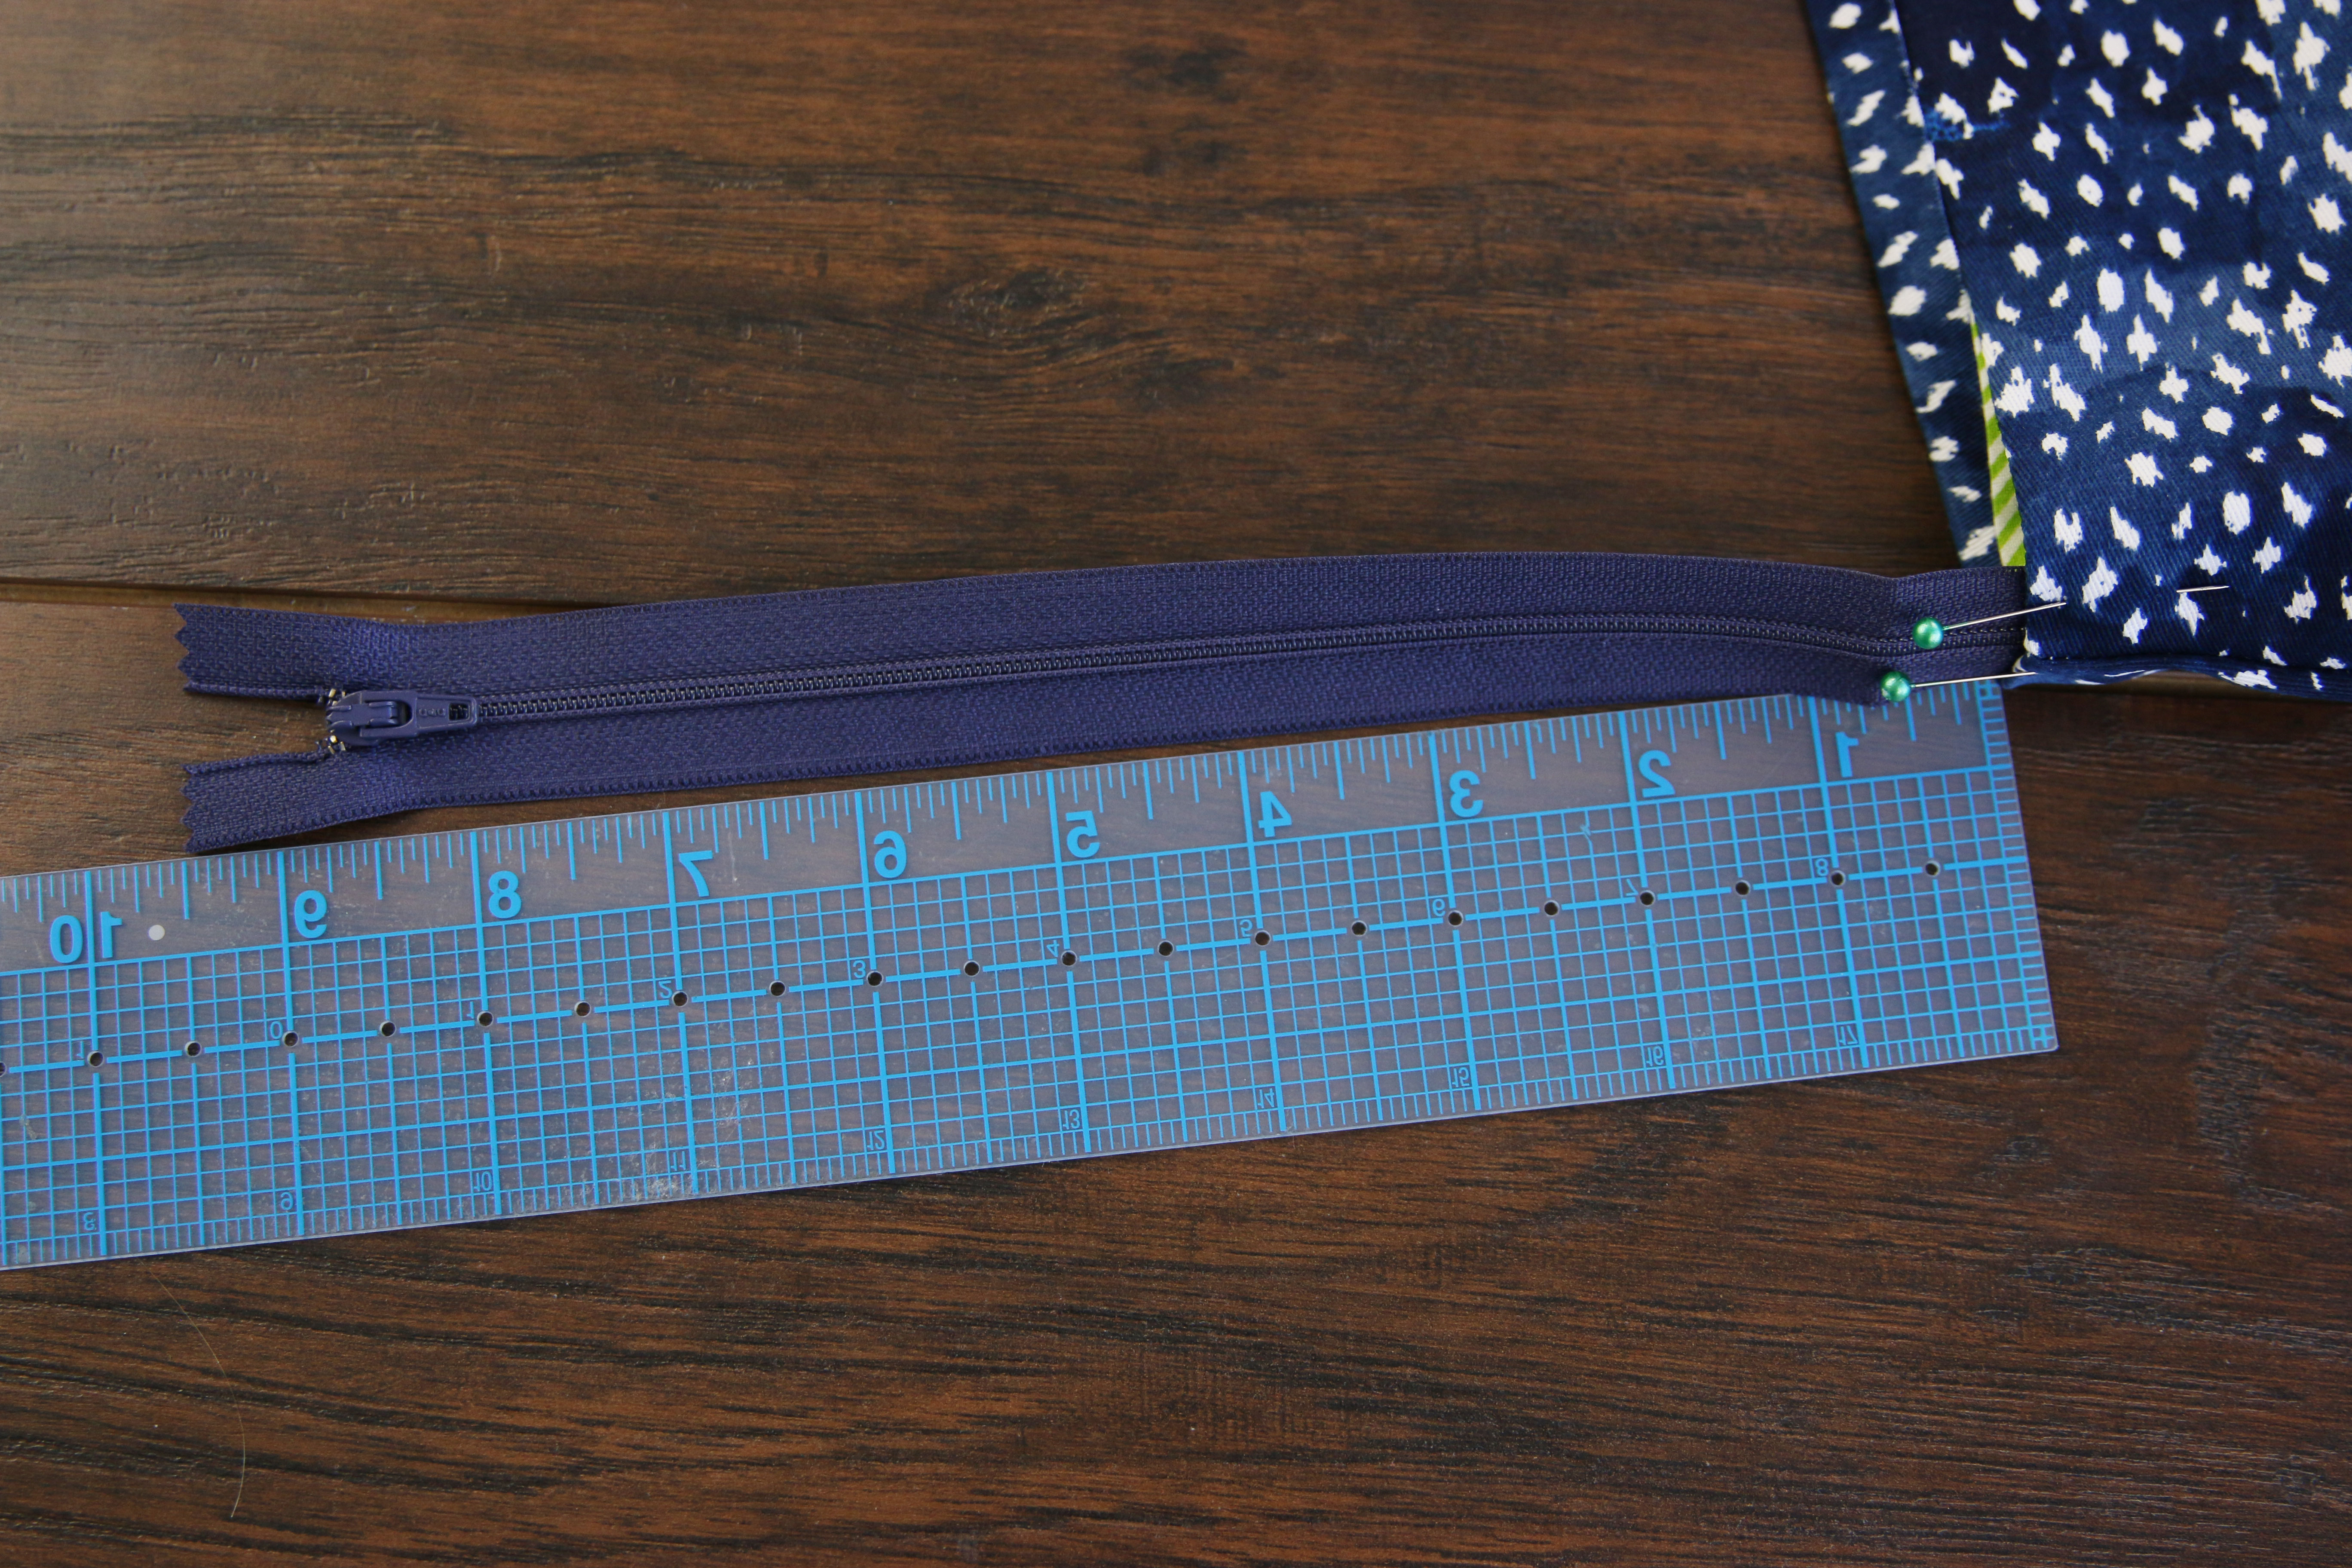
Take a the zipper and place the bottom end in between the outer shell and lining fabric at one of the seams. With the zipper closed, measure and adjust the zipper so it sticks out a specific length from the edge of the fabric to the top of where the zipper pull stops. For the large size the specific length is 8 3/4”, and for the small size the specific length is 7 1/8”.
22
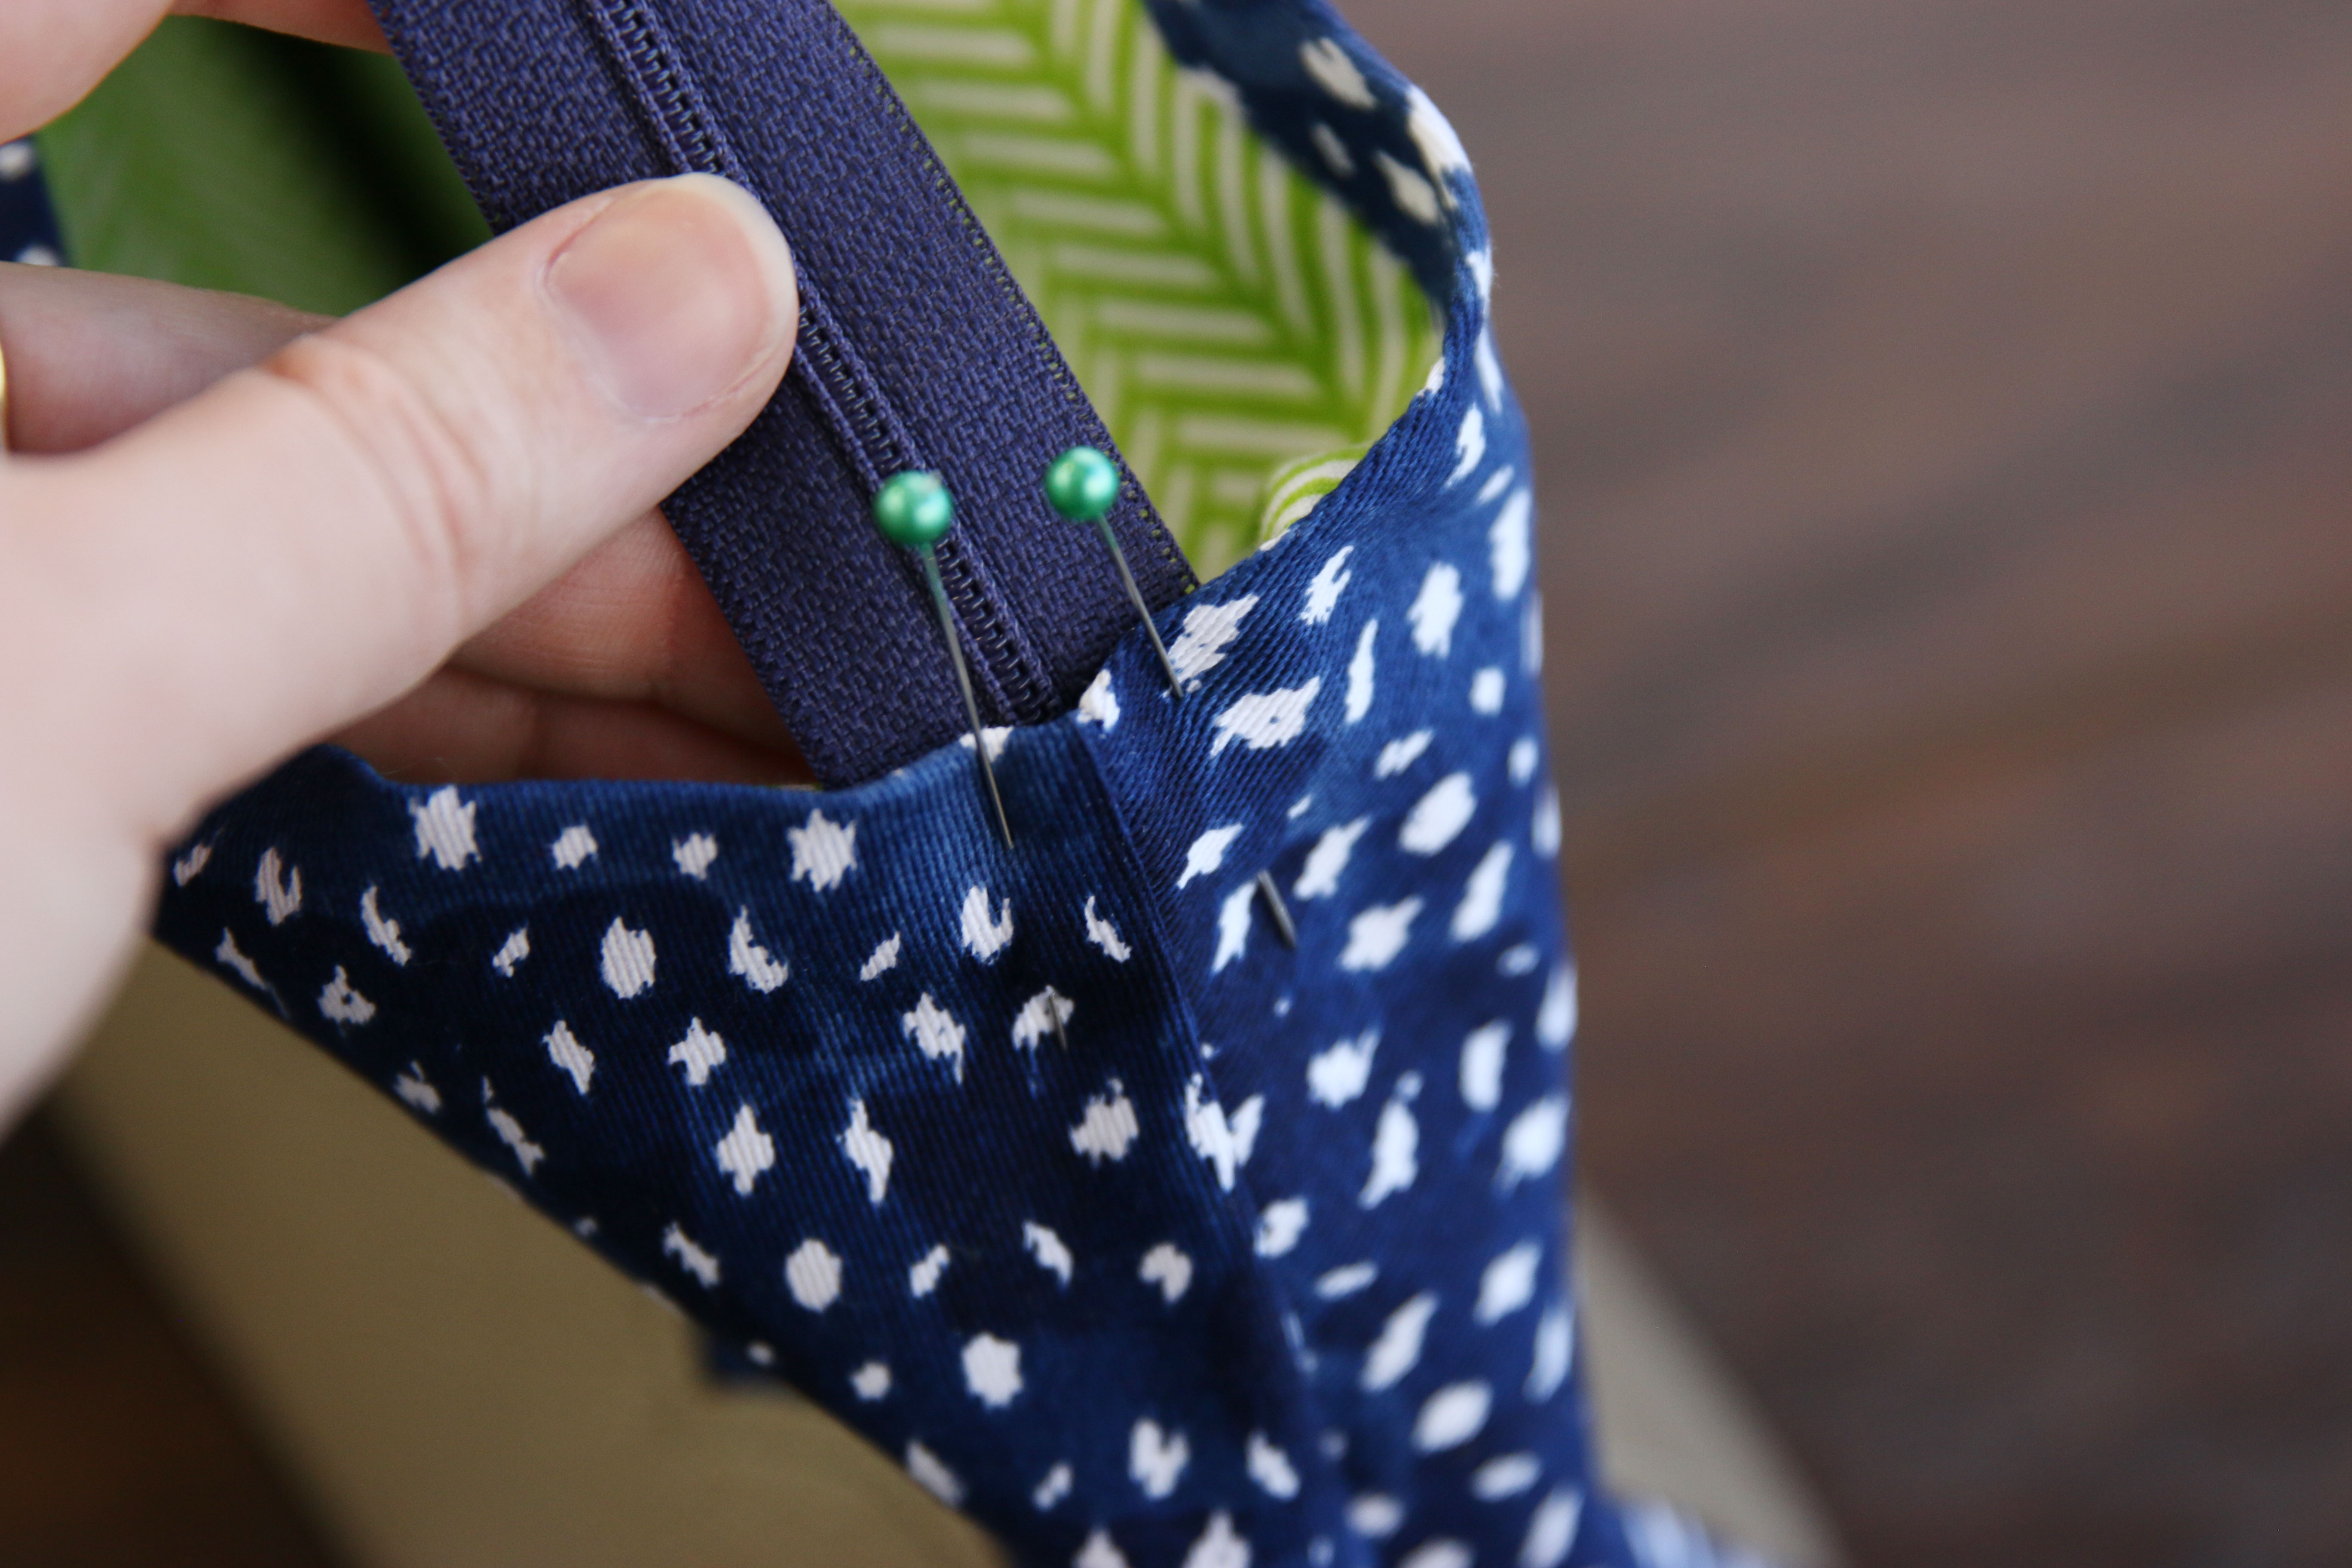
Pin the zipper in place.
23
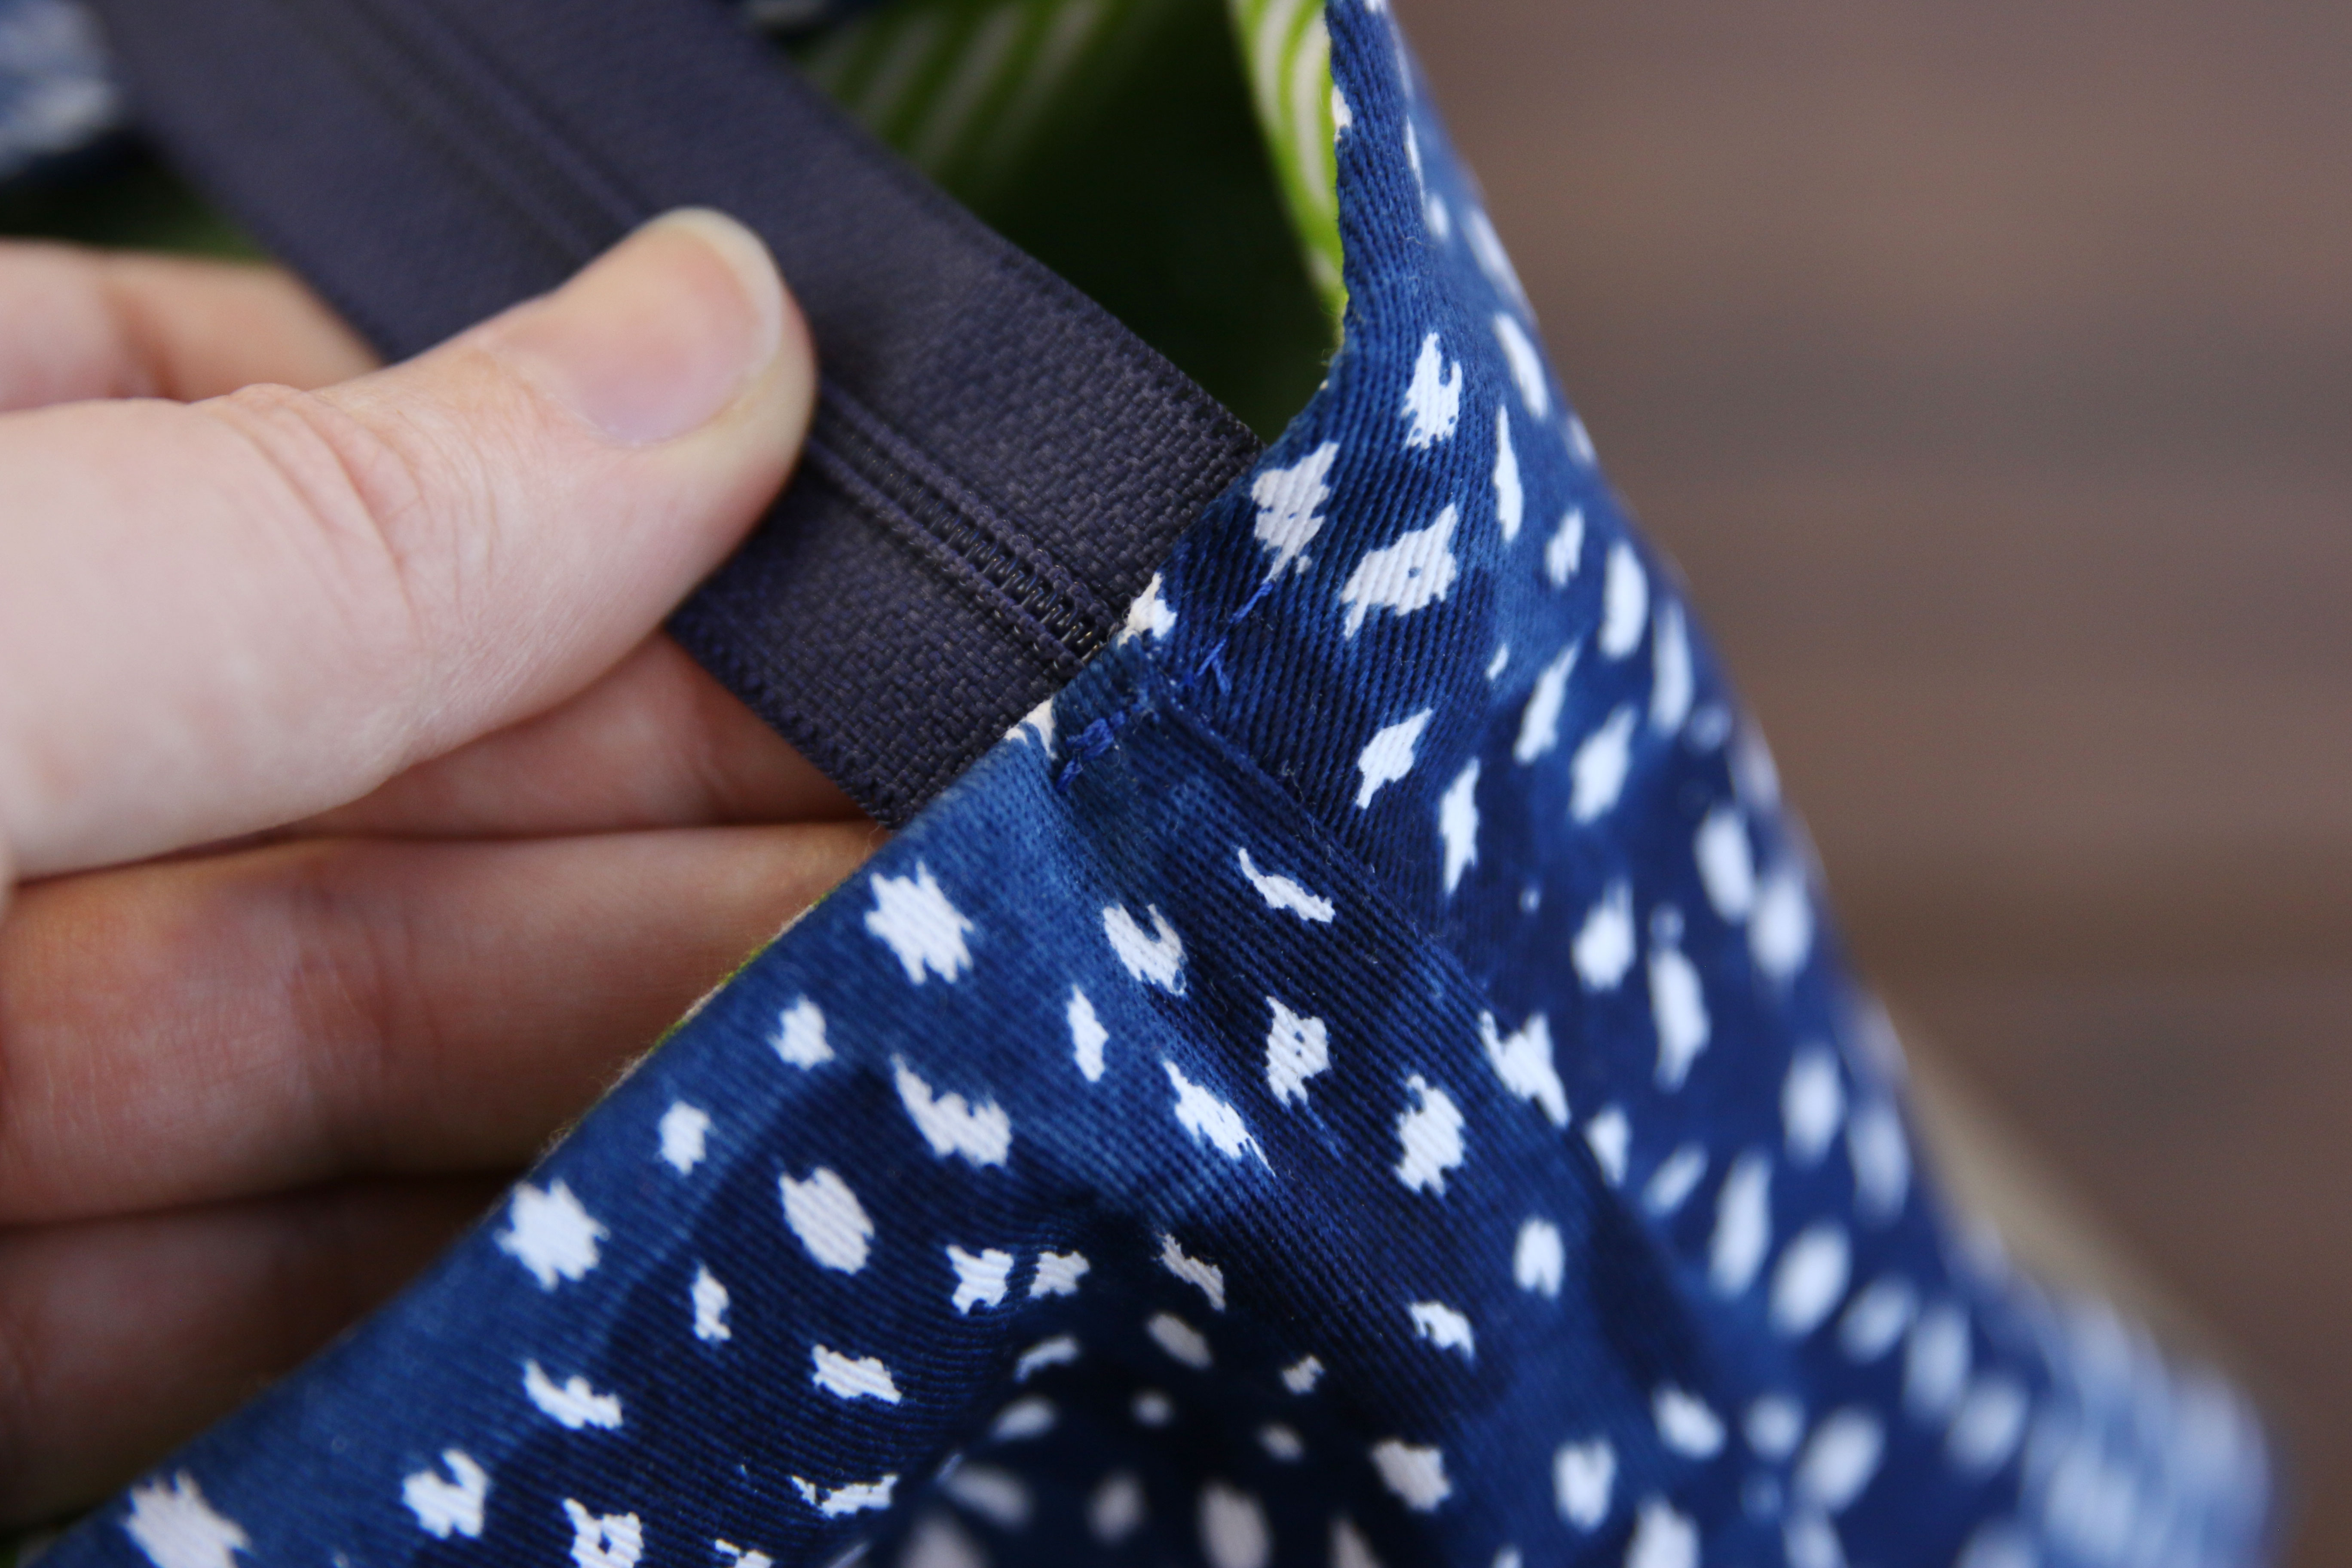
Then sew a 1/8” topstitch on a small section right over the zipper and seam. Make sure it is about 3/8” wide and centered right over the seam.
24
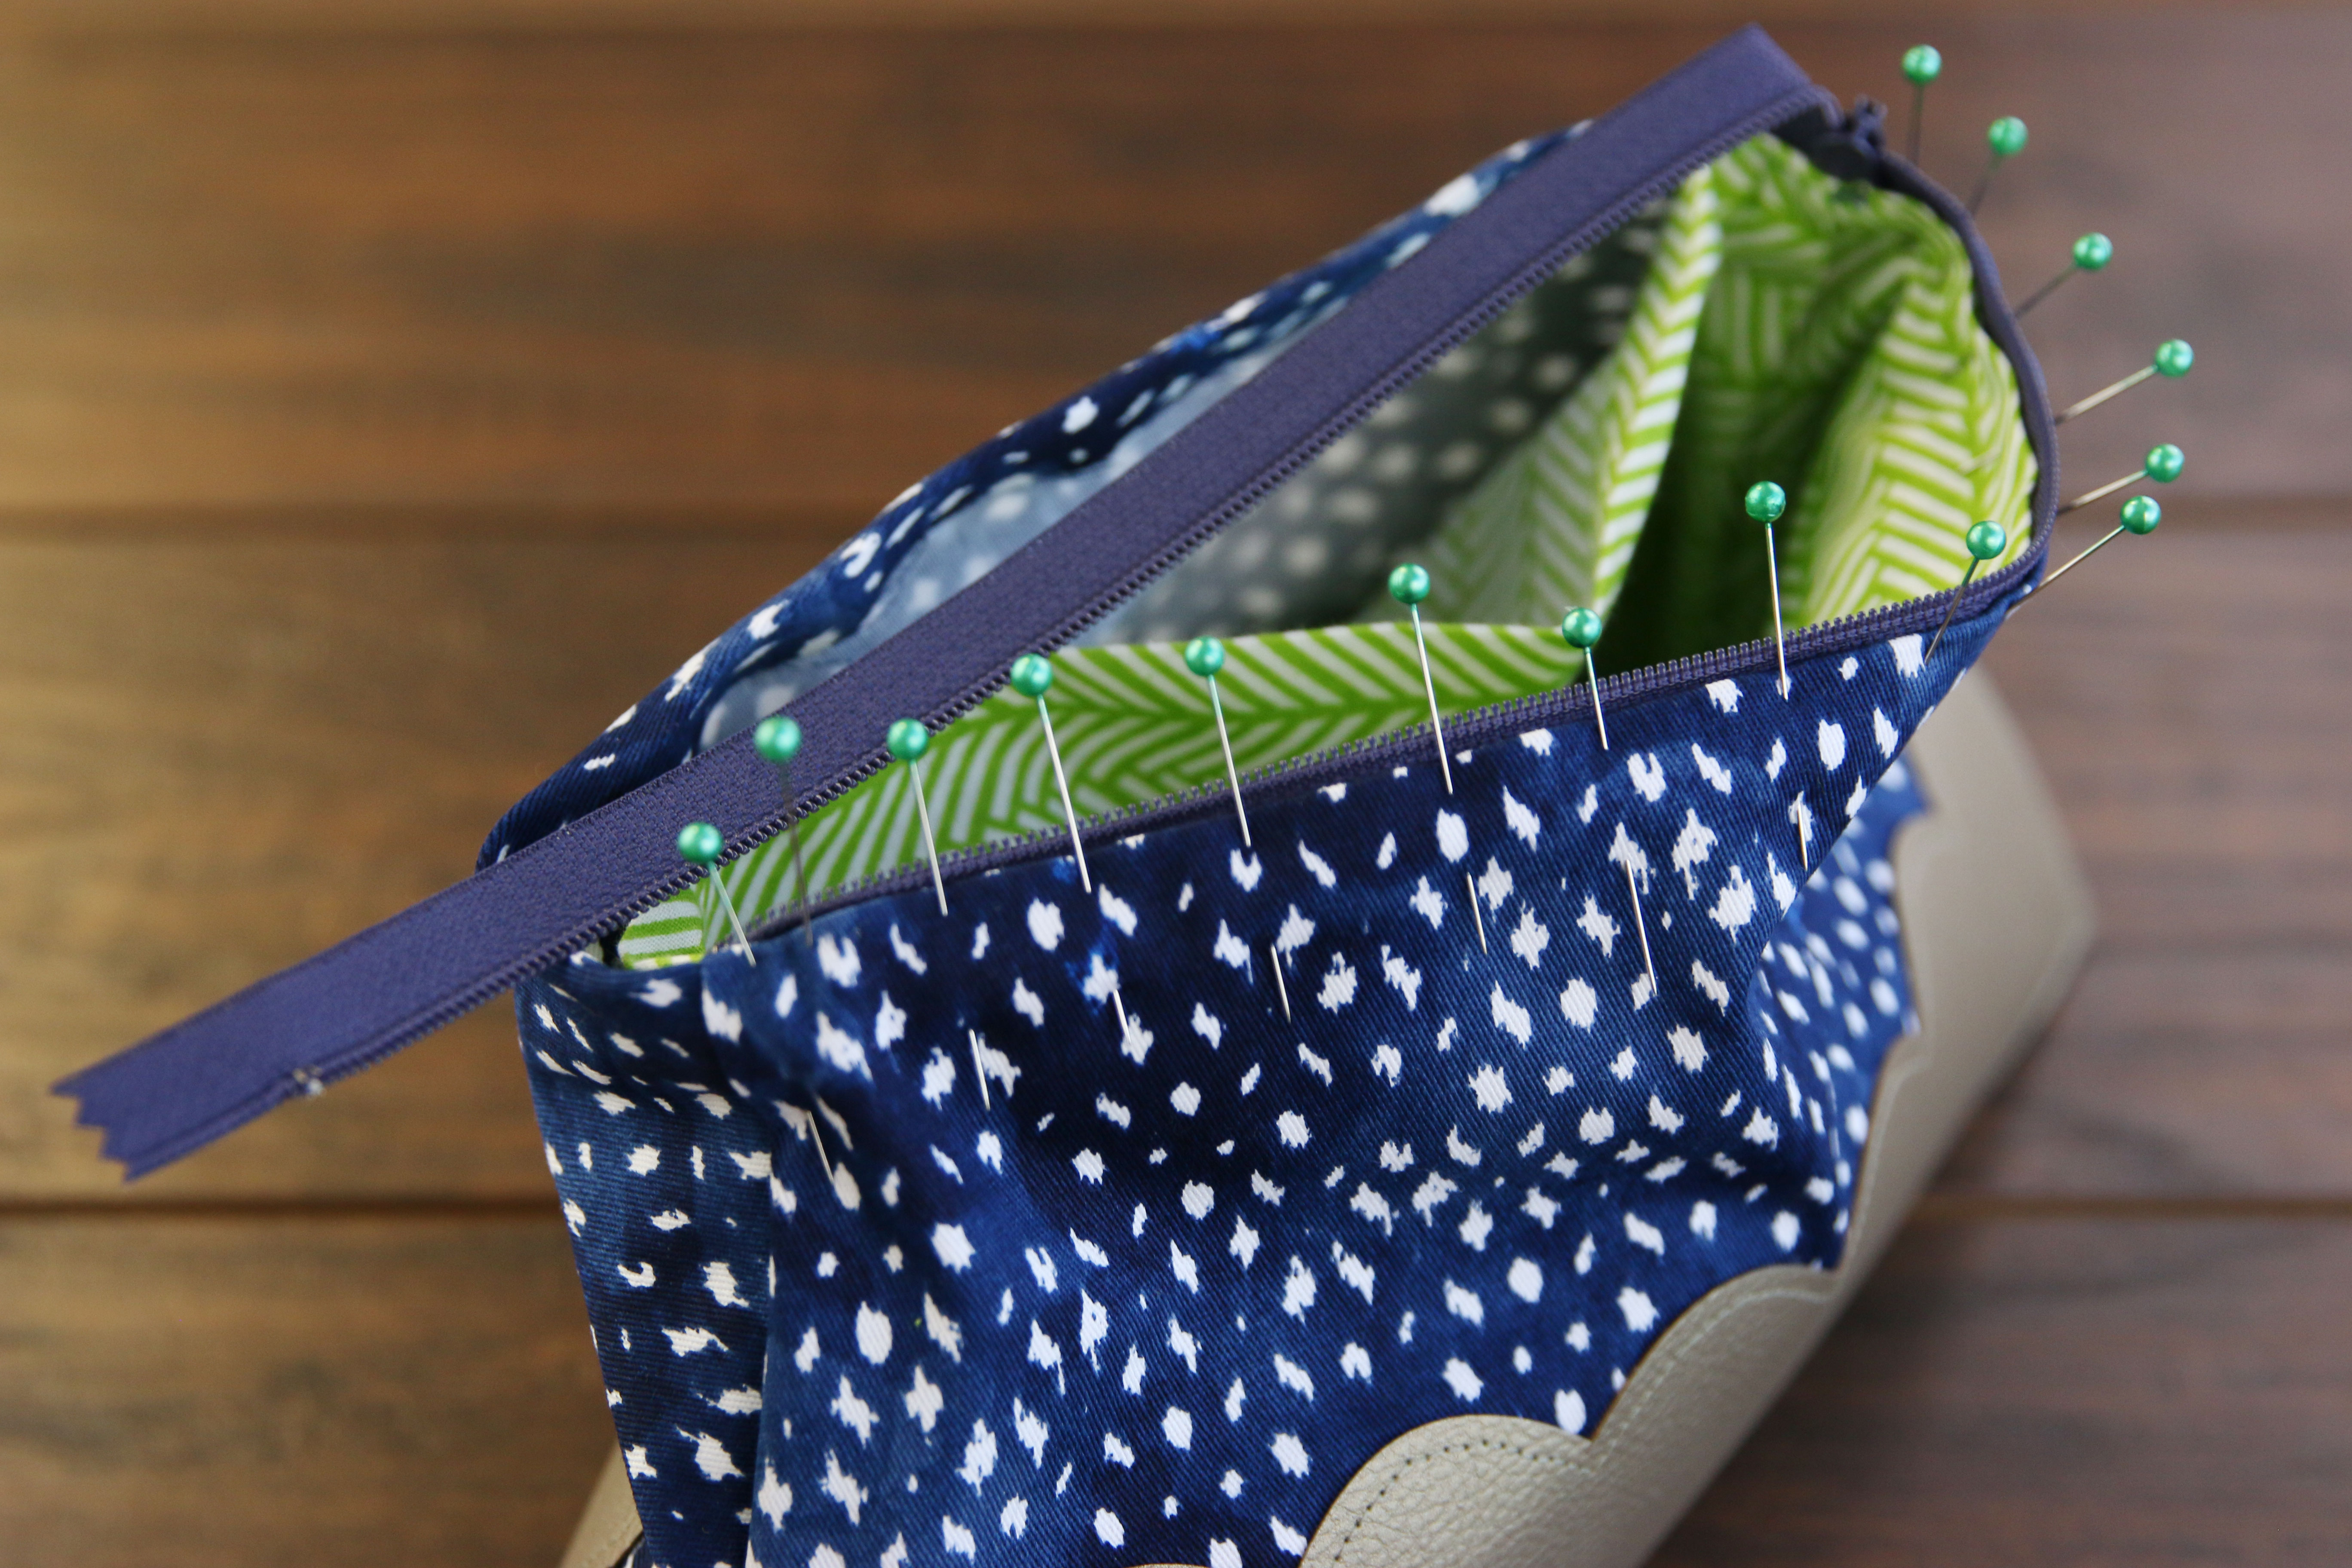
Now that the end of the zipper is sewn in place, open the zipper up as much as possible. Take one side of the zipper, and carefully pin it in place between the outer shell and the lining of the zipper pouch along one side. The tiny plastic or metal stop of the zipper should end up right at the opposite side seam. Make sure to tuck and pin the extra end of the zipper in between the layers too, so it won’t be seen.
25
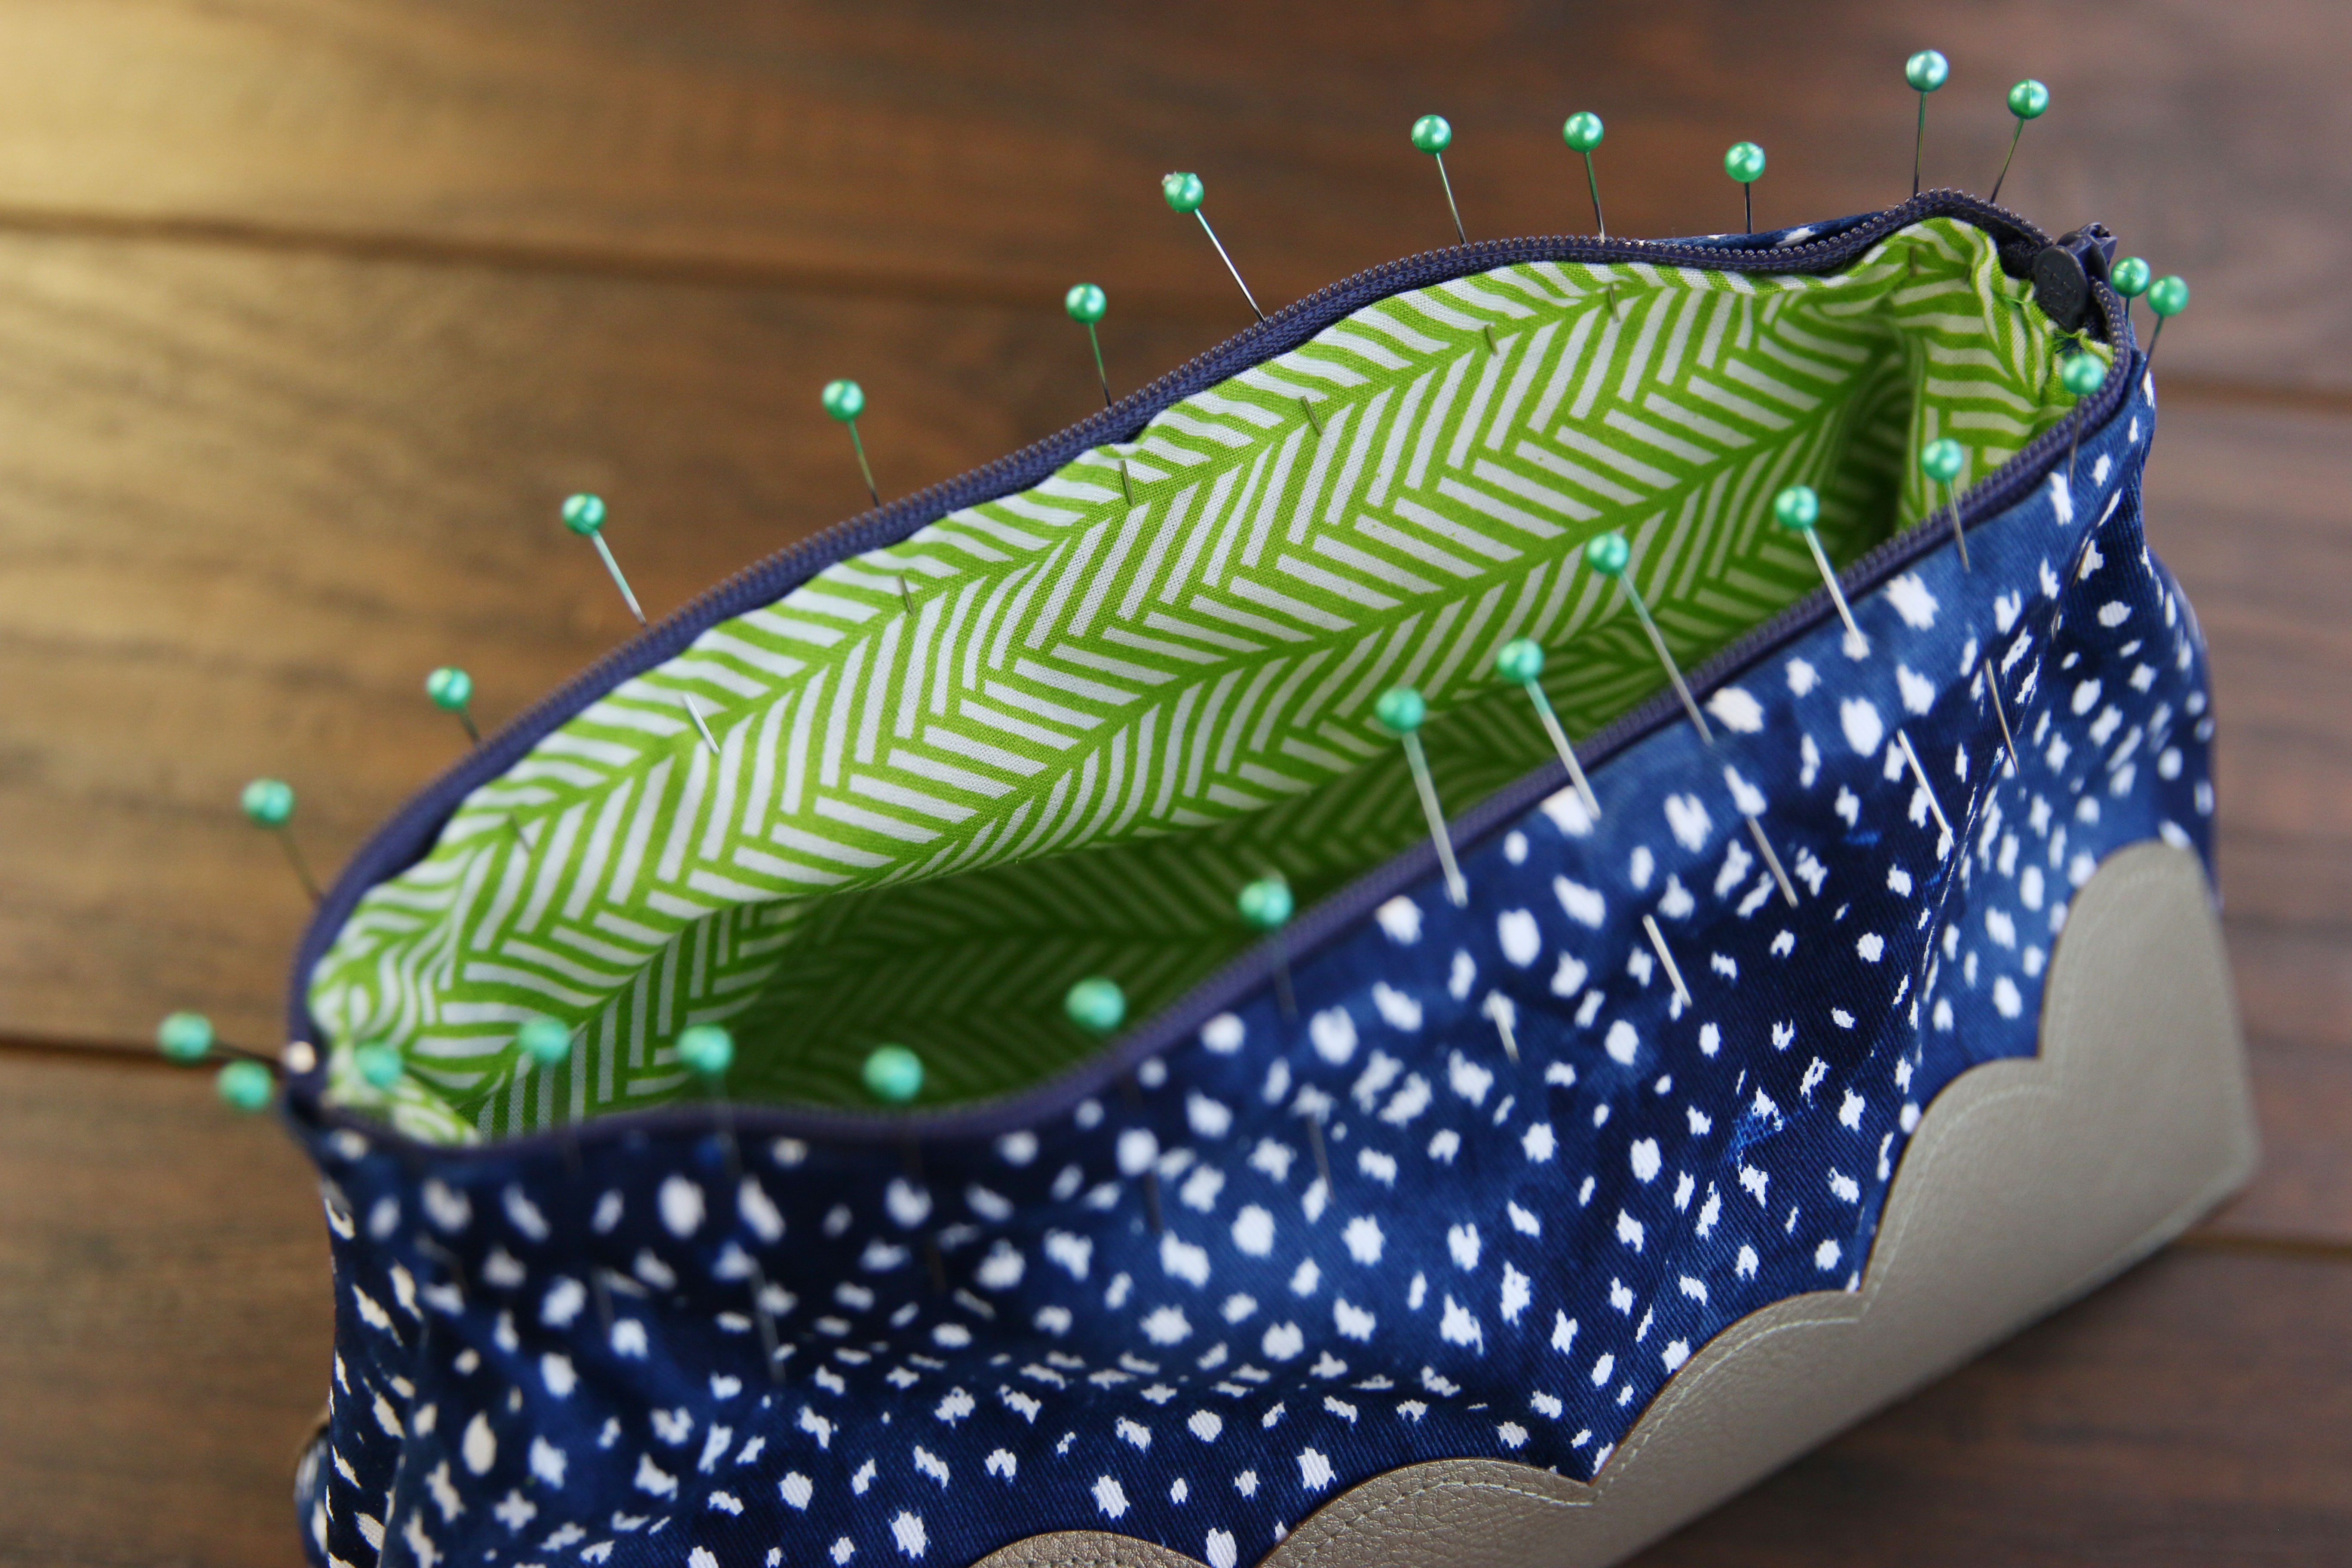
Repeat to pin the opposite side of the zipper in place, so the tiny stops of both sides meet up.
26
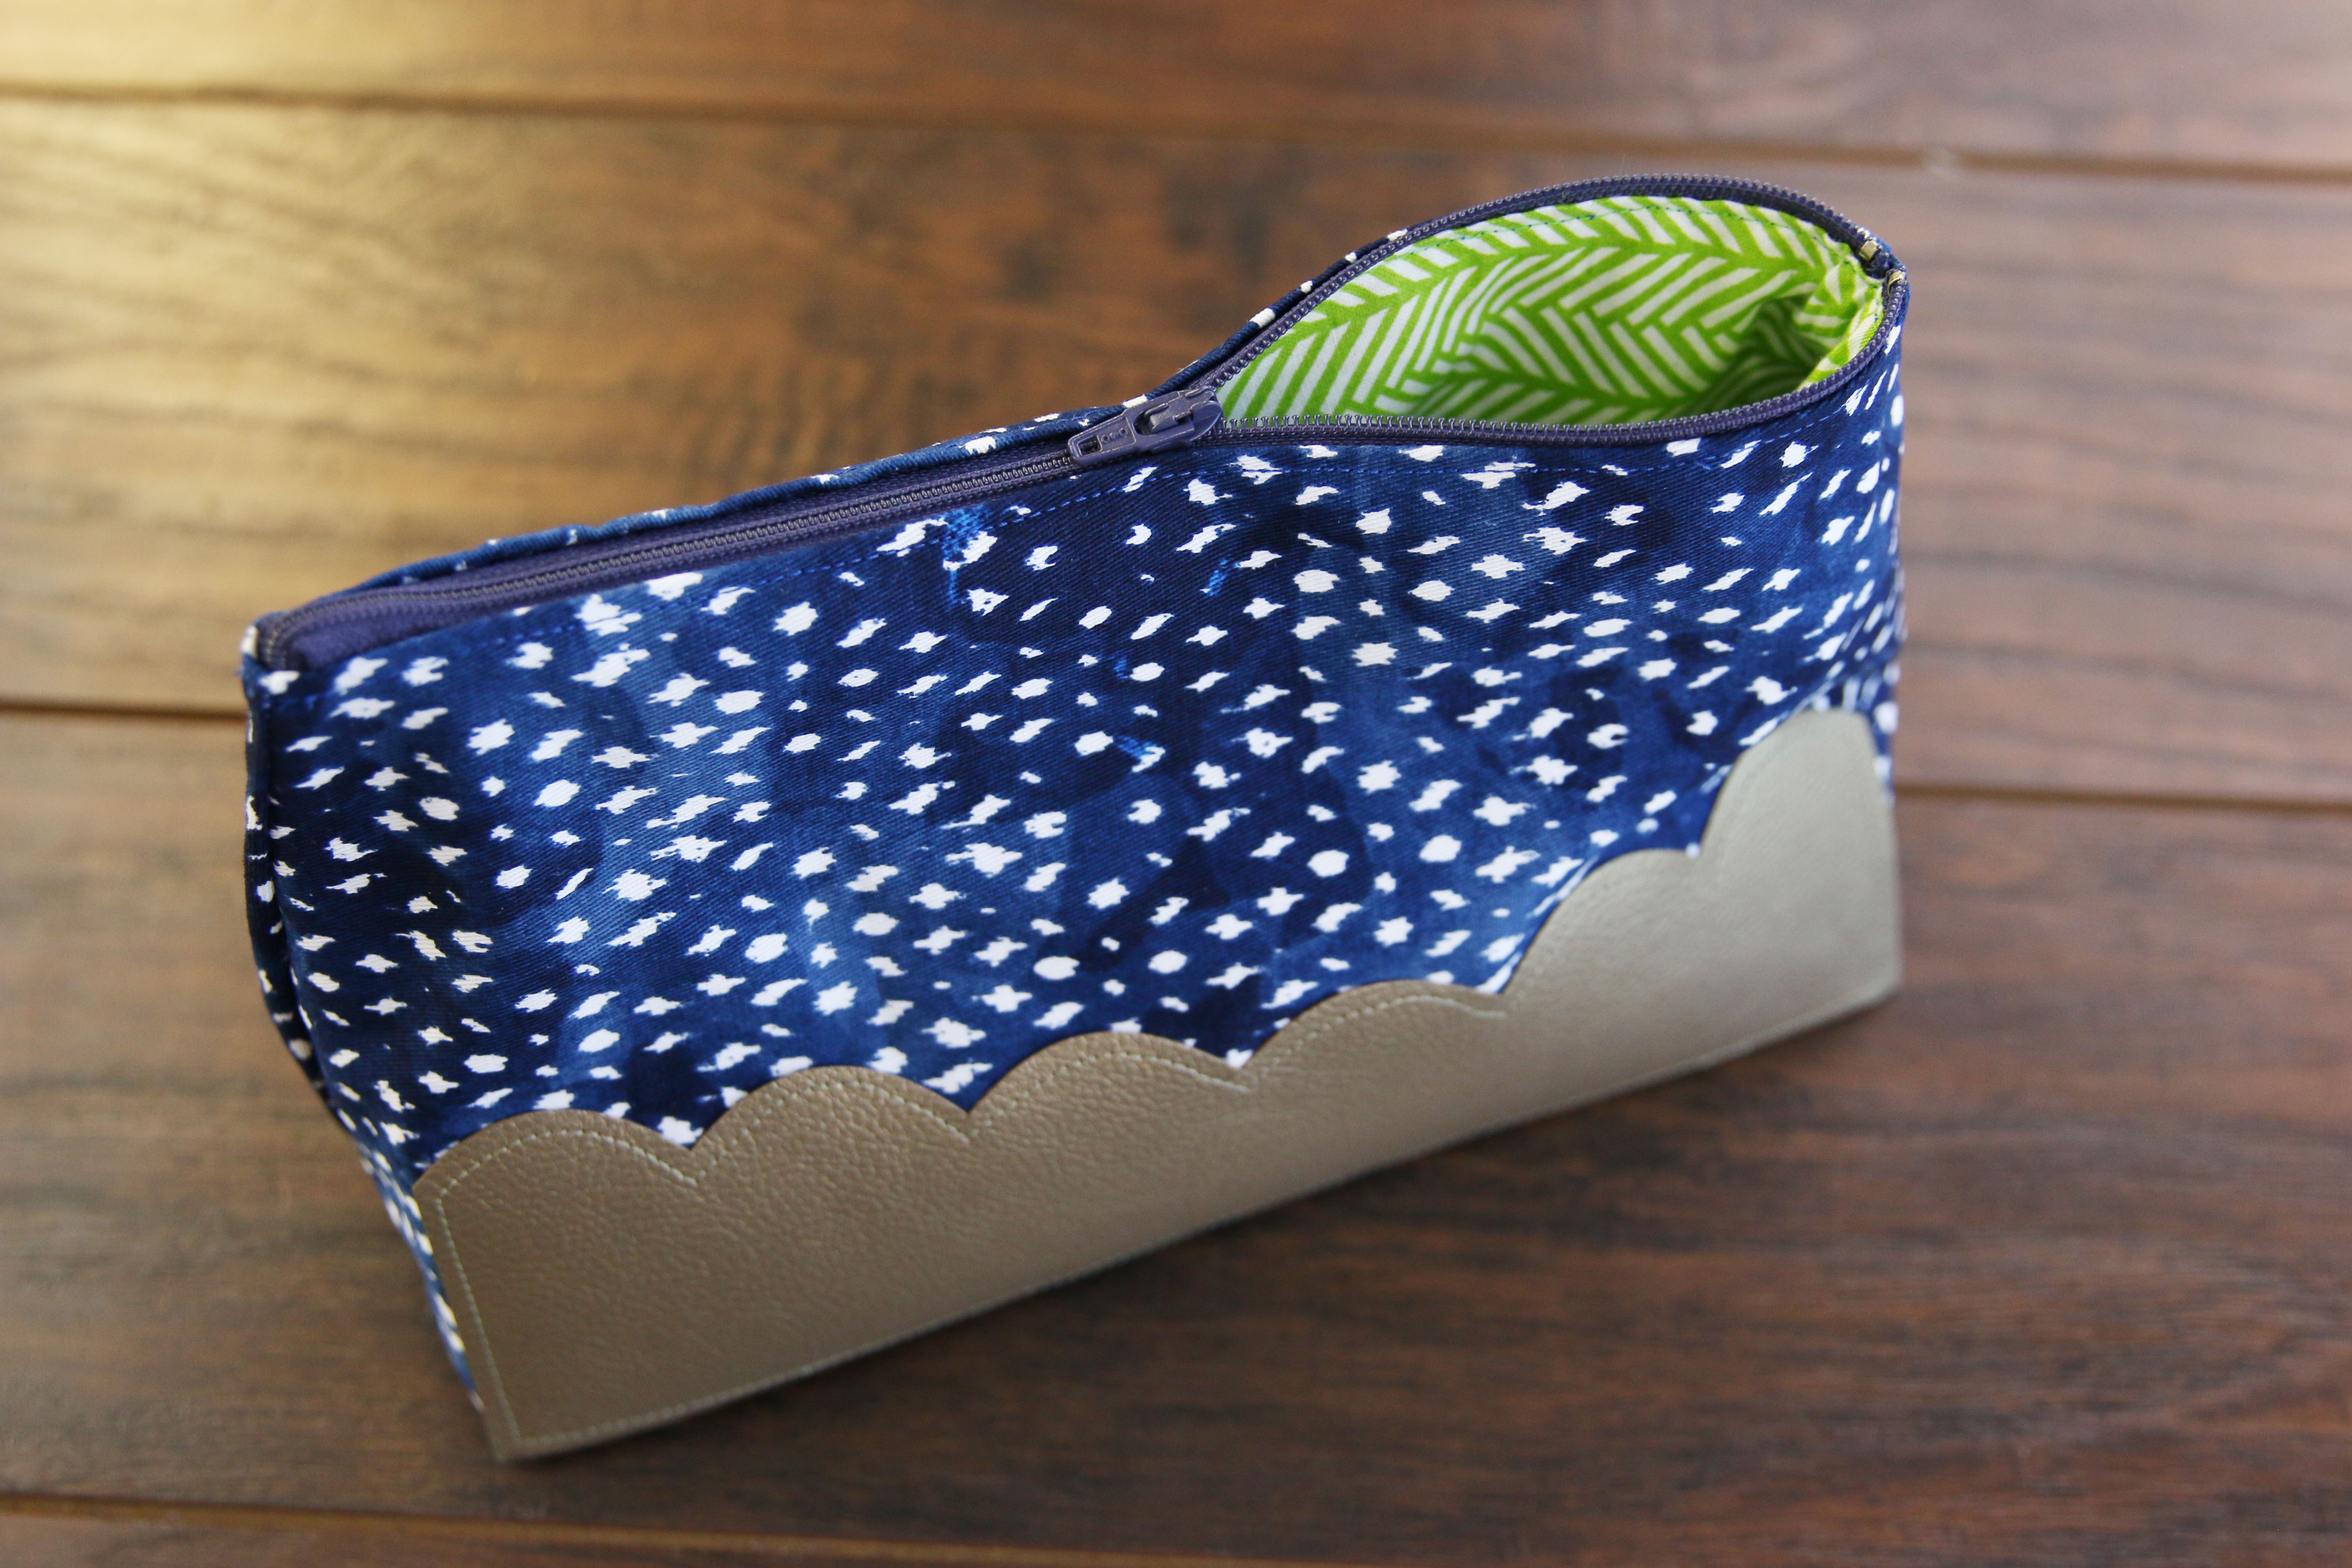
Then topstitch an 1/8” seam along the pinned edge. For best results, start at one side of the 3/8” wide seam holding the zipper end in place, and then sew around to the opposite side of the 3/8” seam. Don’t sew over the 3/8” wide seam again, as the zipper is there and will break your needle.
27
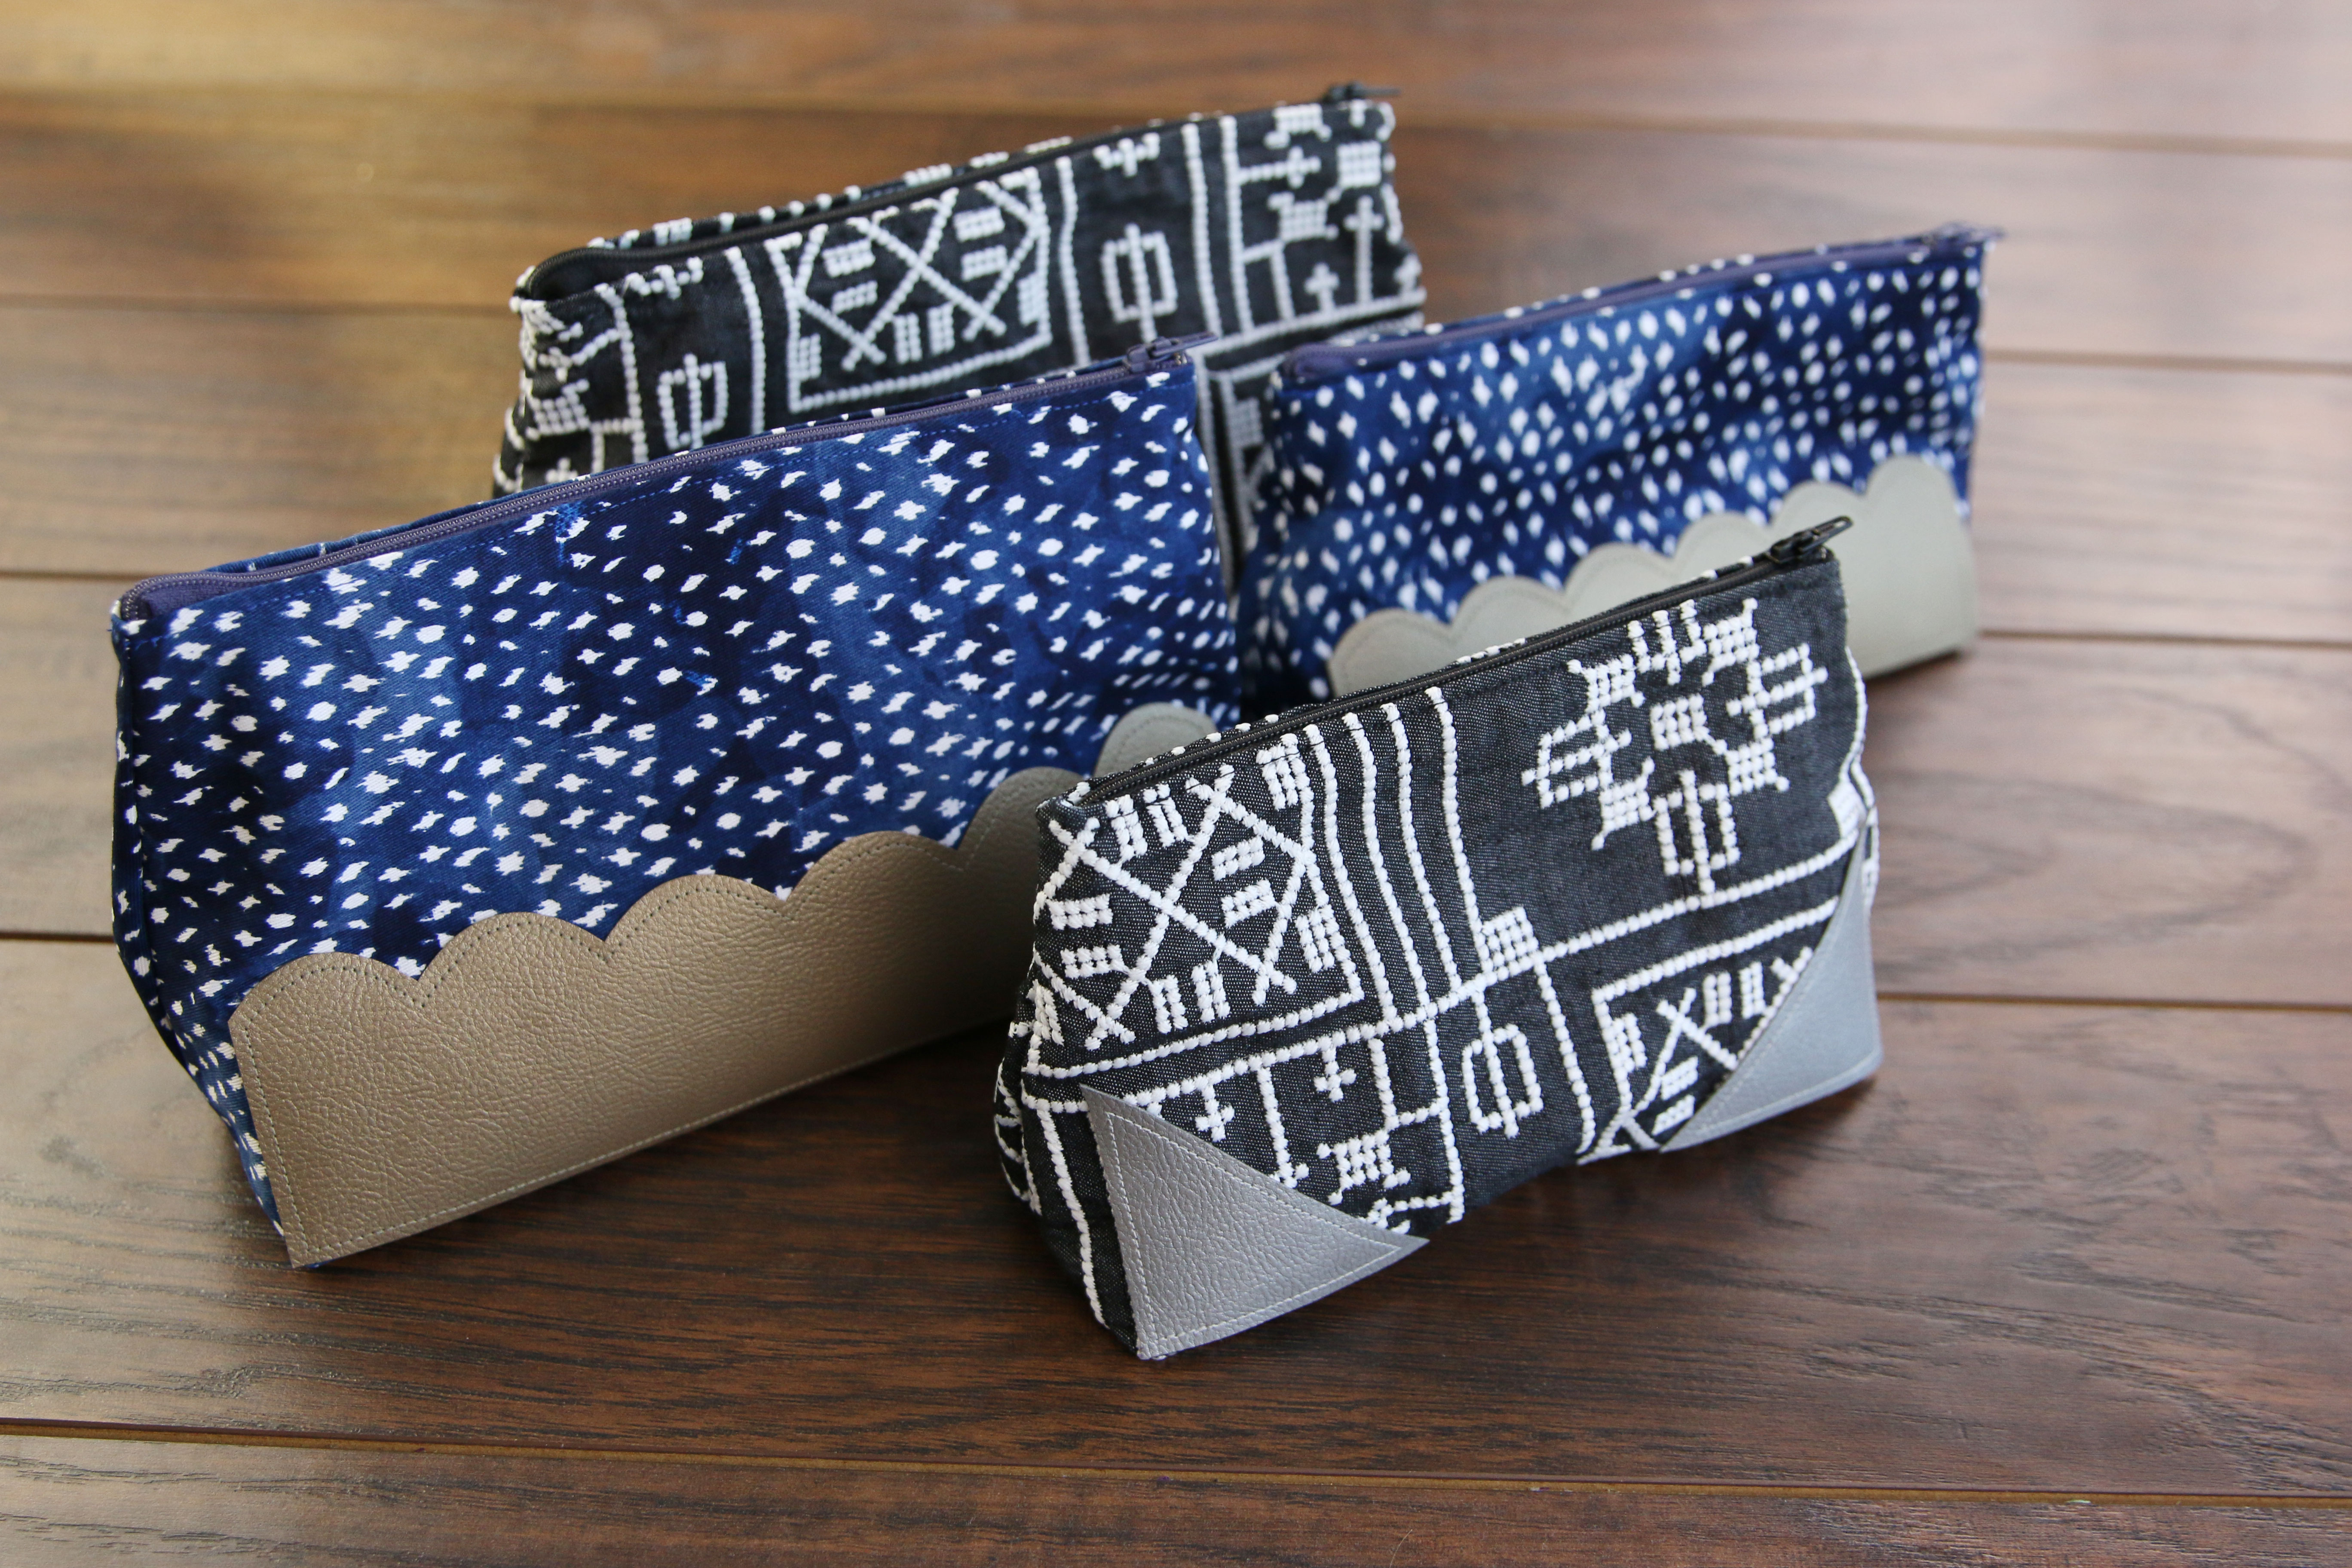
This completes the Zipper Pouch. Repeat these steps to make a variety of zipper pouches in different colors and sizes. Make sure not to resize these designs, as the seam allowance makes them unscalable.


