Supplies
- 2 12” x 12” sheets of colored cardstock (color 1)
- 1 12” x 12” sheet of colored cardstock (color 2)
- PVA glue (such as Elmer’s)
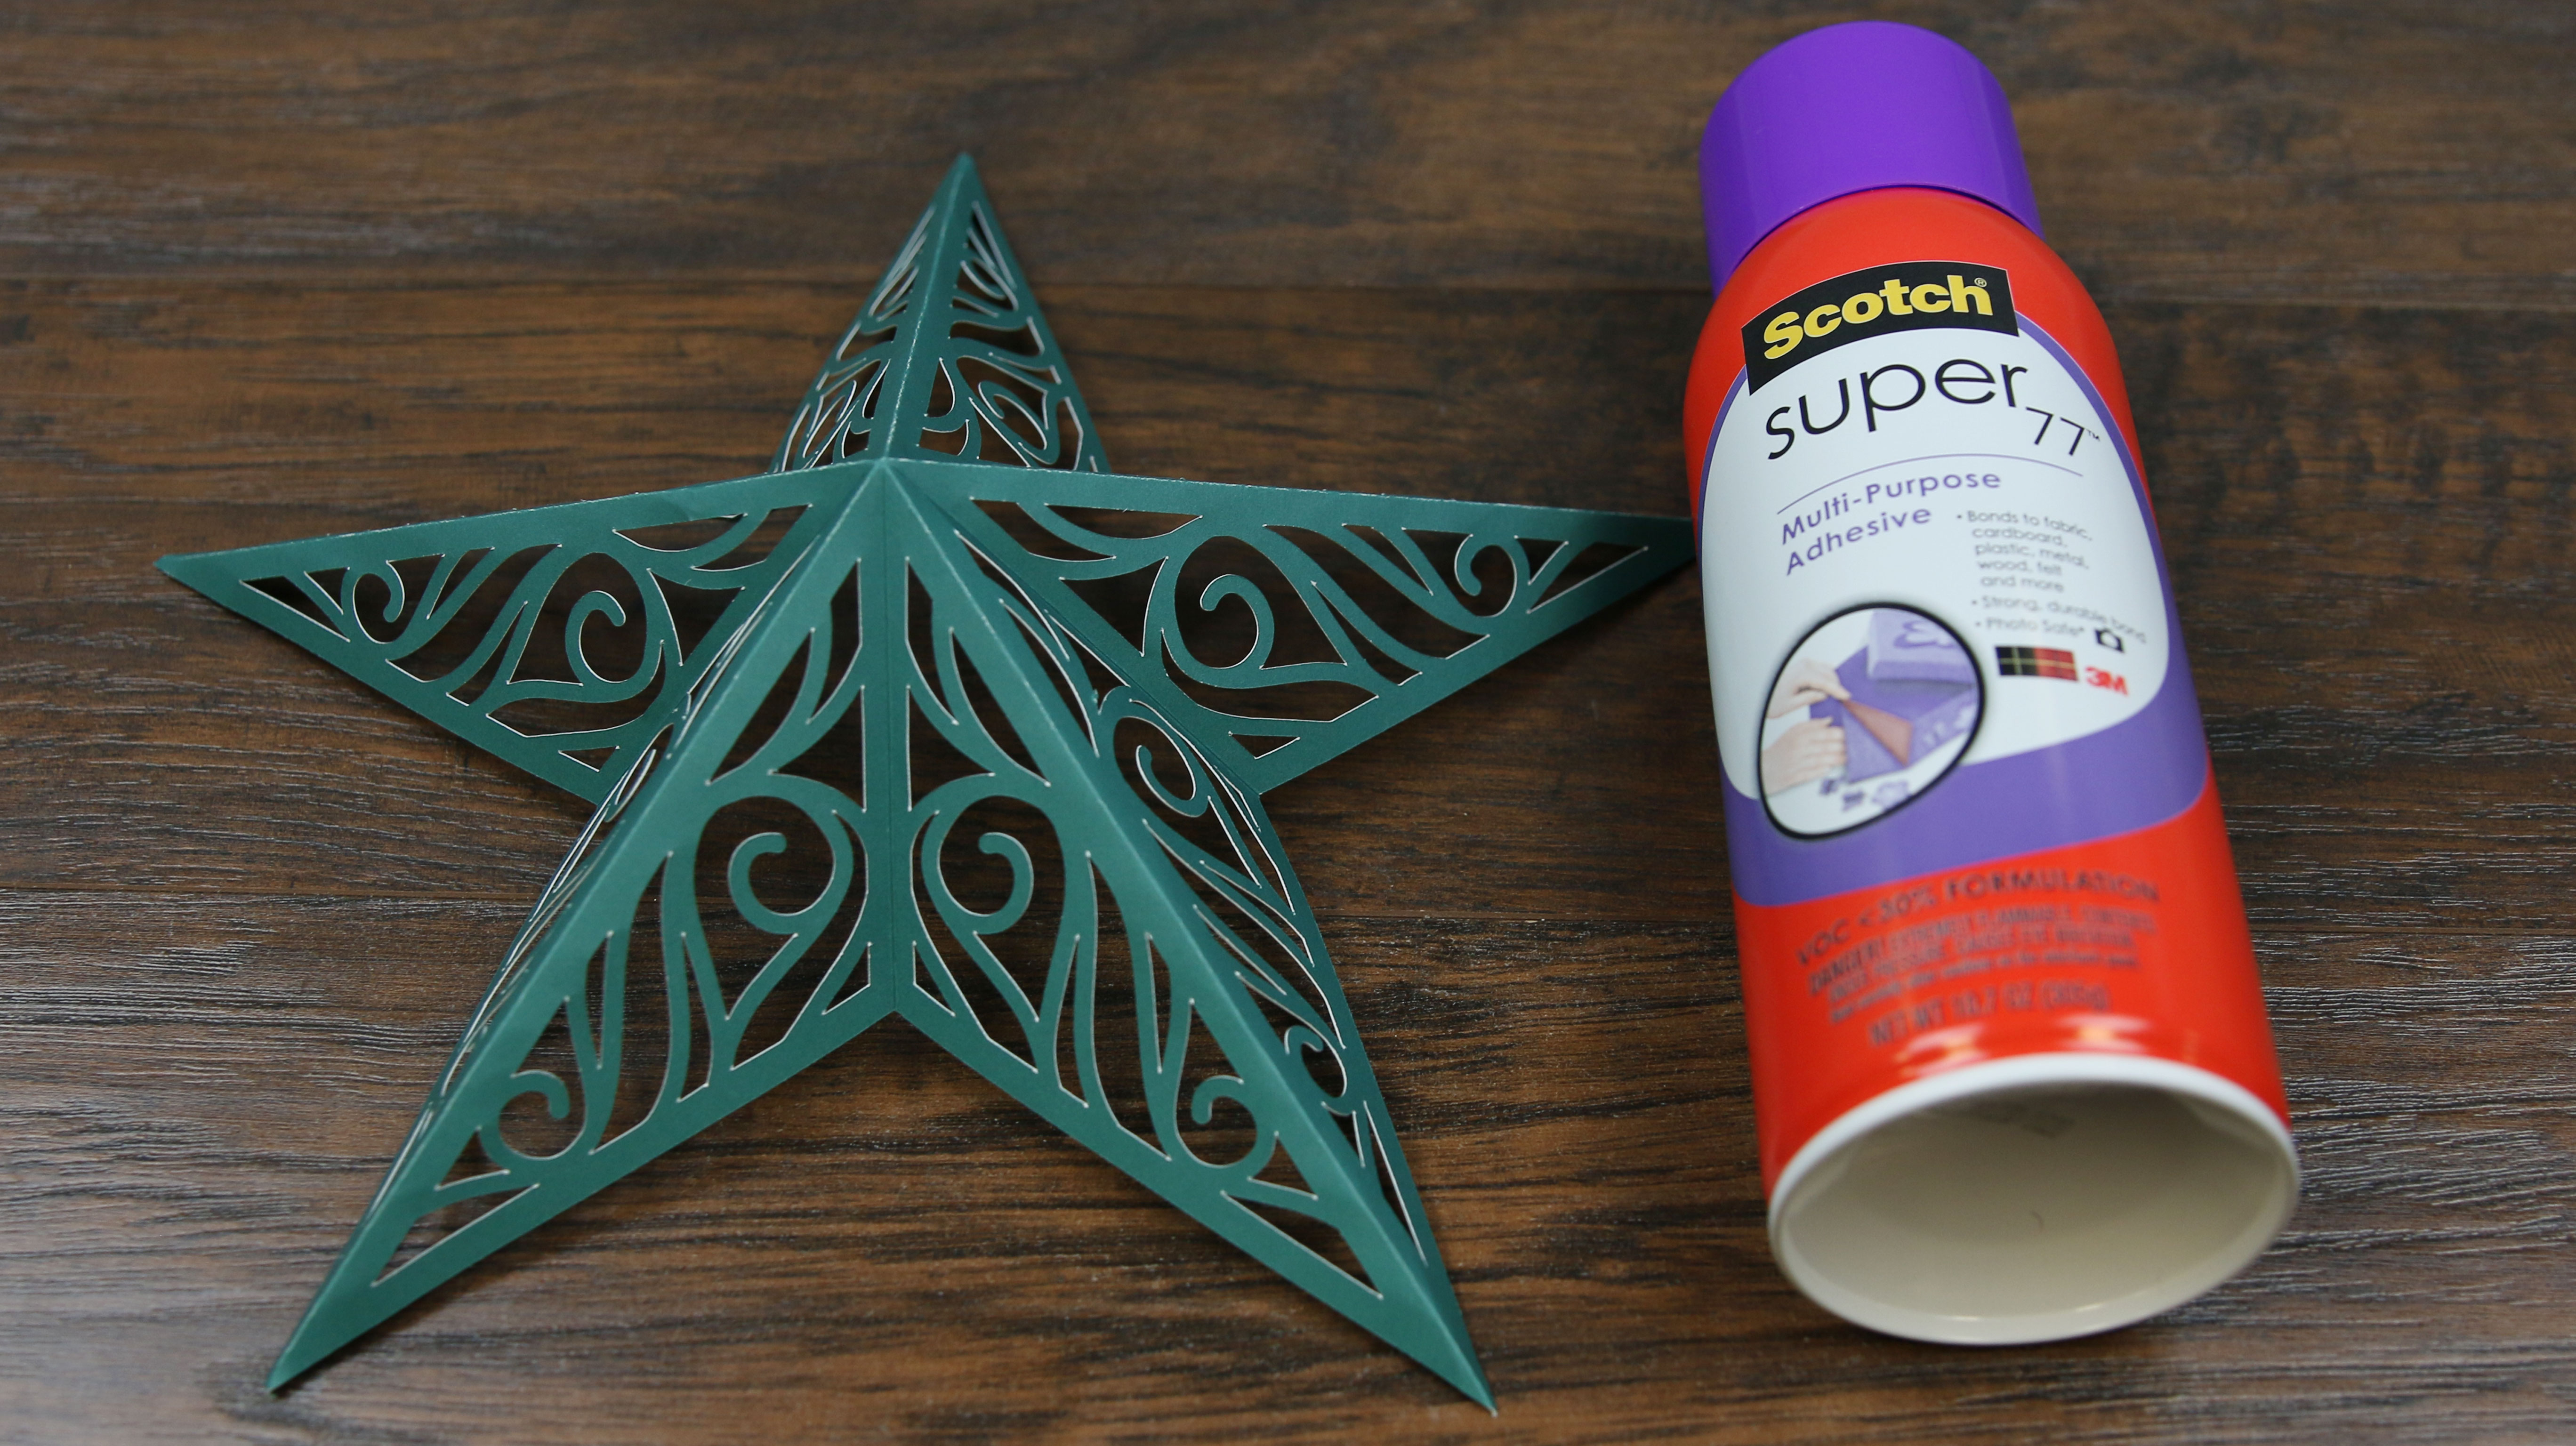
- Spray adhesive (such as 3M Super 77)
Designs Used
Cutting Instructions
1
Load the Graceful Filigree Barn Star (Cut & More) file into your cutting machine’s software.
2
This design has two different cardstock colors. Proceed in the design software until the first color selection appears, and is ready to be cut.
3
Smooth the first cardstock color onto the adhesive mat with the right side of the paper facing up. Make sure the correct scoring tool is in place. Then load the adhesive mat into the machine.
4
Score the first color. Your cutting machine will stop and request you to replace the scoring wheel with the cutting tool. Replace the tool and cut out the first color.
5
When the first file has finished cutting, carefully remove it from the mat and remove all the excess paper.
6
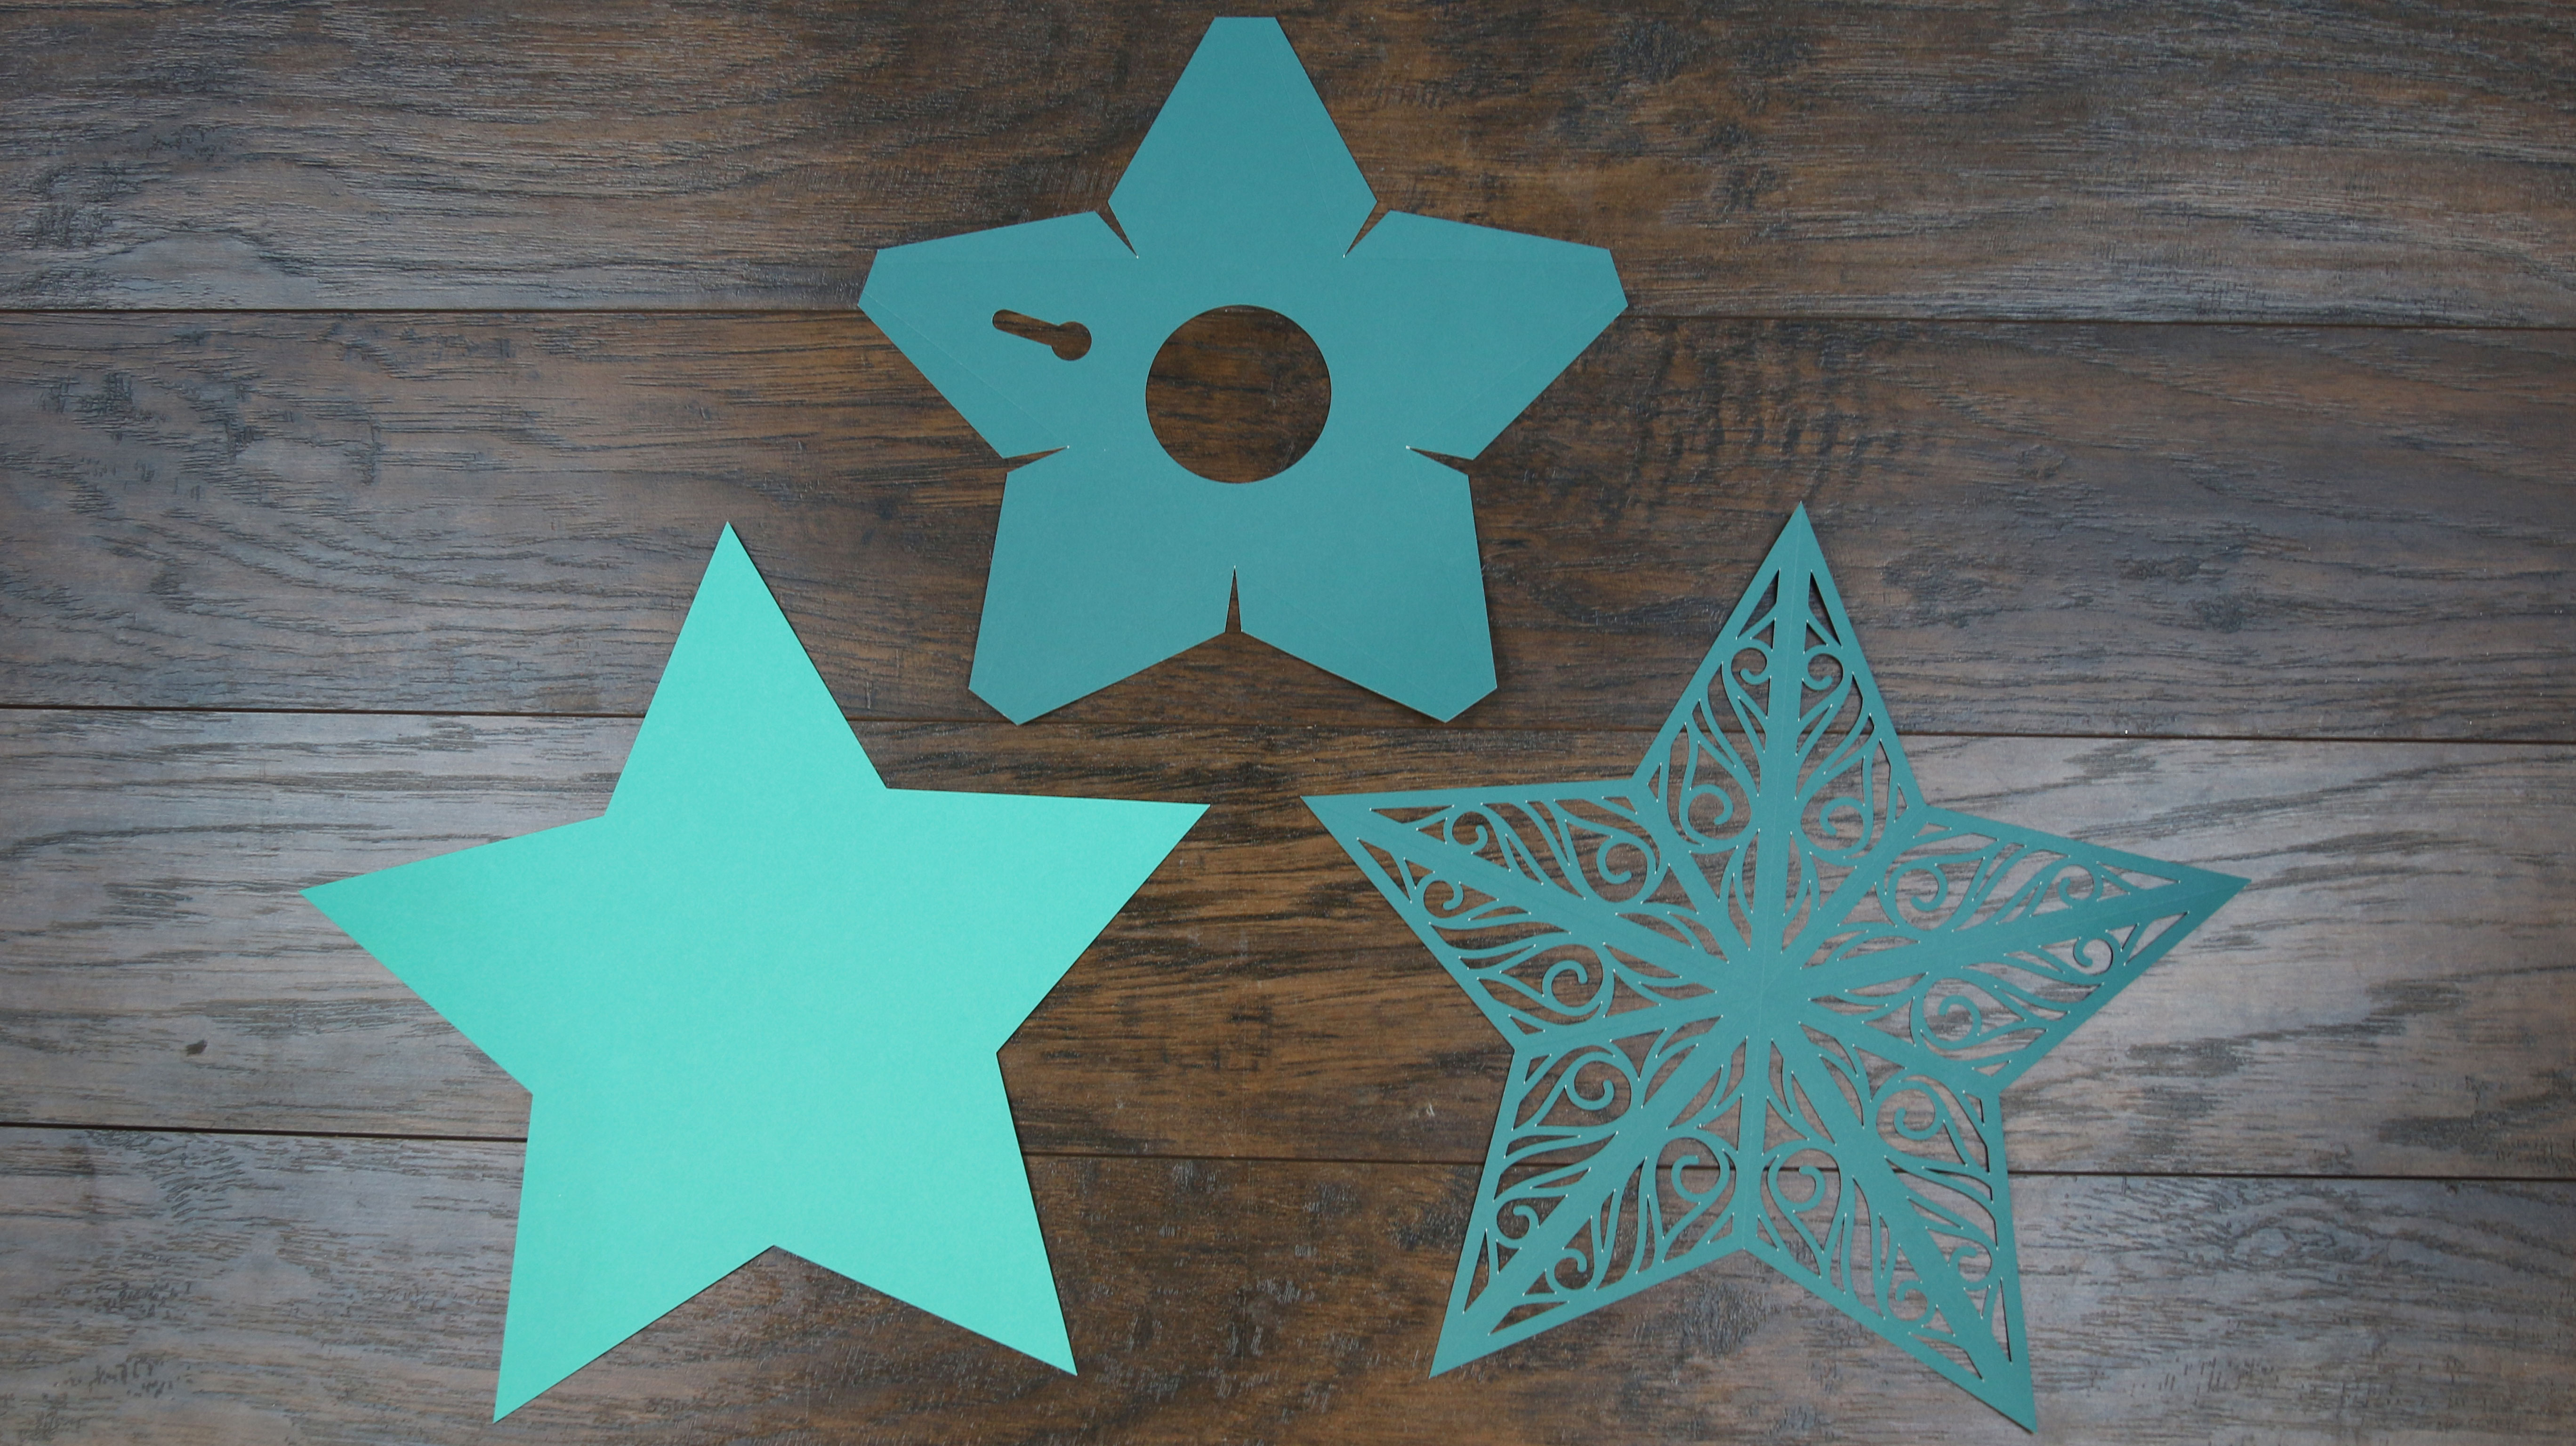
Repeat to score and cut all of the paper pieces for the barn star out of the two colors.
Crafting Instructions
1

First, fold the back piece (color 1) along the scoring lines, folding each of the glue flaps in the direction indicated by the scoring lines. Set this to the side for now.
2
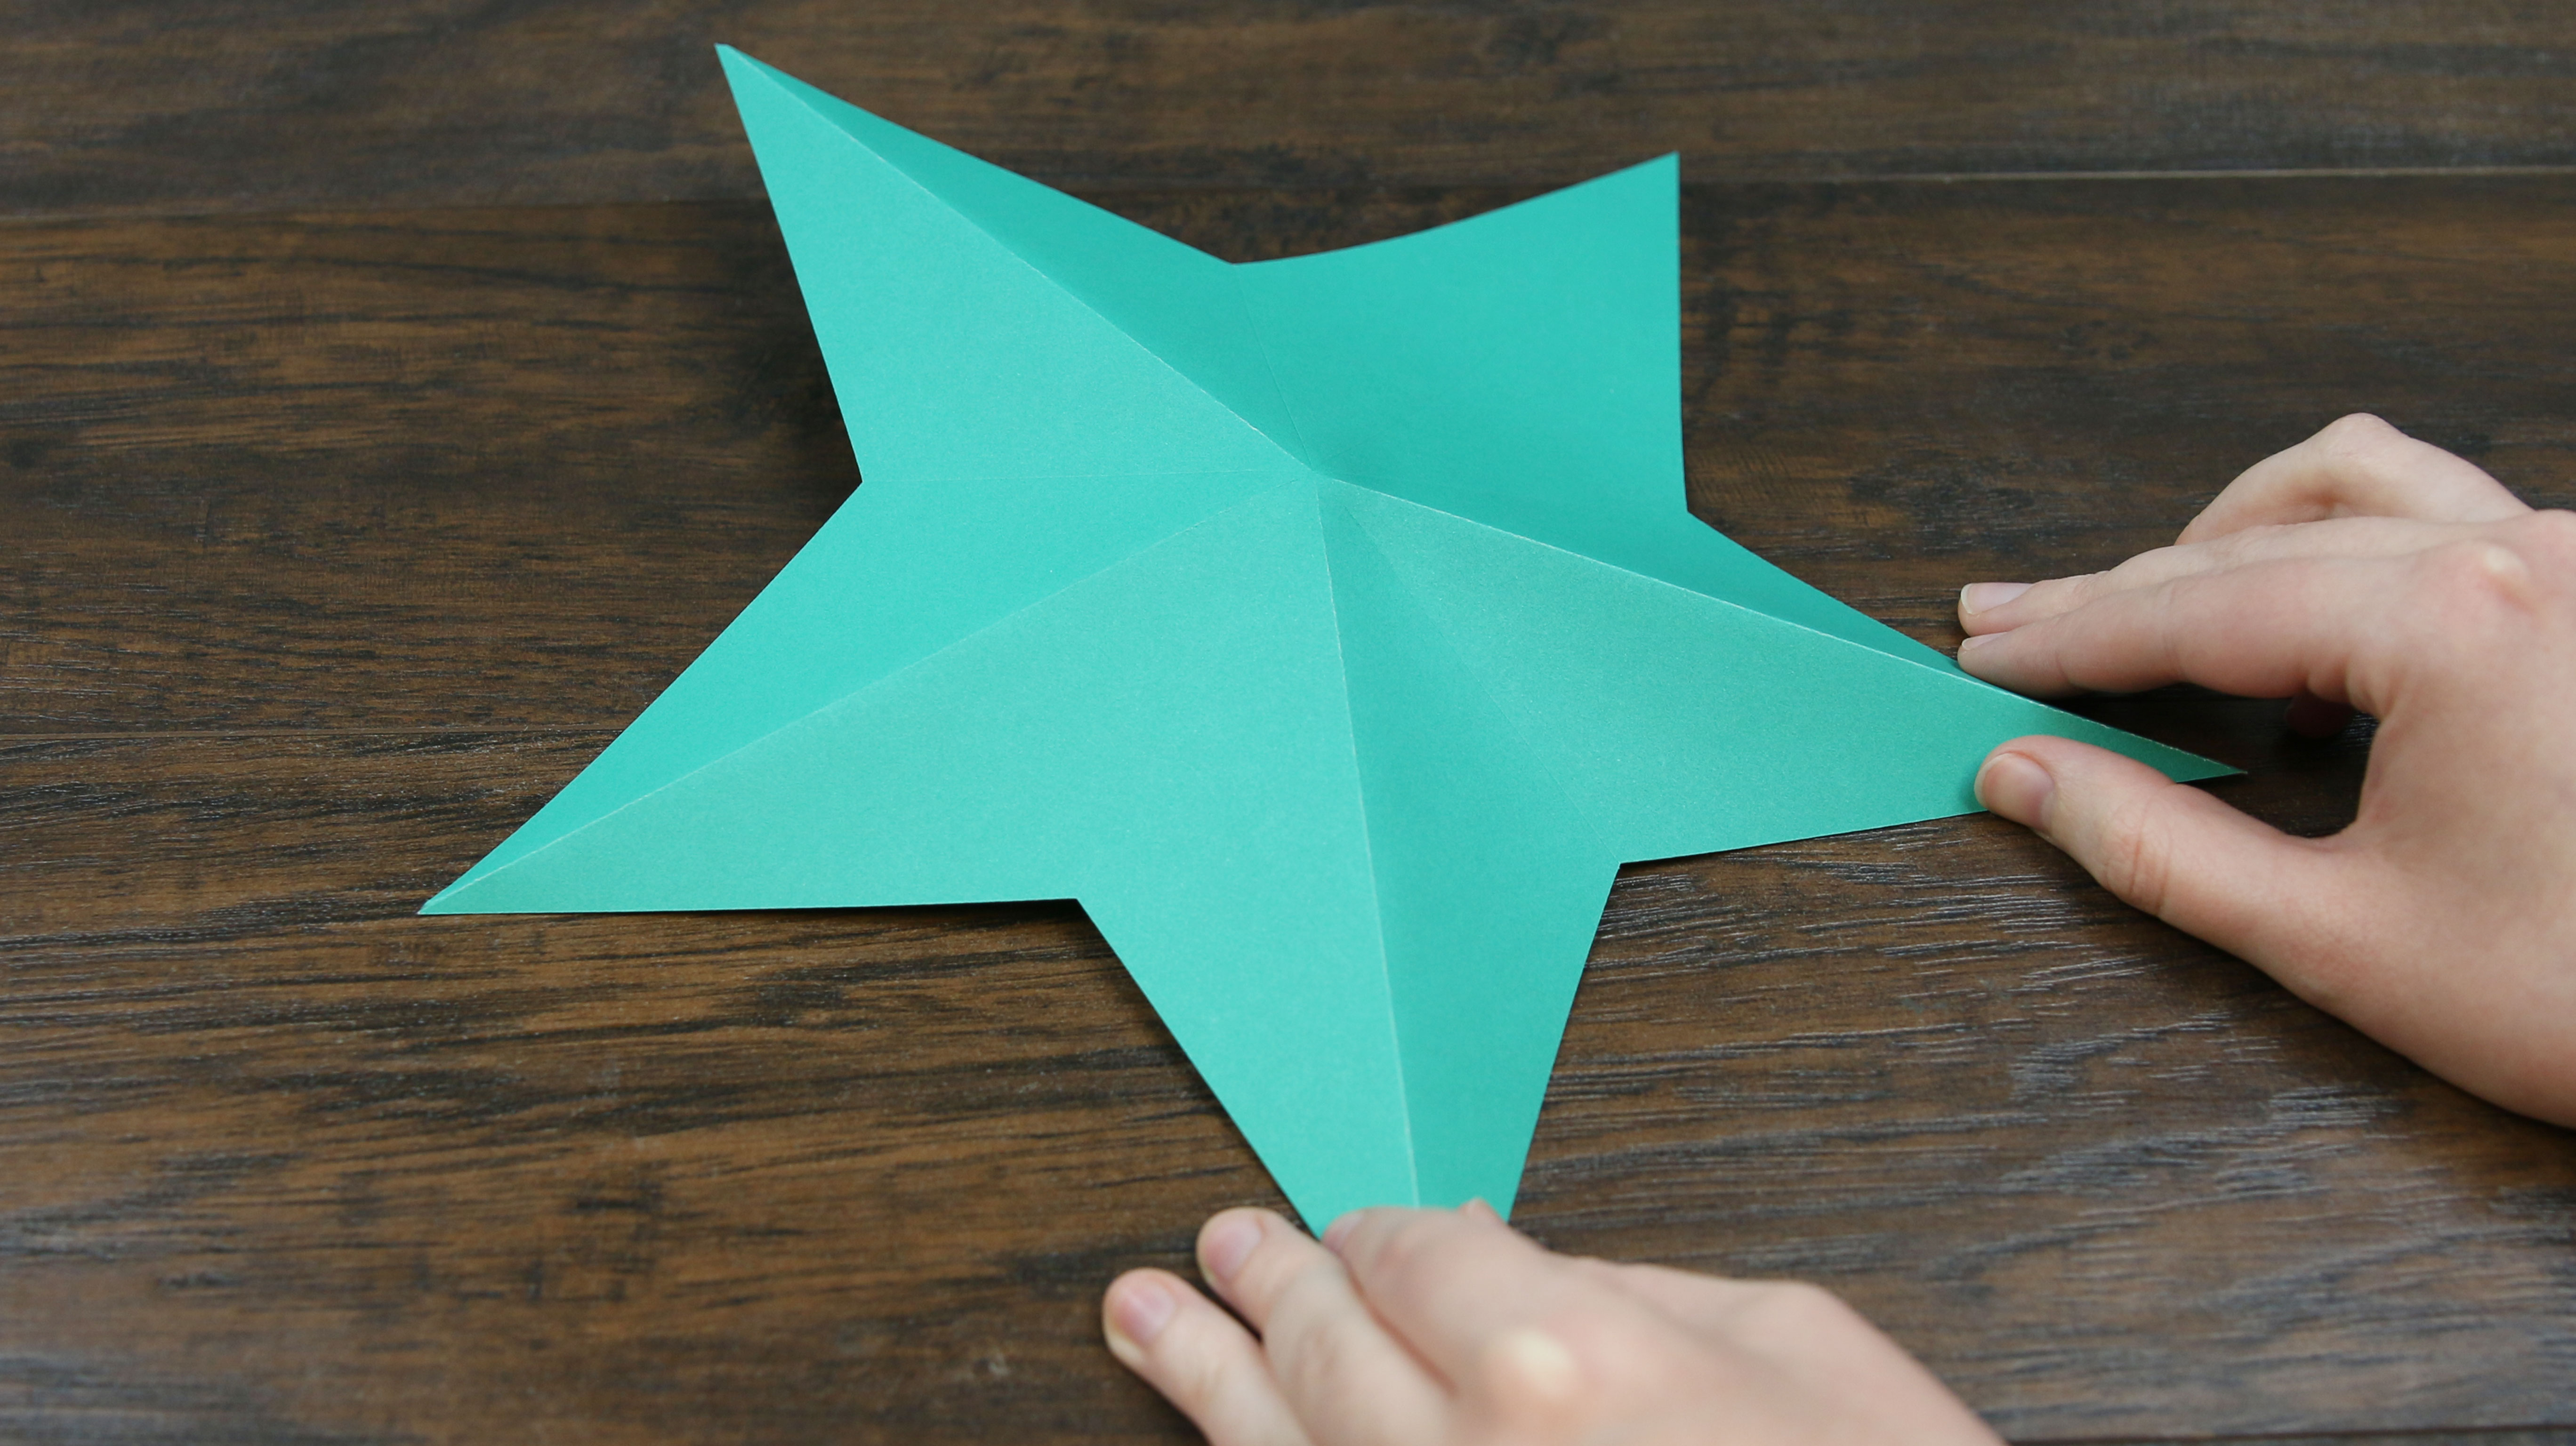
Take the front piece (color 1), and fold each of the long scoring lines from each point of the star to the center.
3
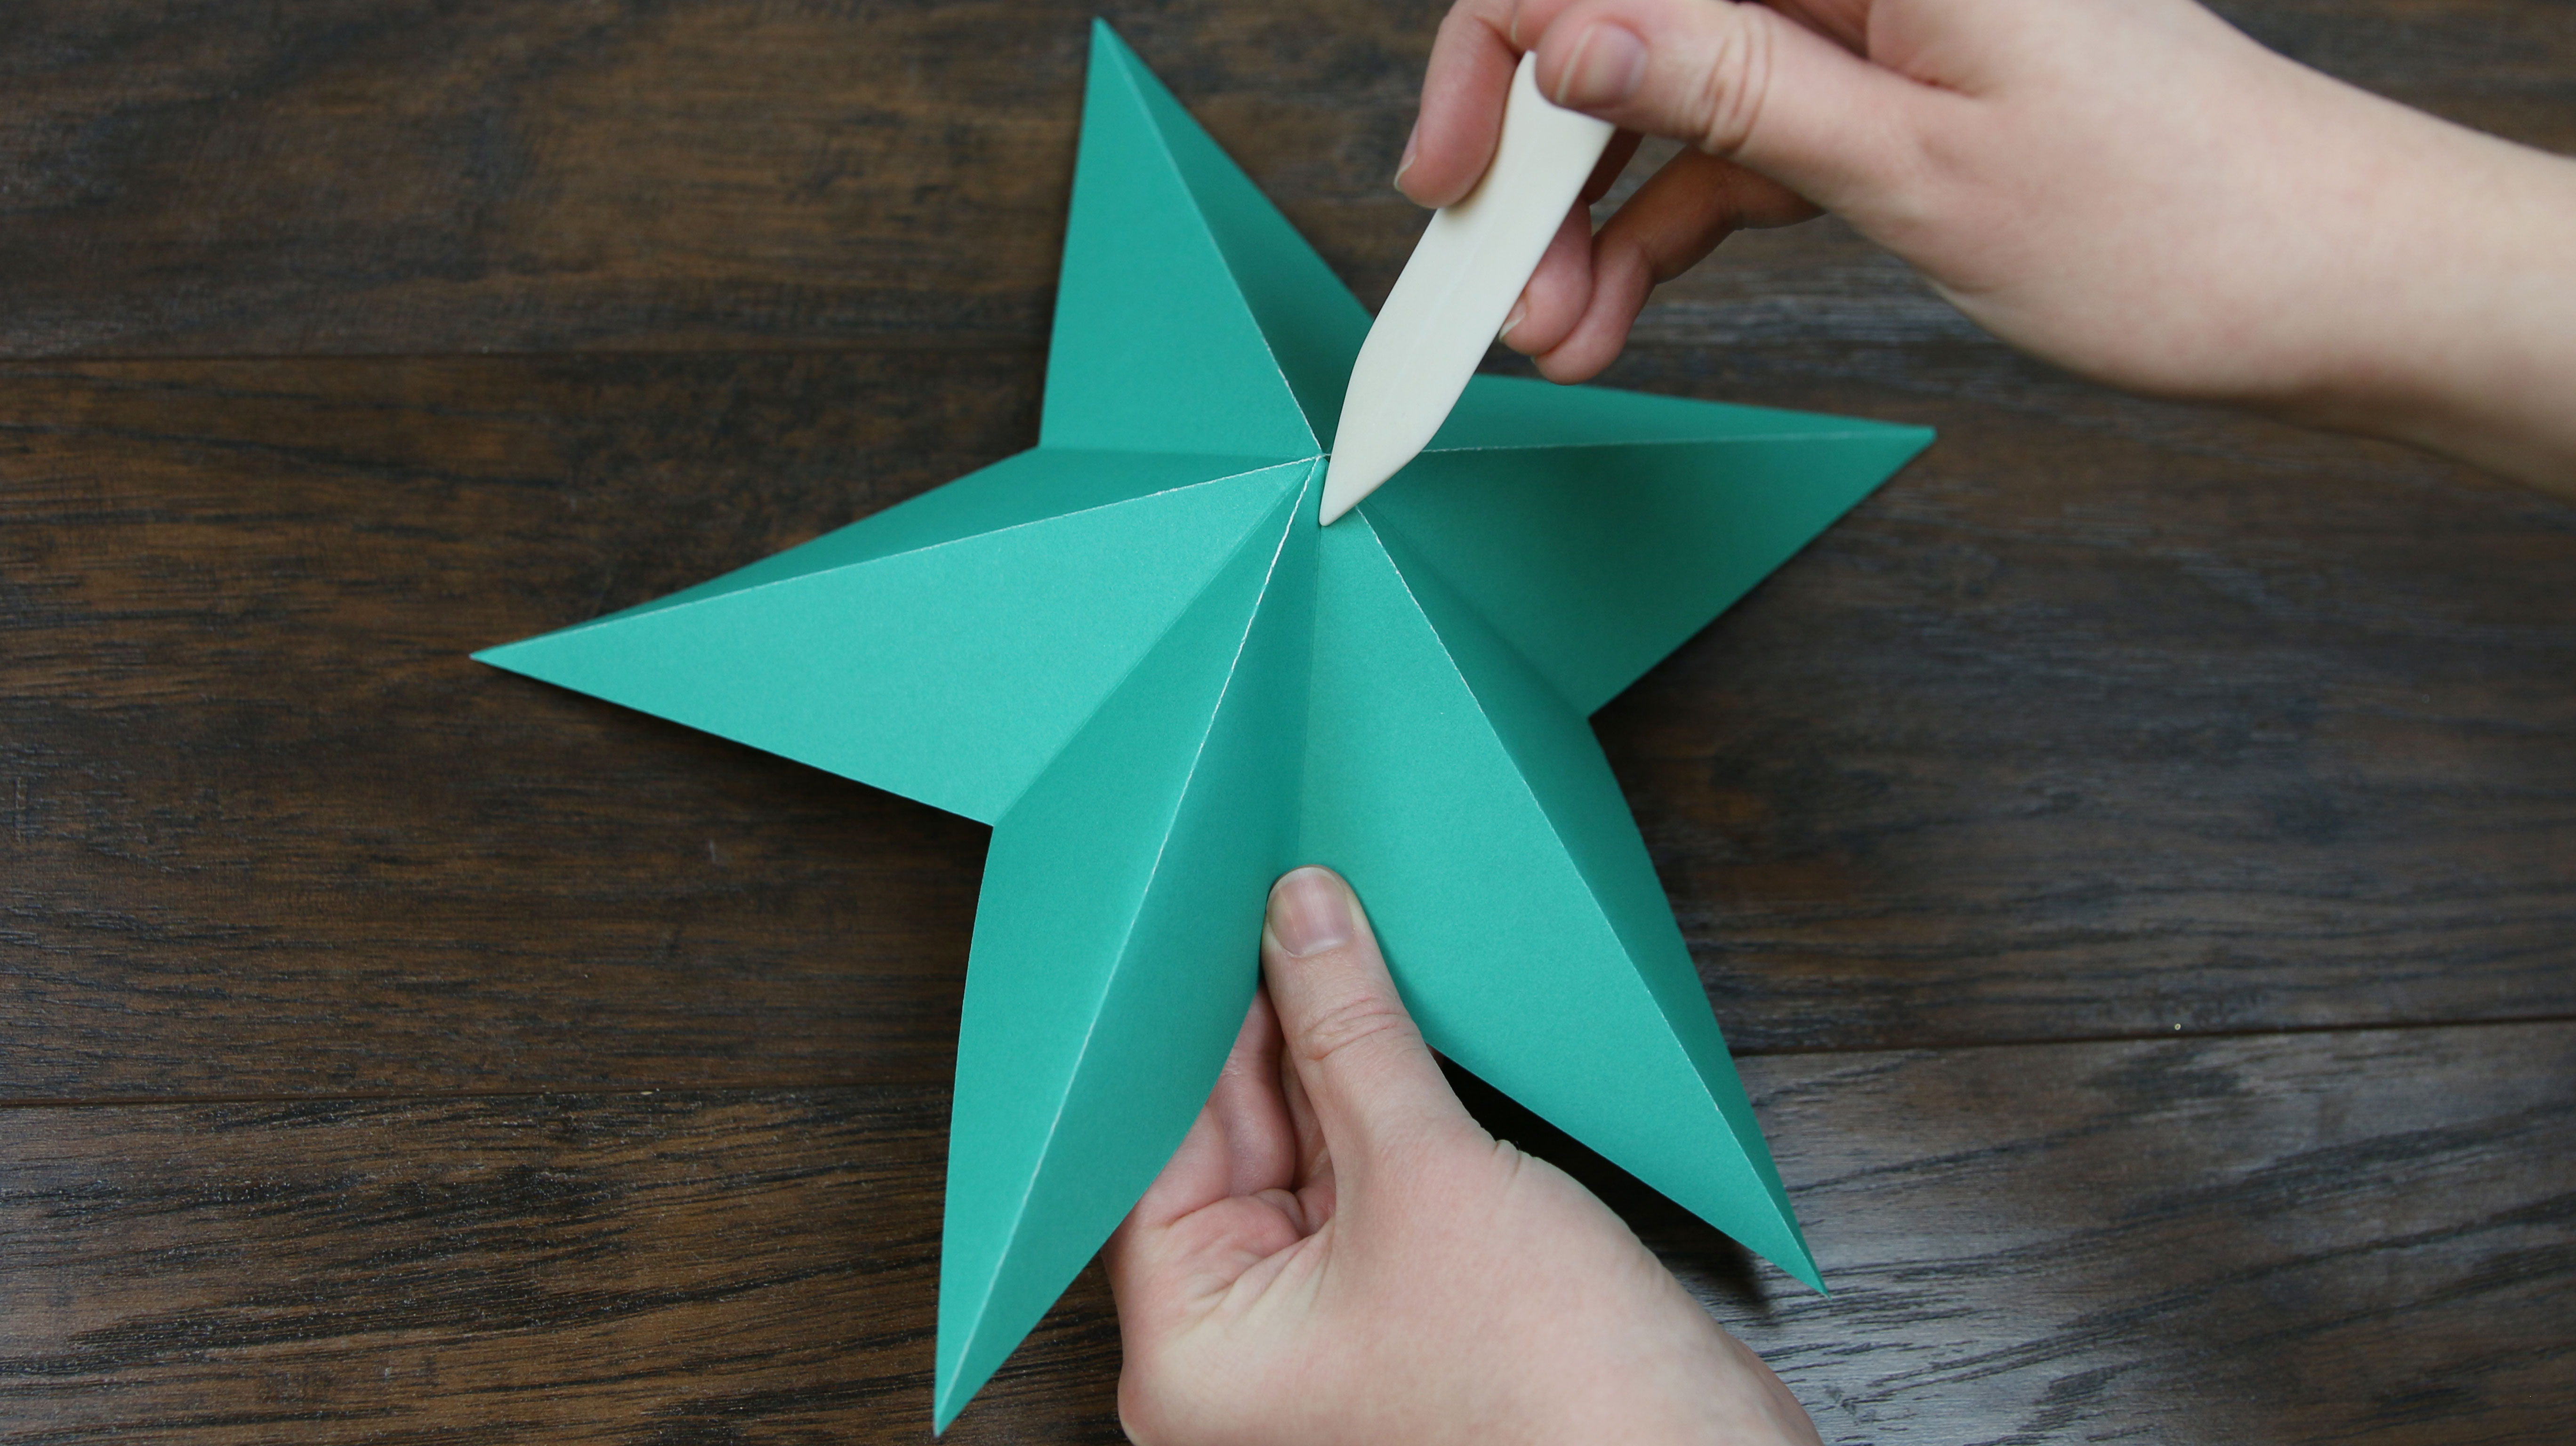
Fold the remaining short score lines down from each indented point of the star to the center. Using a bone folder will allow you to get sharper folds.
4
Set the front piece to the side and repeat the previous steps to fold the top piece (color 2).
5
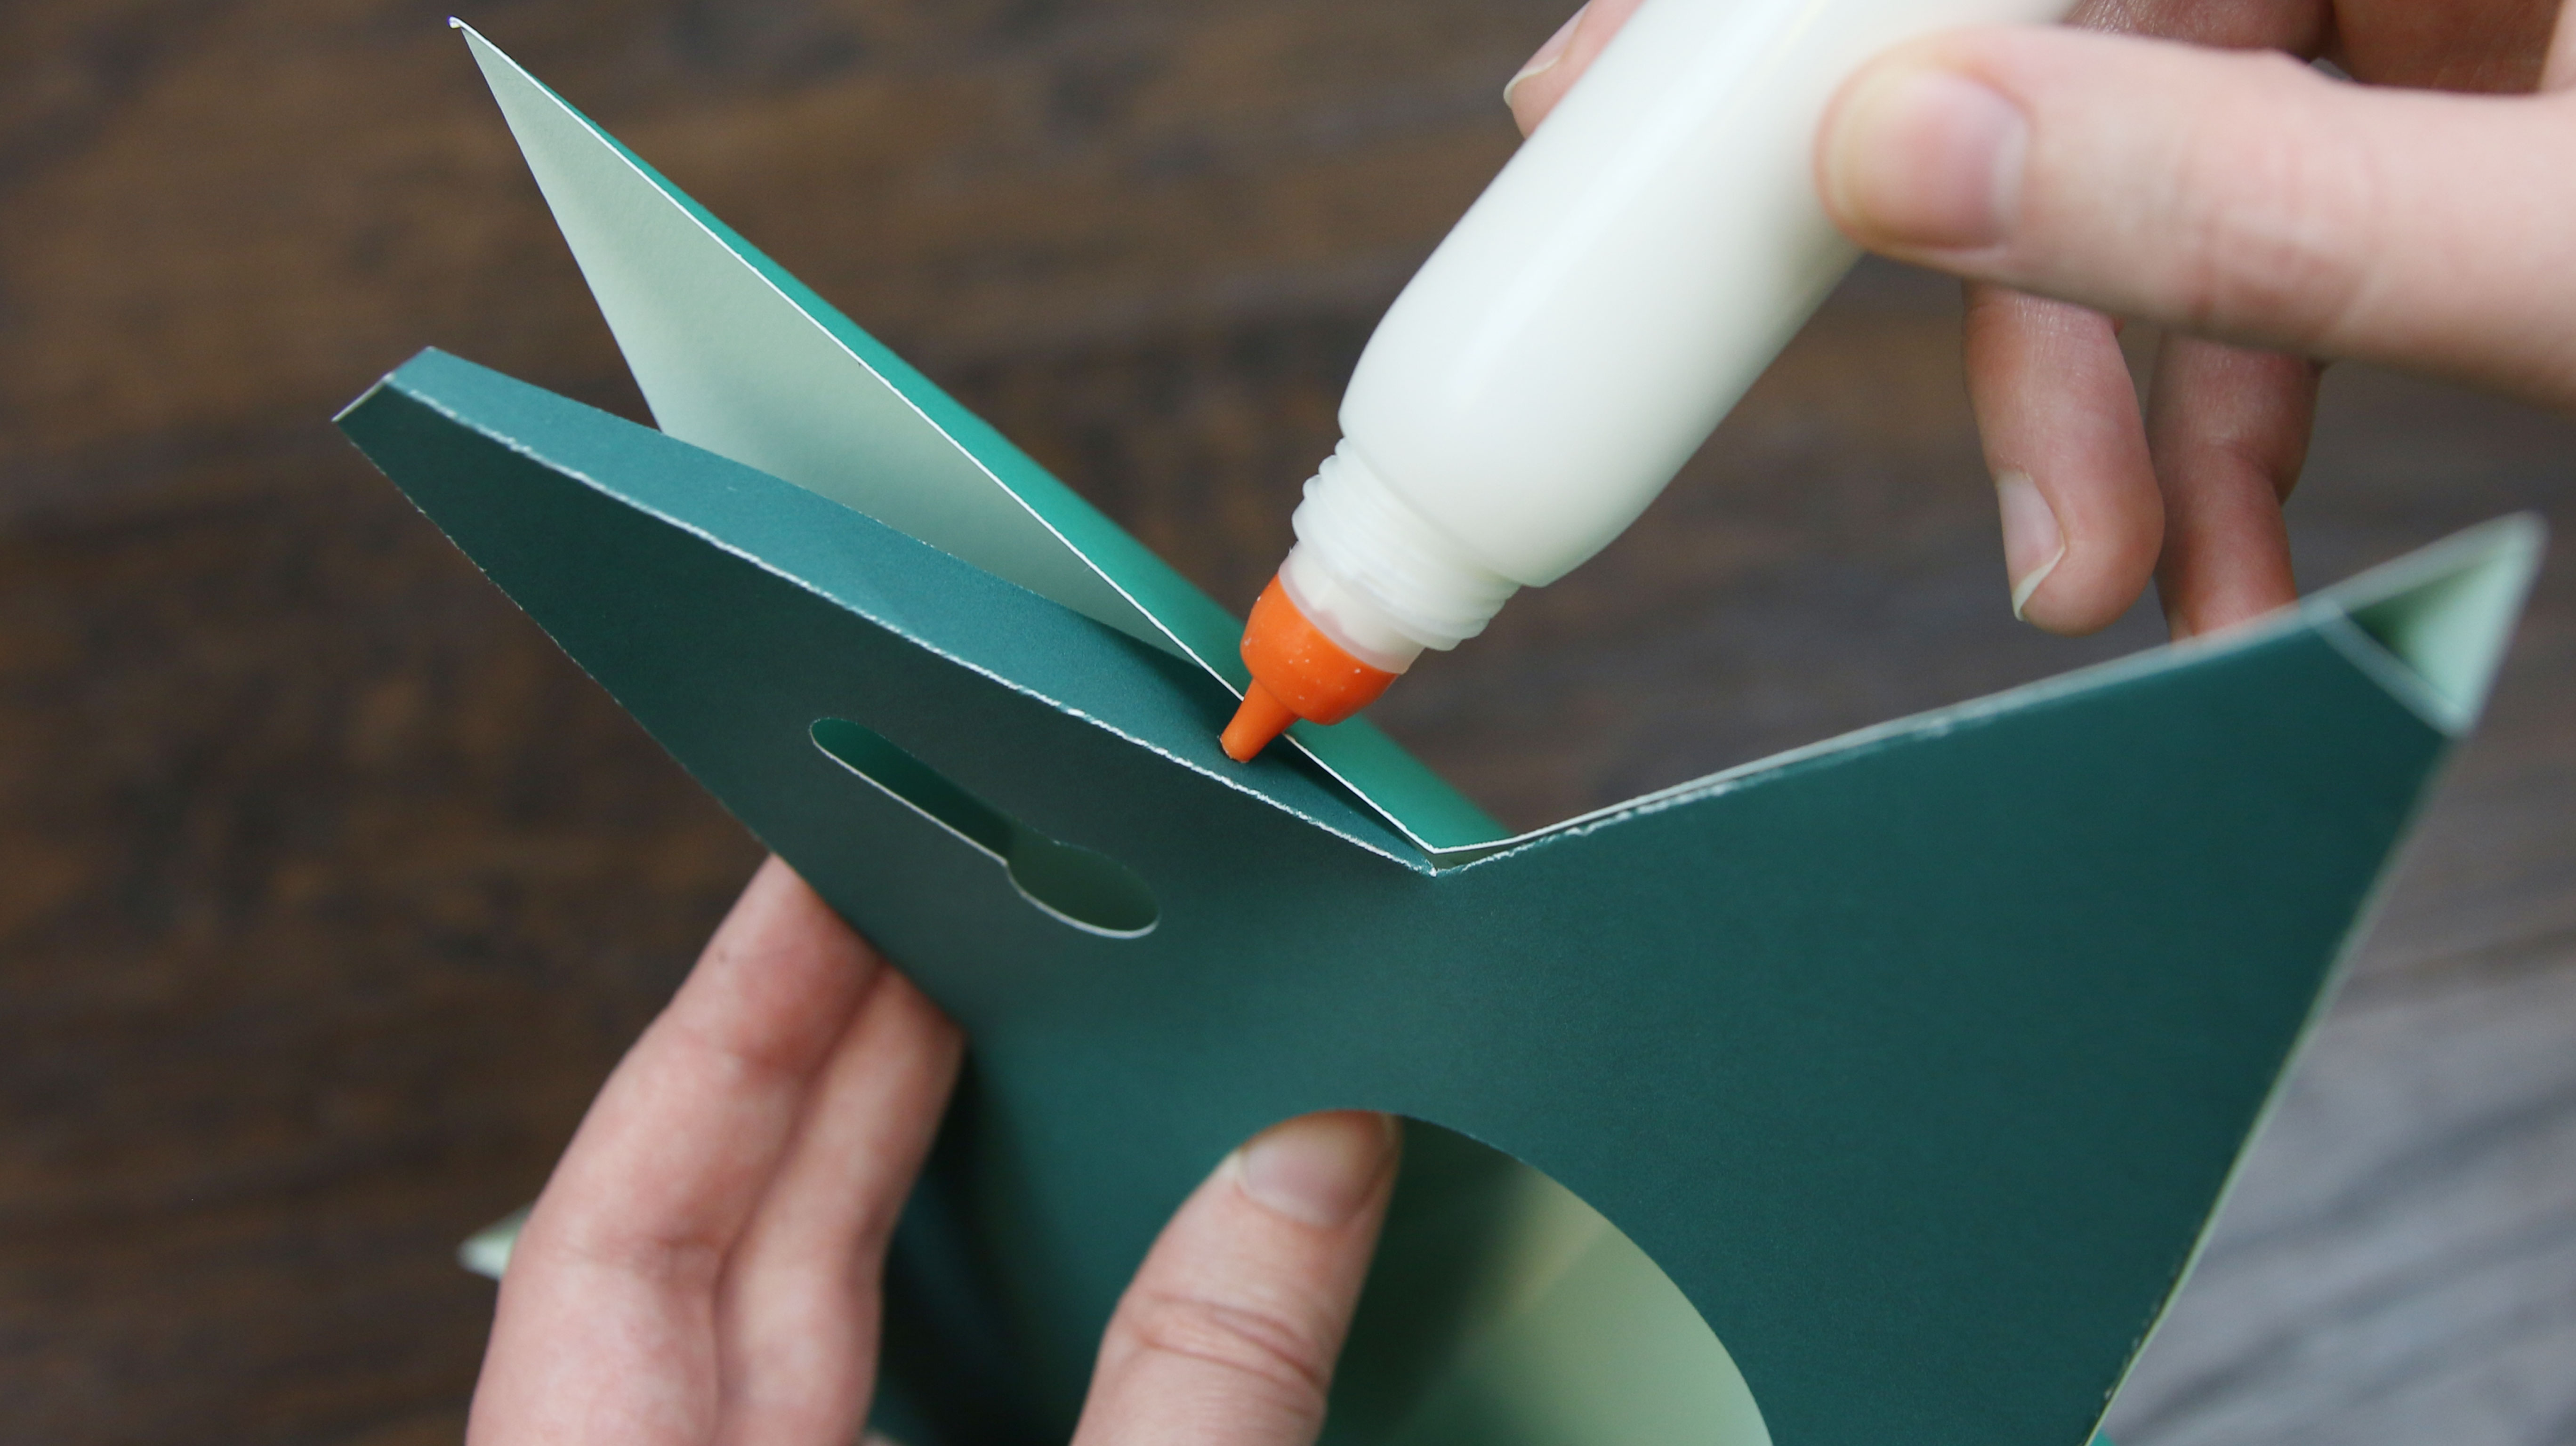
Place the back piece down with the tabs folded up and spread glue onto the two tabs on one arm of the star. Place the tabs into the interior of the front piece. Take care to match up your corners and edges to ensure alignment of the star. Repeat to glue the back piece into all five arms.
6
Apply spray adhesive, glue, or double sided tape to the back of the top piece.
7
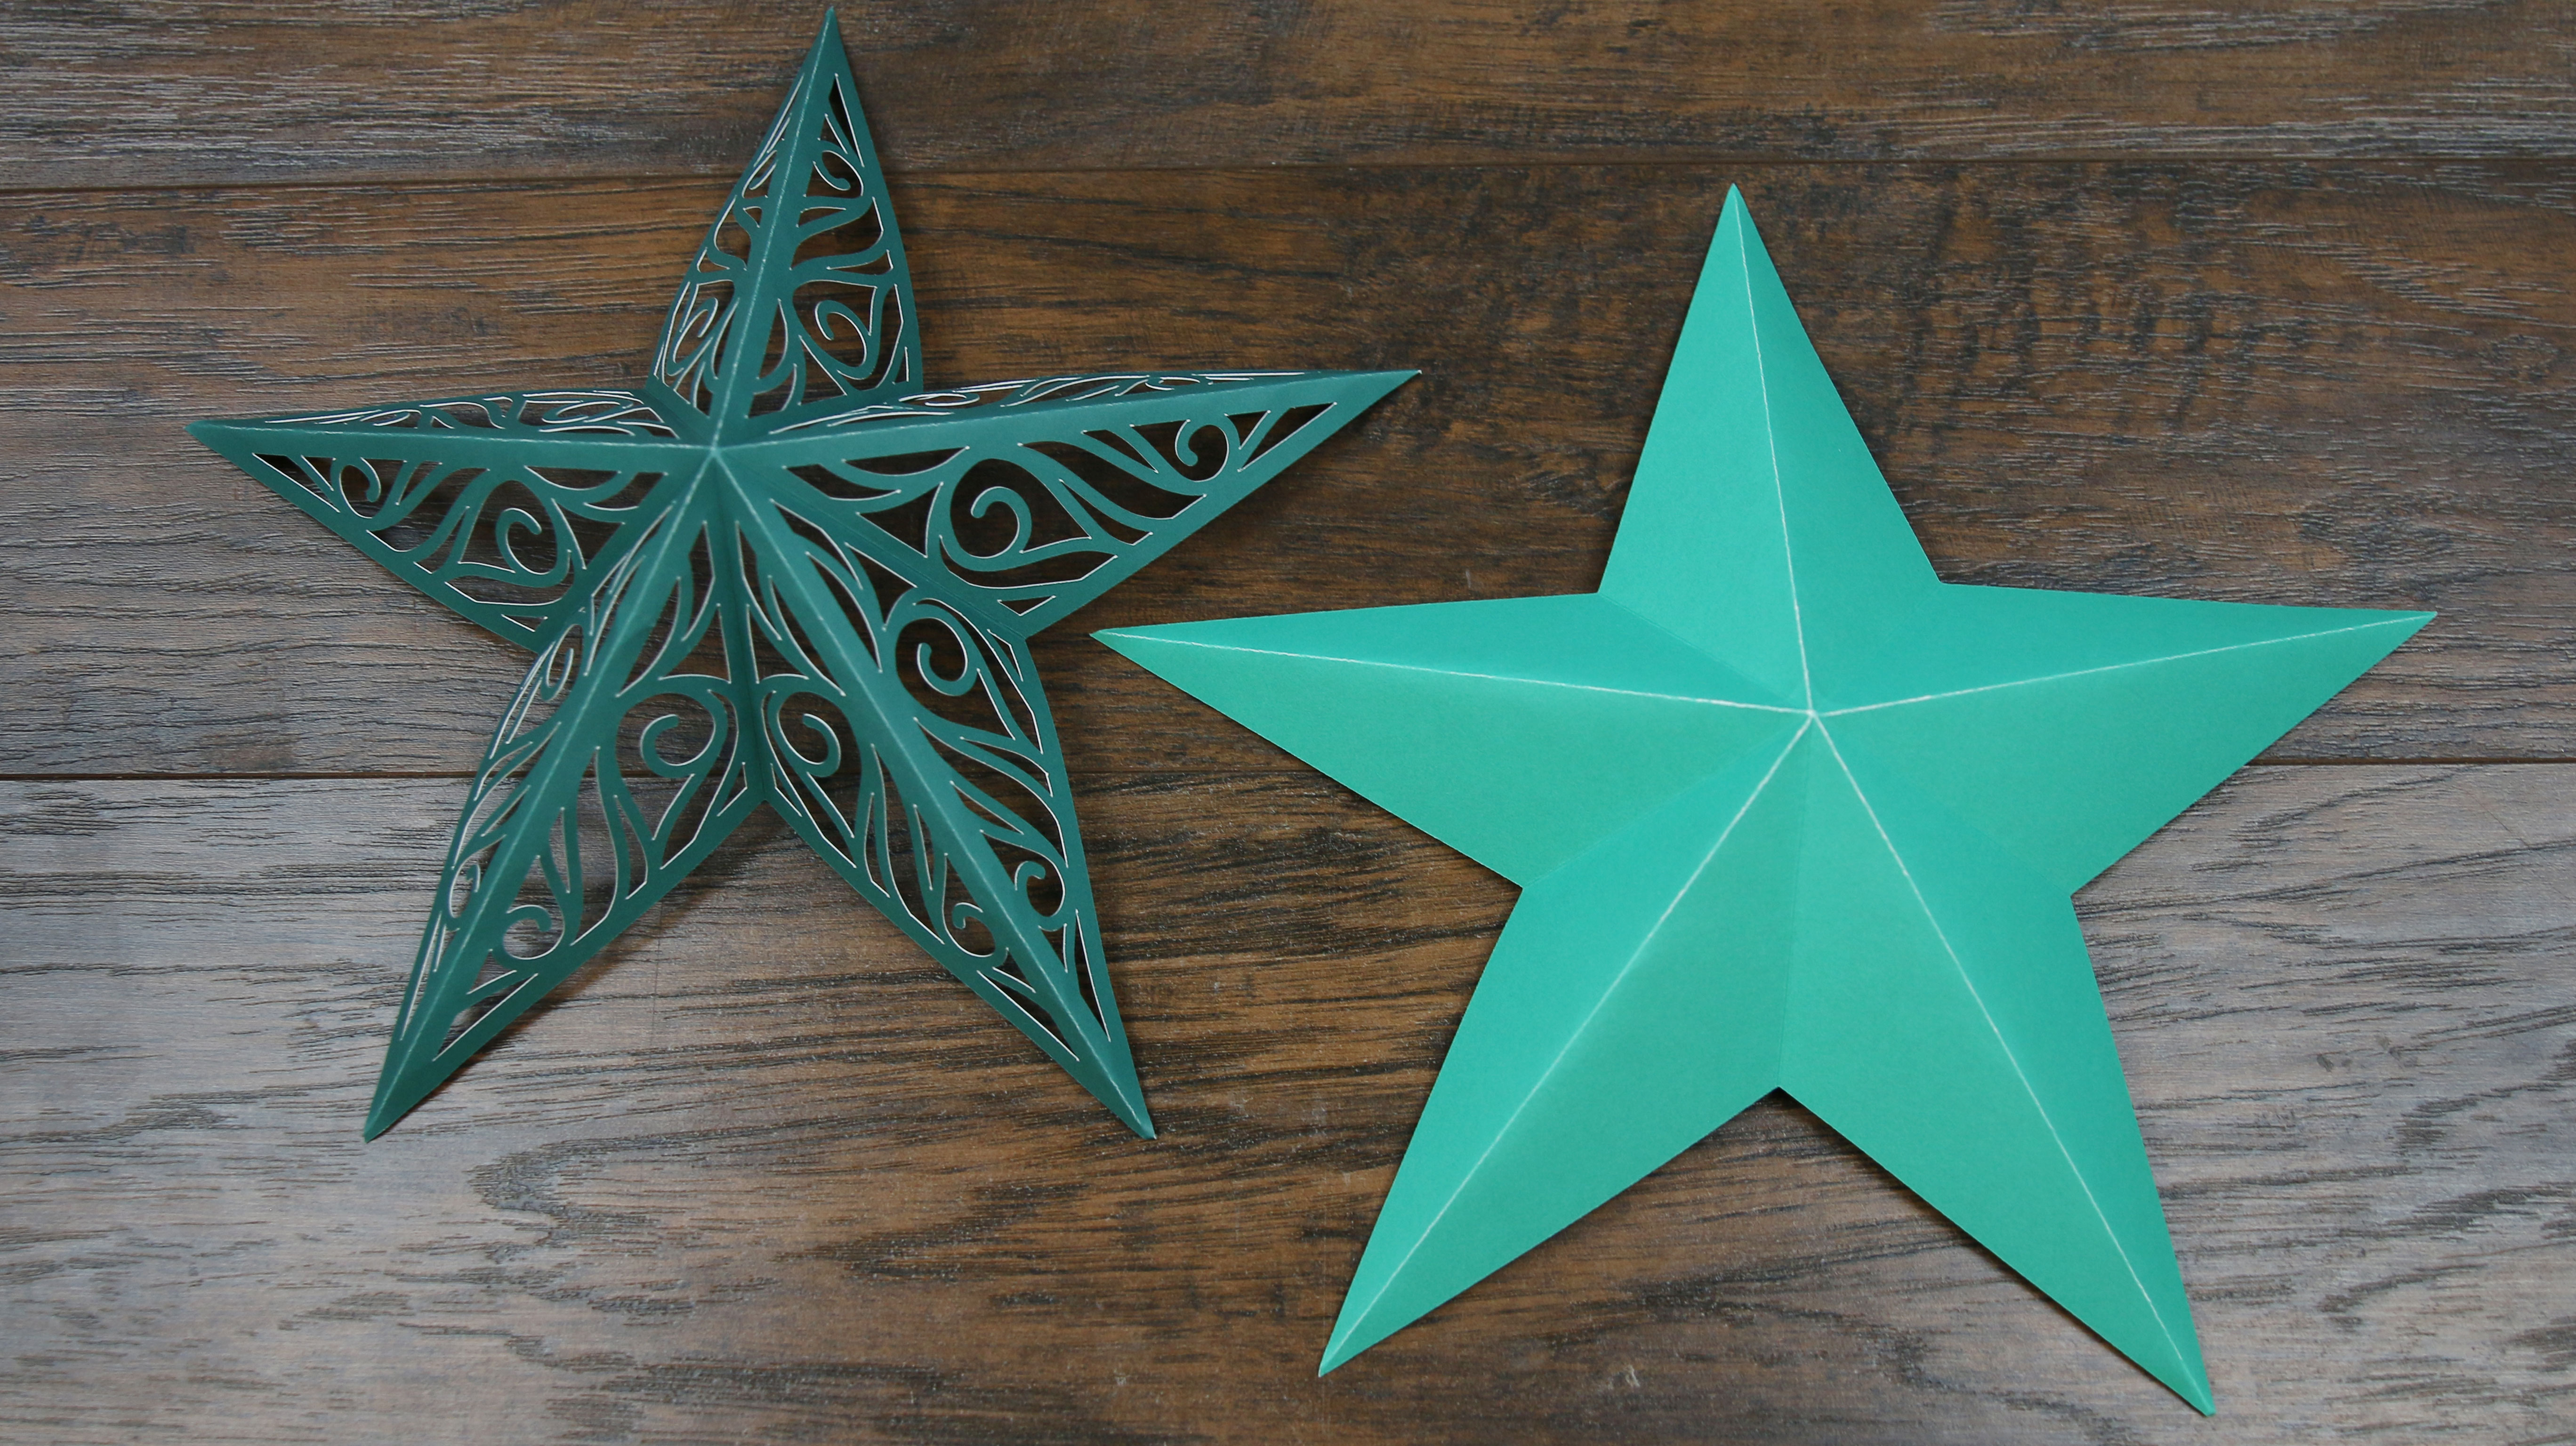
Carefully place the top piece over the front piece and gently press the peaks and corners together to ensure adhesion.
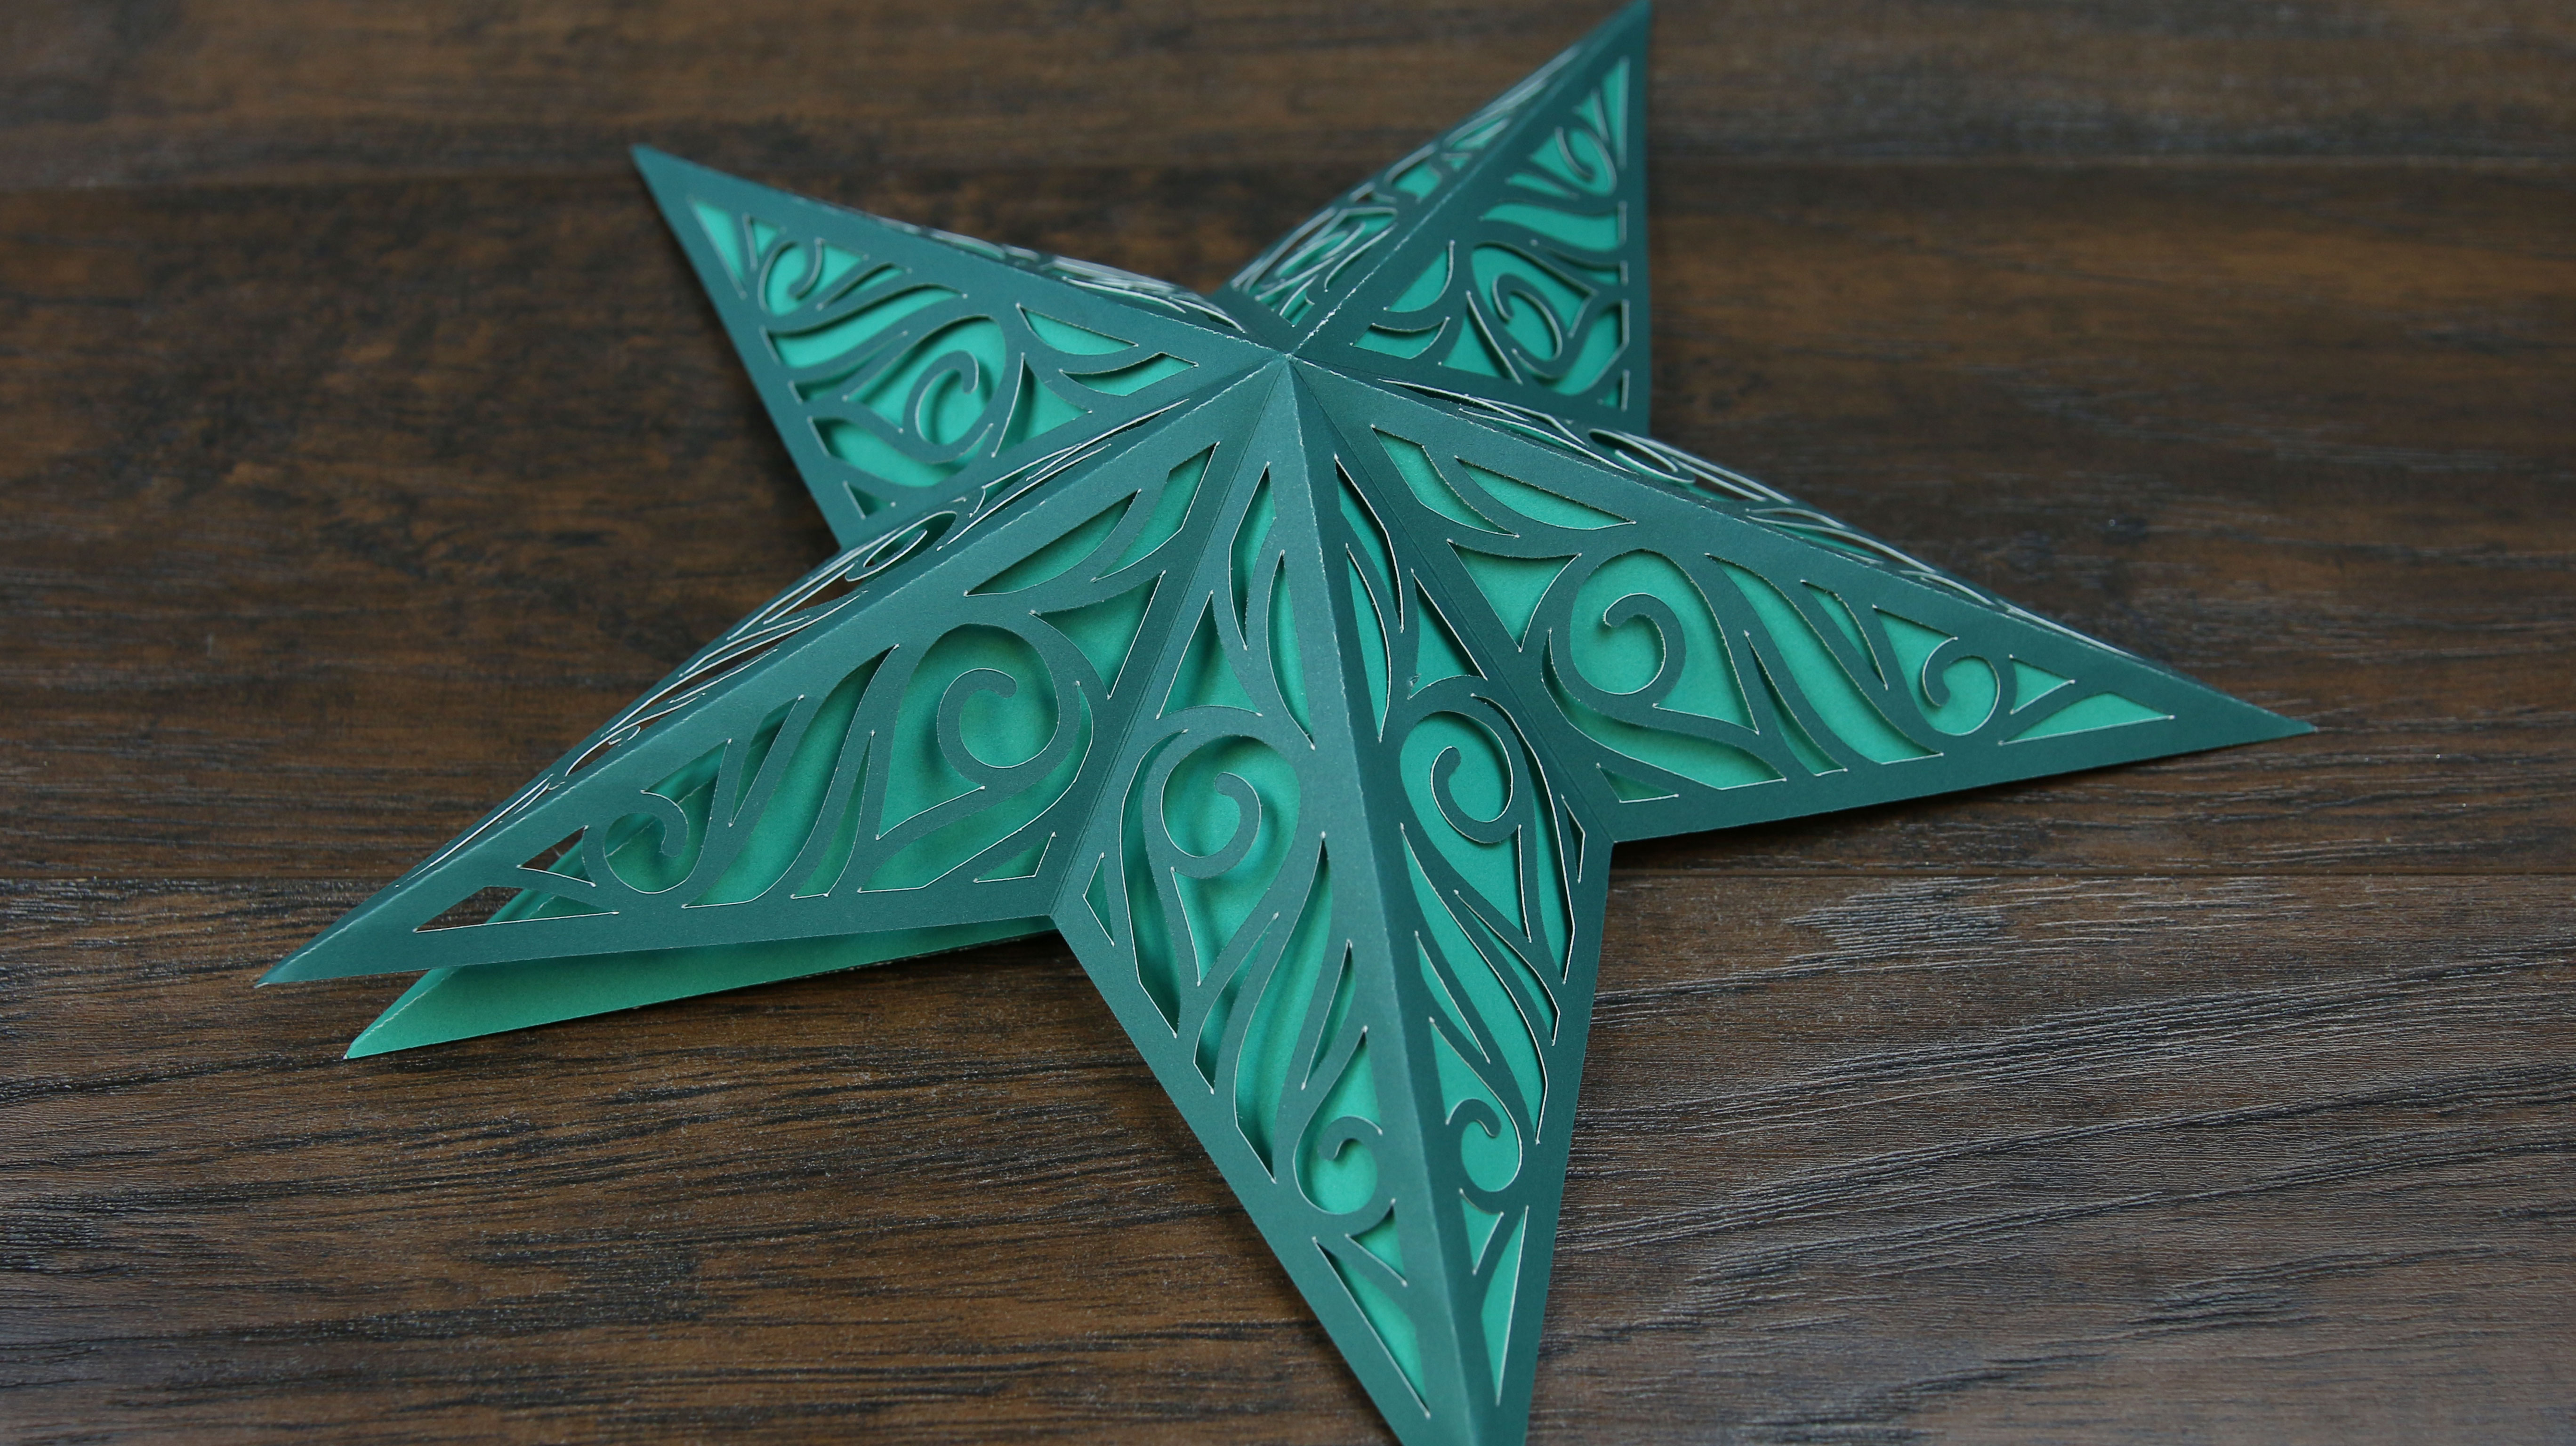
8
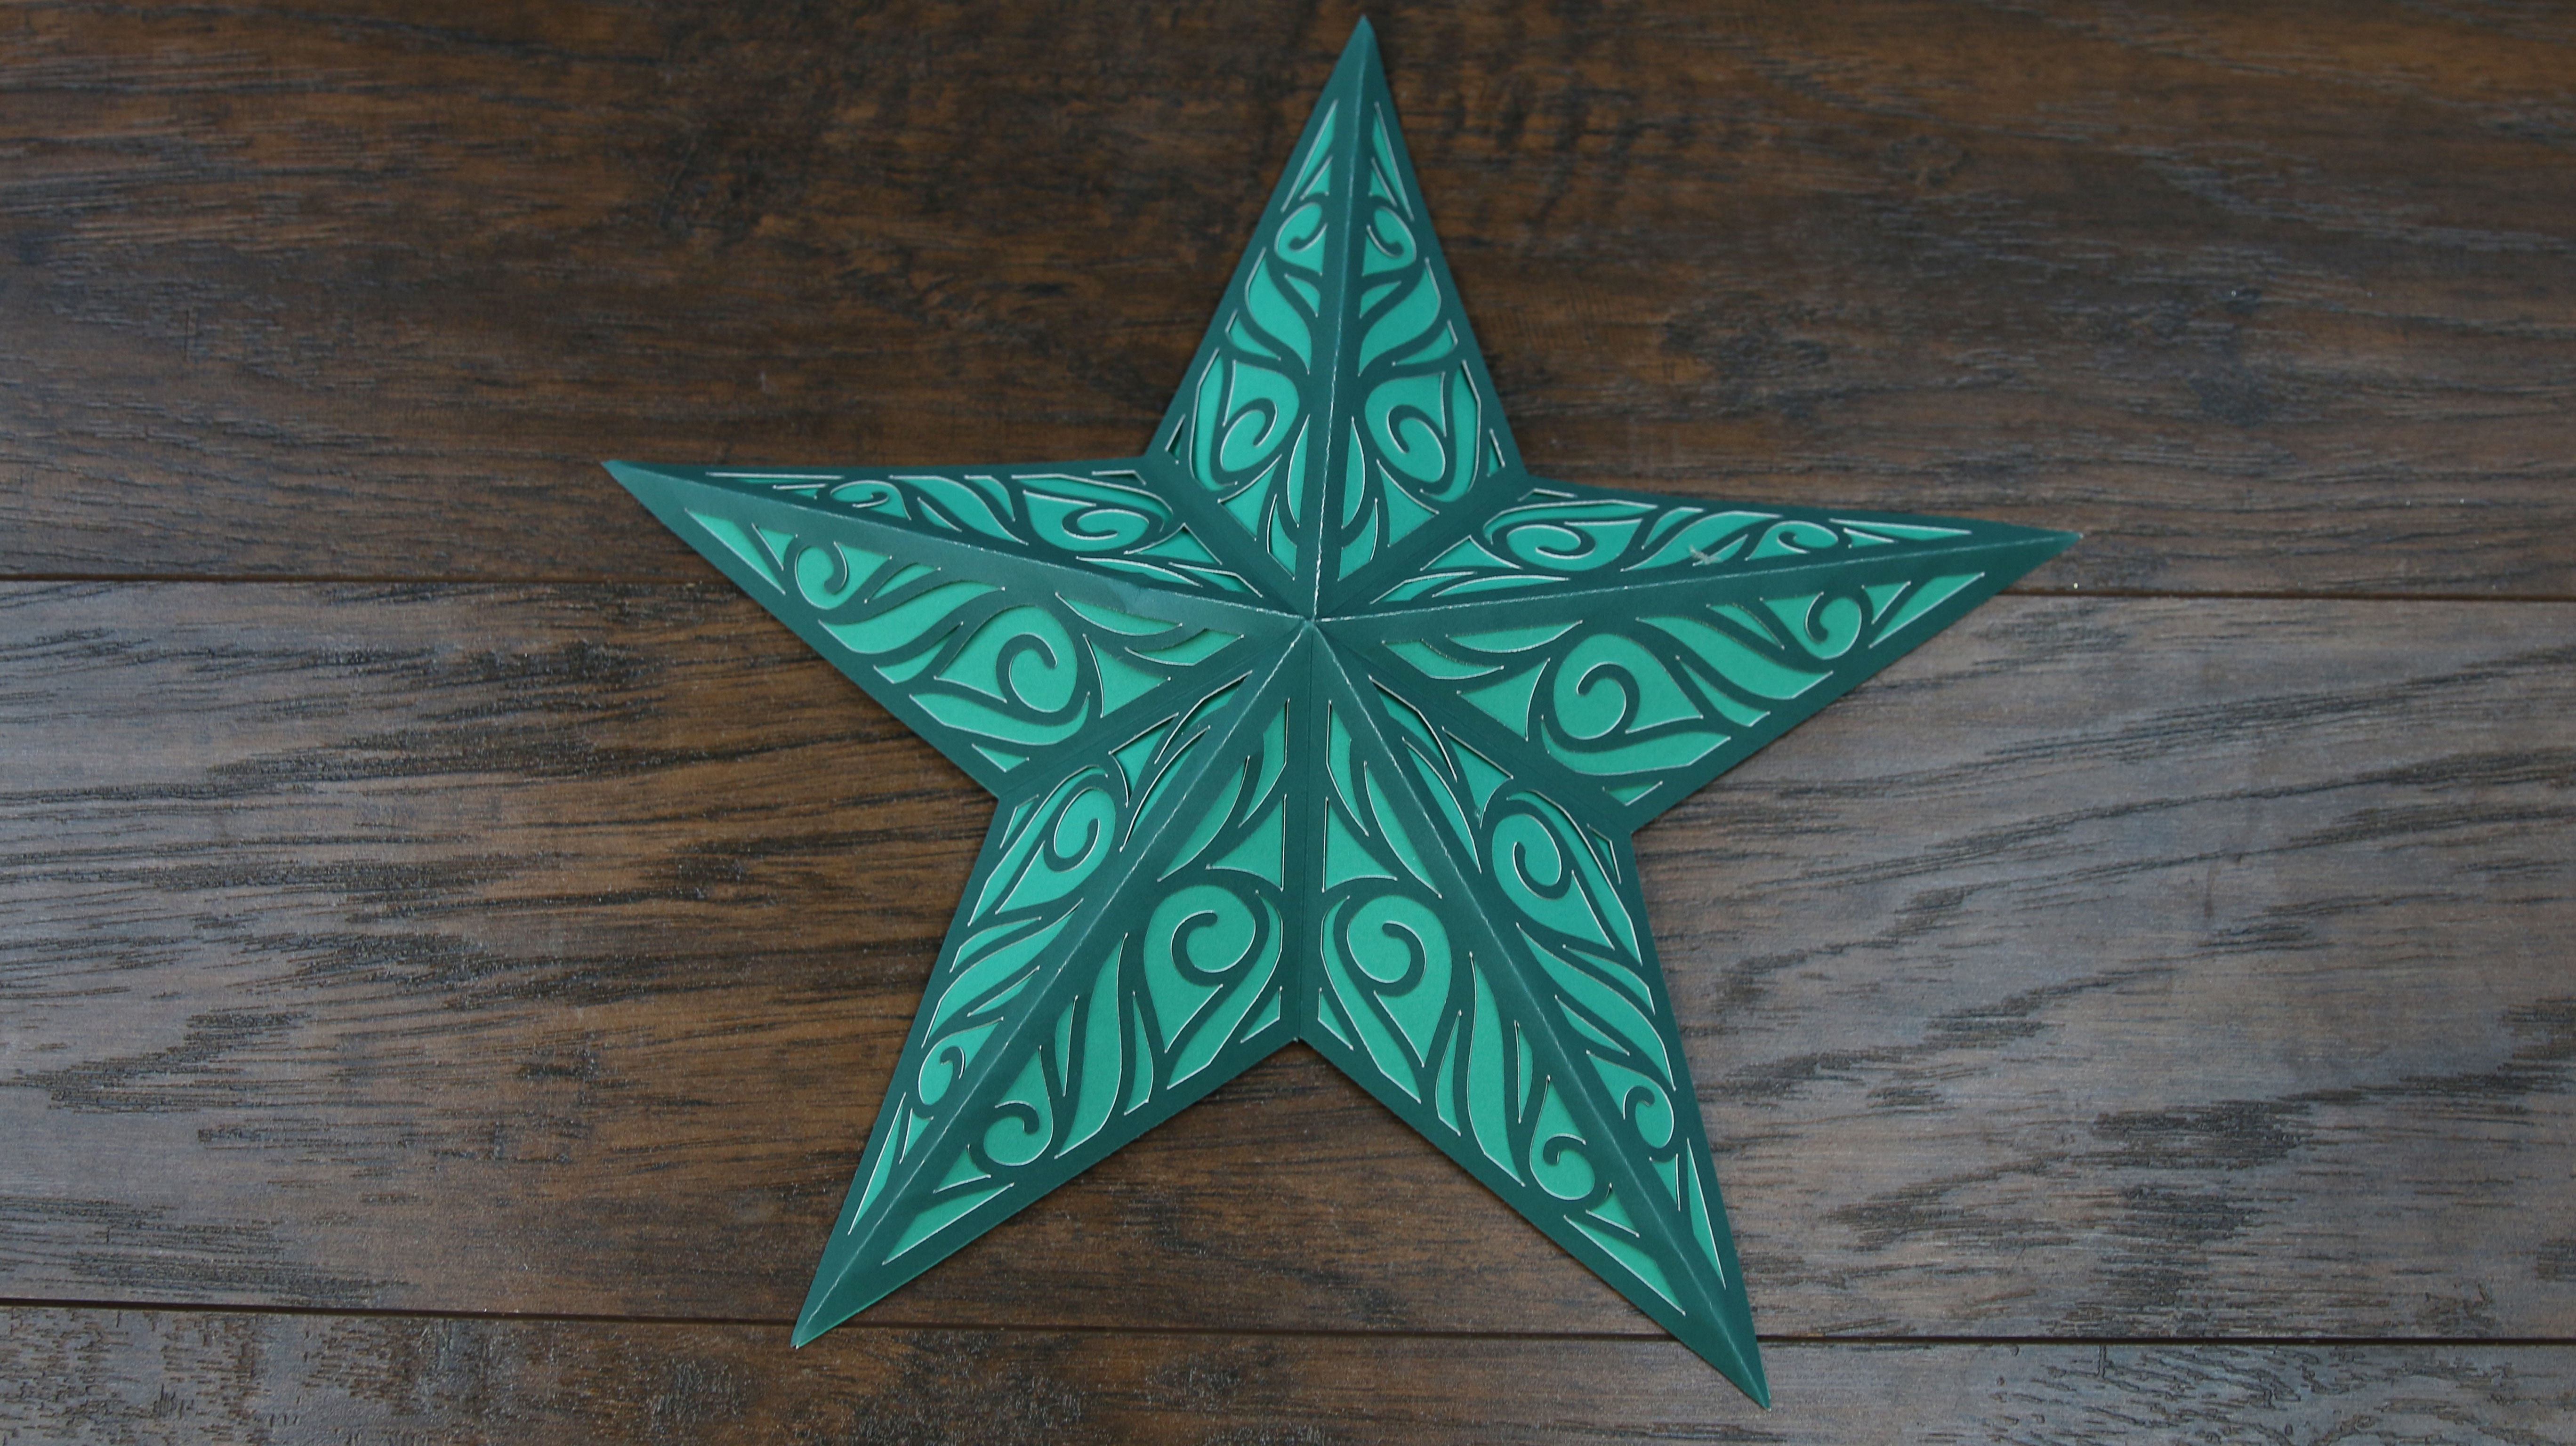
This completes the barn star. Repeat these steps to make a collection of stars in different colors and sizes.


