Supplies
- .125” wood
Designs Used
Crafting Instructions
1
Attach piece E to one of the short sides of piece D, establishing the front and base of the ornament.
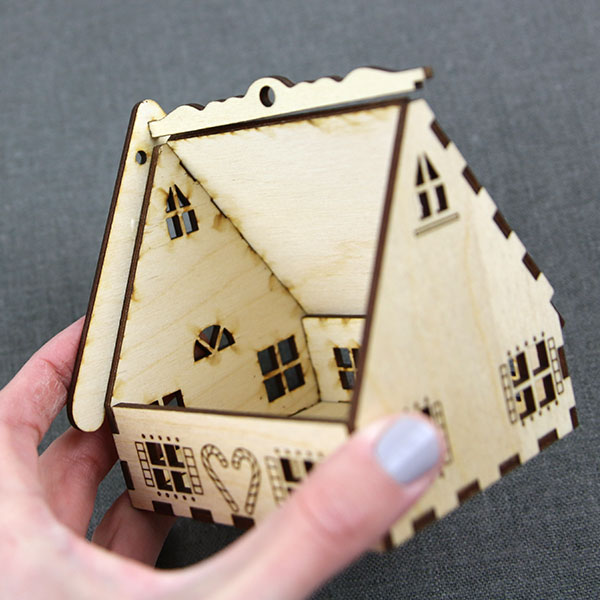
2
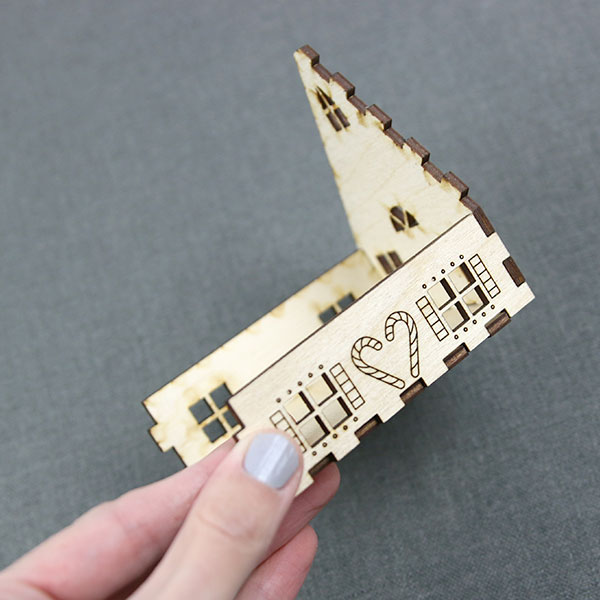
Attach pieces C-1 and C-2 to the long sides of piece D to form the side walls.
3
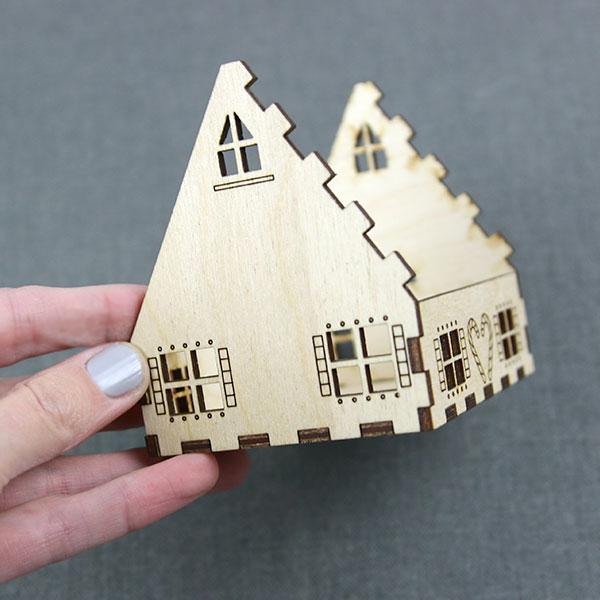
Attach piece F to the remaining short side of piece D.
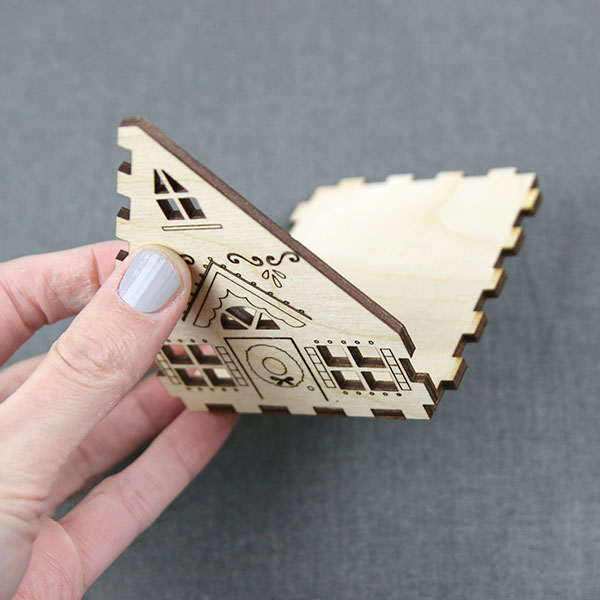
4
Attach piece A to the top of pieces E and F, pressing the finger joints into their corresponding slots to create the first half of the roof.
5
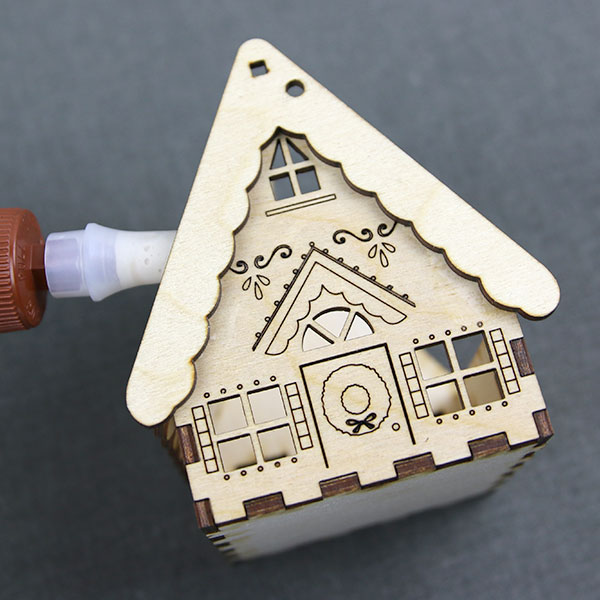
Glue piece H-1 to the front of piece E.
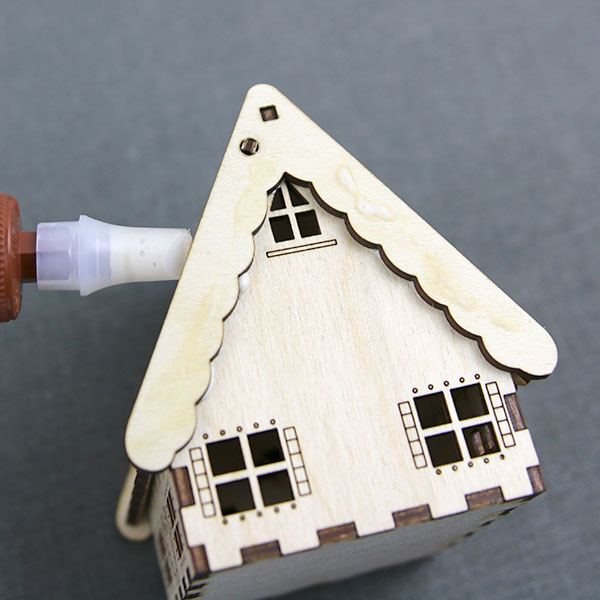
6
Take piece G and insert it into the square hole at the top of piece H-1. Secure with glue if desired.
7
Then, take piece B and insert it into the circular hole in piece H-1, but do not glue this piece. It is the hinge for the second side of the roof.
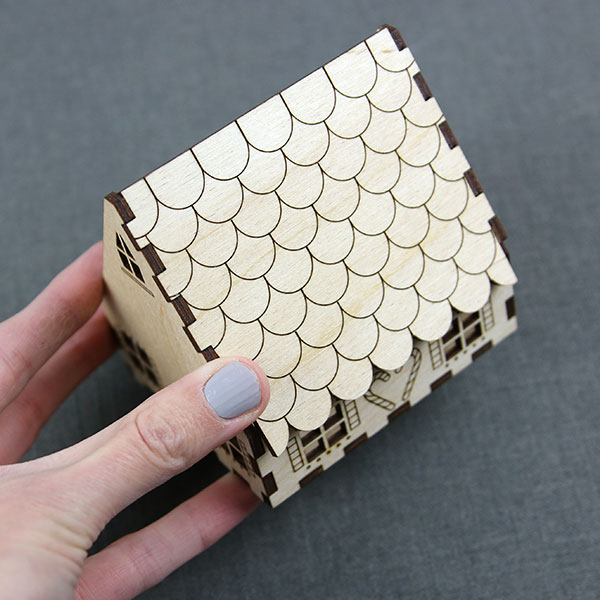
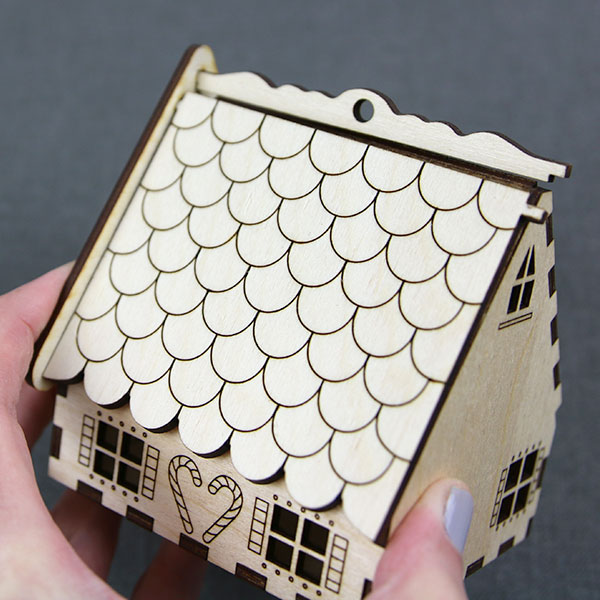
8
Finally, take piece H-2 and slide it over the free ends of pieces B and G. Glue piece H-2 to piece F to finish assembling the ornament.
9
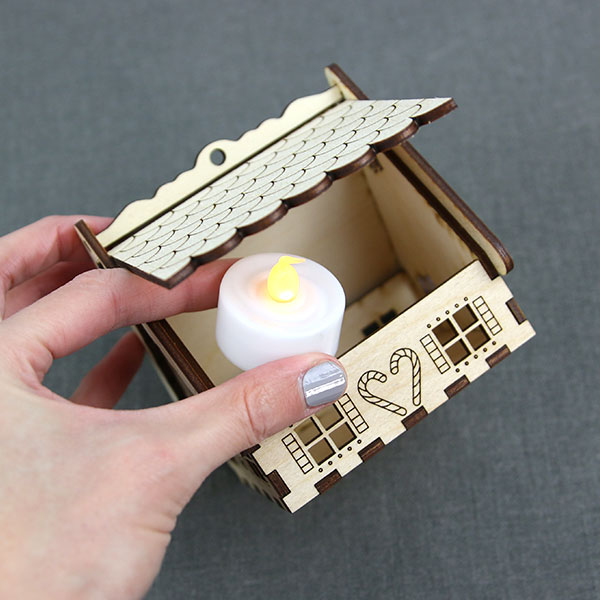
Make your ornament glow by opening the roof lid and adding your own battery powered tealight. As the ornament is flammable, we do not recommend using a real flame.
10
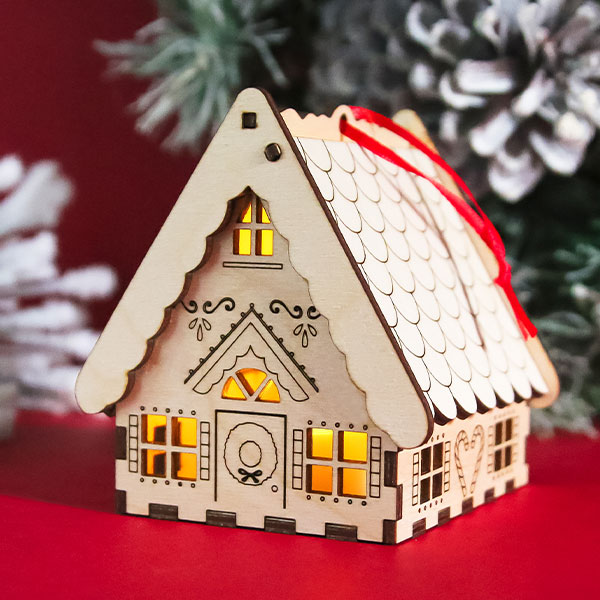
Finally, use your favorite ribbon to create a hanging look and enjoy!


