Supplies
- 1 piece of thin faux leather, suede or leather (color 1)
- 1 piece of thin faux leather, suede or leather (color 2)
- Sewing thread matching leather color
- Temporary spray adhesive (such as Gunold KK100)
- Sewing machine
Designs Used
Cutting Instructions
1
Load the Card Holder (Cut & Stitch) file into your cutting machine’s software.
2
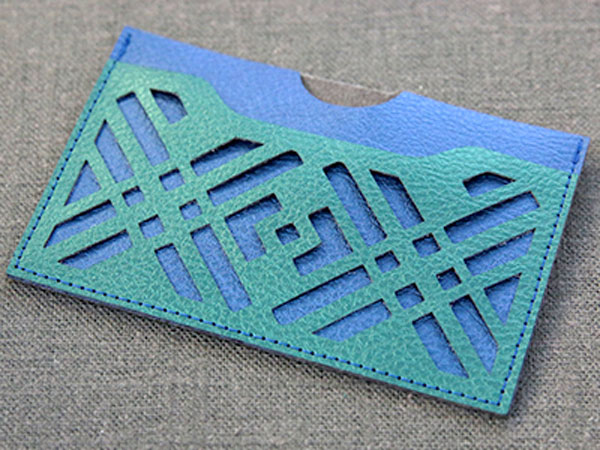
To ensure that the card holder fits a standard credit card, make sure all pieces are sized correctly in your cutting software. Group and scale all pieces together. For CGS6615 Geometric Card Holder, the size is 8” x 4.75”.
3
This design uses two different thin leather colors. Proceed in the design software until the first color selection appears, and is ready to be cut.
4
Smooth the first material onto the adhesive mat with the right side facing down. Because the right side of the material is facing down, make sure the pieces are mirrored. Then load the adhesive mat into the machine.
5
For each material, make sure to use the correct settings on your cutting machine to match the material you’ve chosen. Make sure the correct knife tool is also in place.
6
Cut out the first color selection. Then carefully remove the cut pieces and excess materials.
7
Repeat to cut all of the leather pieces for the card holder out of both colors.
Crafting Instructions
1
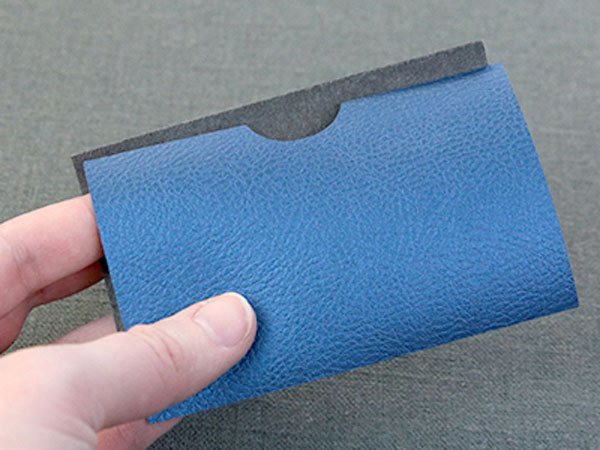
First, find the front and the back piece (color 1). On the wrong side of the front piece, spray along the bottom edge and side edges with temporary adhesive. Then line up the edges, and place the front and back pieces together with wrong the sides together.
2
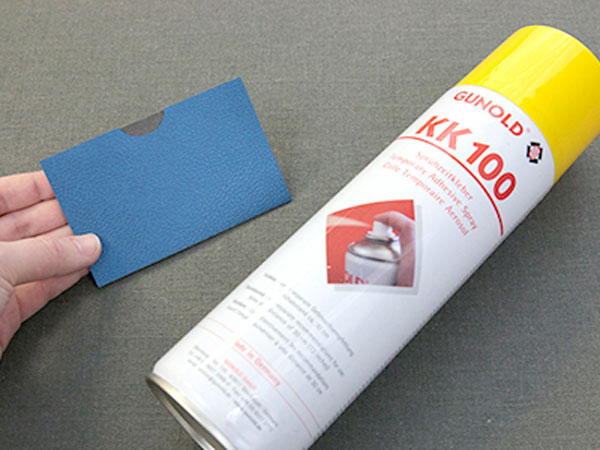
Using a temporary spray rather than pins to hold the pieces together prevents holes from being left in the faux leather.
3
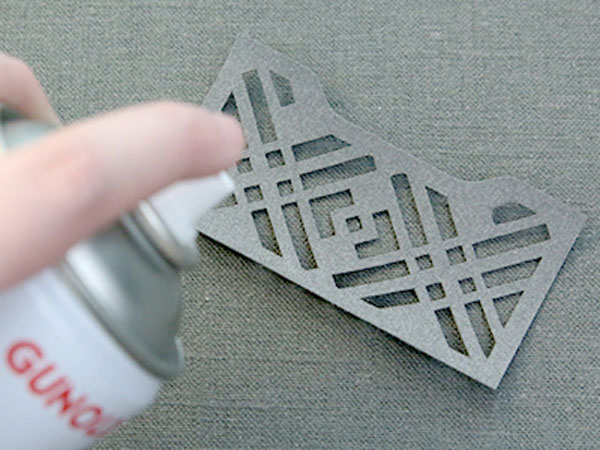
Then spray the wrong side of the pocket piece (color 2) with temporary adhesive.
4
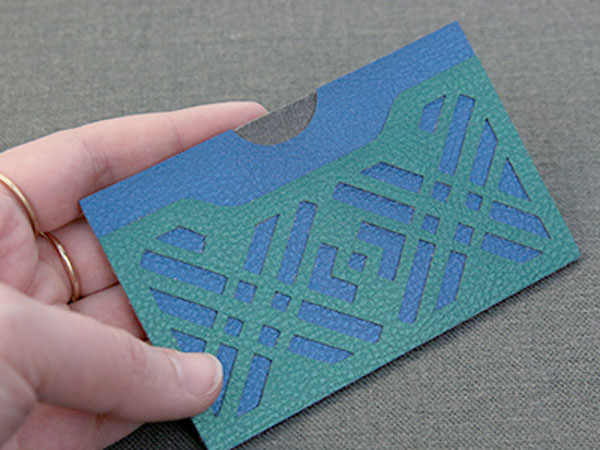
Place the pocket on the right side of the front piece, matching up the bottom corners.
5

As the stitching will be visible from both sides, wind a bobbin with the thread being used in the top needle.
6
Then sew a 1/8” seam along the two sides and bottom edge to bind all three layers together. Do not sew along the top edge as it will close the main pocket.
7
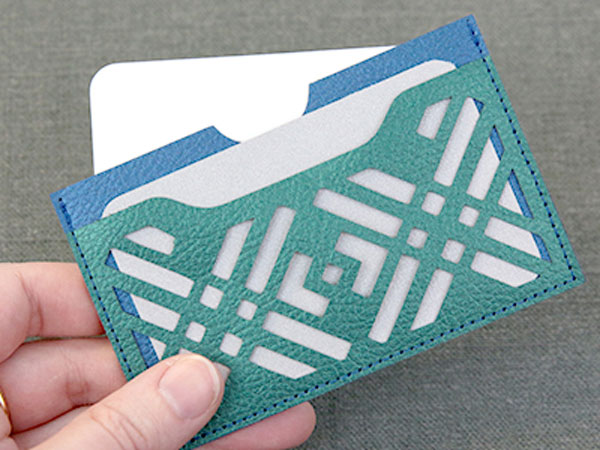
This completes the leather card holder. Repeat these steps to make a variety of card holders to use or give as gifts. Make sure not to resize this designs, as it is sized specifically to fit a standard credit card.


