Supplies
- 1/3 yard of felt (color 1)
- Small piece of felt (color 2)
- 12 gauge floral wire
- Floral tape
- Hot glue gun
- Needle nose pliers
- Wire cutter
Designs Used
Cutting Instructions
1
Load the Felt Rose (Cut & More) file into your cutting machine’s software. This design has two different fabric colors. Proceed in the design software until the first color selection appears, and is ready to be cut.
2
Smooth the first fabric color onto the adhesive mat with the right side of the fabric facing up. Make sure the correct knife tool is in place. Then load the adhesive mat into the machine.
3
For felt, you may need to increase the pressure of the blade on your cutting machine. For best results, use a setting that would be used for denim or other thick materials.
4
Cut out the first color. Then carefully remove the cut pieces and excess fabric.
5
Repeat to cut all of the fabric pieces for the Felt Rose out of the two fabric colors.
Crafting Instructions
1
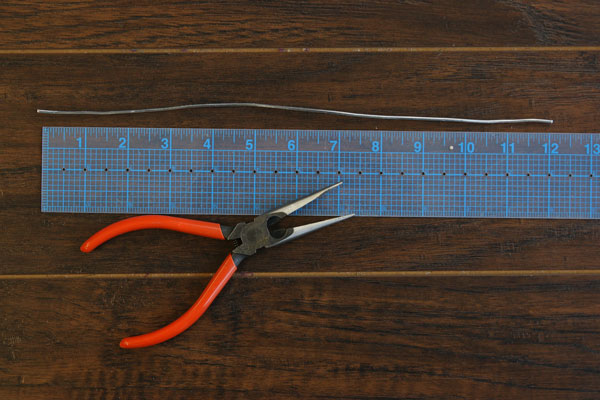
The Felt Rose is assembled on a wire. Use a wire cutter to cut a piece of 12 gauge wire that is 3” - 12” long, depending on the desired length of stem. Longer stems can be used for bouquets or flowers in vases, and shorter stems can be used if making a boutonniere or small centerpiece. If making a corsage, cut a 3” stem for now, and then simply curl the extra wire under the rose after it’s completed and cut away the excess wire.
2
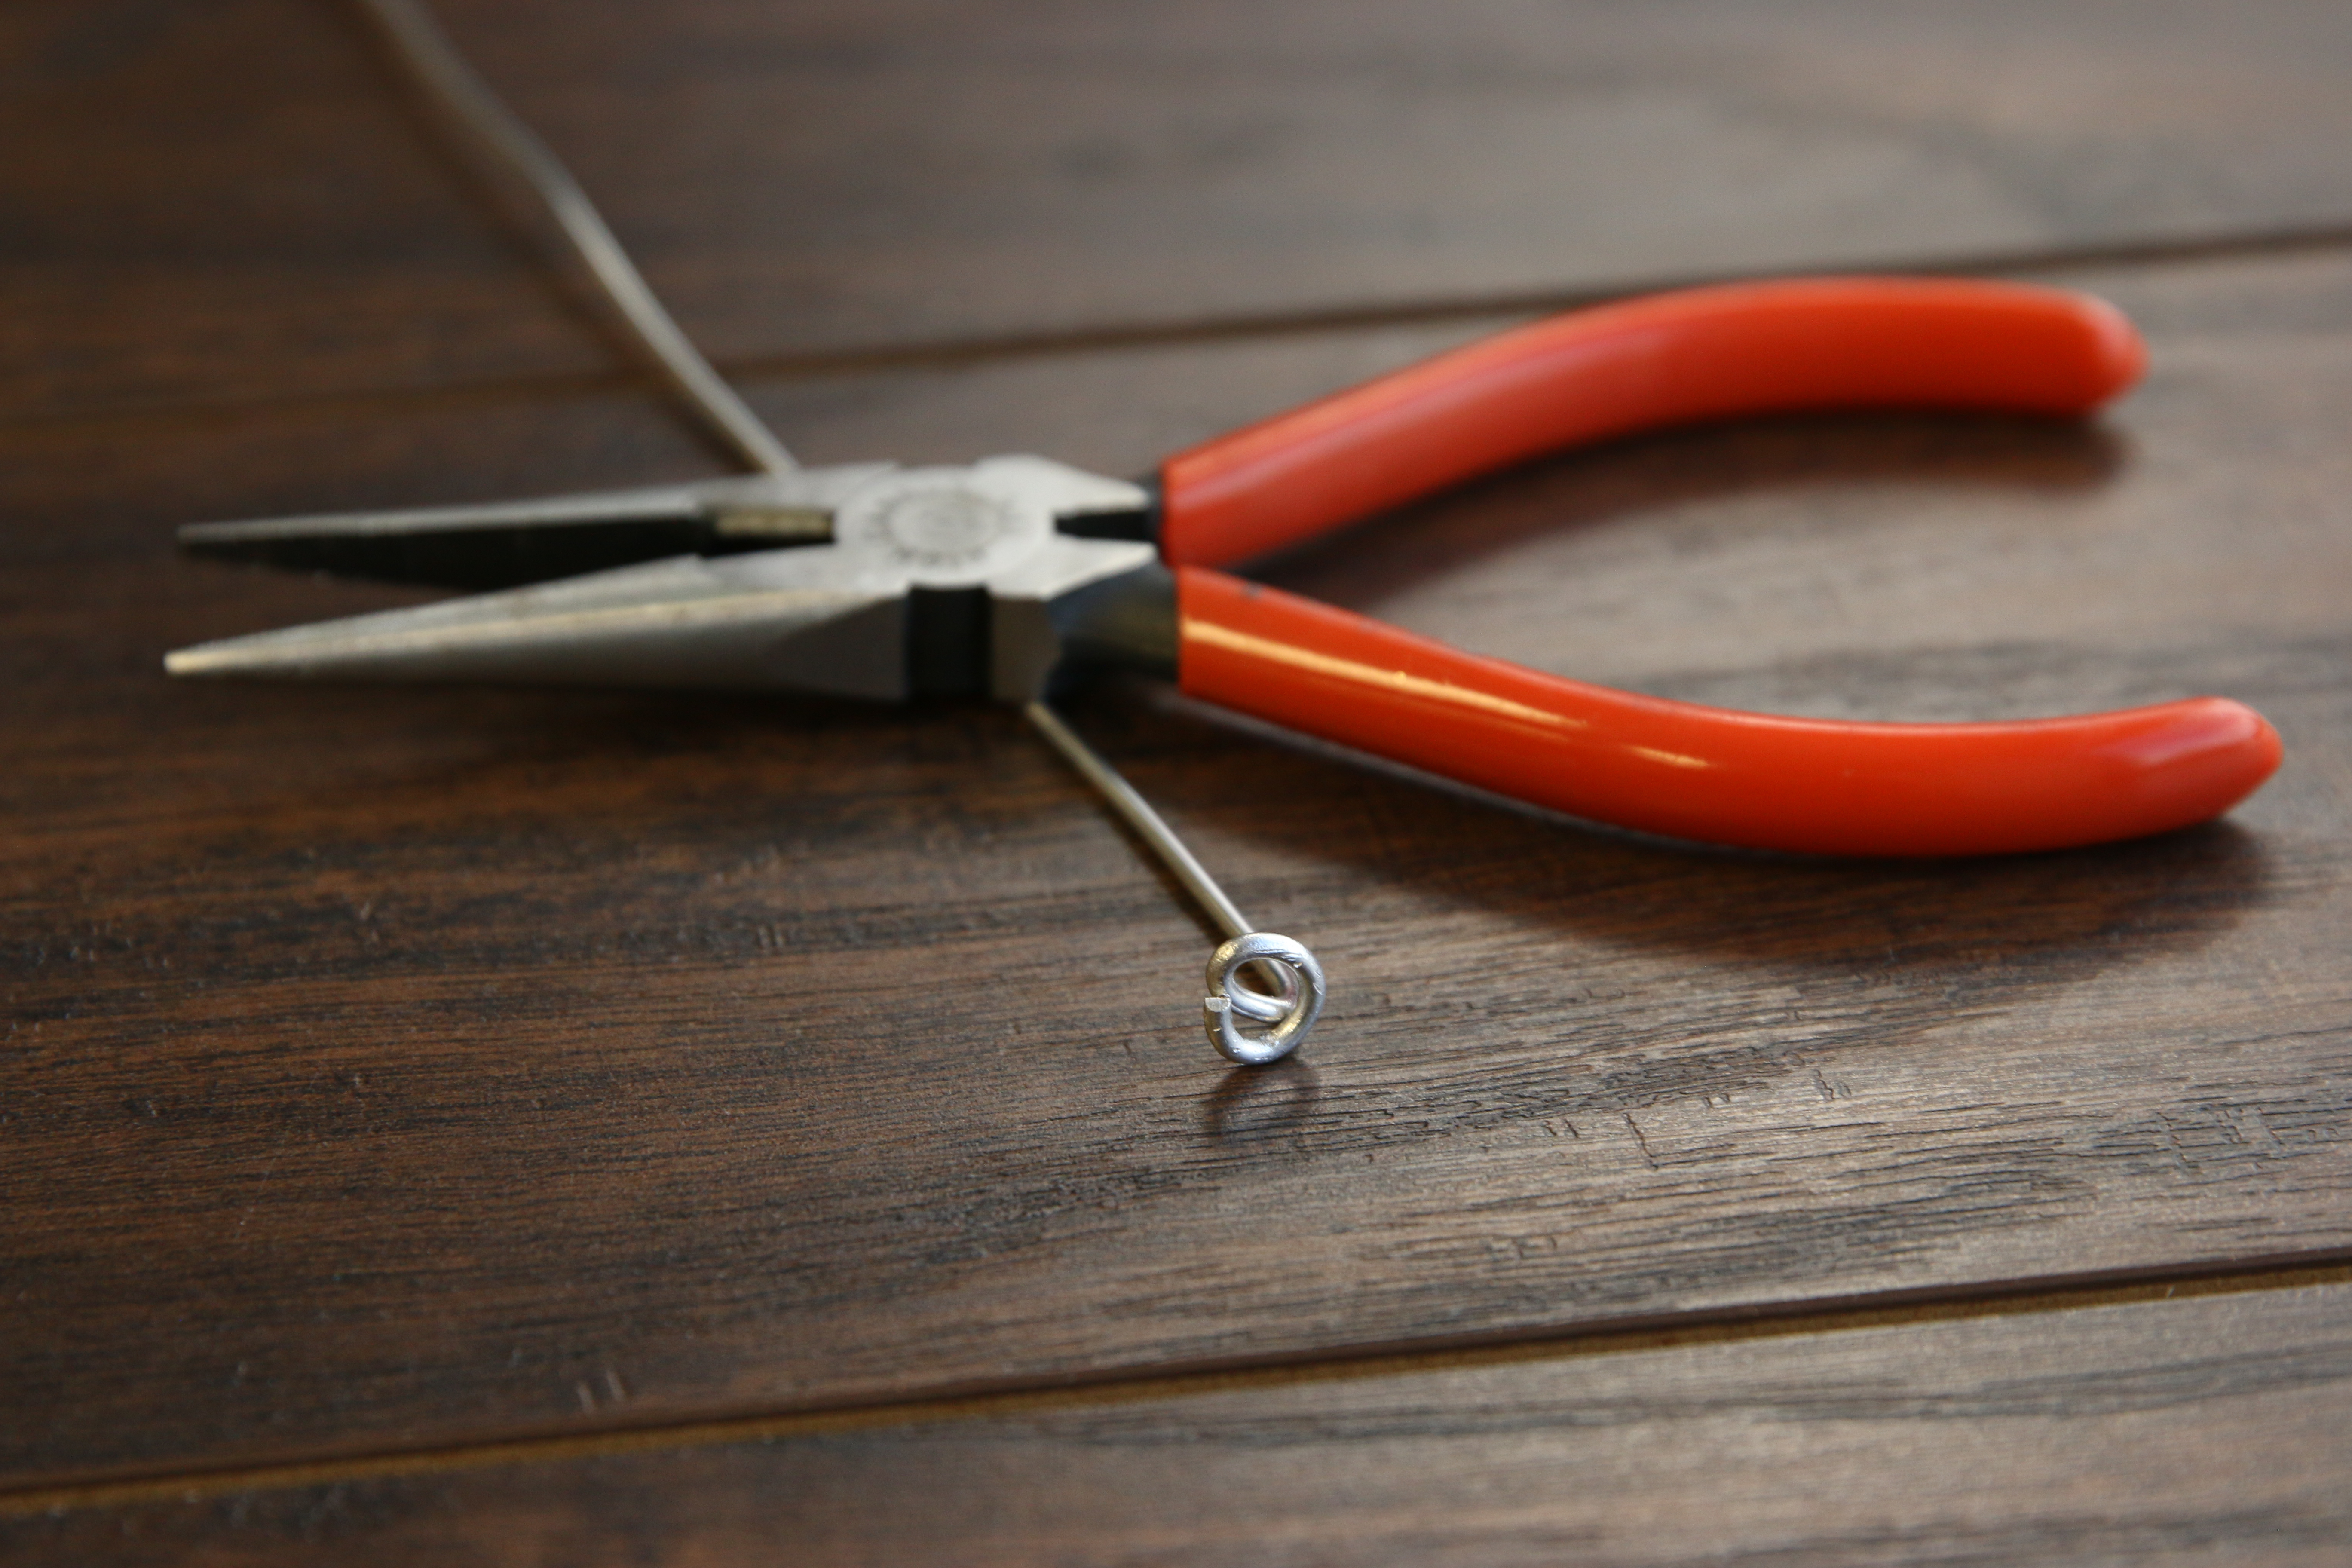
Then curl one end of the wire with a needle nose pliers, and make sure the curl is about 1/4” - 3/8” wide.
3
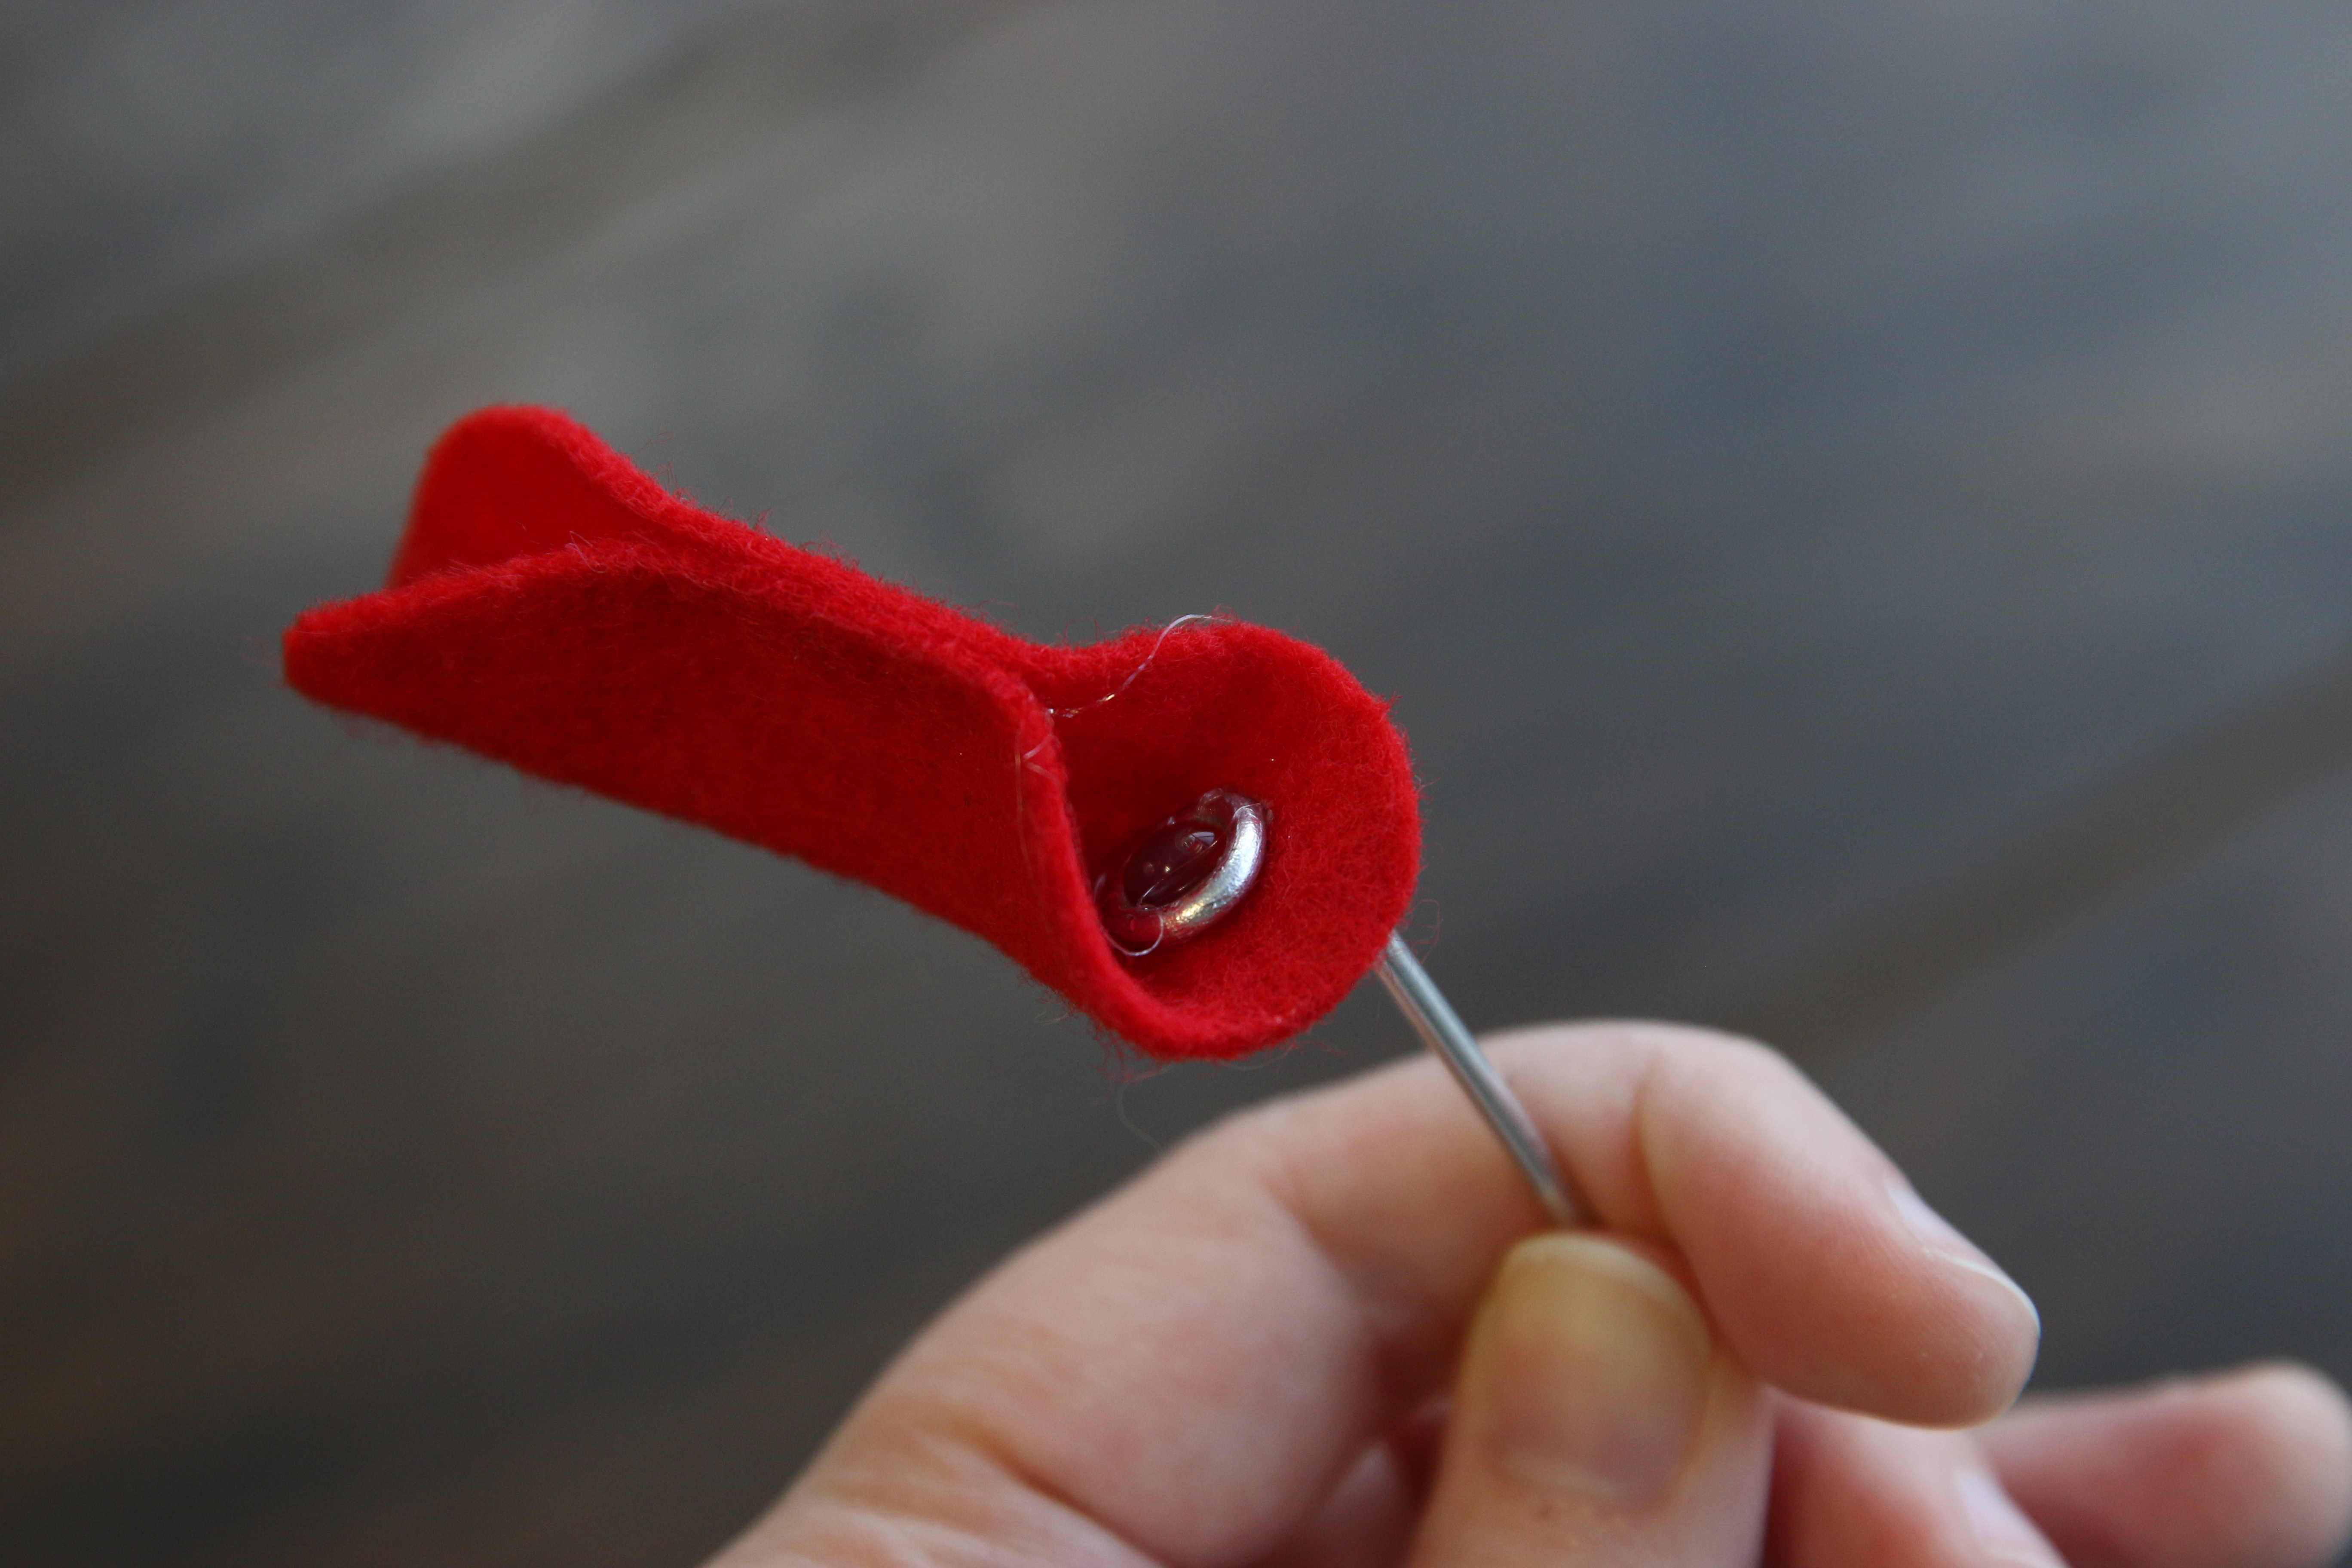
Each petal piece has a small hole for the wire. Slide the single petal piece (color 1) onto the wire, and move it until it is resting right against the curl of the wire. Hot glue it into place by gluing the wire right against the hole in the single petal piece. Then fold the petal in half, and use a small line of hot glue to hold it in place.
4
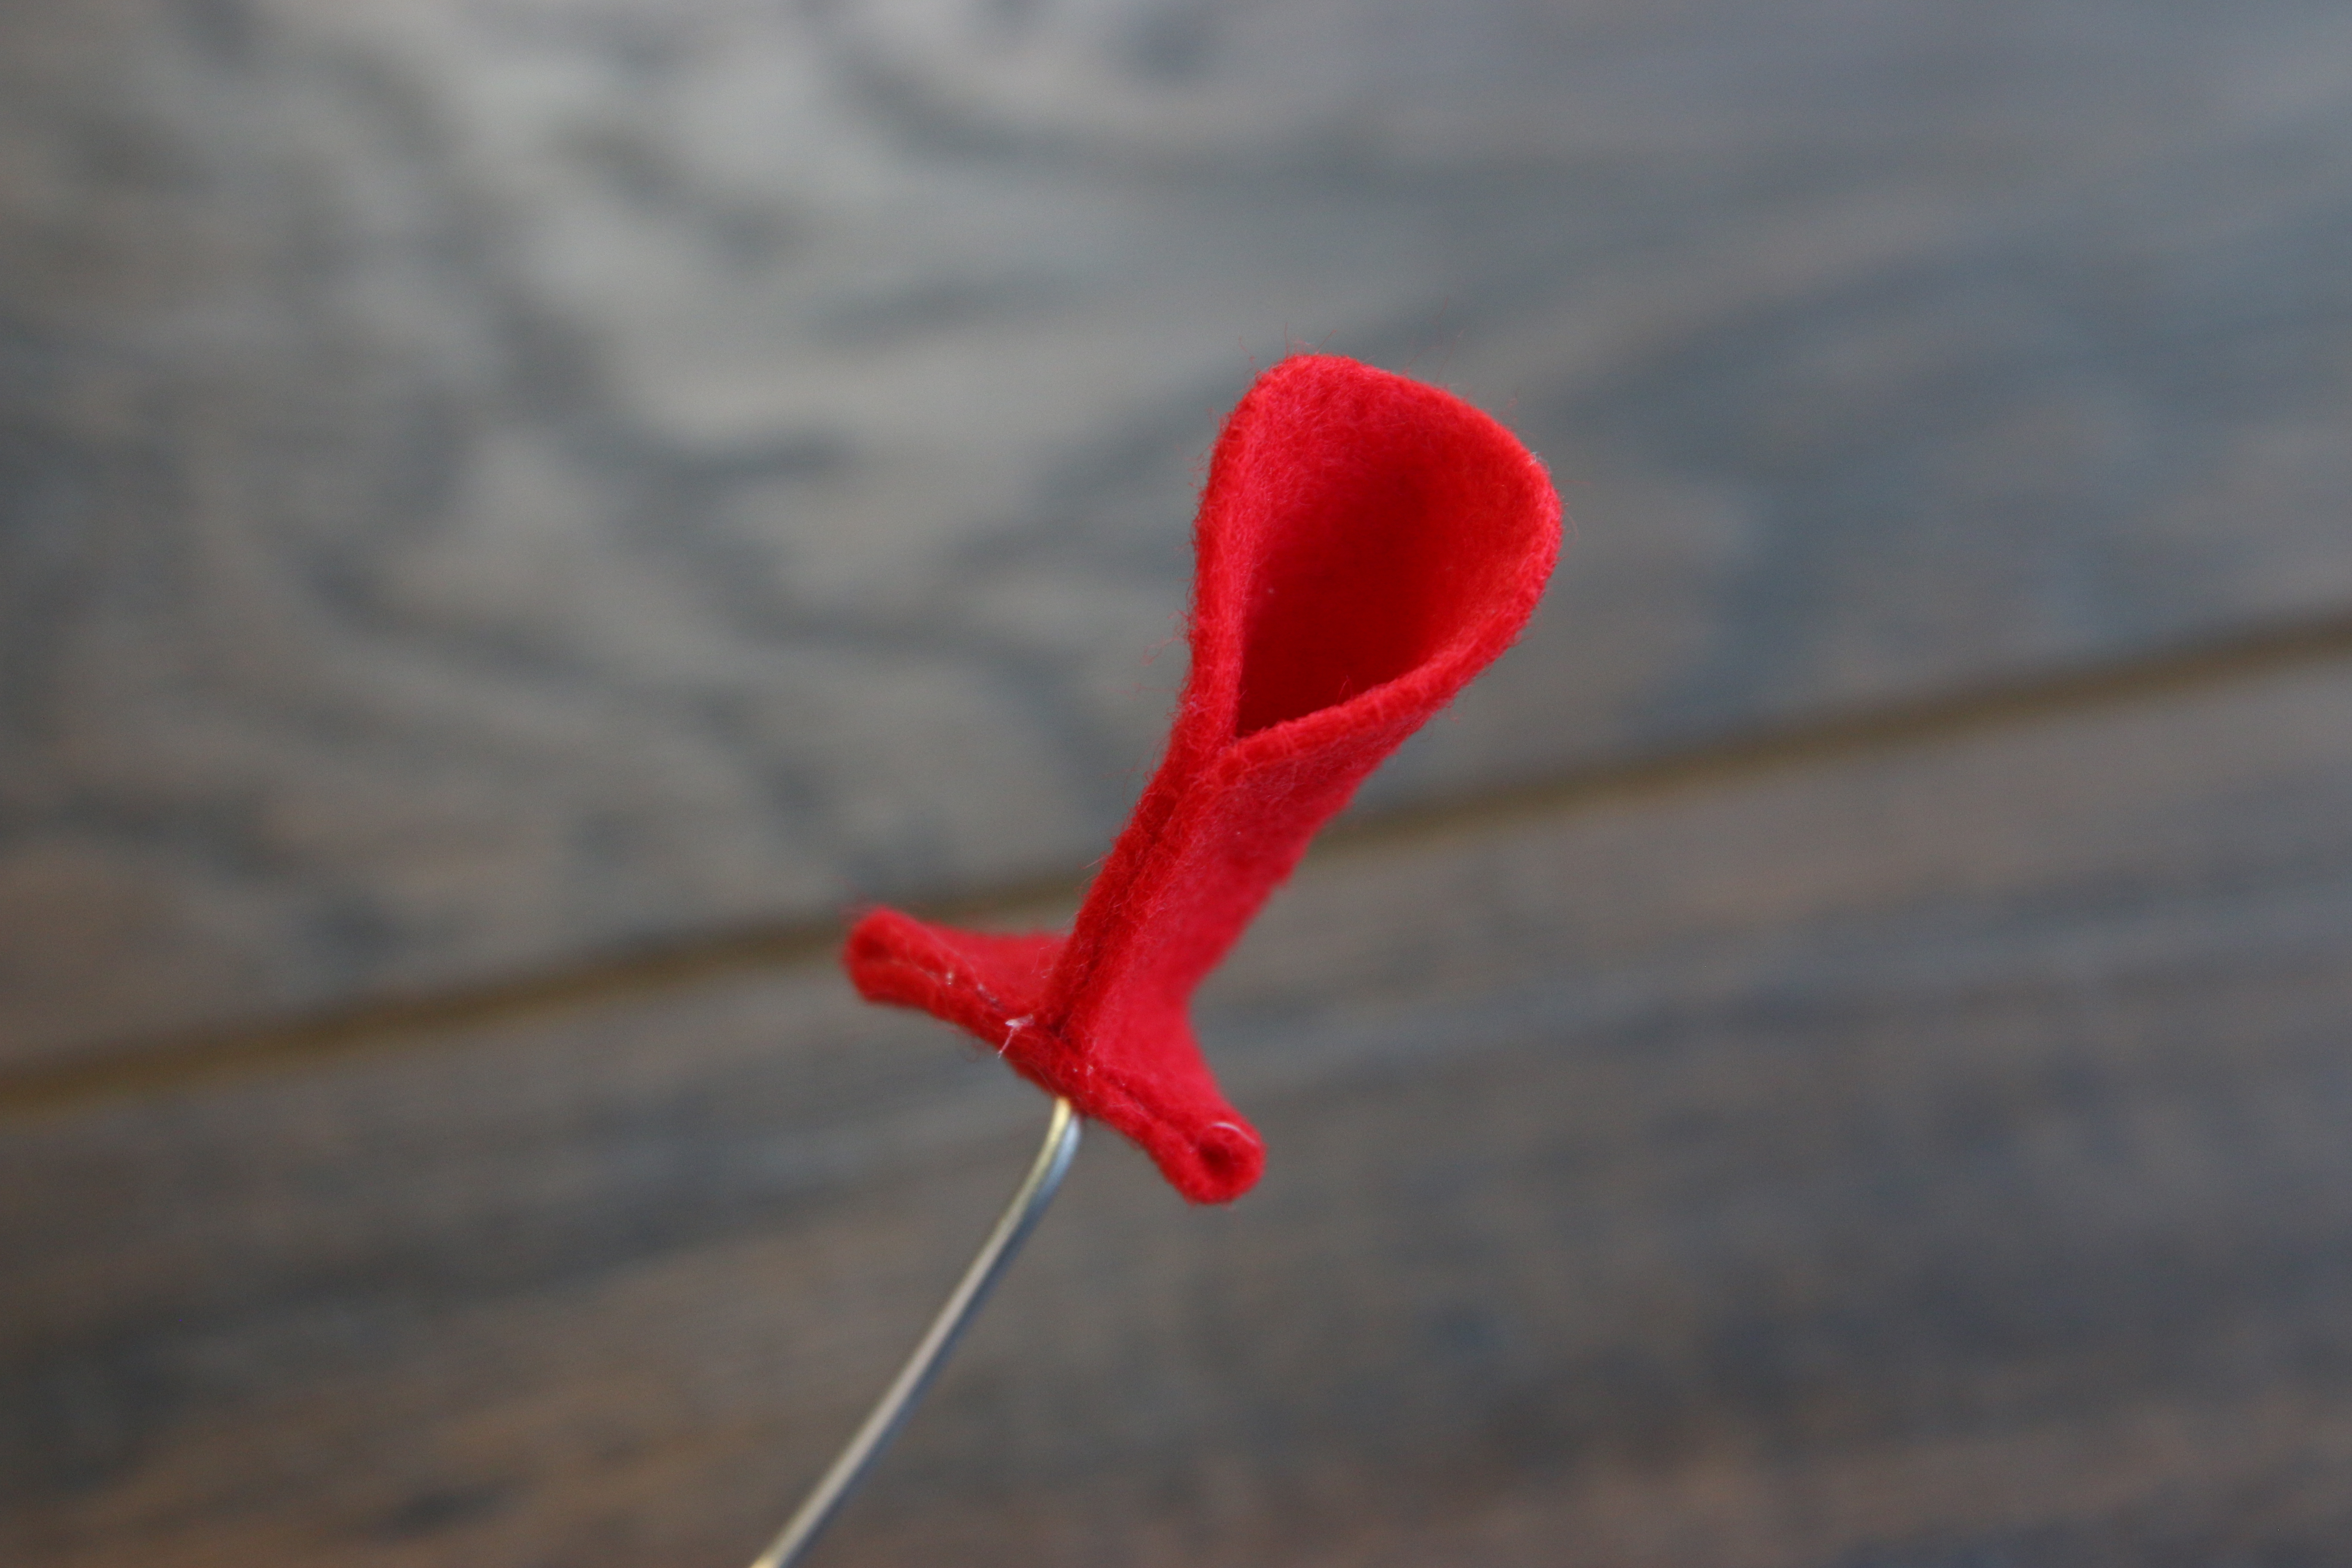
Then fold up the bottom edge, and glue it up against the bottom of the folded petal. The wire should be hidden inside the petal, and the bottom where the wire comes out should be flat.
5

Next take the two petal piece (color 1), and slide it onto the wire. Glue it in place directly against the single petal piece. Make sure the fold of the single petal piece lines up with the center of one of the two newly added petals.
6
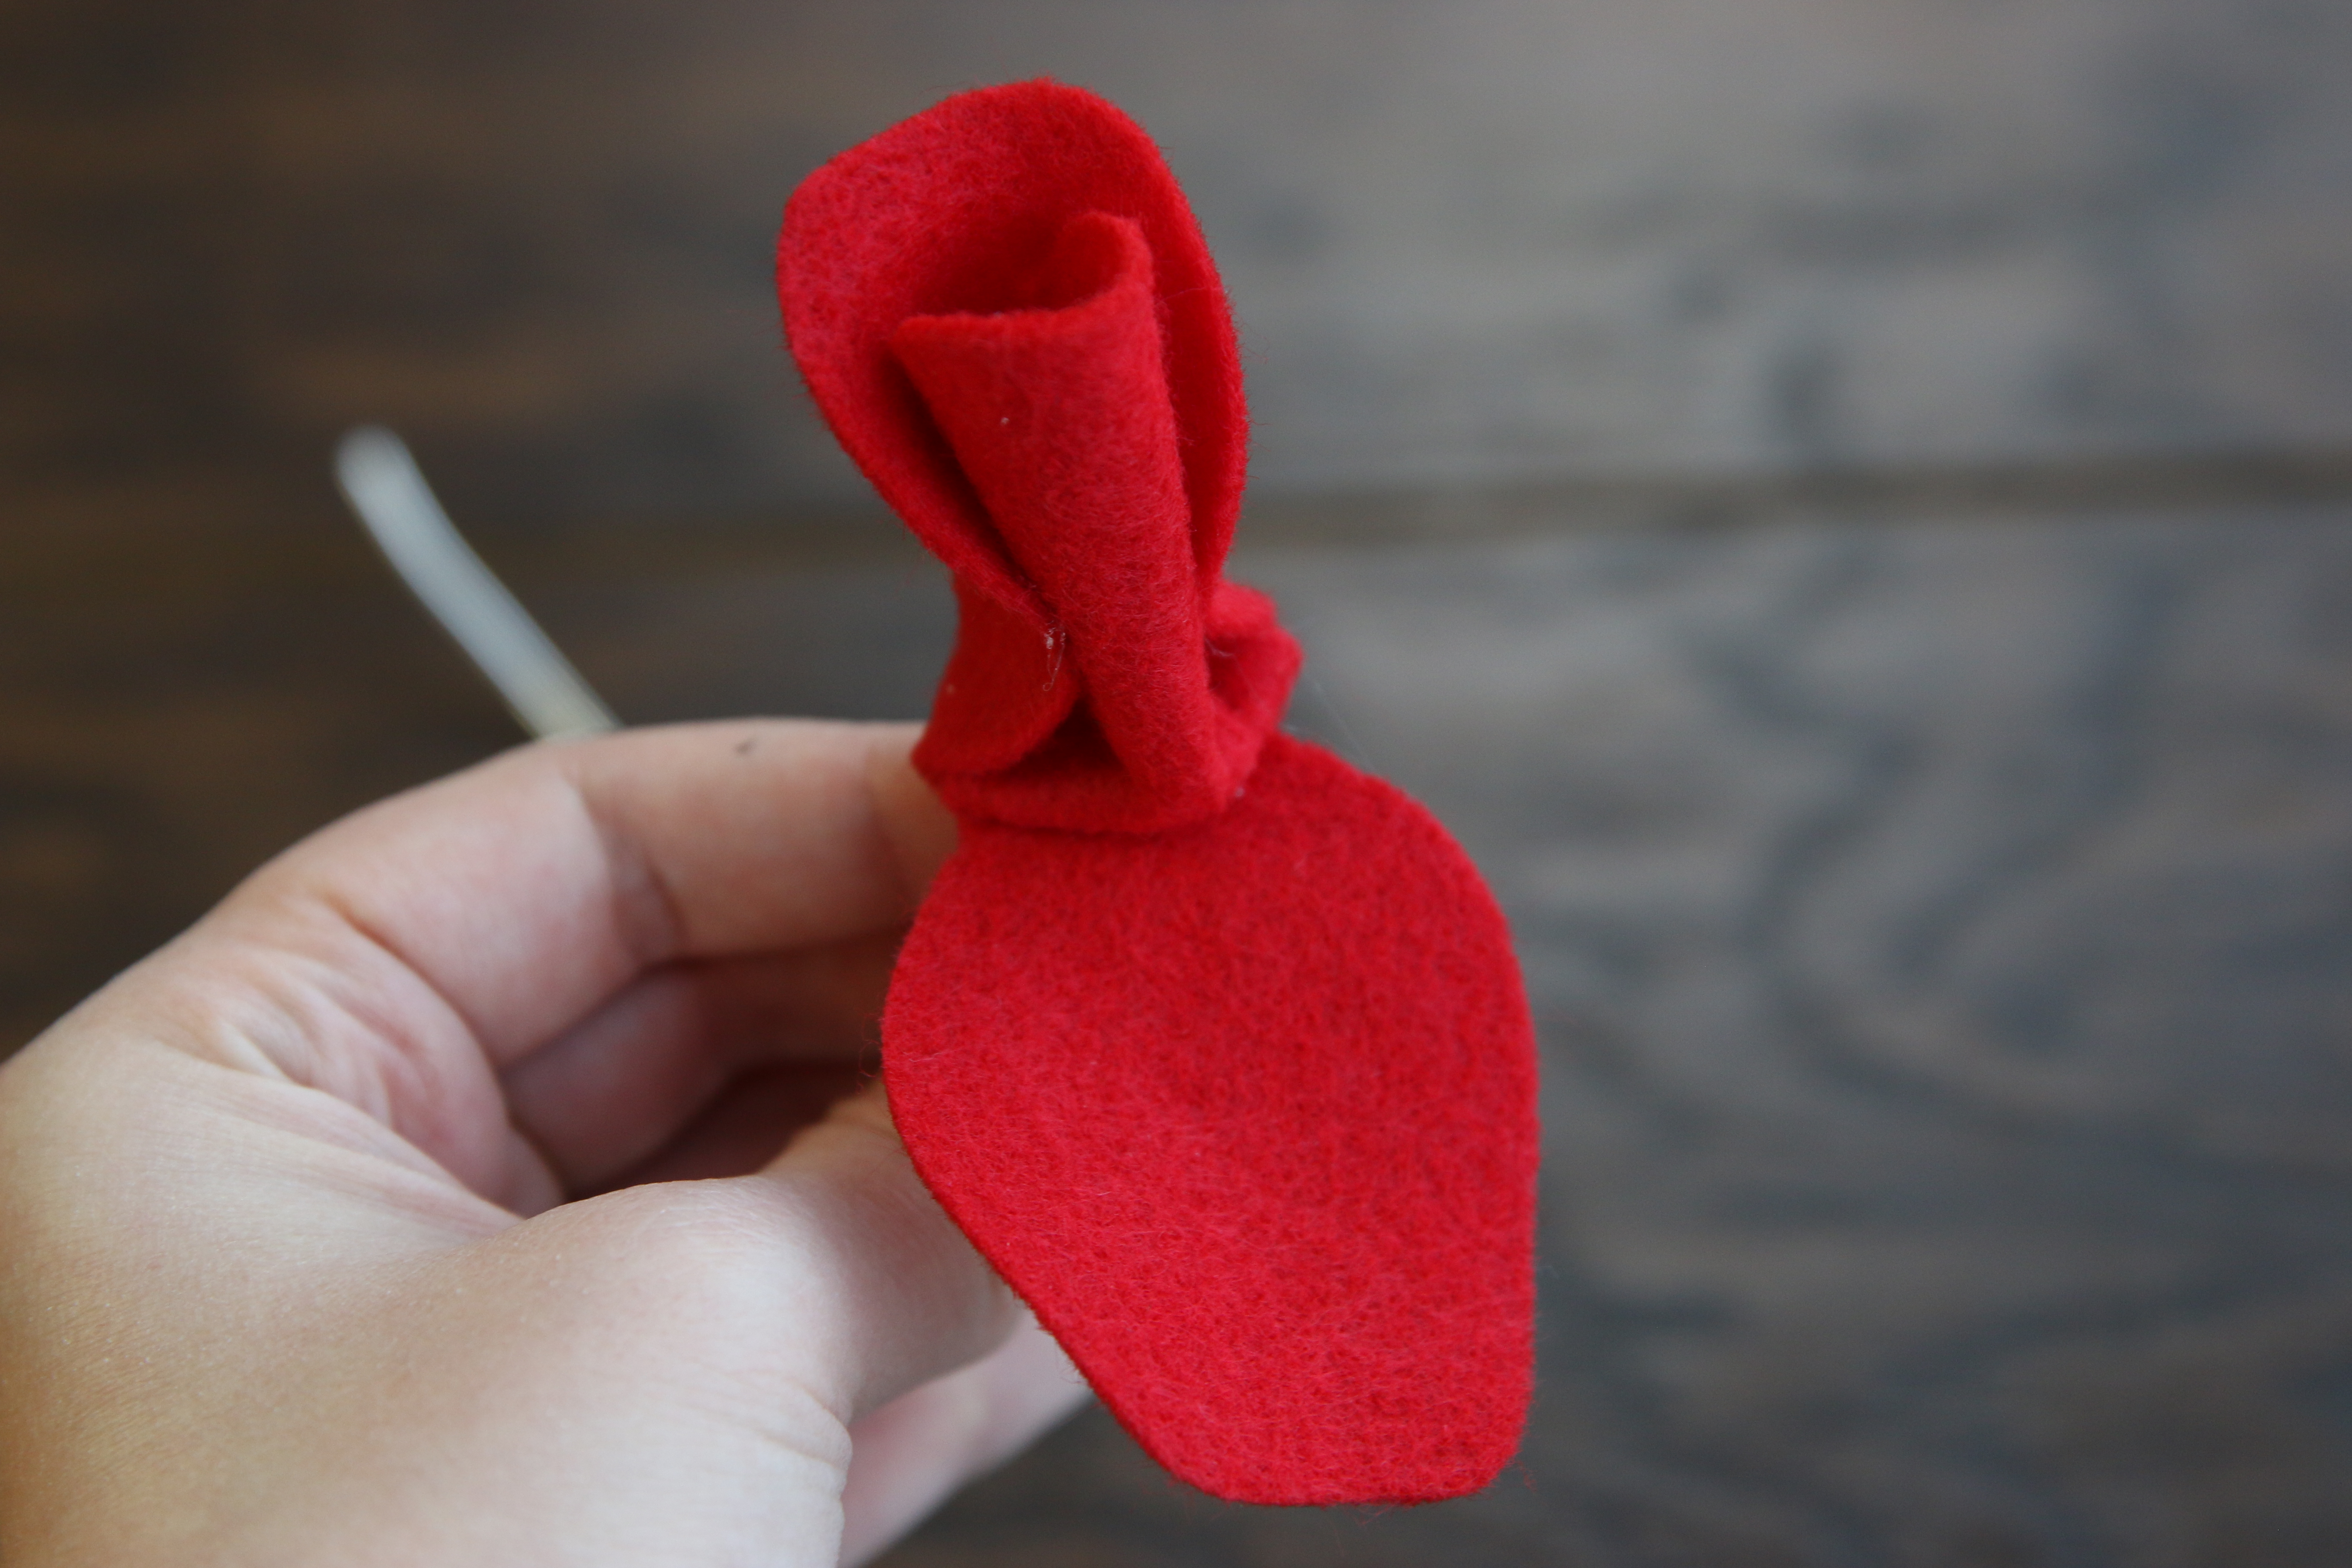
Fold up one of the two new petals until is wraps loosely around the center petal. Use a small dot of hot glue to adhere one side of the folded up petal in place. Then repeat to adhere the other side with another single dot of glue.
7

Repeat to fold the opposite petal up around the center, and use two dots of hot glue to hold it in place.
8
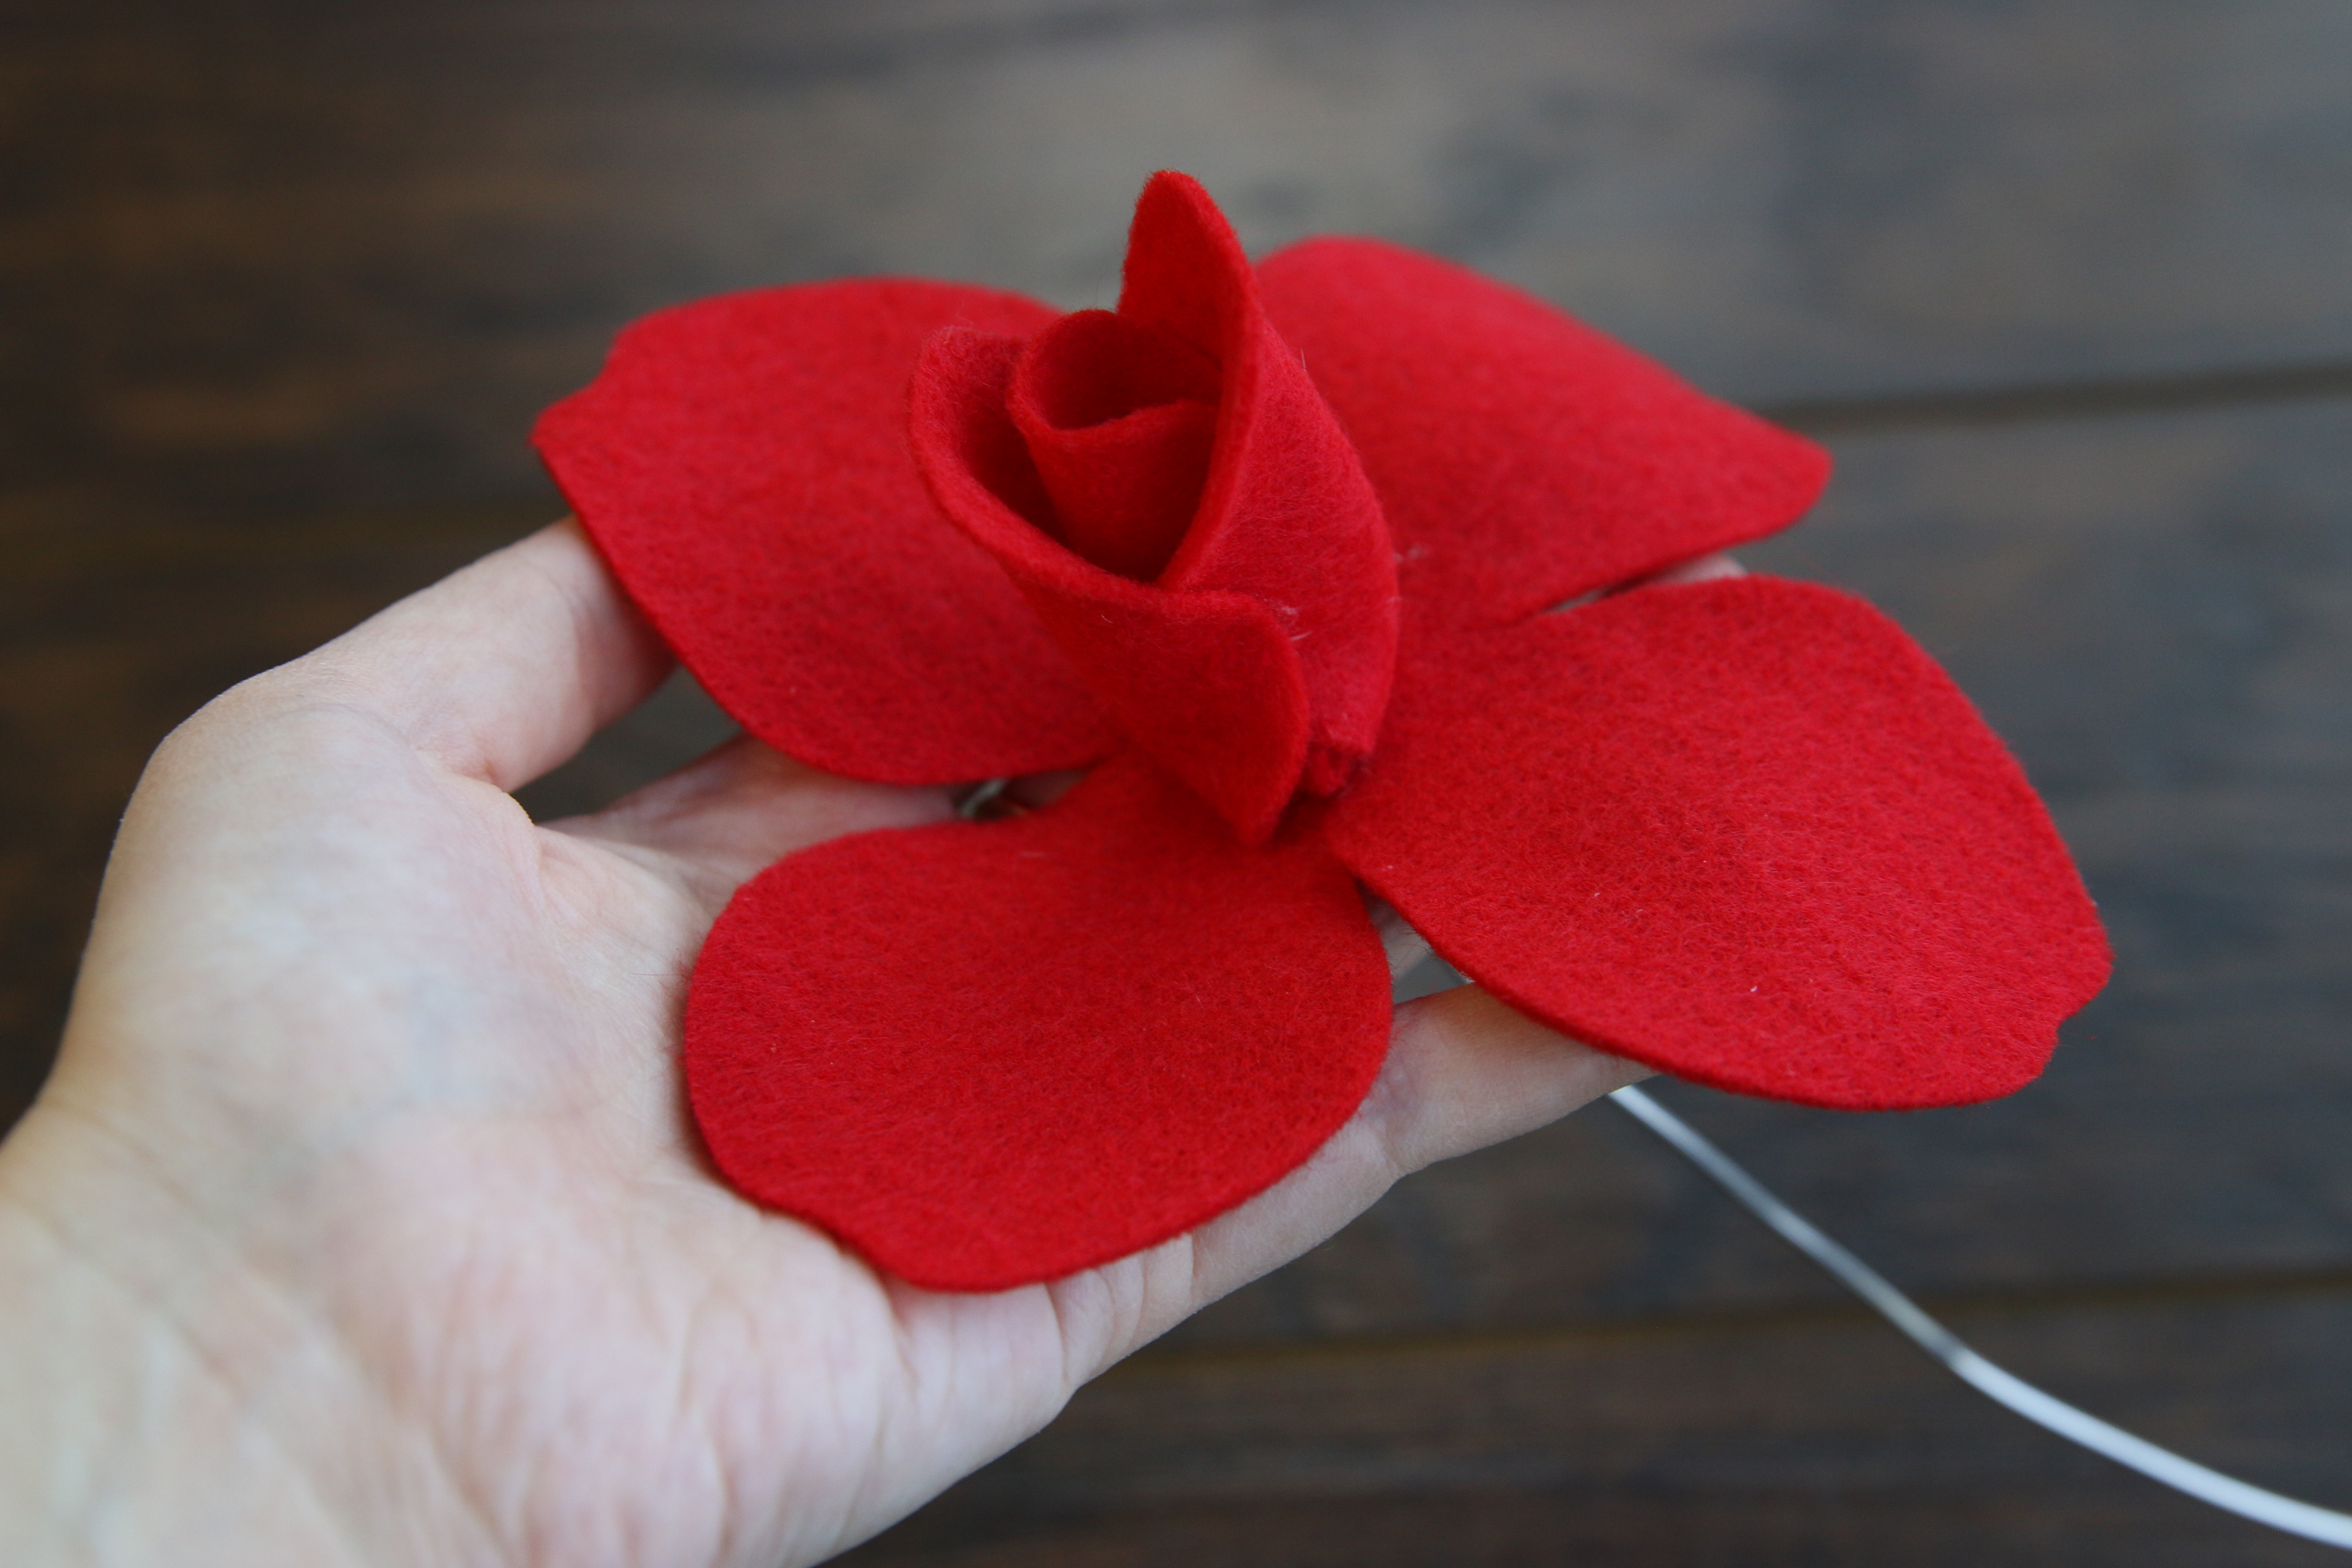
Next take one of the small four petal pieces (color 1), and slide it onto the wire until it is resting right against the center petals. Glue it to the previous petals around the wire.
9
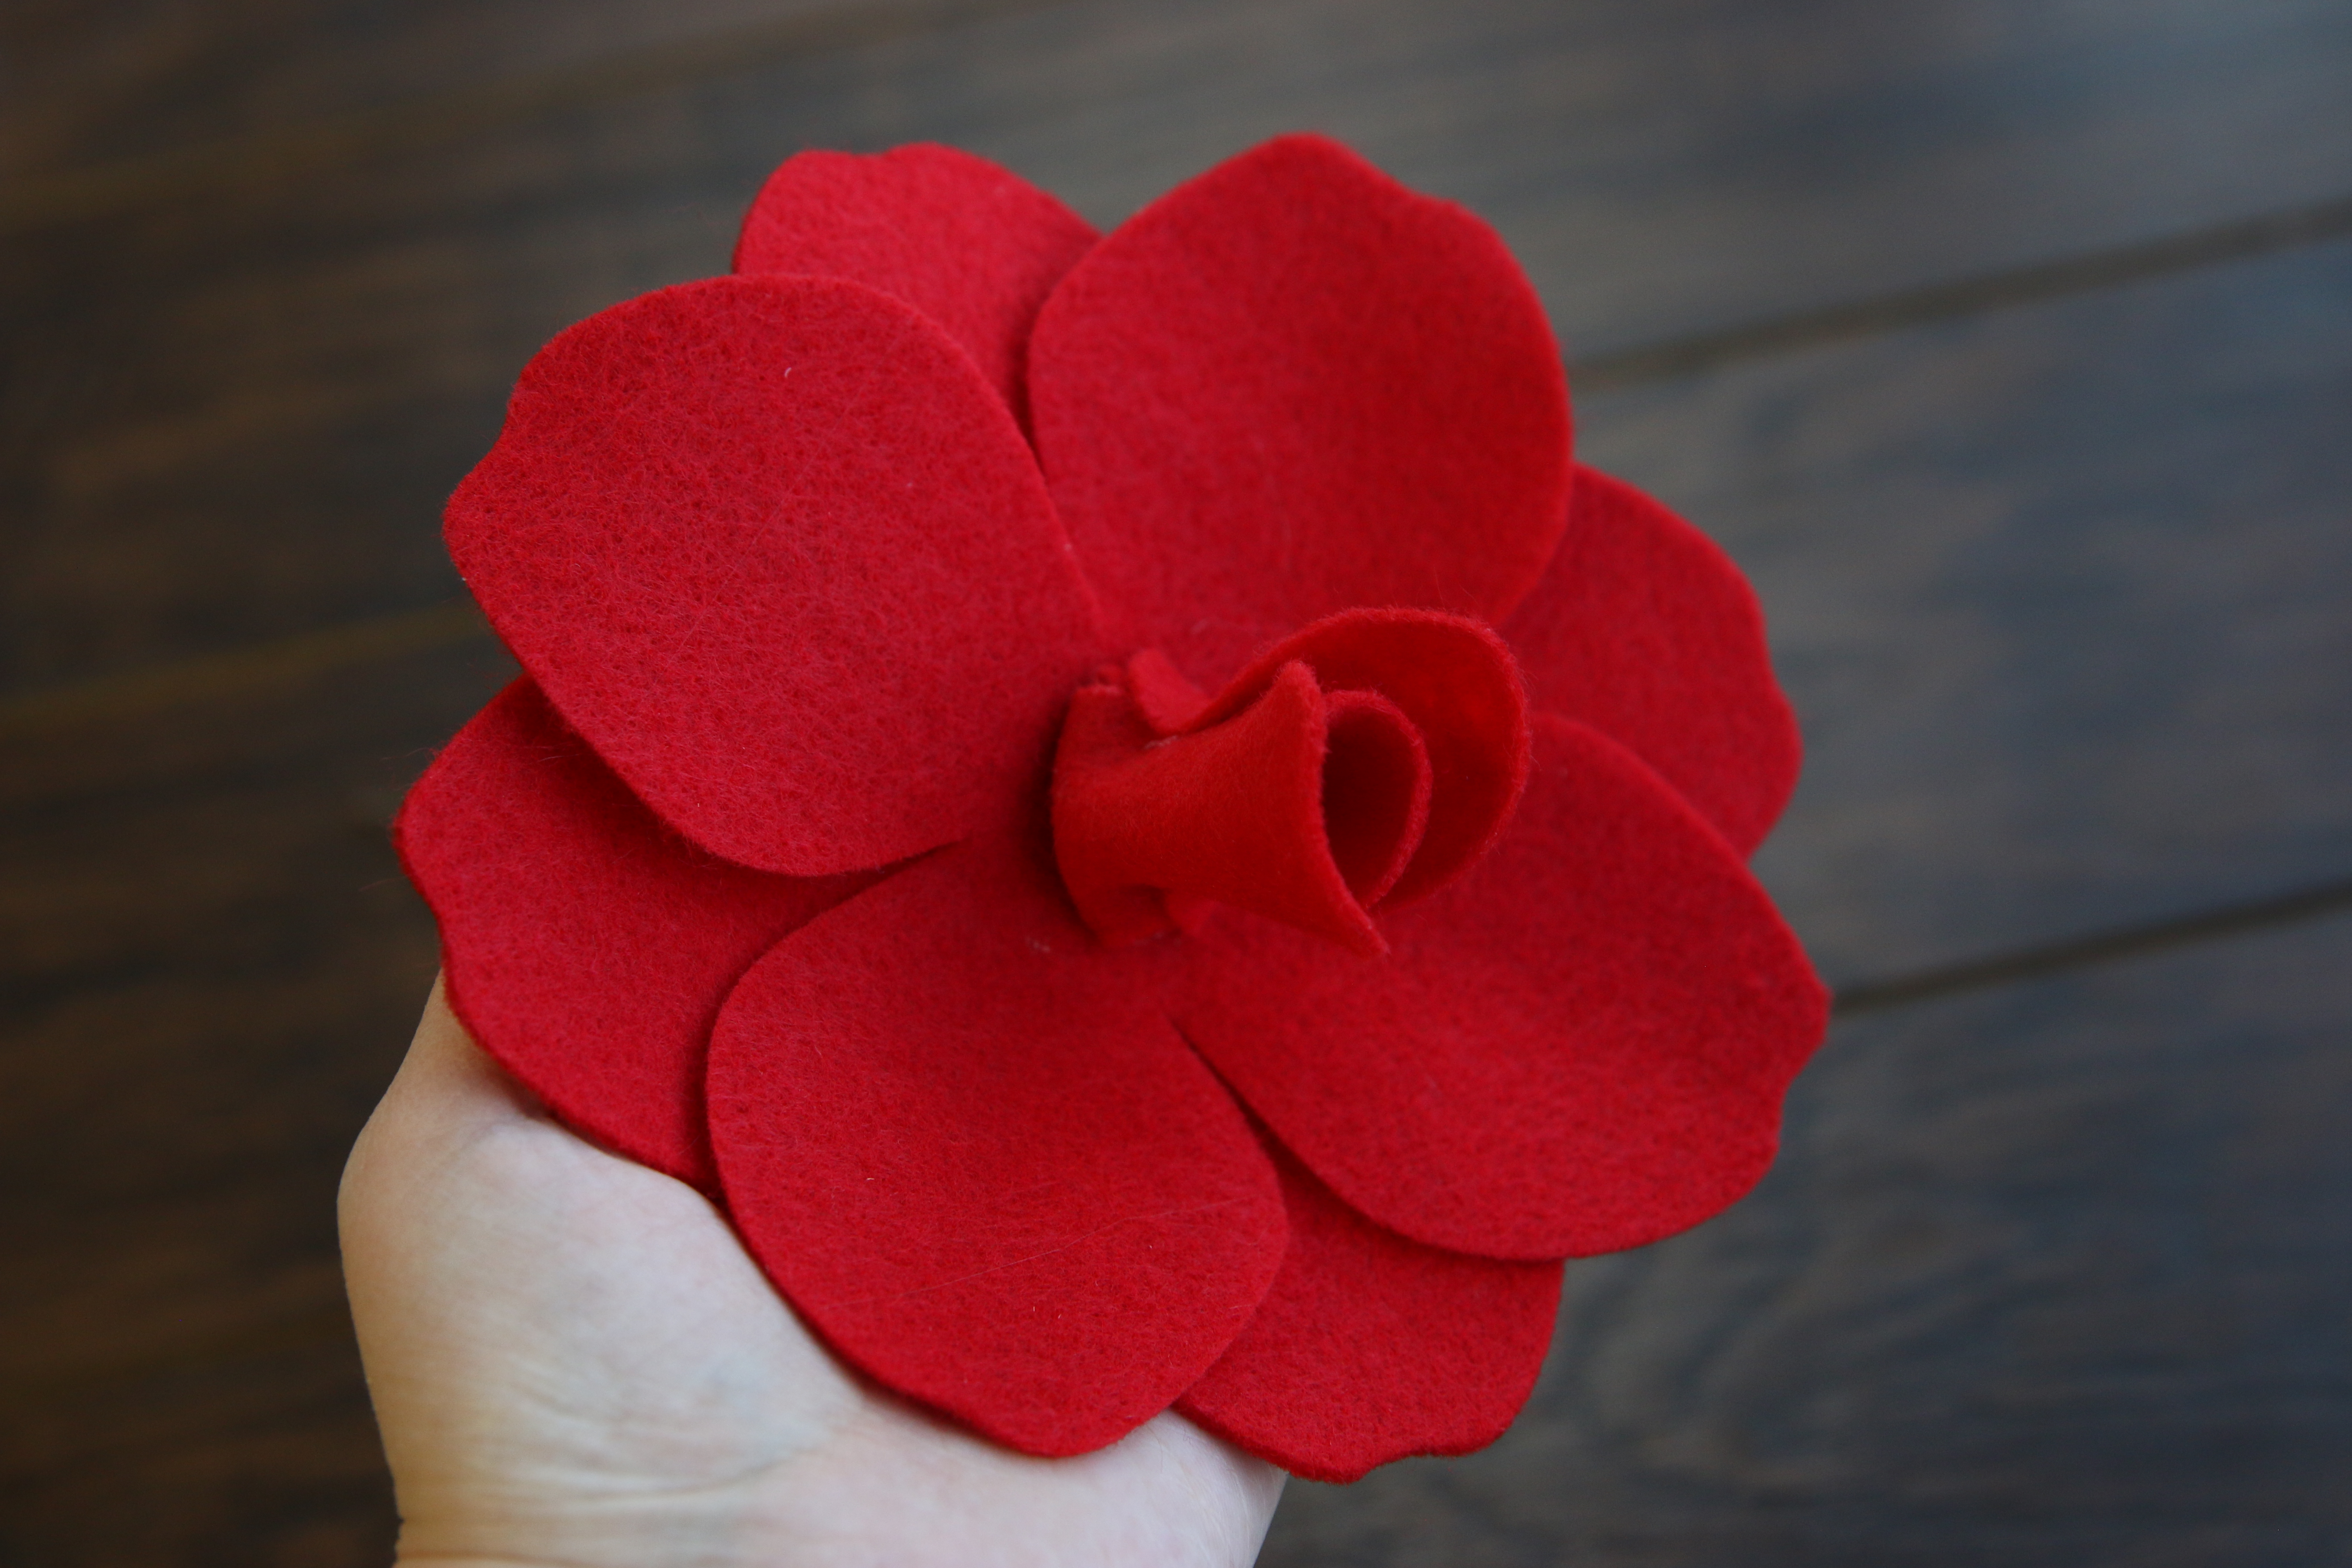
Then slide the other small four petal piece onto the wire as well. Make sure to rotate it until it’s petals sit perfectly in between the first four petals, and hot glue it to the previous petals around the wire.
10
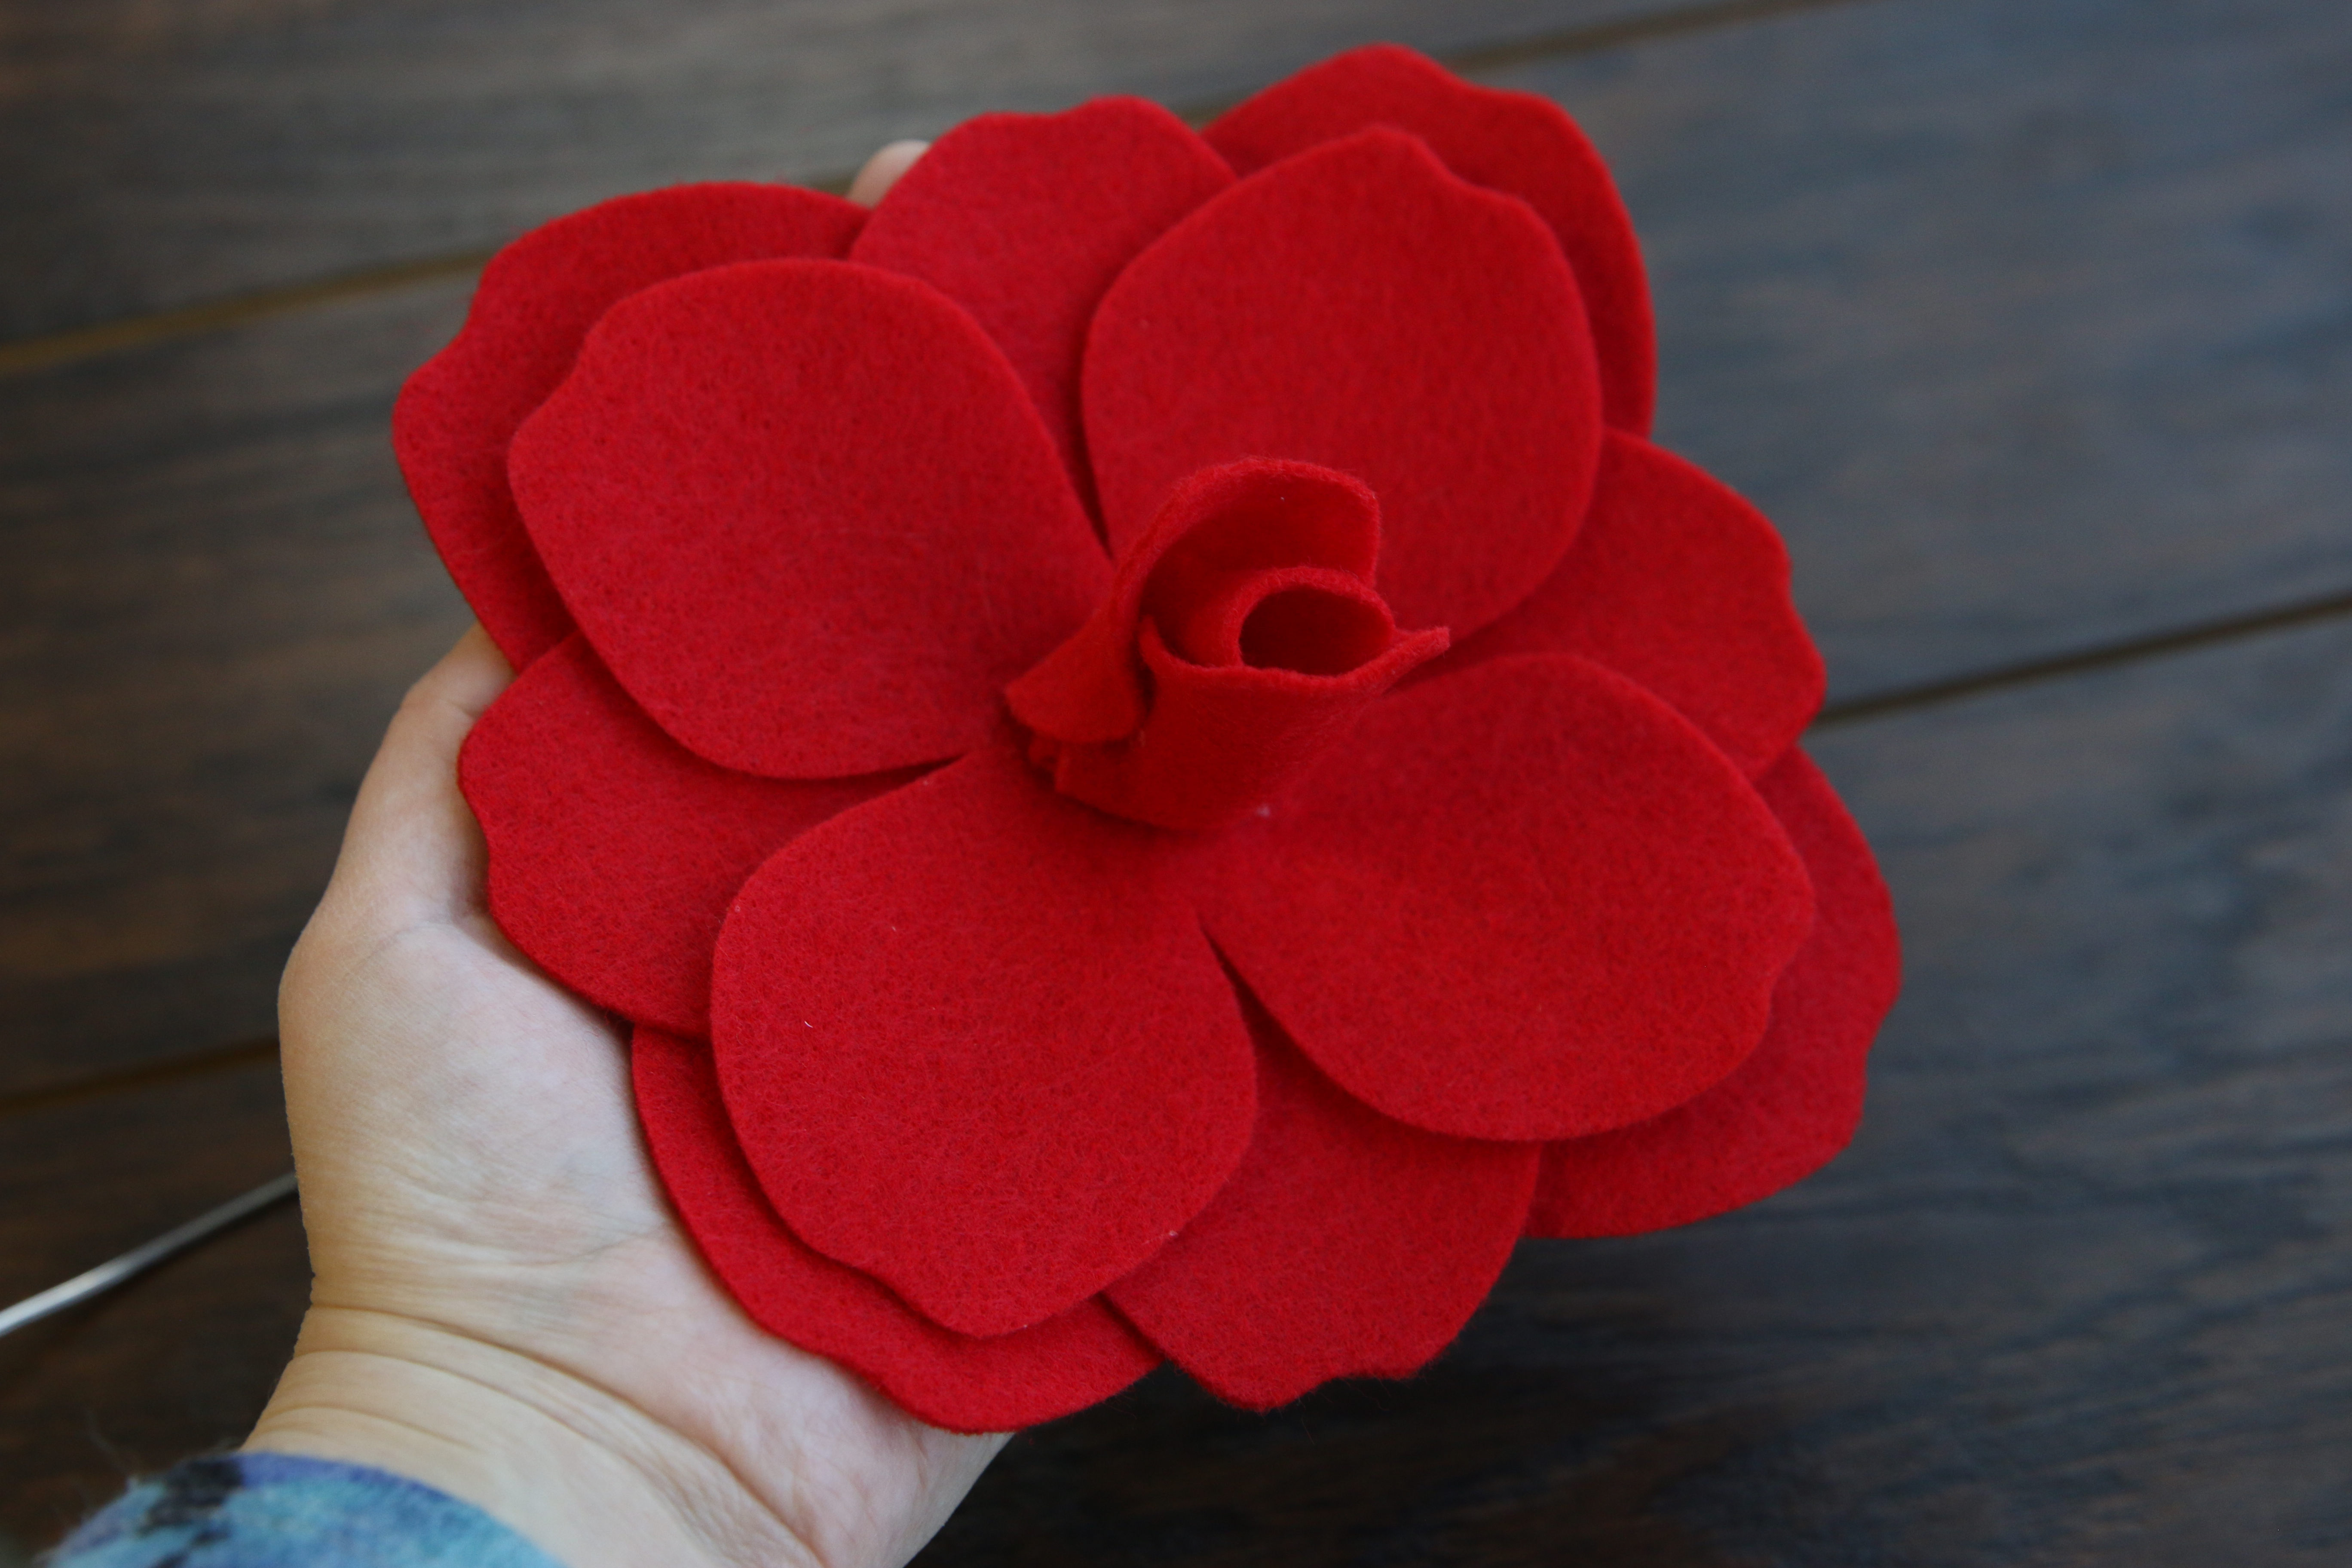
Repeat to slide one of the large four petal pieces (color 1) onto the wire until it is resting against the other petals. Rotate it until its petals are directly under the first small four piece’s petals. Hot glue it to the previous petals around the wire.
11
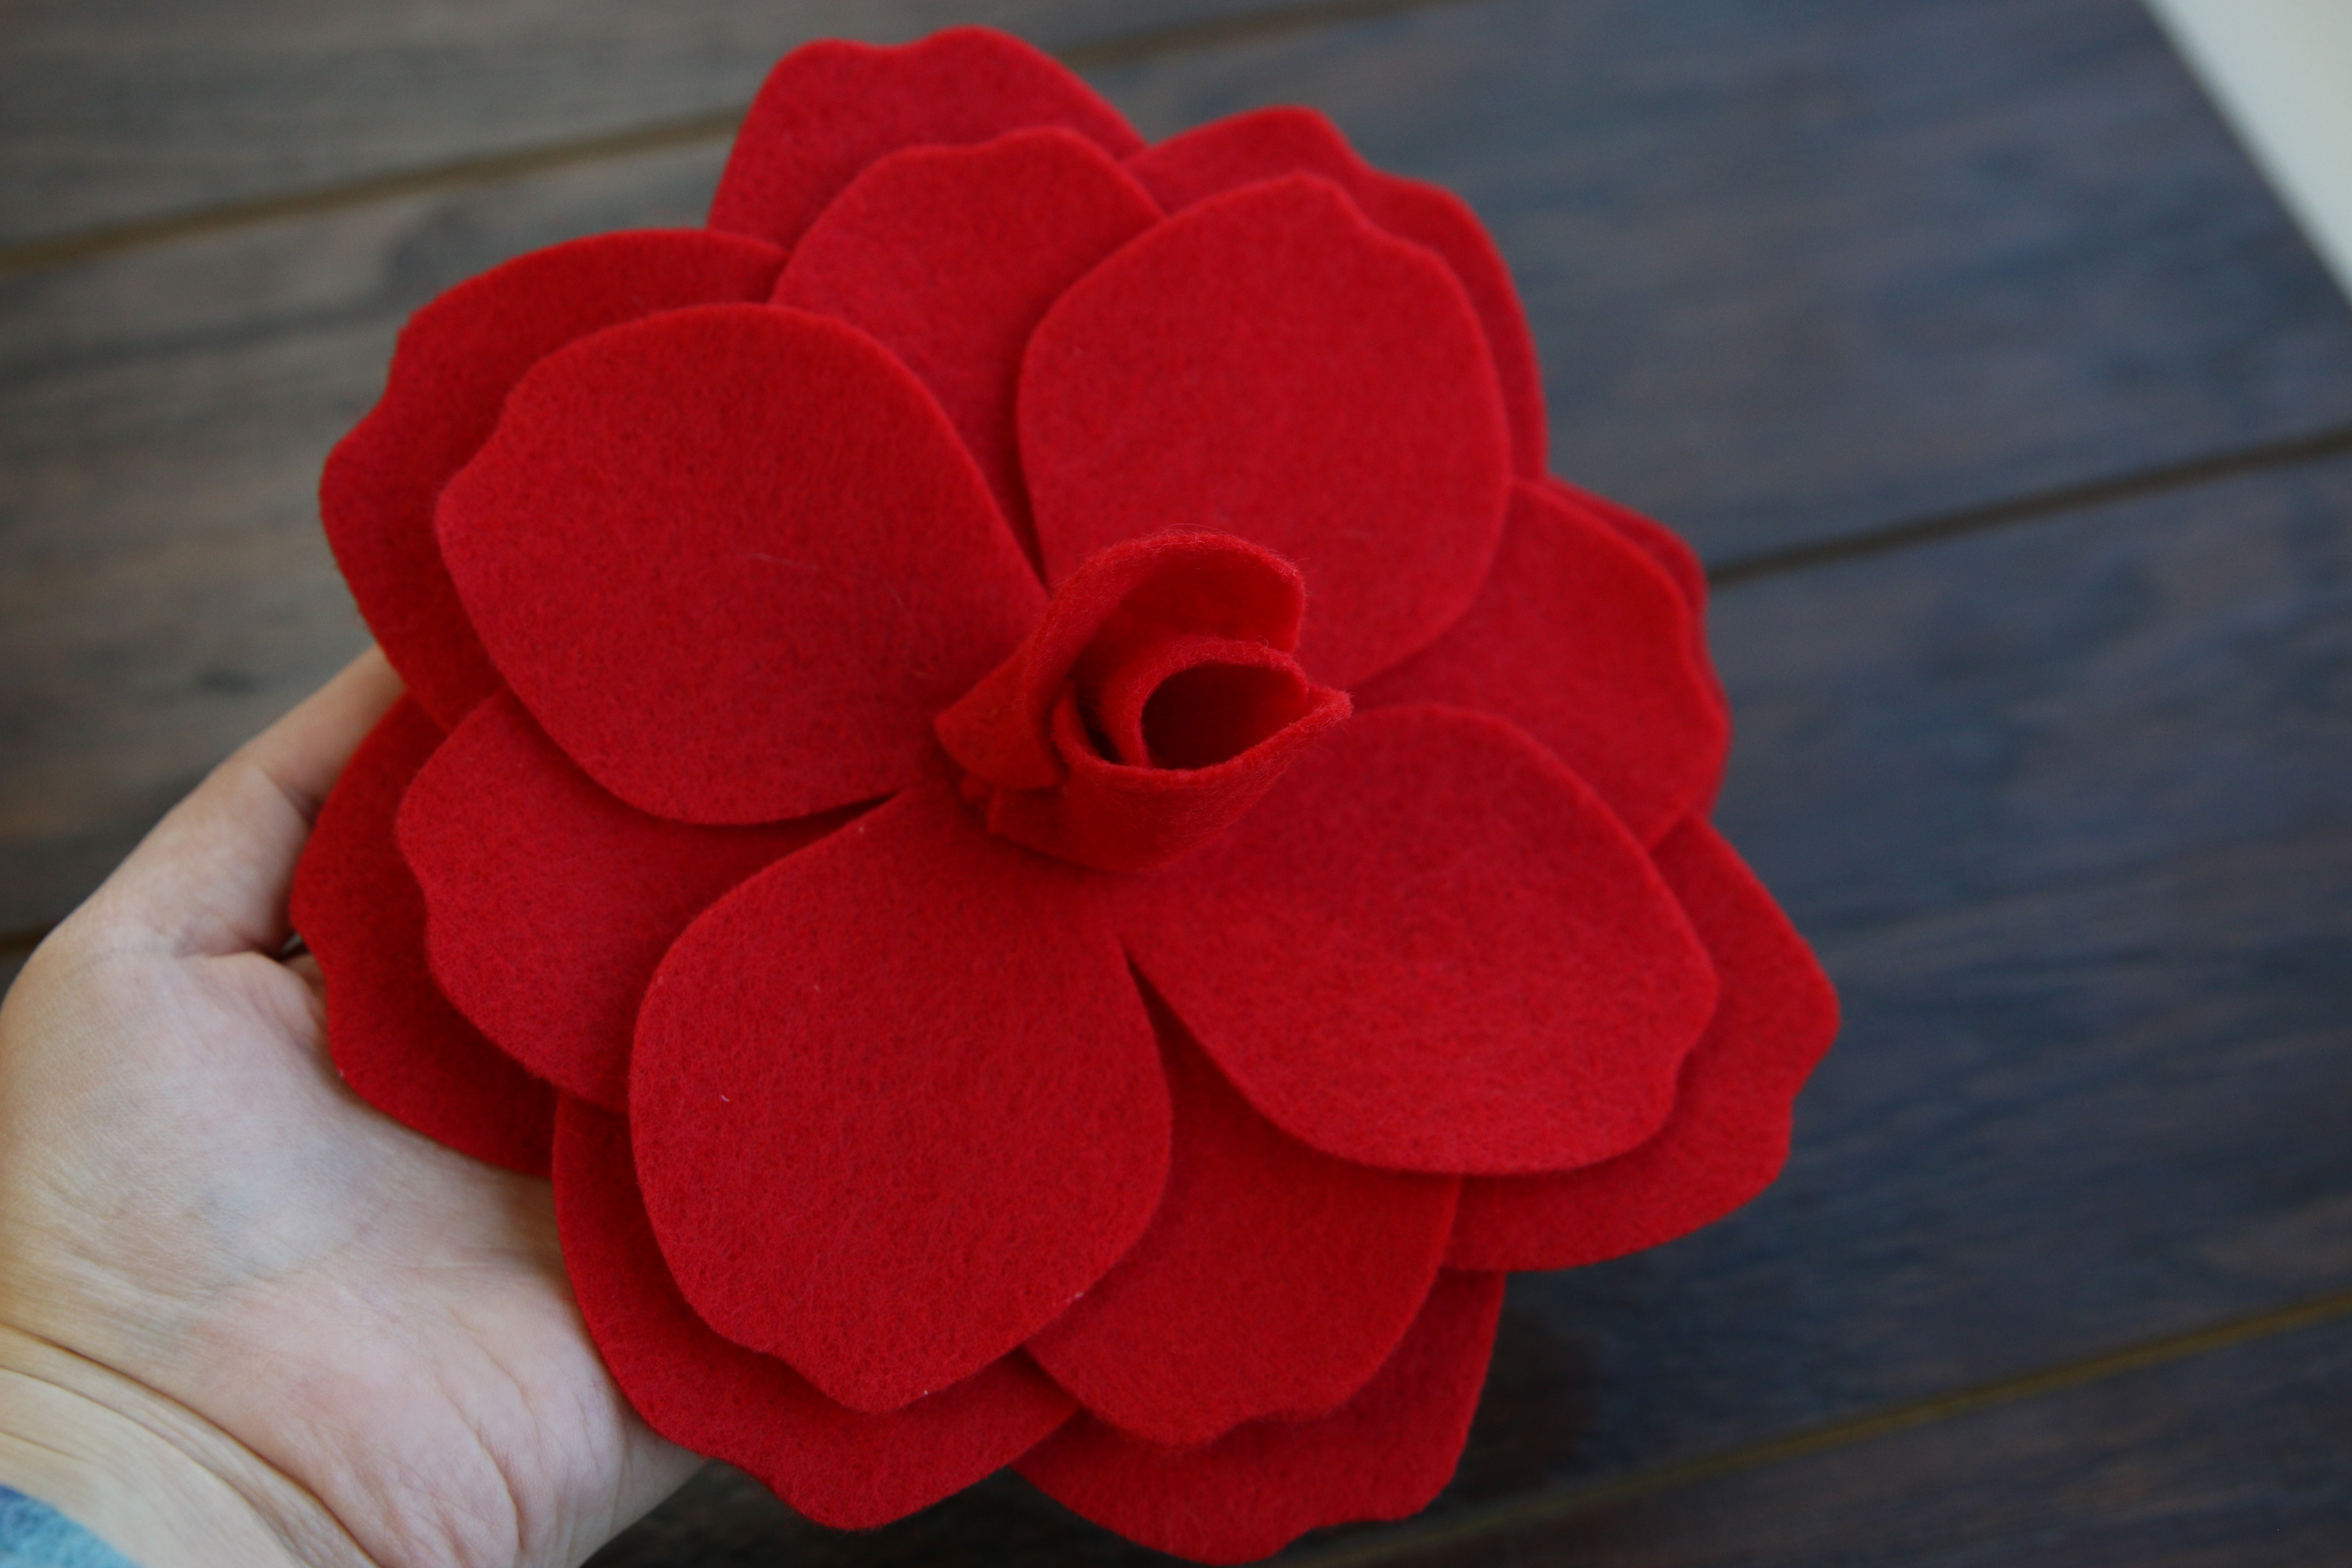
Then repeat to add the second large four petal piece, and rotate it until the petals sit perfectly in between the first large piece’s petals. Hot glue it to the previous petals around the wire.
12

Now that all the petal pieces are on the wire, take one of the petals from the top small four petal piece, and fold it up loosely around the center petals. Use a small dot of hot glue to adhere one side of the folded up petal in place. Then repeat to adhere the other side with another dot of glue.
13

Then locate the petal opposite the one that was just folded up. Fold that opposite petal up around the center, and hot glue it into place with two small dots of glue.
14
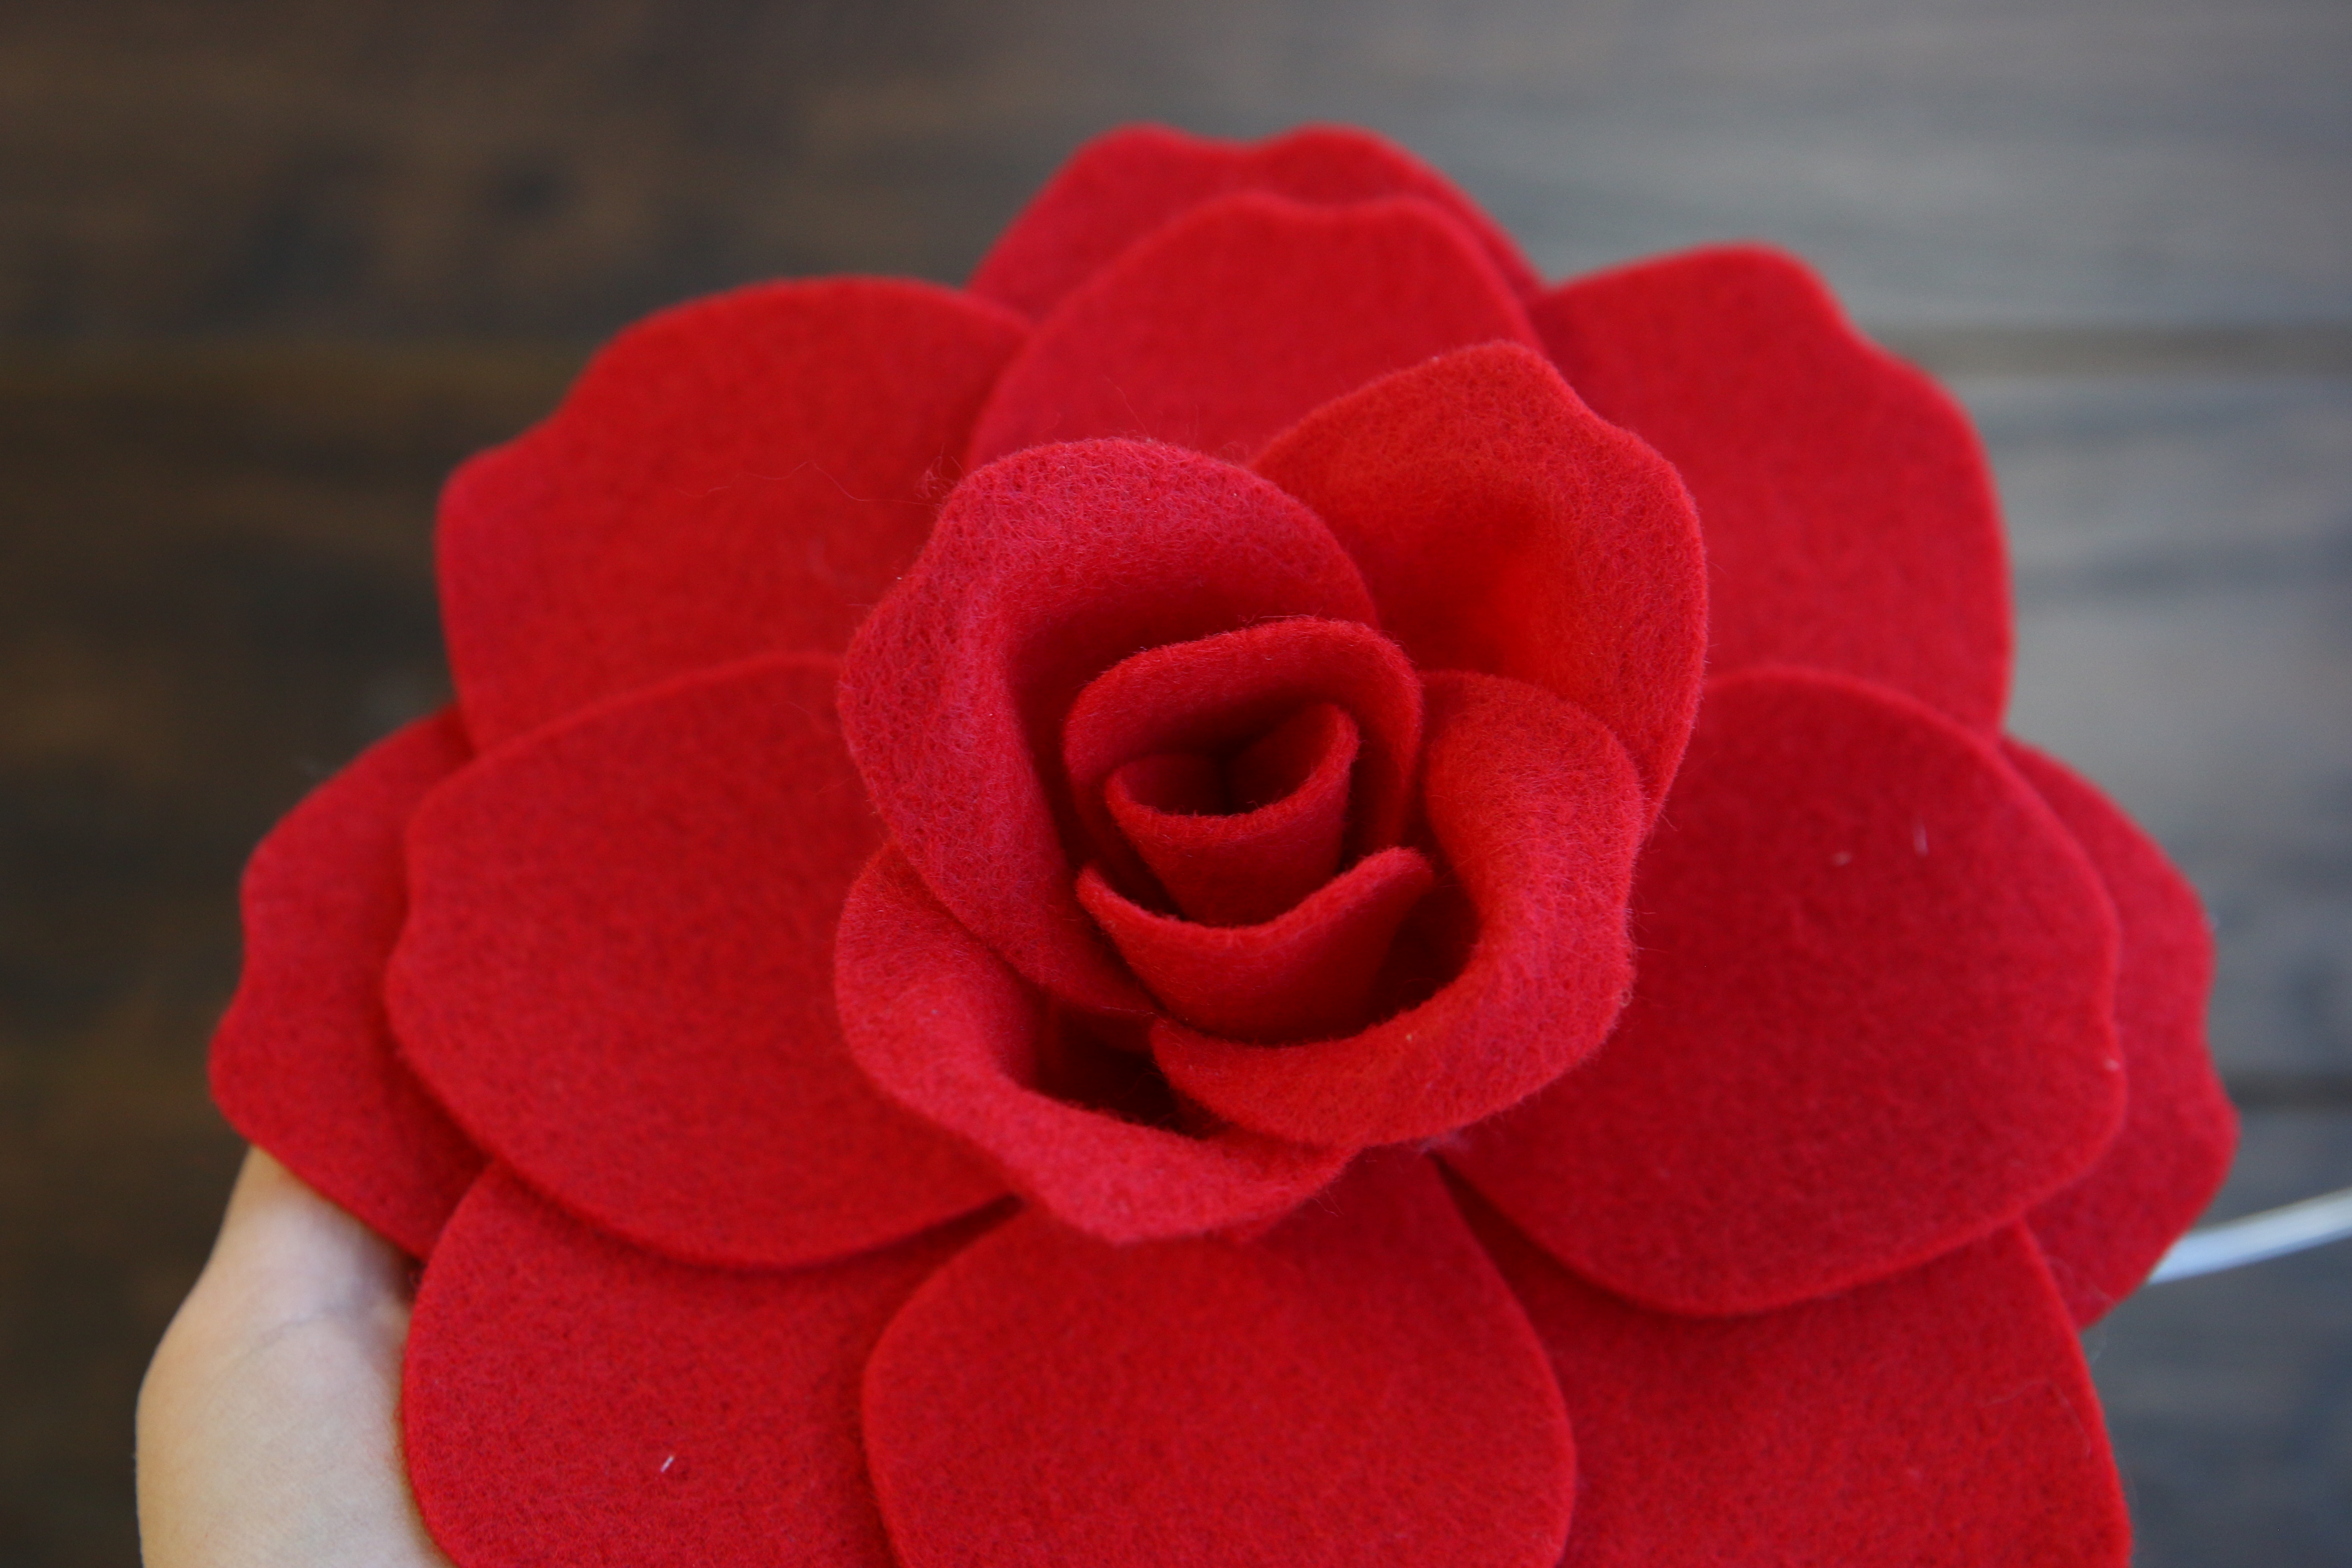
Then repeat to fold up the remaining two petals on the top four petal piece, and hot glue them in place.
15
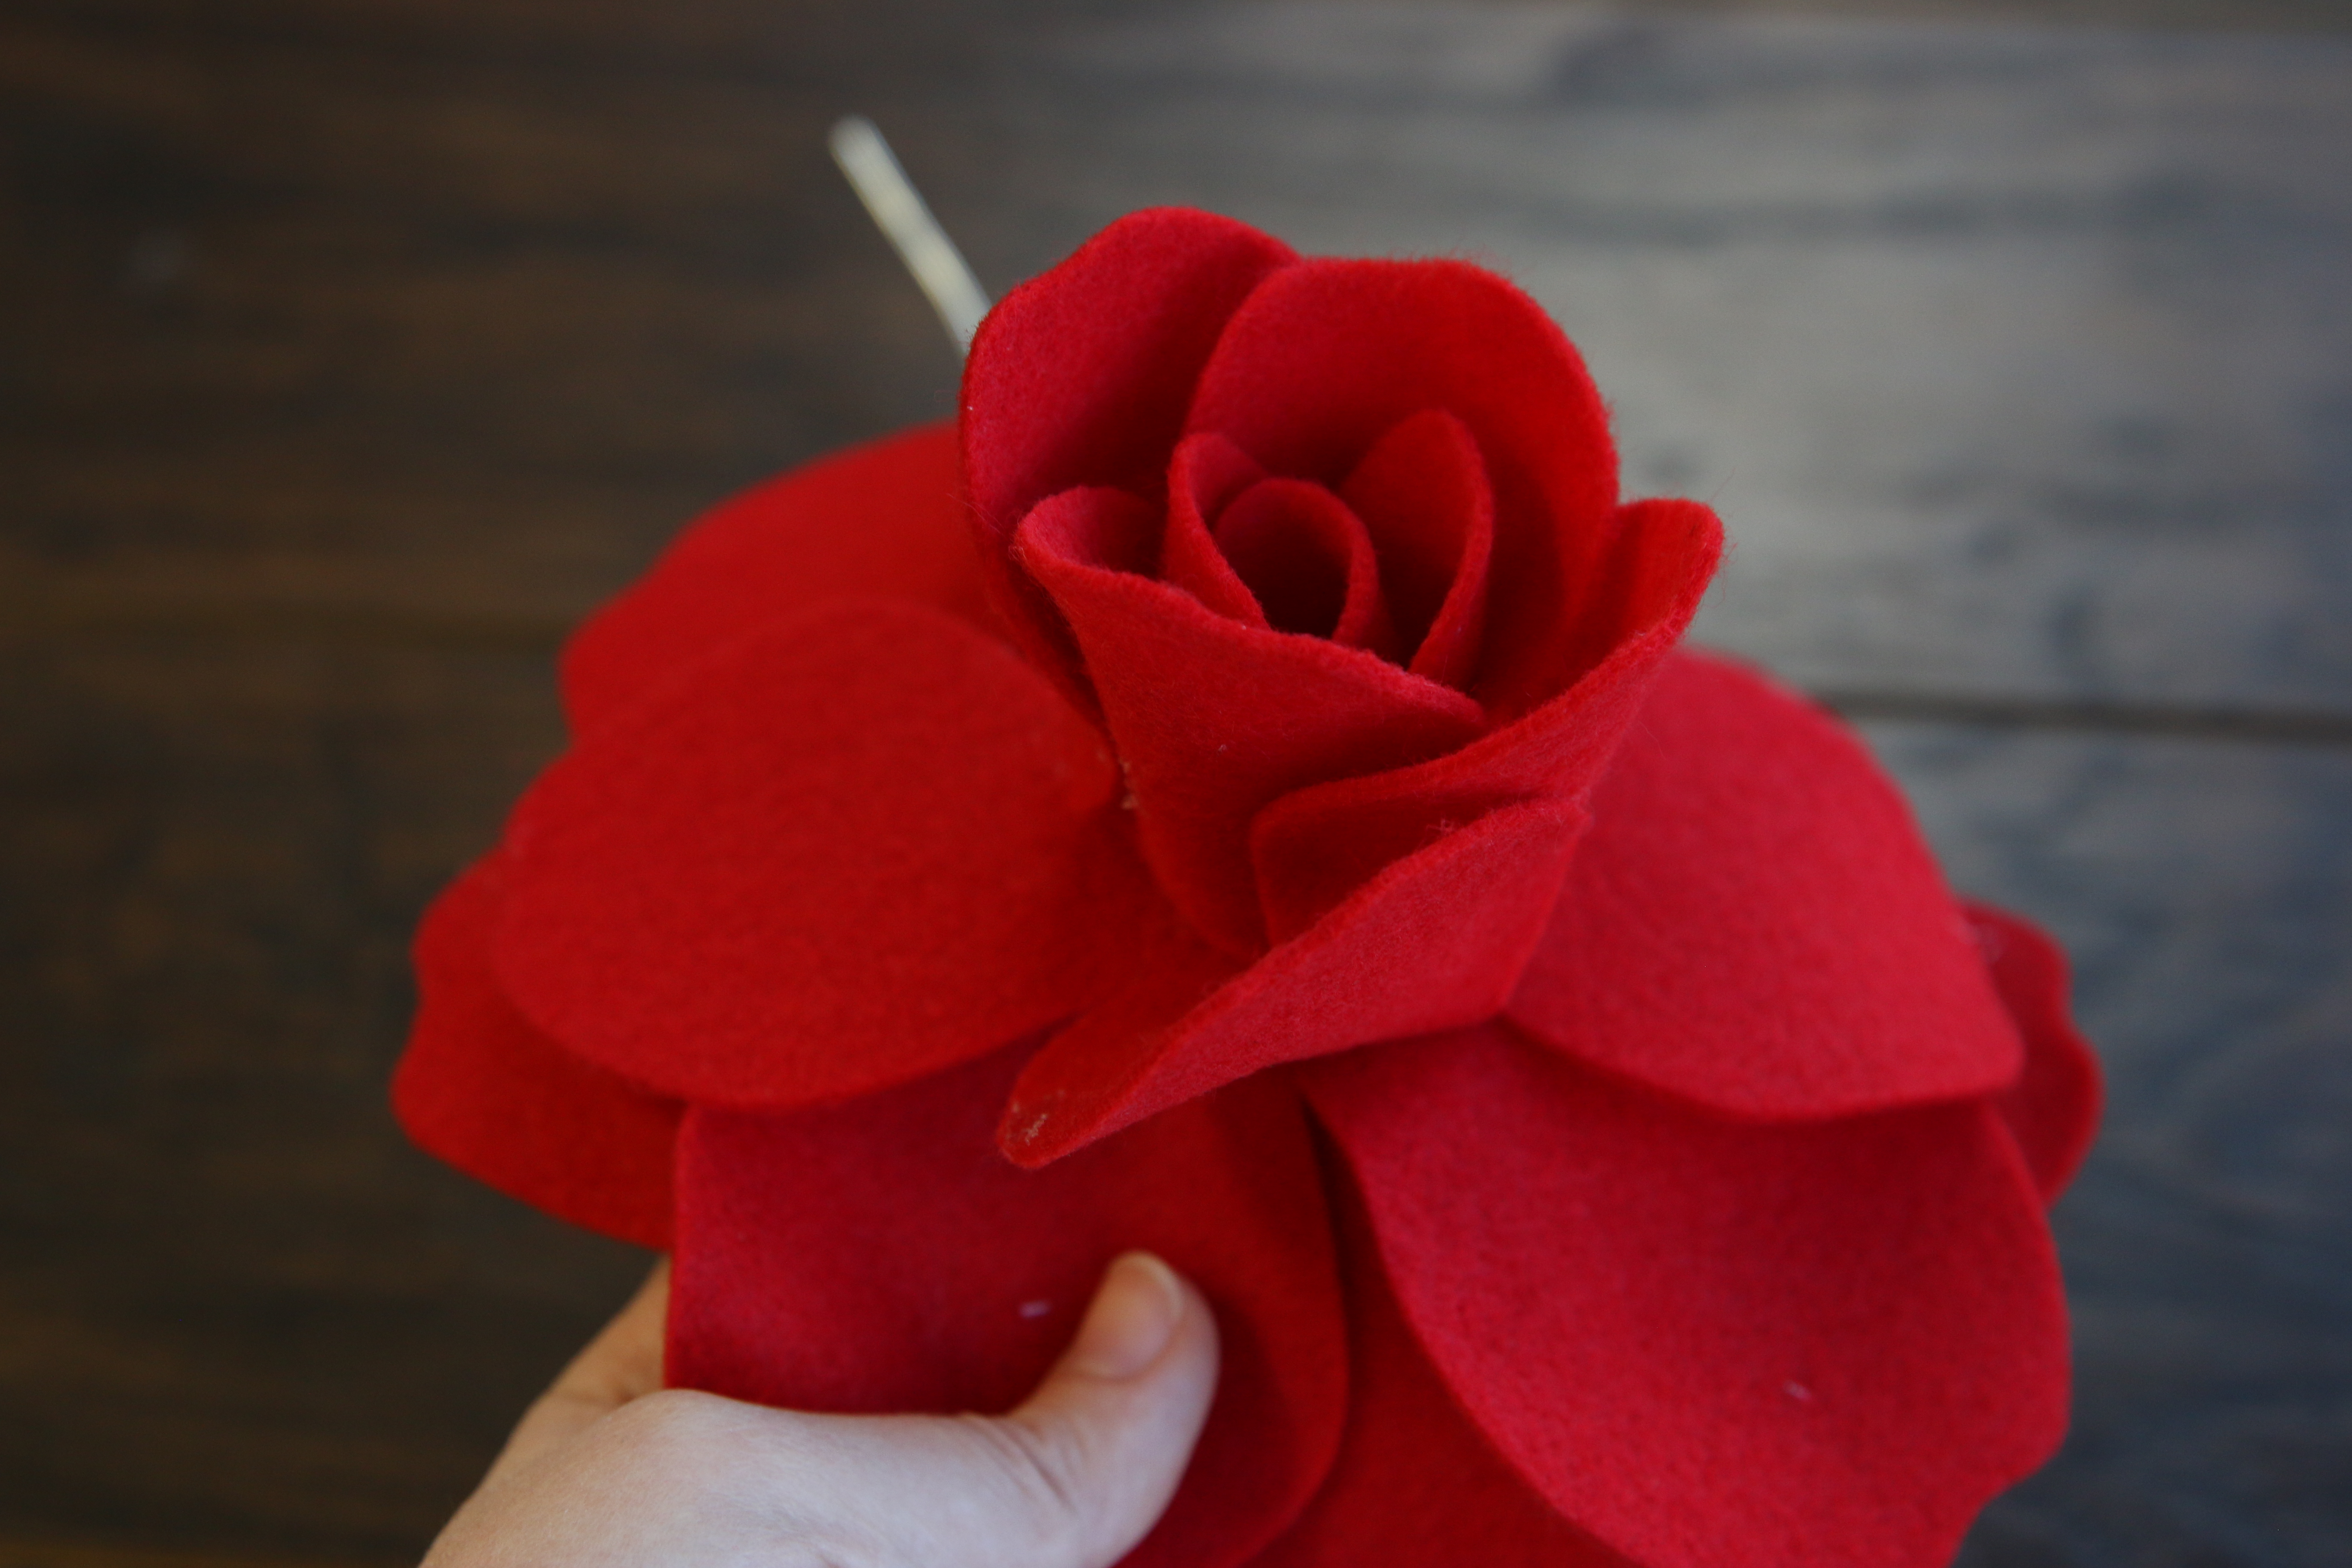
For the next small four petal piece, fold up one petal again, but this time only glue down one side of the petal. Leave the other side of the first petal unglued for now.
16

Then take the next petal immediately to the right of the first one, fold it up around the center petals, and glue one side in place over the first half glued petal so they slightly overlap.
17
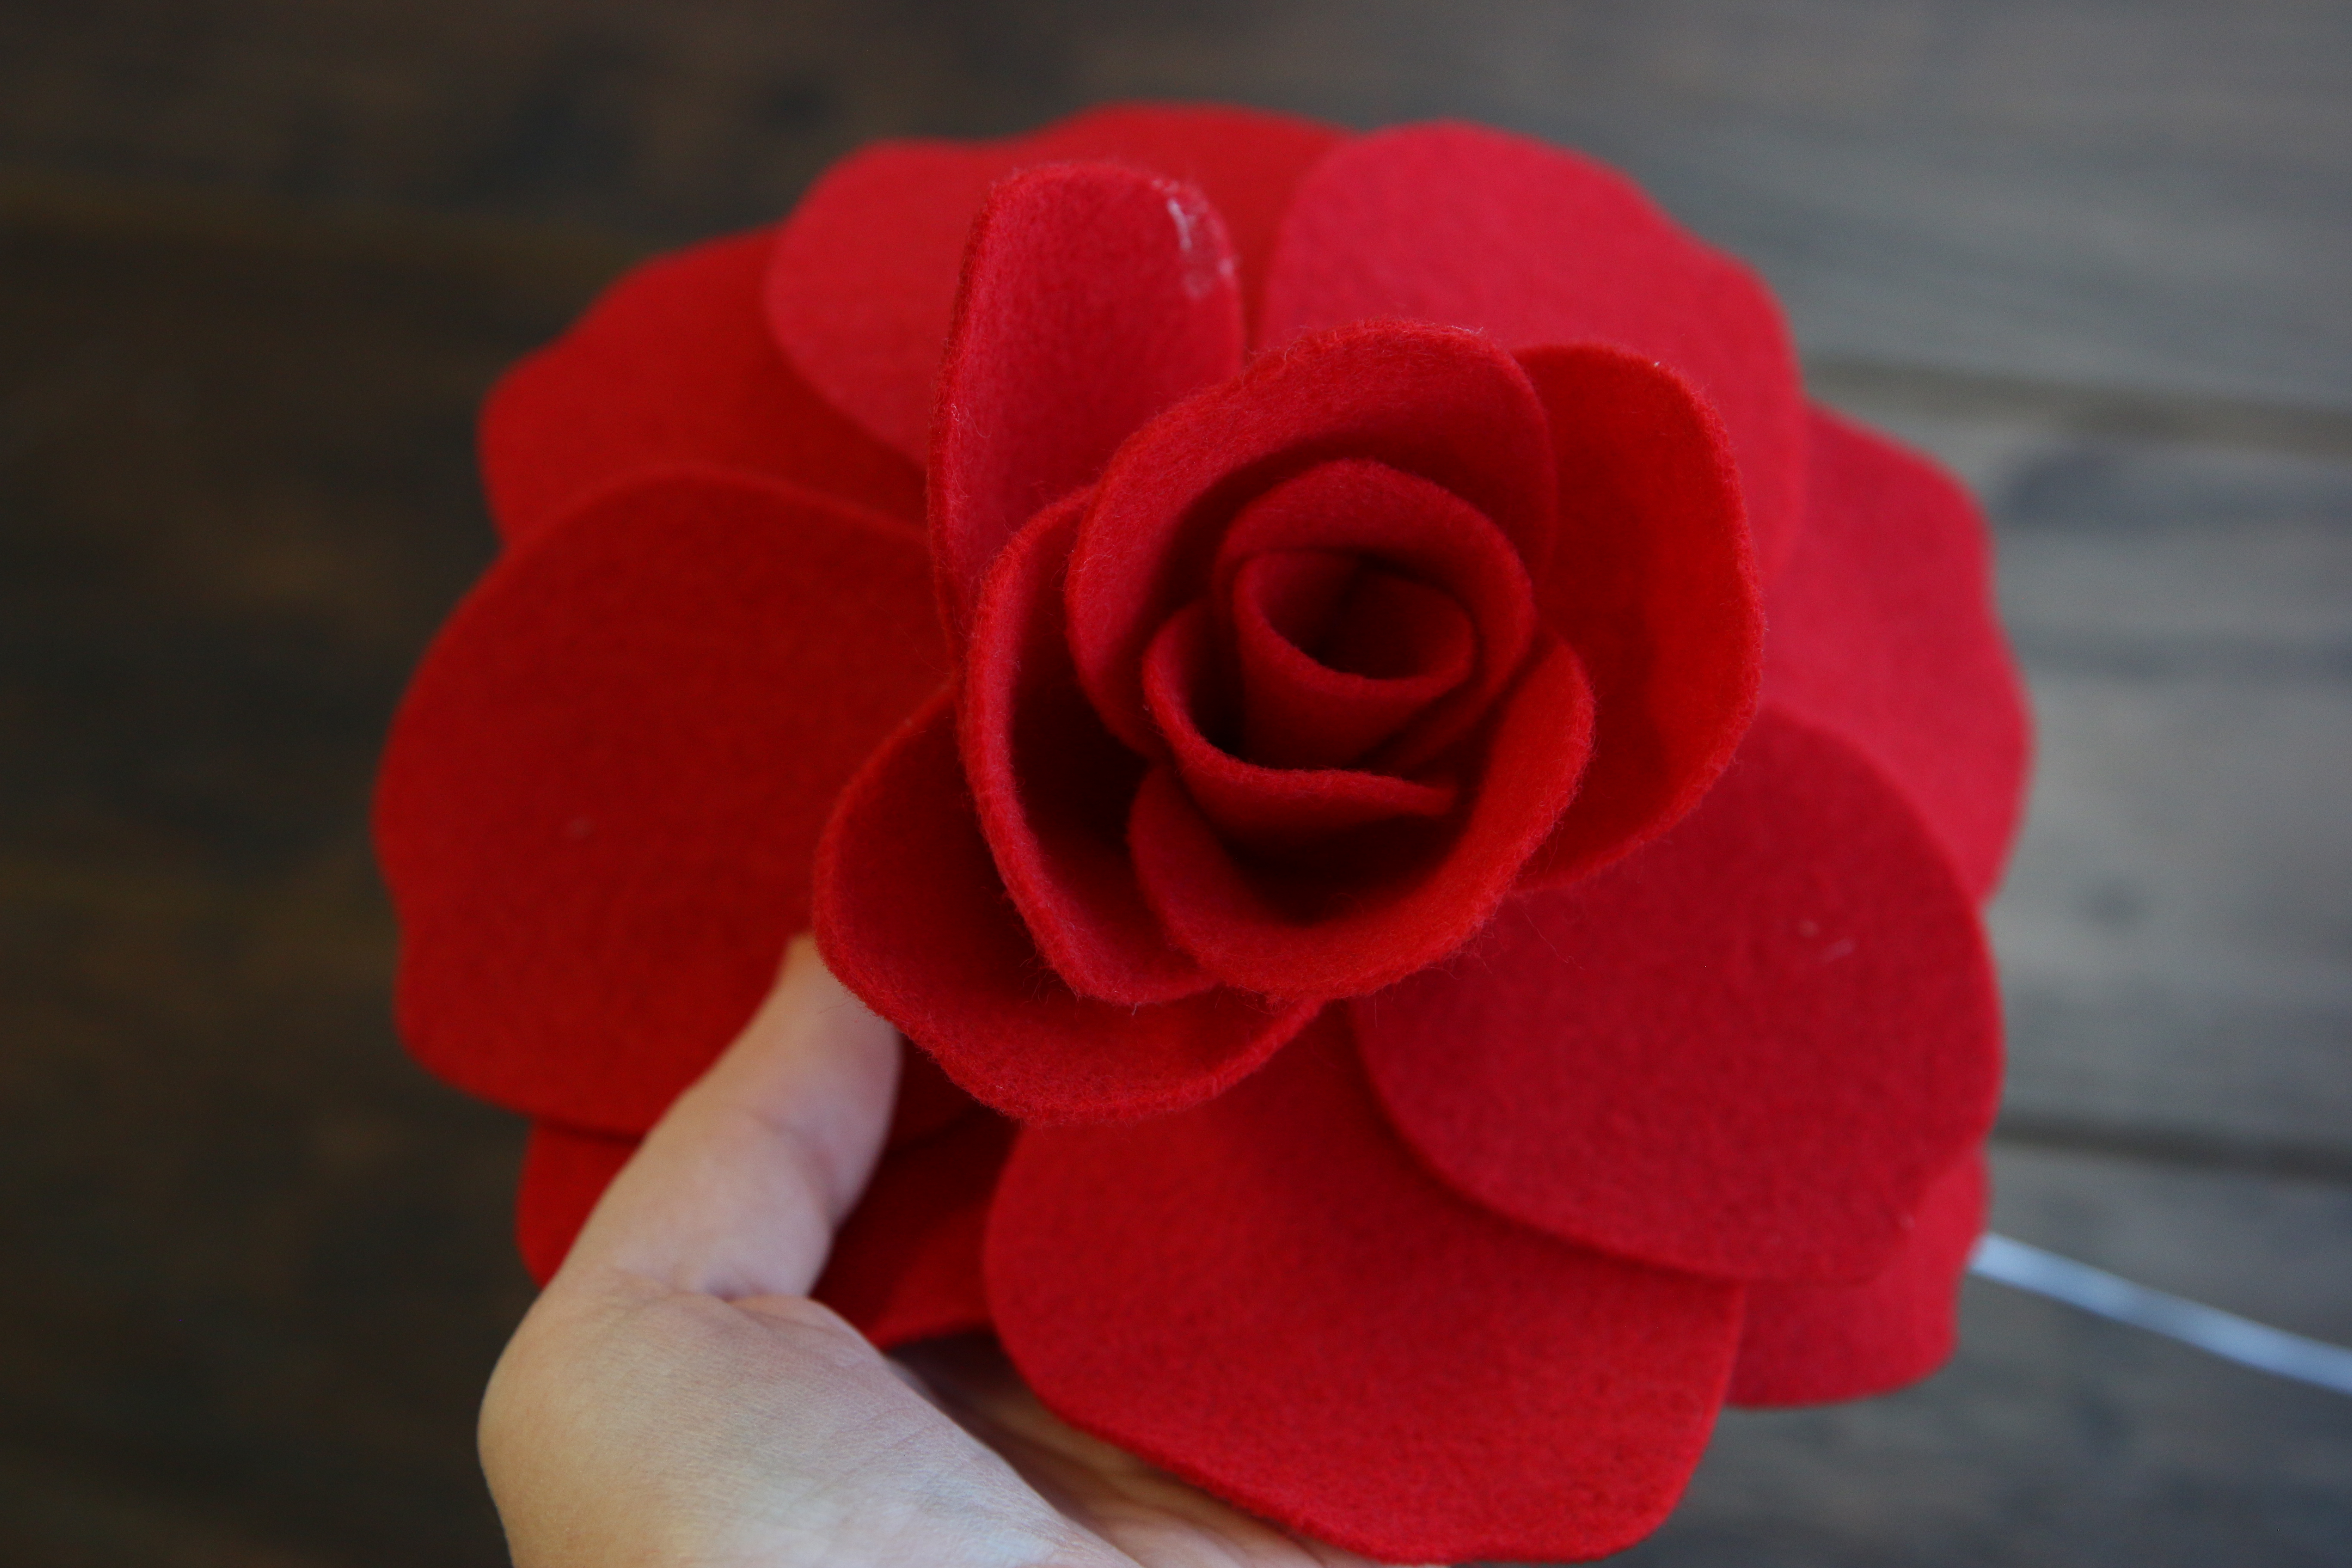
Then glue the other side of the second petal piece in place on the center cluster of petals. Next, again fold up the petal to the right of the one we just glued in place (this will be the third petal of this four petal piece). Hot glue one side in place so it slightly overlaps the previous petal.
18
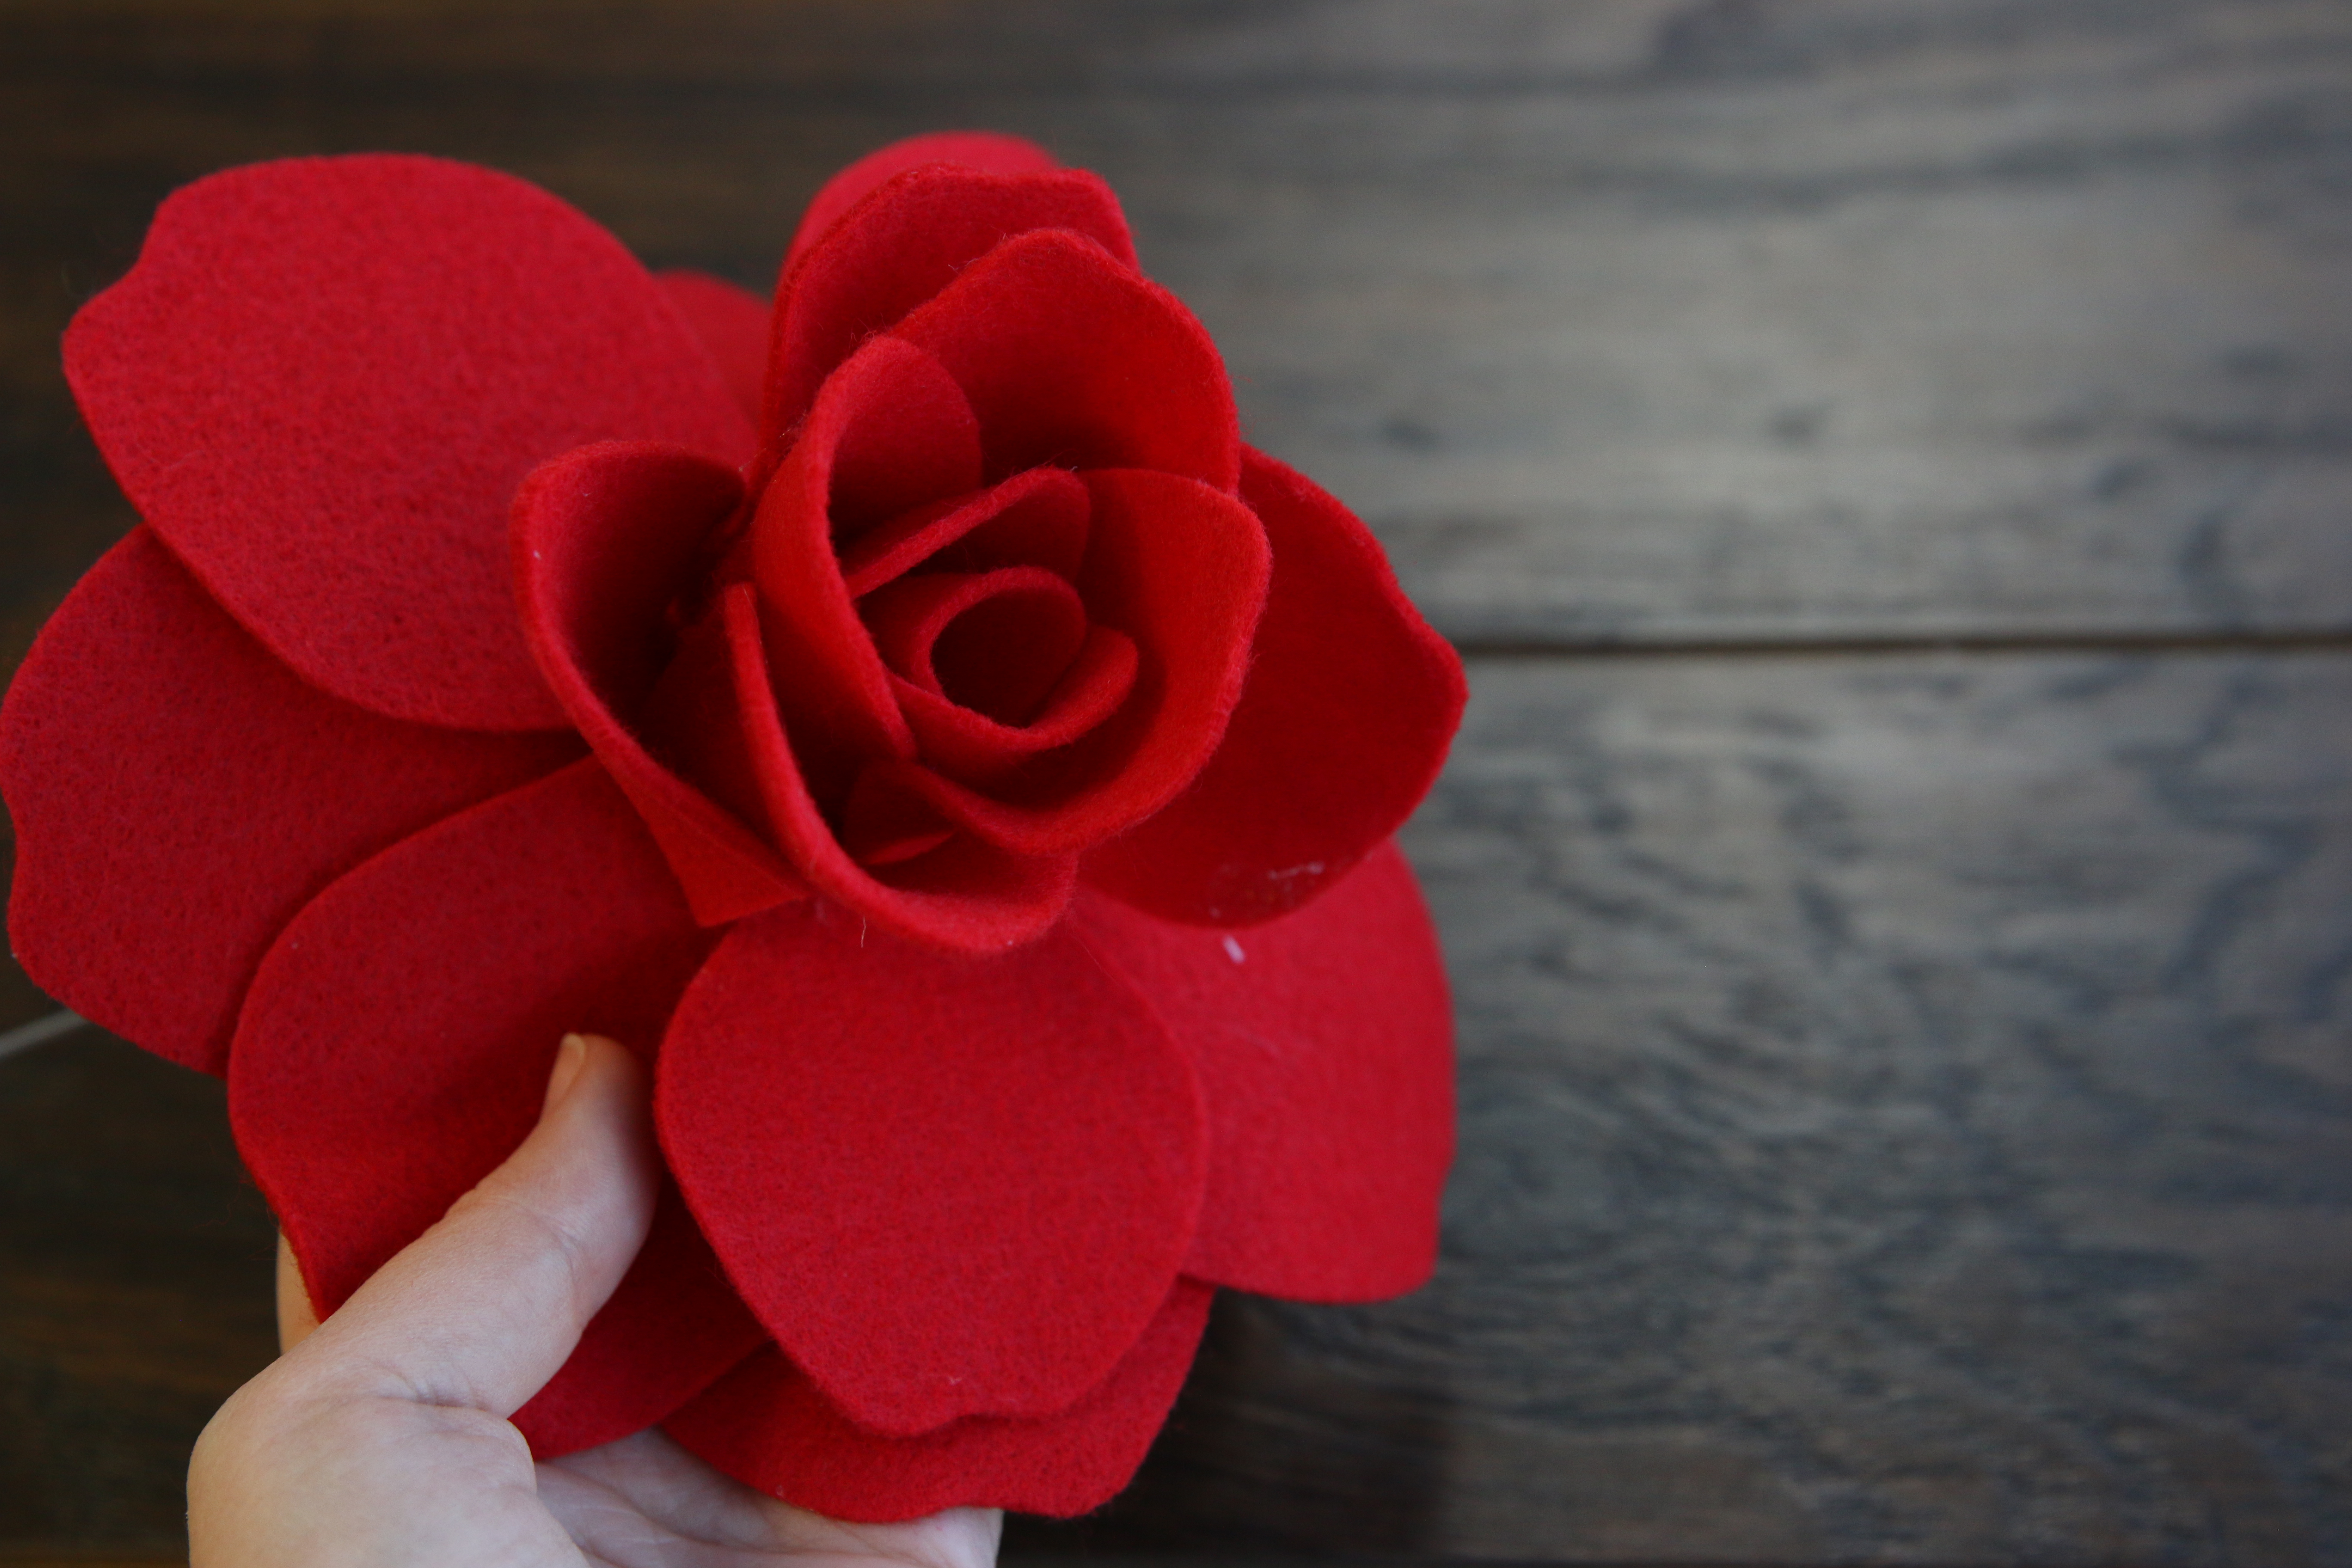
Then glue the opposite side onto the center cluster of petals.
19

Finally, fold up the forth petal of this piece, and glue one side of it overlapping the third petal, and then glue the opposite side onto the center cluster of petals.
20
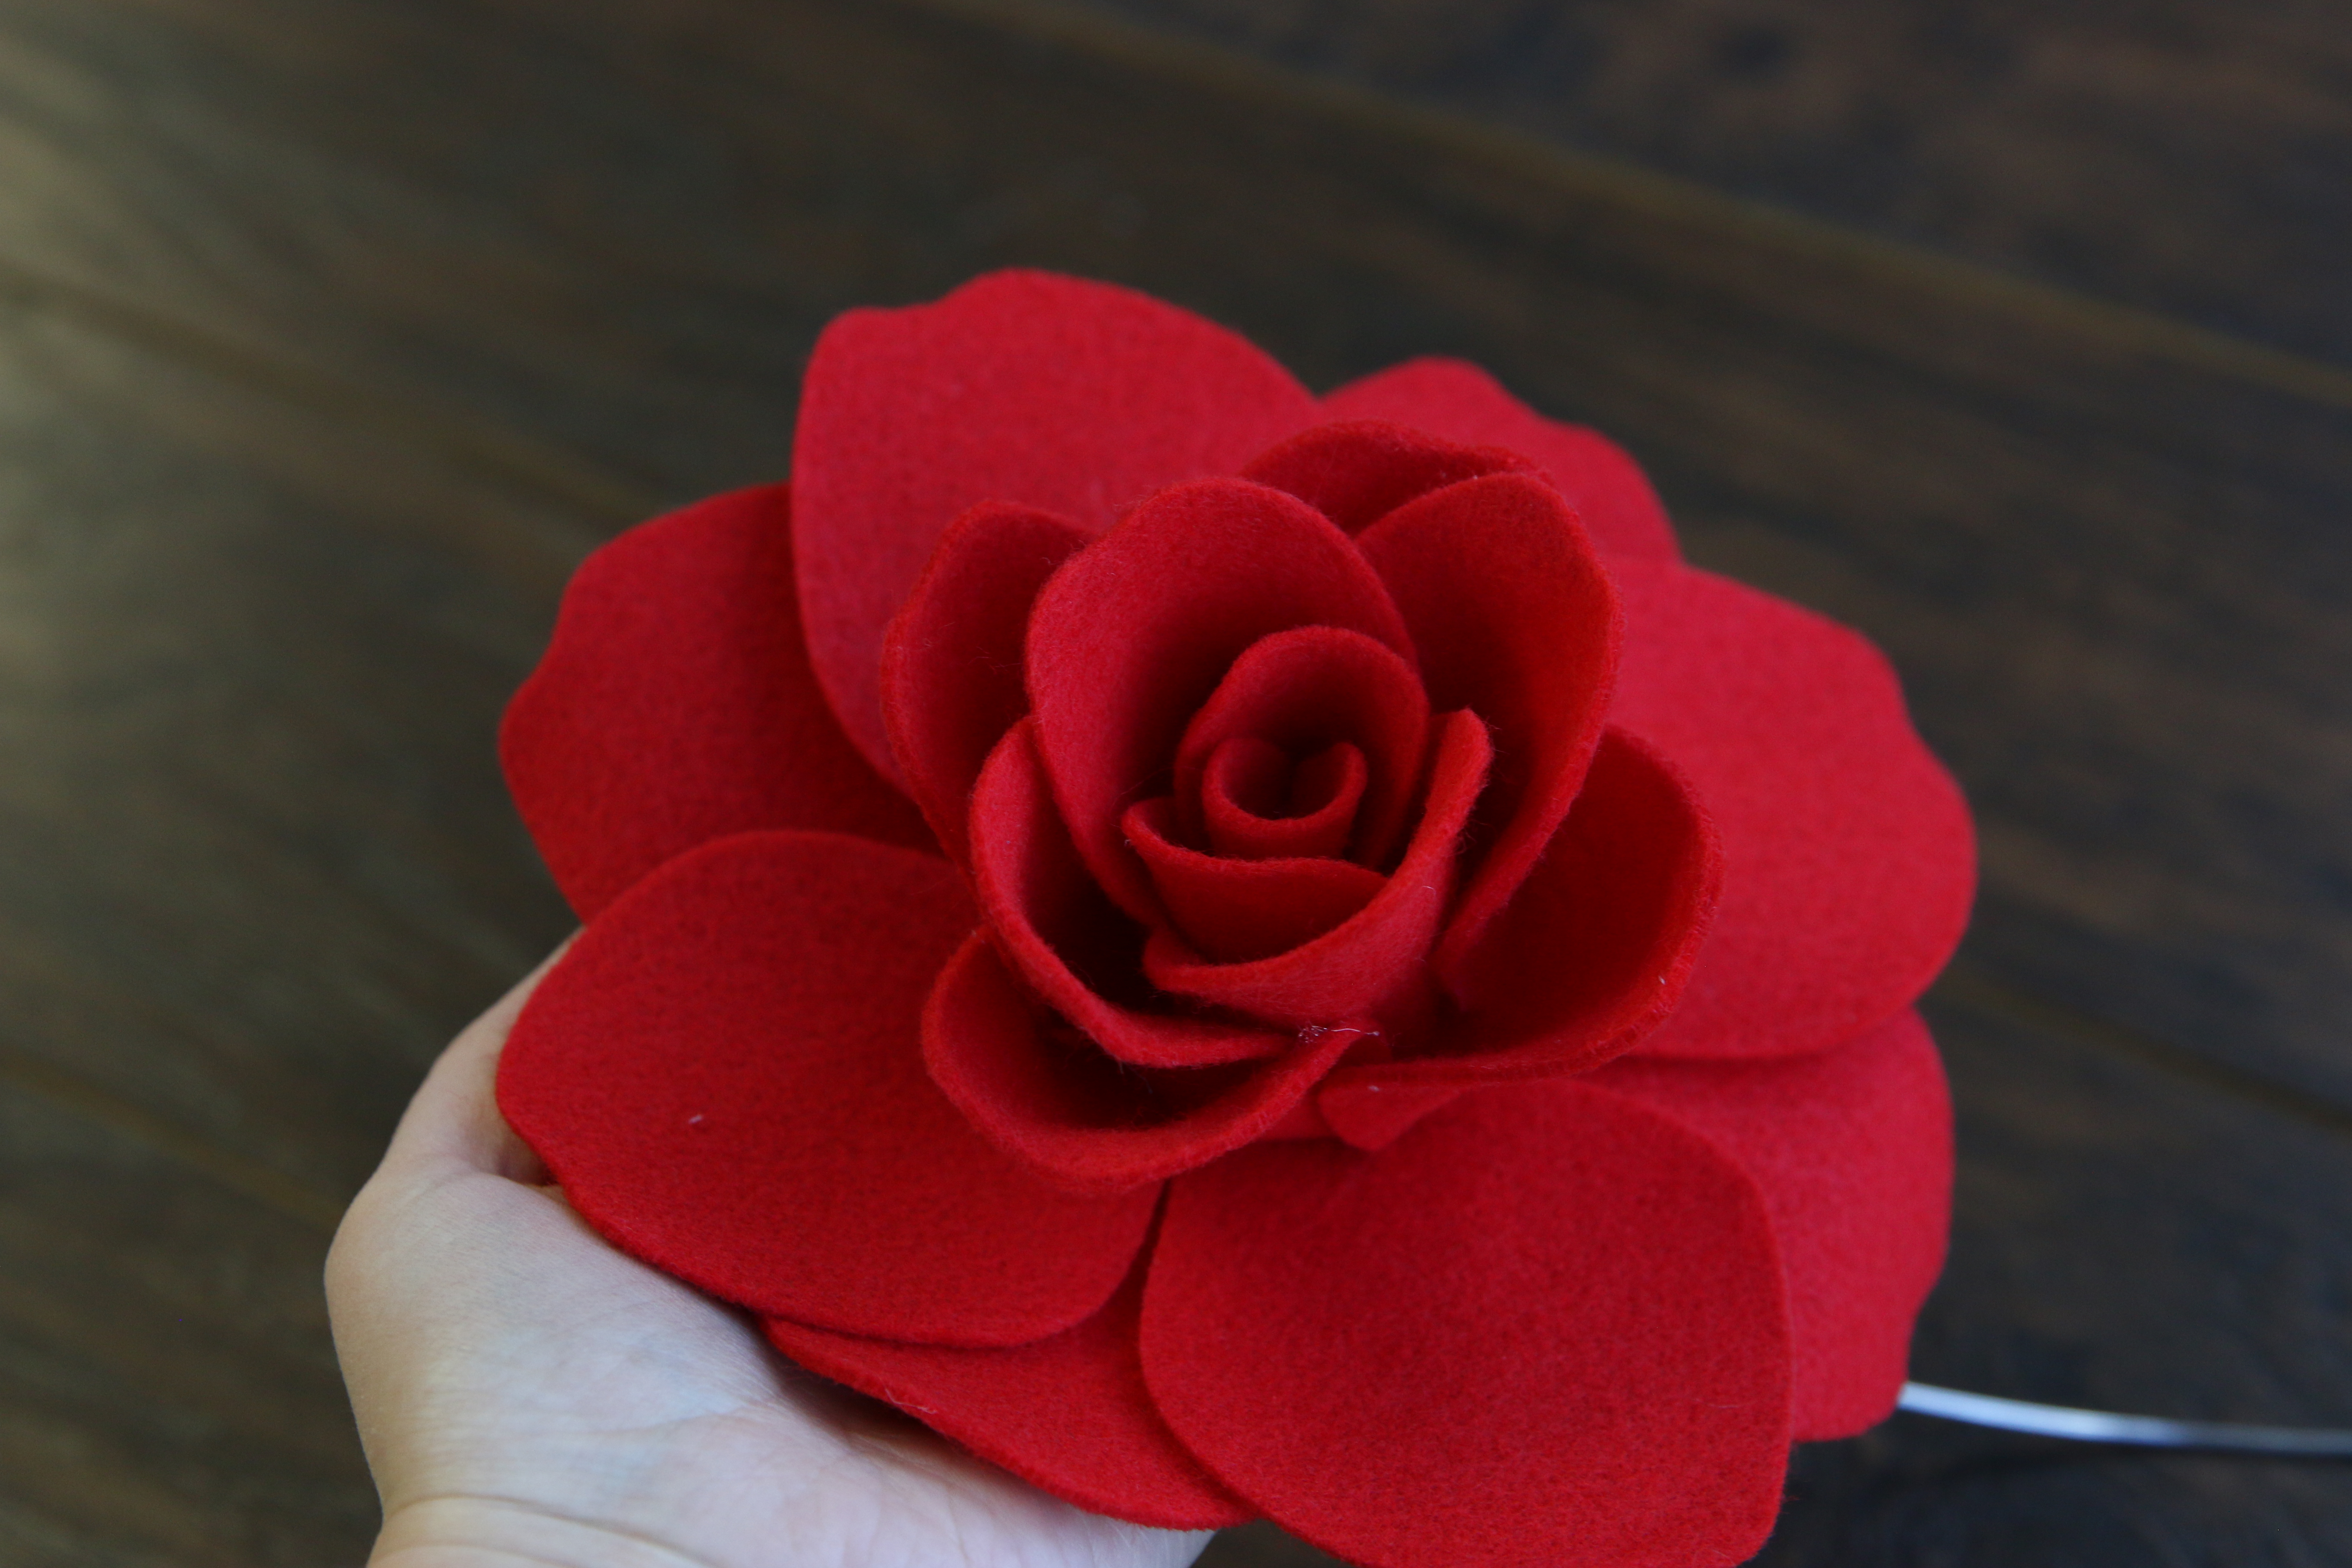
Going back to the first petal which still has one side unglued, overlap that unglued side until it is slightly over the forth petal, and glue it into place. Gluing the petals in this order makes them all overlap each other perfectly, making them look interlocked like they would on a real rose.
21
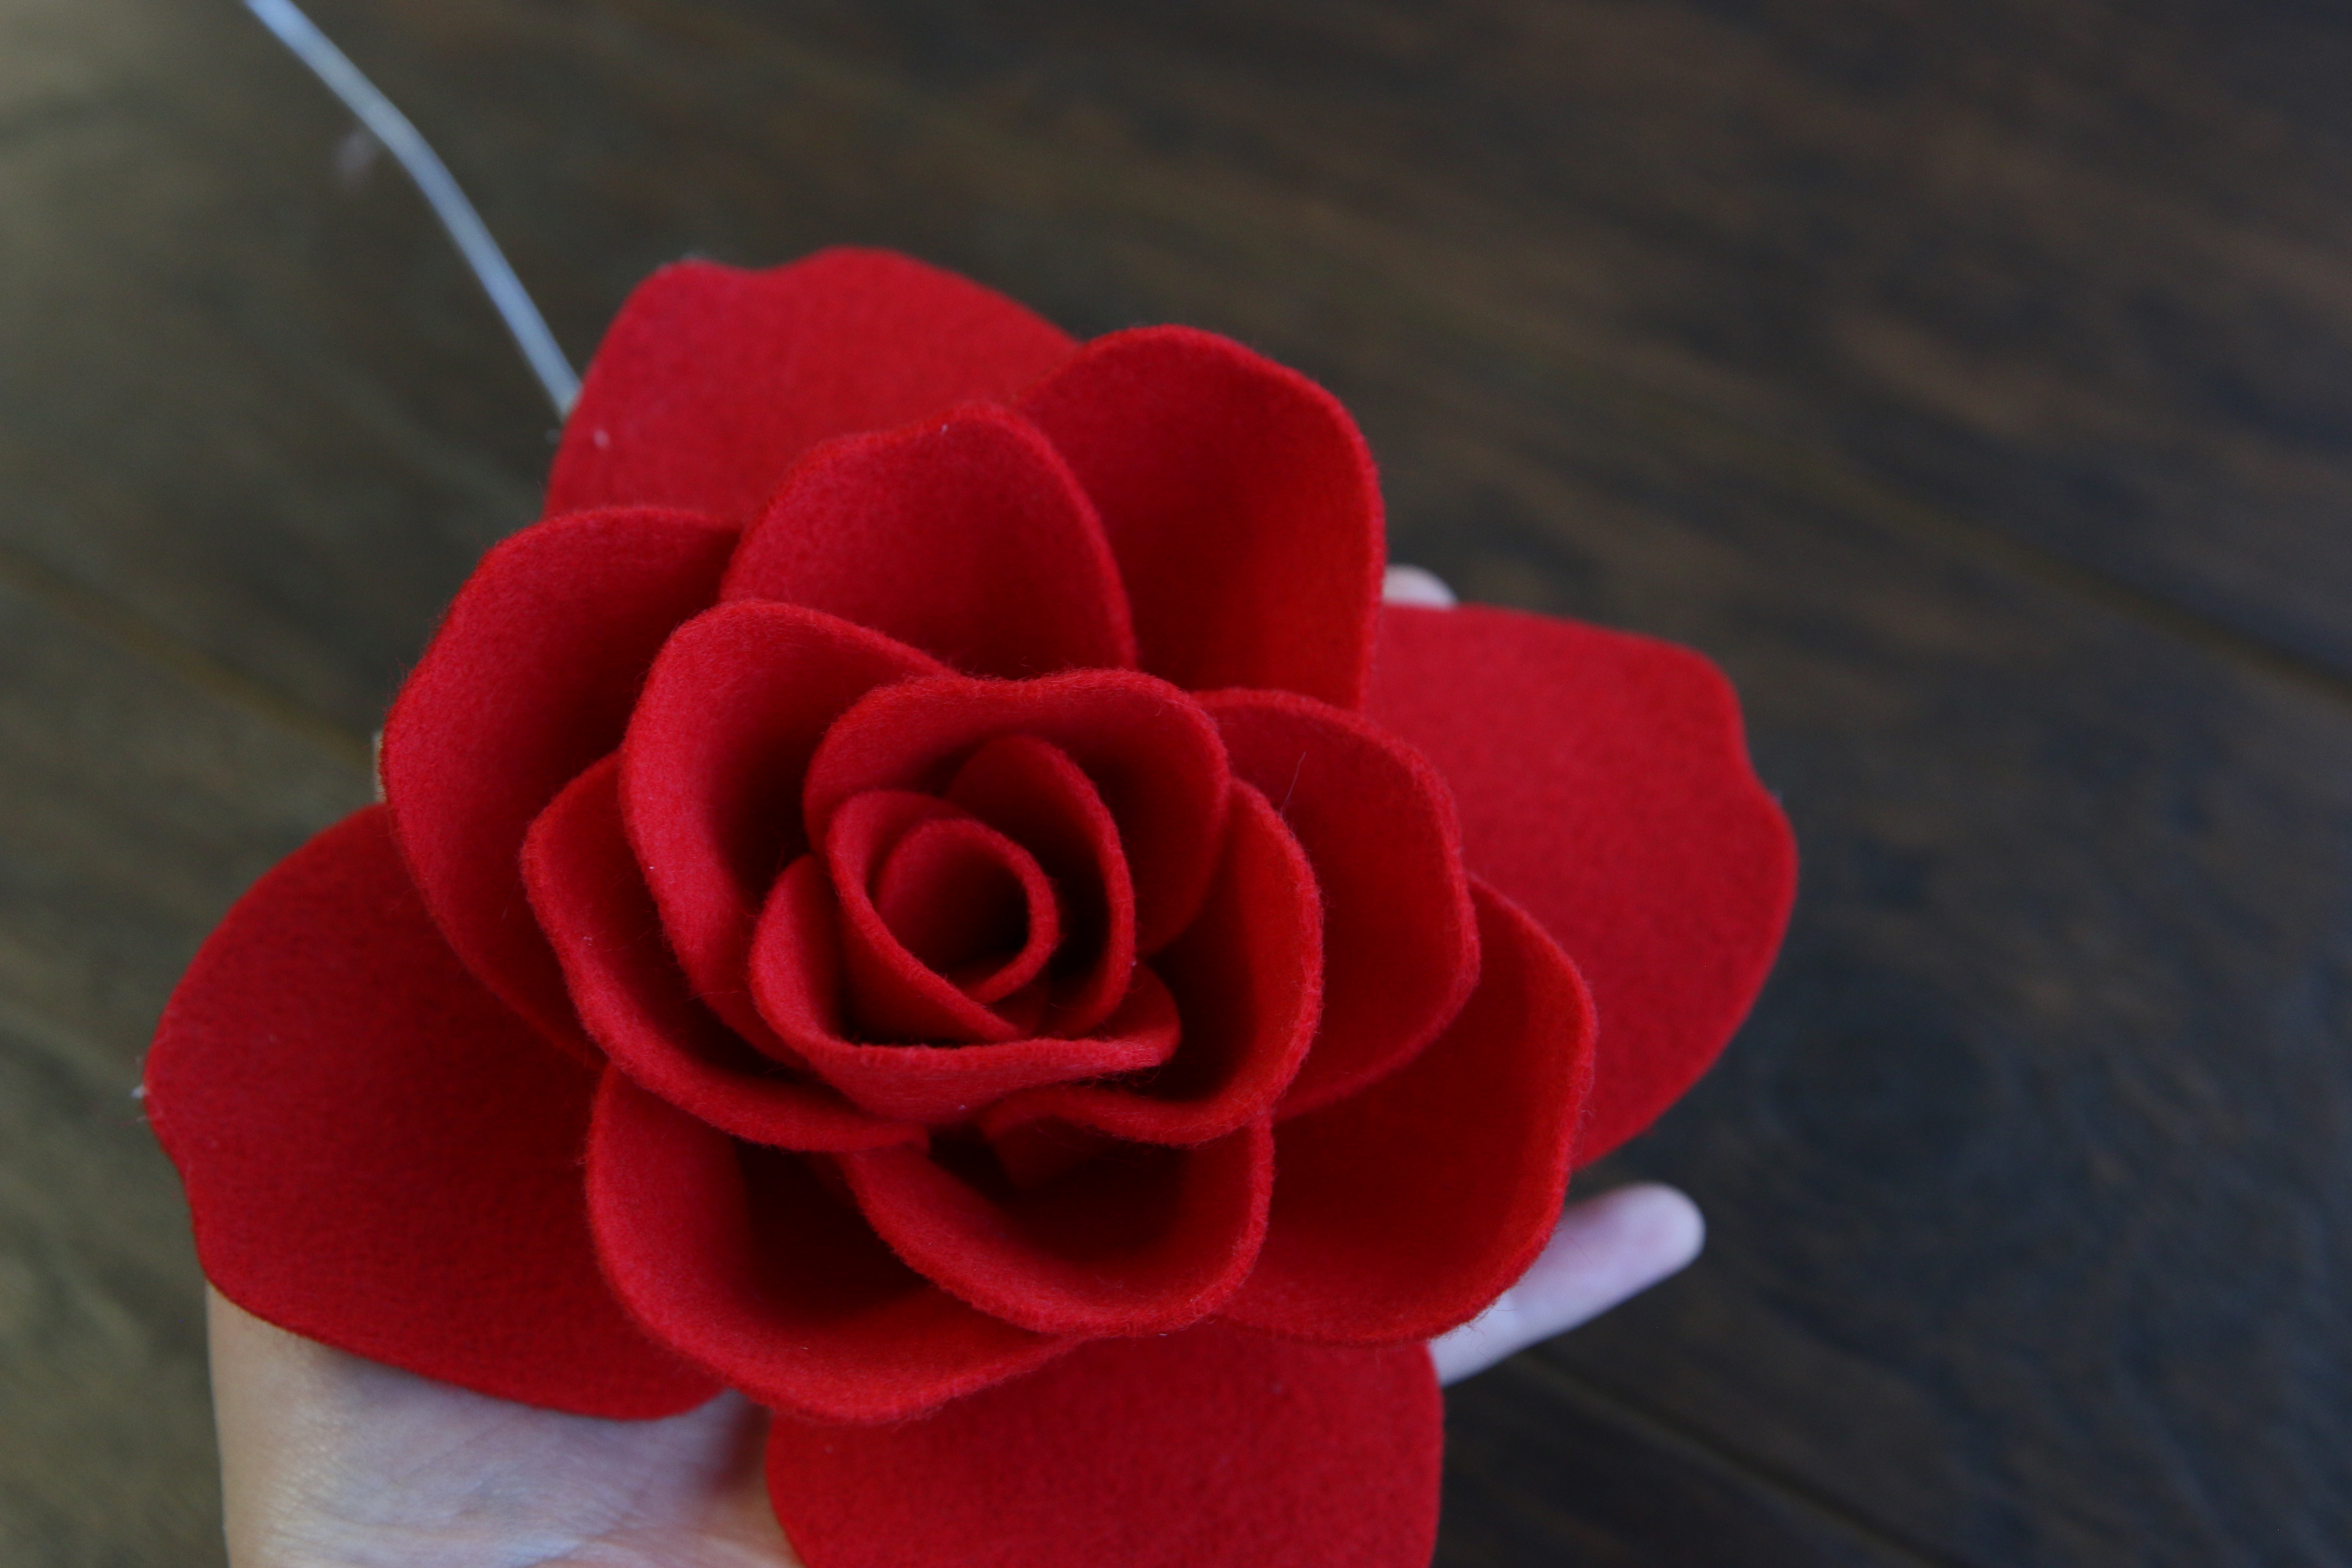
Repeat the previous steps to sew up the petals of the two large four petal pieces, so the interlock and overlap around the previously glued petals.
22
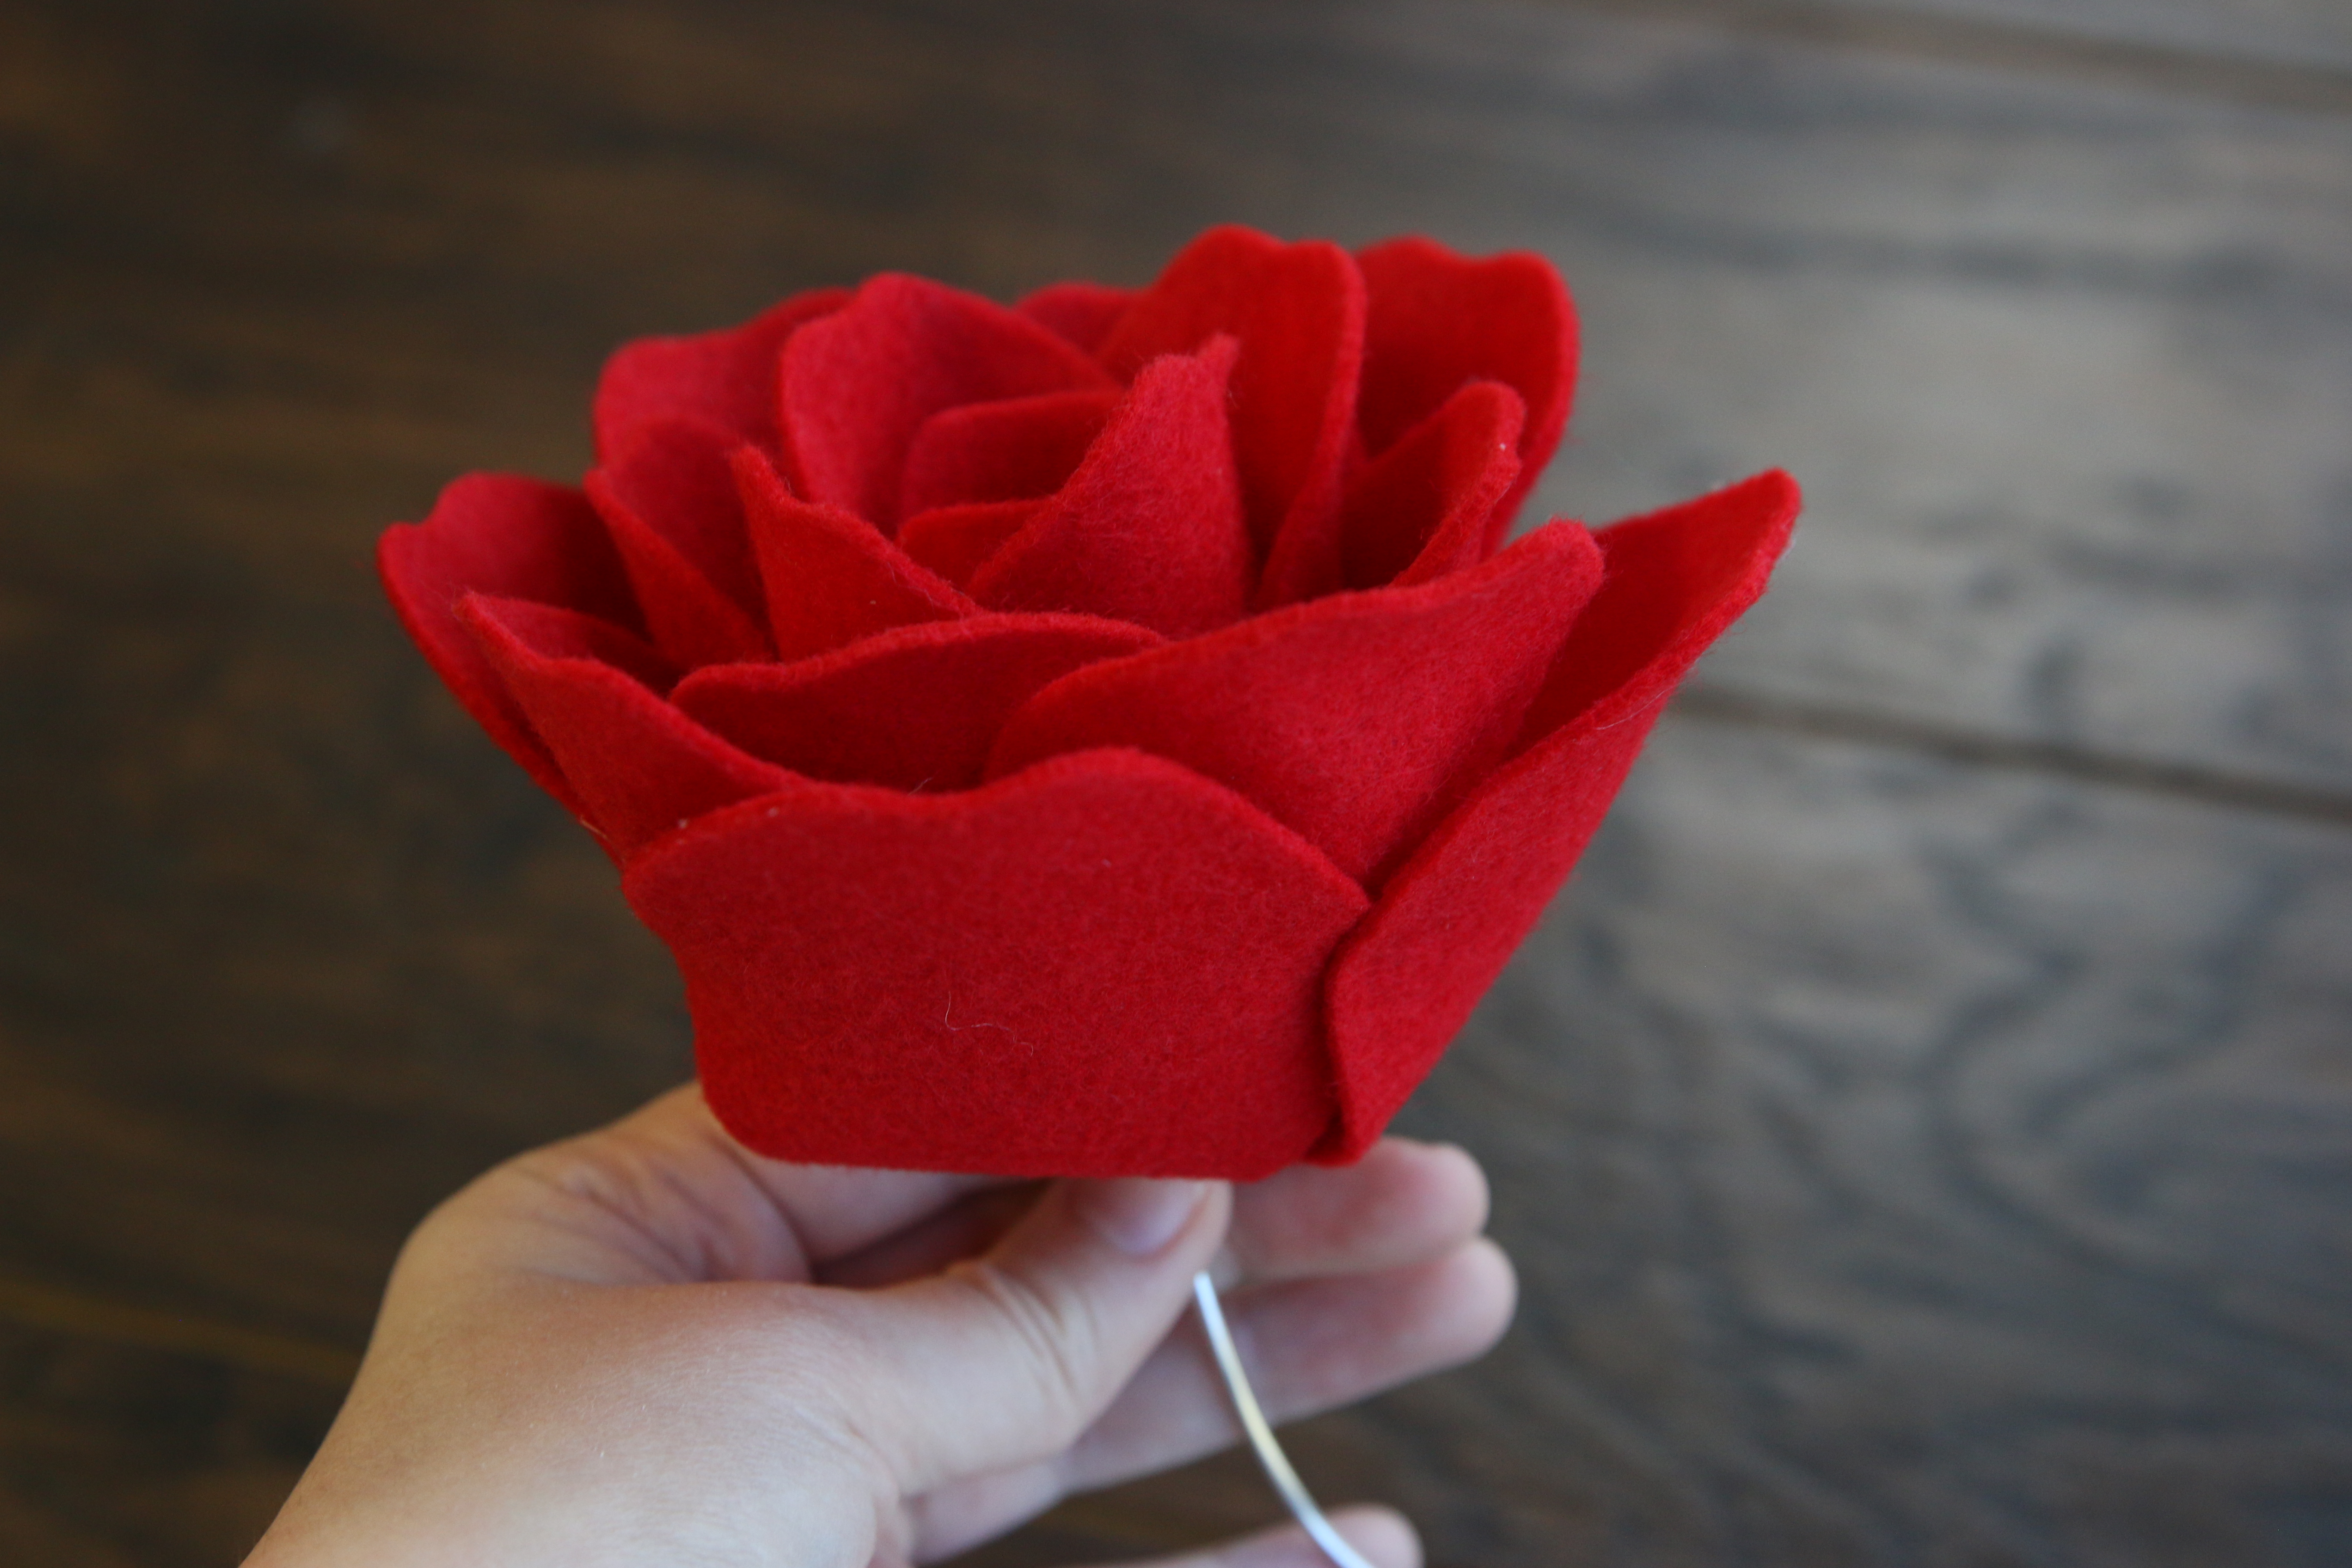
Make sure to fold the up loosely, and only glue on both sides of each petal to get the rose petal effect.
23
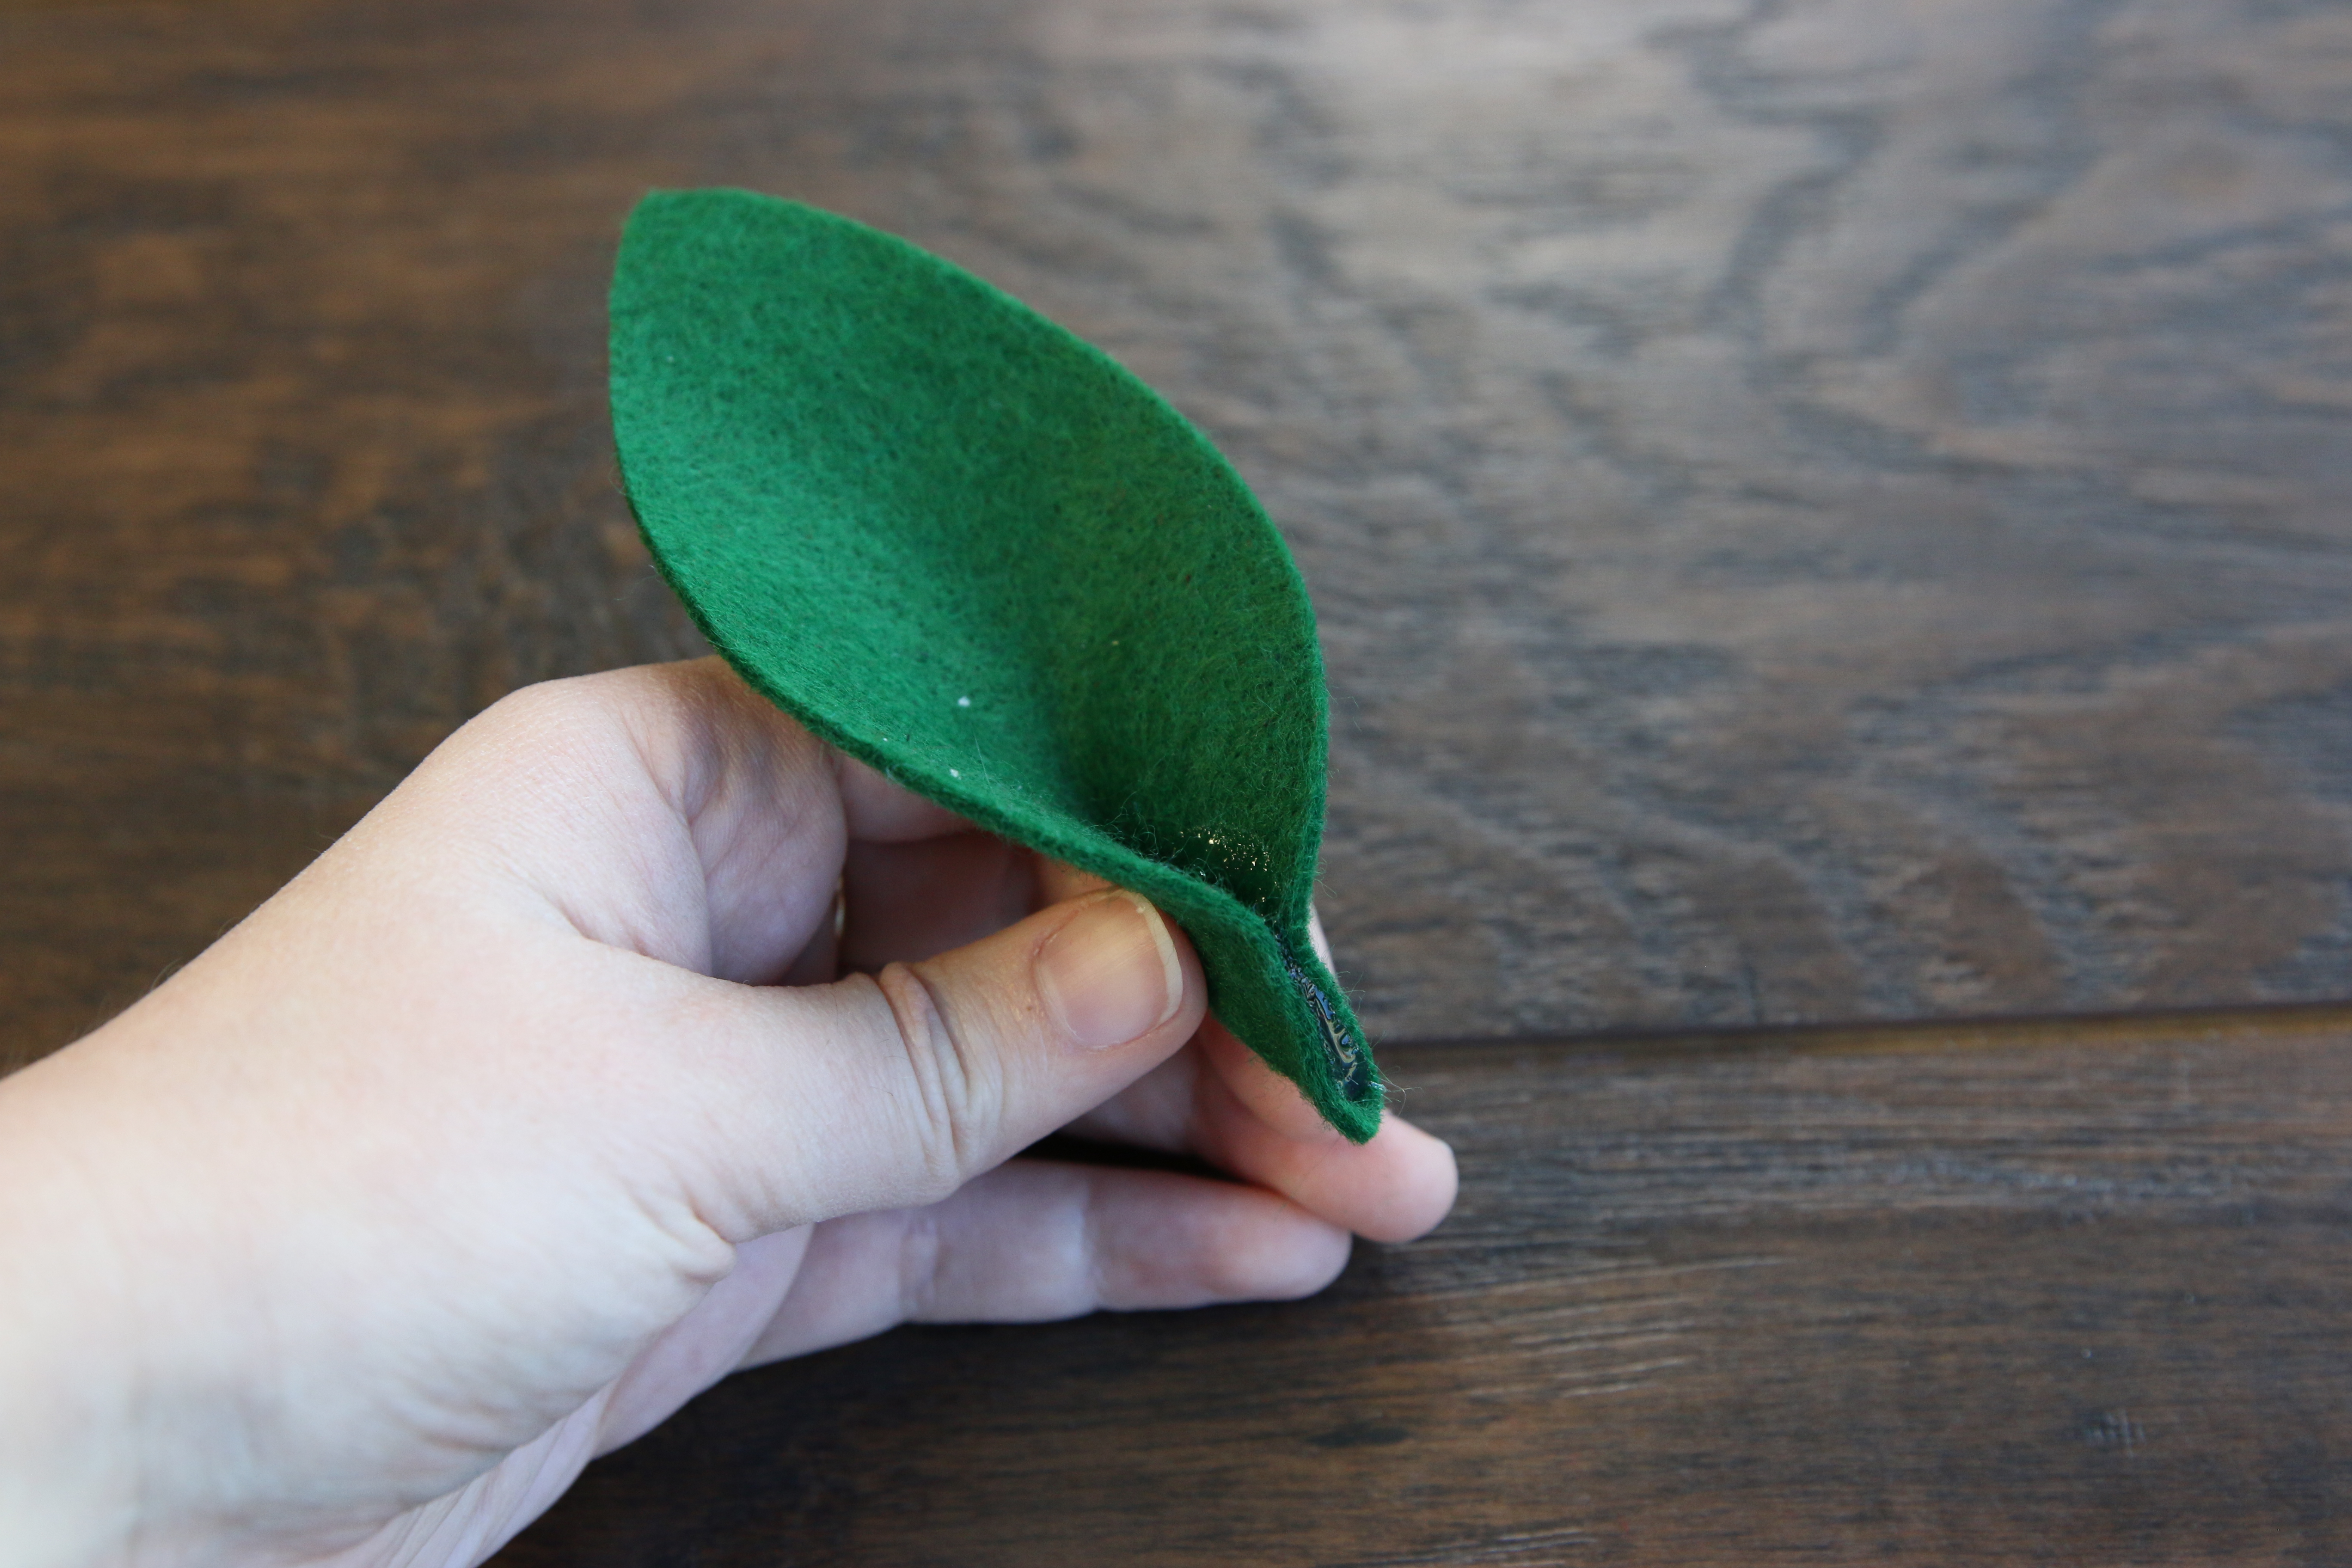
For the leaves (color 2), take one and locate the bottom which is wider than the top. Fold the bottom of the leaf in half, and glue them together 1” (CGM5403), 3/4” (CGM5404), or 1/2” (CGM5405) up from the bottom edge of the leaf. This time use a bigger line of glue rather than a small dot. Hold the fold for a moment as the glue dries slightly.
24
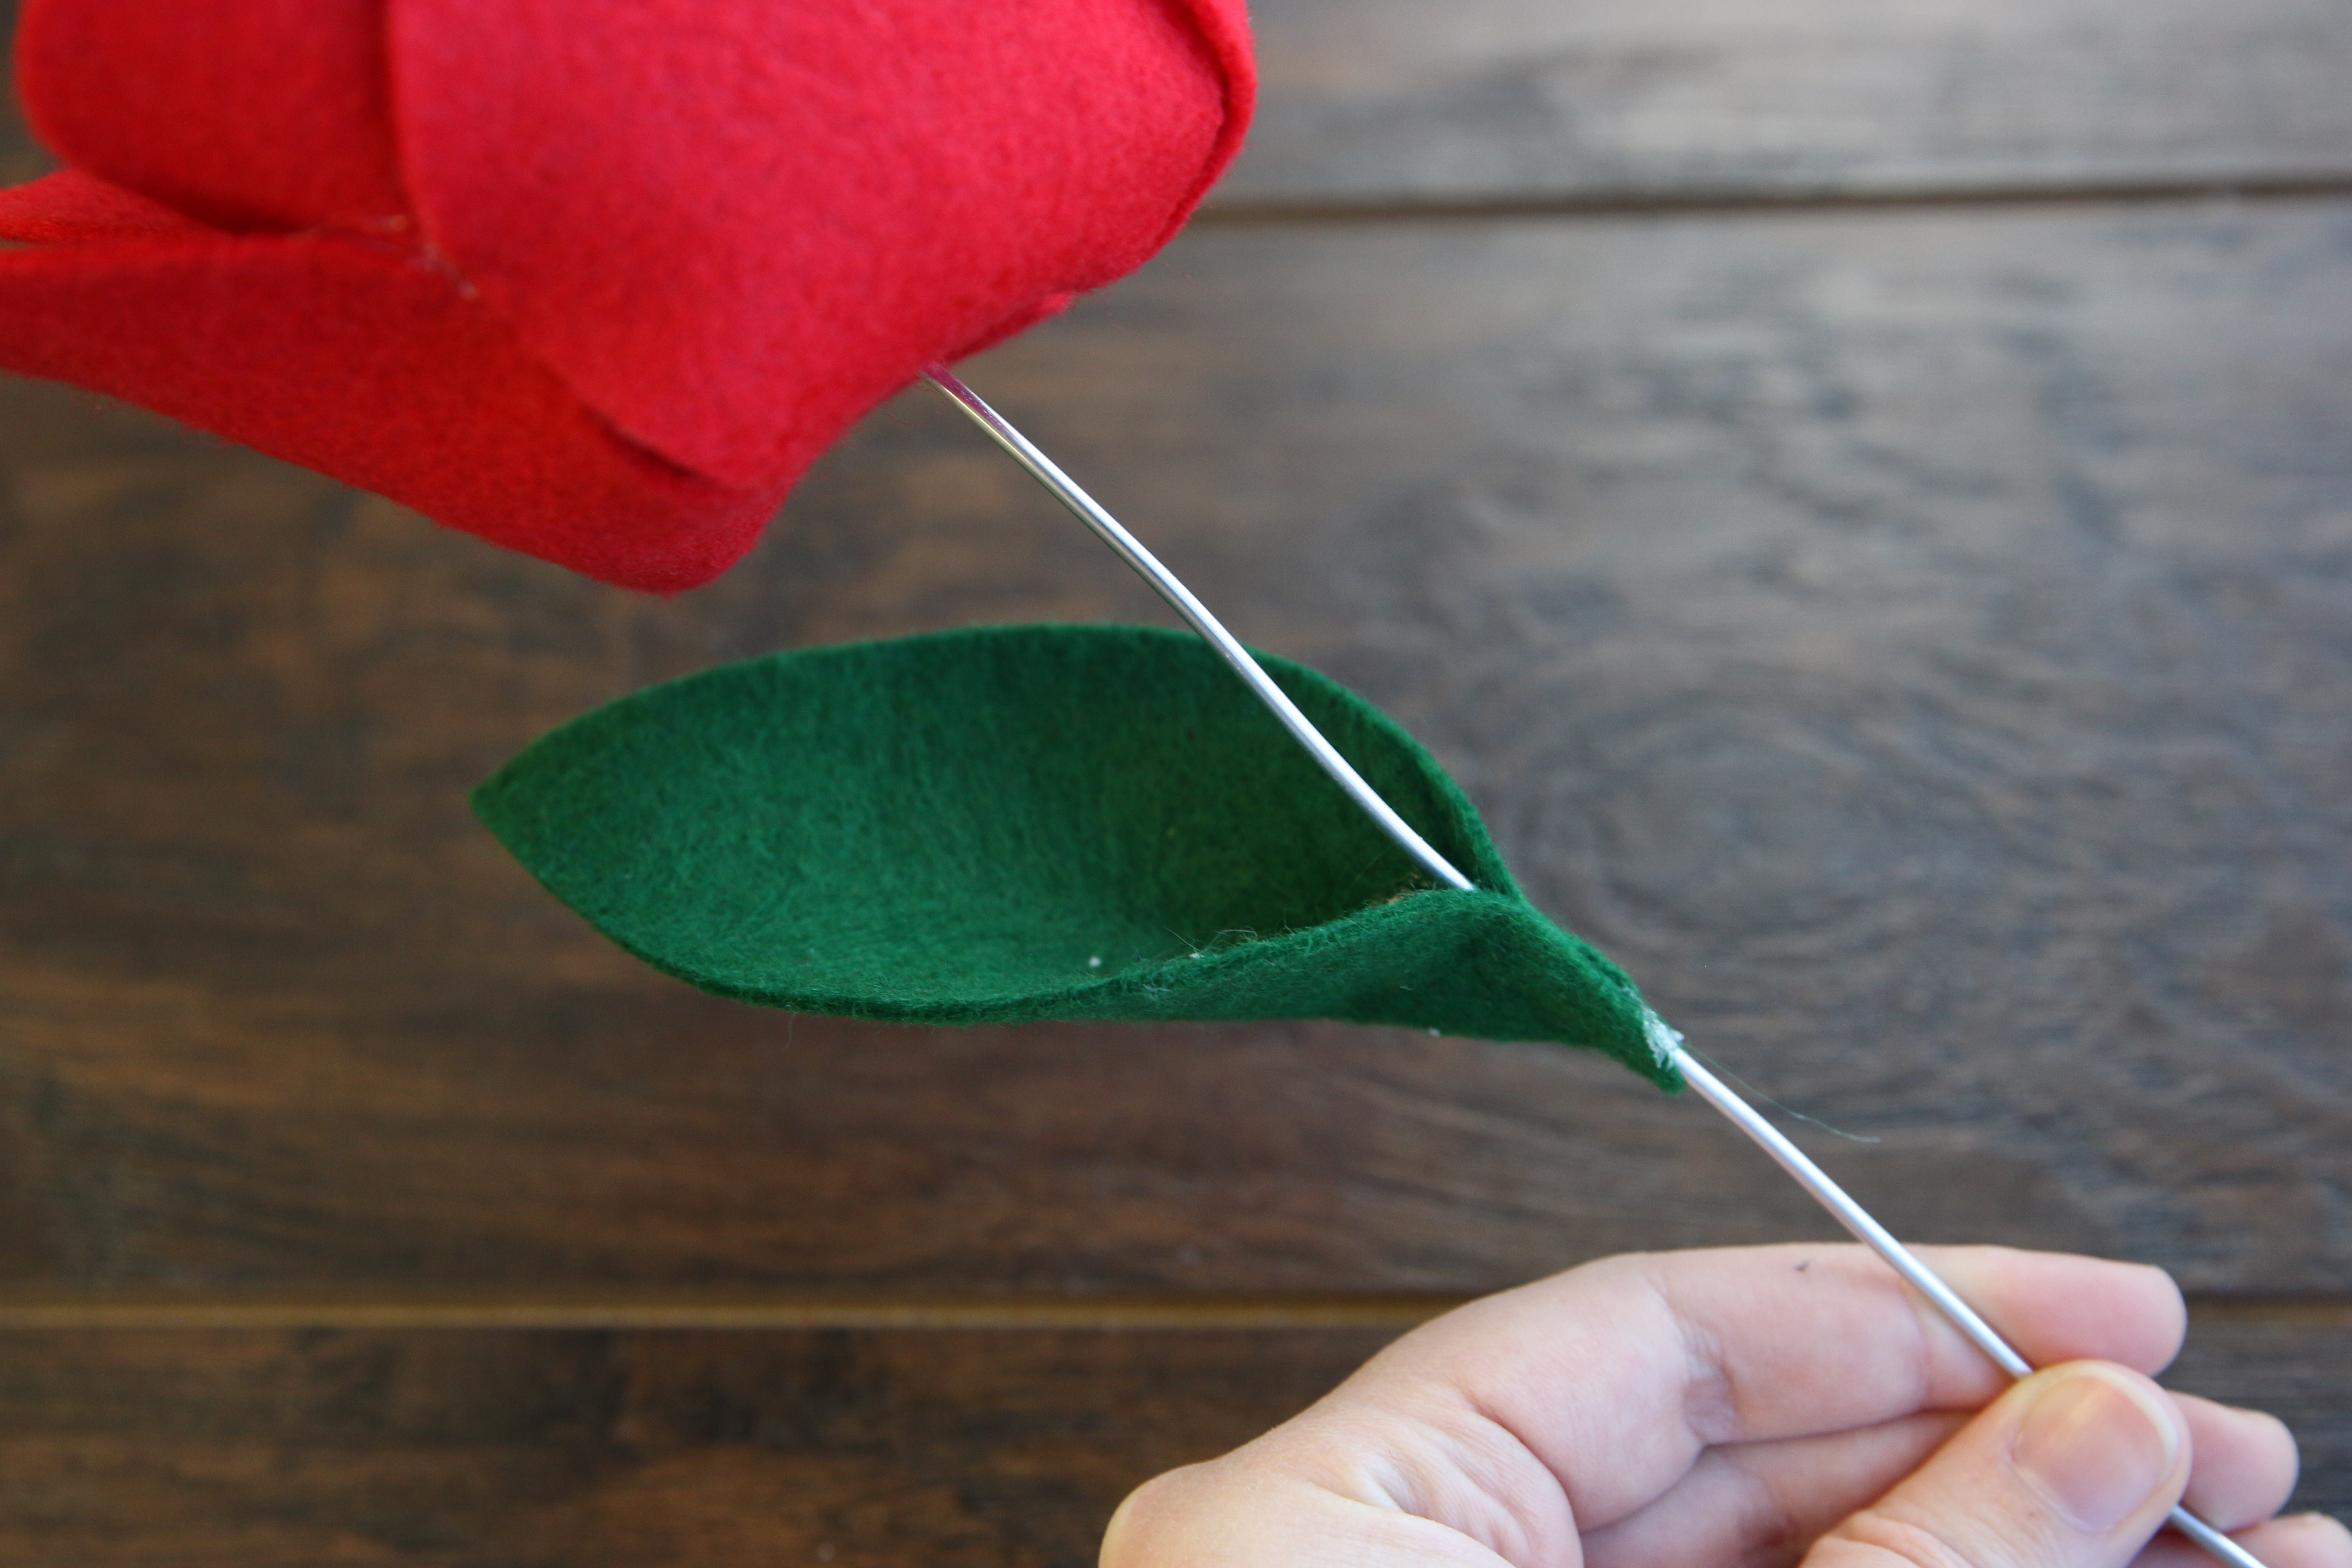
Then before the glue completely dries, place the leaf onto the wire, so that the wire ends up inside of the fold between the two sides of the leaf. Hold in place until the glue dries.
25
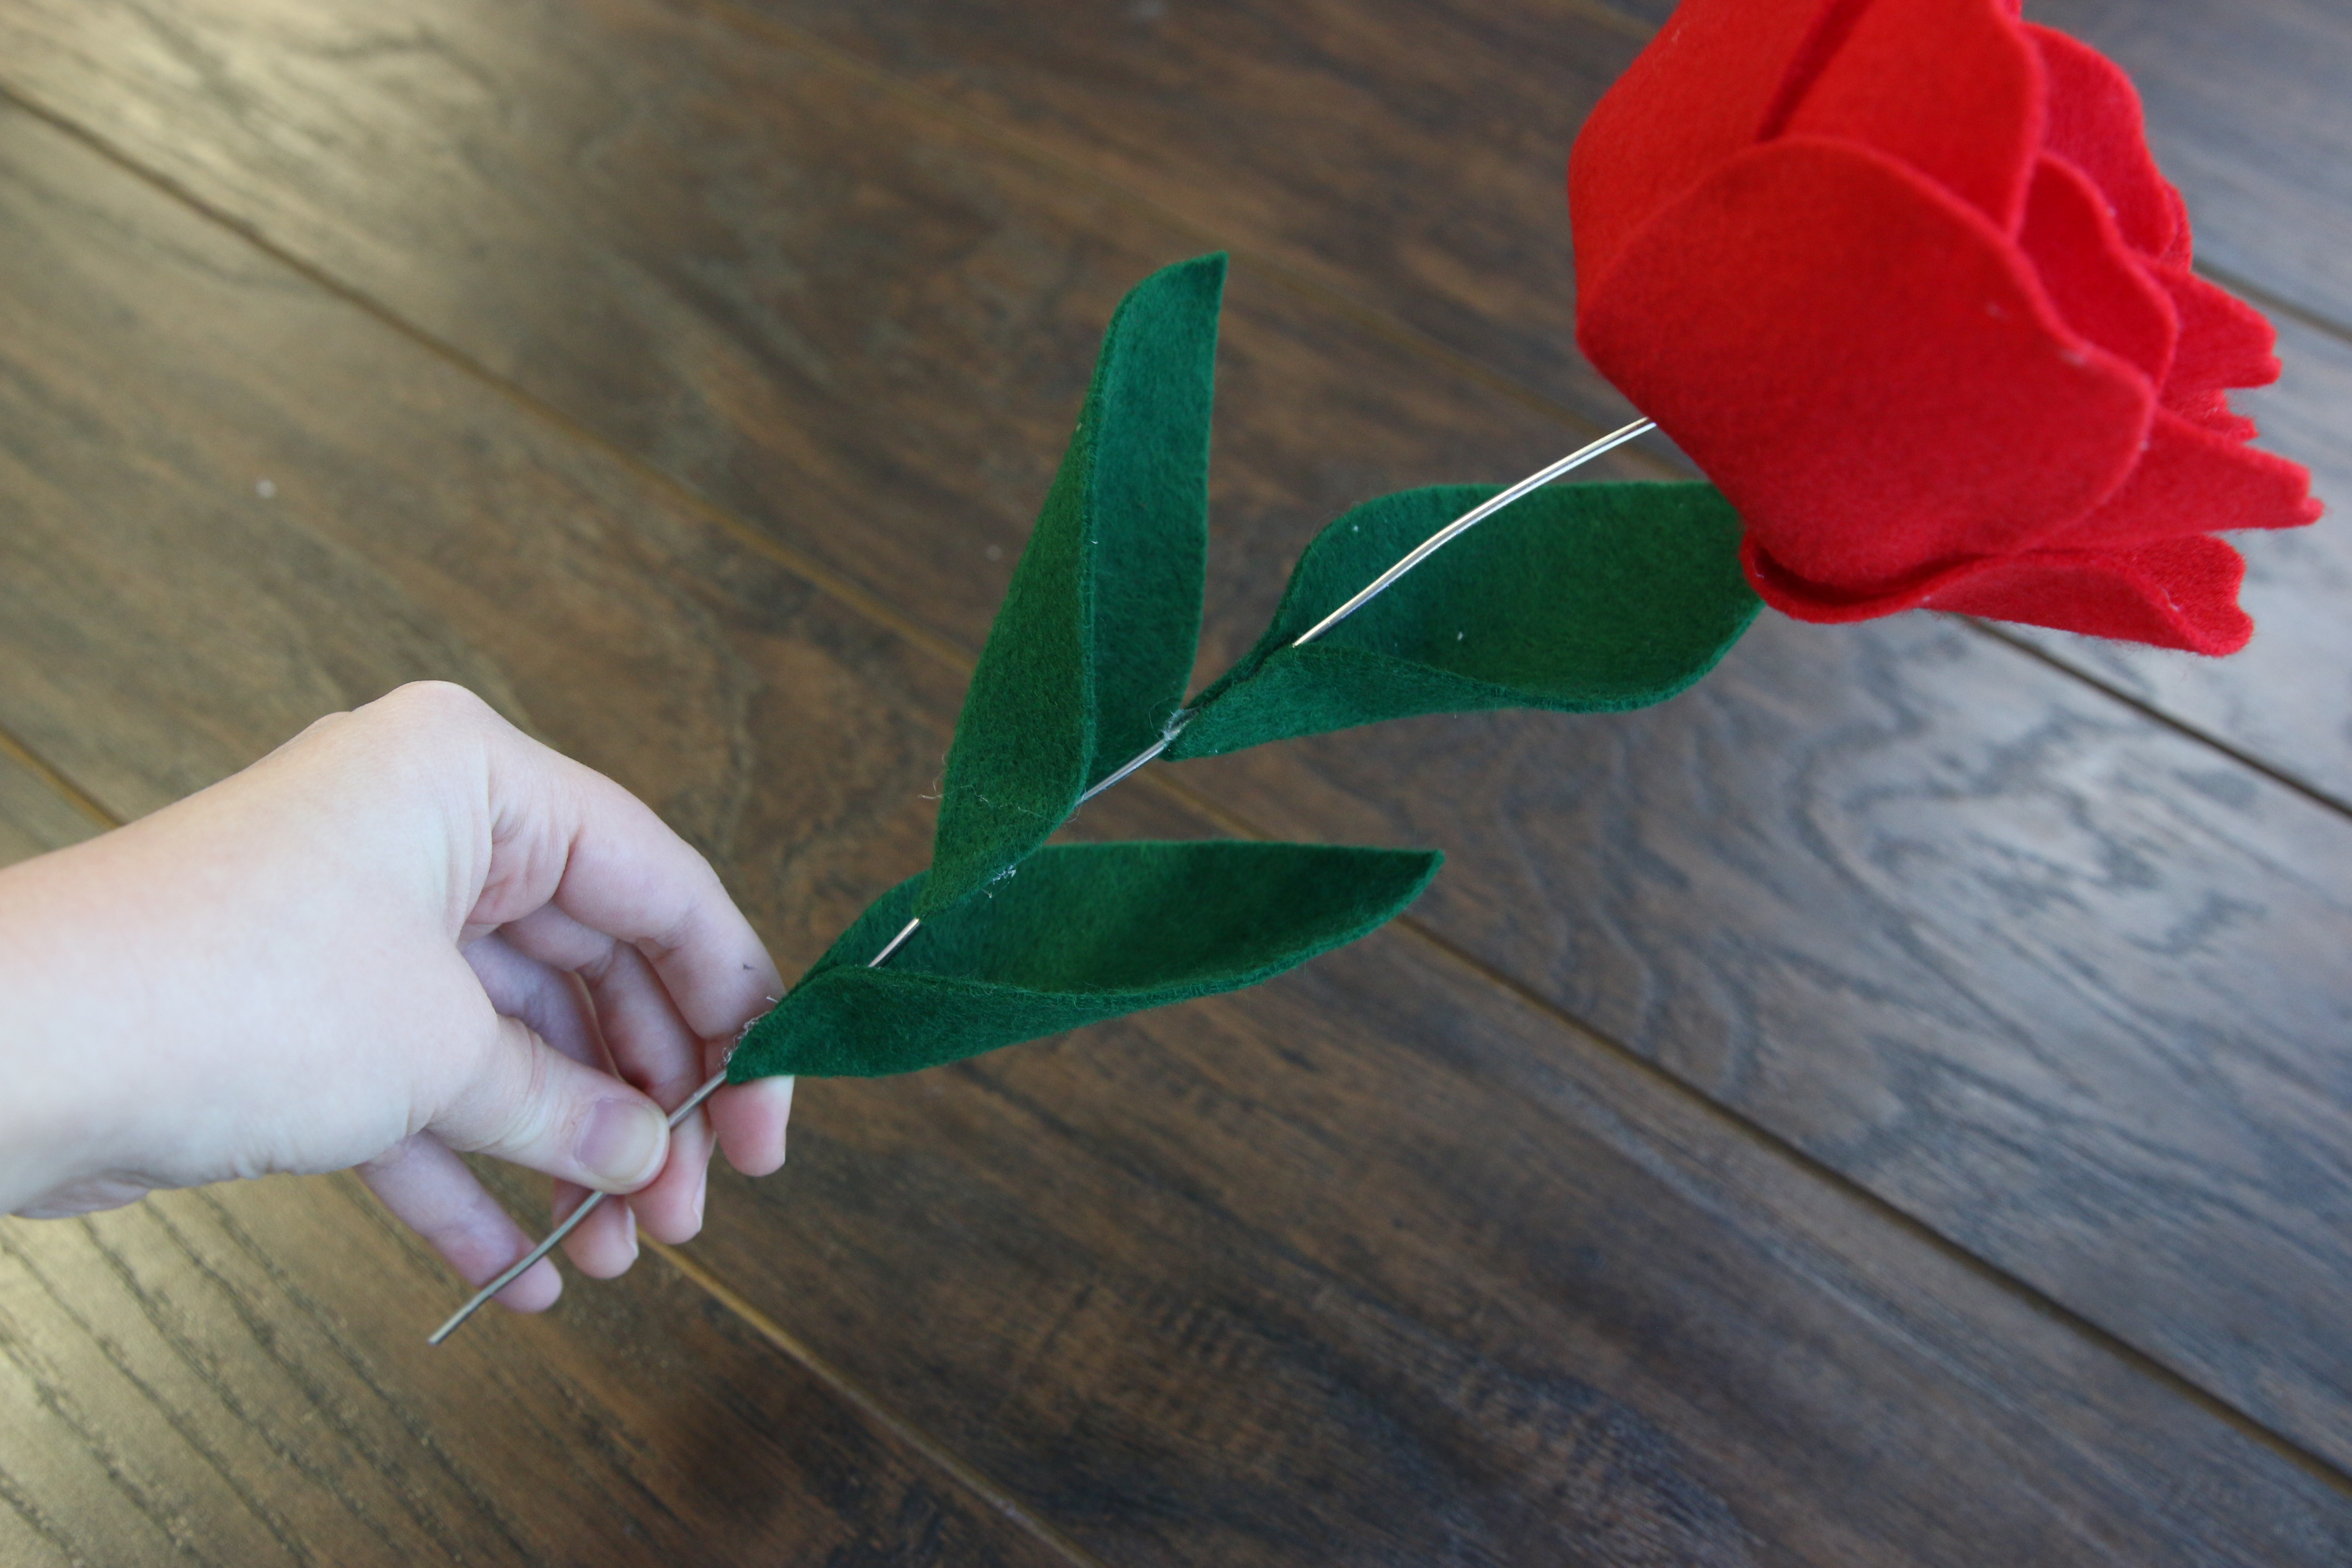
Repeat to fold the remaining two leaves, and glue them onto the wire as desired.
26

Then wrap the wire with floral tape from the base of the flower all the way down to the edge of the wire. Simply just wrap around the base of each leaf when you get to it as well.
27

This completes the Felt Rose. Repeat these steps to make a collection of roses in different colors and sizes. Make sure not to resize these designs, as the wire hole makes them unscalable. Combine them together to make bouquets, center pieces, corsages, or even boutonnieres. If making a corsage, skip the steps about the leaves. Then simply curl the extra wire under the rose after it’s completed, and cut away the excess wire. Glue the finished rose and leaves onto a wide ribbon to create the finished corsage.

