Supplies
- 1/2 yard of quilters cotton (color 1)
- 1/2 yard of quilters cotton (color 2)
- Sewing threads matching fabric (colors 1 & 2)
- Sewing pins
- Iron
- Pressing cloth
- Ironing board
- Ruler or quilting grid ruler
- 1/4” elastic or ribbon for ties
- Thin wire or a pipe cleaner
- Needle nose pliers
Designs Used
Cutting Instructions
1
Load the Face Mask (Cut & Stitch) file into your cutting machine’s software.
2
This file can be resized slightly to make different mask sizes. To ensure mask sizing and seam allowances are correct, make sure all pieces are sized correctly in your cutting software. Select all pieces and scale together. For a medium mask, scale to 11.47” W x 13.78” H. For a large mask, scale to 12.16” W x 14.61” H. For a small mask, scale to 10.78” W x 12.95” H.
3
Smooth the first material onto the adhesive mat with the right side facing down. Then load the adhesive mat into the machine.
4
For each material, make sure to use the correct settings on your cutting machine to match the material you’ve chosen. Make sure the correct knife tool is also in place.
5
Cut out the first color selection. Then carefully remove the cut pieces and excess materials.
6
Repeat to cut all of the fabric pieces for the Face Mask out of the all the colors.
Crafting Instructions
1
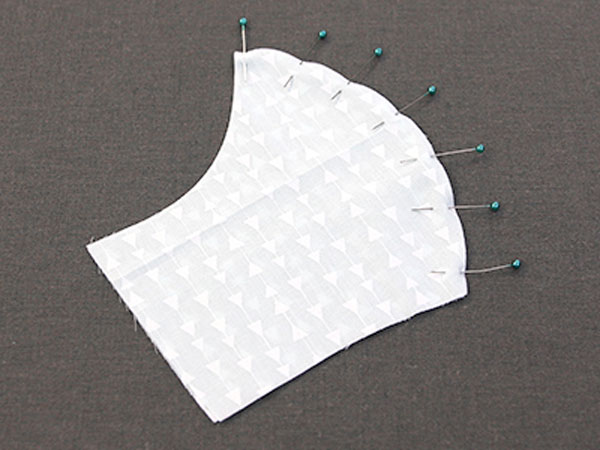
To assemble the mask, first take both of the outer fabric pieces (Color 1), and match them up with right sides together. Pin along the curved edge.
2
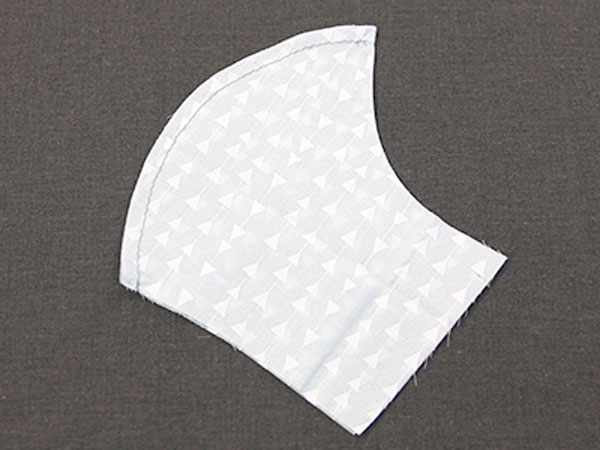
Then sew along the curved edge with 1/4” seam allowance.
3
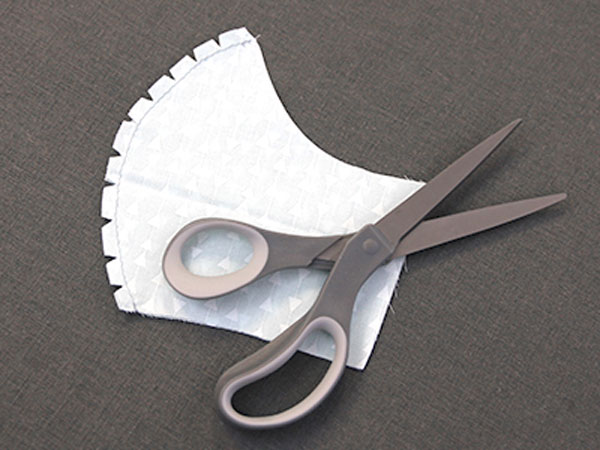
To help the fabric properly curve, cut notches in the seam allowance along the curved edge. Carefully avoid clipping the seam.
4
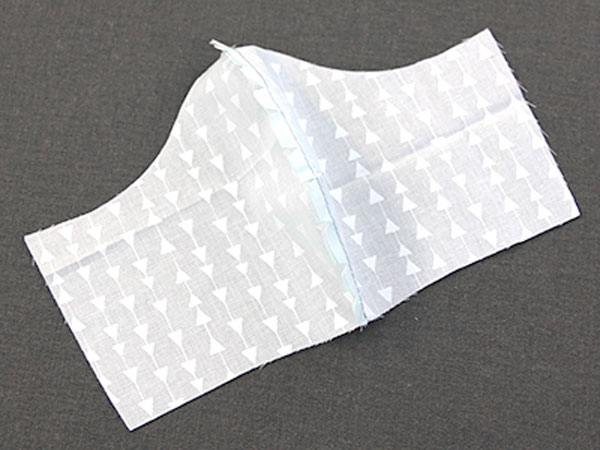
Open the mask.
5
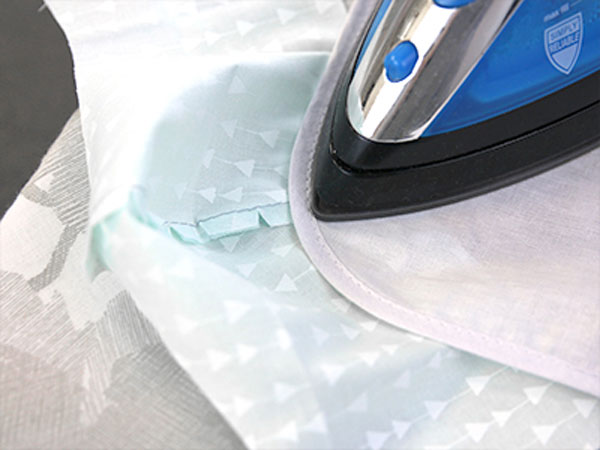
Press the seam allowance to either the right or left side.
6
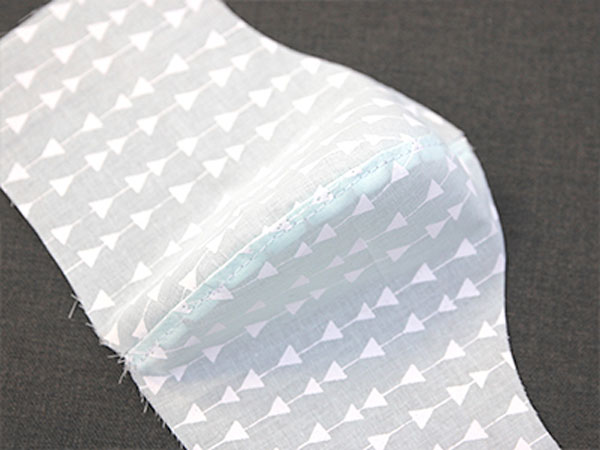
Topstitch over the pressed seam allowance 1/8” away from the center seam.
7
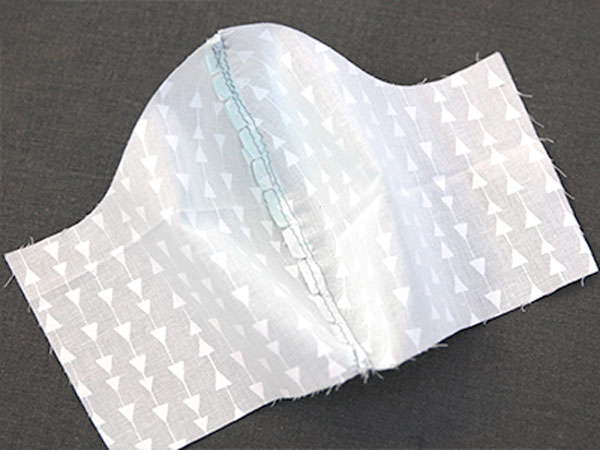
Topstitching the seam allowance helps keeps the extra bulk flat and out of the way.
8
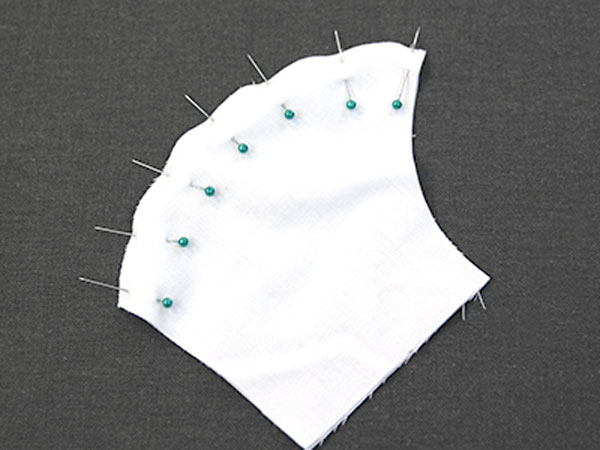
For the lining fabric pieces (Color 2) repeat the steps to pin and sew the curved edge with 1/4” seam allowance.
9
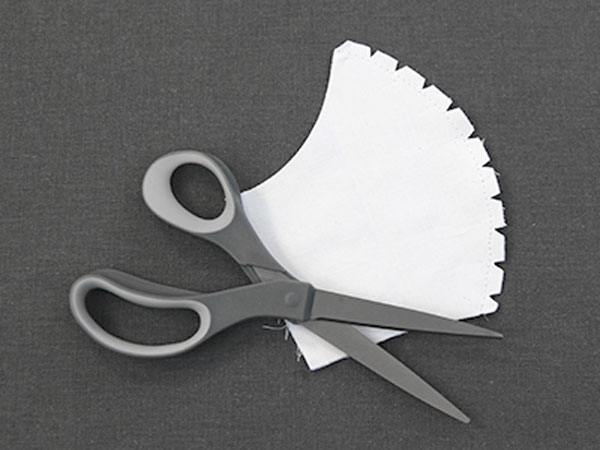
Clip the 1/4” seam allowance along the curved edge.
10
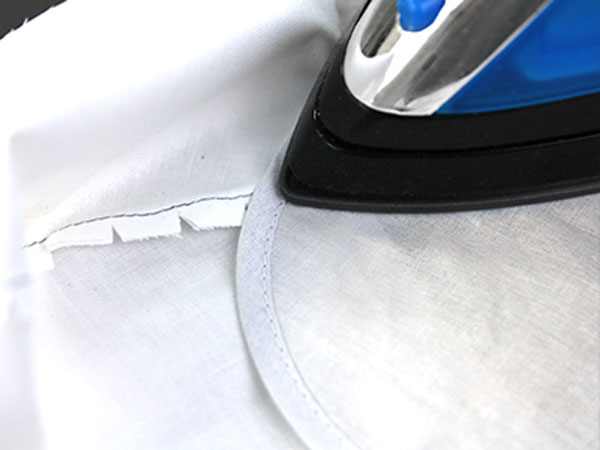
Repeat to open the lining fabric pieces and press the seam. For best results, press the seam to the same side as on the outer fabric pieces.
11
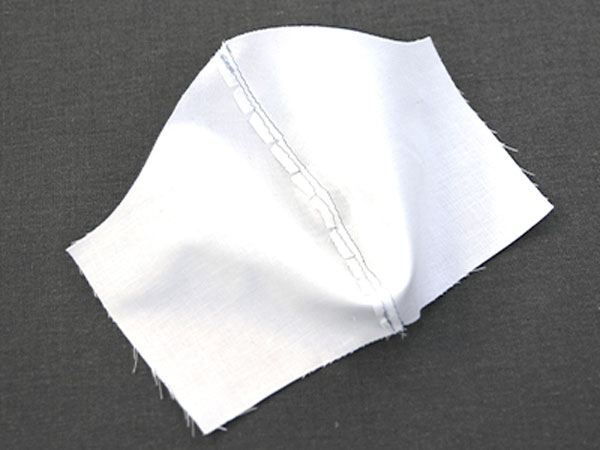
Then top stitch over the pressed seam allowance 1/8” away from the center seam.
12
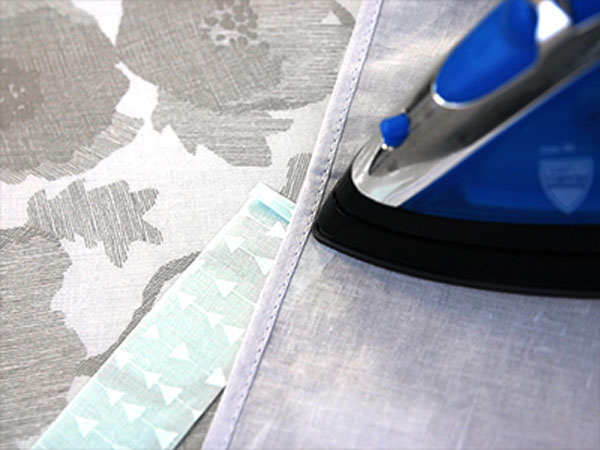
For the wire pocket (Color 1) fold one of the short edges over 1/4” with wrong sides together and press.
13
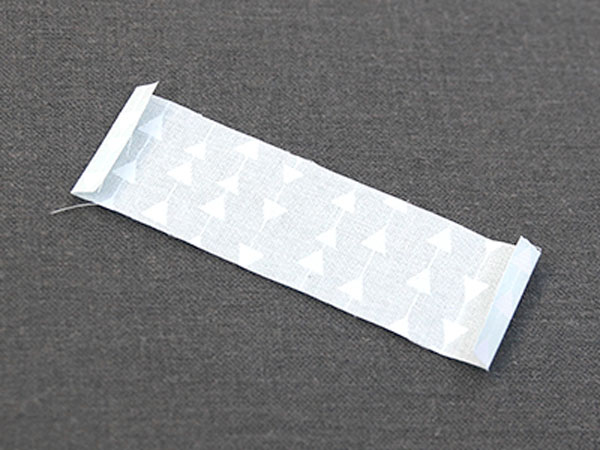
Repeat for the other side.
14
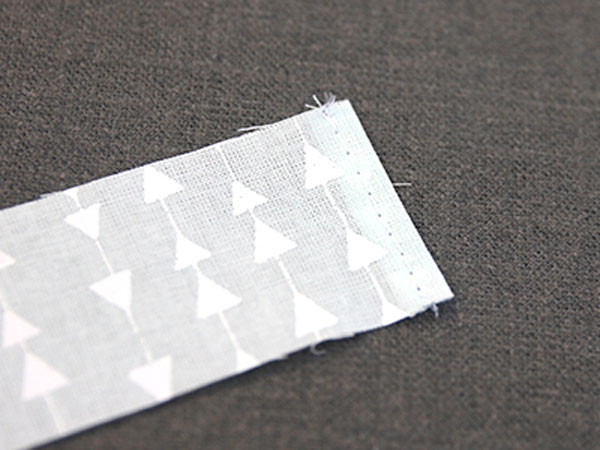
Sew one of the pressed short sides down 1/8” away from the edge.
15
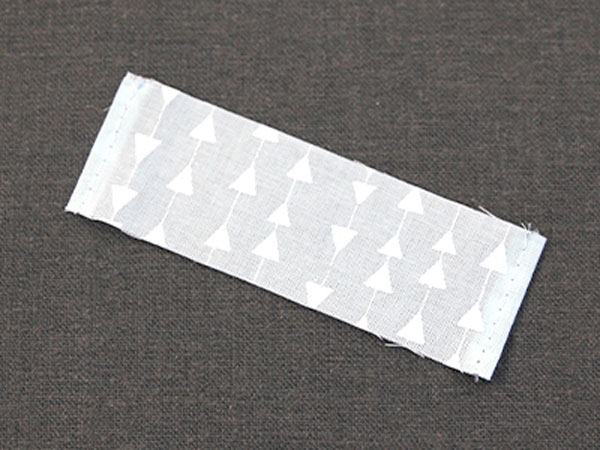
Then repeat for the other side.
16
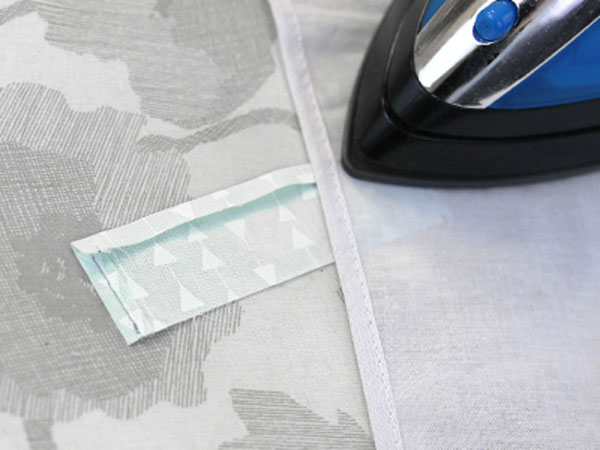
Then fold one long edge of the wire pocket piece over 1/4” with wrong sides together and press.
17
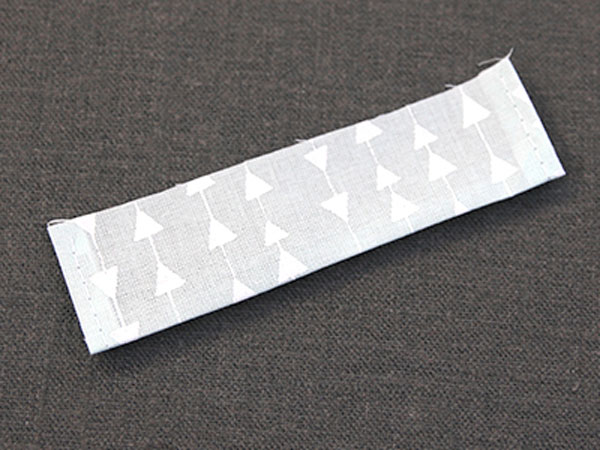
Leave this edge pressed only, and do not sew it yet.
18
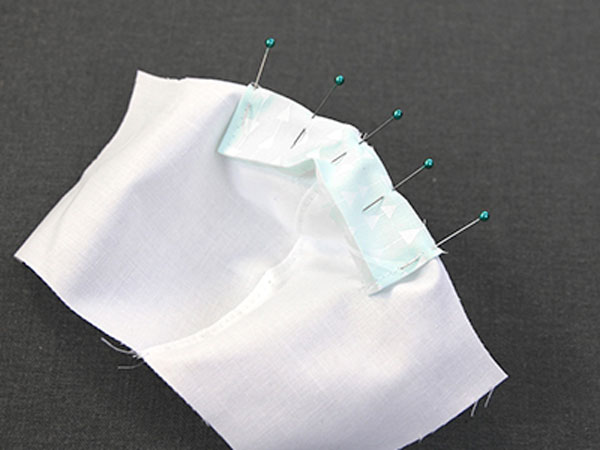
Next, take the wire pocket piece, and match the unfolded, long edge up with the top edge of the lining piece. Center it over the seam, and pin them together along the top edge. Make sure the wrong side of the wire pocket is against the right side of the lining space.
19
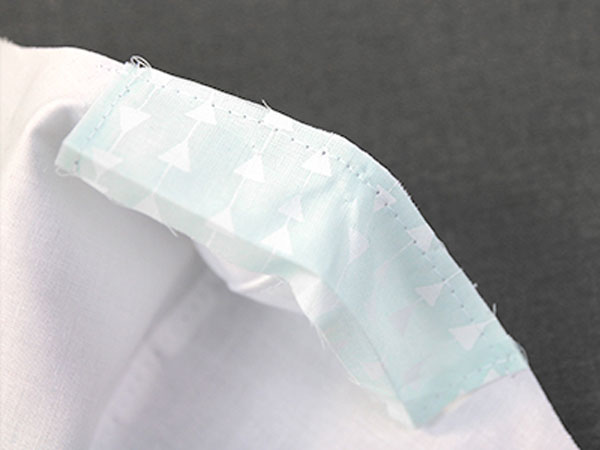
Baste the pieces together along the top edge of the wire pocket with 1/8” seam allowance.
20
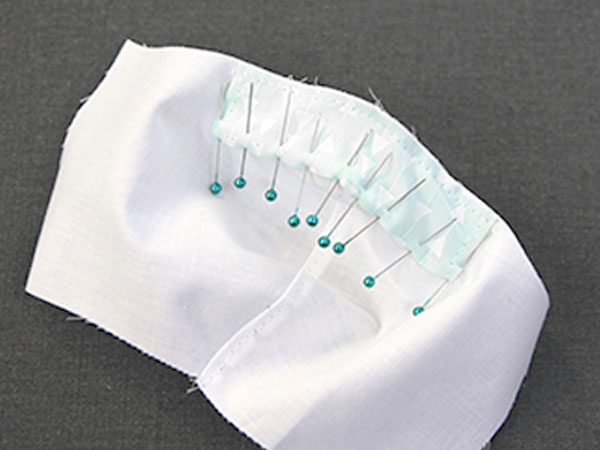
Pin the wire pocket flat to the lining piece along with the bottom, long folded edge.
21
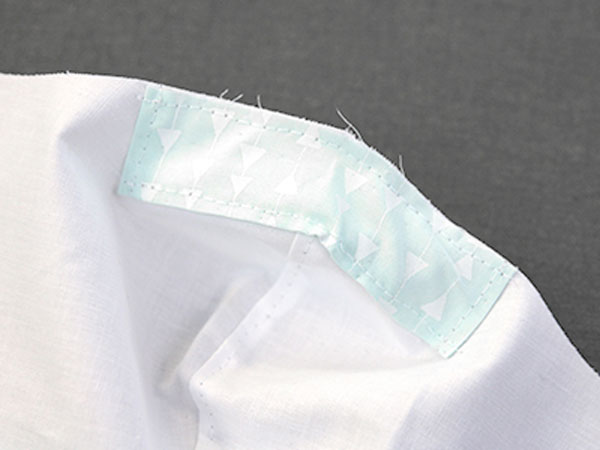
Then top stitch the folded edge of the wire pocket down 1/8” away from the bottom.
22
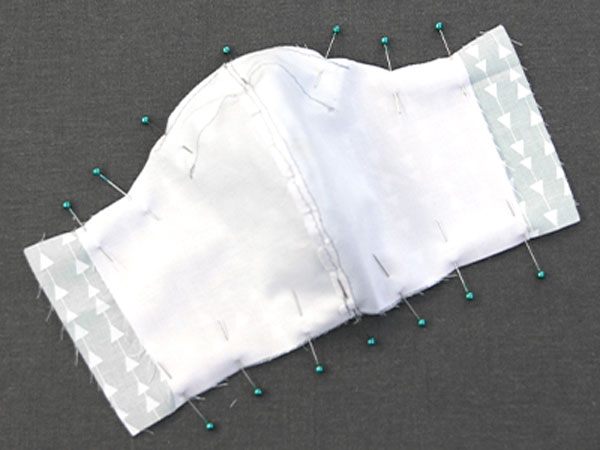
Then match up the of the outer piece and the lining piece with the right sides together. The outer piece will be wider than the lining piece. Pin along the edges of the top and bottom. Do not pin the sides.
23
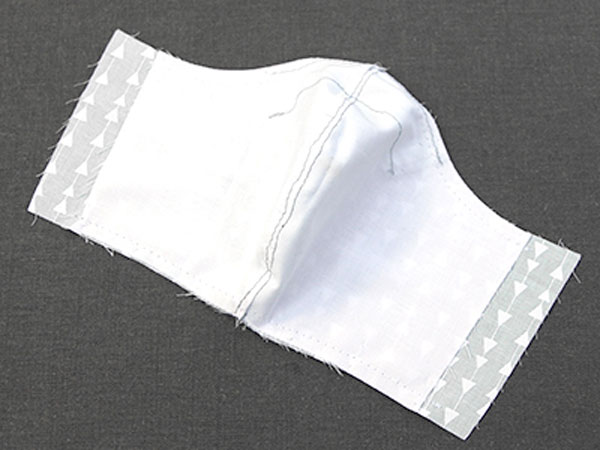
Sew along the top and bottom edges only with a 1/4” seam allowance. Only sew along the lining, and not the onto the outer piece where it sticks out past the lining.
24
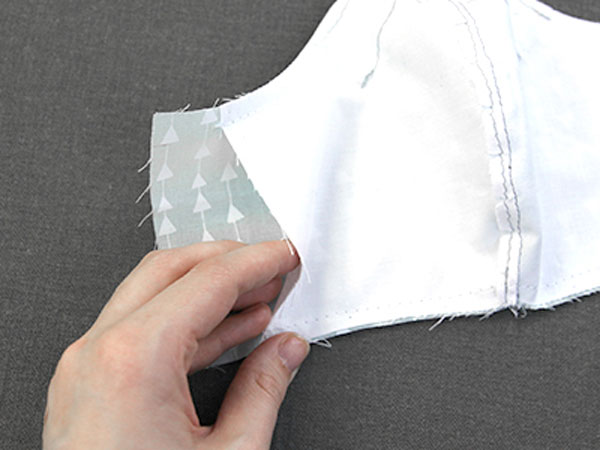
Leave the sides open, and do not sew them shut.
25
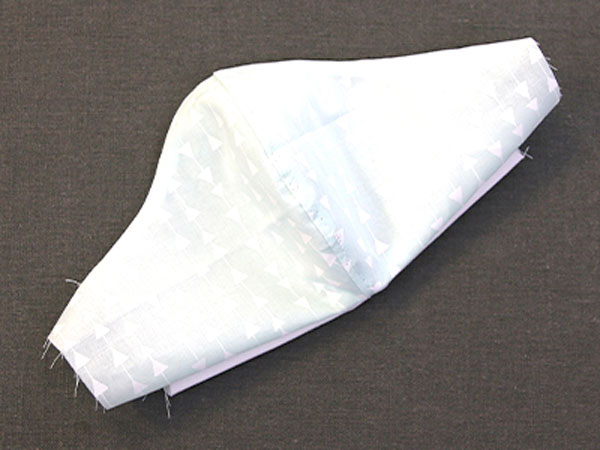
Turn the mask right side out.
26
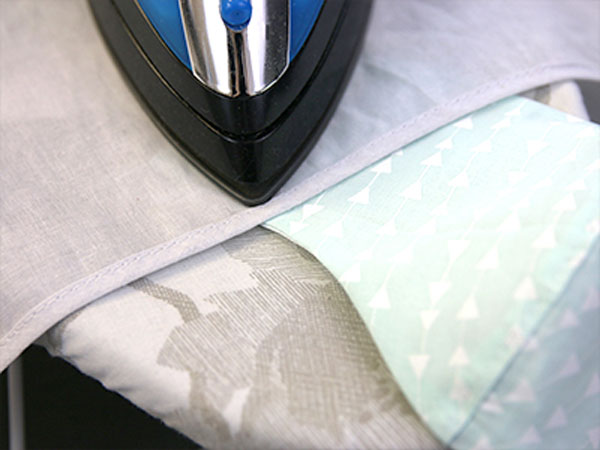
Then press the sewn, top and bottom edges until they’re crisp.
27
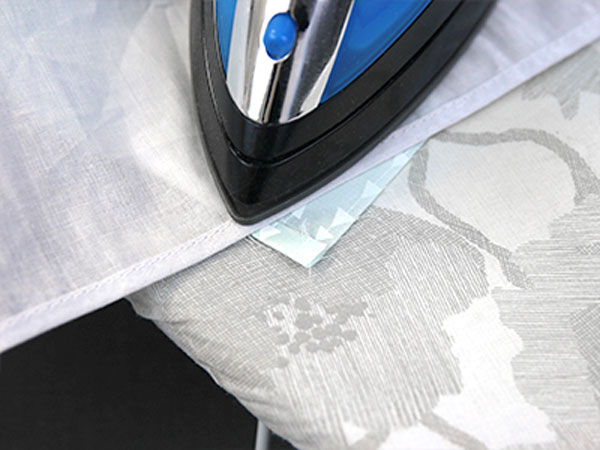
Where the outer piece sticks out on either side of the lining piece, fold the top and bottom raw edges over 1/4”, so the wrong sides are together. Press the fold.
28
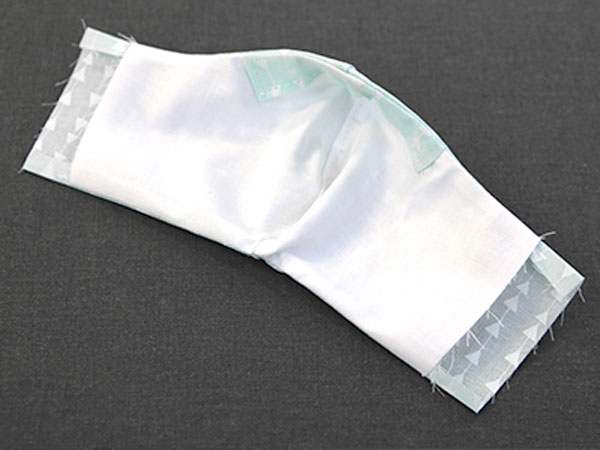
Repeat for all four top and bottom edges of the outer piece.
29
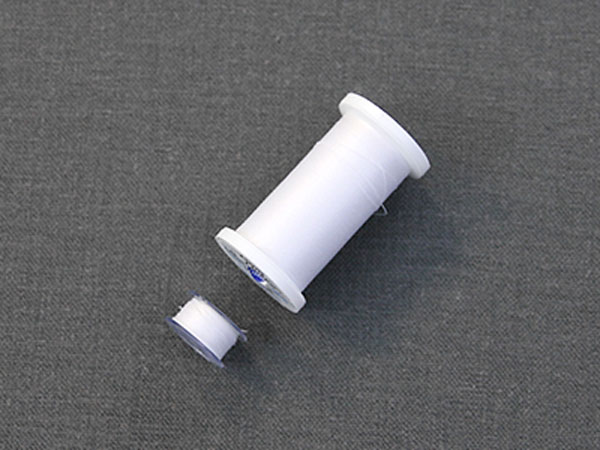
As the topstitching will be seen from both sides, match the bobbin to the thread that is being used on the top thread.
30
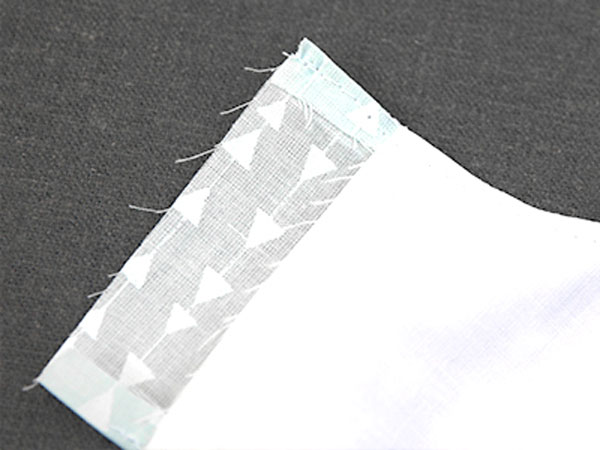
Topstitch along the top and bottom edges, sewing 1/8” away from the edge.
31
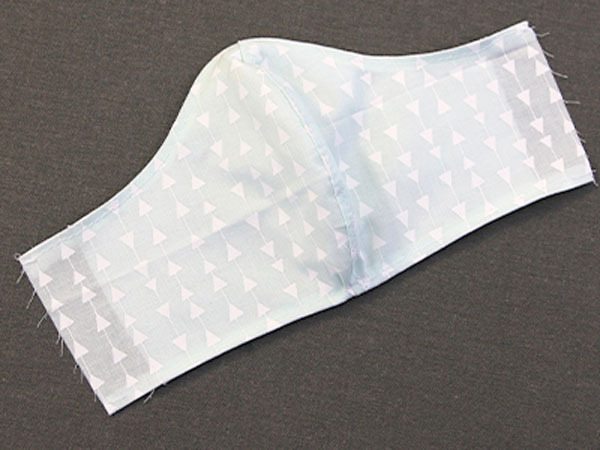
This topstitching will make the mask easier to wash, help it keep its shape, and prevent wrinkles from forming, so the mask will not need to be ironed every time it is washed.
32
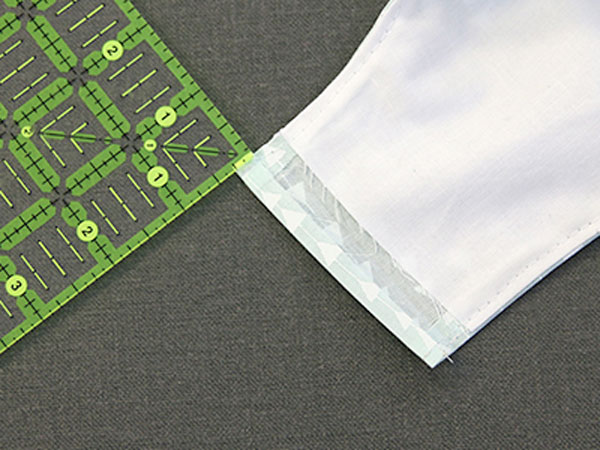
Then fold the in one edge of the outer fabric 1/4” with wrong sides together. Press the fold.
33
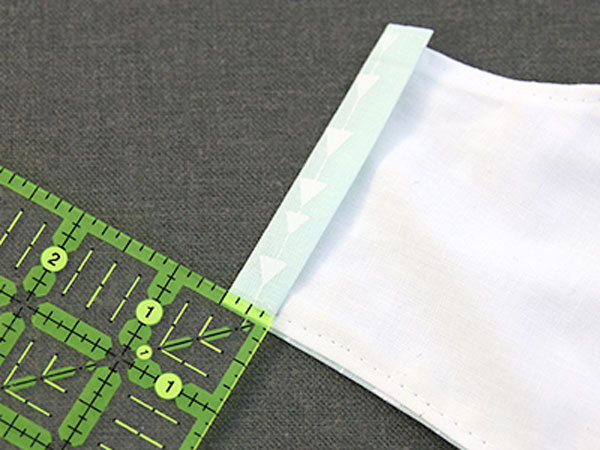
Then fold the edge over again 1/2”, so it covers the raw edge of the lining. Press the second fold as well.
34
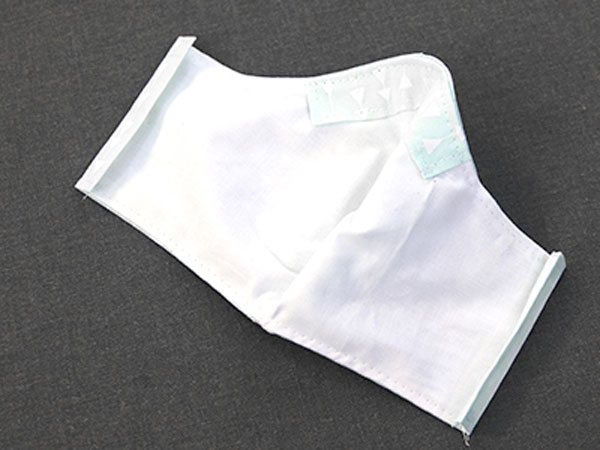
Repeat to fold in and press the other side 1/4” and then 1/2”.
35
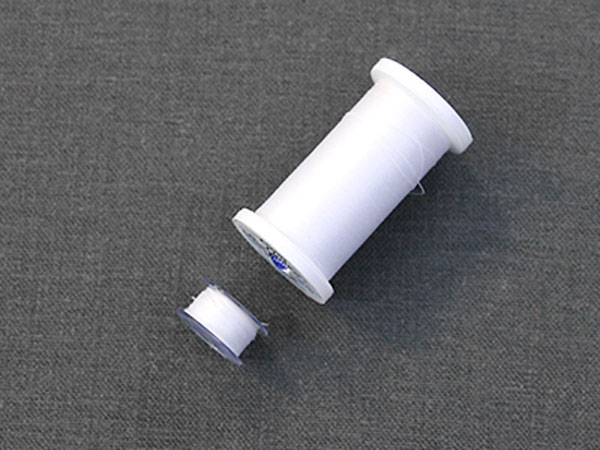
Again, match the bobbin for top stitching.
36
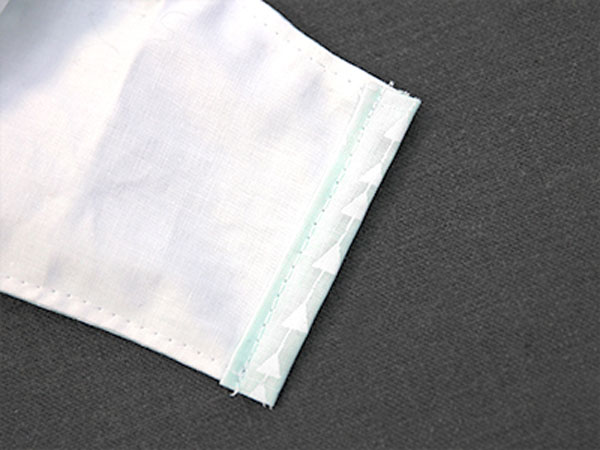
Top stitch along the inner edge of the folded sides with 1/8” seam allowance.
37
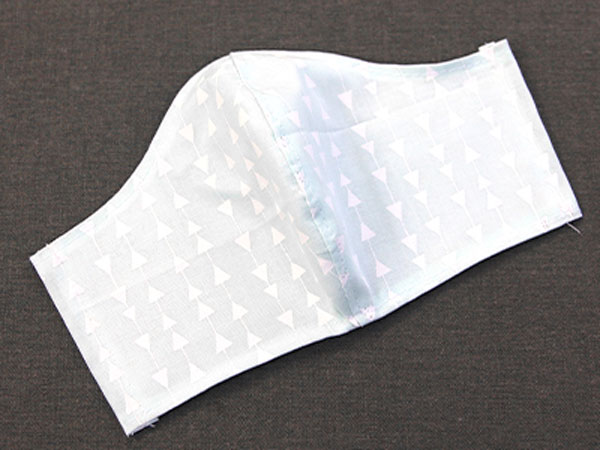
Repeat for both sides of the mask. These will create the elastic channels on each side.
38
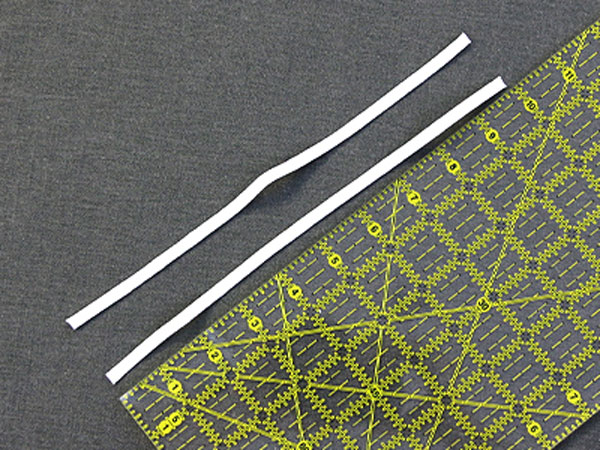
Cut two pieces of 1/4” elastic at 10” long.
39
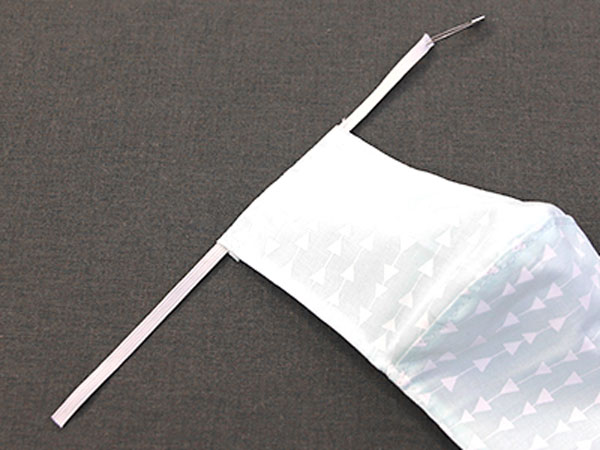
Then pin a safety pin to one end, and use it to pull the first elastic piece through either channel.
40
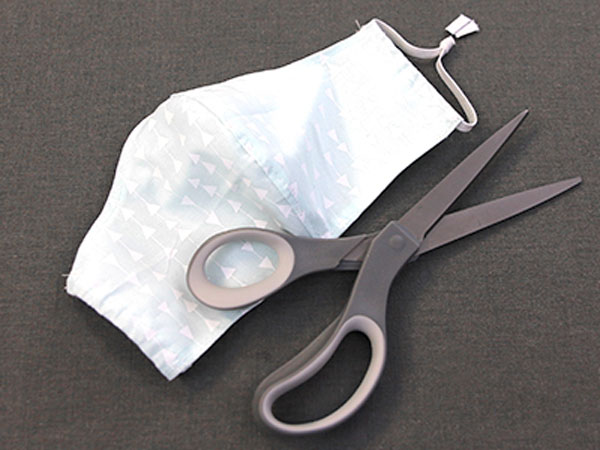
Tie the two elastic ends together to form a loop and trim the excess elastic away after pulling the knot tight.
41
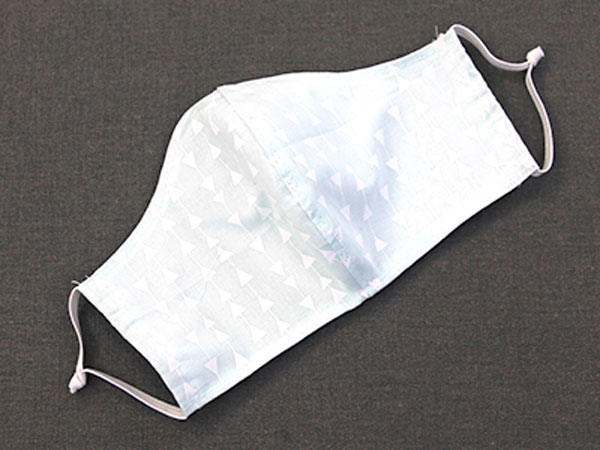
Repeat for the other side.
42
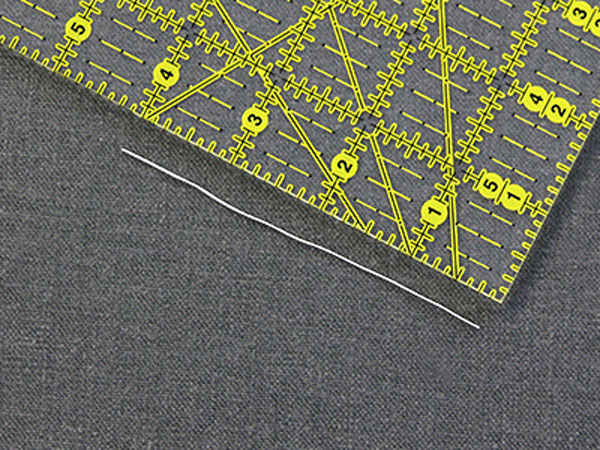
Then cut a piece of wire that is 3.5”-4” long.
43
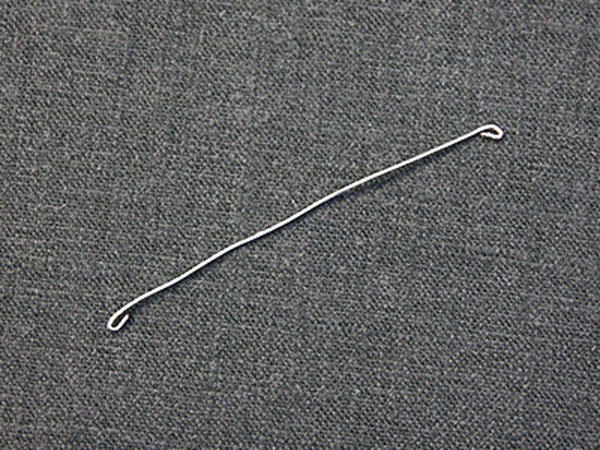
Curl or fold both ends in so they will not poke through the fabric. A needle nose pliers or wire curling pliers works well for this.
44
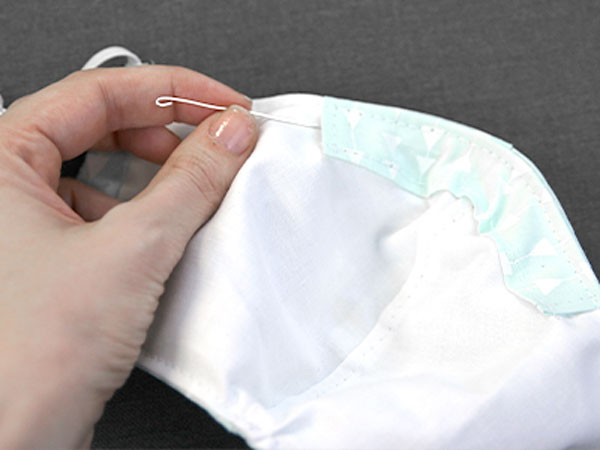
Slide the wire into the wire pocket. This can then be bent to help the mask fit the wearer’s face comfortably and with a better seal around the edges. It can also help keep glasses from fogging up.
45
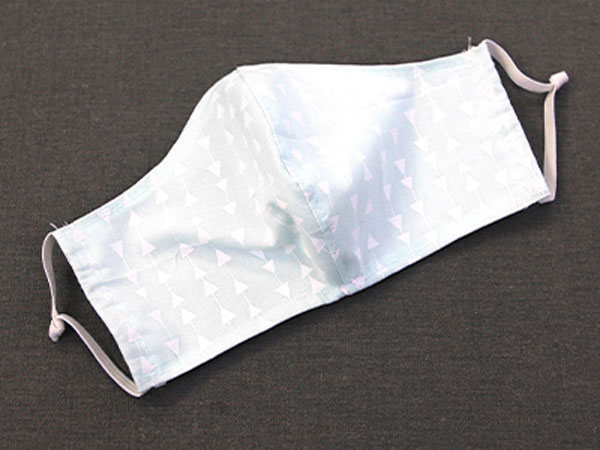
This completes the mask. Repeat these steps to make more masks in different sizes or fabrics. This file can be resized to make different sizes of masks. Make sure to select and scale all the pieces together. For a medium mask, scale to 11.47” W x 13.78” H. For a large mask, scale to 12.16” W x 14.61” H. For a small mask, scale to 10.78” W x 12.95” H.

