Supplies
- 1/3 yard quilter’s cotton (color 1)
- Small piece of felt or other non-fraying fabric (color 2)
- Polyester fiber fill
- Sewing threads to match fabric colors
- Hand sewing needle
- Hot glue gun
- Sewing pins
- 3/8” thick wooden dowel
- 4” x 4” round wooden plaque
- Drill and 3/4” drill bit
- Hobby knife
- Craft saw
Designs Used
Cutting Instructions
1
Load the Dress Form Pincushion (Cut & Stitch) file into your cutting machine’s software. This design has two different fabric colors across the different files. Proceed in the design software until the first color selection appears, and is ready to be cut.
2
Smooth the first fabric color onto the adhesive mat with the right side of the fabric facing up. Make sure the correct knife tool is in place. Then load the adhesive mat into the machine.
3
Cut out the first color. Then carefully remove the cut fabric pieces and excess fabric.
4
For felt, you may need to increase the pressure of the blade on your cutting machine. For best results, use a setting that would be used for denim or other thick materials.
Crafting Instructions
1
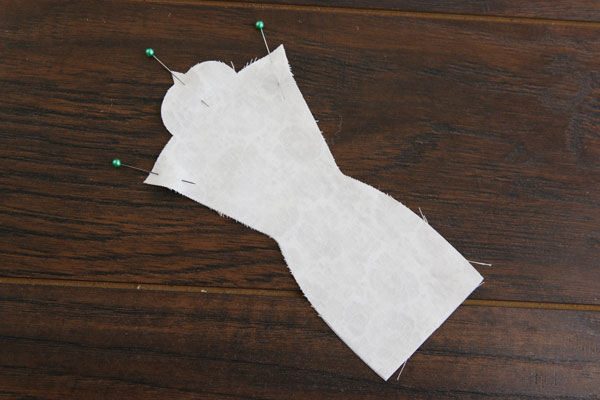
To assemble the Dress Form Pincushion, first take the front and back pieces (color 1), and match up the edges with right sides together. Pin along the top edge only.
2
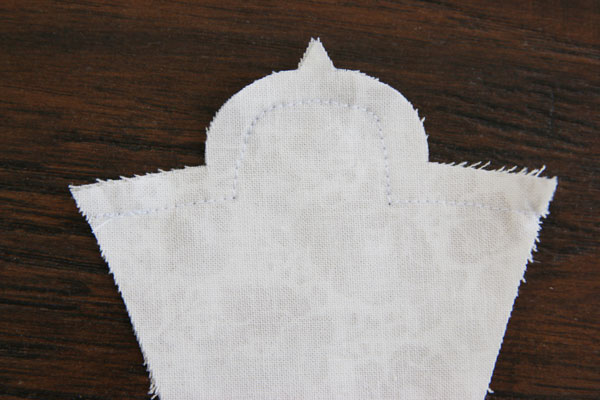
Then sew a 1/4” seam along the pinned side. This creates the shoulder seam.
3
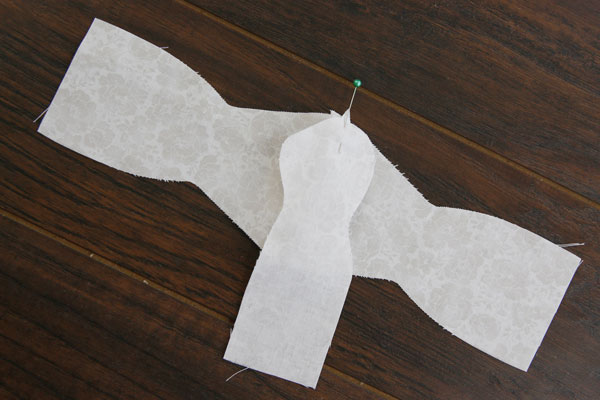
Next, take either of the side pieces (color 1), and match the notch at the top of the side piece up with one side of the shoulder seam. Make sure right sides are together, and pin the side to both the front and the back pieces.
4
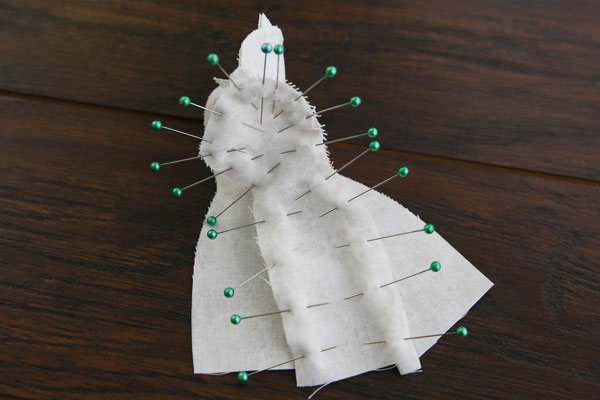
For best results, pin from the notch down, and don’t worry if the bottoms match up perfectly. They will be 1/4” or less off, and that is okay.
5
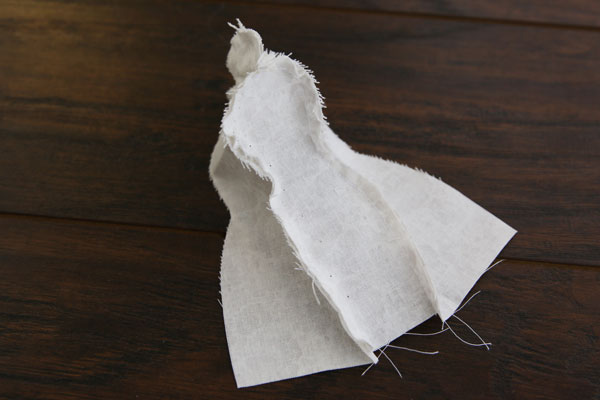
Sew a 1/4” seam around the pinned edges.
6
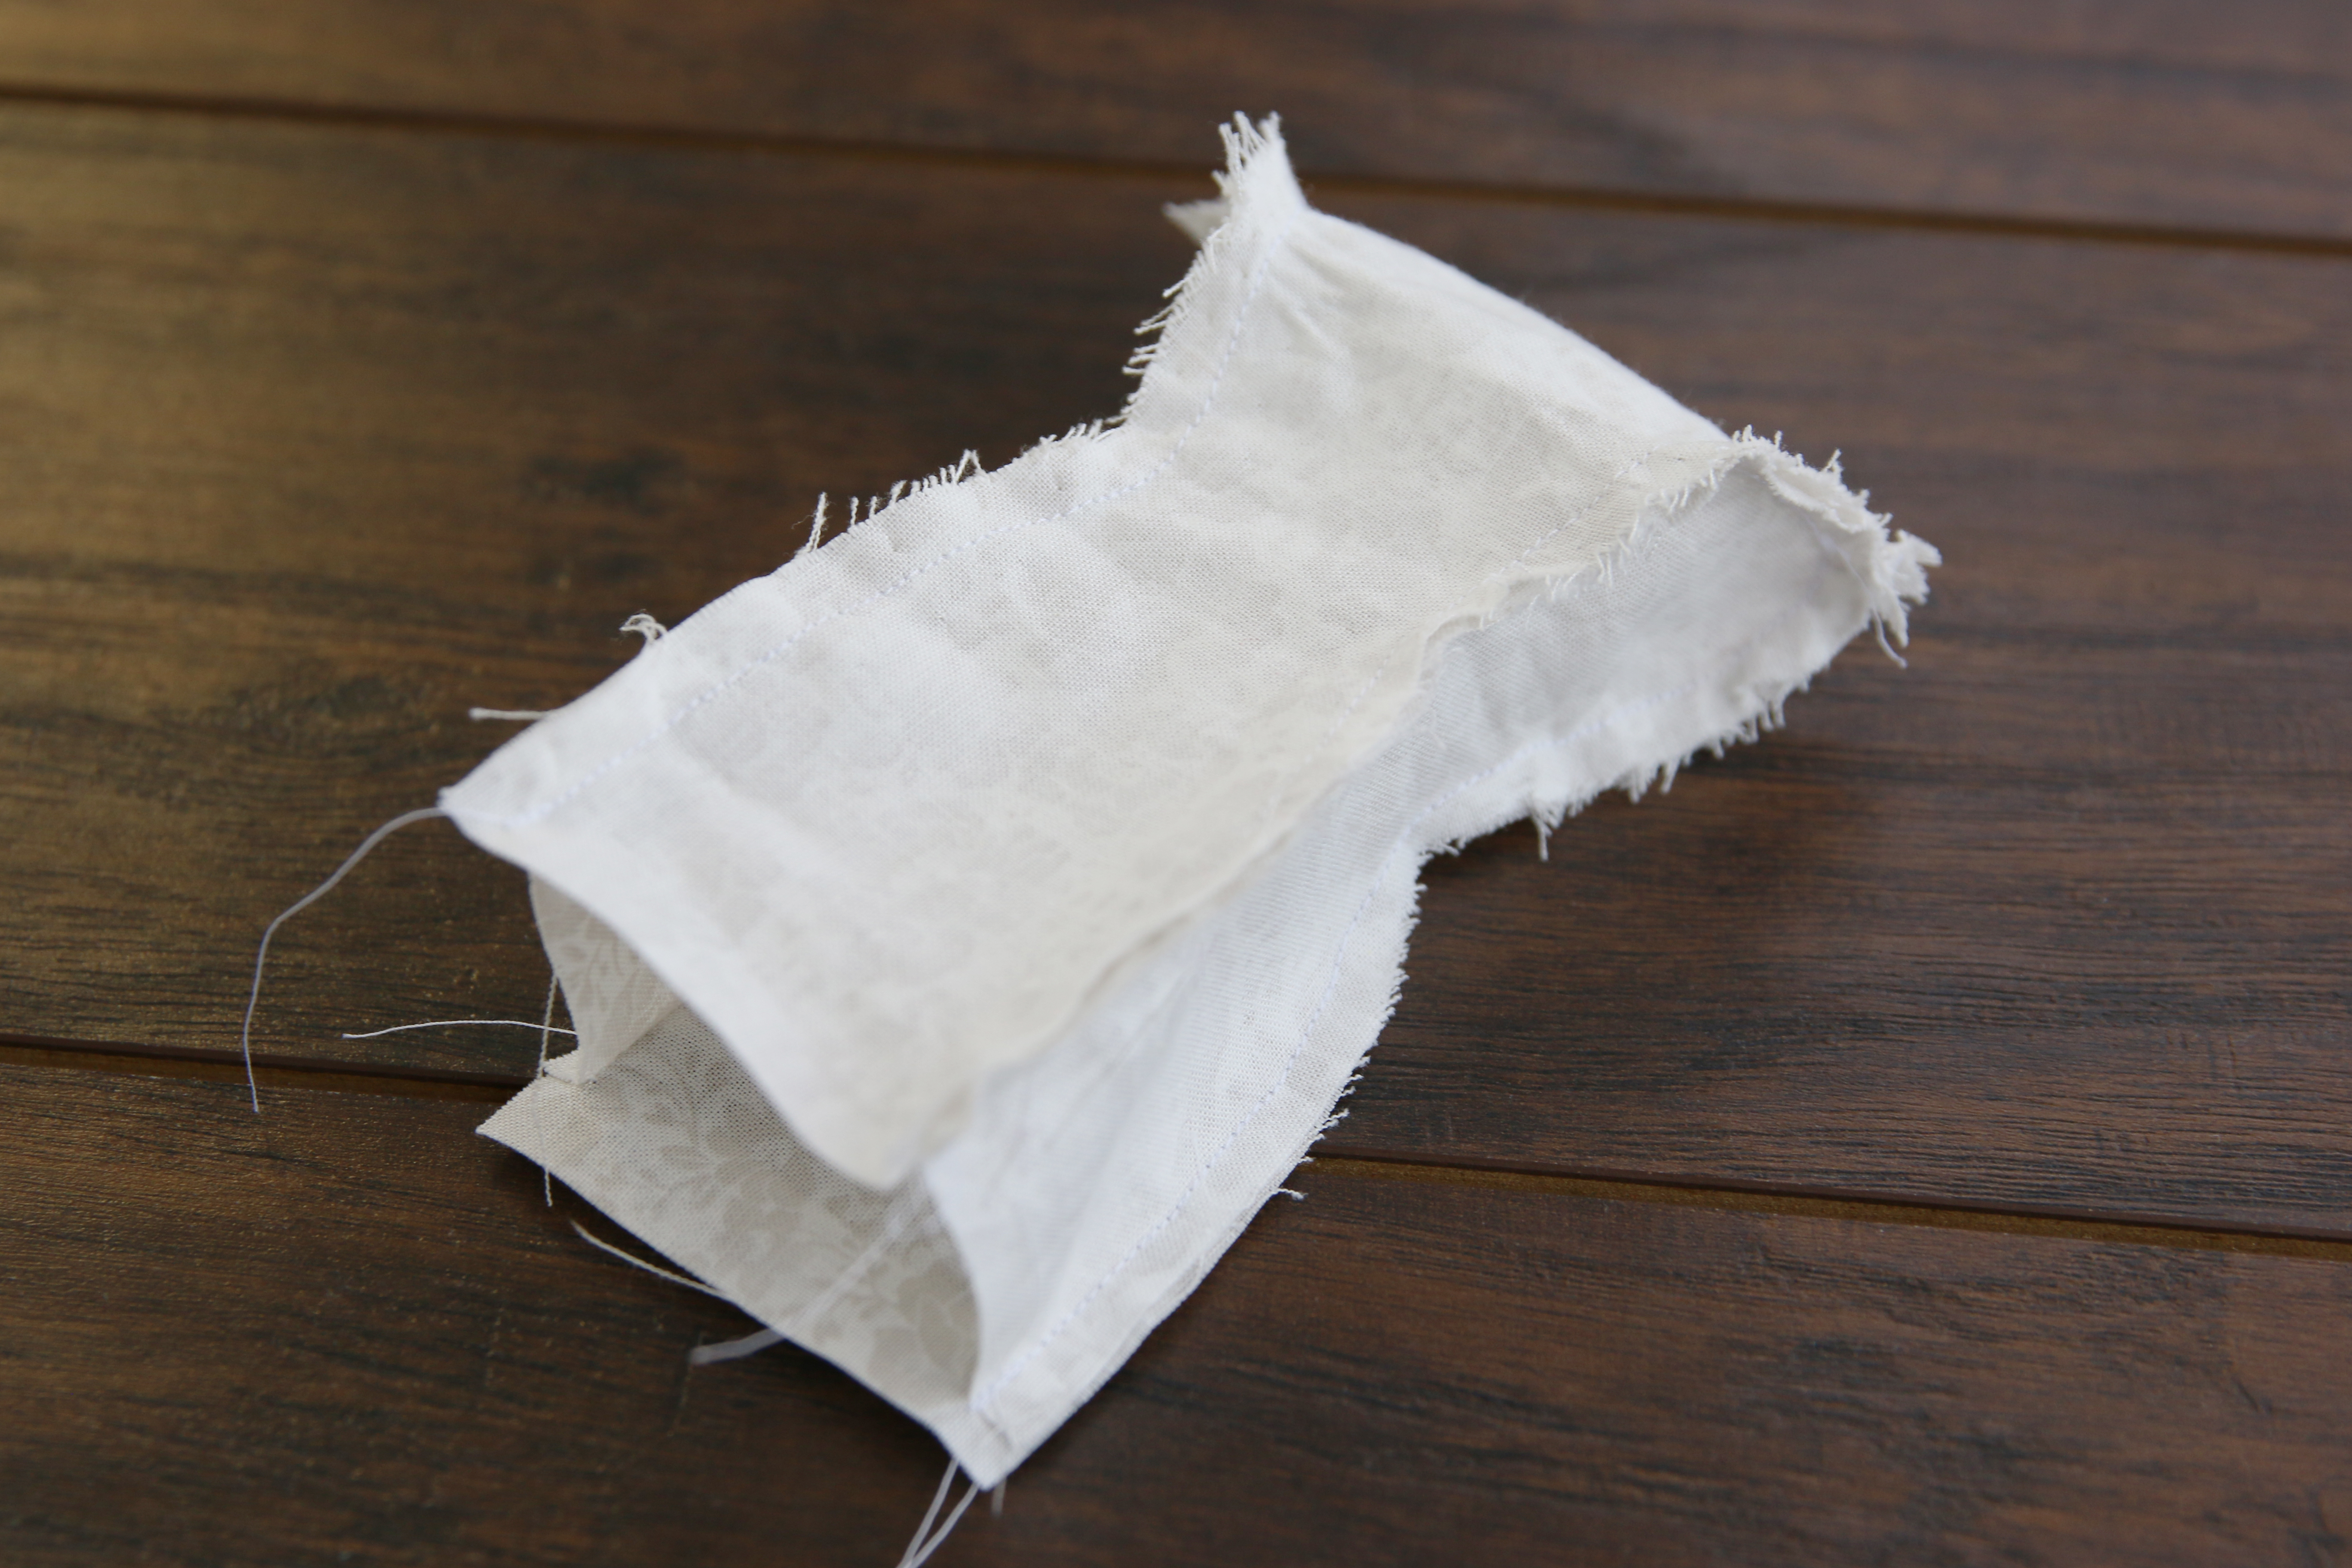
Repeat to pin and sew the opposite side piece onto the front and back pieces.
7
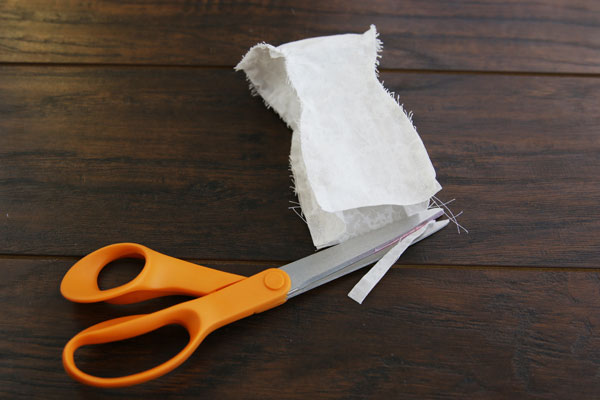
Then trim the bottom edges of the sides, front, and back pieces to make them all the same length.
8
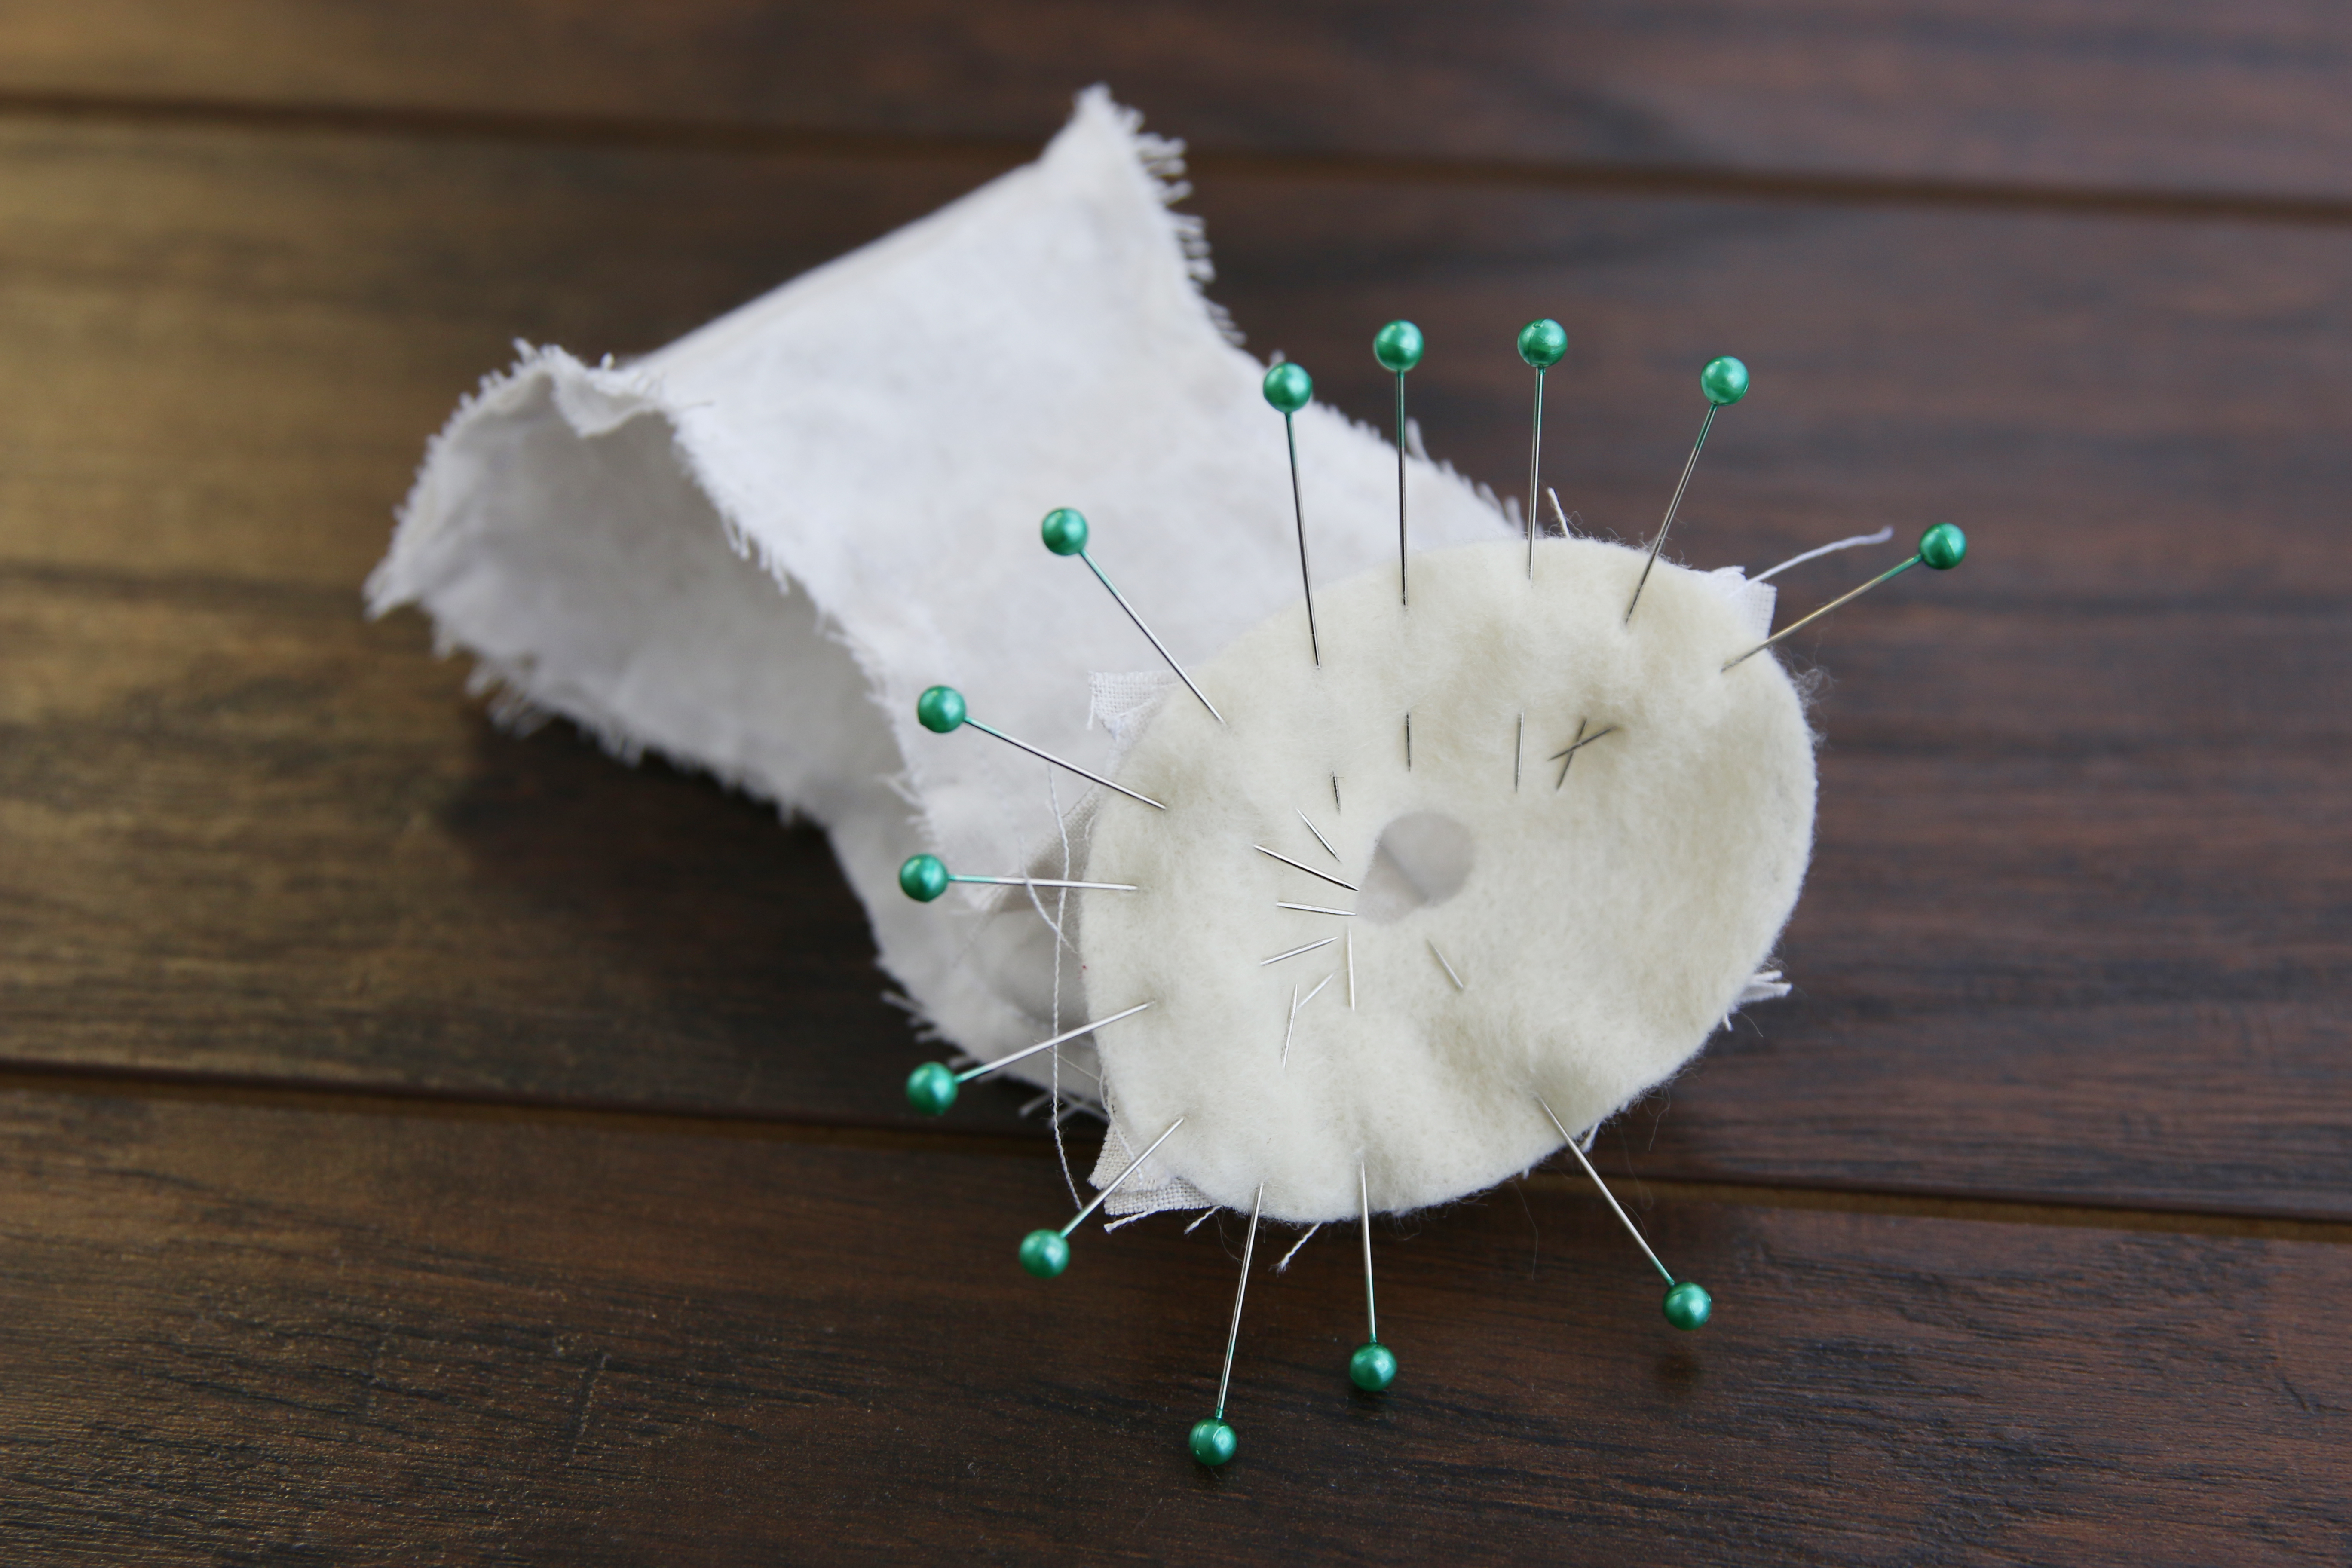
Next, take the bottom piece (color 2), and pin it to the bottom edges of the sides, front, and back (color 1). The widest points of the bottom piece should match up with the center of each side. Sew a 1/4” seam around the pinned edges, and make sure to leave a 1”- 2” opening for turning.
9
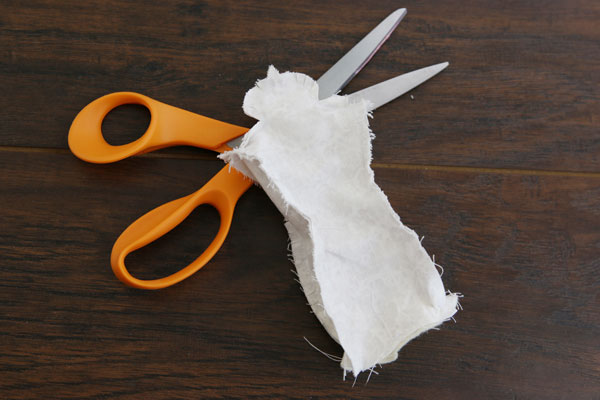
Trim small notches or slits in the seam allowances around the curves for best results.
10
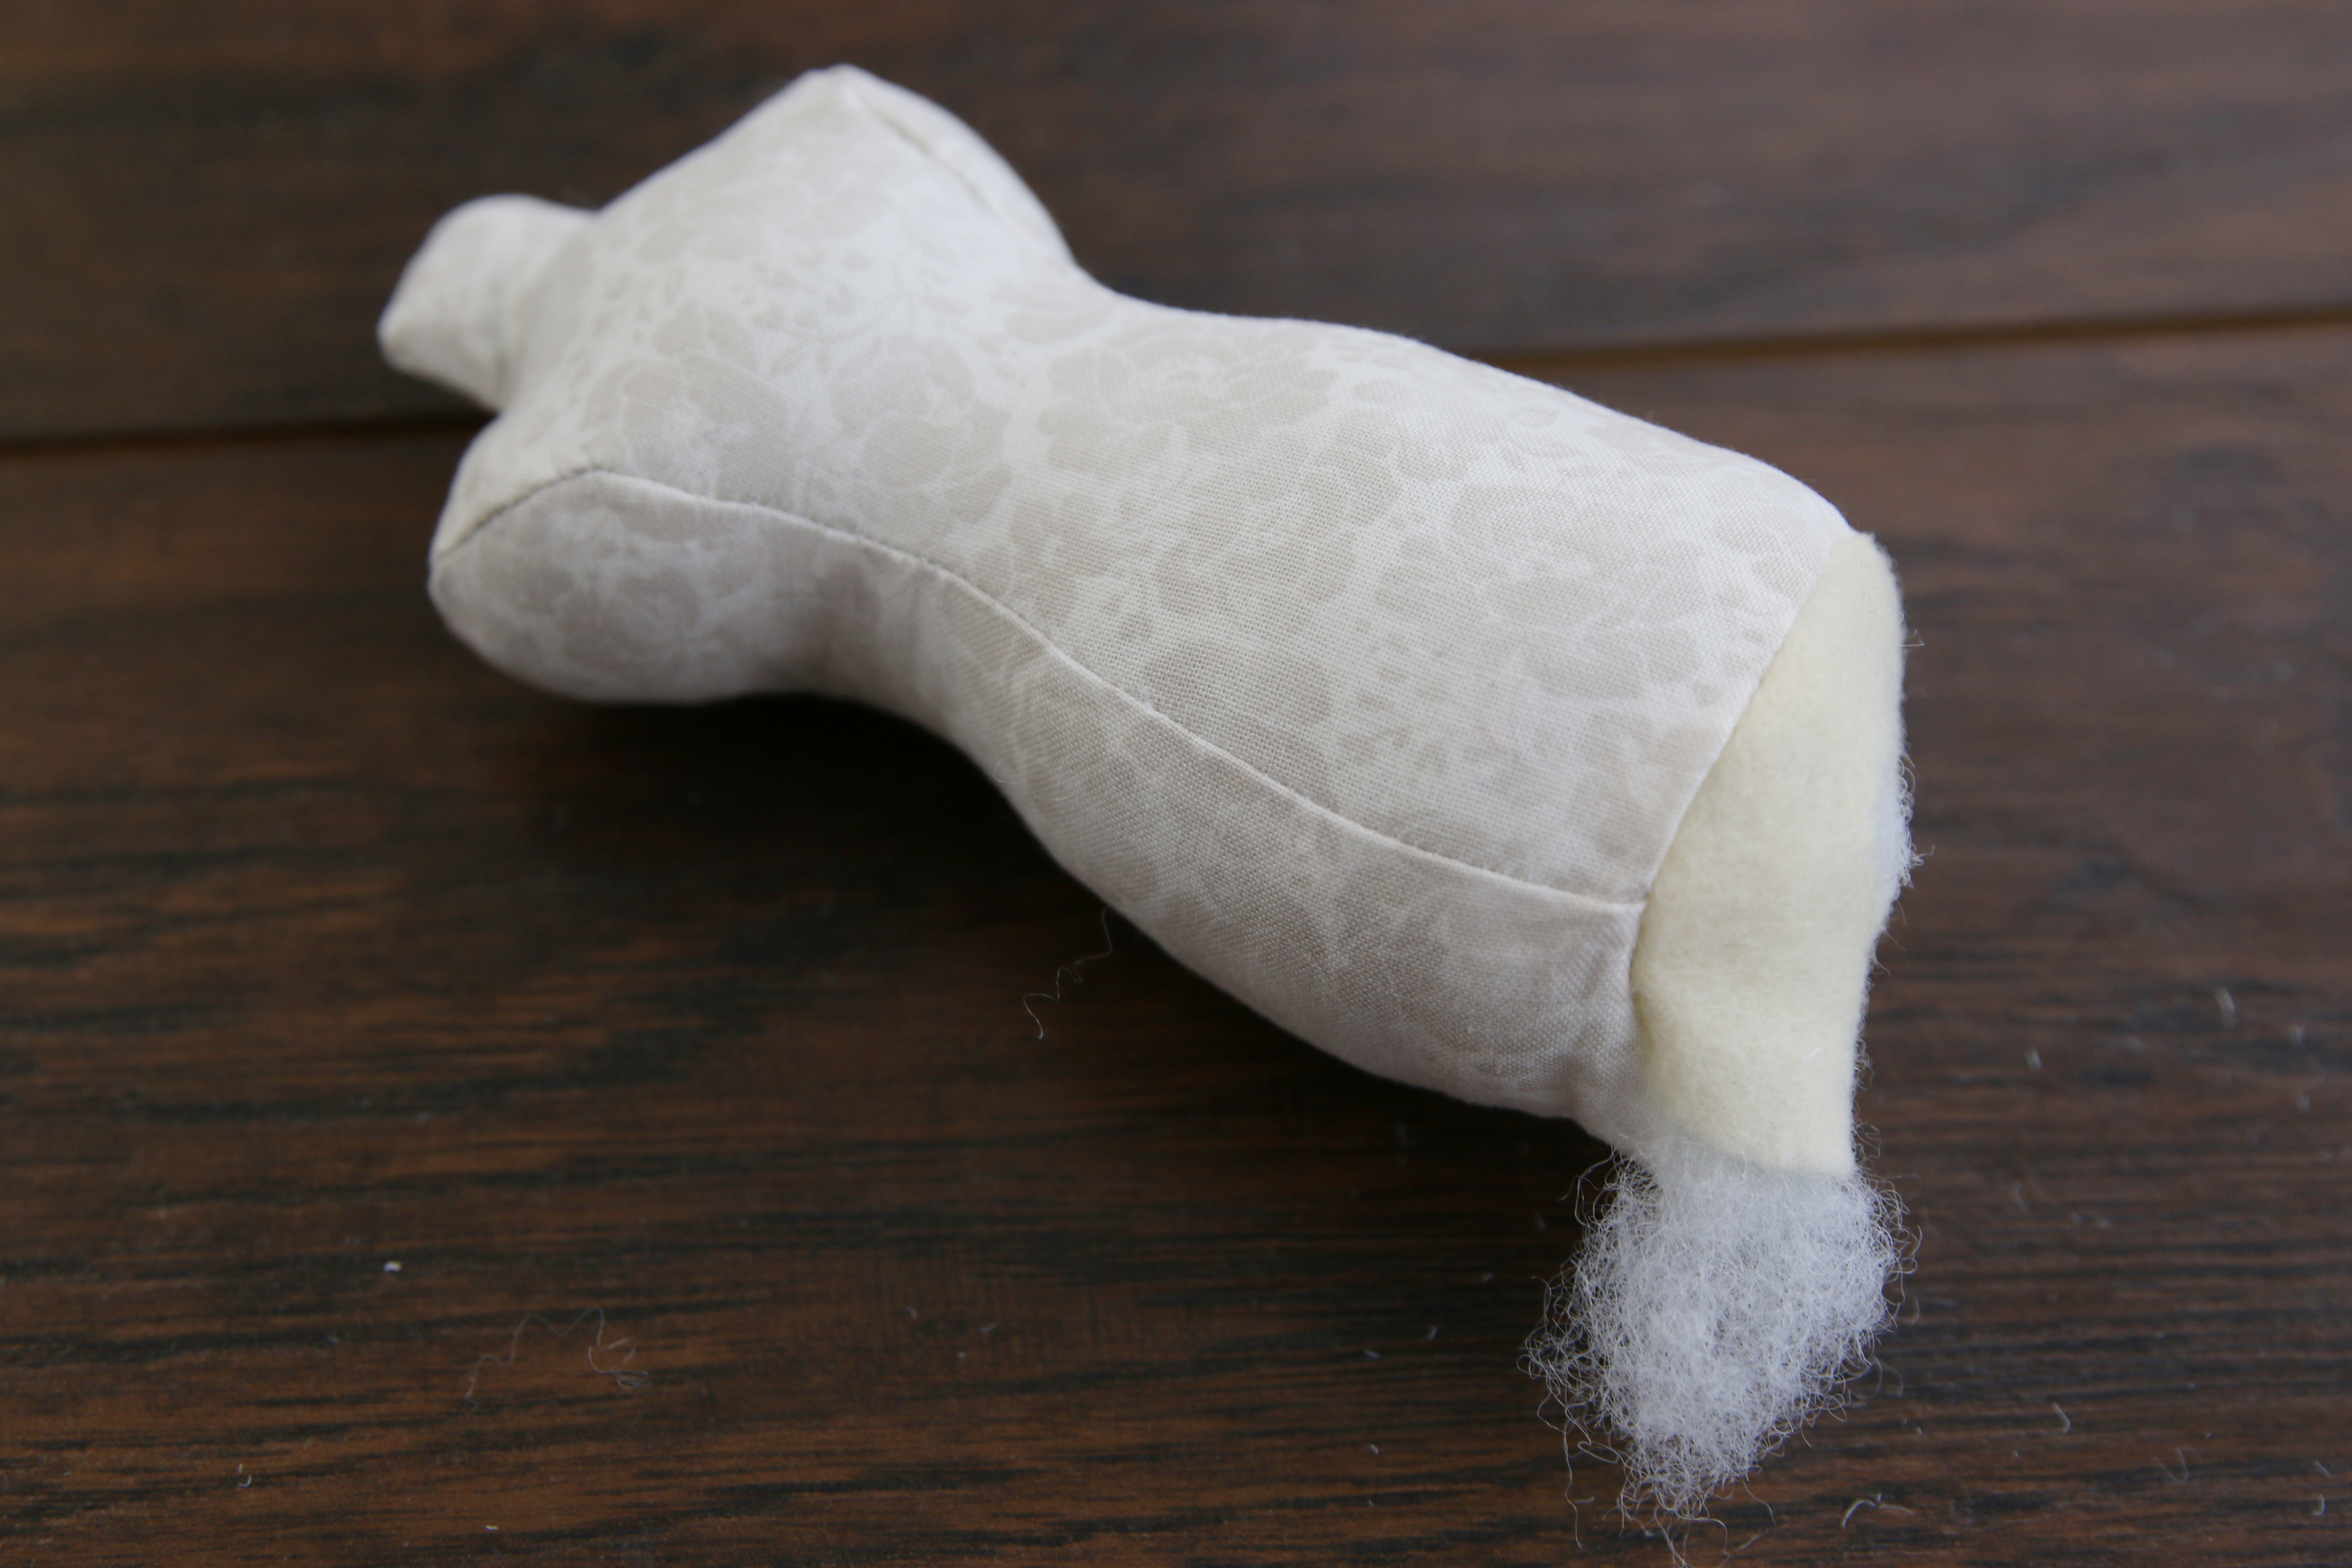
Turn the dress form right side out. Stuff with polyester fiber fill.
11
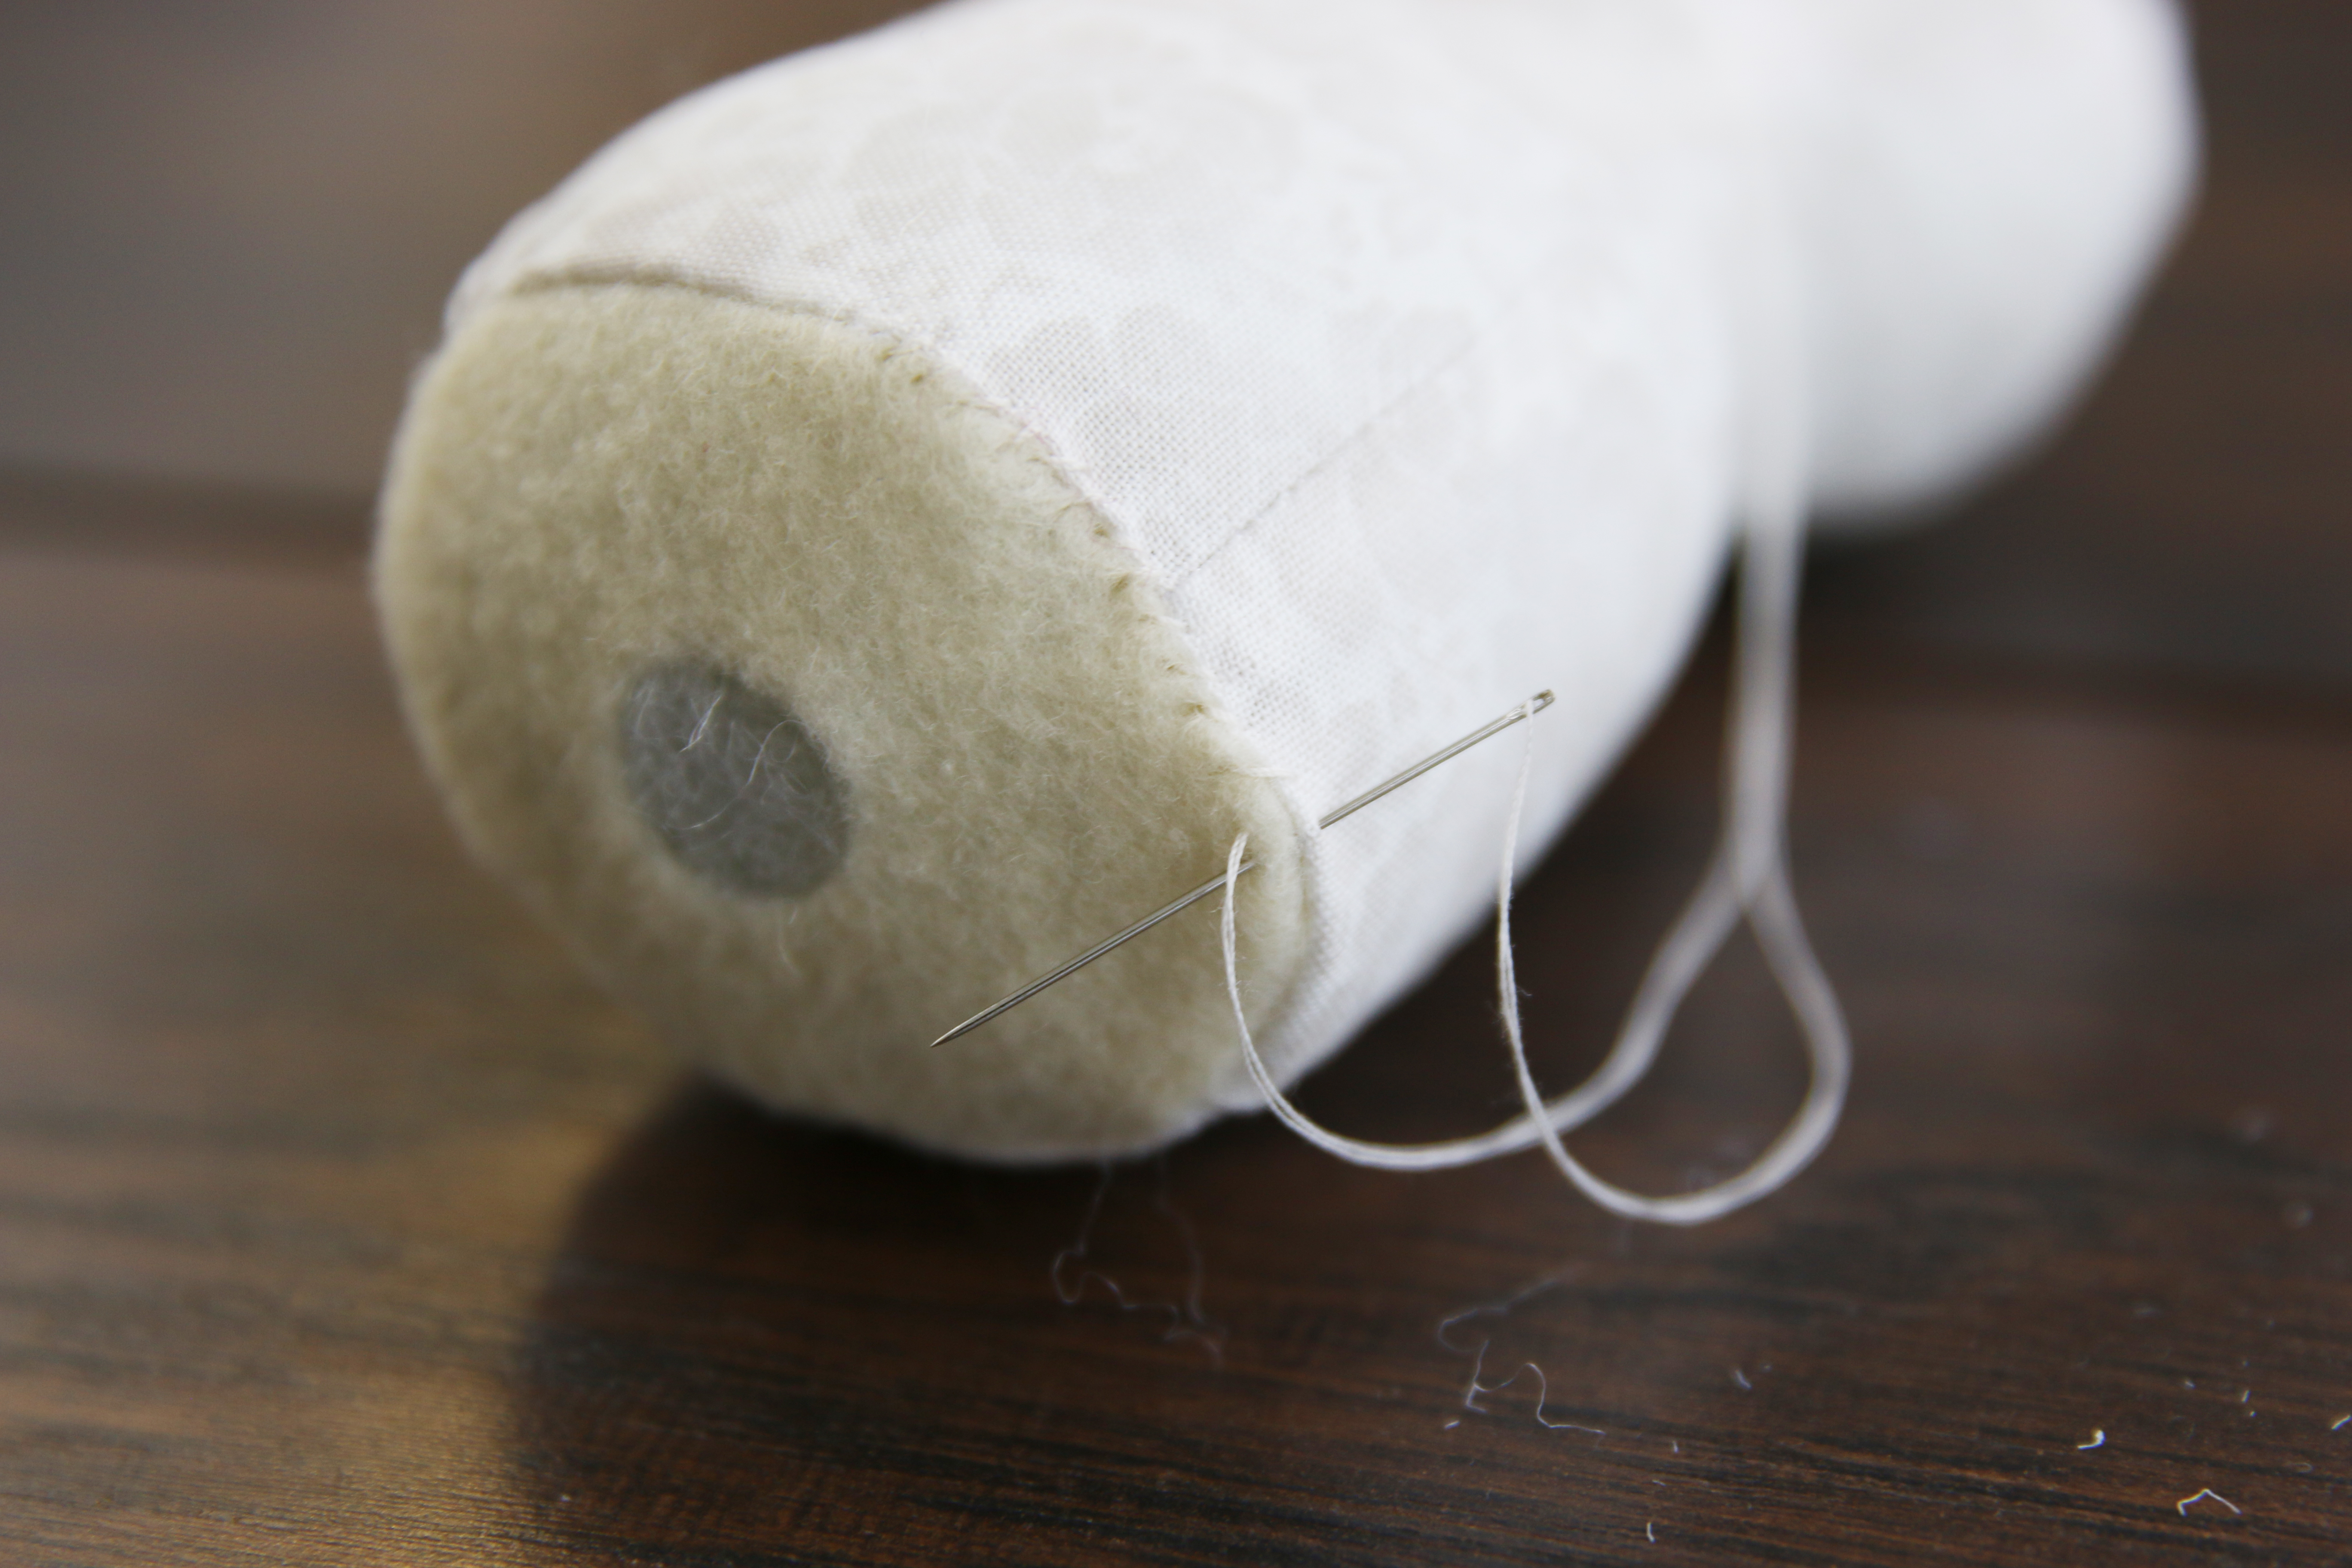
Hand sew the opening closed. Do not stuff the dress form through the bottom piece’s center dowel hole as it may stretch out.
12
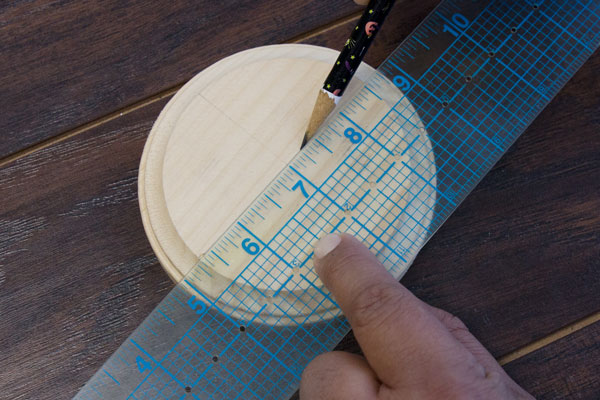
To make the dress form stand, lay the wooden plaque on a table, and draw an “X” across two widest points to find the center of the plaque.
13
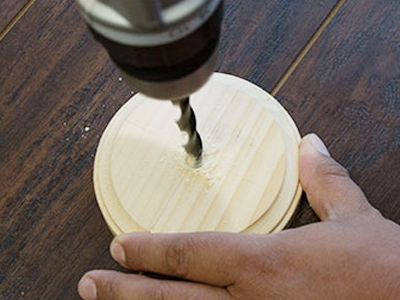
Use a 3/8” drill bit and hand drill to create a 1/4”- 1/2” deep hole in the center of the plaque. Clear away the sawdust, and remove any remaining pencil marks with an eraser.
14
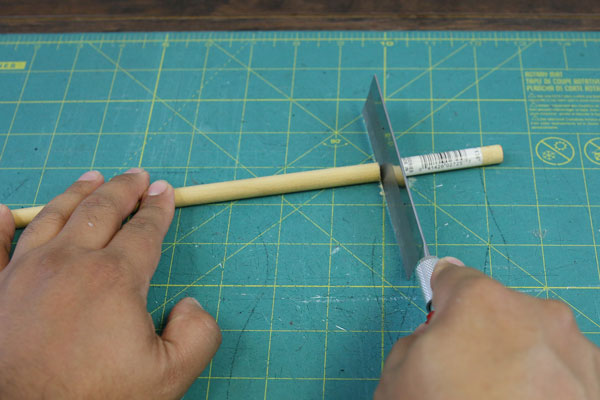
Cut the wooden dowel so that it is 6 1/4” long.
15
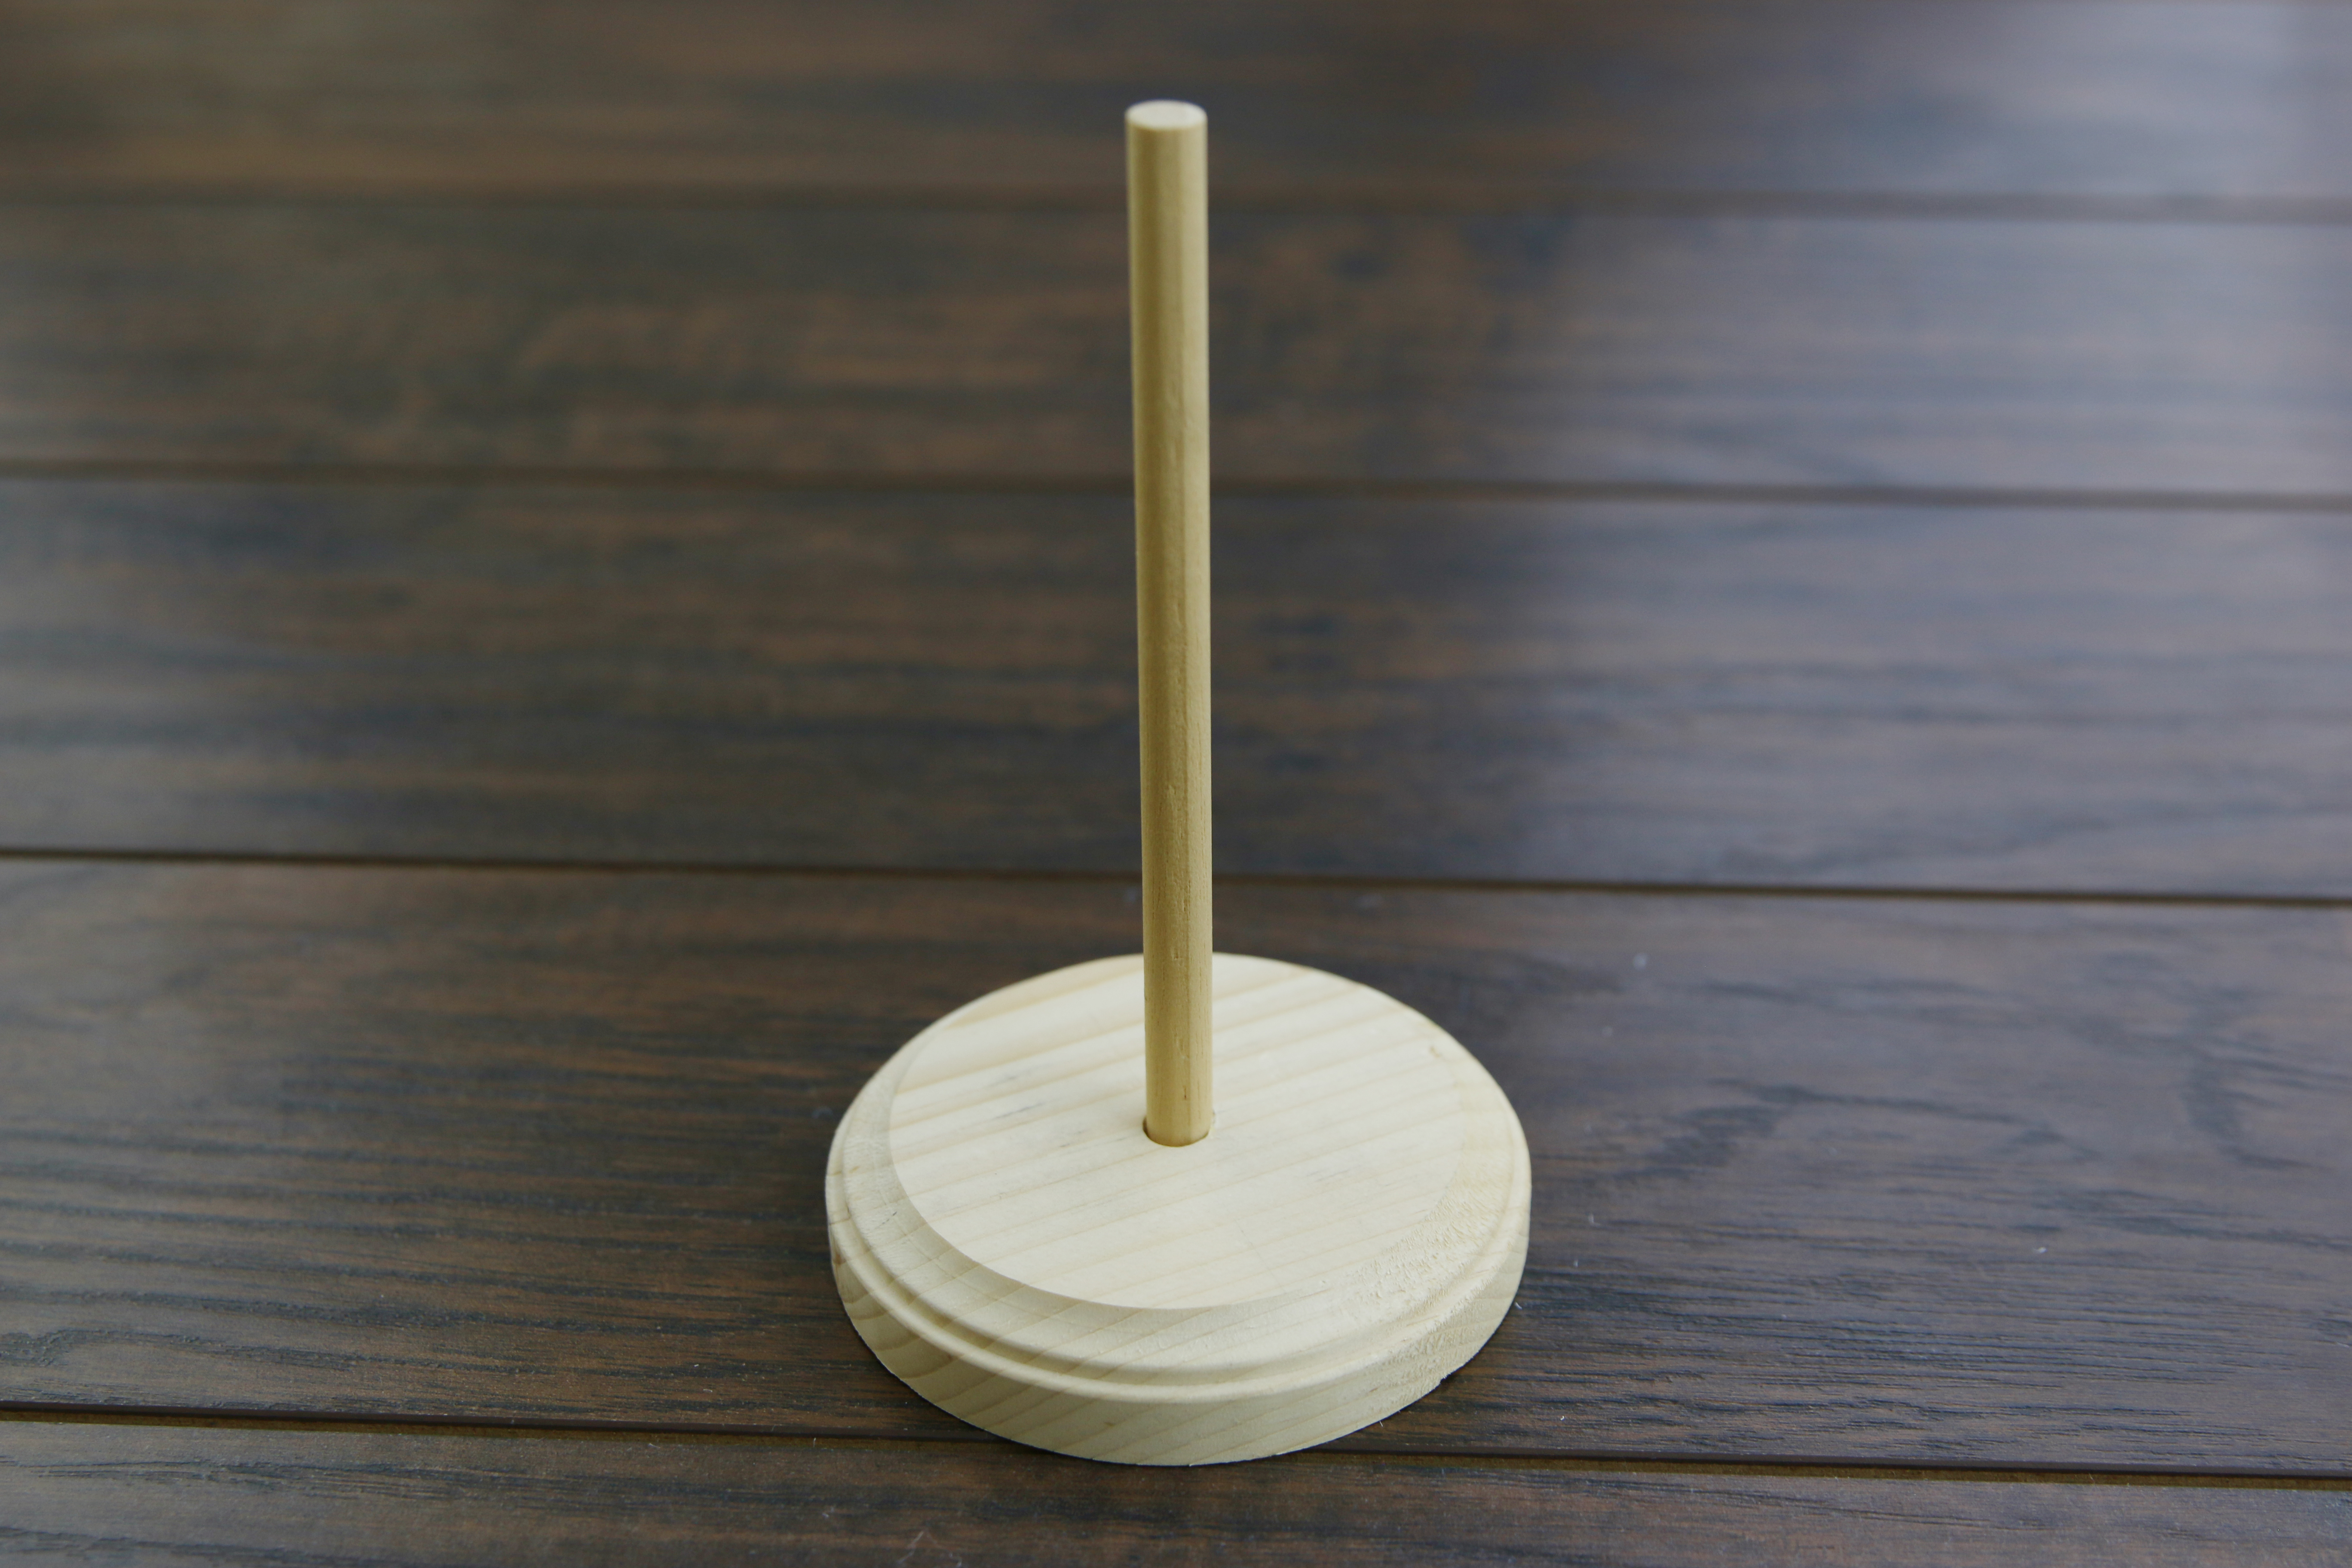
Use a hot glue gun to adhere one end of the dowel into the hole drilled in the plaque, and hold it in place until the glue dries. To make sure the dowel is perpendicular to the base, place a ruler or something else with a perfect 90-degree angle on the wooden plaque up against the dowel while the glue dries.
16
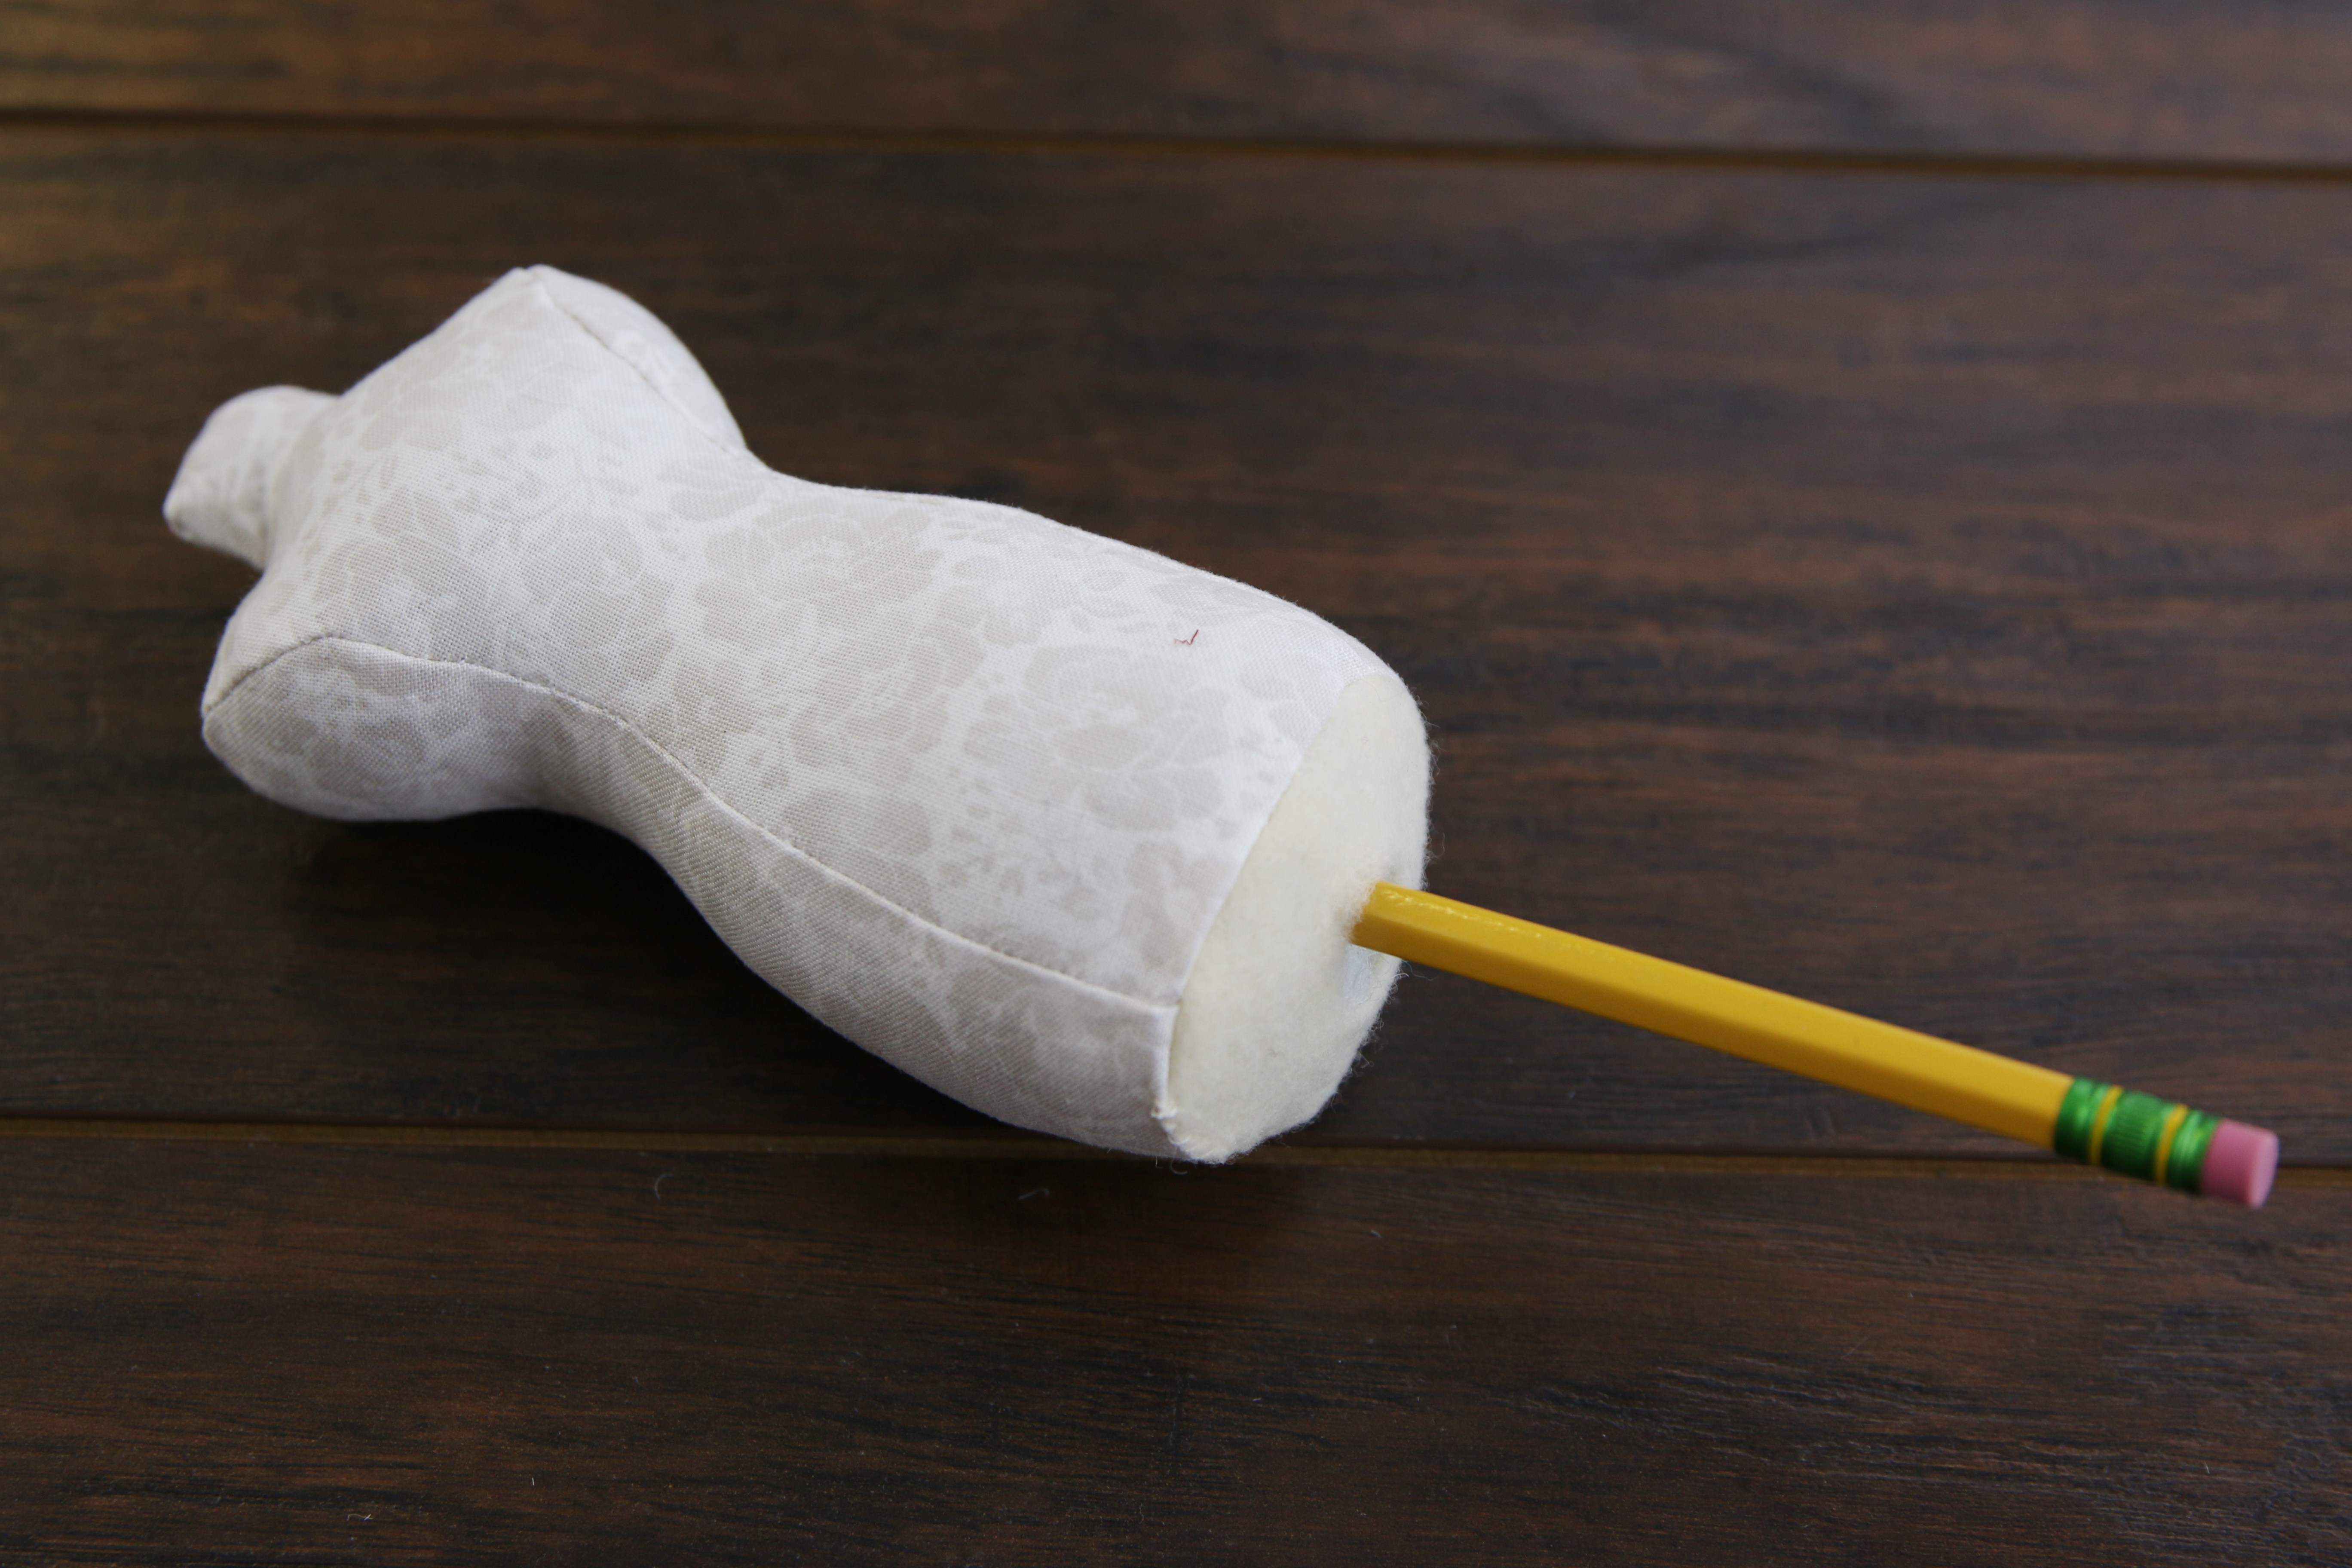
Use a sharpened pencil to create a path in the fiber fill for the dowel to pass through. This will prevent the flat edge of the dowel from getting stuck while trying to push through the stuffing.
17
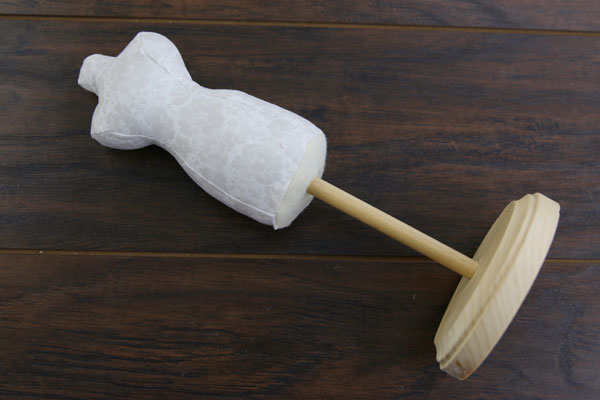
Place the dress form onto the dowel stand. This completes the Dress Form Pincushion. Repeat these steps to make a collection of dress forms in a variety of colors and fabrics. Just make sure not to resize this design, as the seam allowance makes it unscalable.

