Supplies
- 1 yard quilter’s cotton (color 1)
- 1 yard quilter’s cotton (color 2)
- Polyester fiber fill
- Sewing threads to match fabric colors
- Hand sewing needle
- Sewing pins
Designs Used
Cutting Instructions
1
Load the Christmas Tree Plush (Cut & Stitch) file into your cutting machine’s software. Notice that every size has multiple cutting files to fit all the pieces. These are labeled with “A”, “B”, “C”, ect., and are organized by how they fit into a file and not nessesarily by fabric.
2
This design has two different fabric colors across the different files. Proceed in the design software until the first color selection appears, and is ready to be cut.
3
Smooth the first fabric color onto the adhesive mat with the right side of the fabric facing up. Make sure the correct knife tool is in place. Then load the adhesive mat into the machine.
4
Cut out the first color. Then carefully remove the cut pieces and excess fabric.
5
Repeat to cut all of the fabric pieces for the Christmas Tree Plush out of the two fabric colors.
Crafting Instructions
1
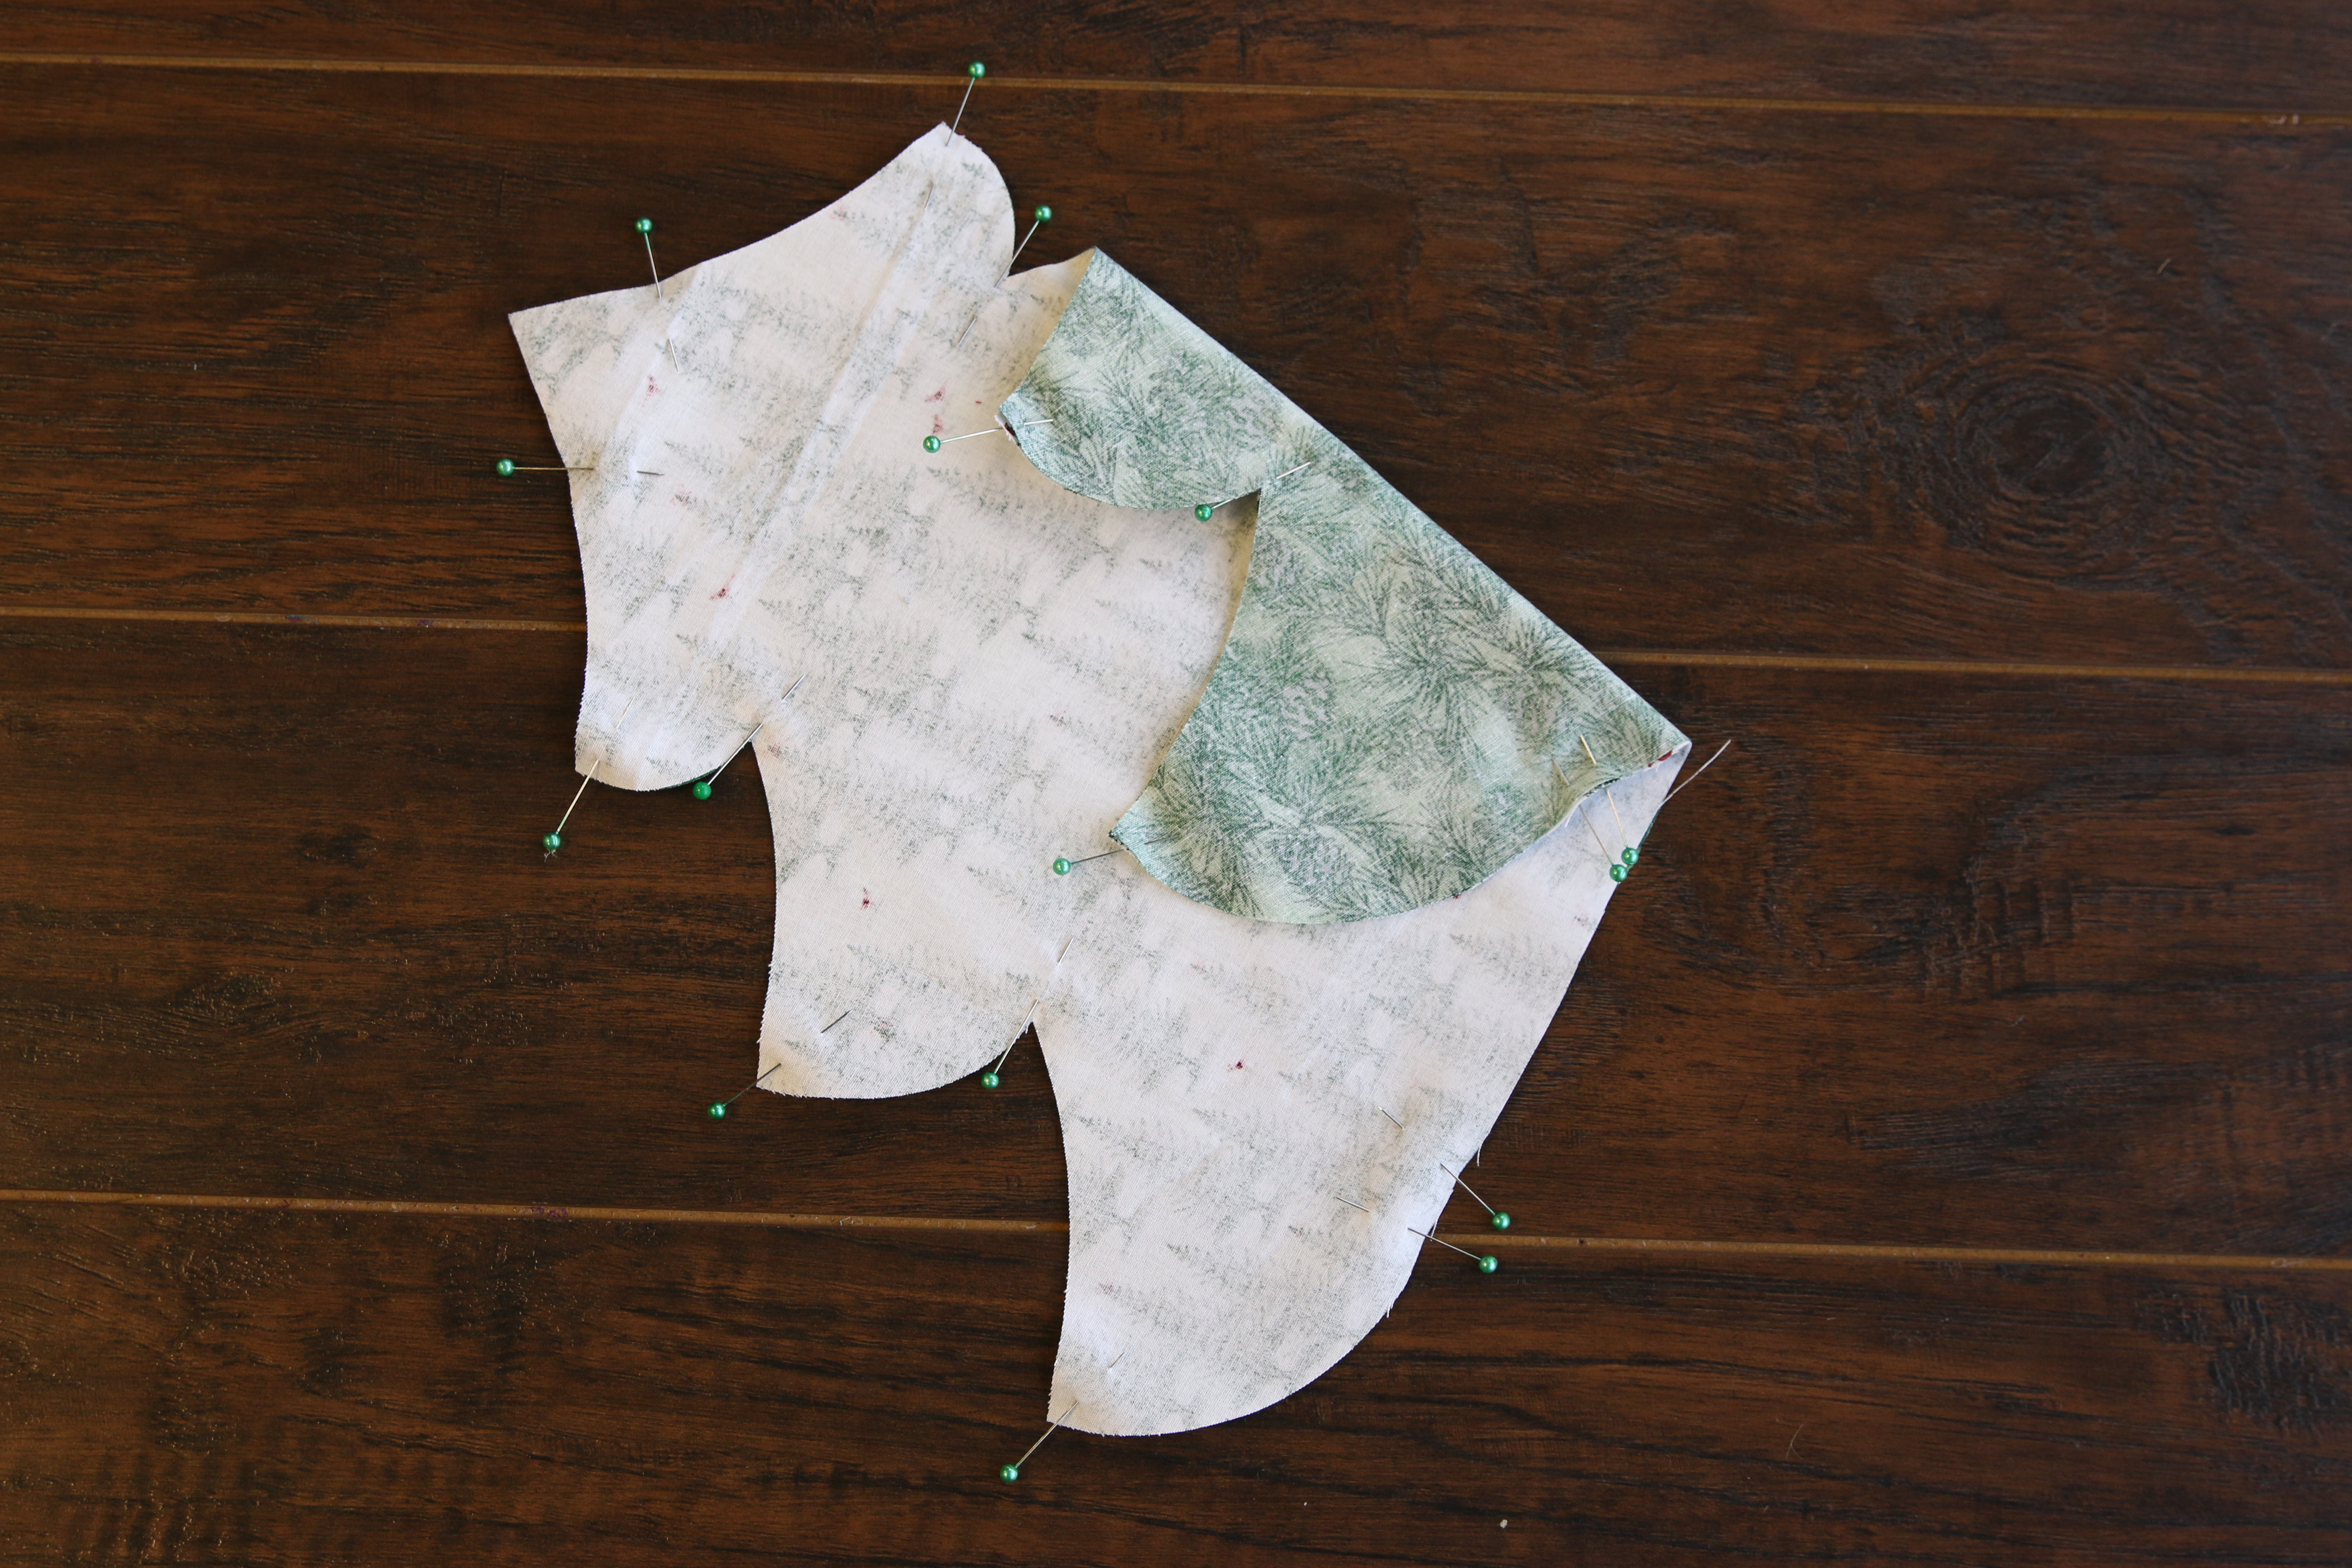
To assemble the Christmas Tree, first take one main colored side (color 1), and one accent colored side (Color 2). Place the two pieces on top of each other with right sides together, and match up the edges. Pin them together.
2
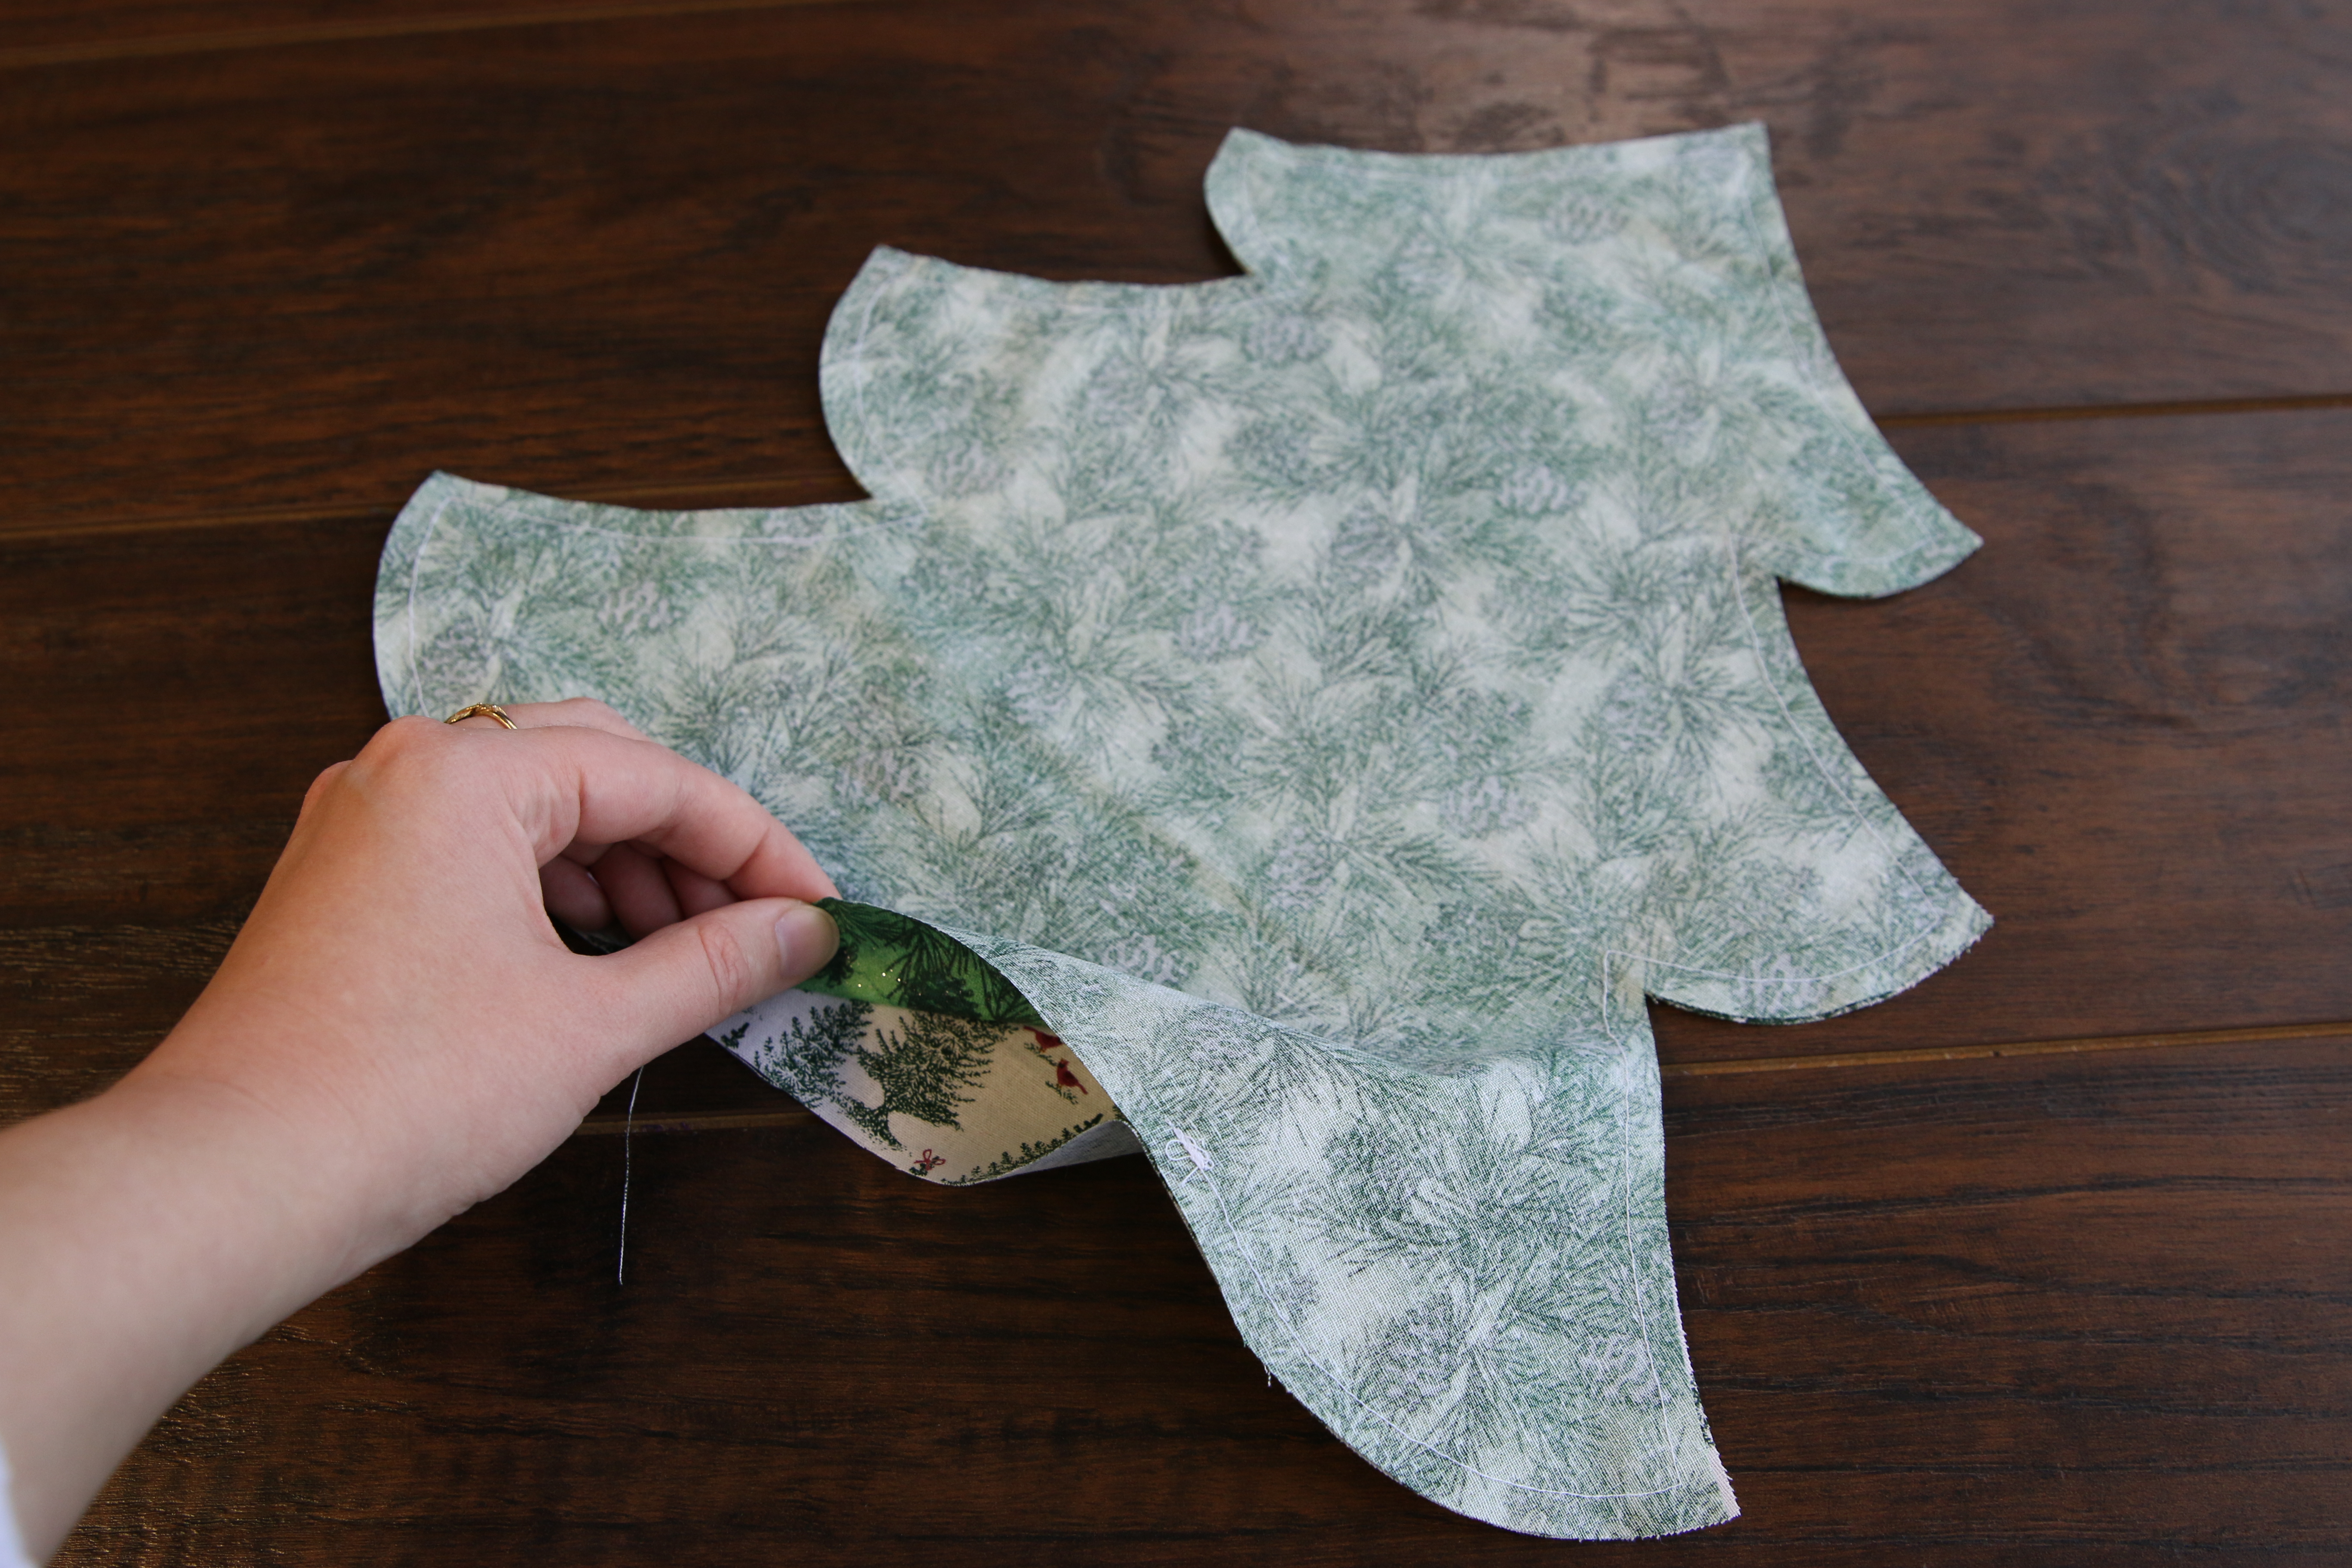
Then sew 1/4” seam around the edges, leaving a 4”-5” opening along the bottom edge.
3
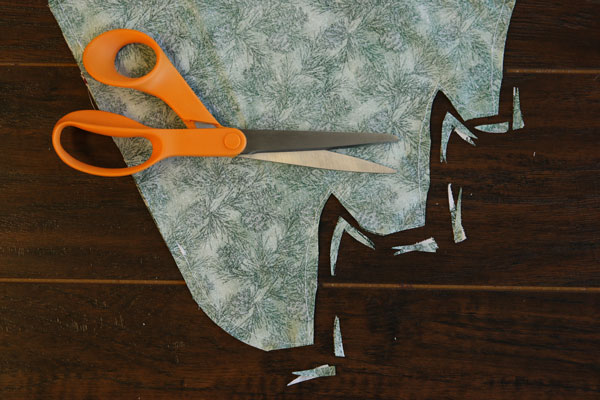
Trim the seam around all the points, indentations, and curves. Be careful not to cut the seam.
4
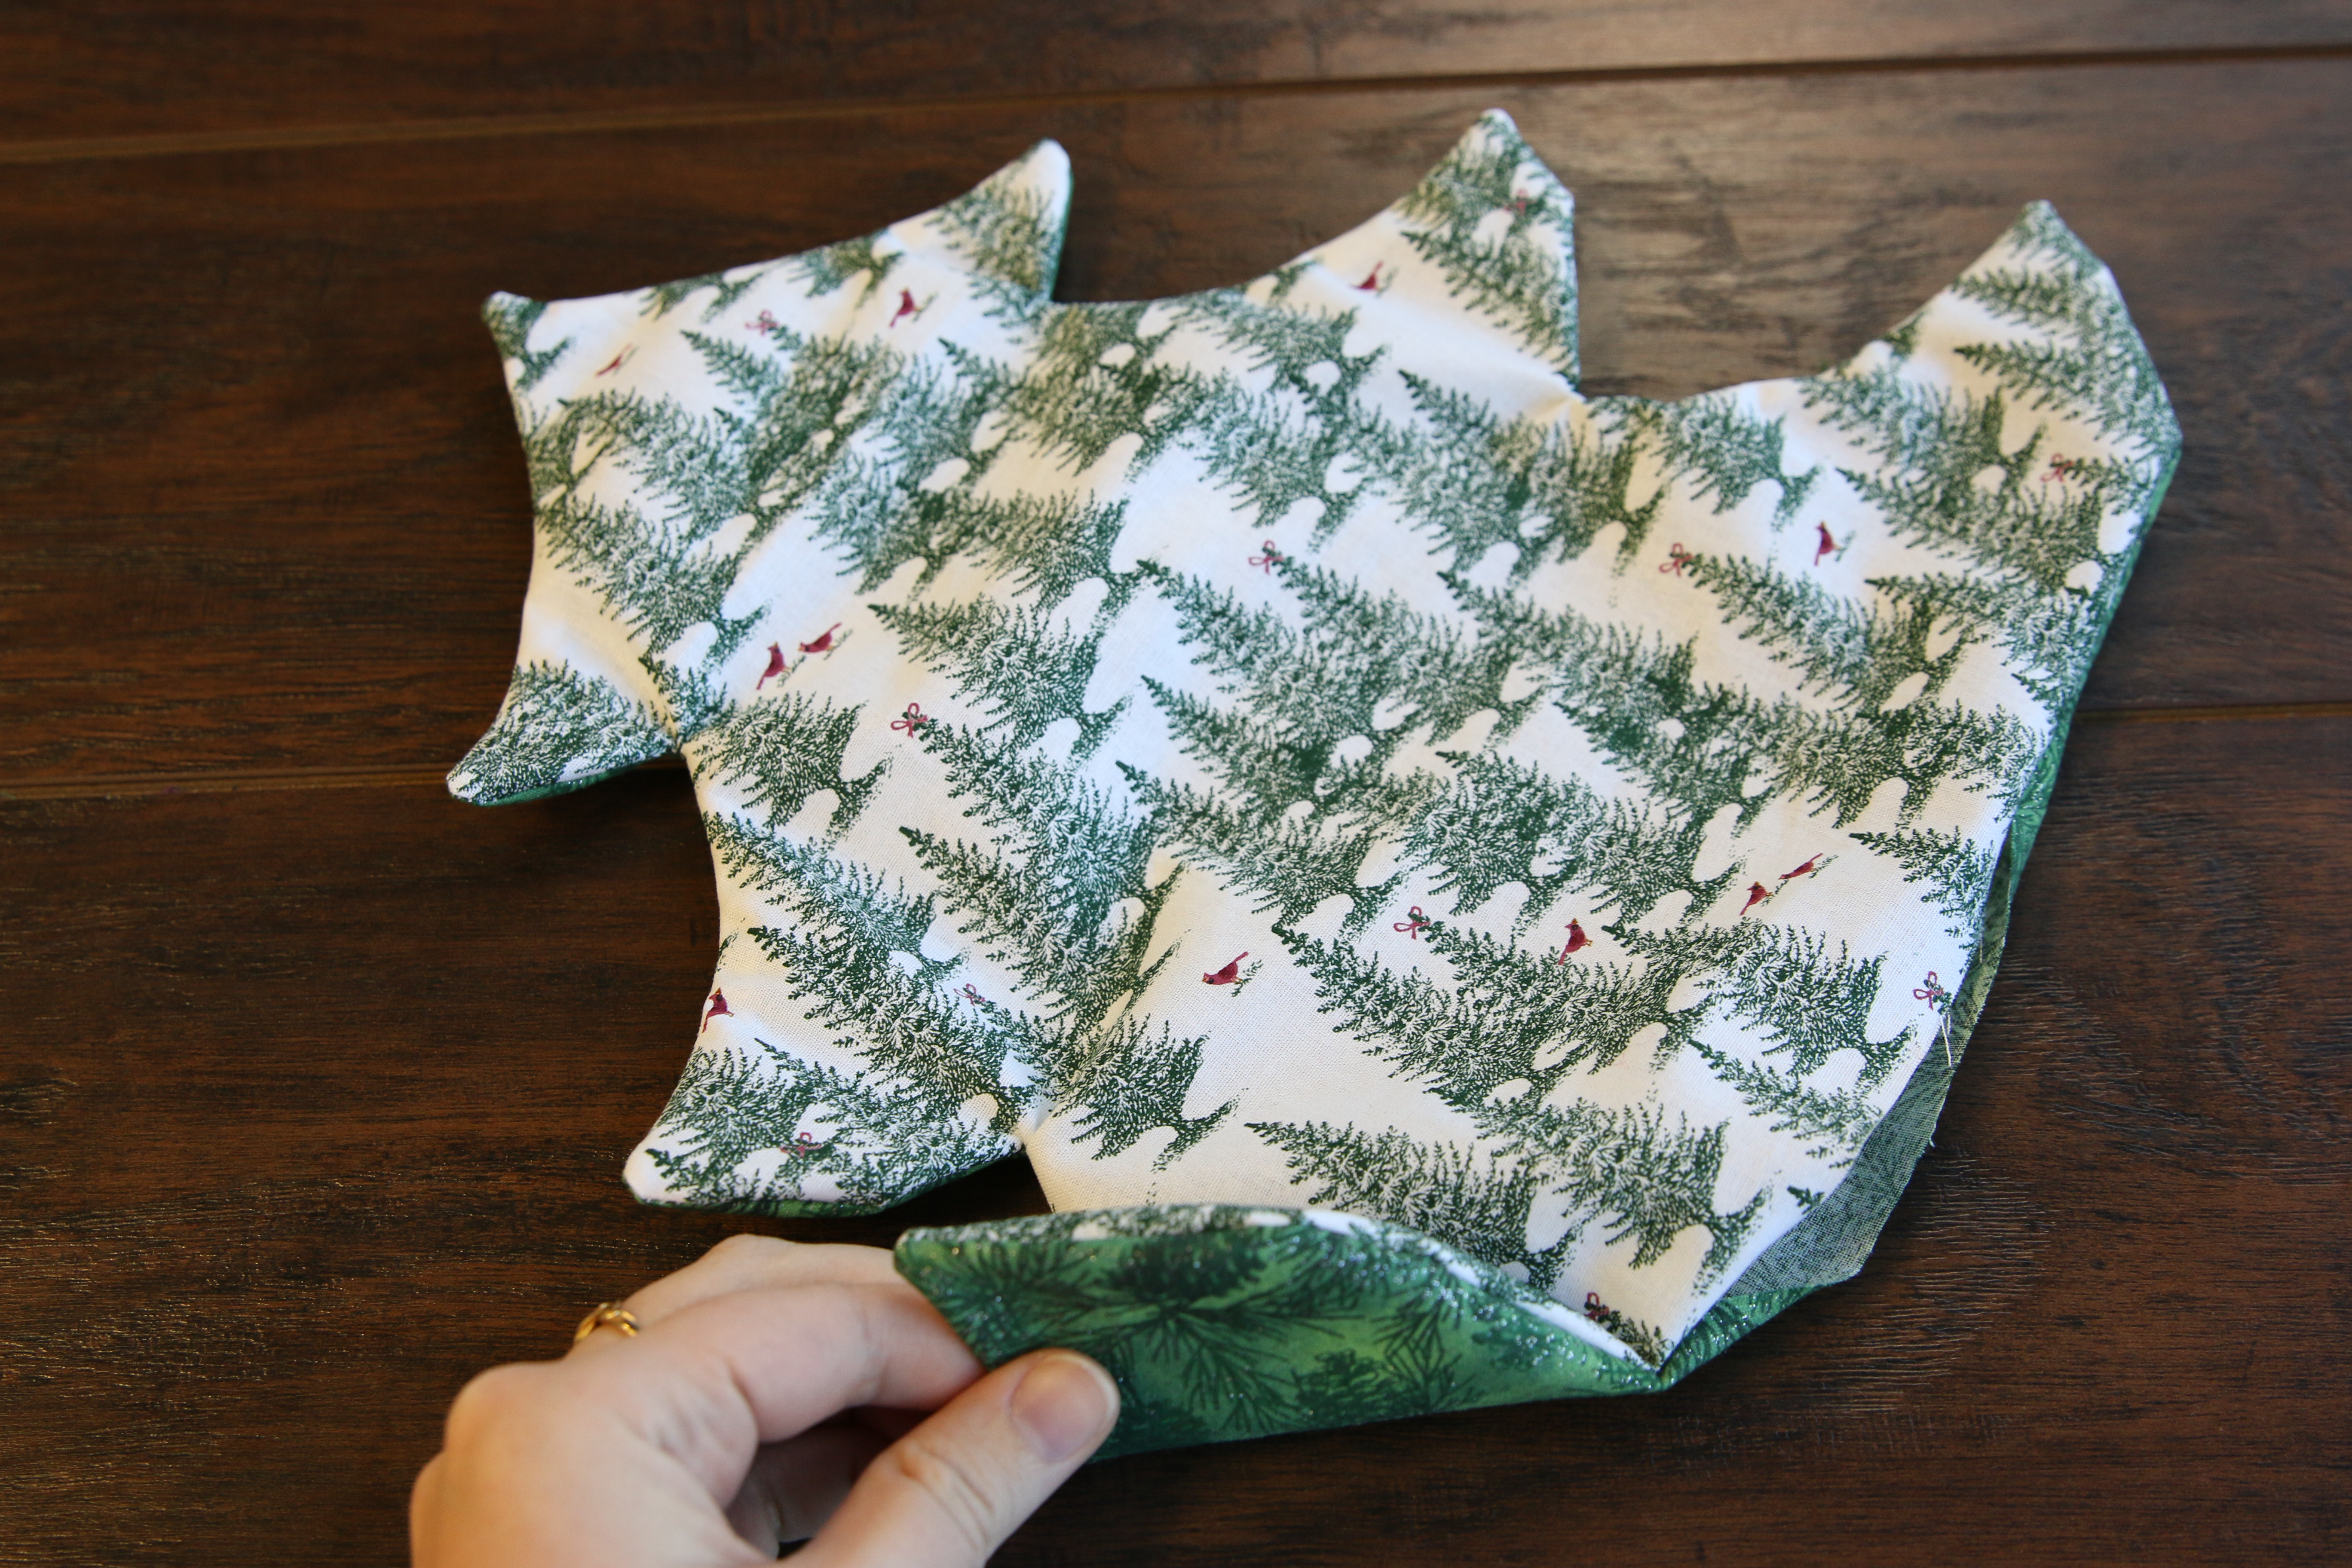
Then turn the tree right side out. Gently use a pencil or end of a paint brush to push the points out, but be gentle so you don’t rip the fabric from the seam.
5
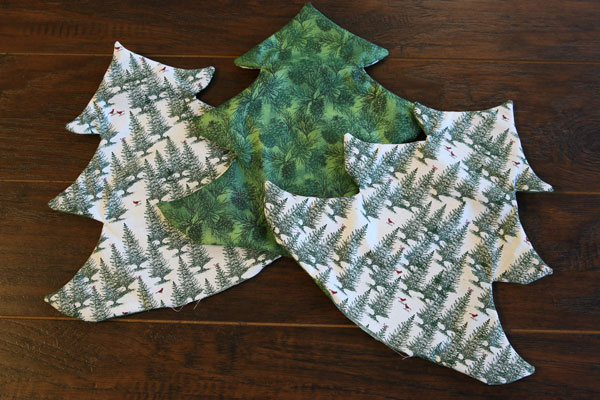
Then repeat to make two more tree pieces with the main color (color 1) on the front, and the accent color (color 2) on the back.
6
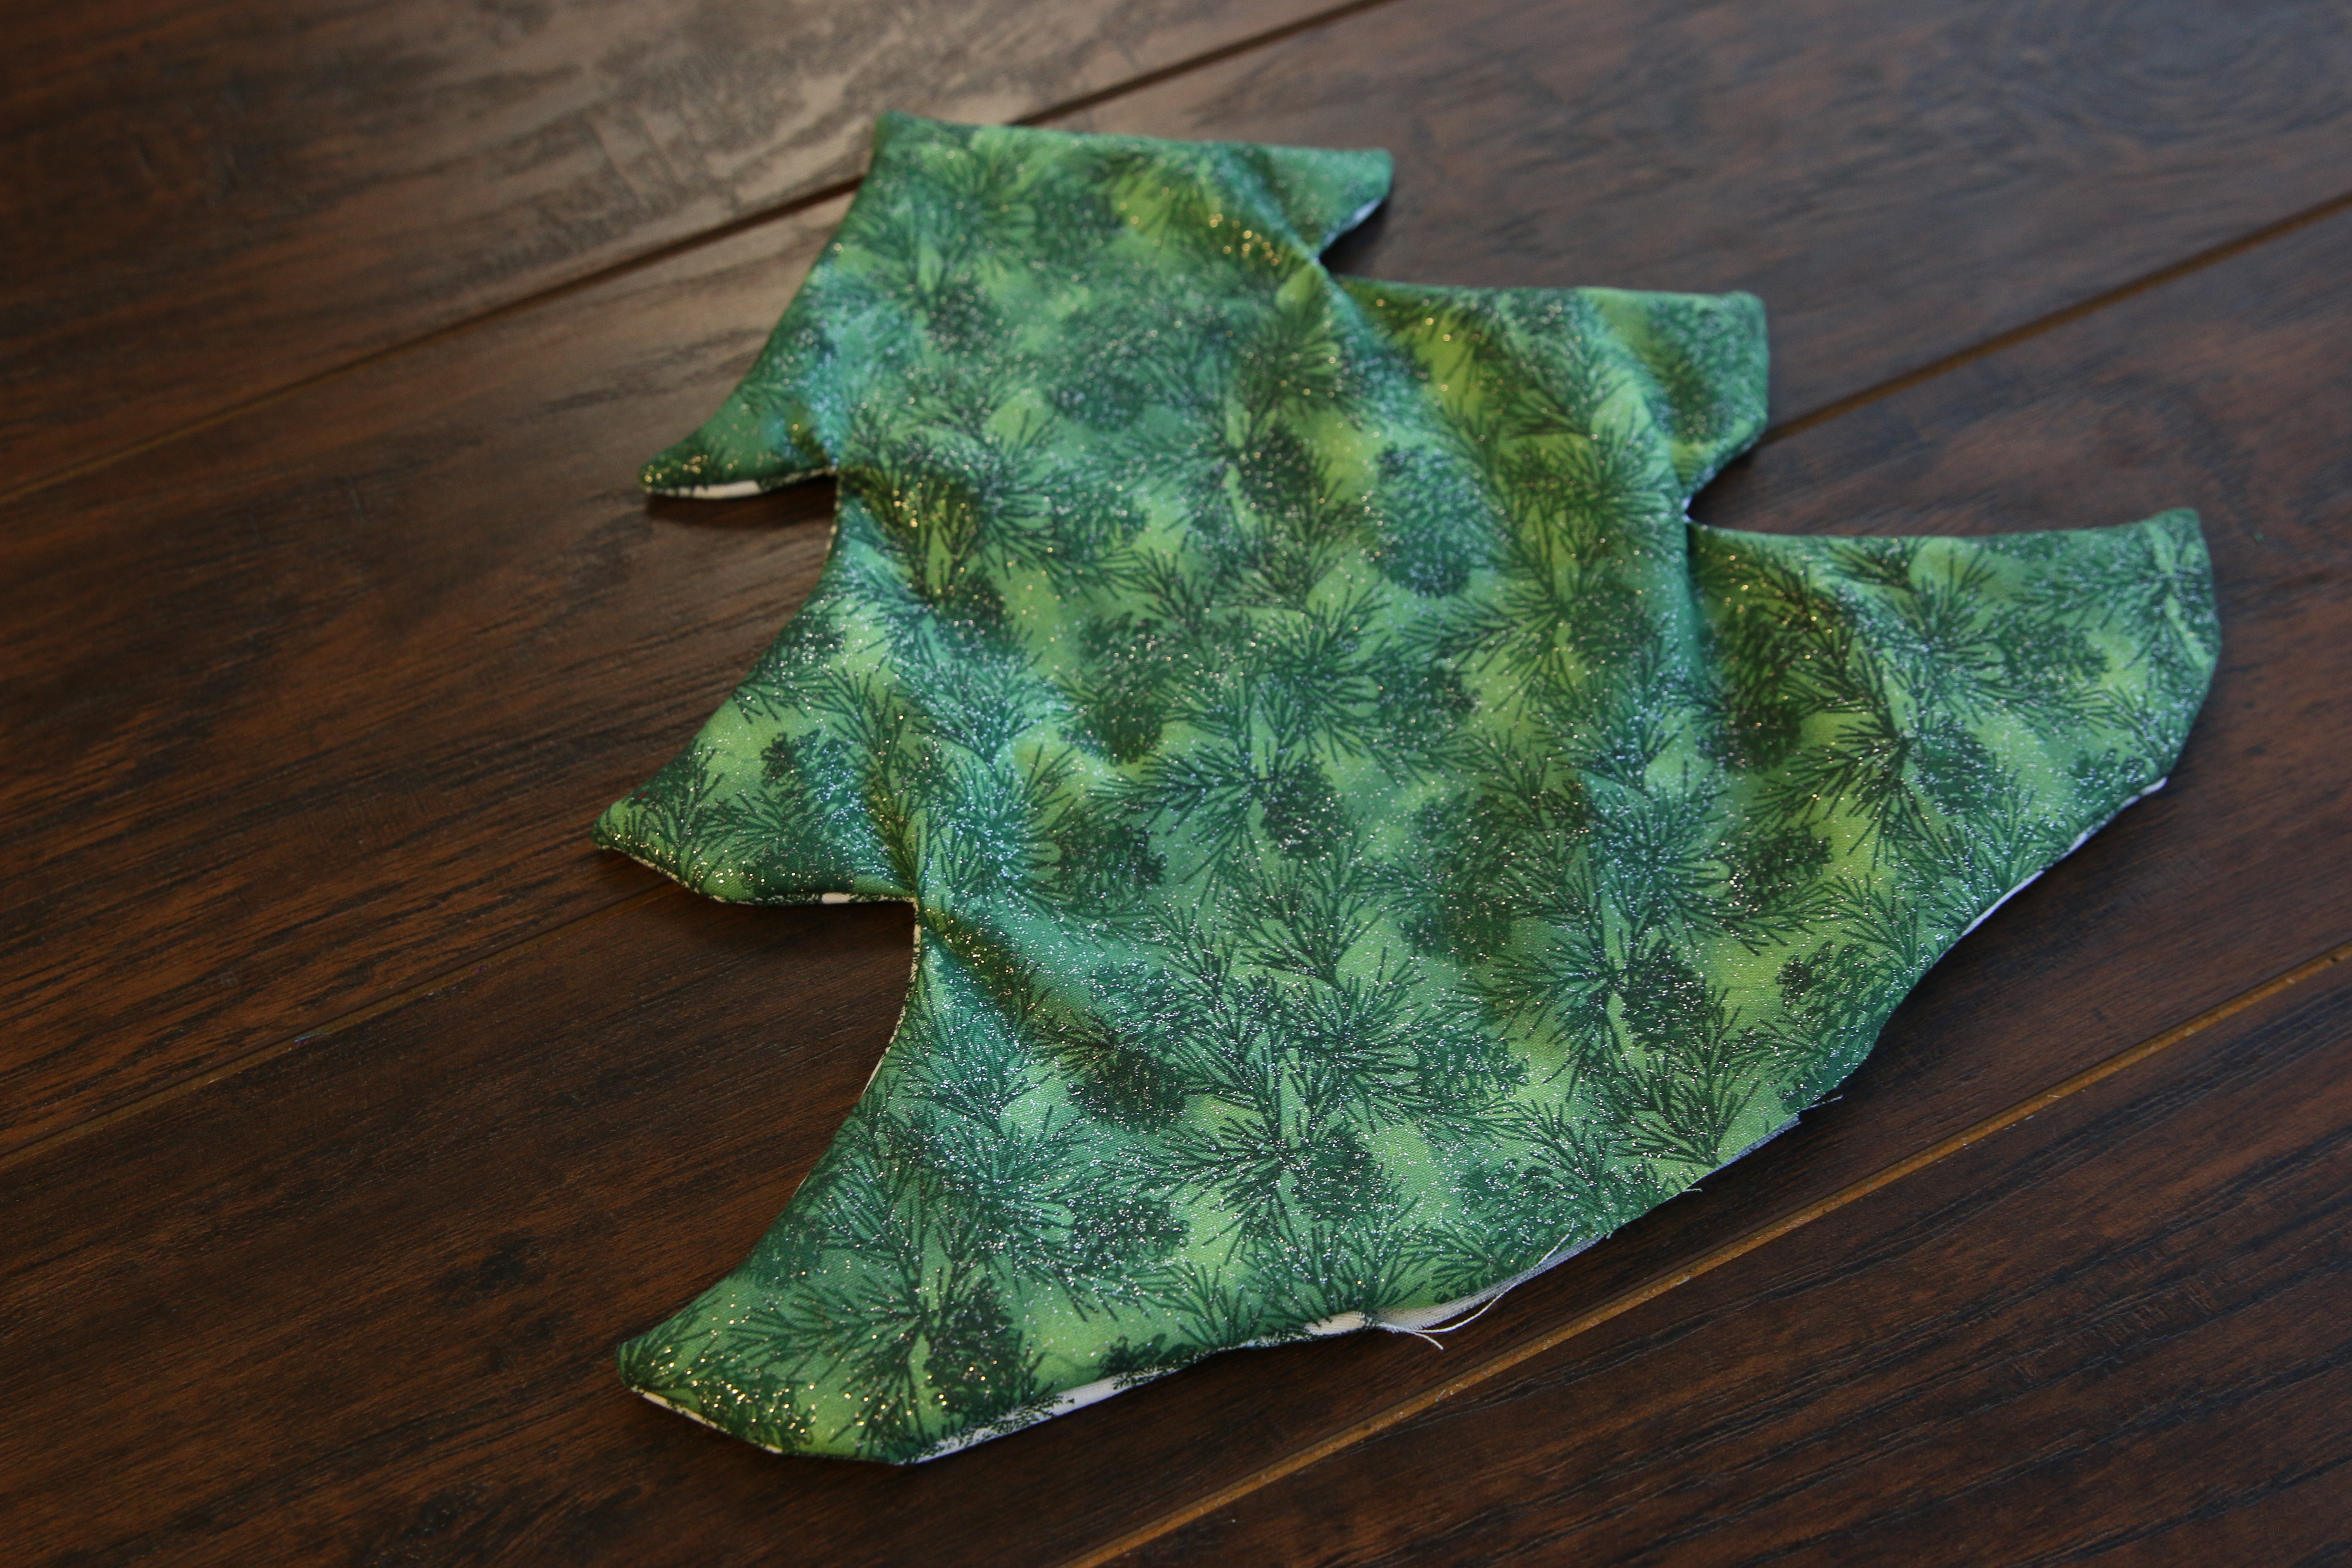
Next we will stack the three tree piece in a specific way. First, lay one piece on the table with the main color (color 1) facing up.
7
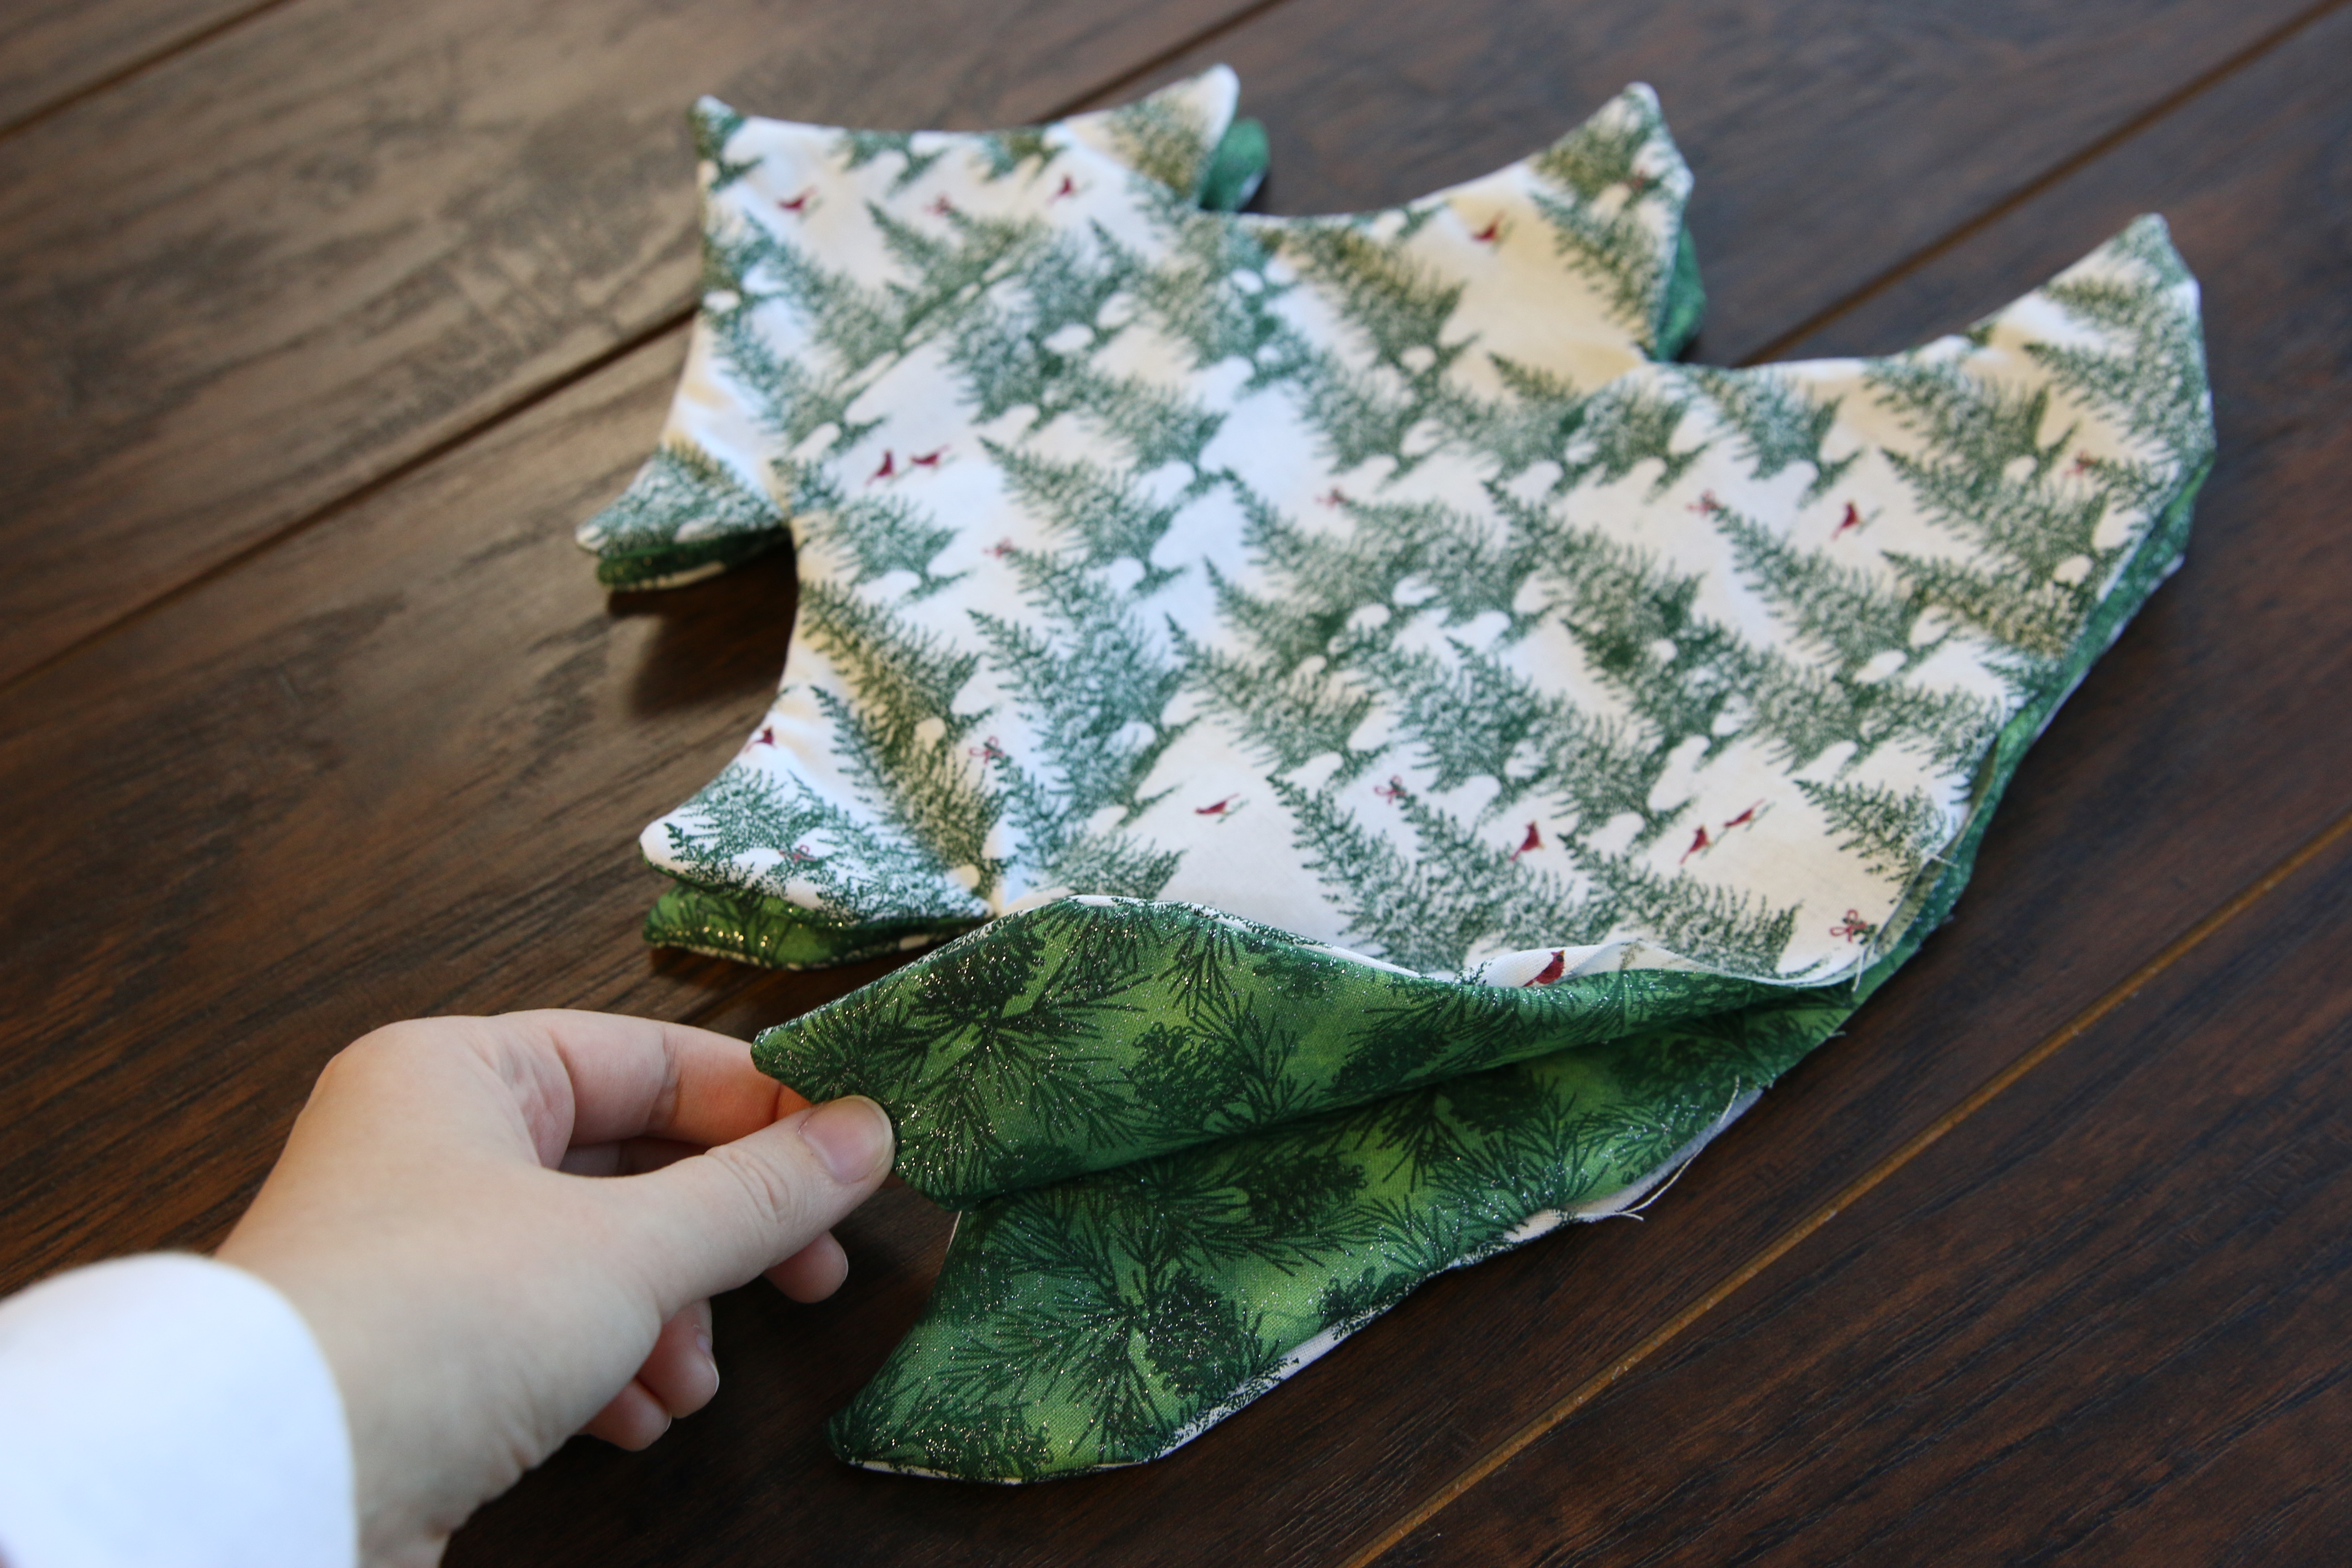
Then lay the second tree piece on top of it with the main color (color 1) facing down. This will mean the two main color (color 1) sides will be together.
8
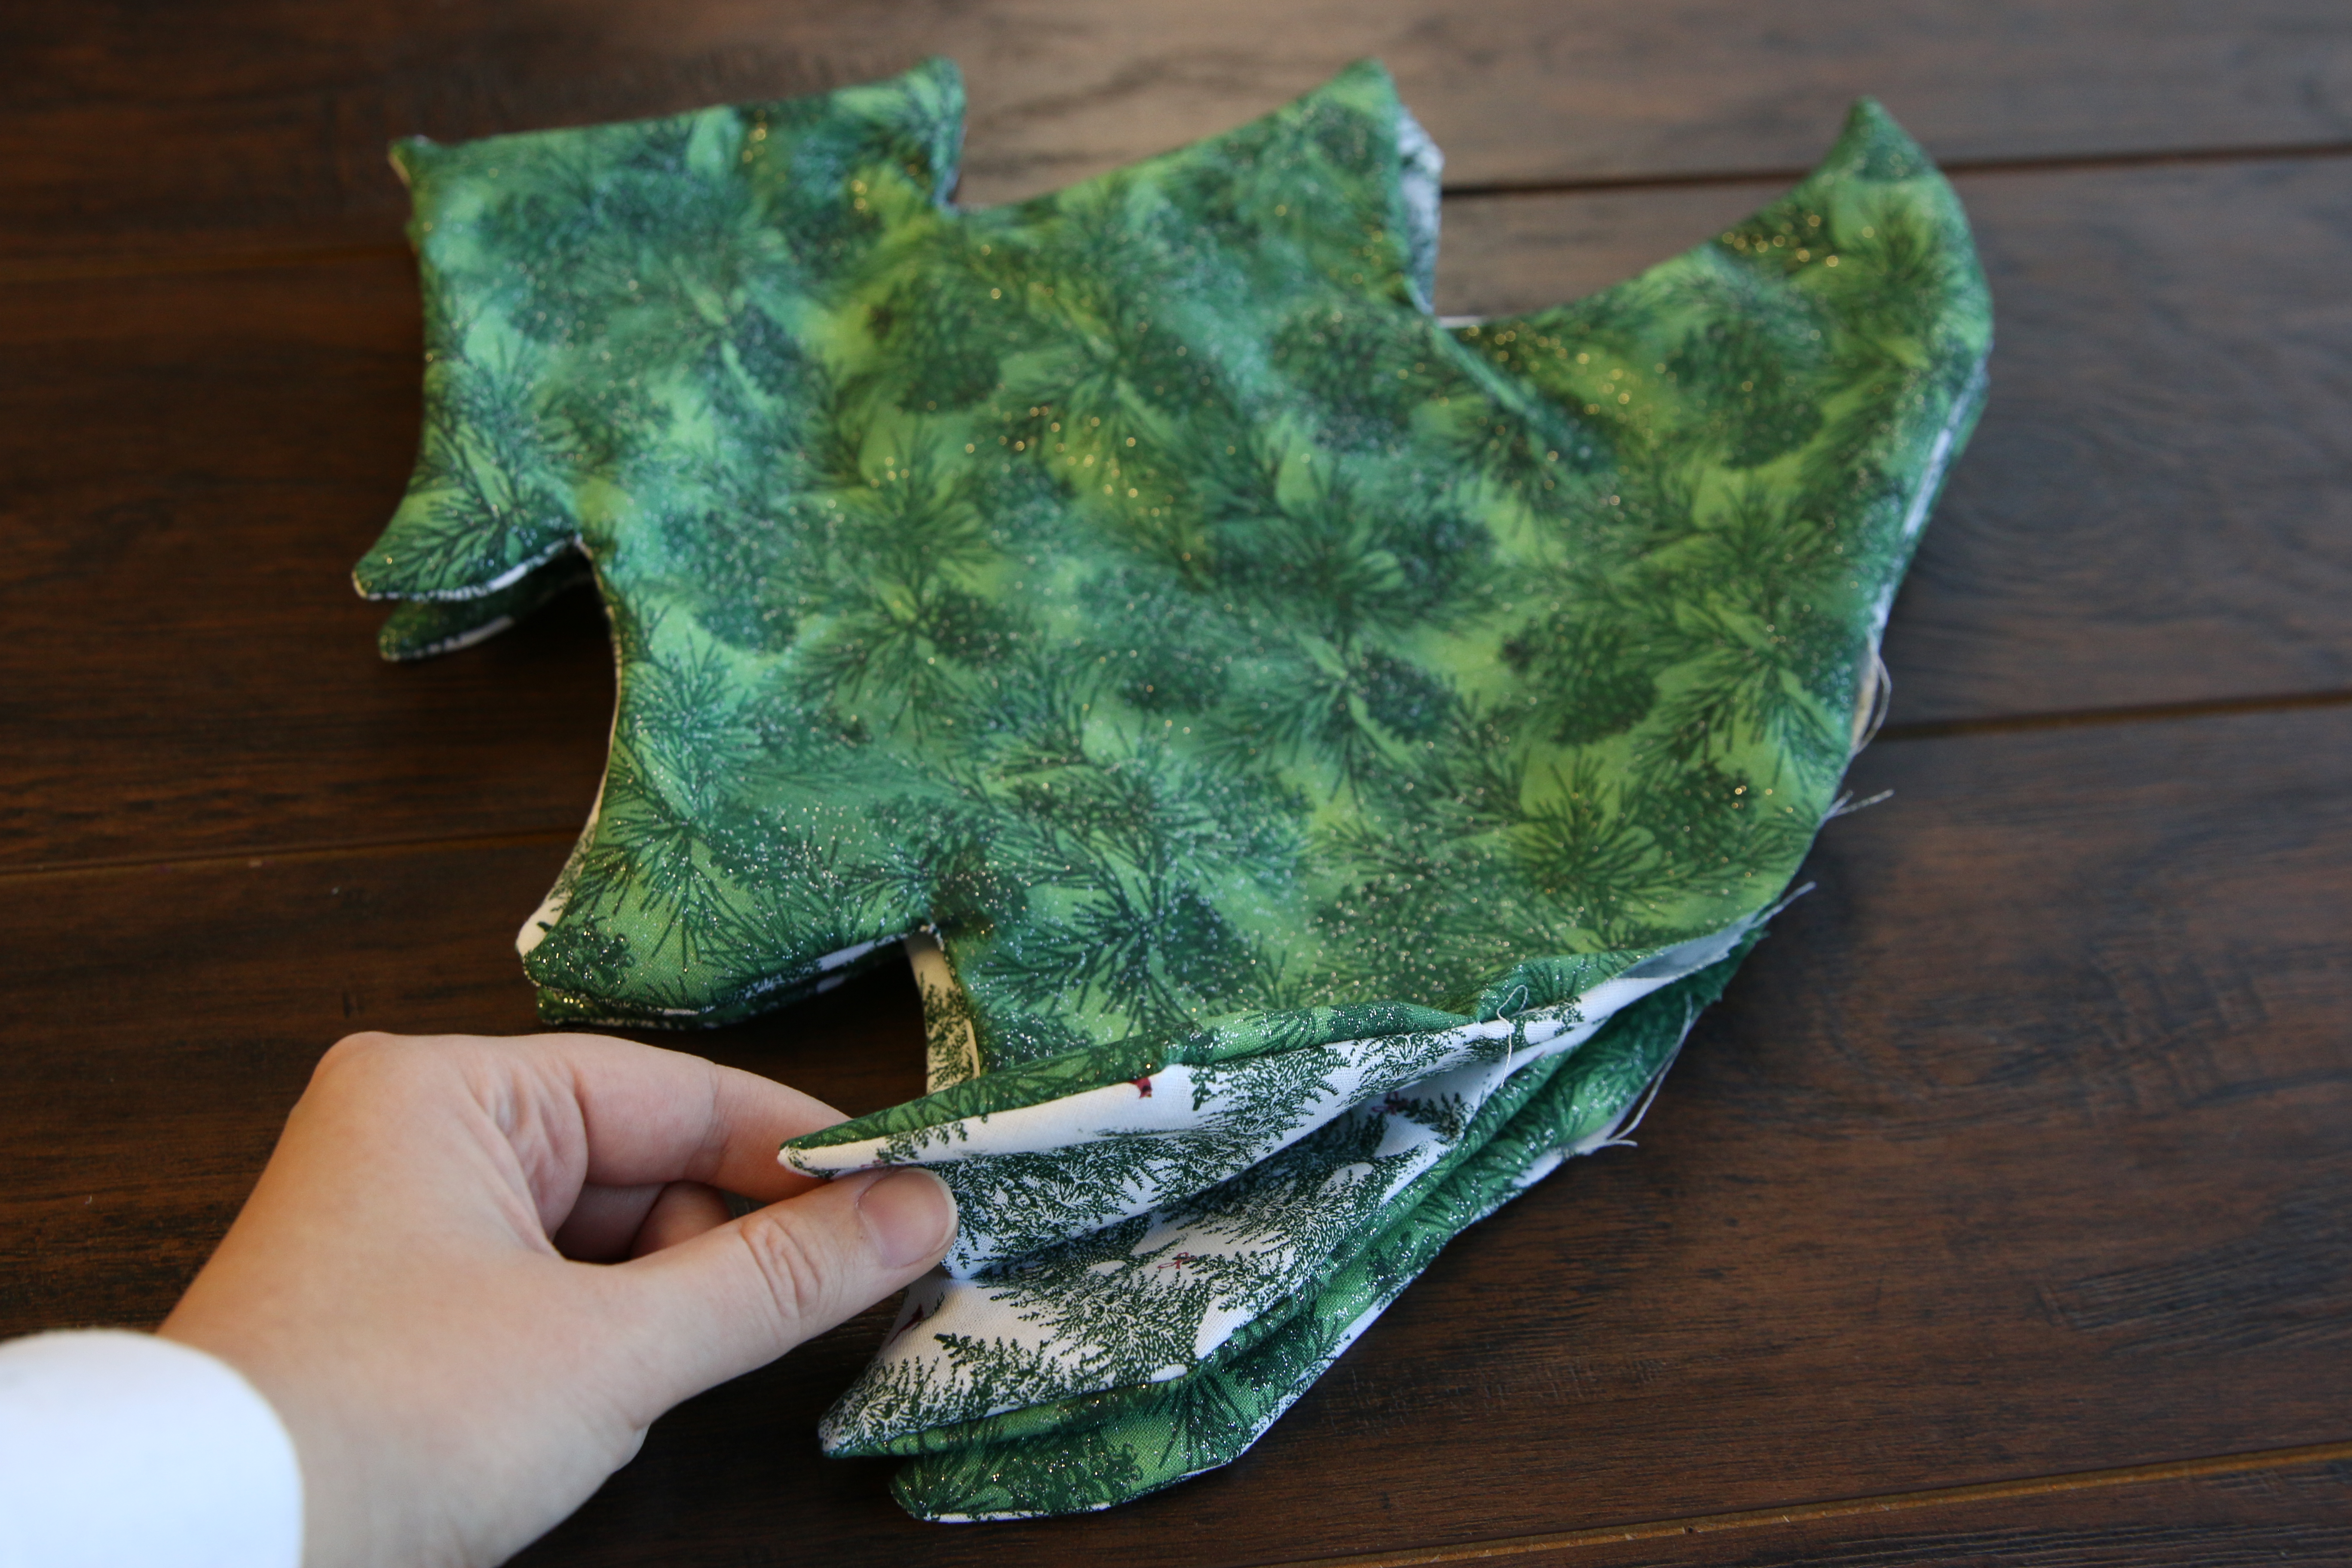
Then place the third tree piece on top of the second with the accent color (color 2) facing down. This will mean the two accent color (color 2) sides will be together, and the main color (color 1) will be facing up.
9
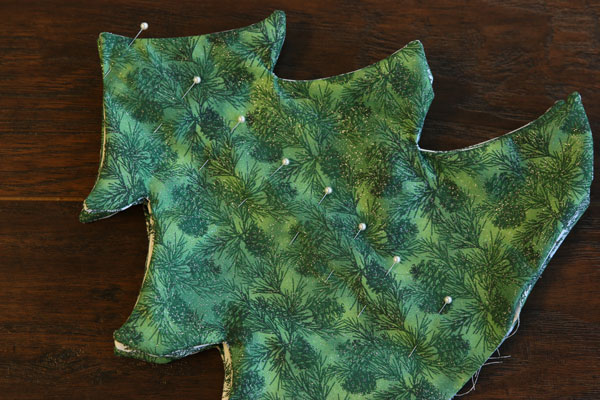
Then pin the three tree pieces together down the center of the shape.
10

Starting 1” away from the open bottom edge, sew straight up the center of the tree to the very top point.
11
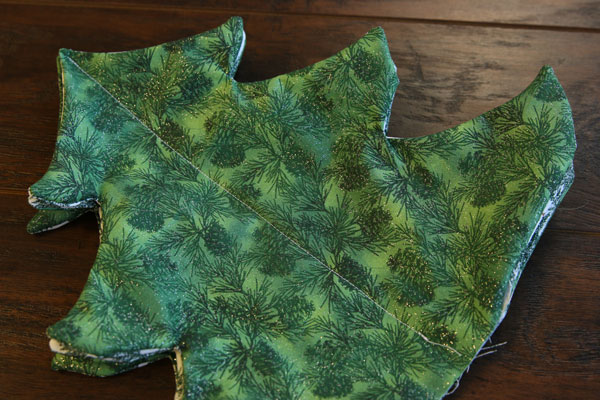
This will hold the three tree piece together, and create the 6 sections of the Christmas Tree plush.
12
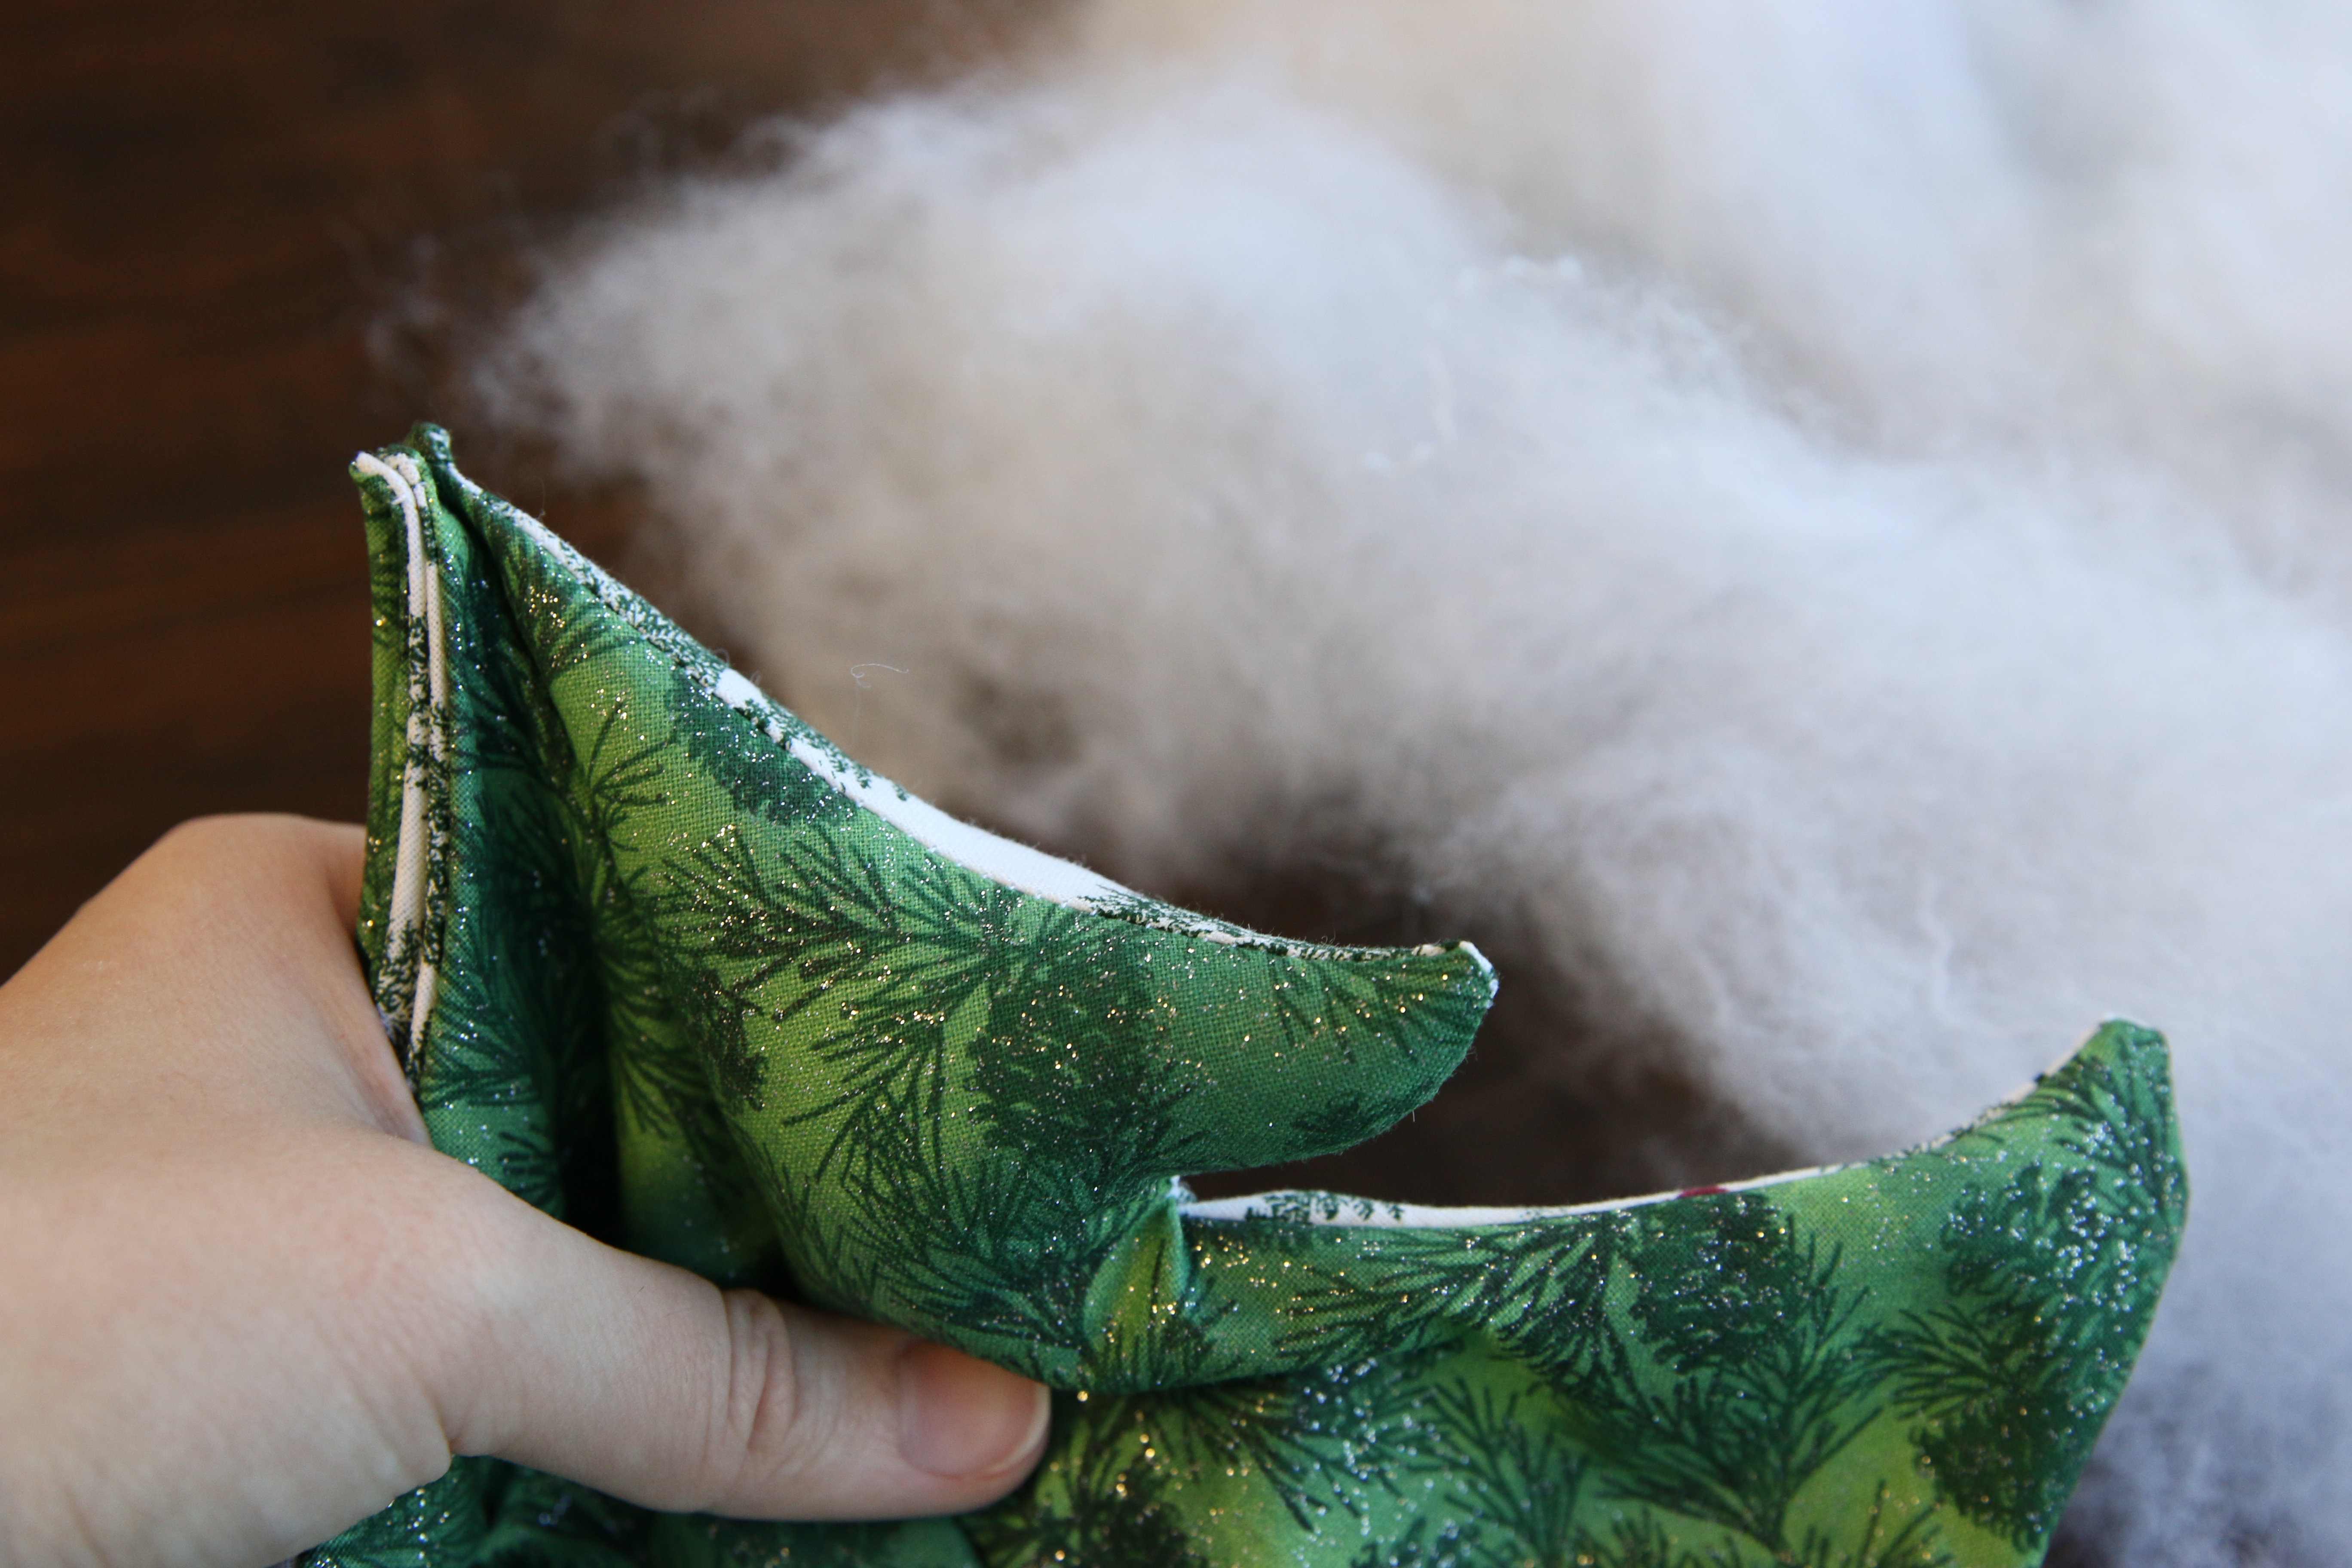
For easiest stuffing, first stuff just the top branches of all six sections of the tree.
13
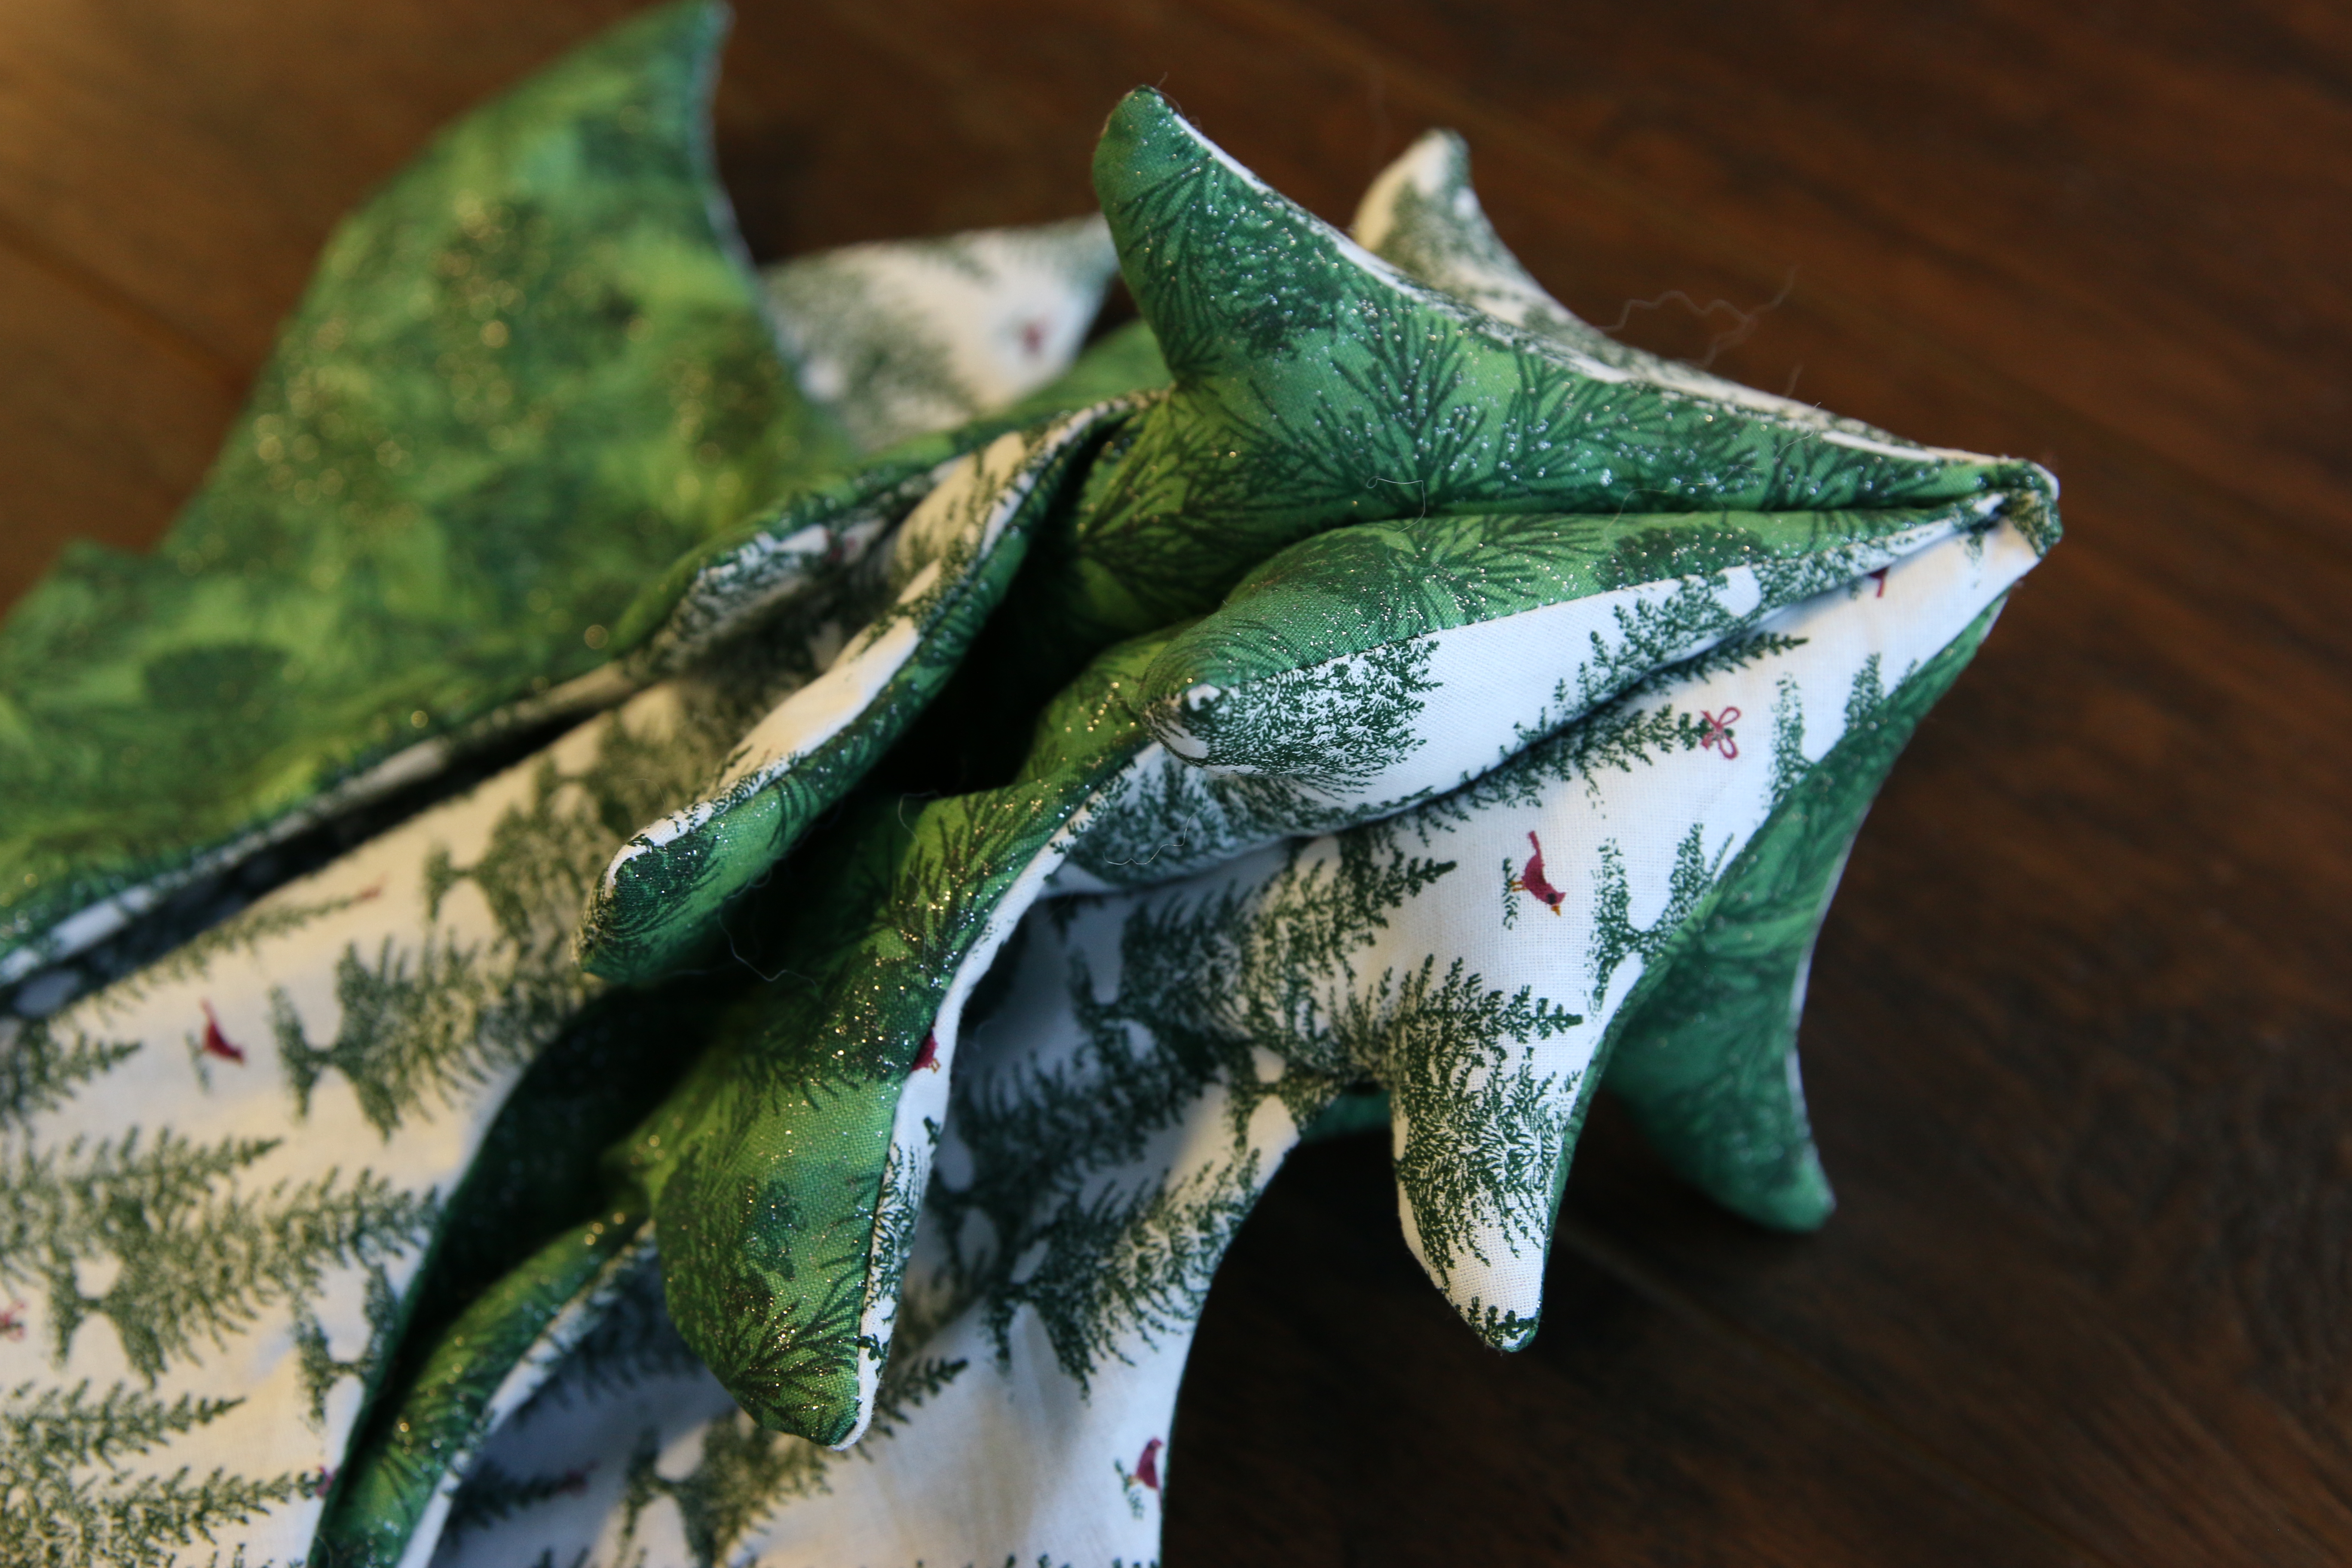
Stuffing the top of each of them first makes this tree much easier to stuff, because it you stuff one entire side at a time, it becomes very hard to reach the top of the next section when stuffing.
14
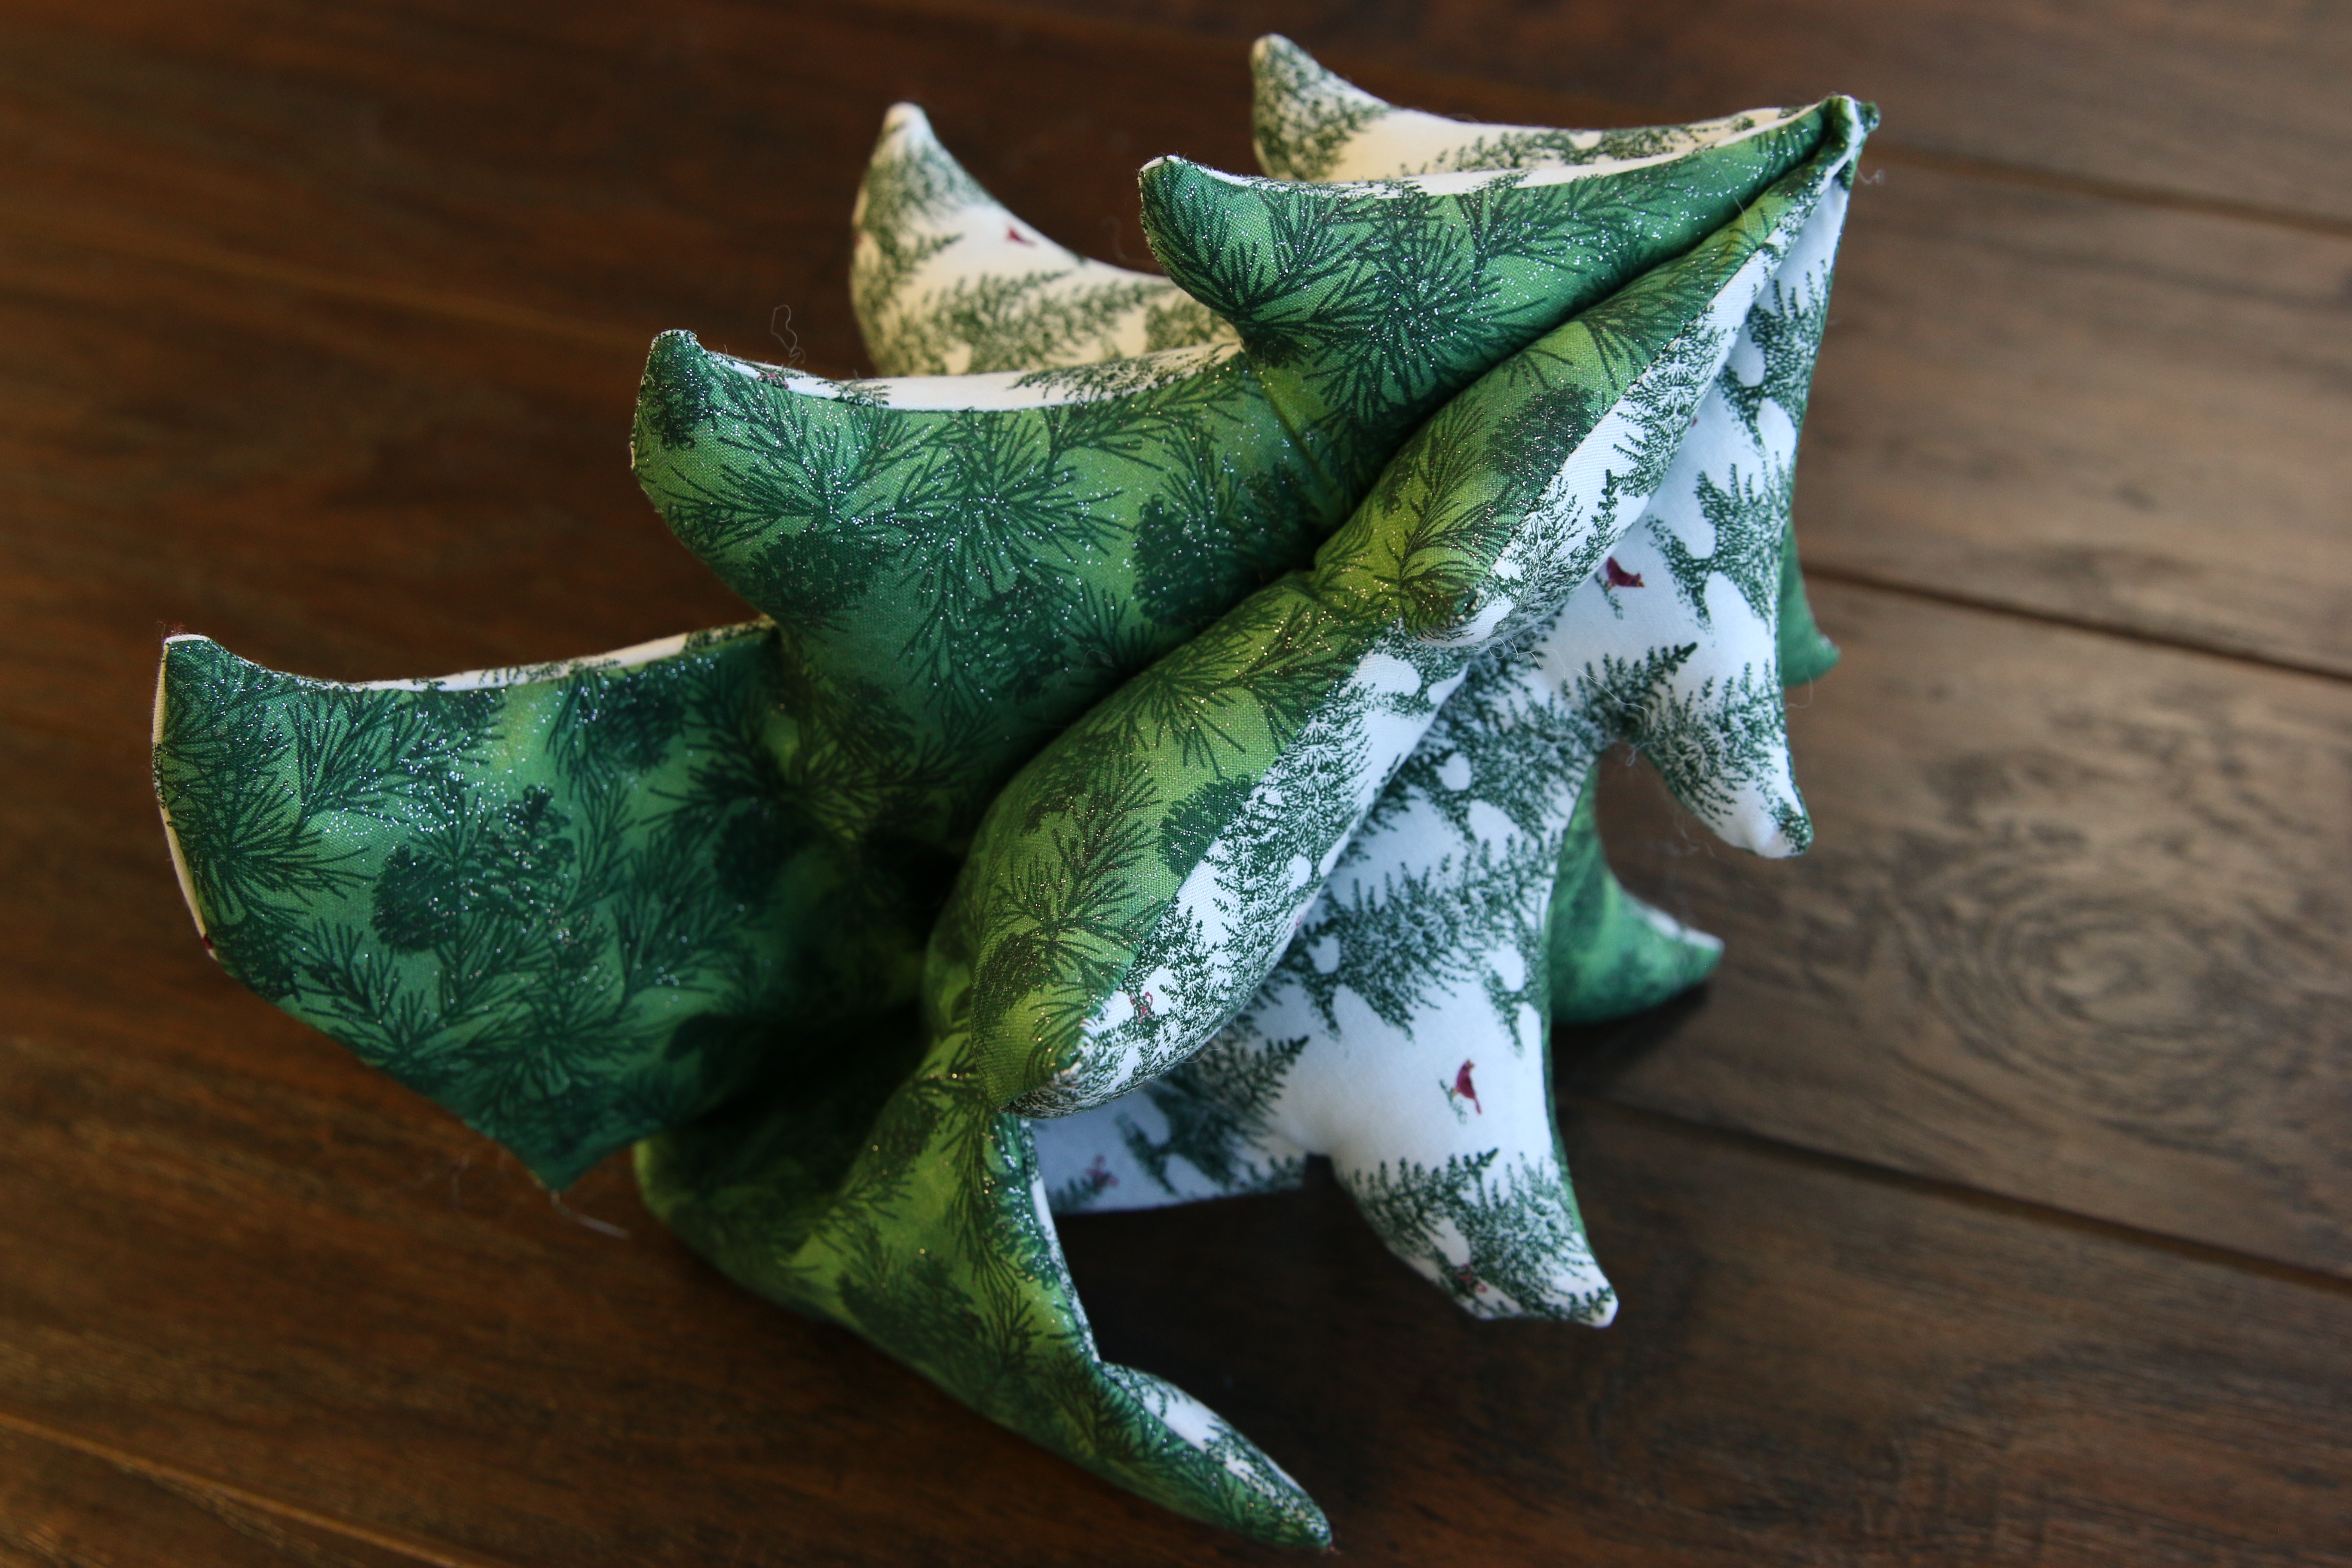
Then repeat to stuff the middle branches of all six sections of the tree.
15
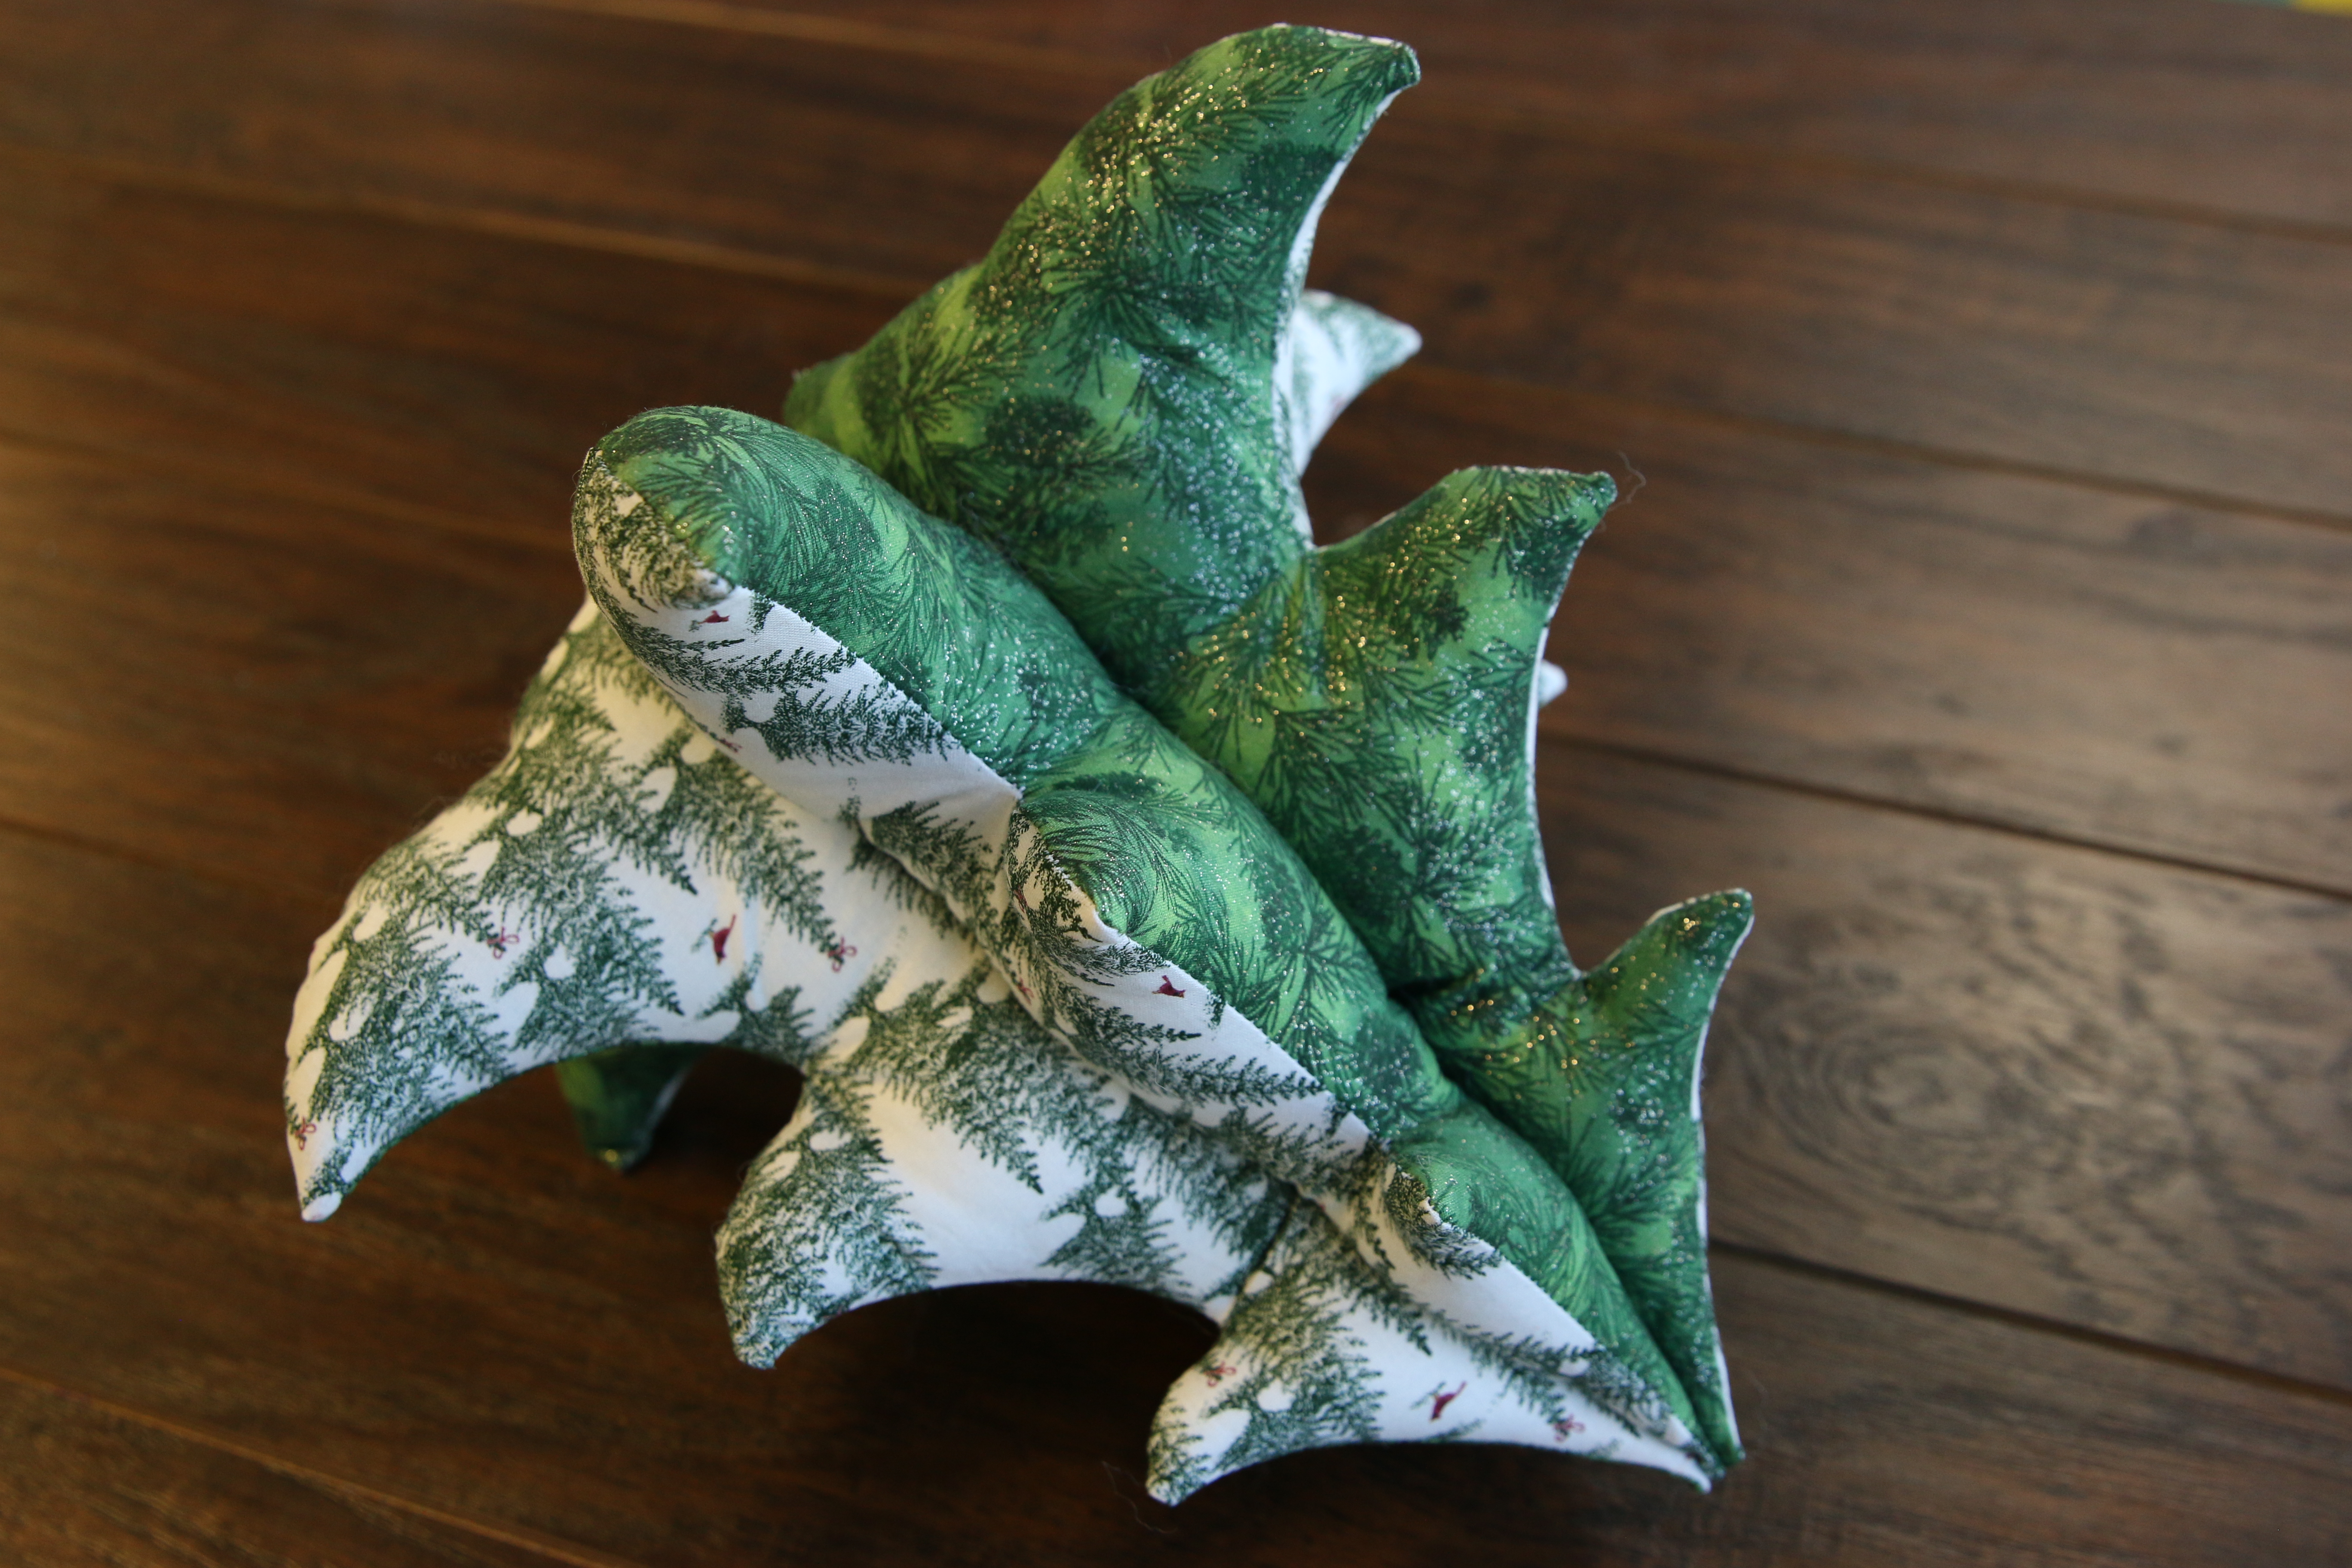
Finally stuff the lower branches of all six sections, but make sure to not stuff the bottom of the tree too much. If the bottom center of the pokes out too much, the tree will not sit flat. Instead stuff the branch part of the bottom firmly, and leave less stuffing as you get back to the center of the tree.
16
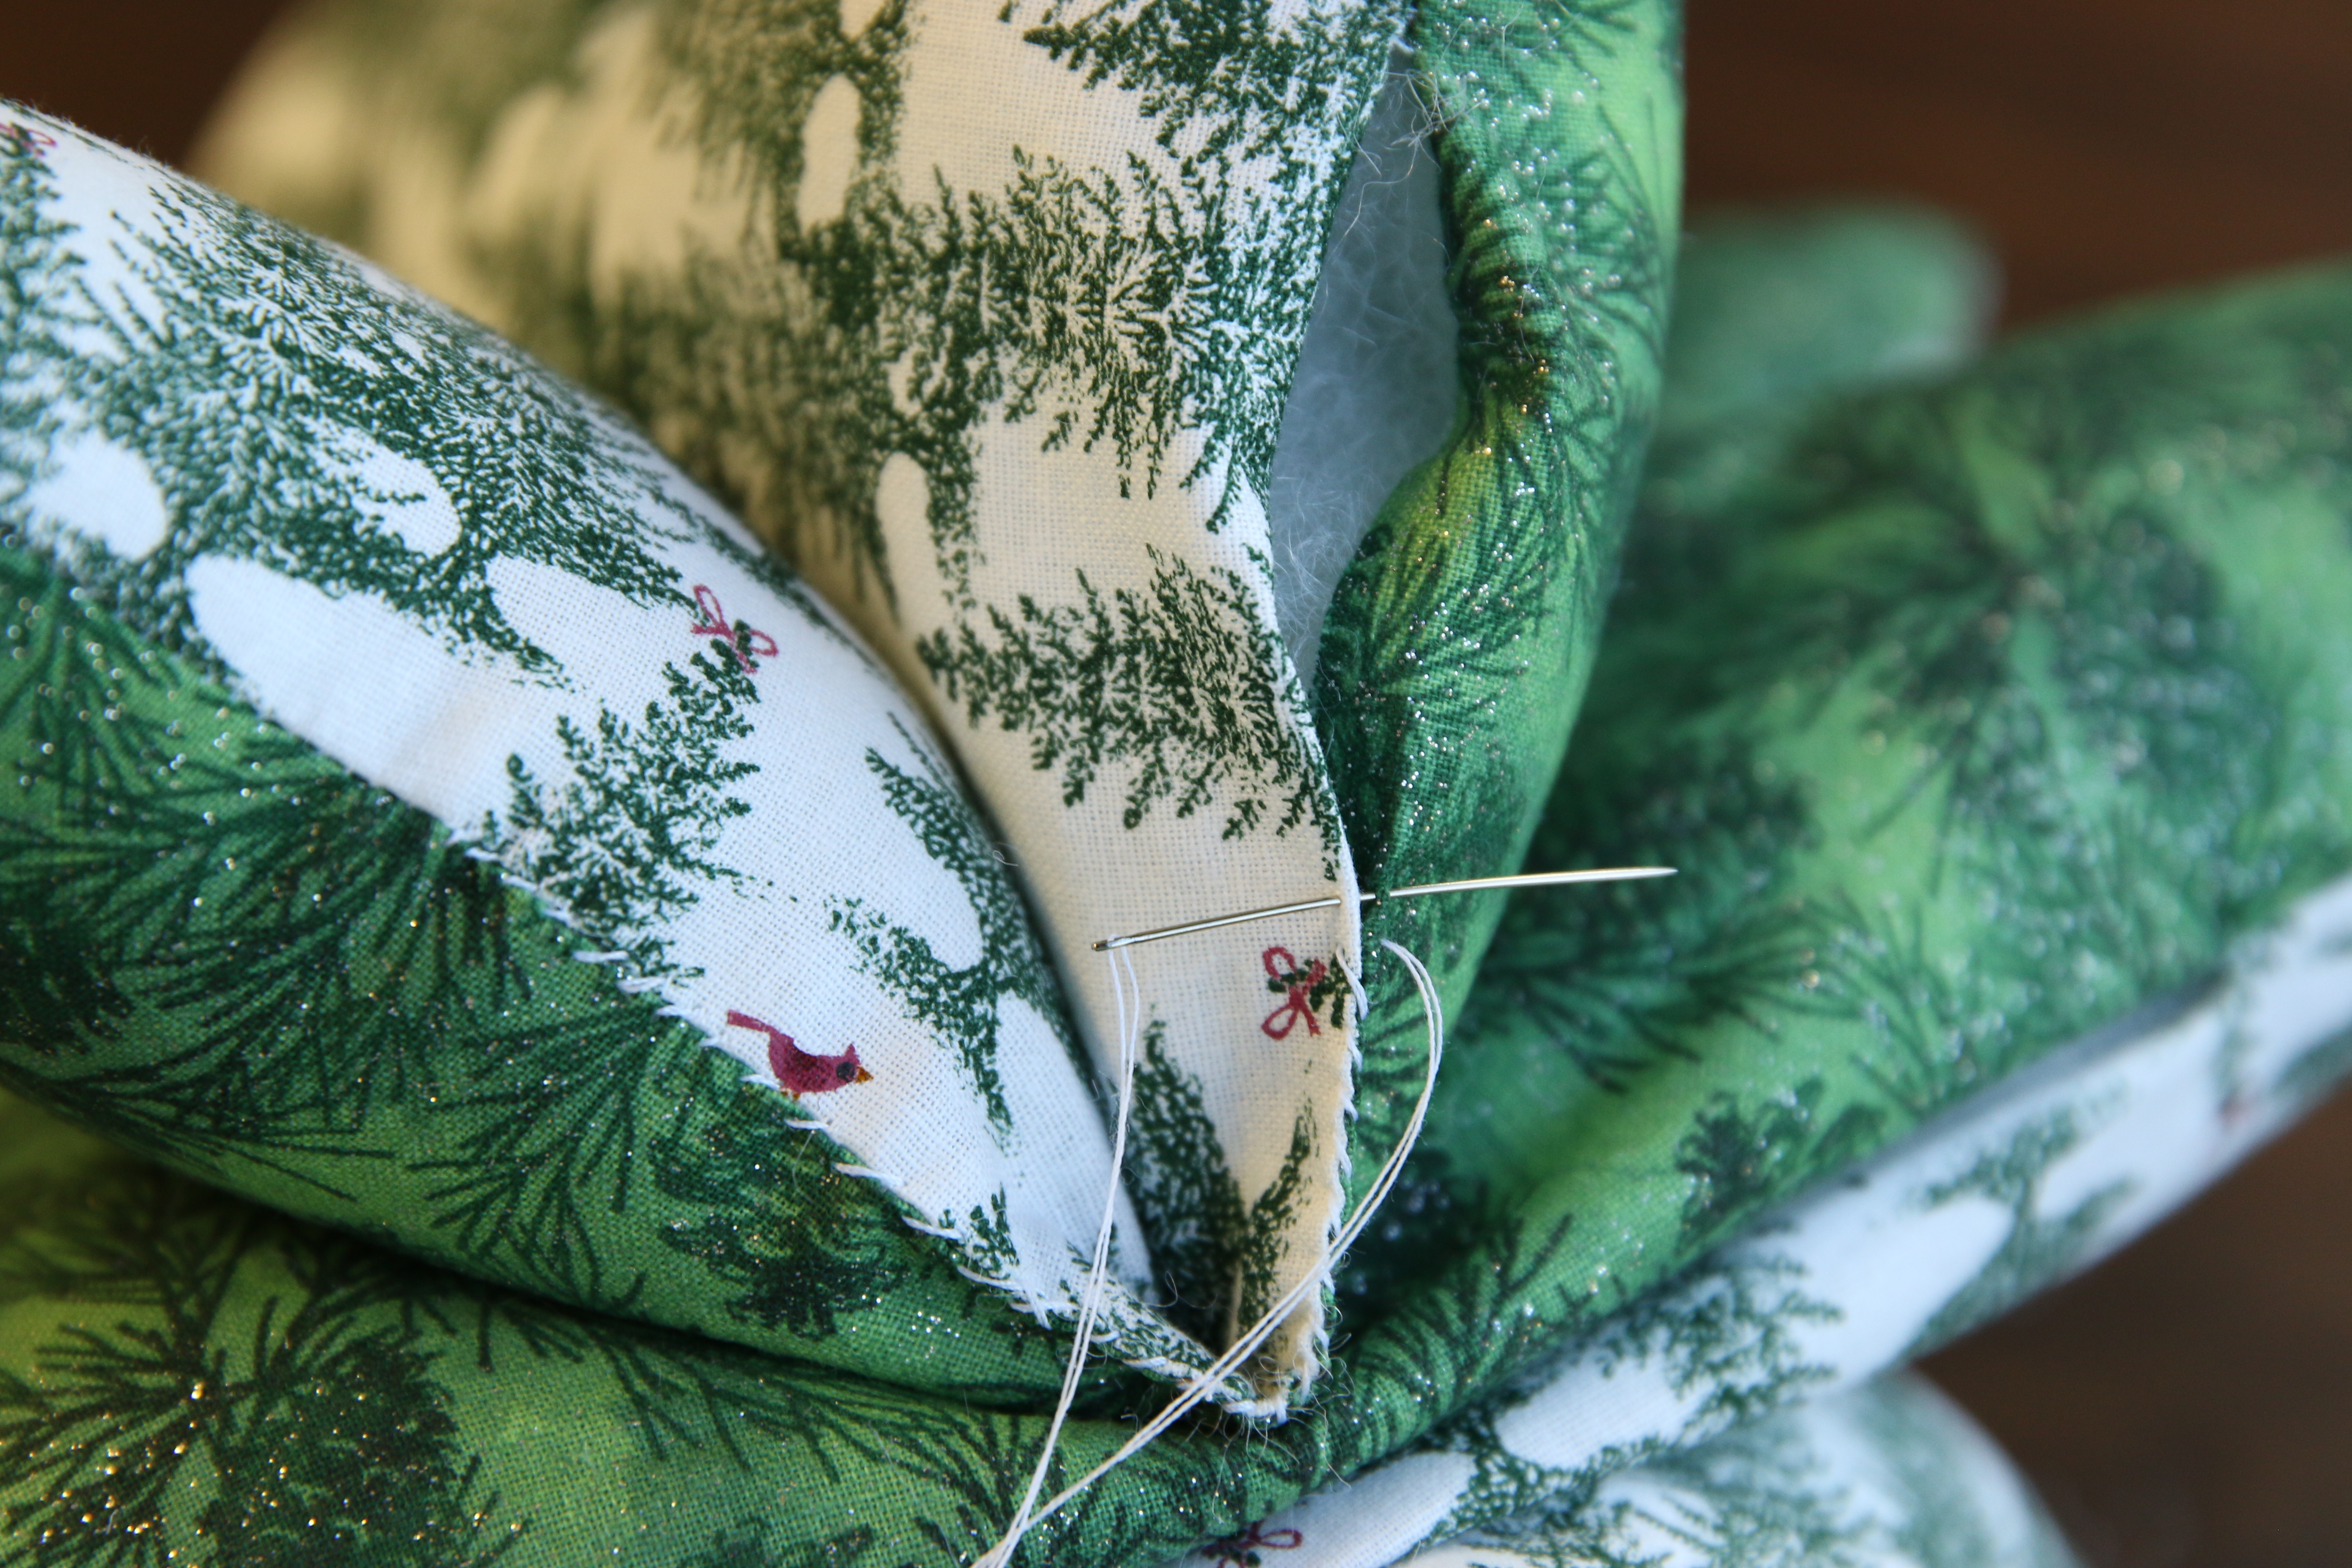
To close the openings, fold in the raw edges in 1/4” in at the outside of the branches, but fold the raw edges towards the middle of the tree in 1/2” until they touch the stitching inside the center of the tree. Use a hand sewing needle and matching thread to sew the first opening closed.
17
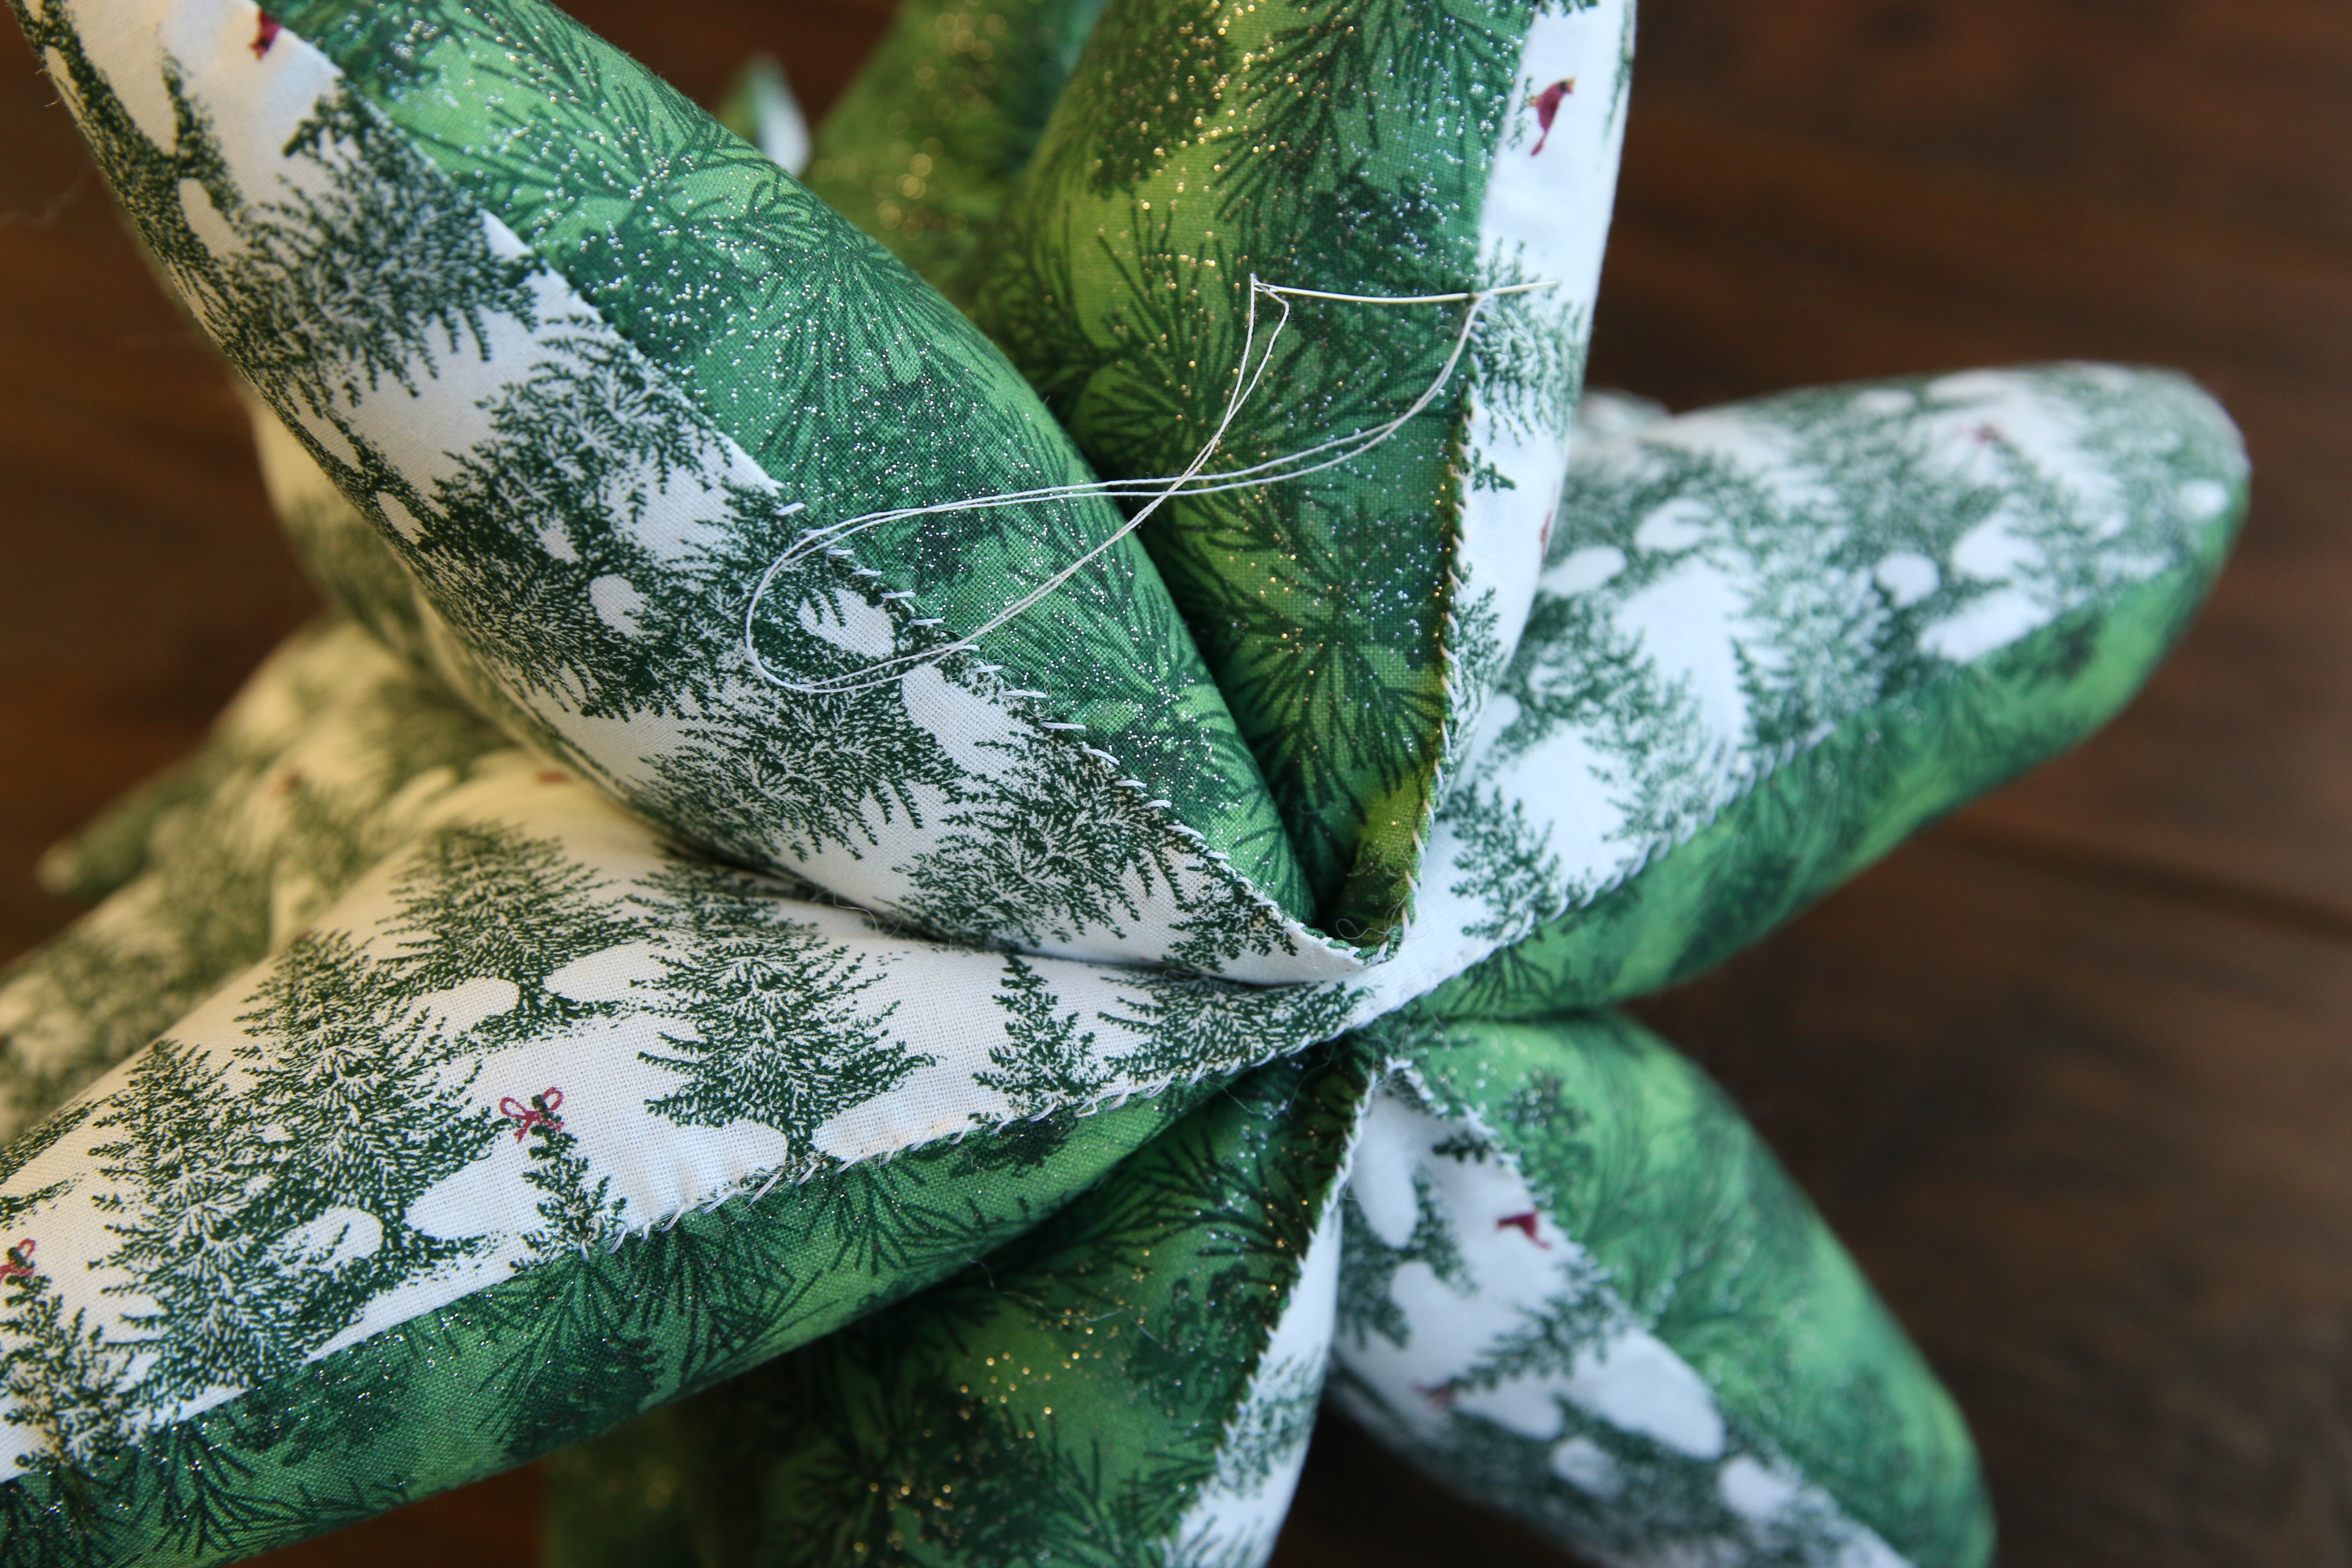
Repeat to close all three openings.
18
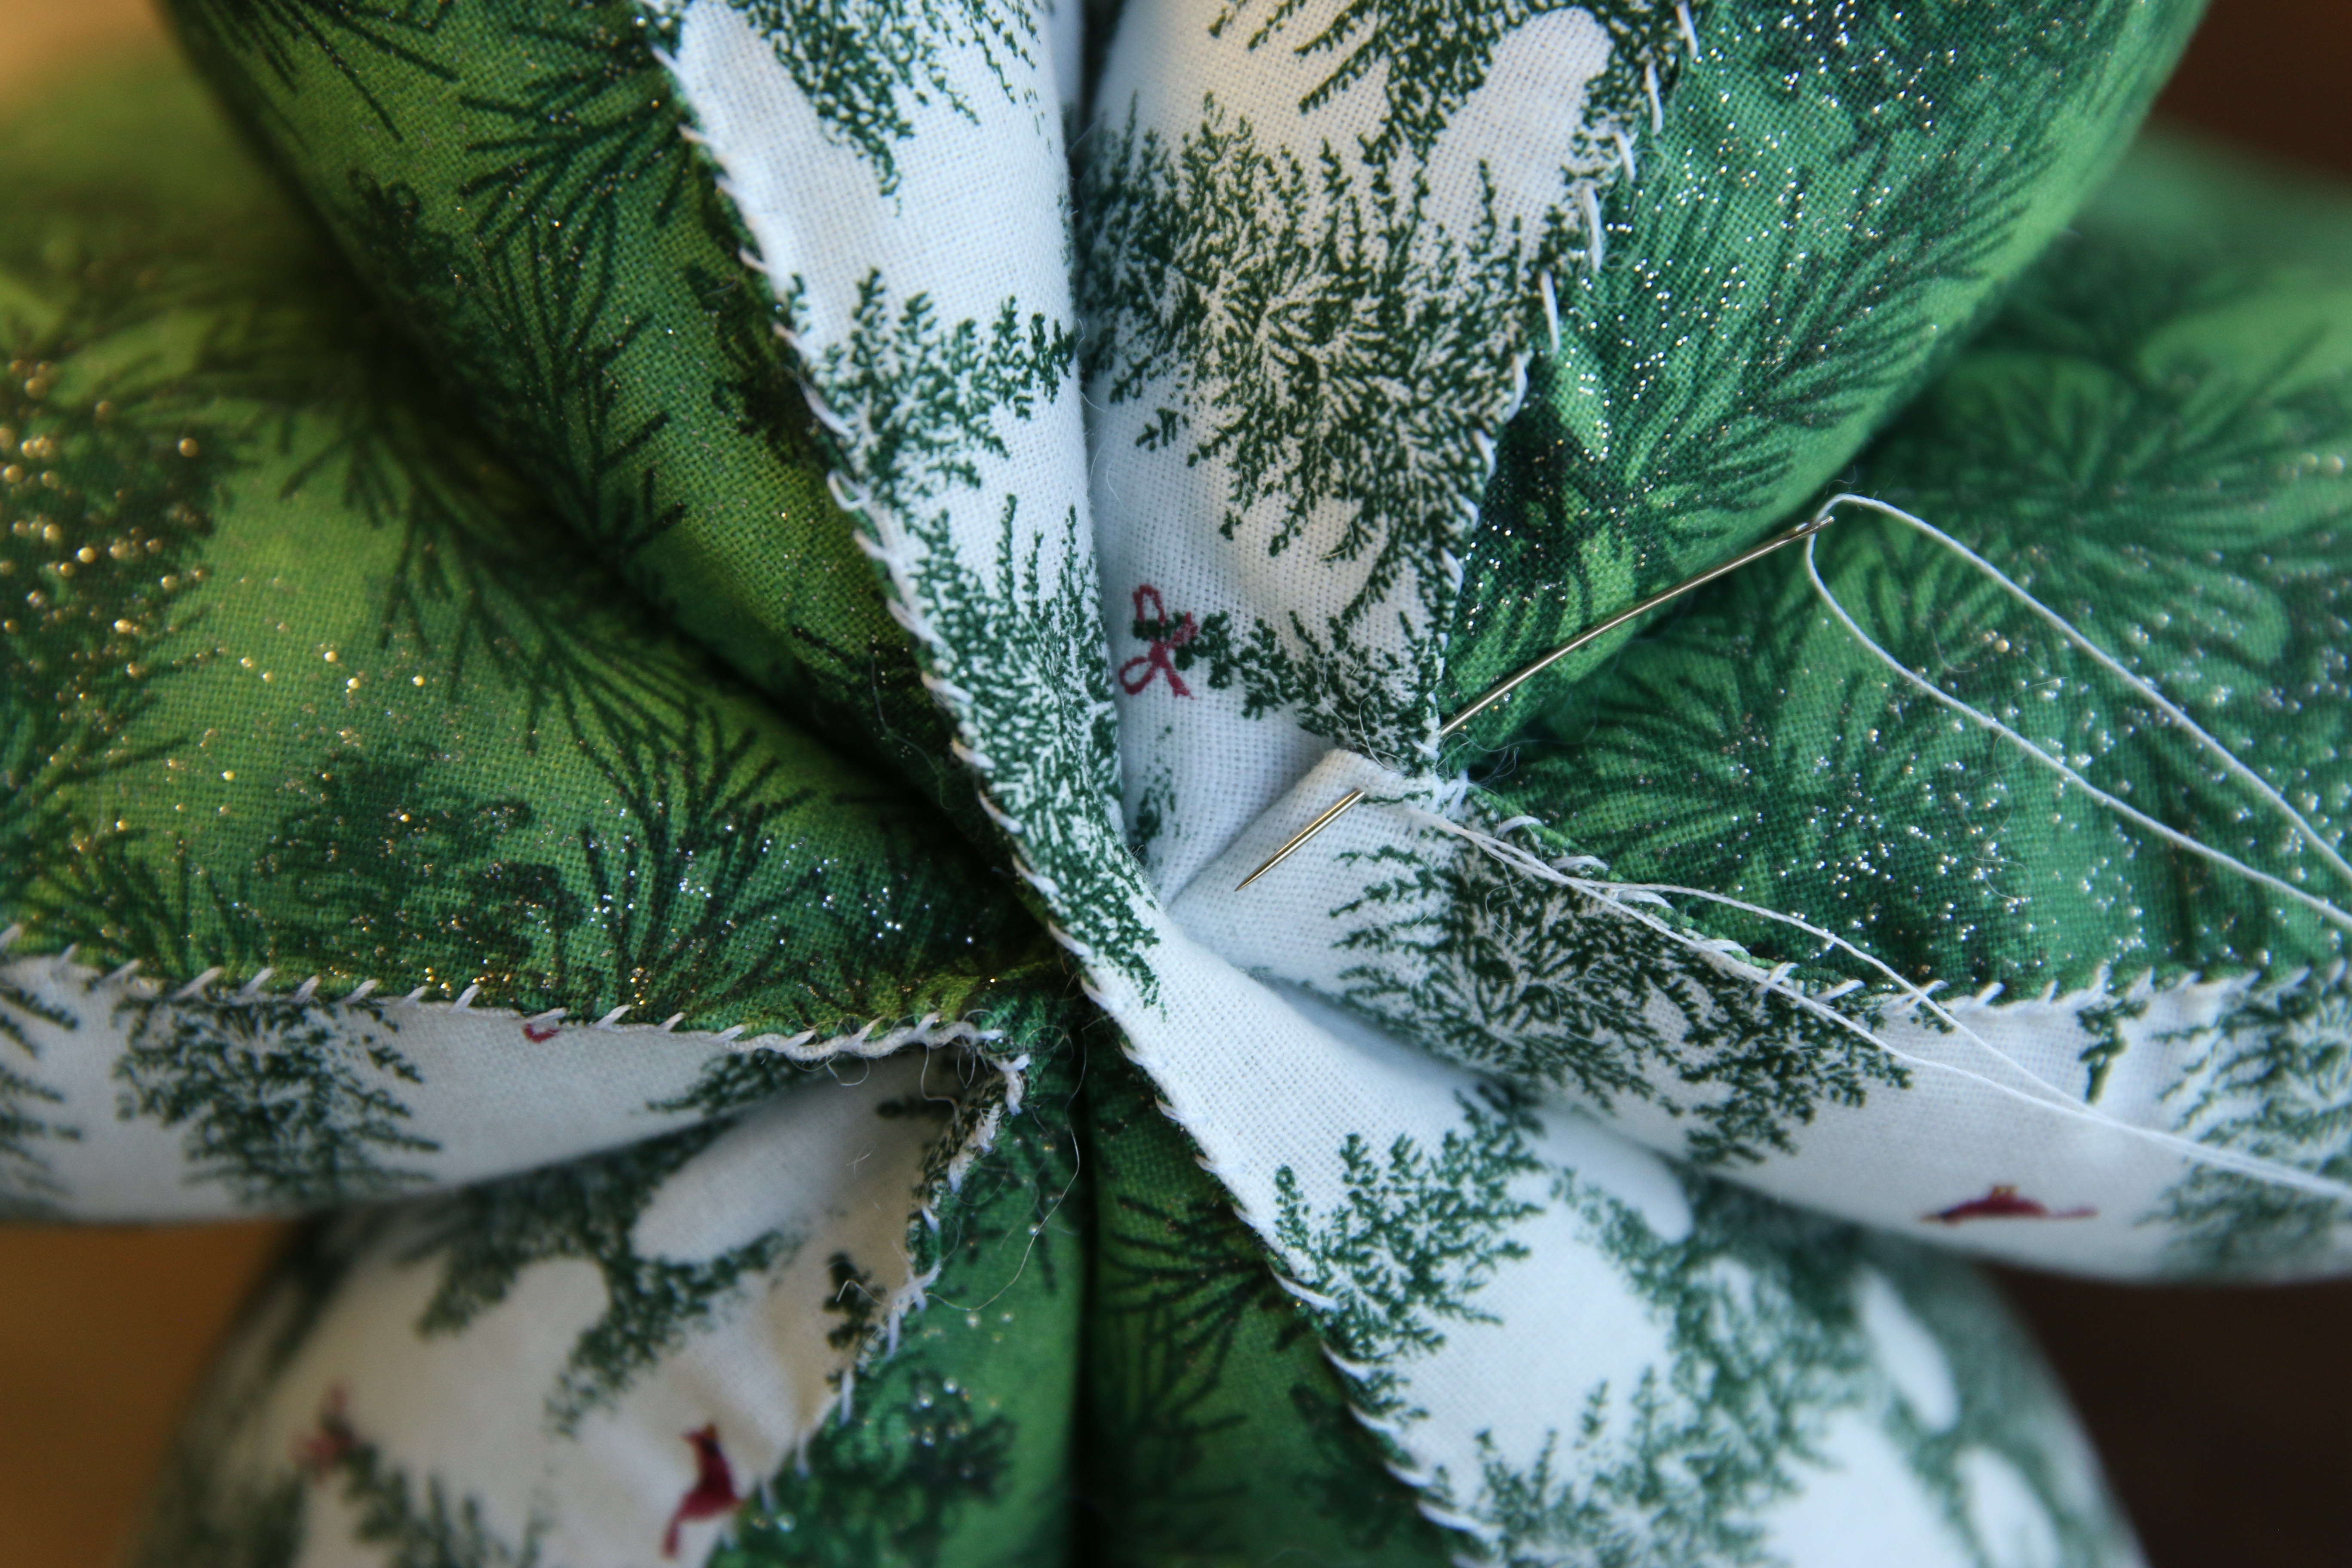
It is important that the bottom center of the tree is as tucked in and flat as possible to help the plush tree sit flat. Fold the sewn edges at the center over, so they are resting as flat as possible against the tree. Then sew them in place.
19
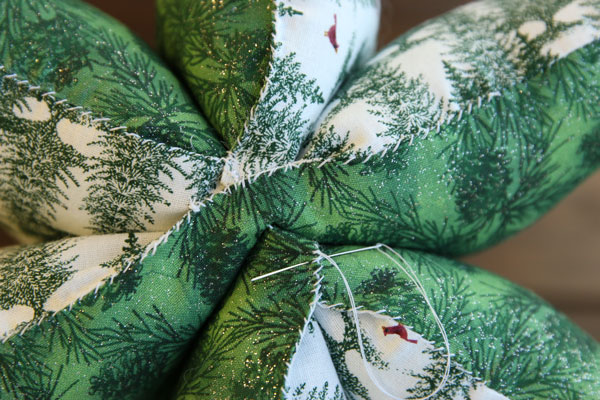
Repeat for all three trees.
20
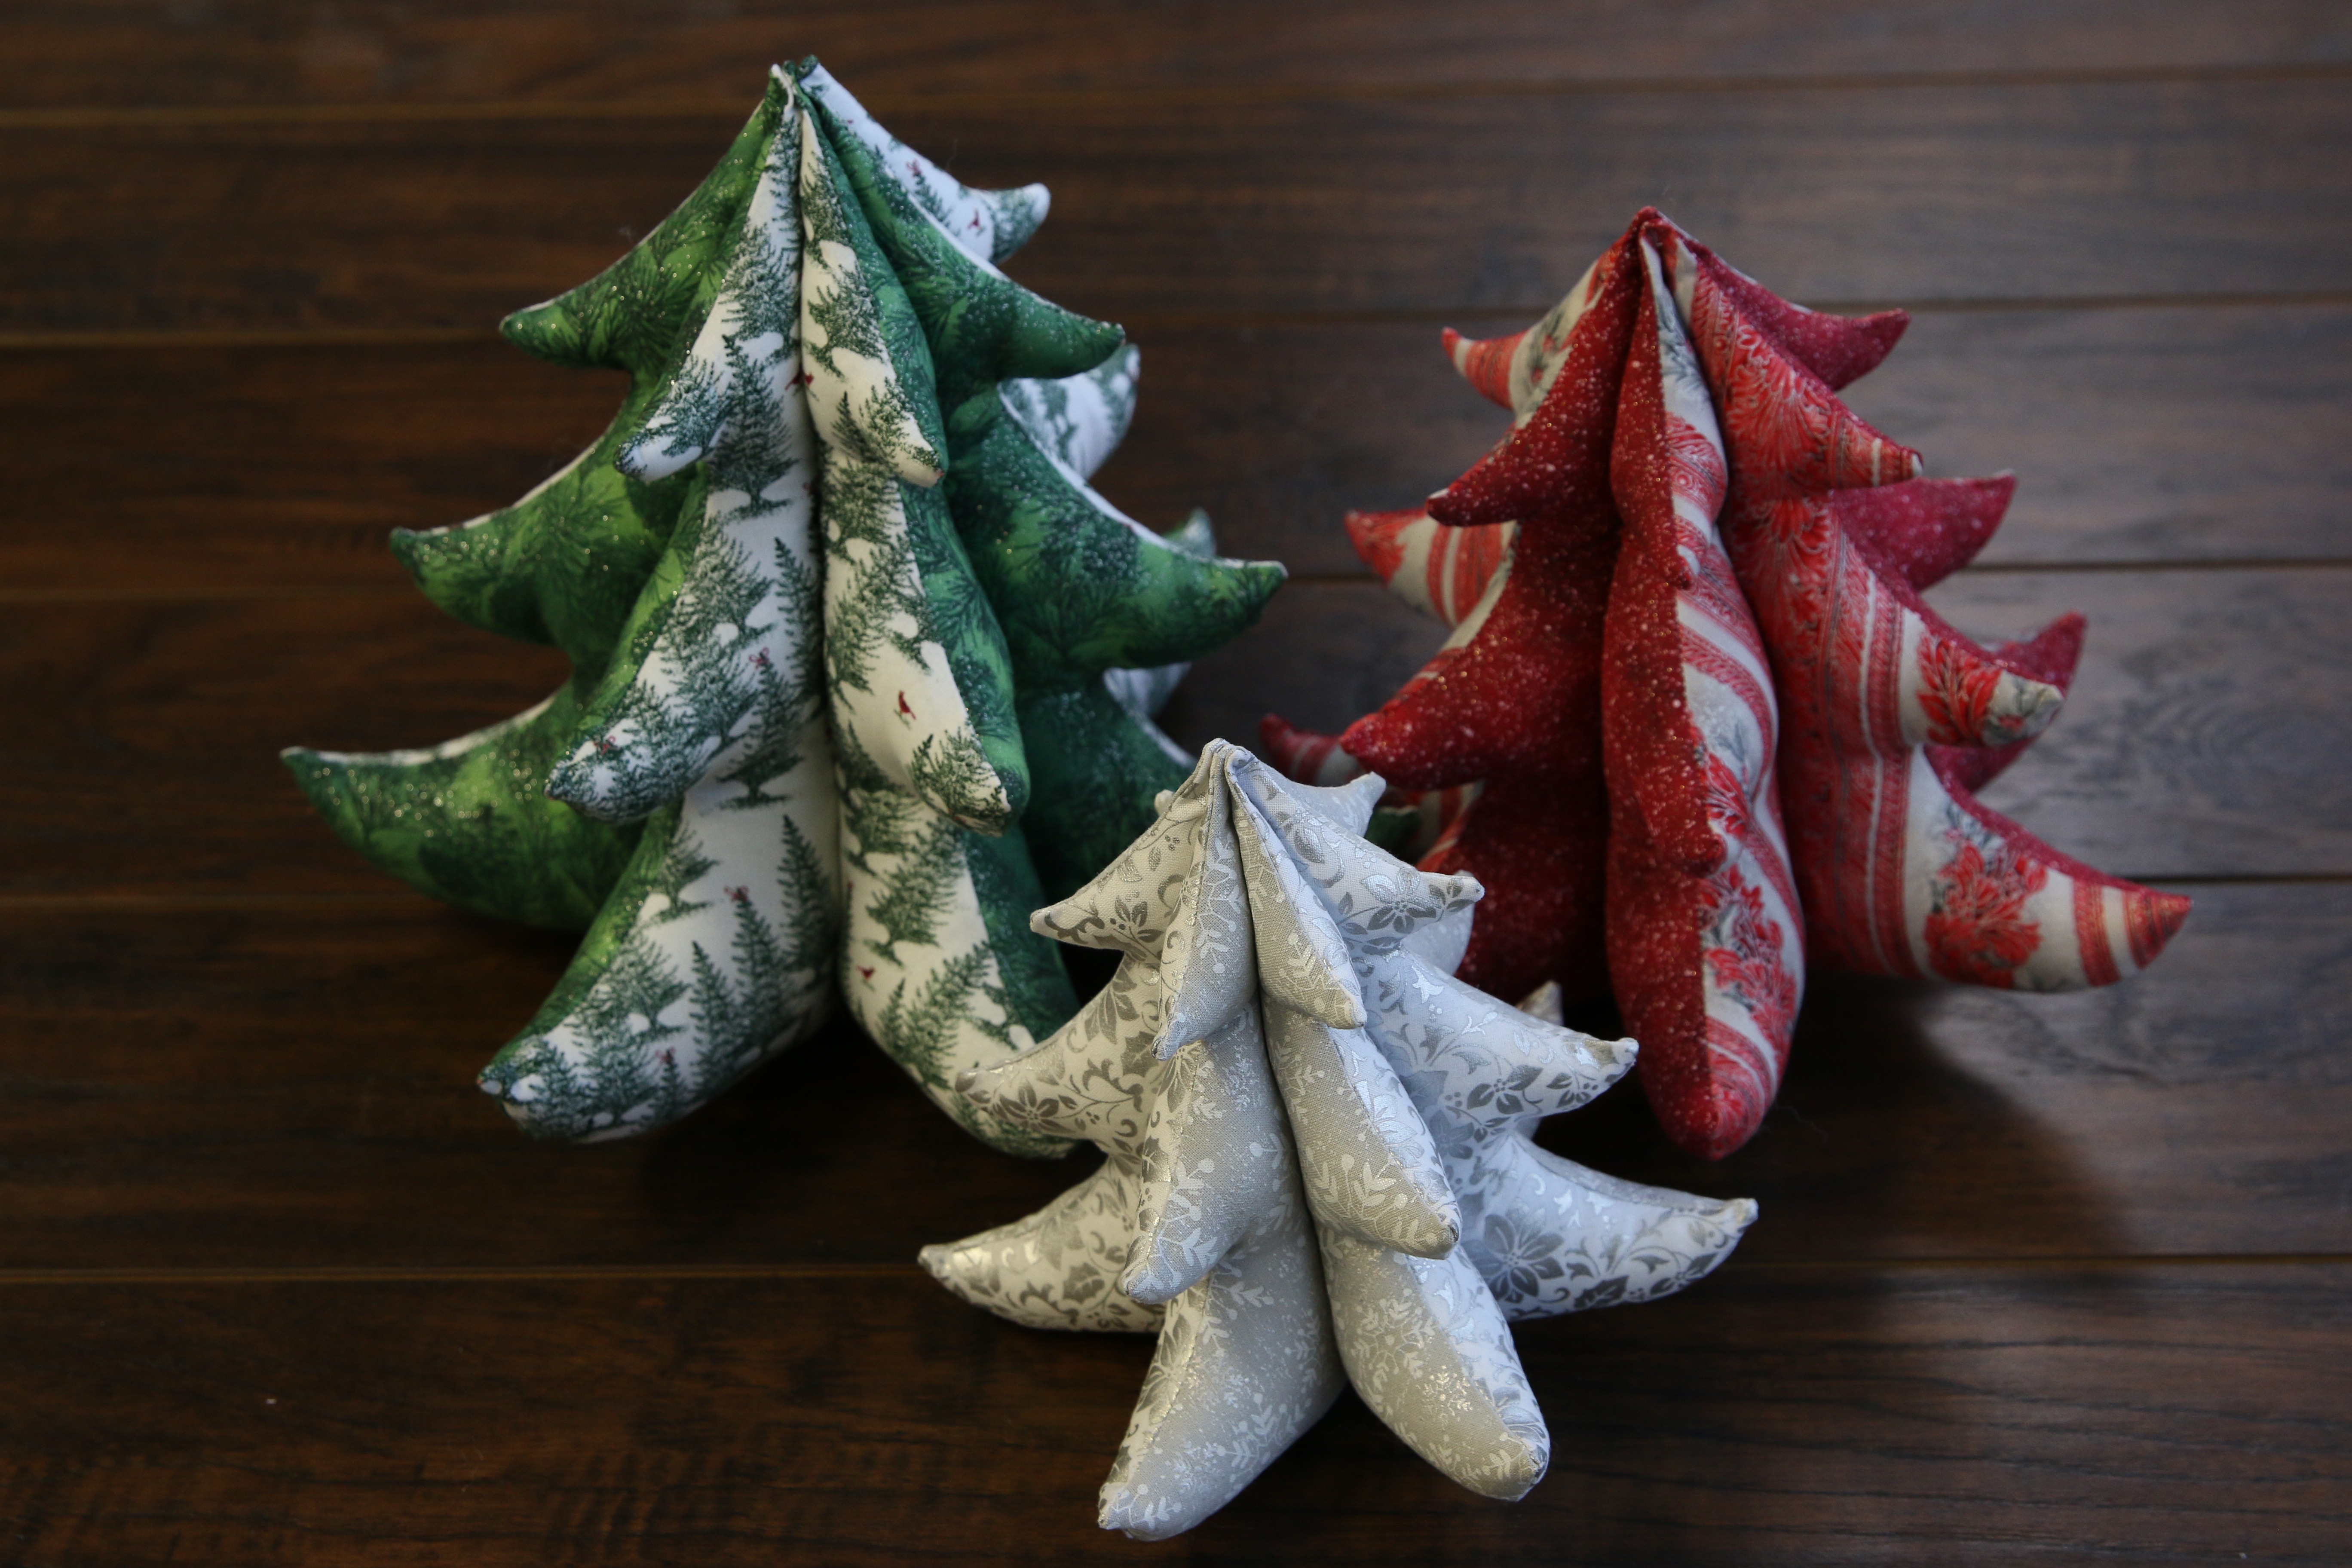
This completes the Christmas Tree Plush. Repeat these steps to make a forest of trees in different colors and sizes. Make sure not to resize these designs, as the seam allowance makes them unscalable.

