Supplies
- 1 yard terrycloth, faux fur, fleece, or flannel (color 1)
- 1/4 quilter’s cotton or flannel (color 2)
- Polyester fiberfill
- Sewing threads to match fabric colors
- Hand sewing needle
- Sewing pins
- 2 buttons for eyes (5/8 - 3/4”)
- Fabric marking tool
Designs Used
Cutting Instructions
1
Load the Chick Plush (Cut & Stitch) file into your cutting machine’s software. This design has two different fabric colors across the different files. Proceed in the design software until the first color selection appears, and is ready to be cut.
2
Smooth the first fabric color onto the adhesive mat with the right side of the fabric facing up. Make sure the correct knife tool is in place. Then load the adhesive mat into the machine.
3
Cut out the first color. For terry cloth or faux fur, you may need to increase the pressure of the blade on your cutting machine. For best results, use a setting that would be used for denim or other thick materials. Then carefully remove the cut fabric pieces and excess fabric.
4
Repeat to cut all of the fabric pieces for the Chick Plush out of the two fabric colors.
Crafting Instructions
1
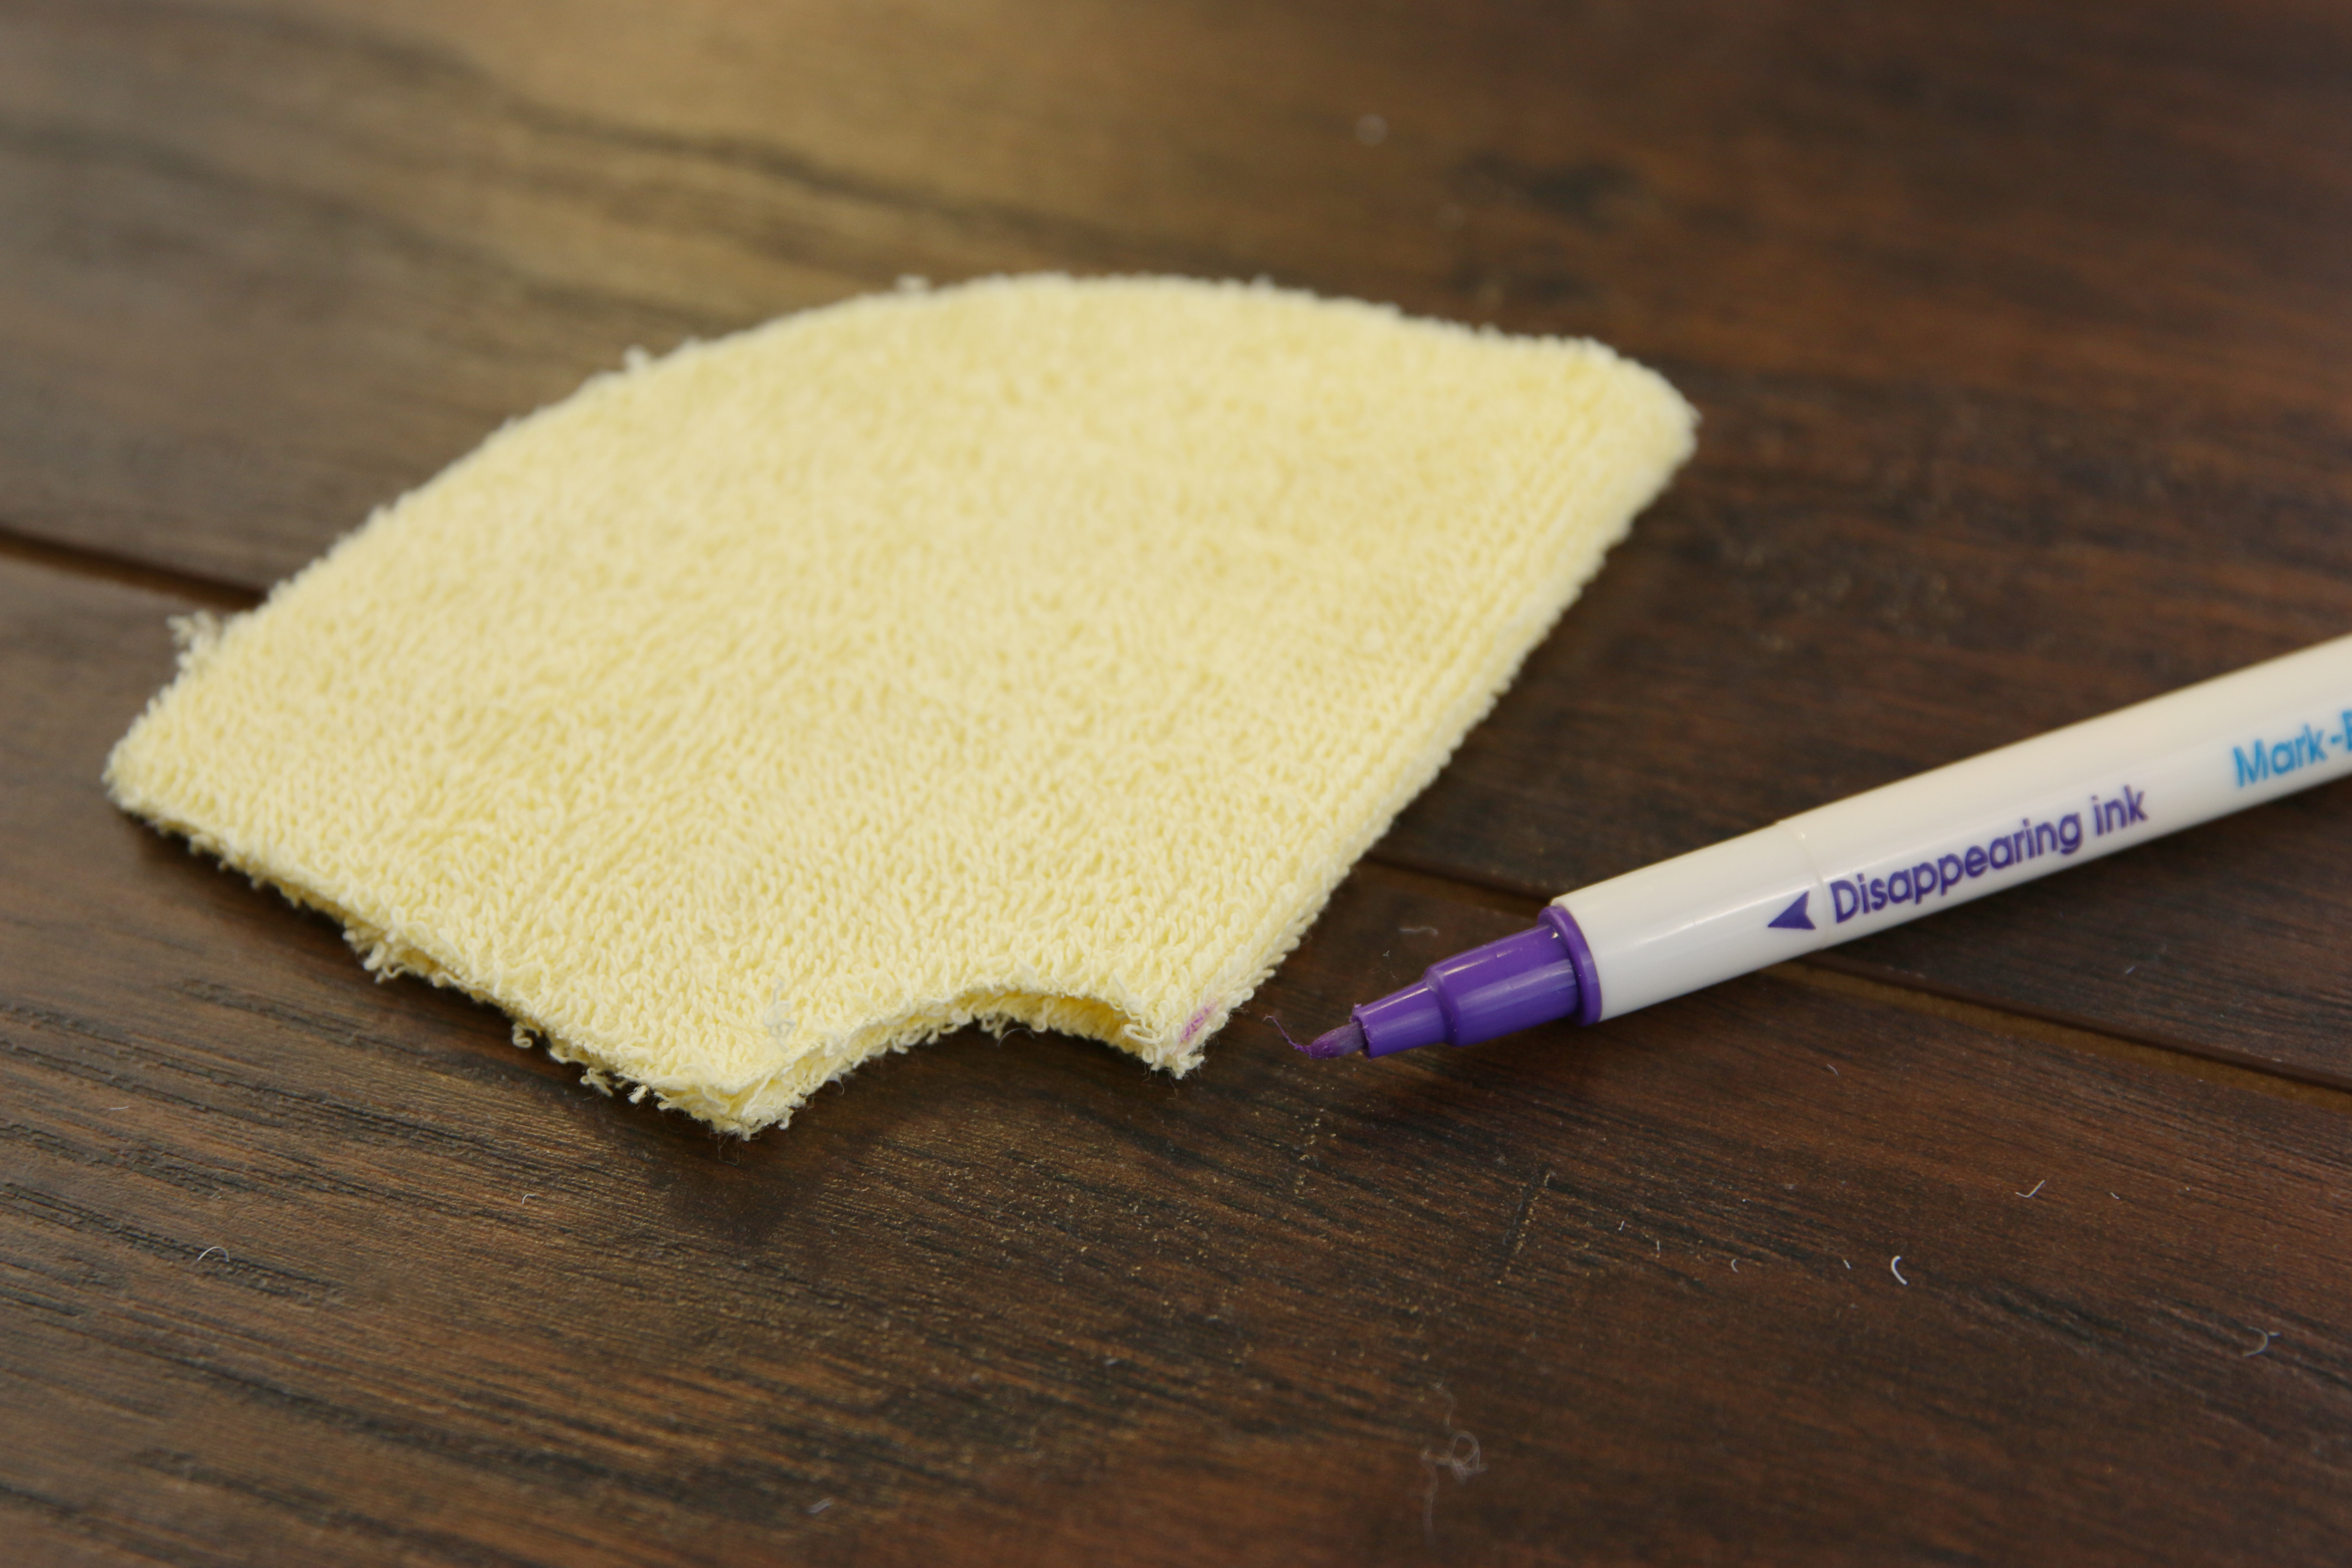
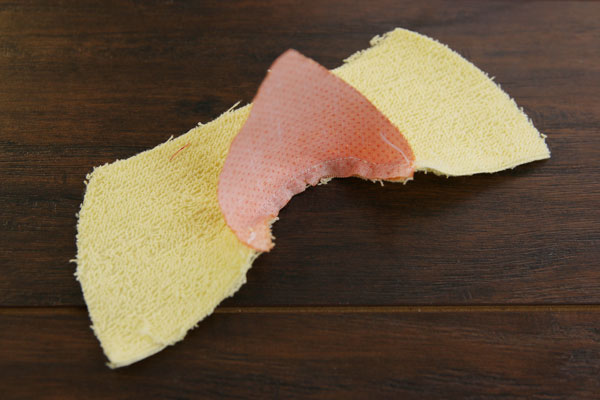
Take the top face piece (color 1), and fold it in half with right sides together. Use a fabric marking tool to draw a line on the fold to mark the center of the half circle cut out.
2
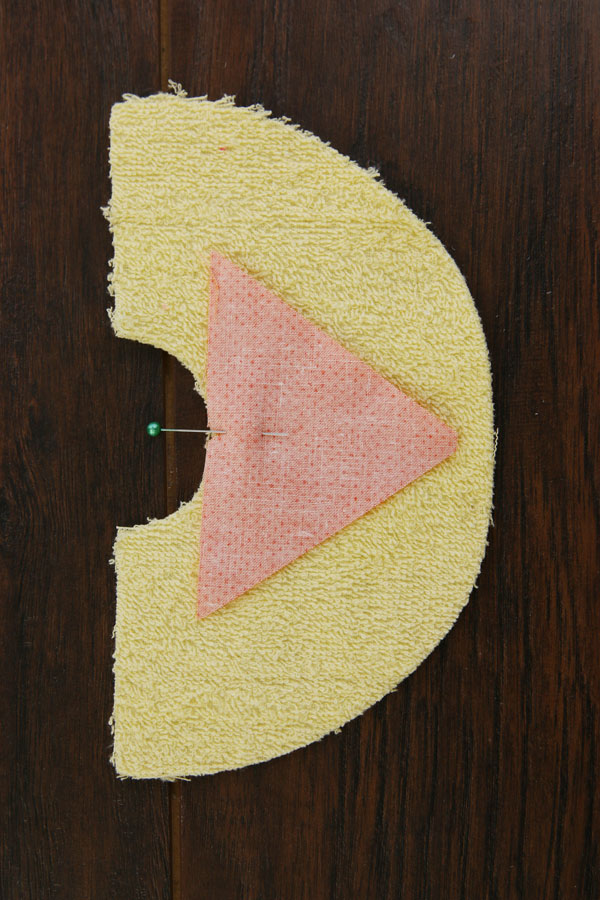
Then unfold the top face piece, and match the center of one beak piece (color 2) with this mark. Make sure right sides are together.
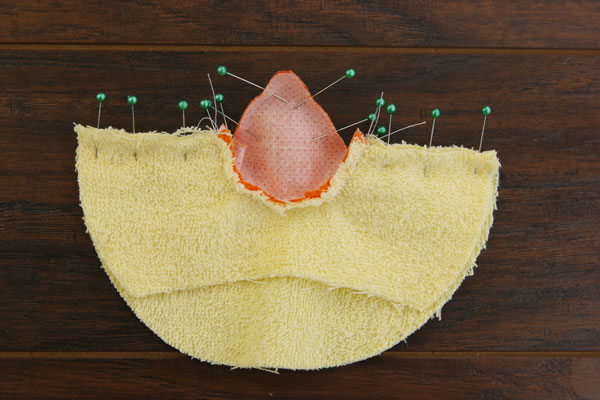
3
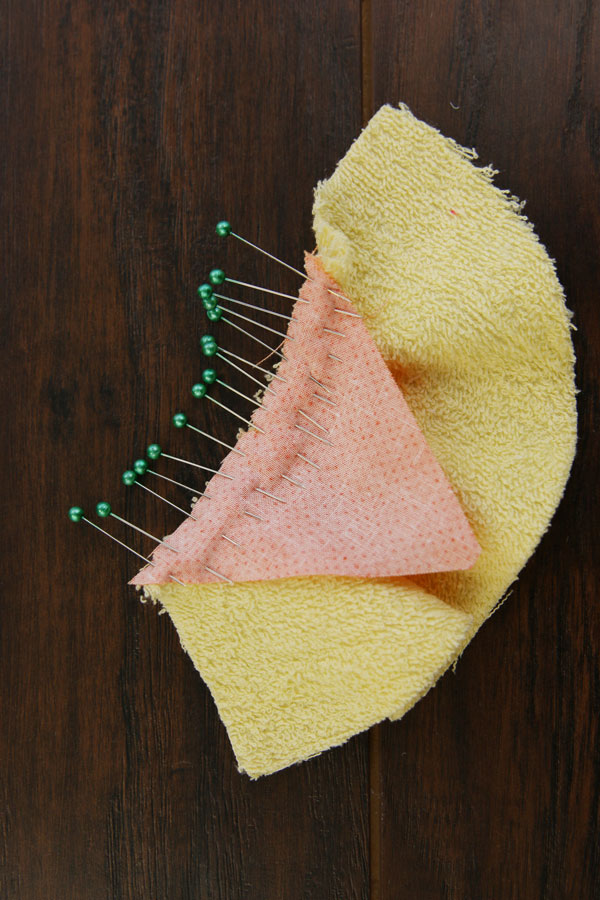
Pin the beak (color 2) and the top face piece (color 1) together along the half circle shape.
4
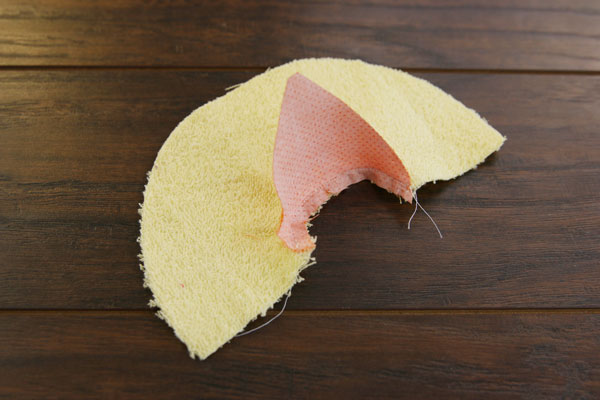
Sew a 1/4” seam.
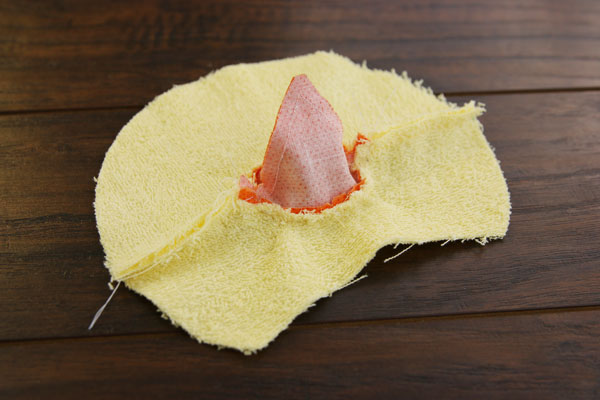
5
Repeat the previous steps to sew the other half of the beak (color 2) onto the bottom face piece (color 1). Make sure to match up the centers the same way, and that right sides are together.
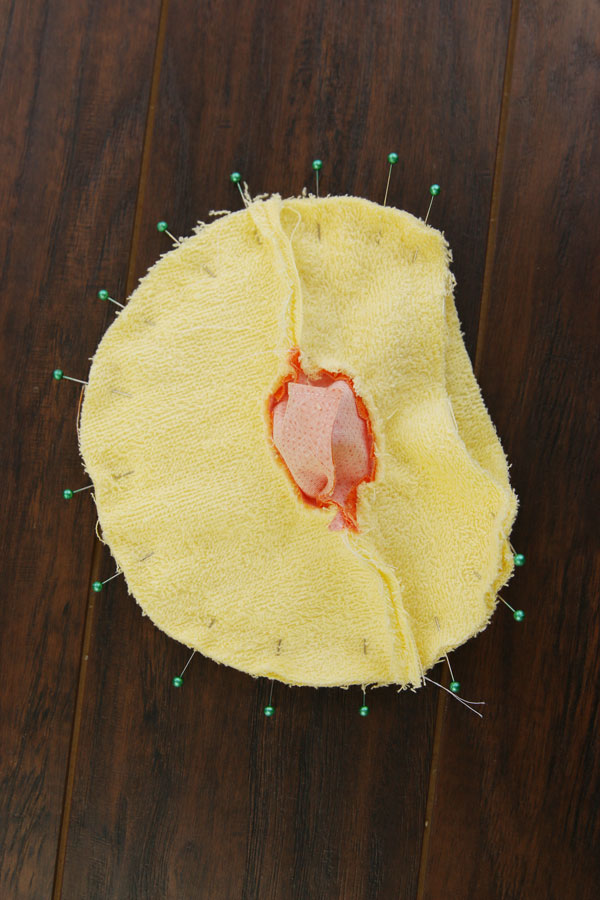
6
Then pin the top face piece and beak (colors 1 & 2) onto the bottom face piece and beak (colors 1 & 2) with right sides together. Pin along the straight edge and beak.
7
Then sew a 1/4” seam along the pinned edge.
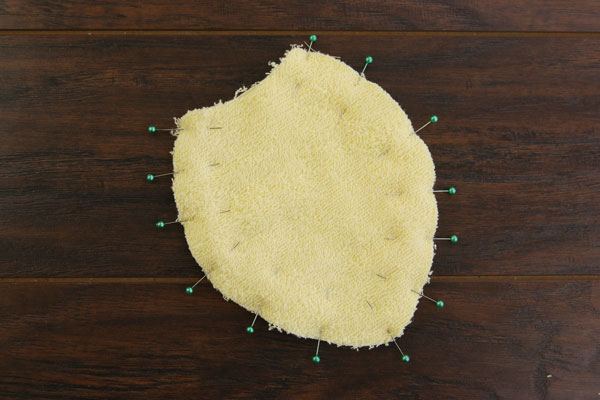
8
Then match up the edges of the back head piece (color 1) with the sewn front face pieces and beak (colors 1 & 2). Pin them together, making sure to leave the bottom edge open for turning. Make sure right sides are together.
9
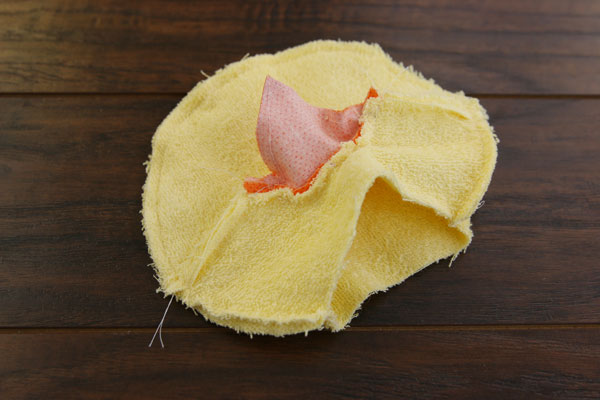
Sew a 1/4” seam along the pinned edges.
10
To make the wings, match up two wing pieces (color 1) with right sides together. Pin the curved edges together, but leave the top edge open for turning.
11
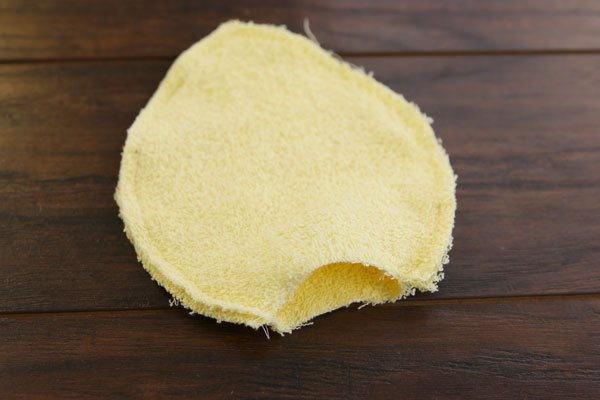
Sew a 1/4” seam along the pinned edges.
12

Turn the wing right side out, then repeat to make the second wing.
13
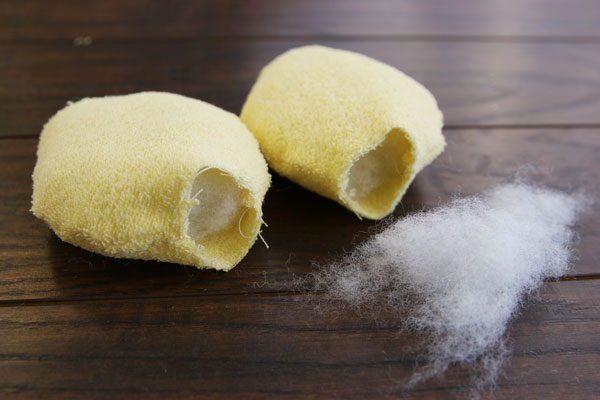
Stuff both wings lightly with polyester fiberfill. Make sure to leave the top 1/2” unstuffed to make them easier to sew onto the head.
14
Center one finished wing onto each of the two side seams on the head. Match up the raw edges, and pin them in place.
15
Then baste stitch them in place 1/4” from the edge.
16

Now to make the body, match up the edges of one left body piece (color 1) to one right body piece (color 1) with right sides together. Pin and sew them together along the curved edge with a 1/4” seam, and leave the two straight edges unsewn.
17
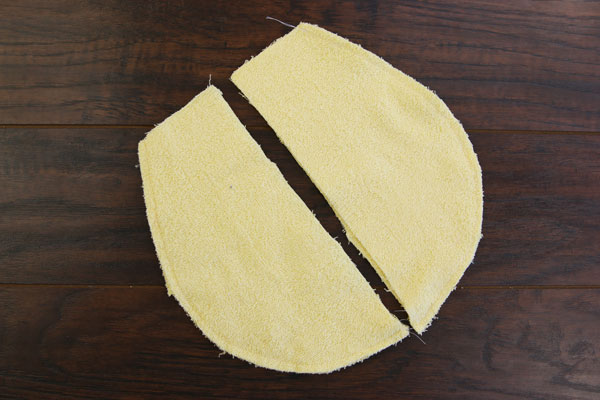
Then repeat for the other right and left body pieces. This creates the right and left halves of the body.
18

Then match the two halves of the body up, and pin them together along the long straight edge which will be the center line of the body. Make sure to leave a 3” - 4” open for turning, and do not sew the top shut.
19

Sew a 1/4” seam along the pinned edges.
20
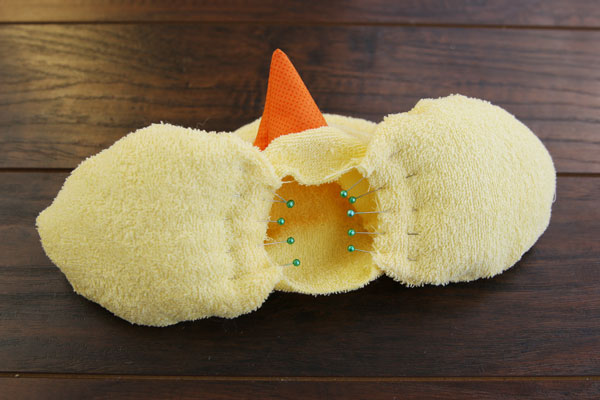
Next place the head and wings inside of the body with right sides together. Match up the raw edges and side seams, and pin the body and head together.
21
Sew a 1/4” along the pinned edge to connect the head and body and create the neck seam.
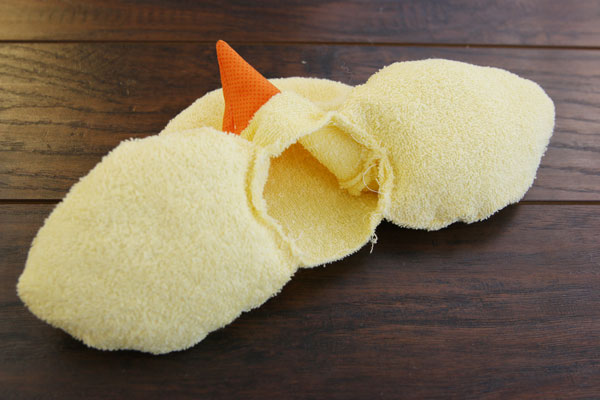
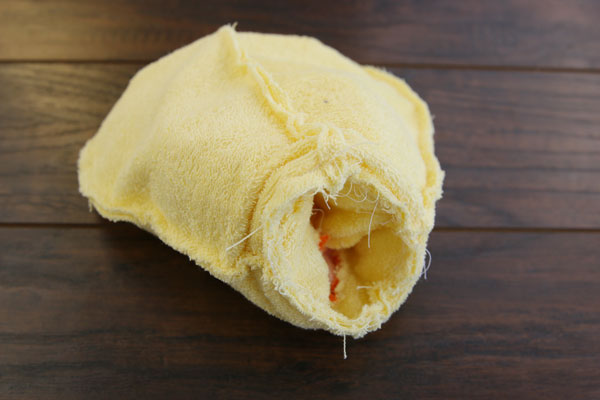
22
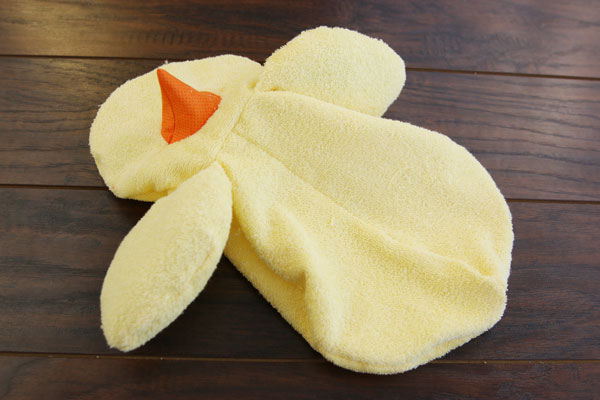
Turn the chick plush right side out through the opening in the body.
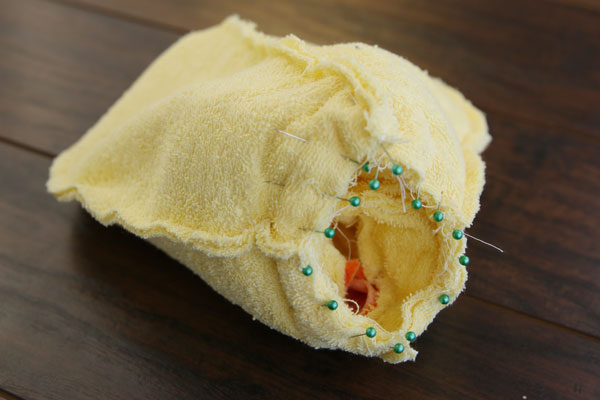
23
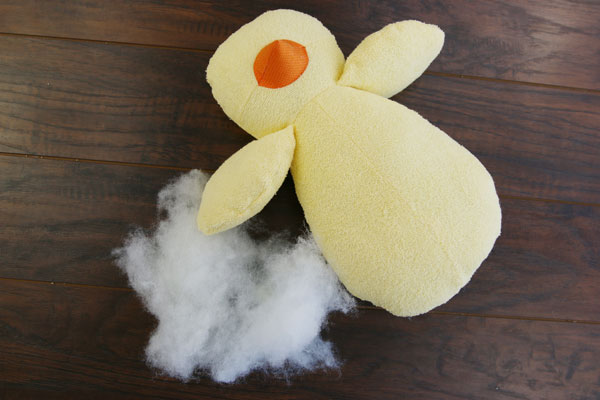
Then stuff it firmly with polyester fiberfill.
24
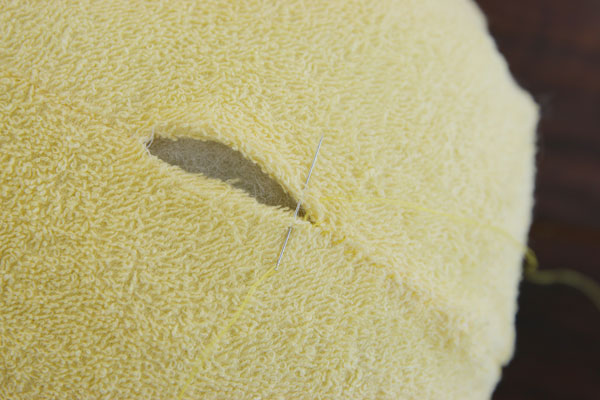
Once fully stuffed, sew the opening closed with thread matching the fabric.
25
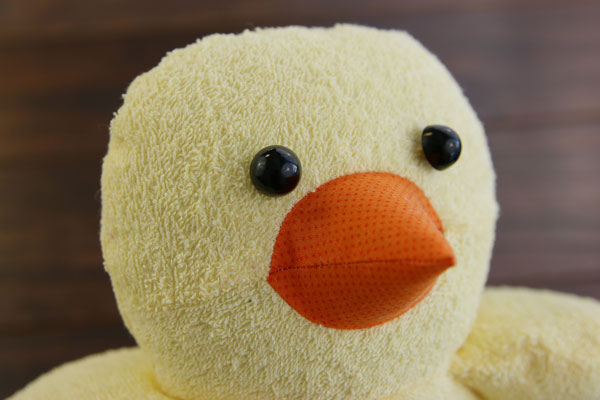
Finally, take the buttons for the eyes, and hand sew them in place. This completes the Chick Plush. Repeat these steps to make a clutch of chicks in a variety of colors and fabrics. Just make sure not to resize this design, as the seam allowance makes it unscalable.


