Supplies
- 1/3 yard of quilter’s cotton, flannel, linen, or similar fabric
- Needle and thread for hand sewing
- Safety pin for turning pieces after stitching
- 1” adhesive Velcro or 2” barrettes
- Hot glue gun (for barrette)
Designs Used
Cutting Instructions
1
Load the Bow Tie (Cut & Stitch) file into your cutting machine’s software. This design has two different fabric colors. Proceed in the design software until the first color selection appears, and is ready to be cut.
2
Smooth the first fabric color onto the adhesive mat with the right side of the fabric facing up. Make sure the correct knife tool is in place. Then load the adhesive mat into the machine.
3
Cut out the first color. Then carefully remove the cut pieces and excess fabric.
4
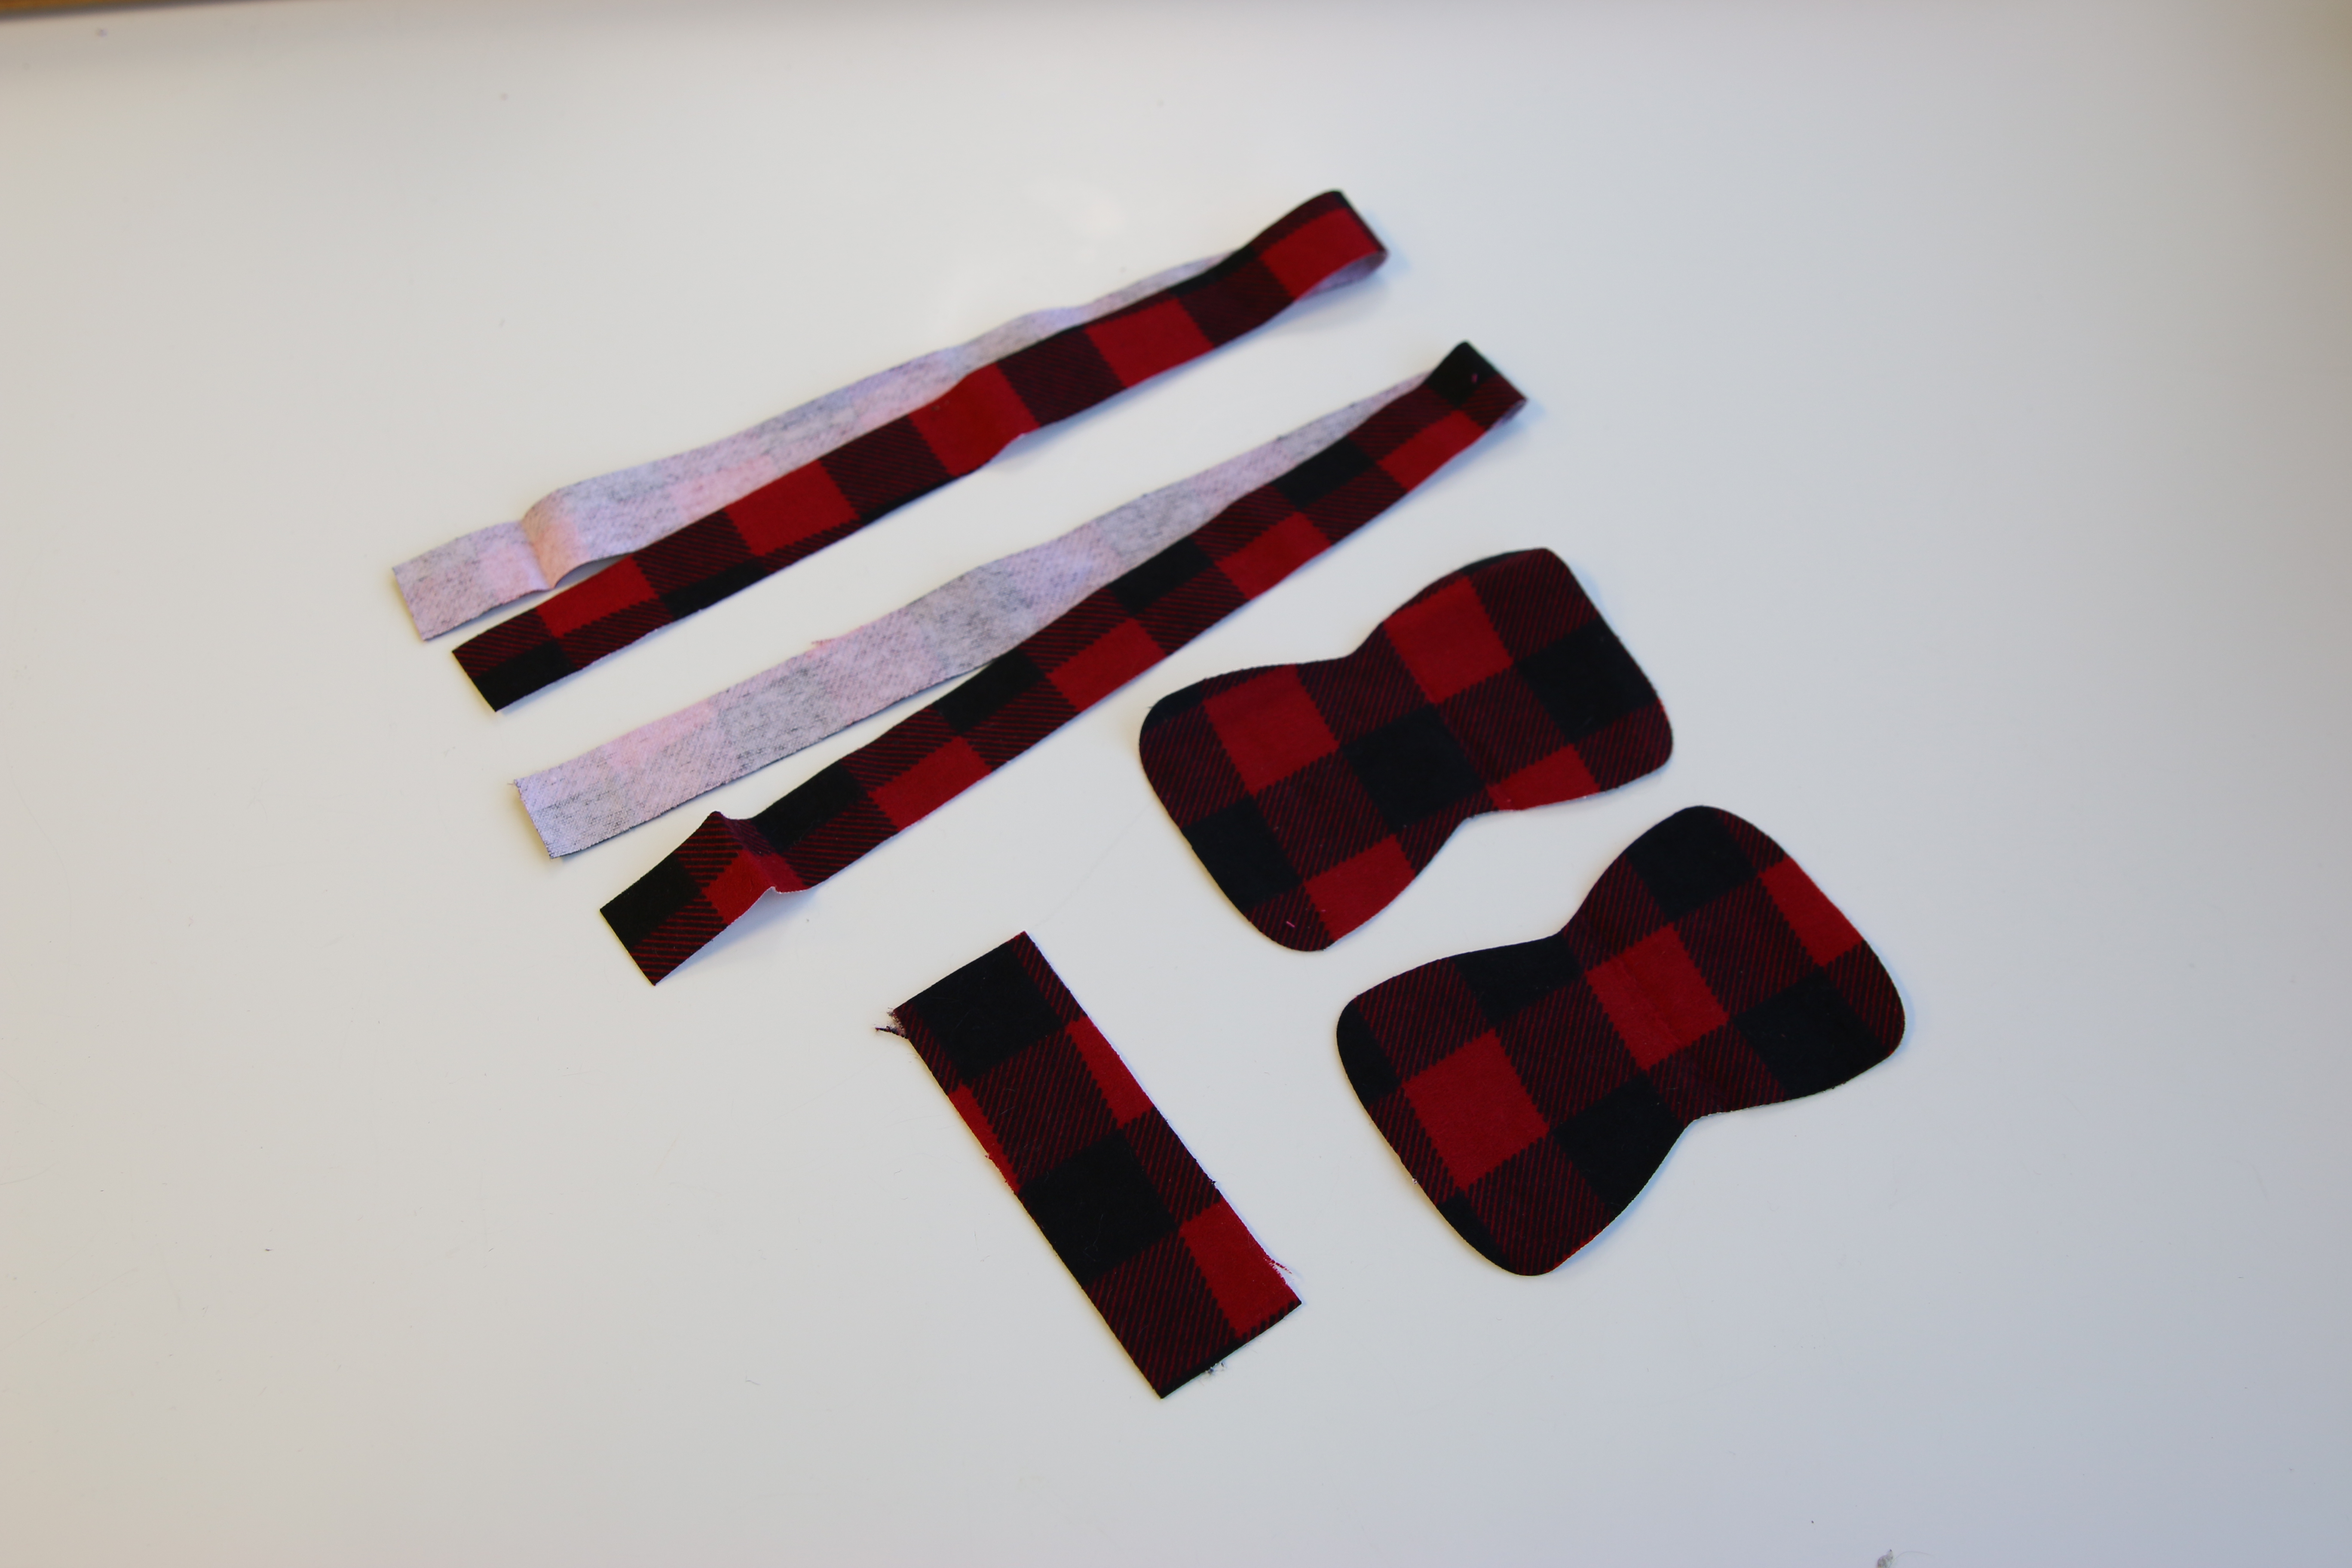
Repeat to cut all of the fabric pieces for the Bow Tie out of the two fabric colors. If making a bow on a barrette, do not cut out the second color as it is the neck strap for the bow tie.
Crafting Instructions
1
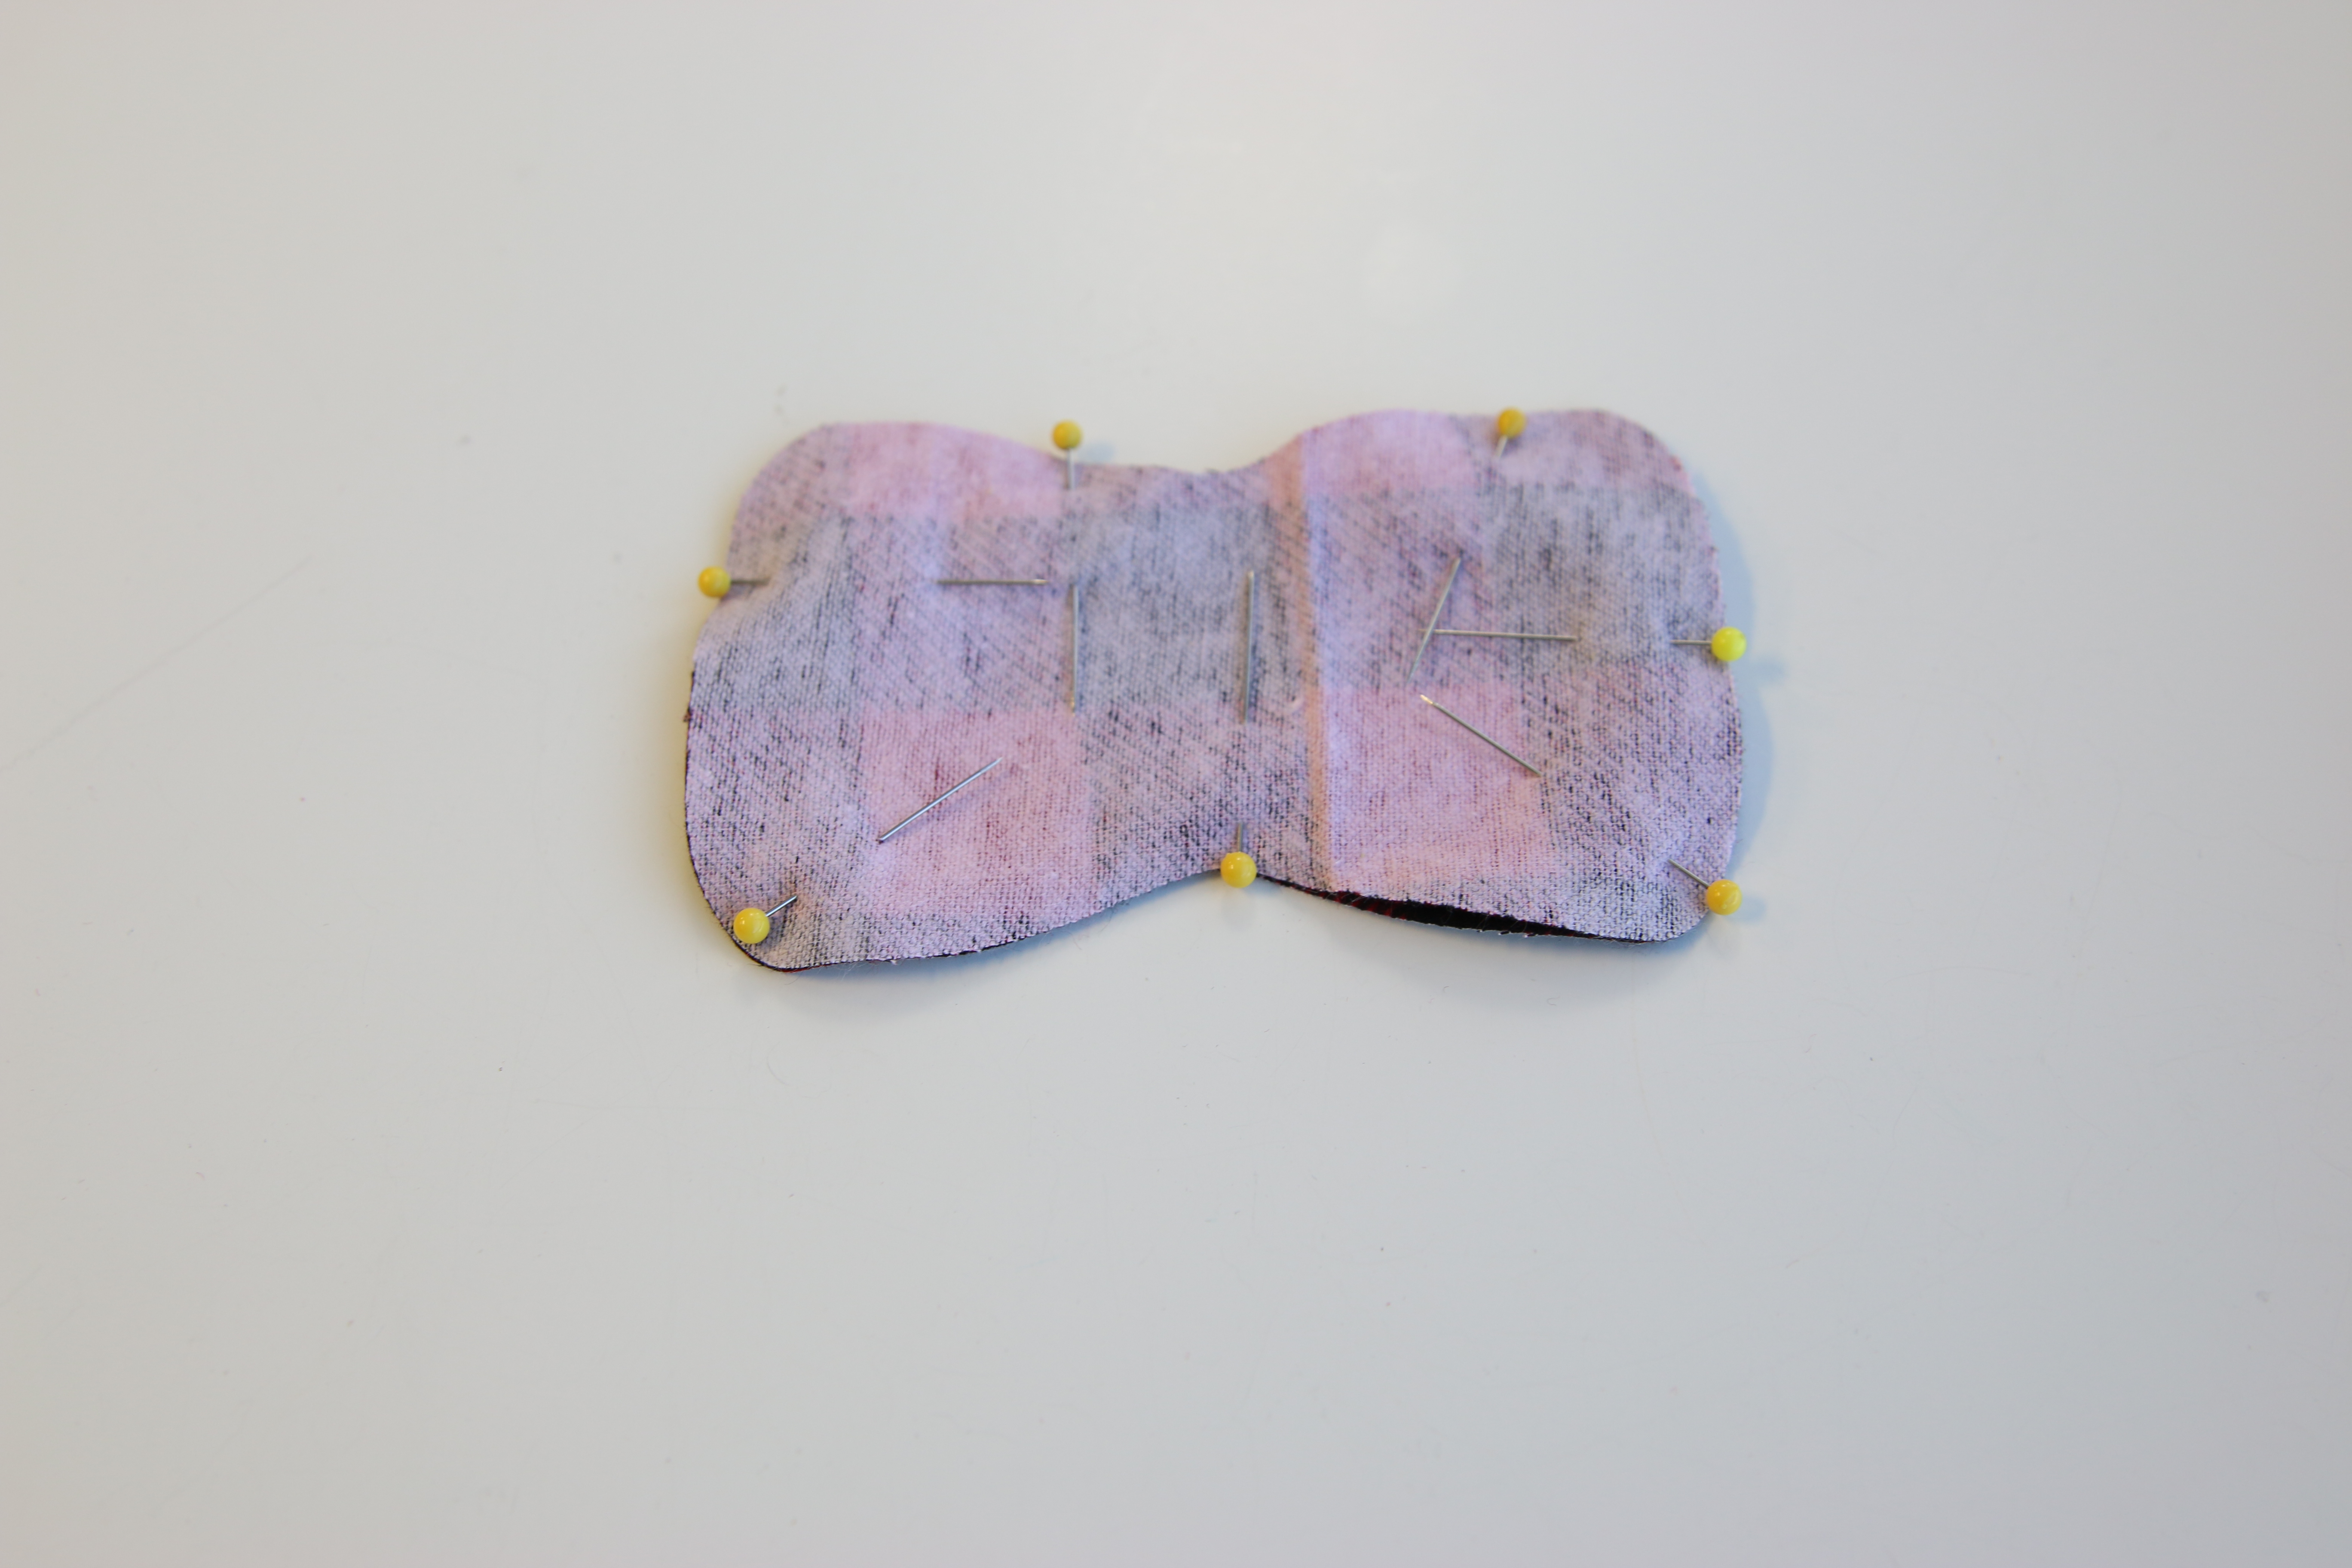
To assemble the Bow Tie, first take the front and back pieces of the bow (Color 1). Match up the edges and pin right sides together.
2
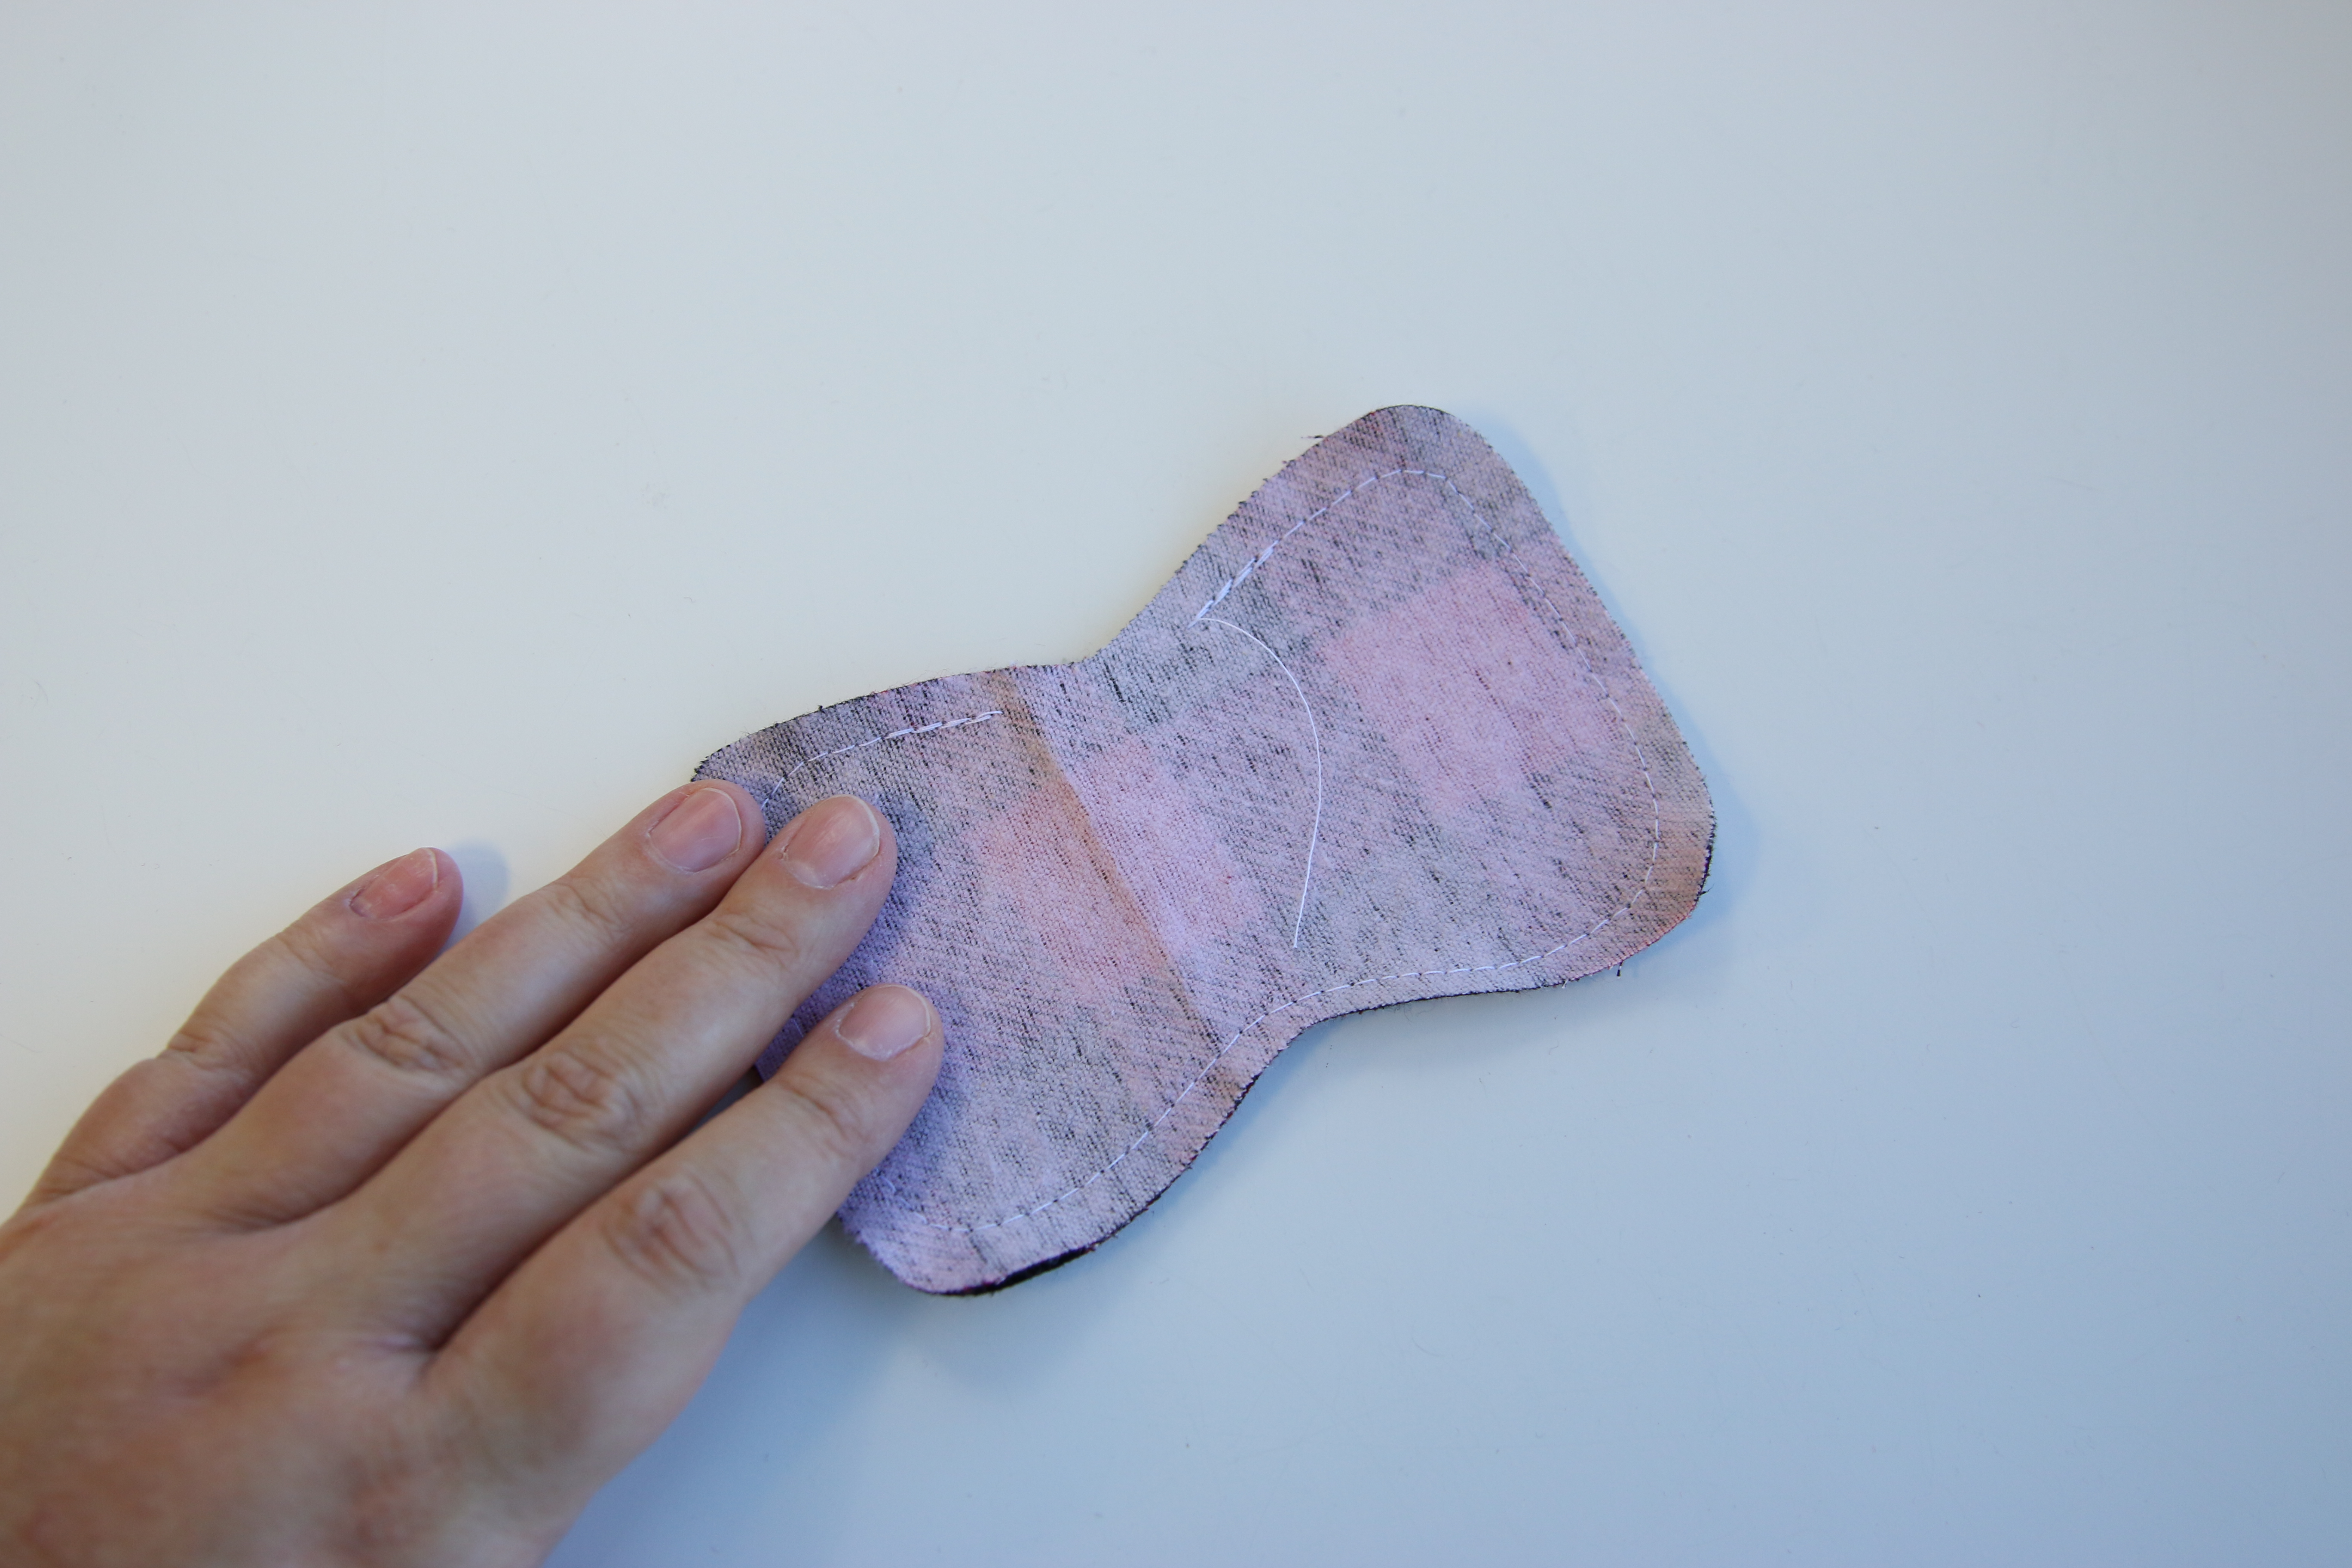
Sew a 1/4” seam around the pinned edges, leaving a 1” opening at the bottom center indent for turning.
3

After sewing, cut notches out of the four curved corners, being careful not to cut your seam.
4
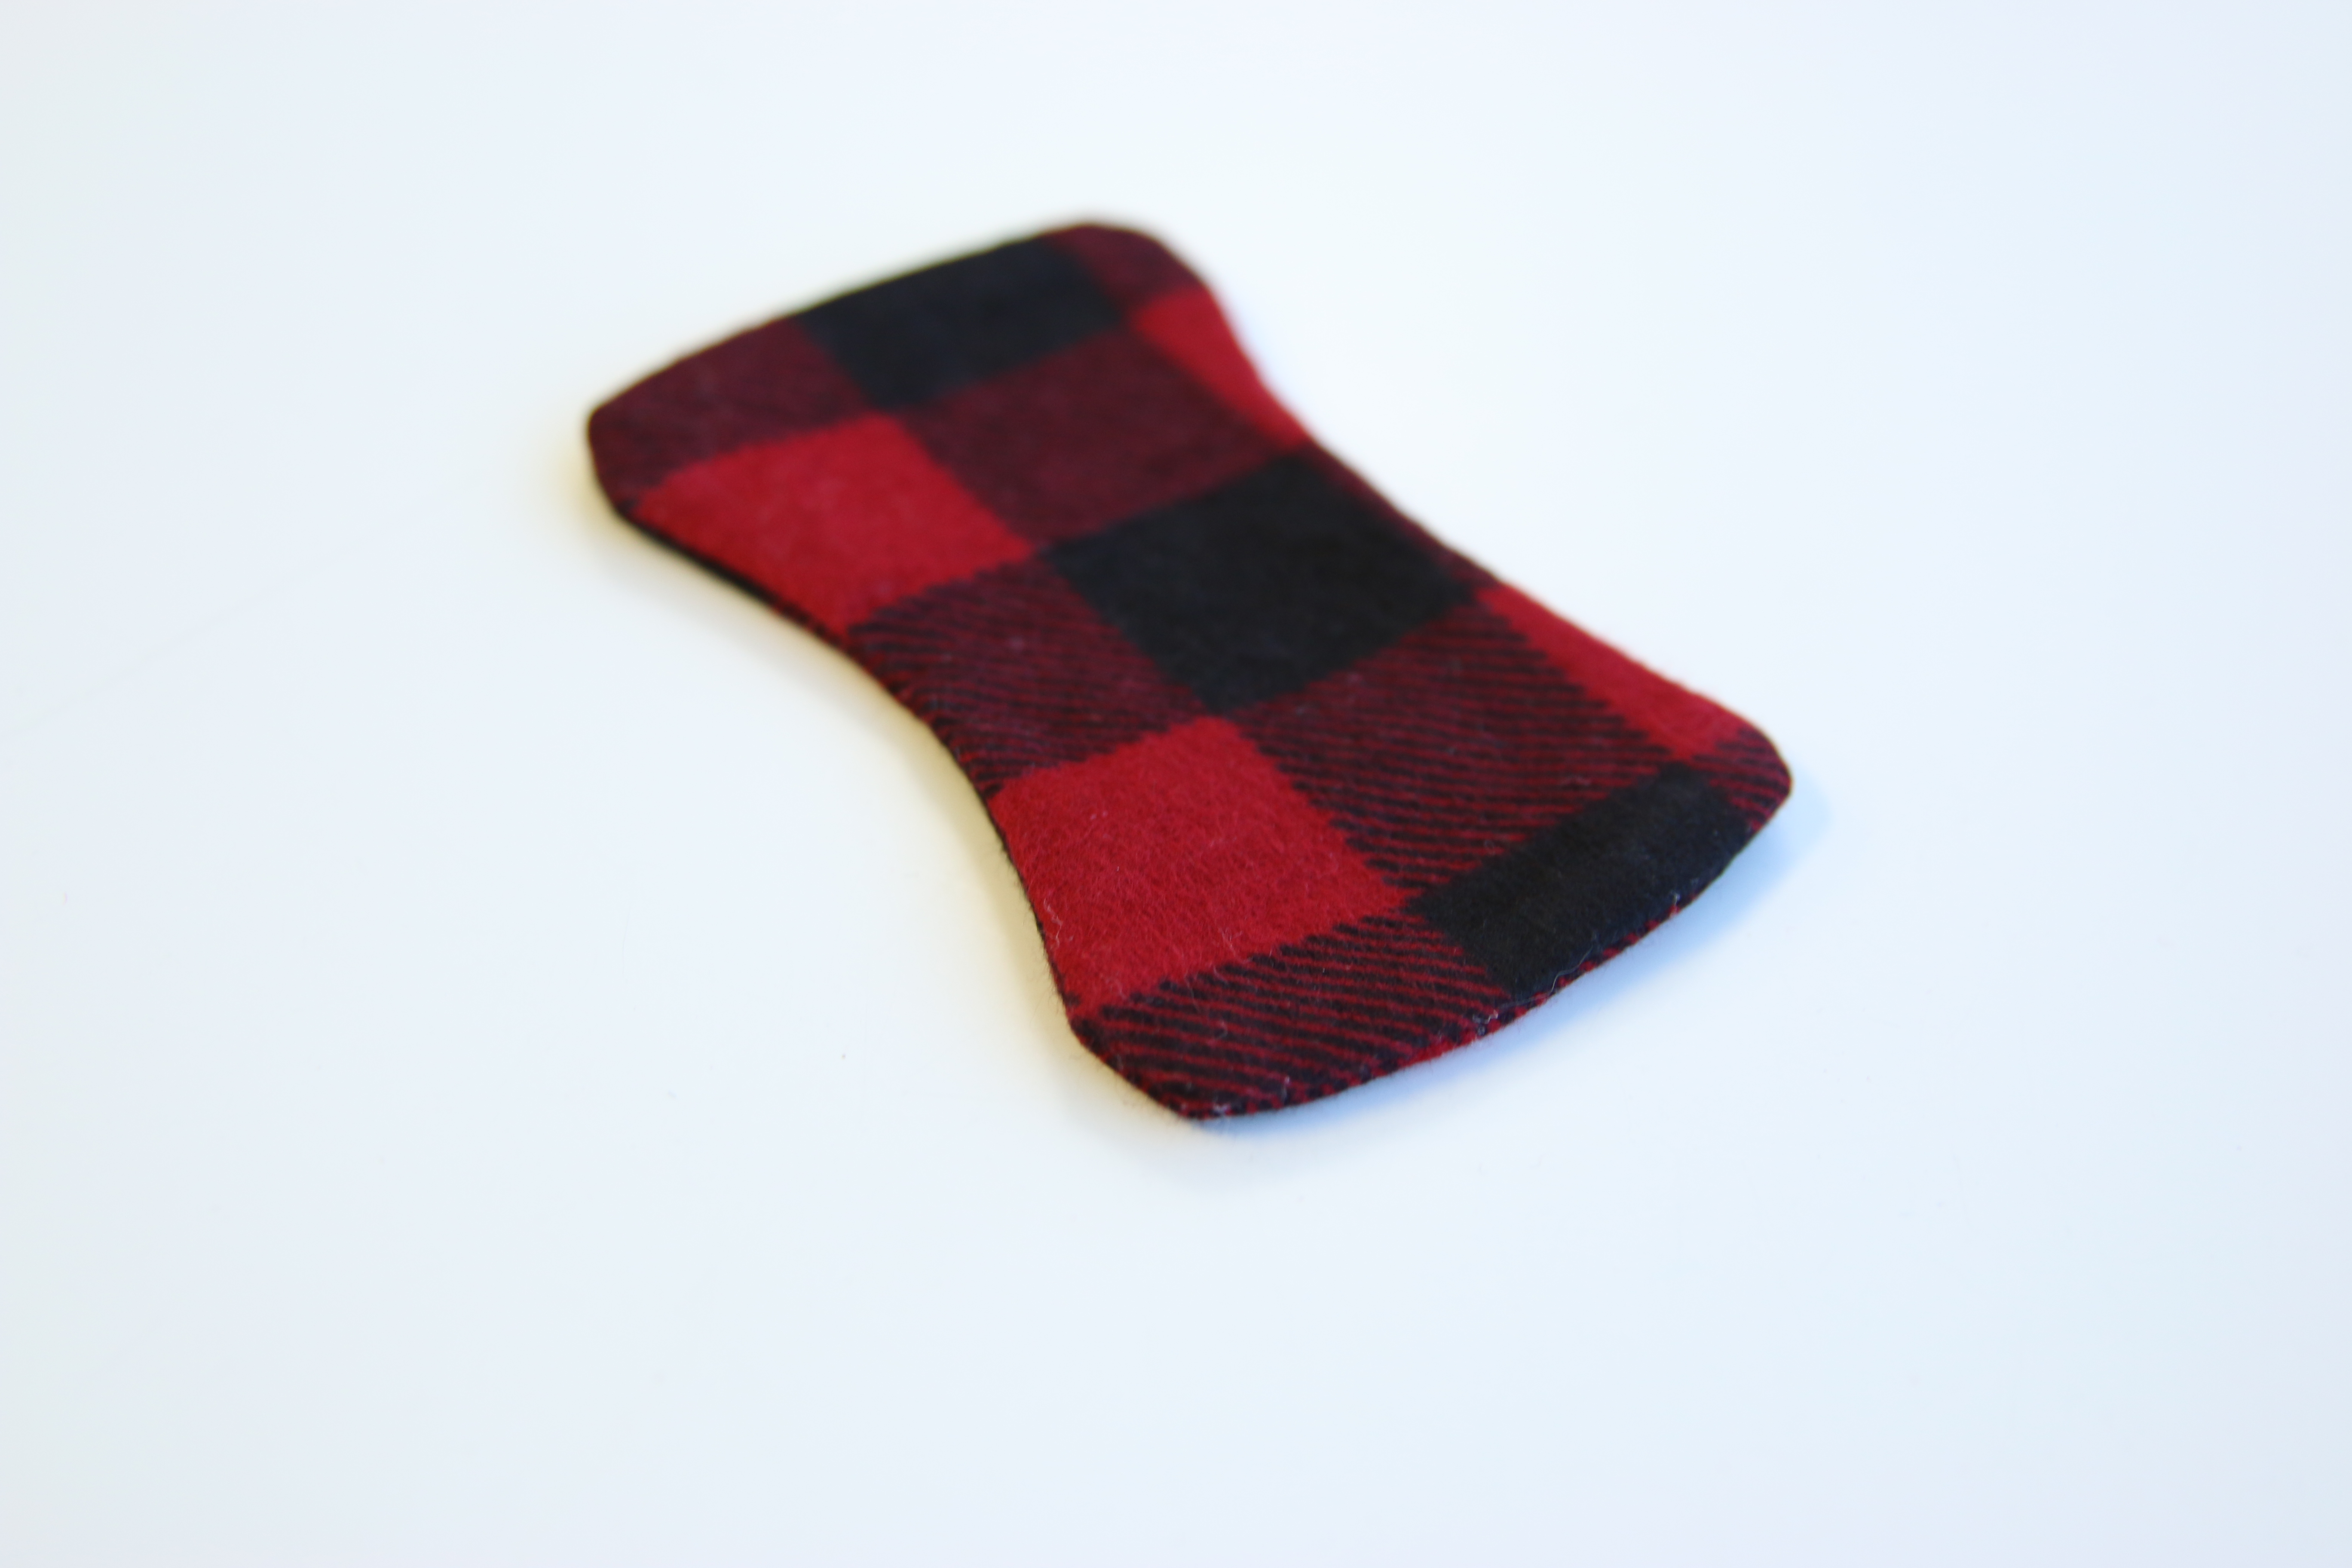
Gently turn the bow tie right side out.
5
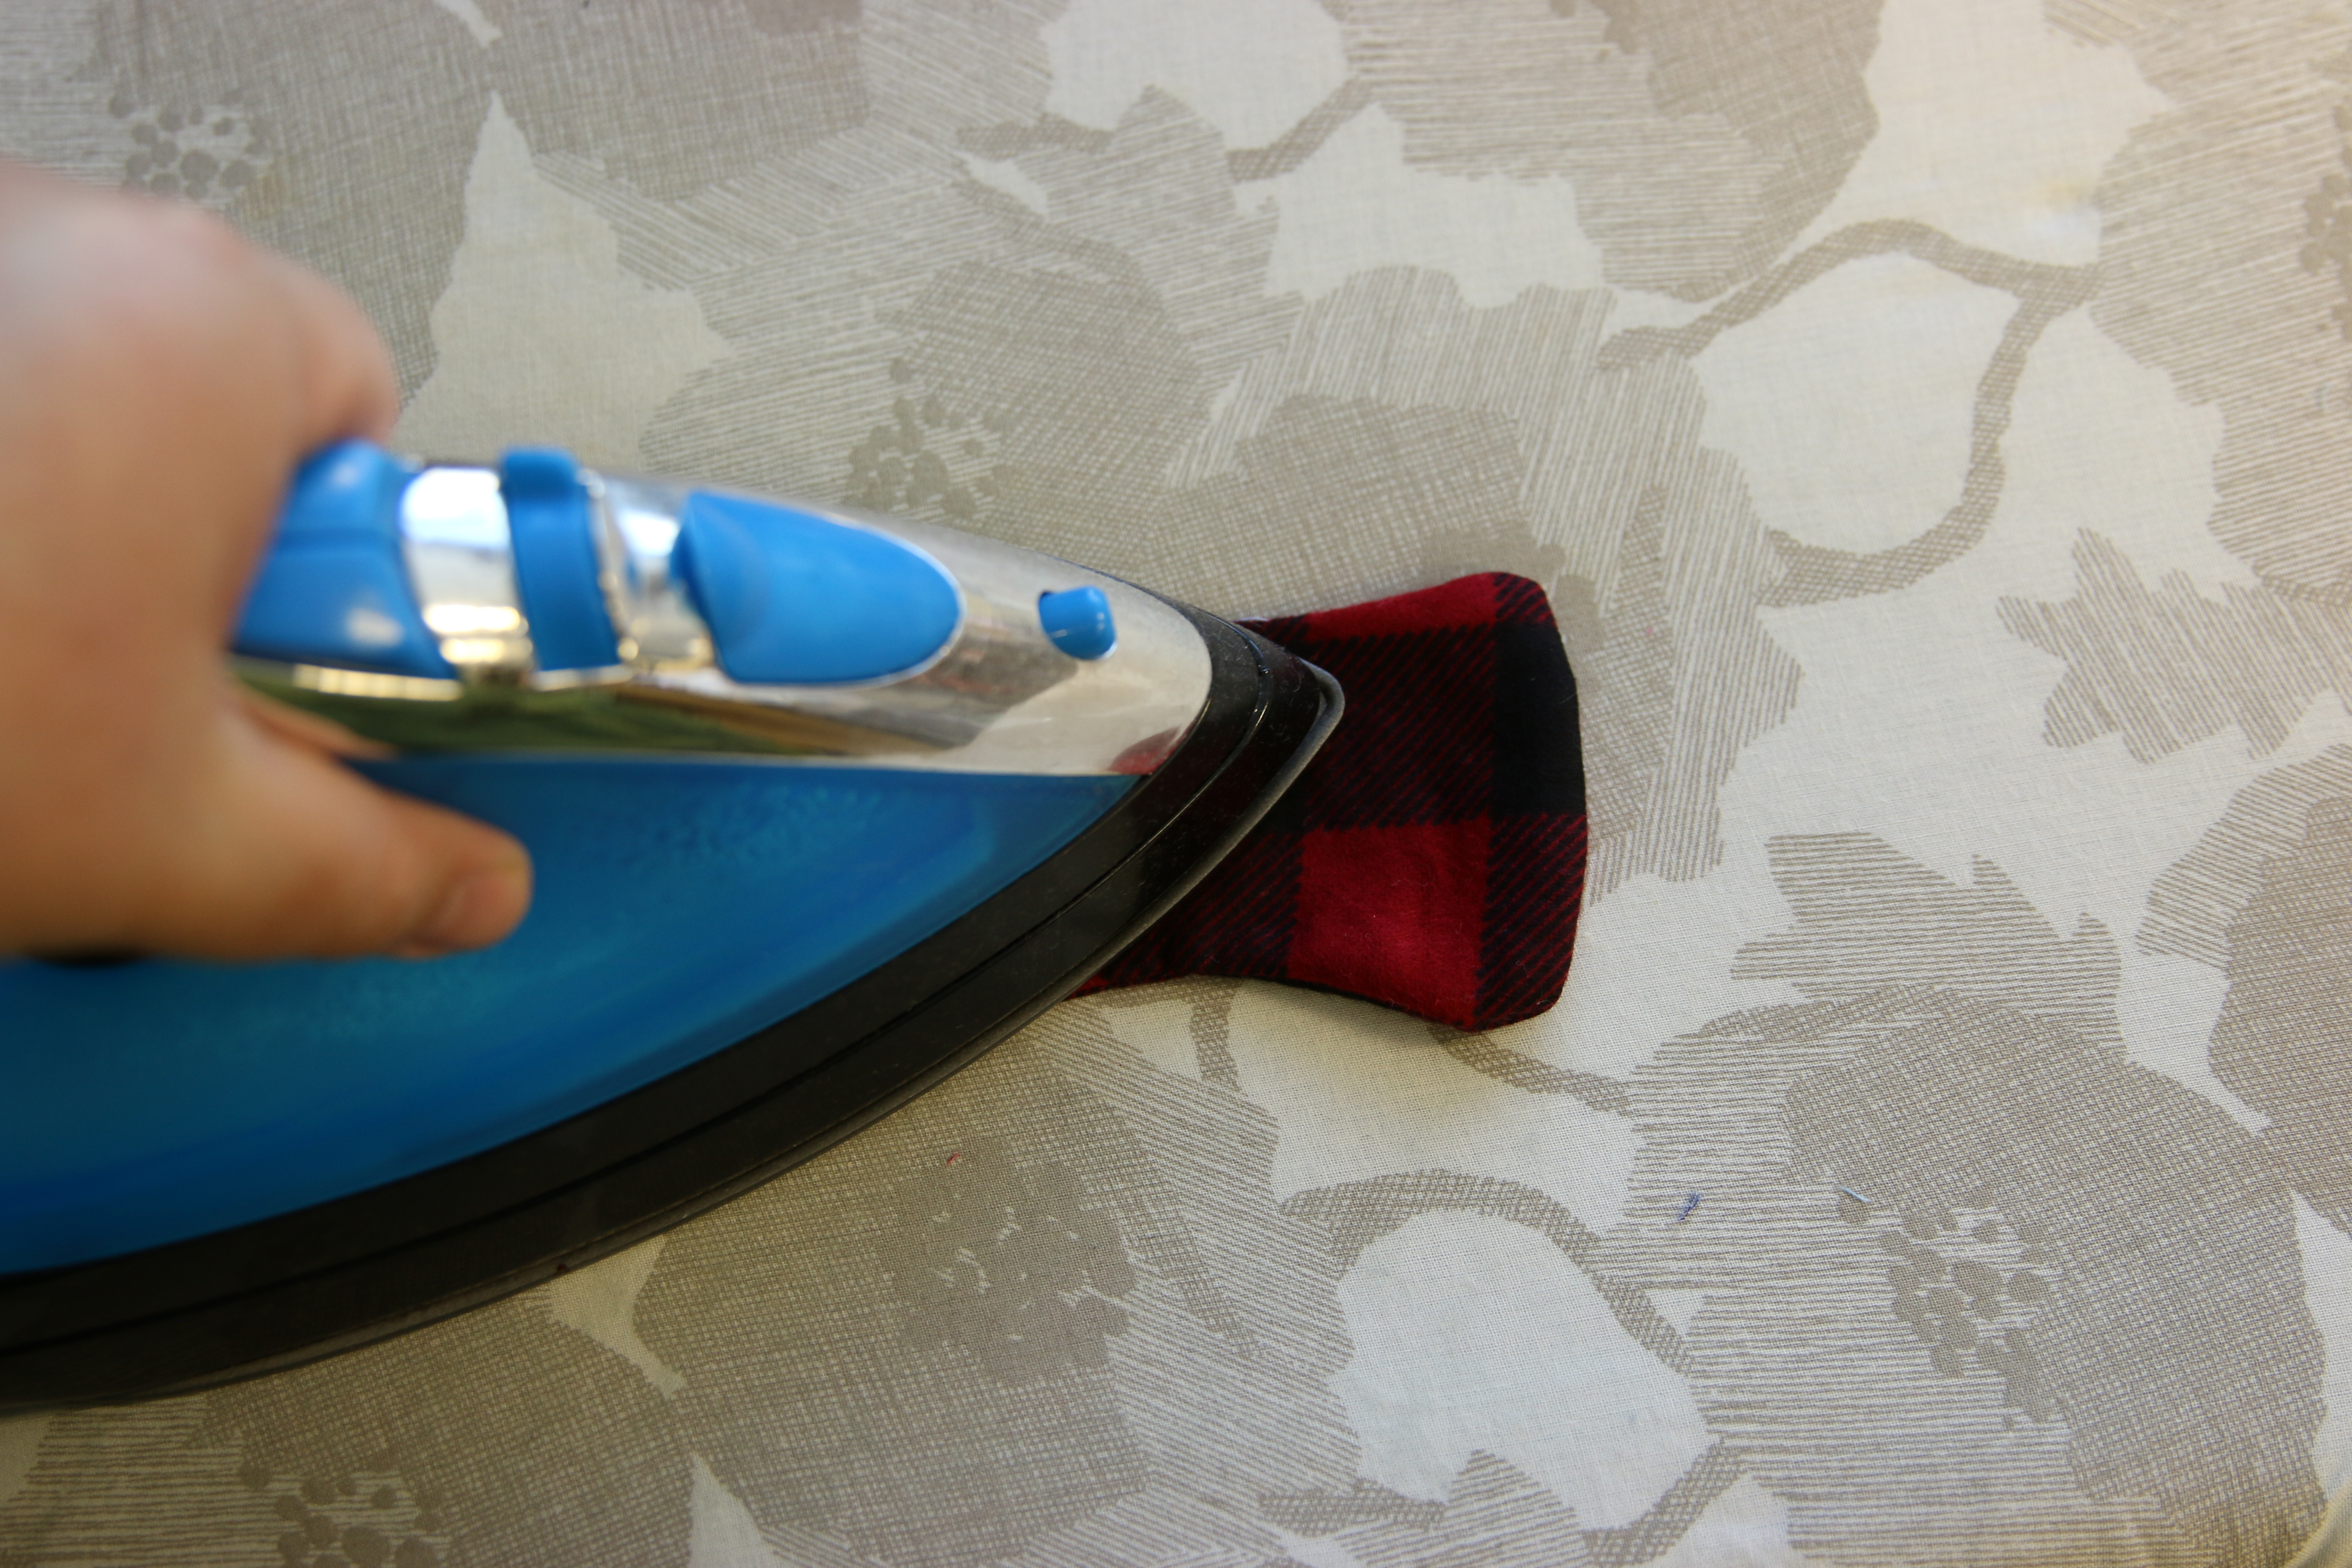
Fold the raw edges of the opening in 1/4”, and press them with an iron.
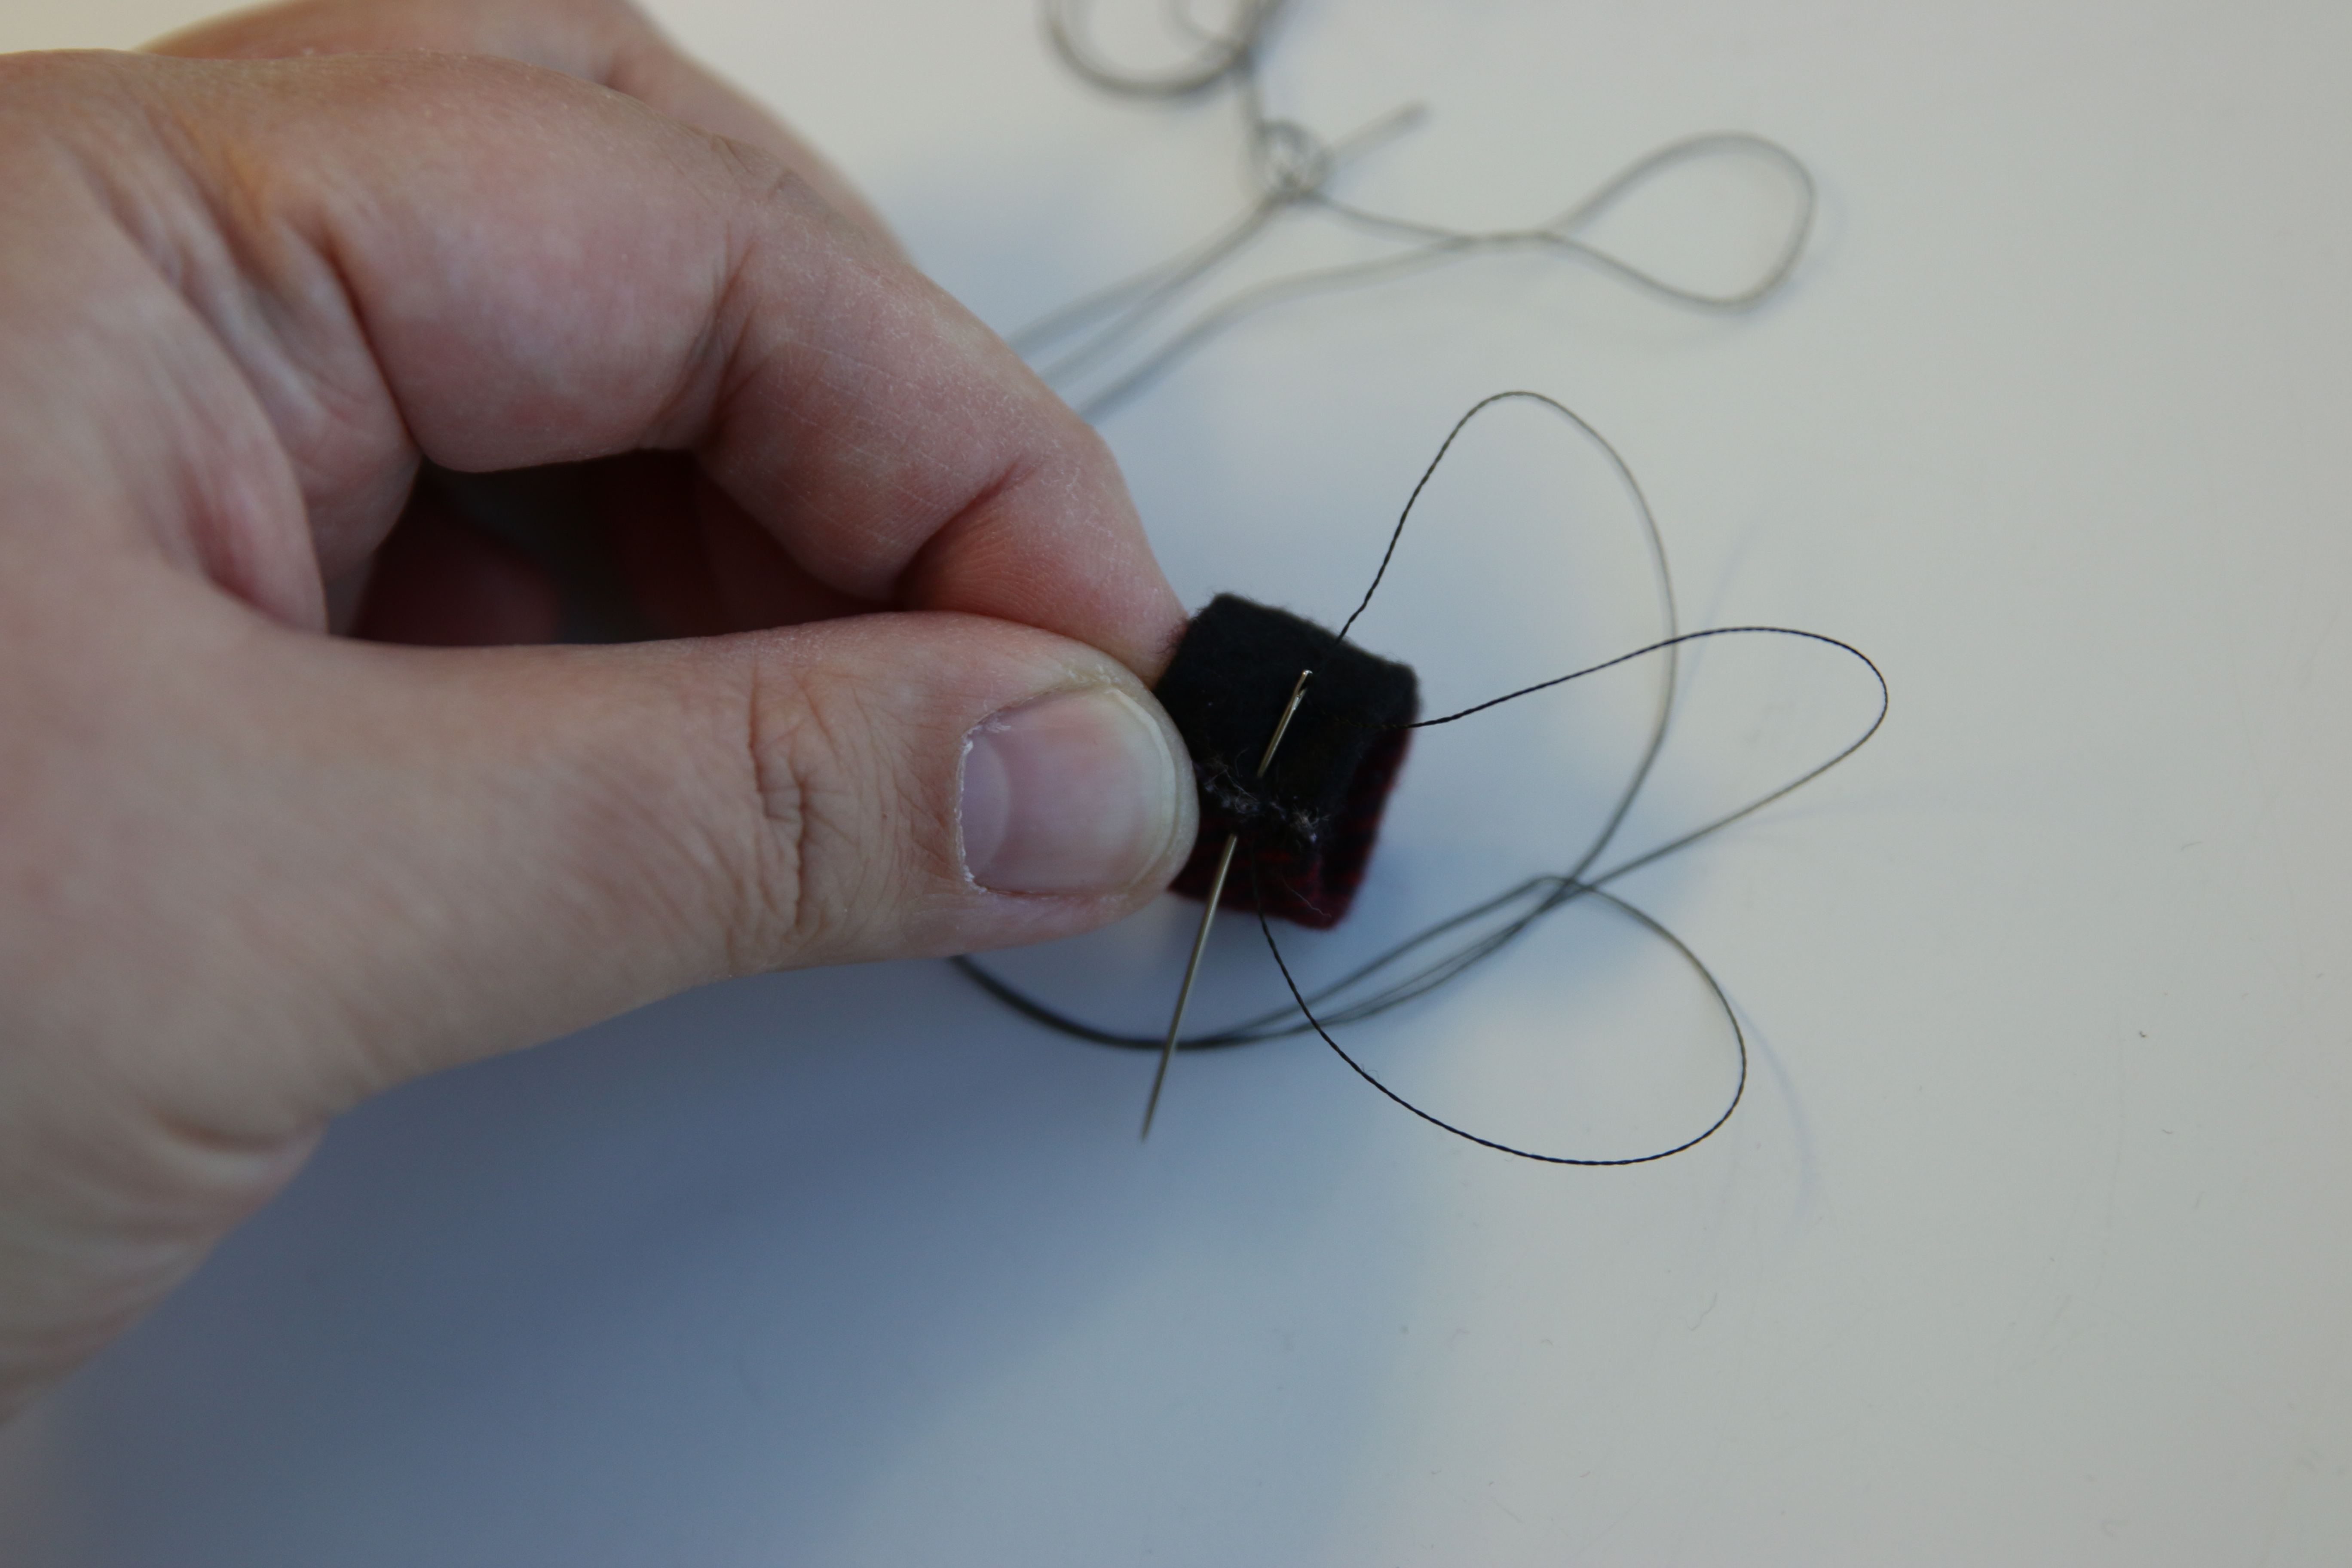
6
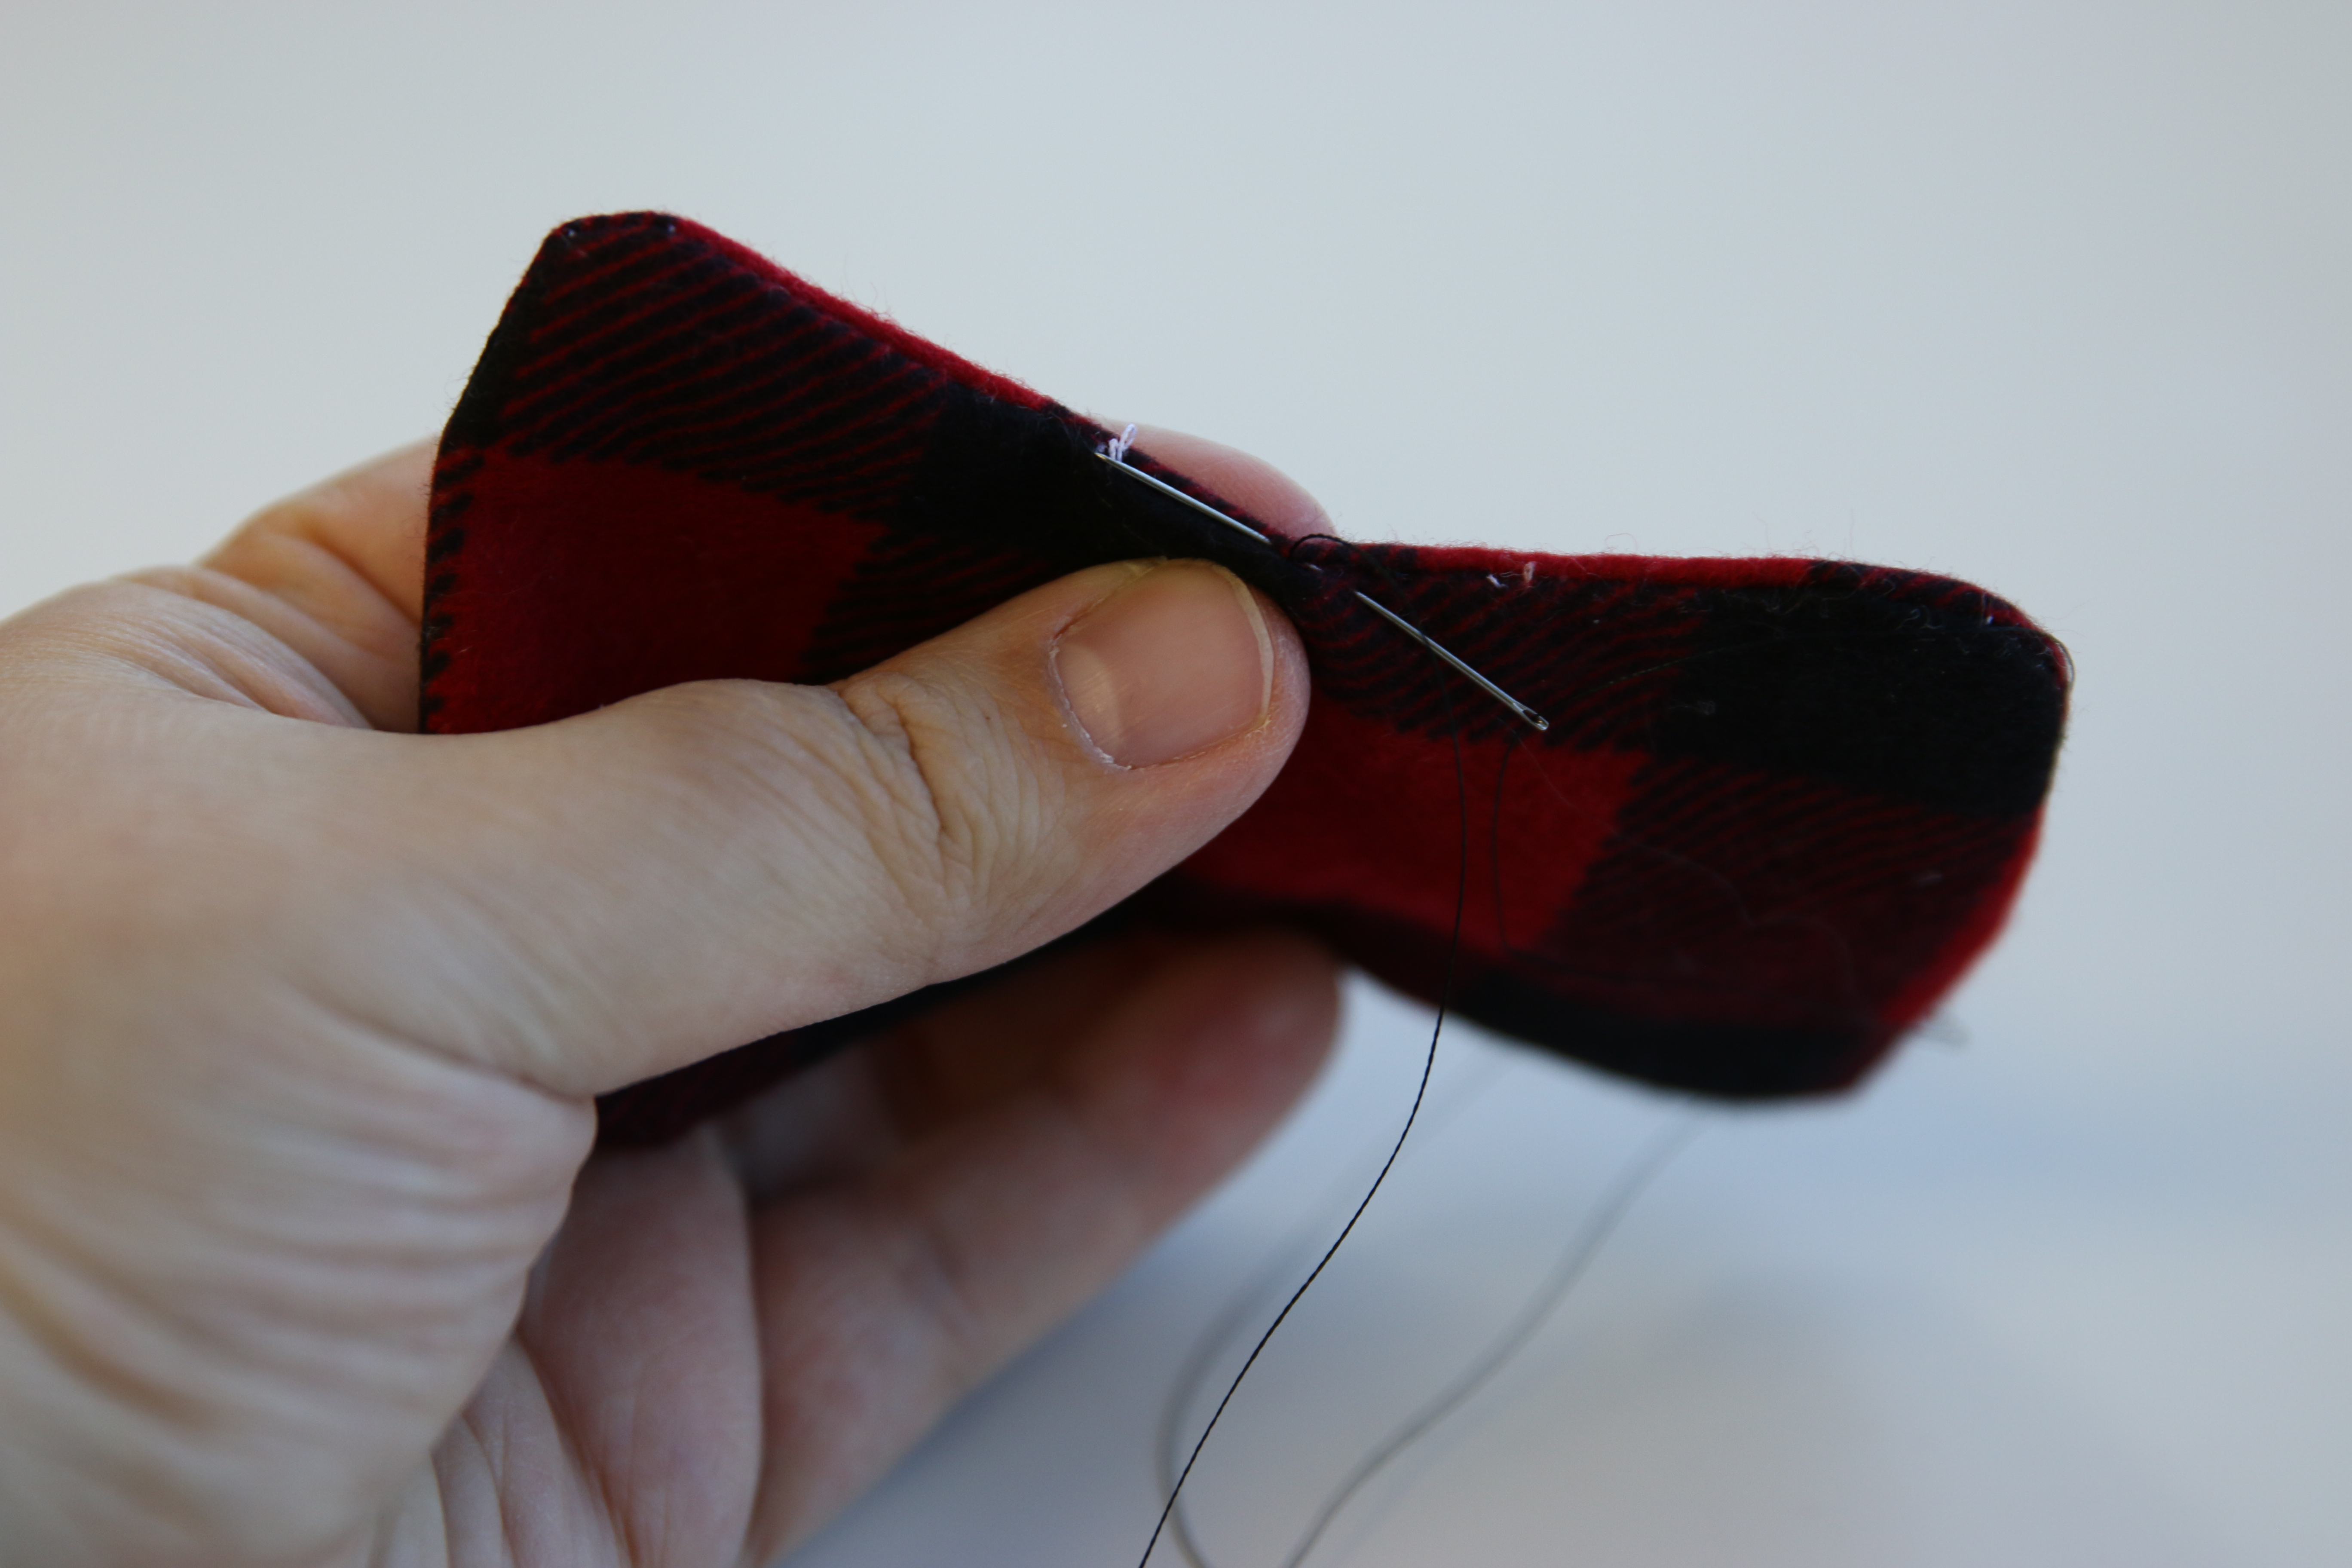
Use a hand sewing needle and matching thread to sew the opening closed.
7
Next, fold the center piece (Color 1) in half lengthwise with right sides together.
8
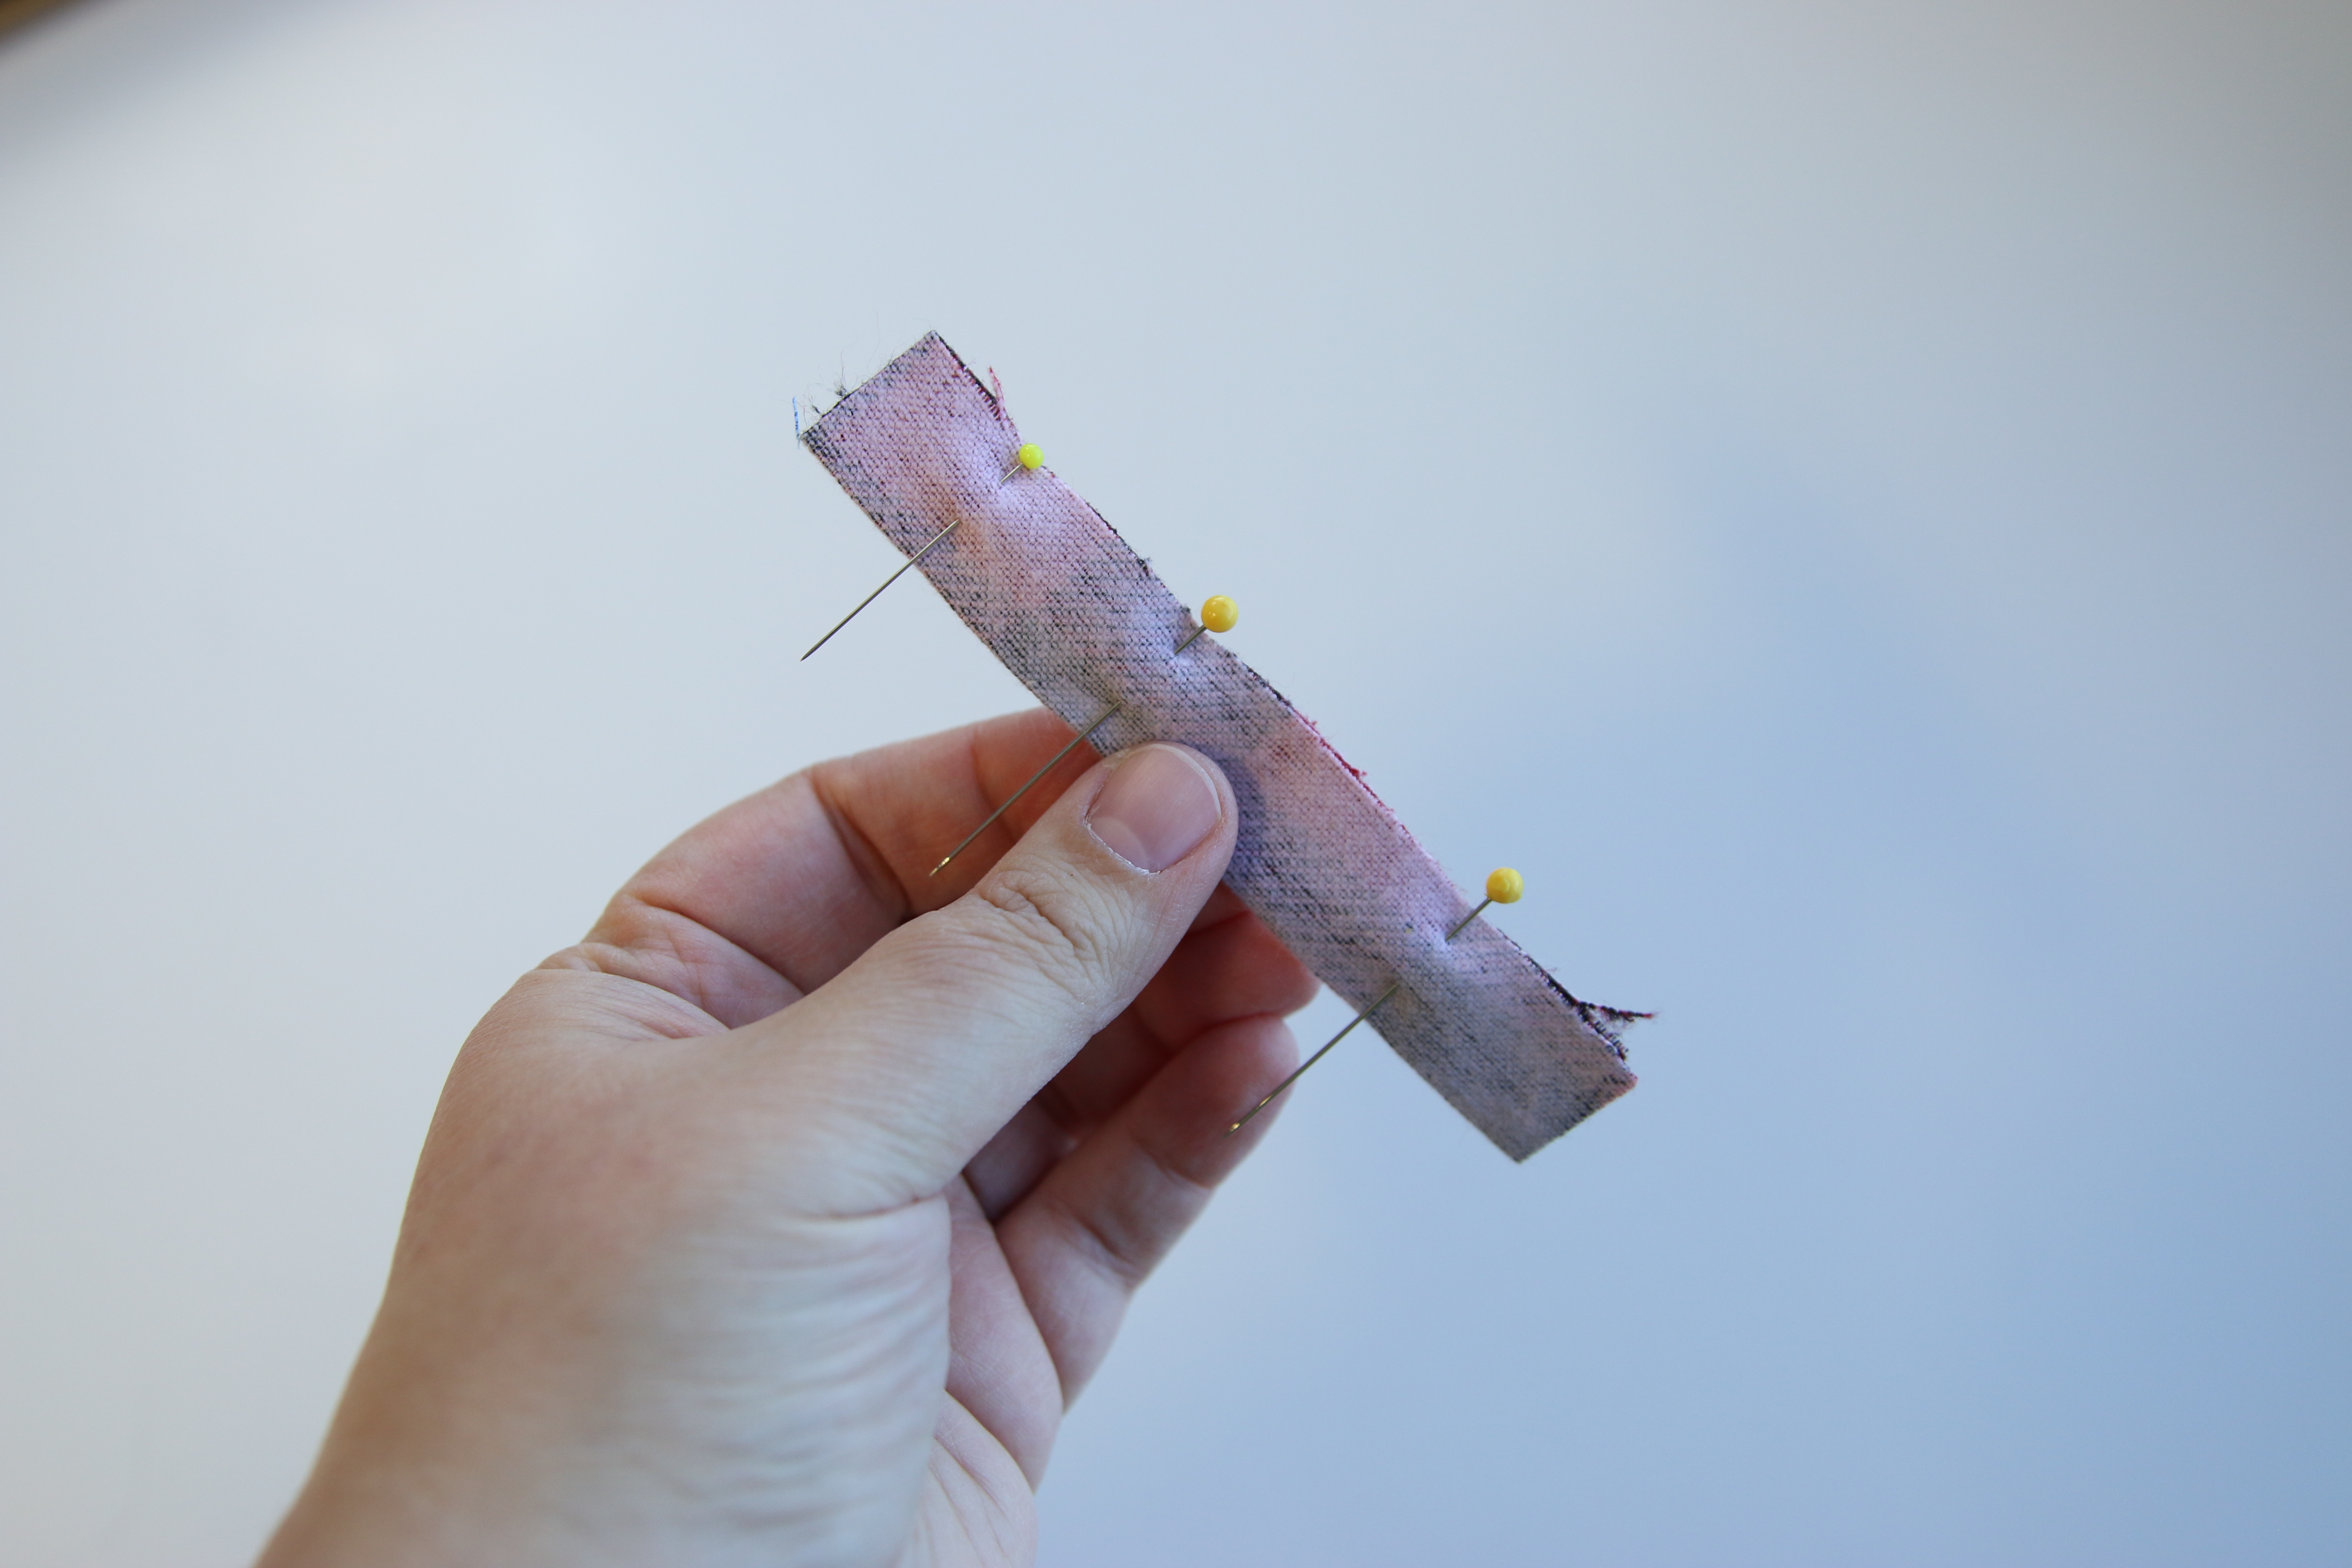
Press the fold with an iron, then pin the long edges together.
9
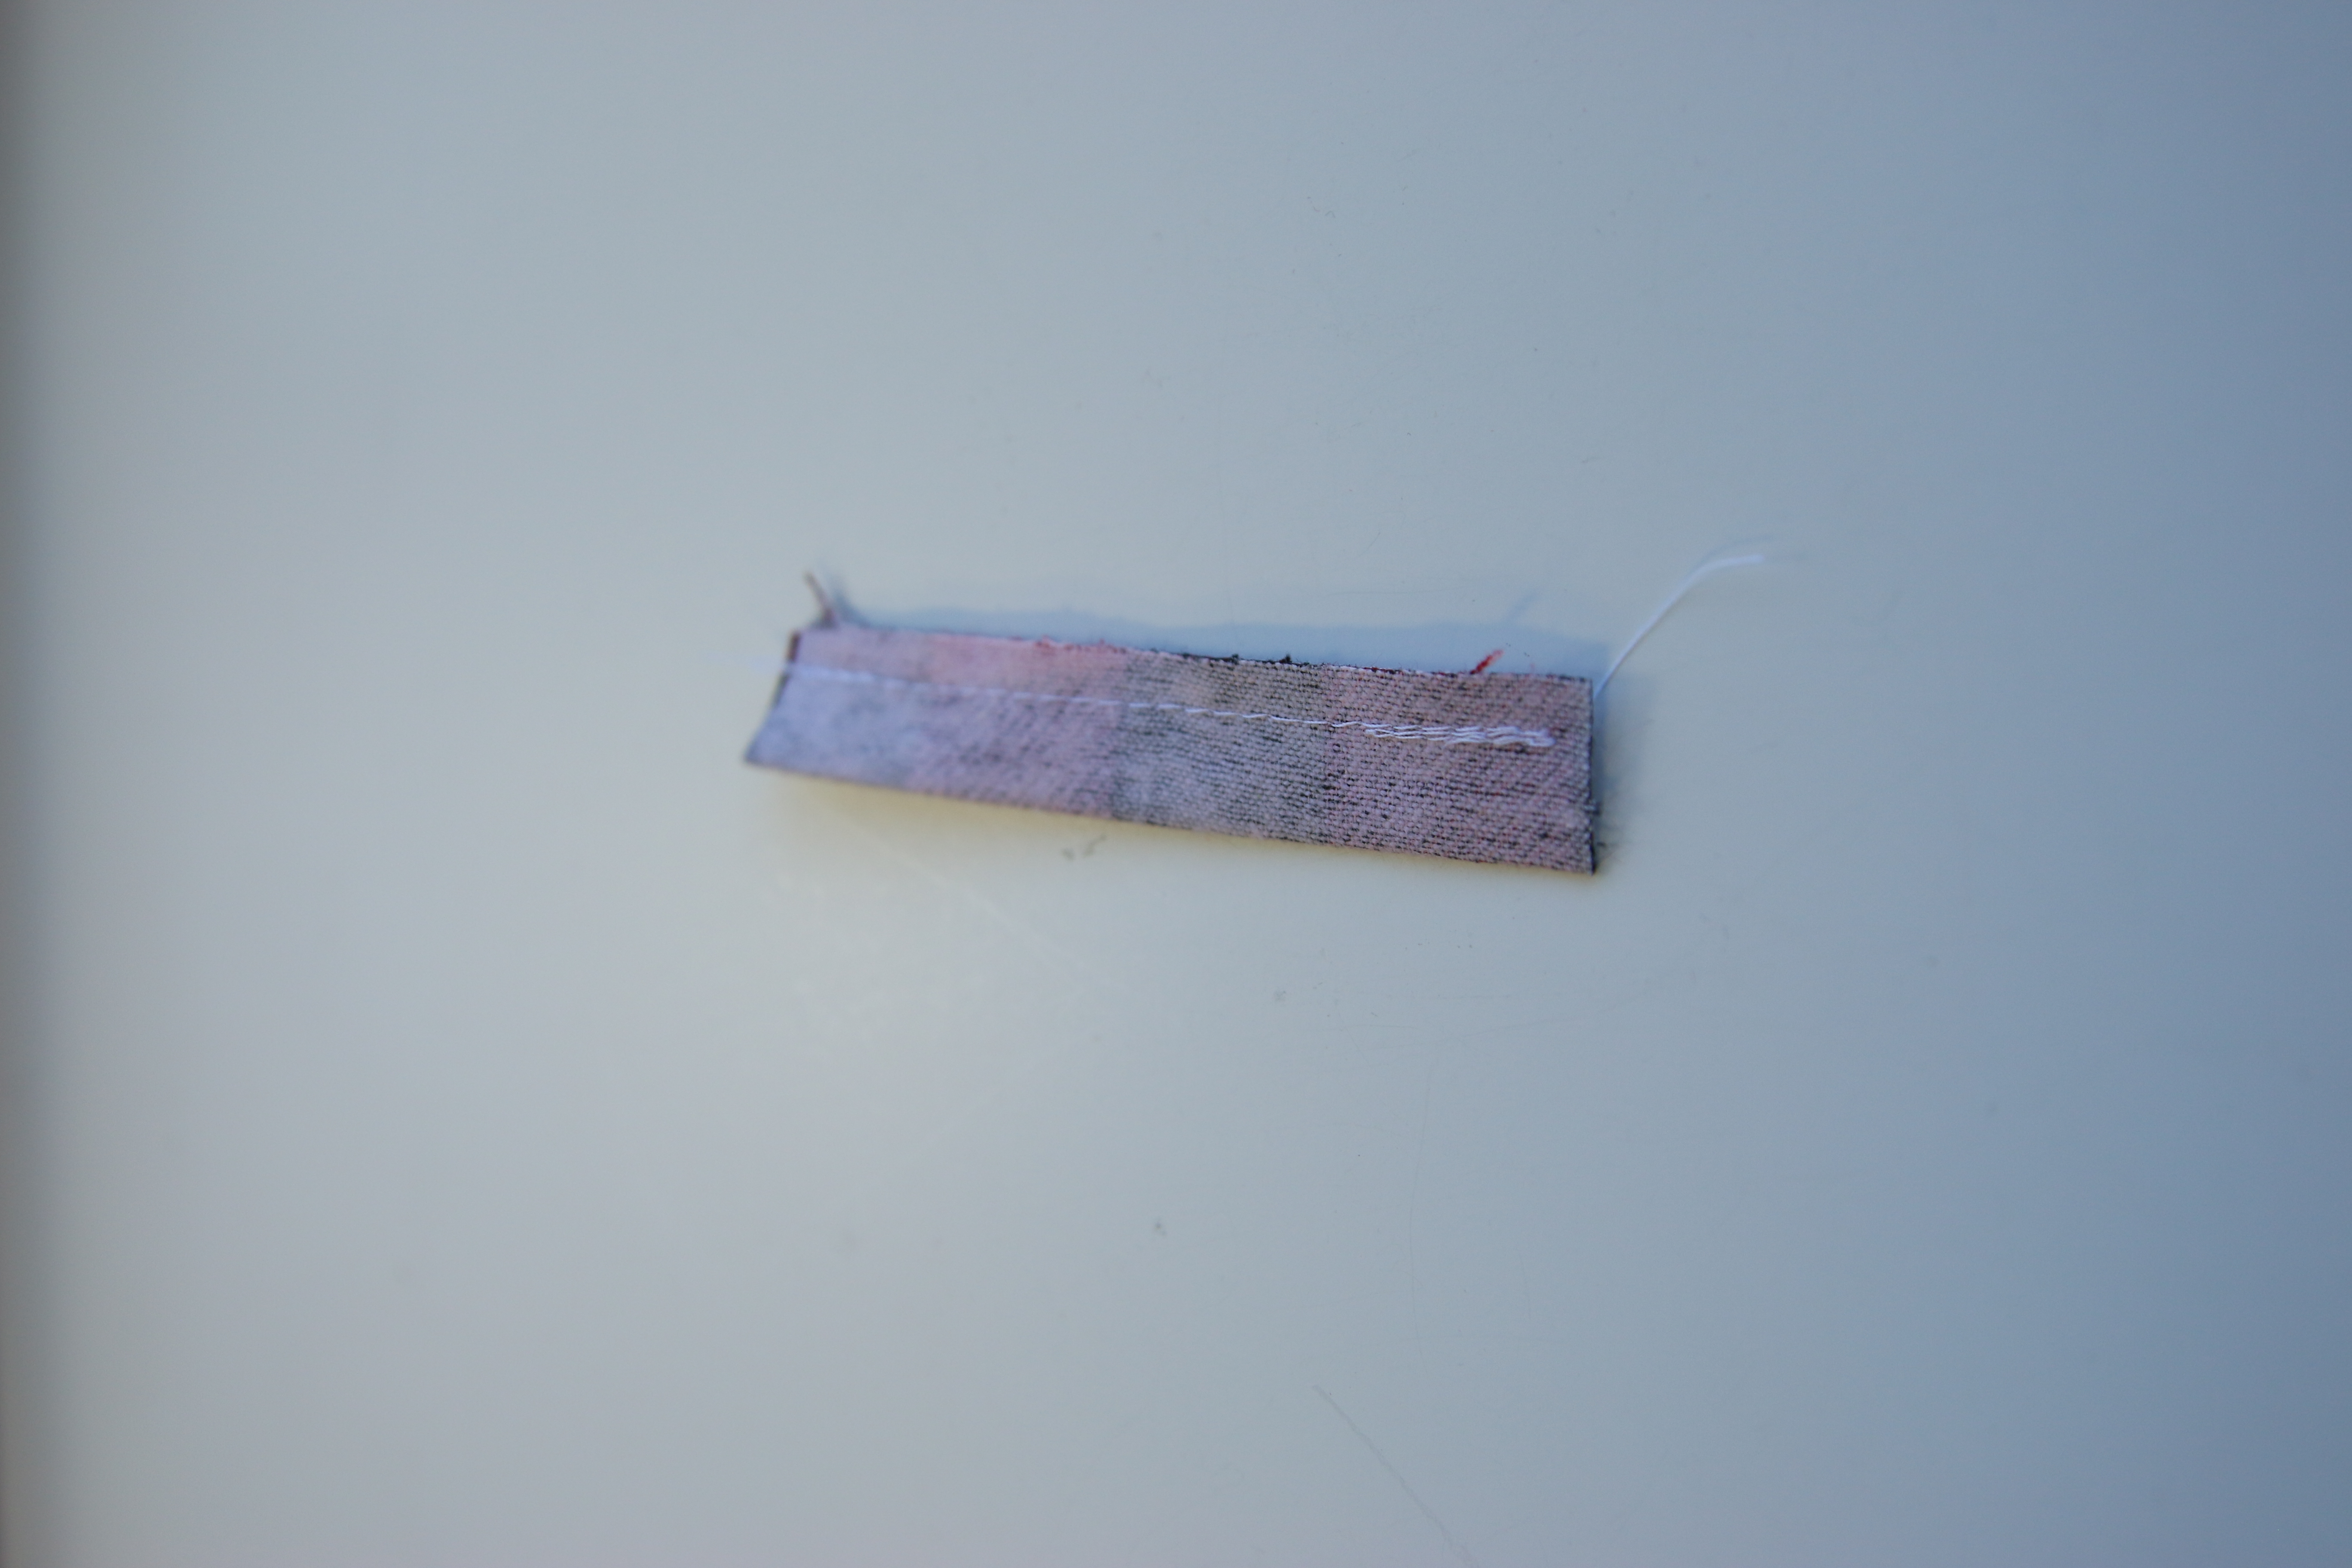
Along the pinned edge, stitch a 1/8” seam, leaving the short ends open for turning.
10
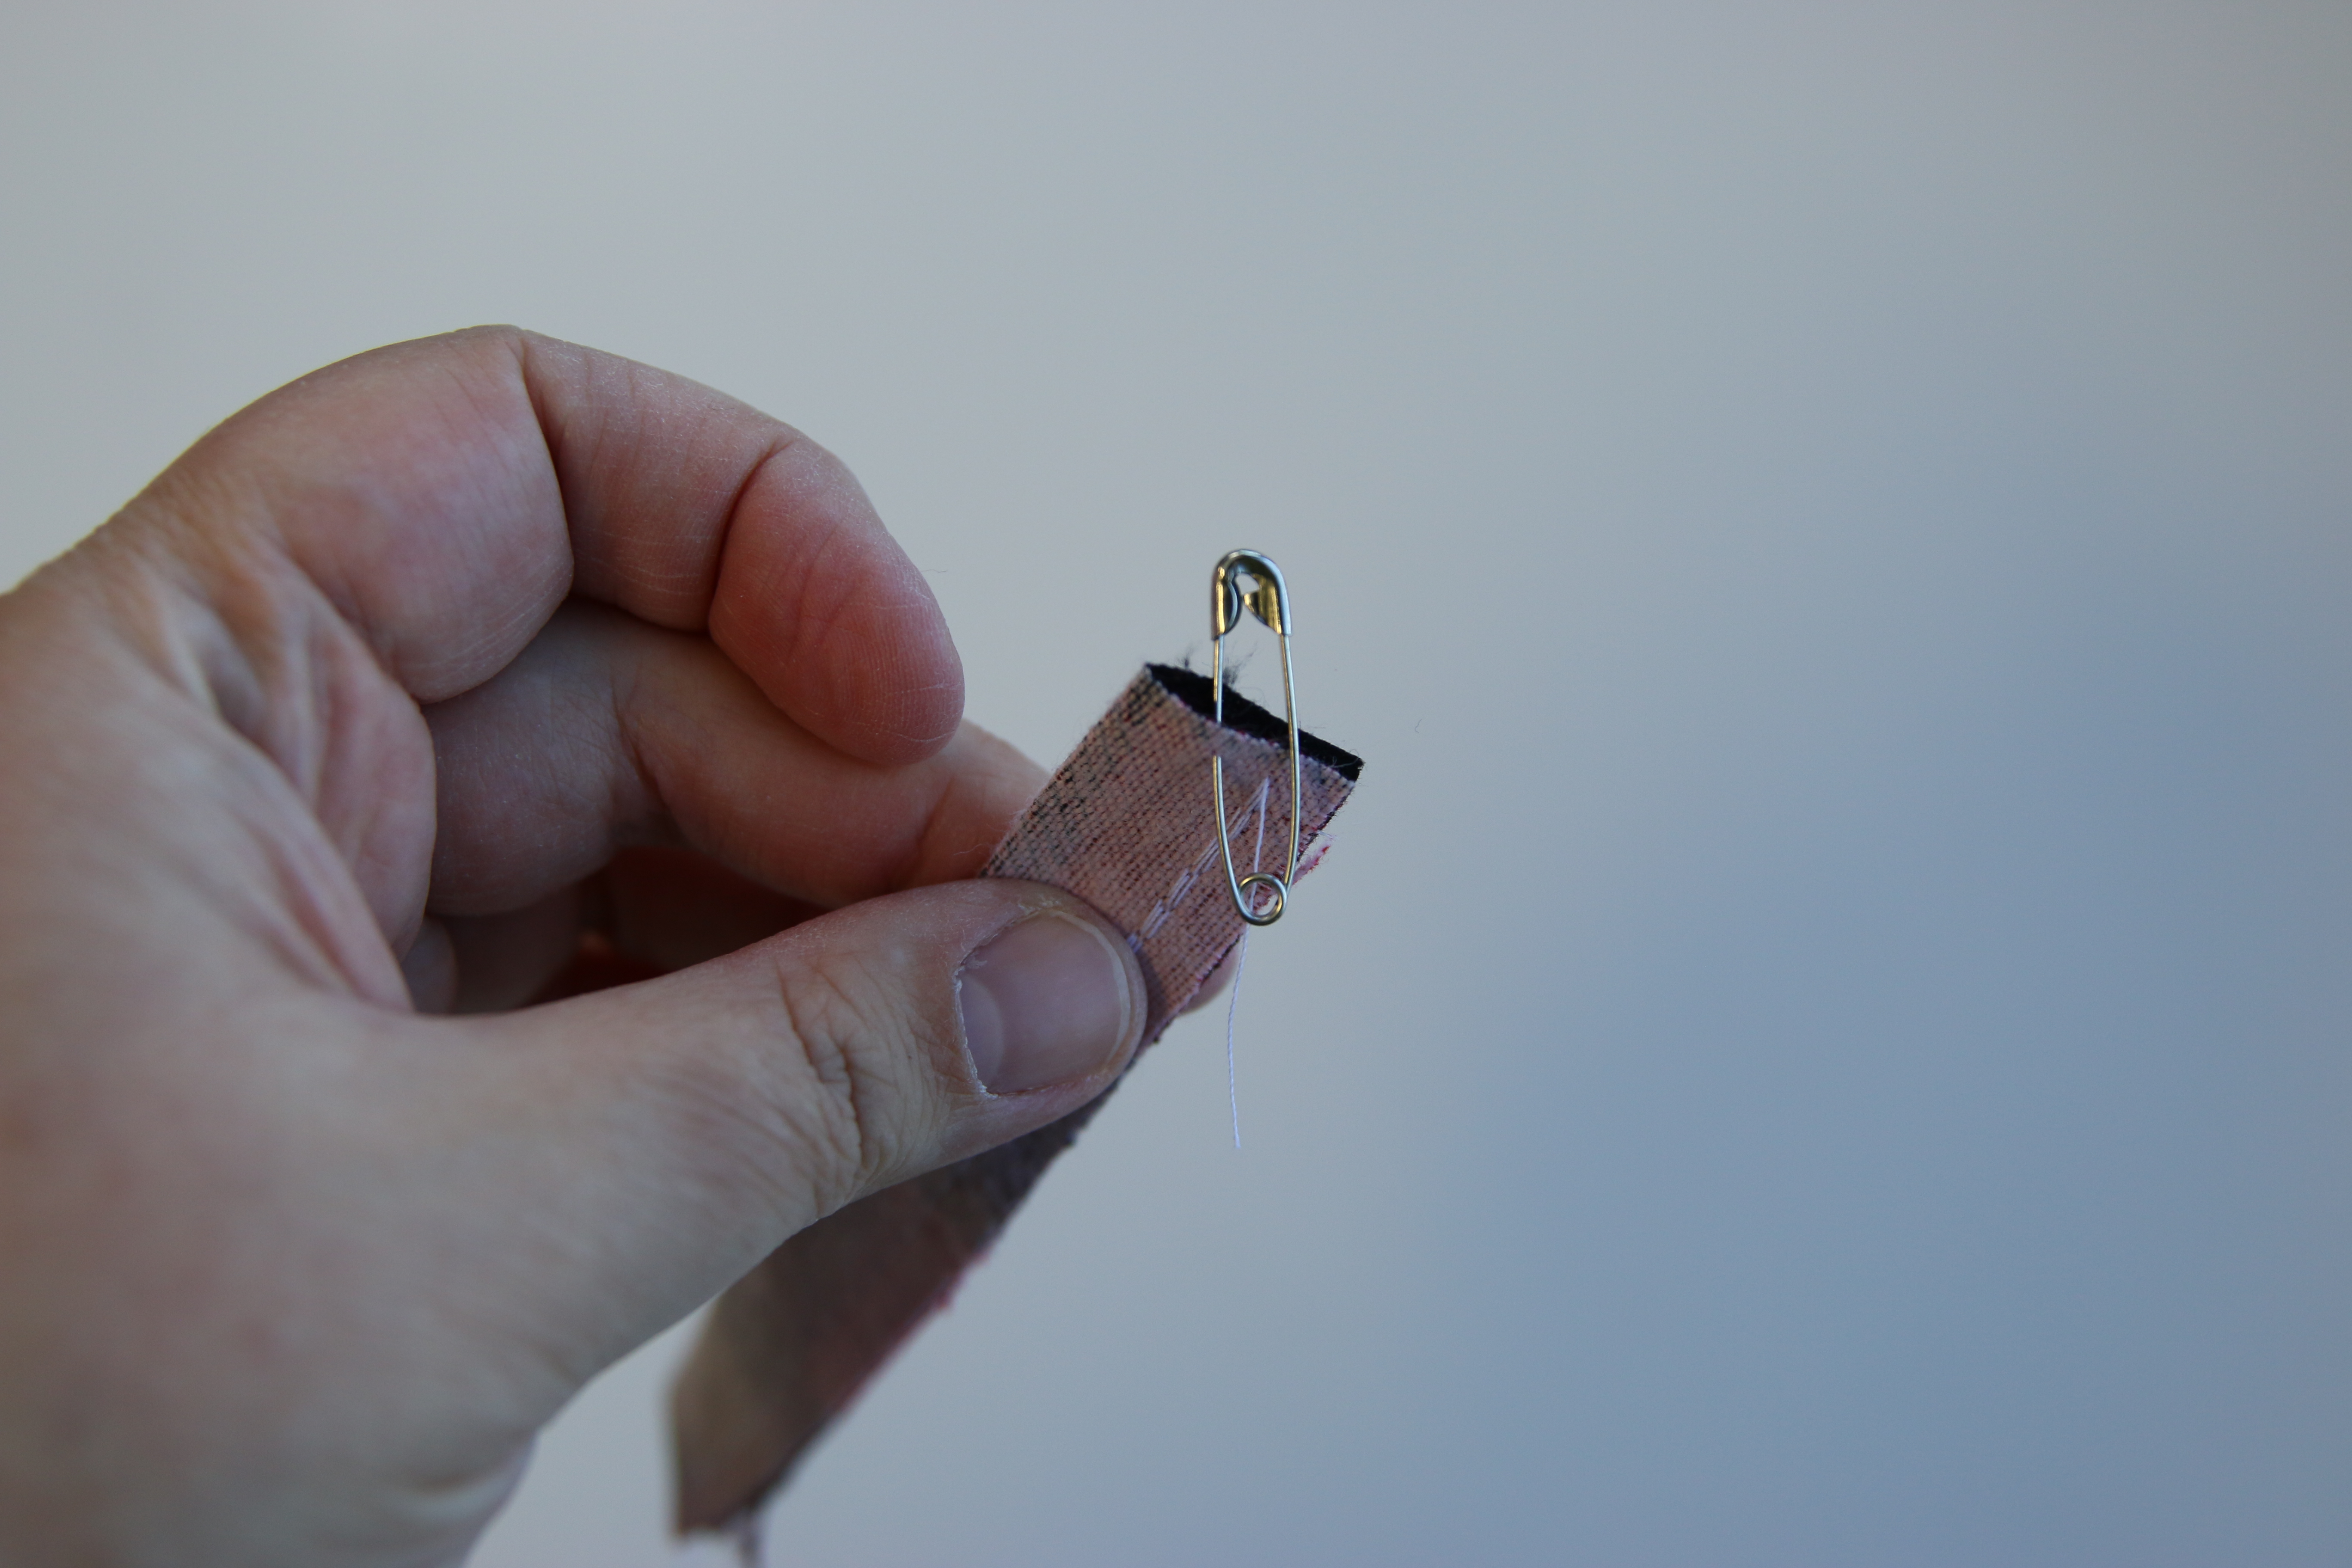
Once the seam is stitched, secure a safety pin to one end and turn the center piece right side out.
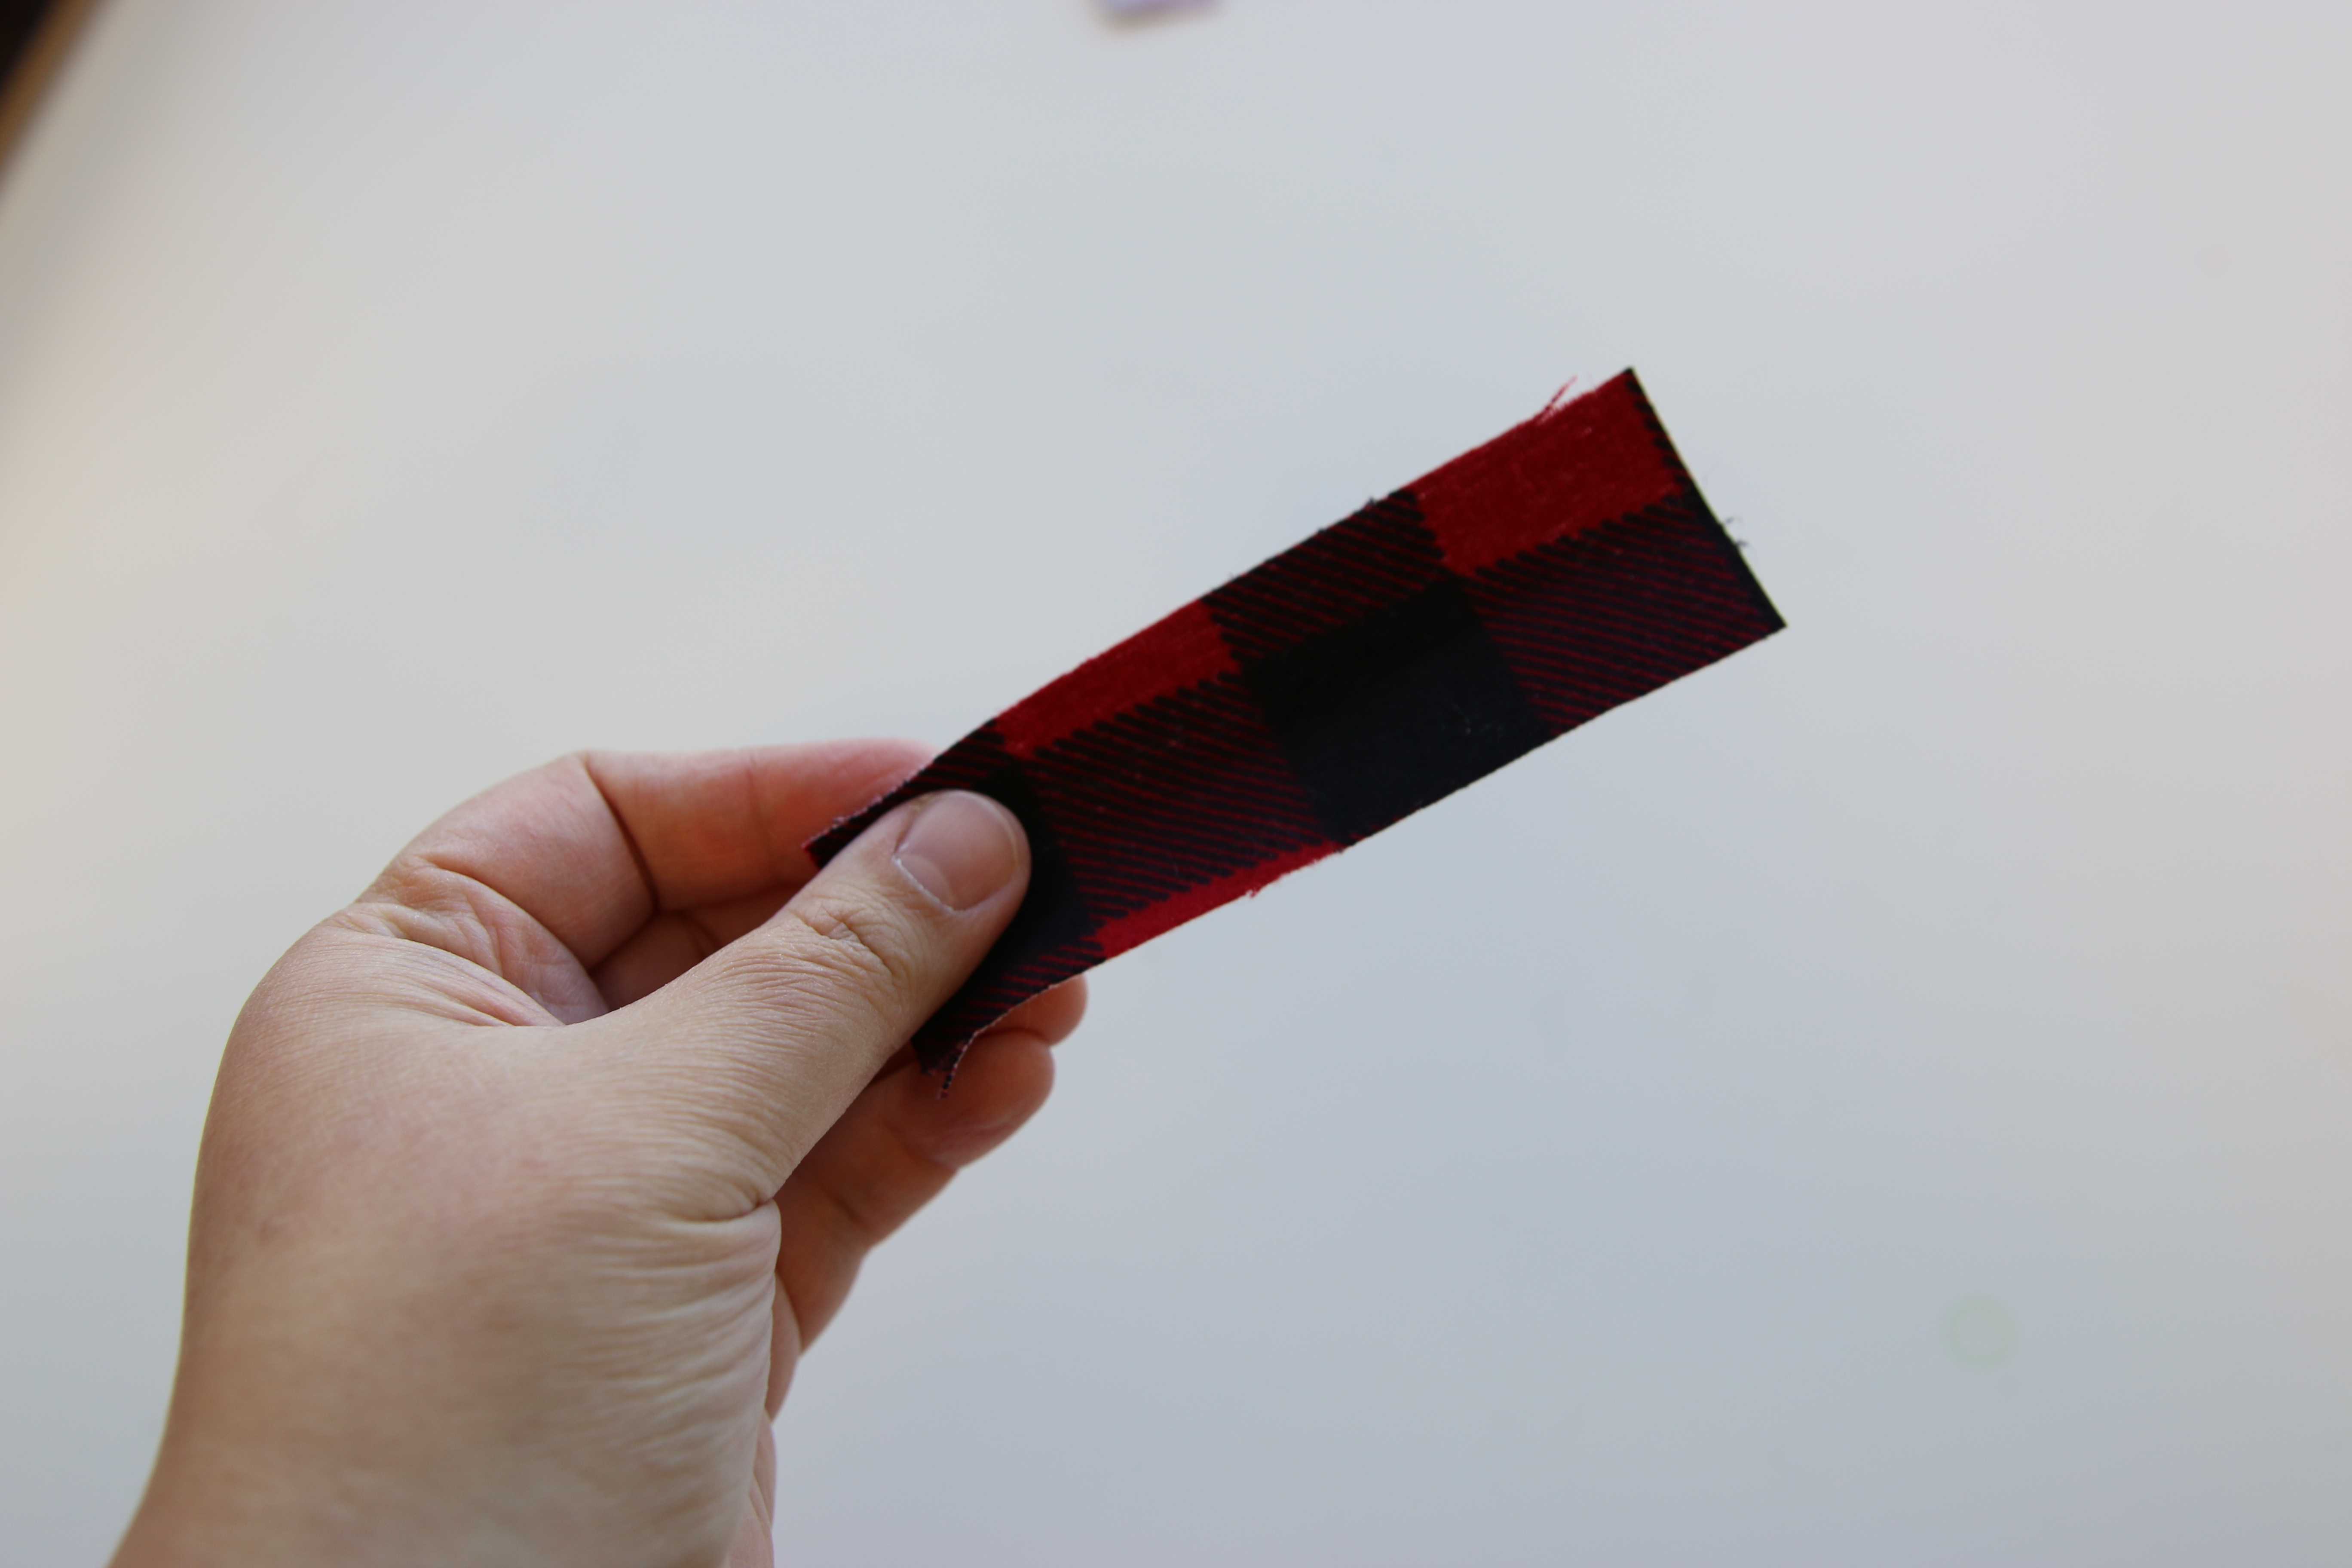
11
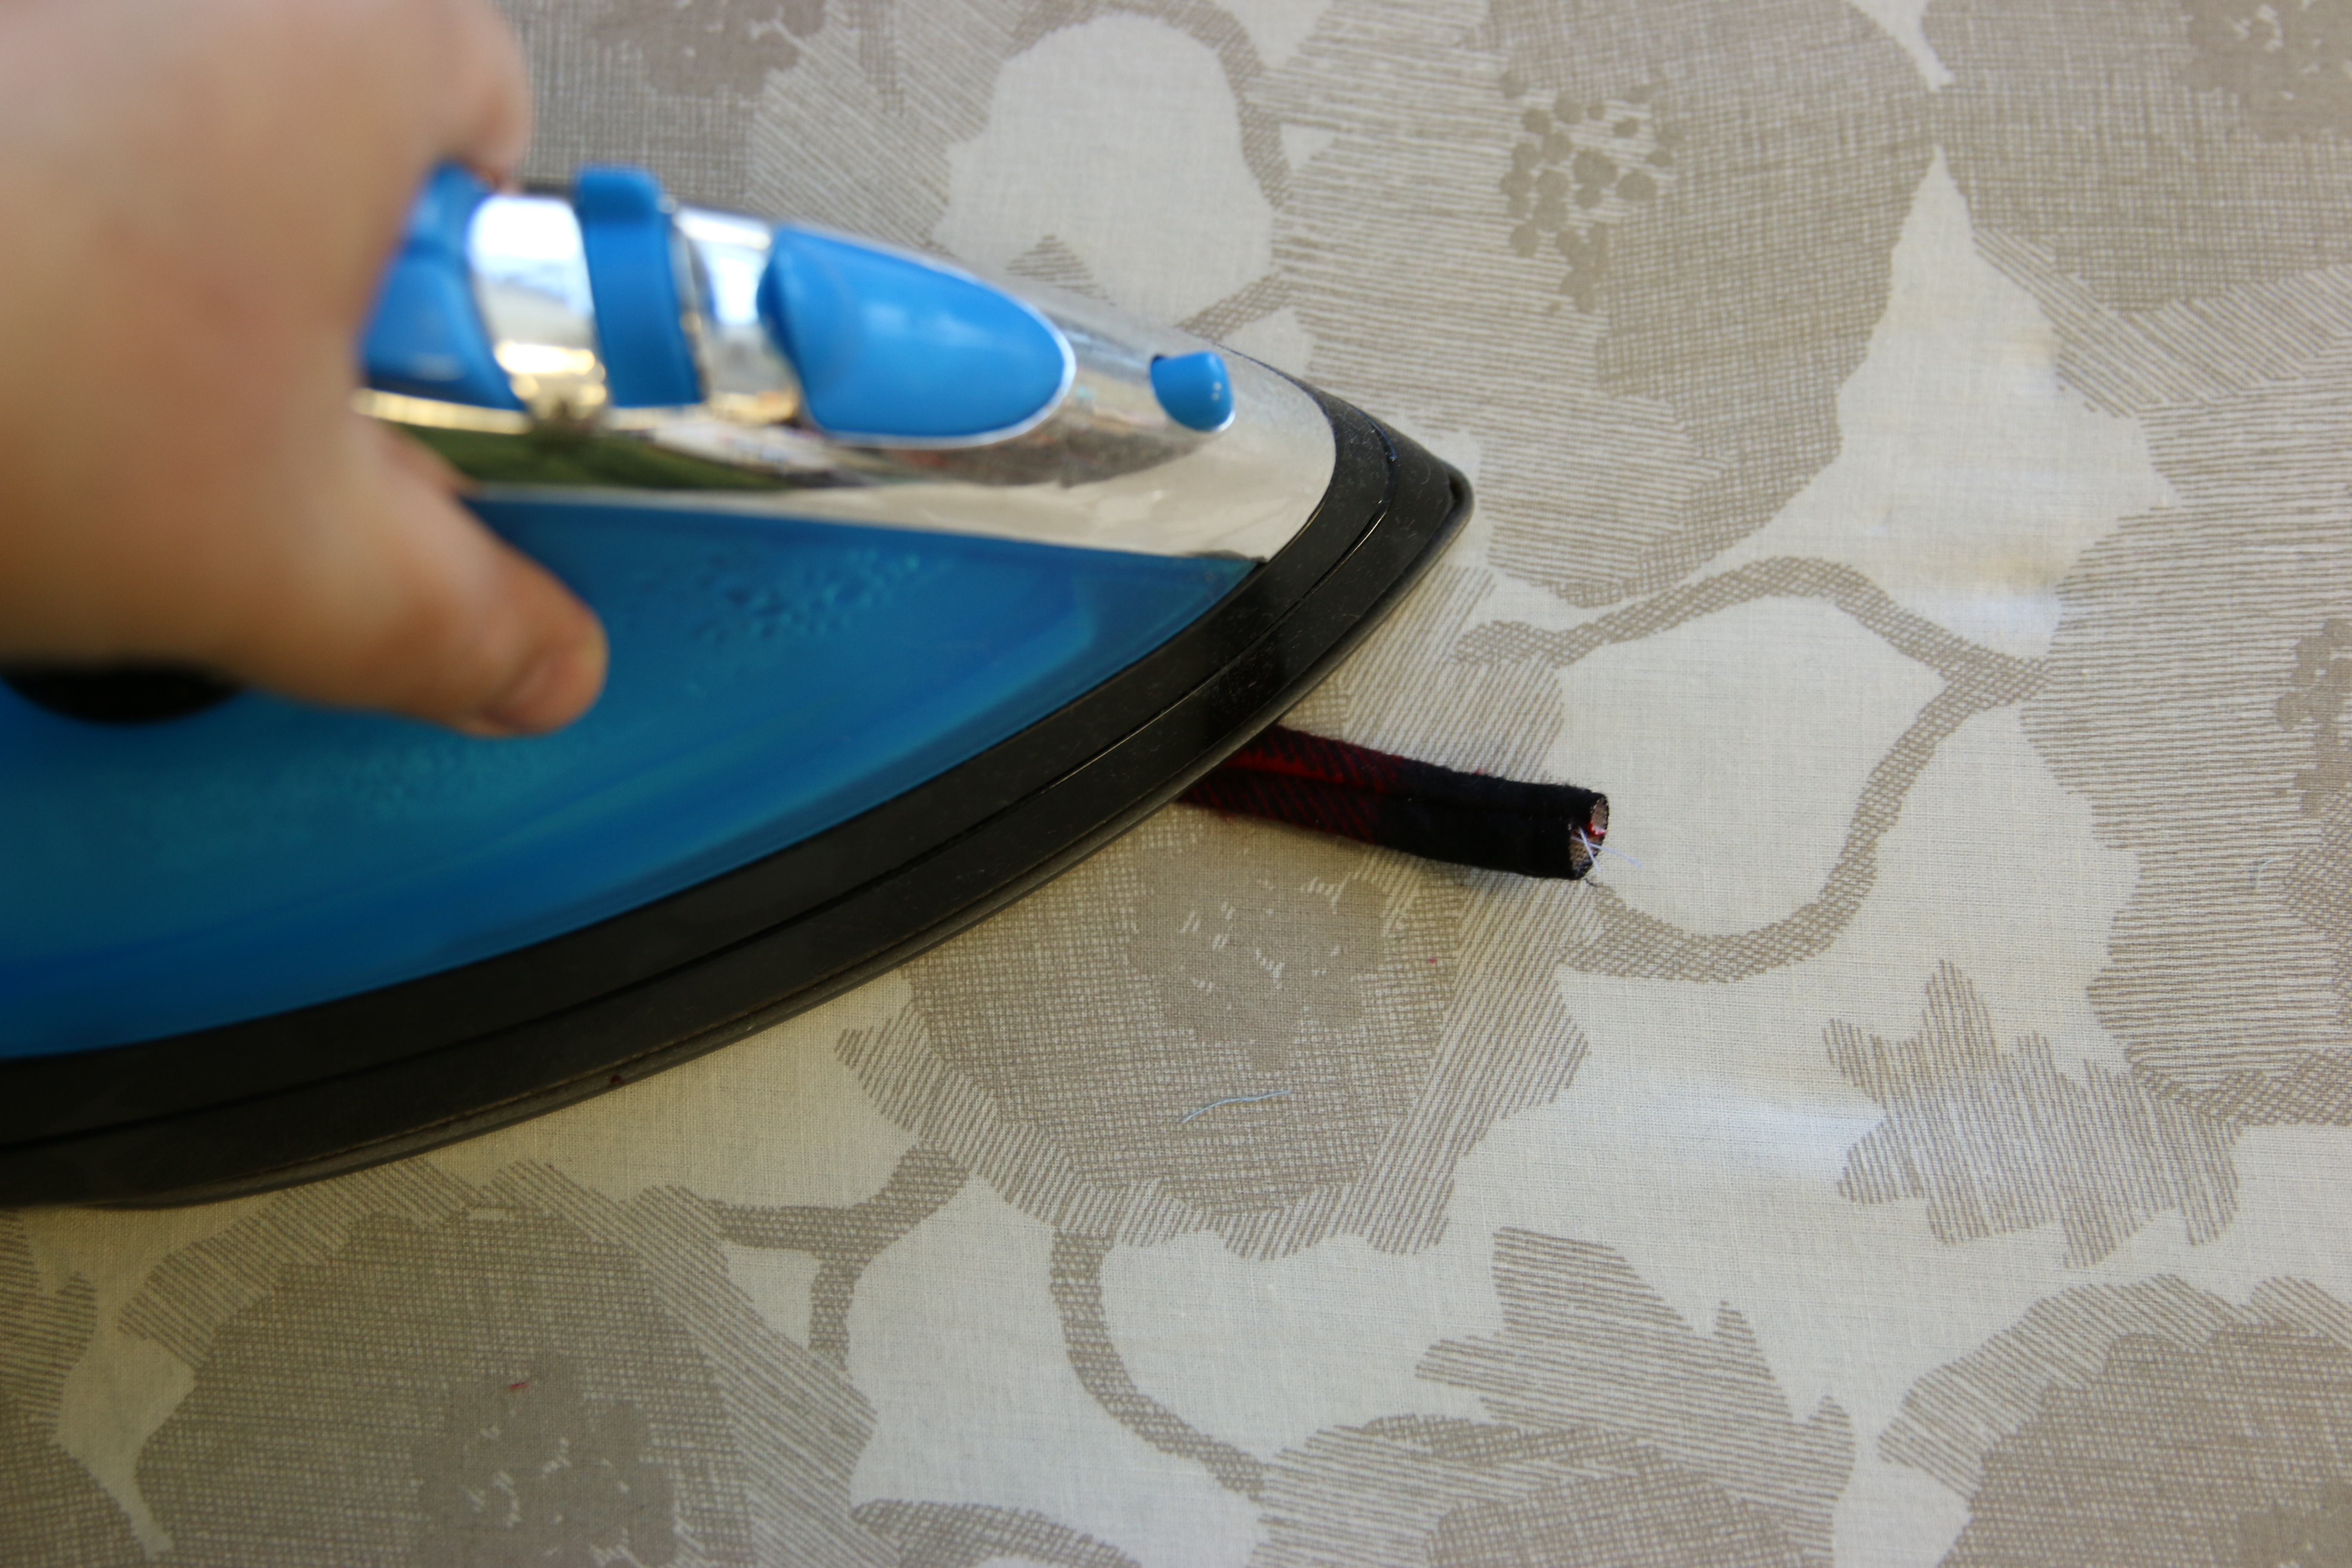
To finish the center piece, press it flat with an iron so that the seam runs down the center back.
12
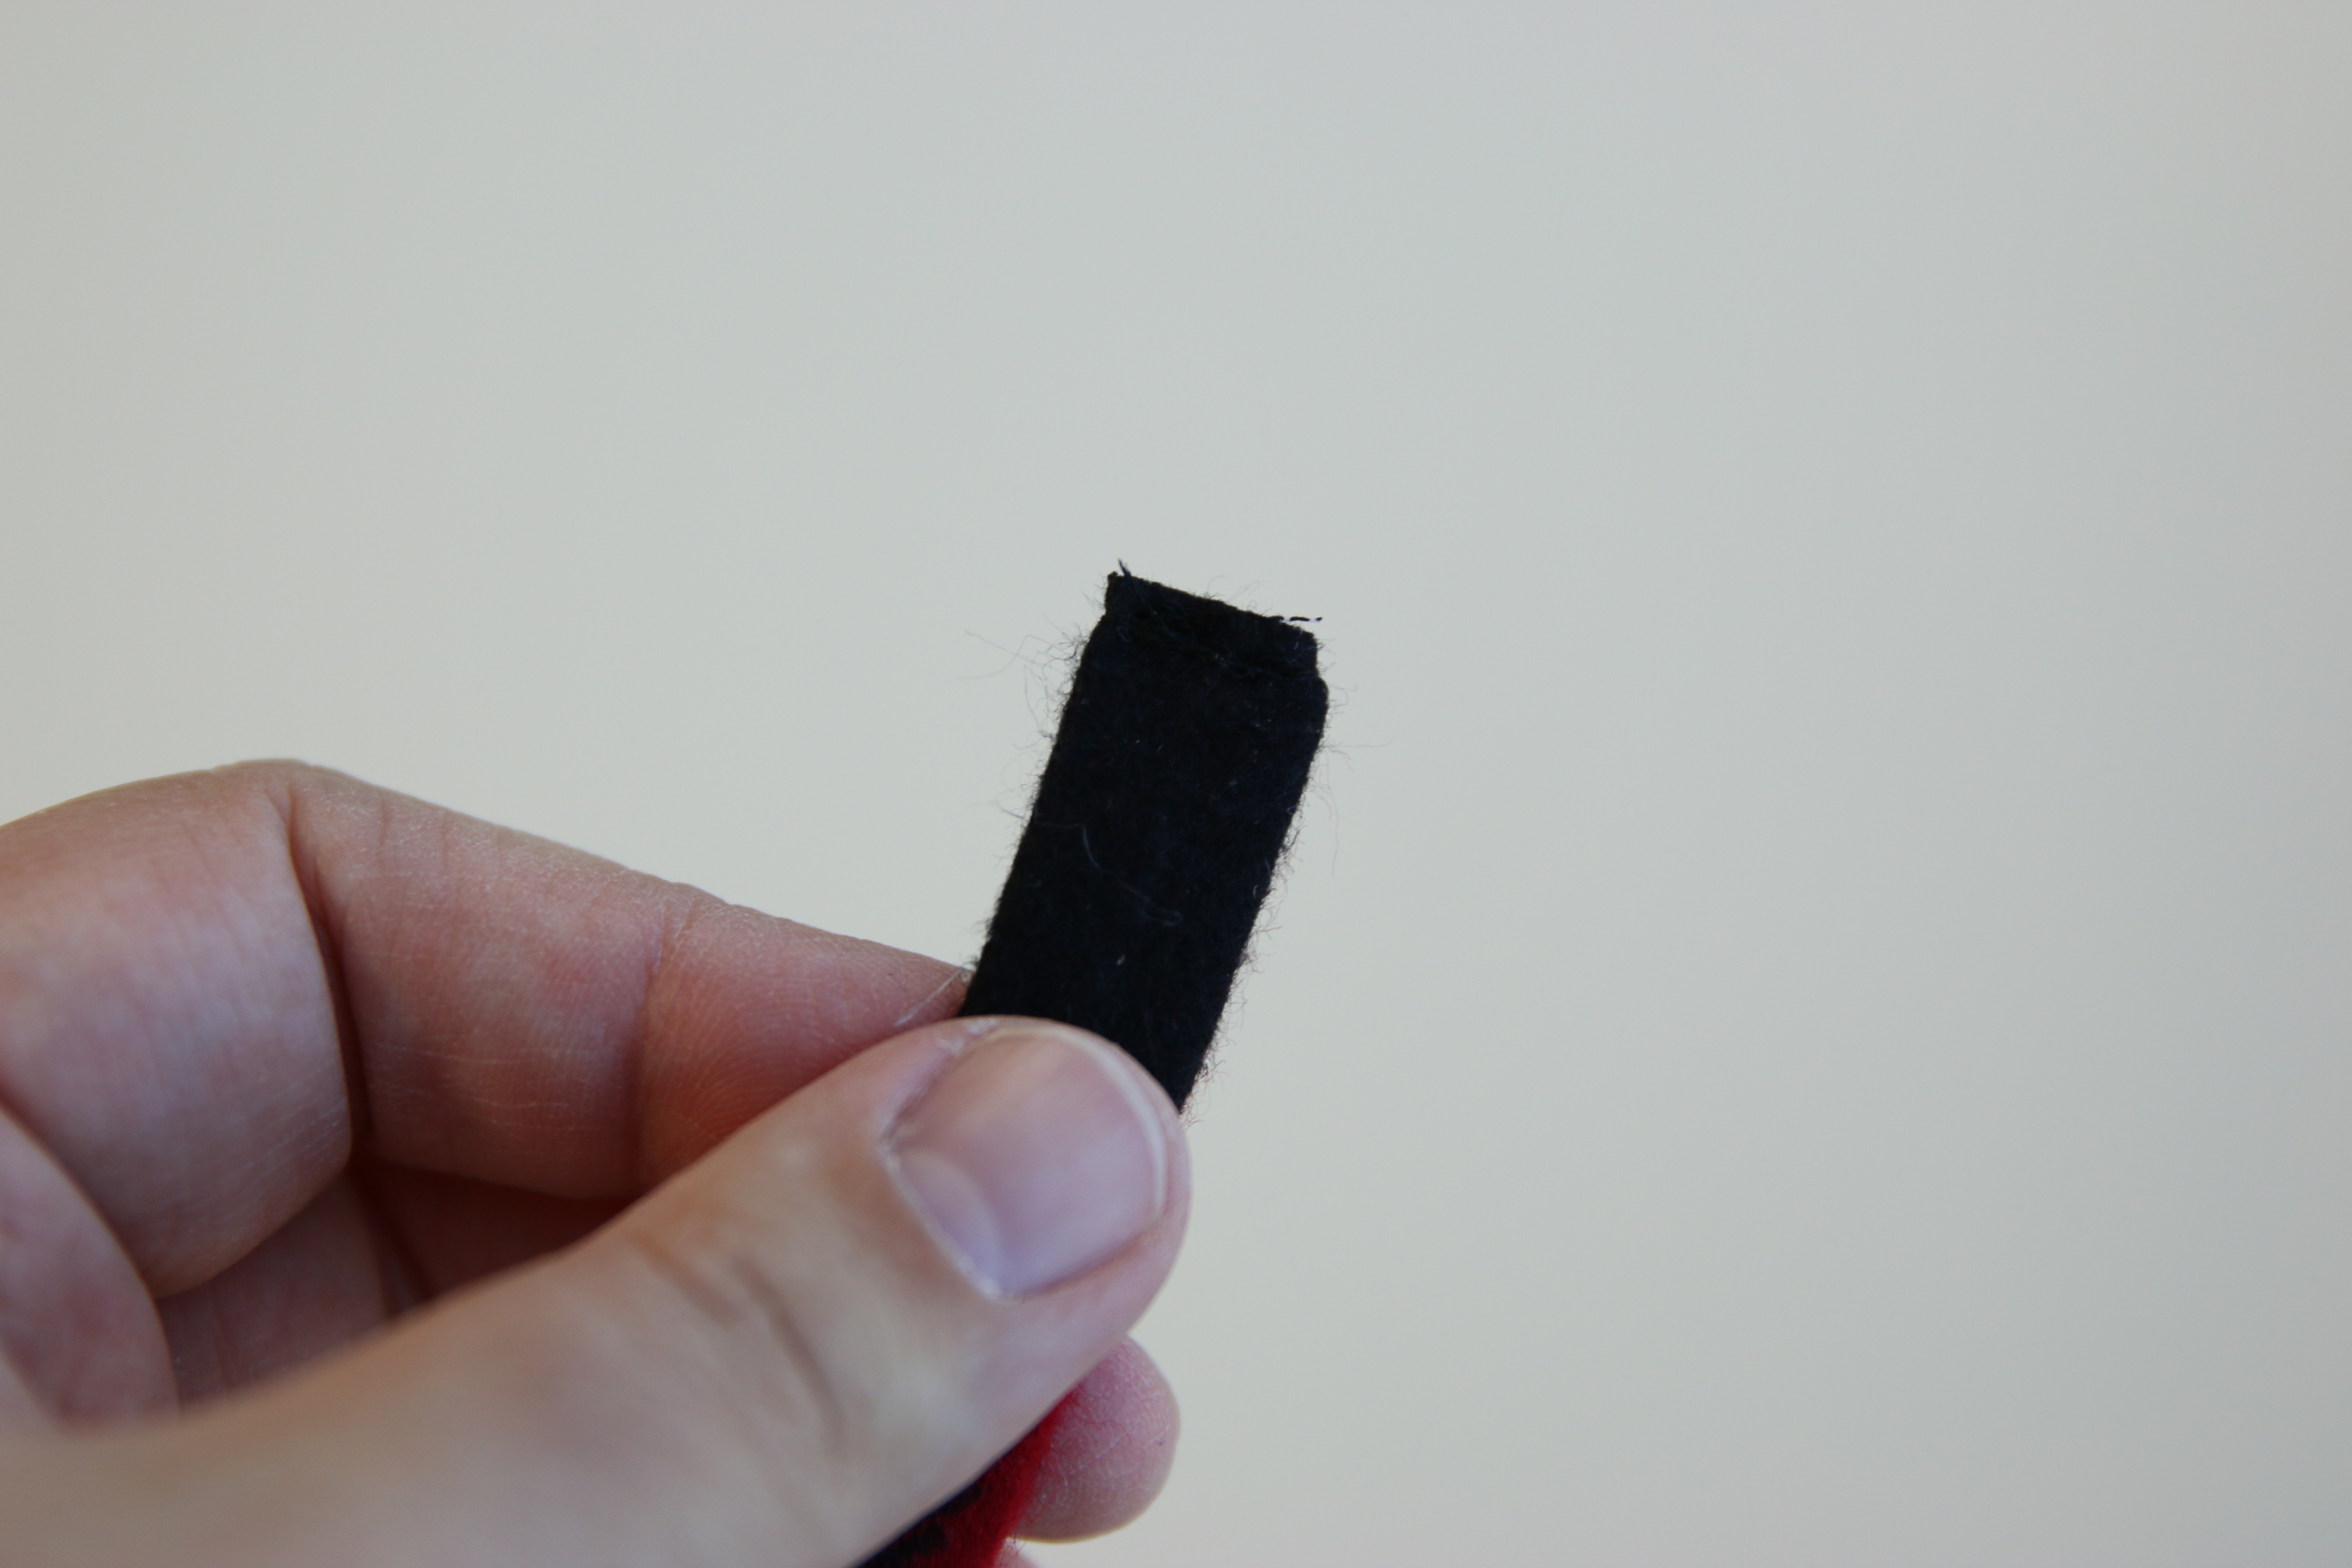
Stitch an 1/8” seam down one of the short ends to close and prevent fraying.
13
Now you will need to decide on your finished product. If making a bow tie, proceed on to step fifteen. If making a barrette, slip the center piece through the barrette, make it into a loop, and stitch the short ends together.
14
Rotate the center piece so that the seam is toward the back of the barrette. Hot glue the center piece to the barrette at the seam.
15
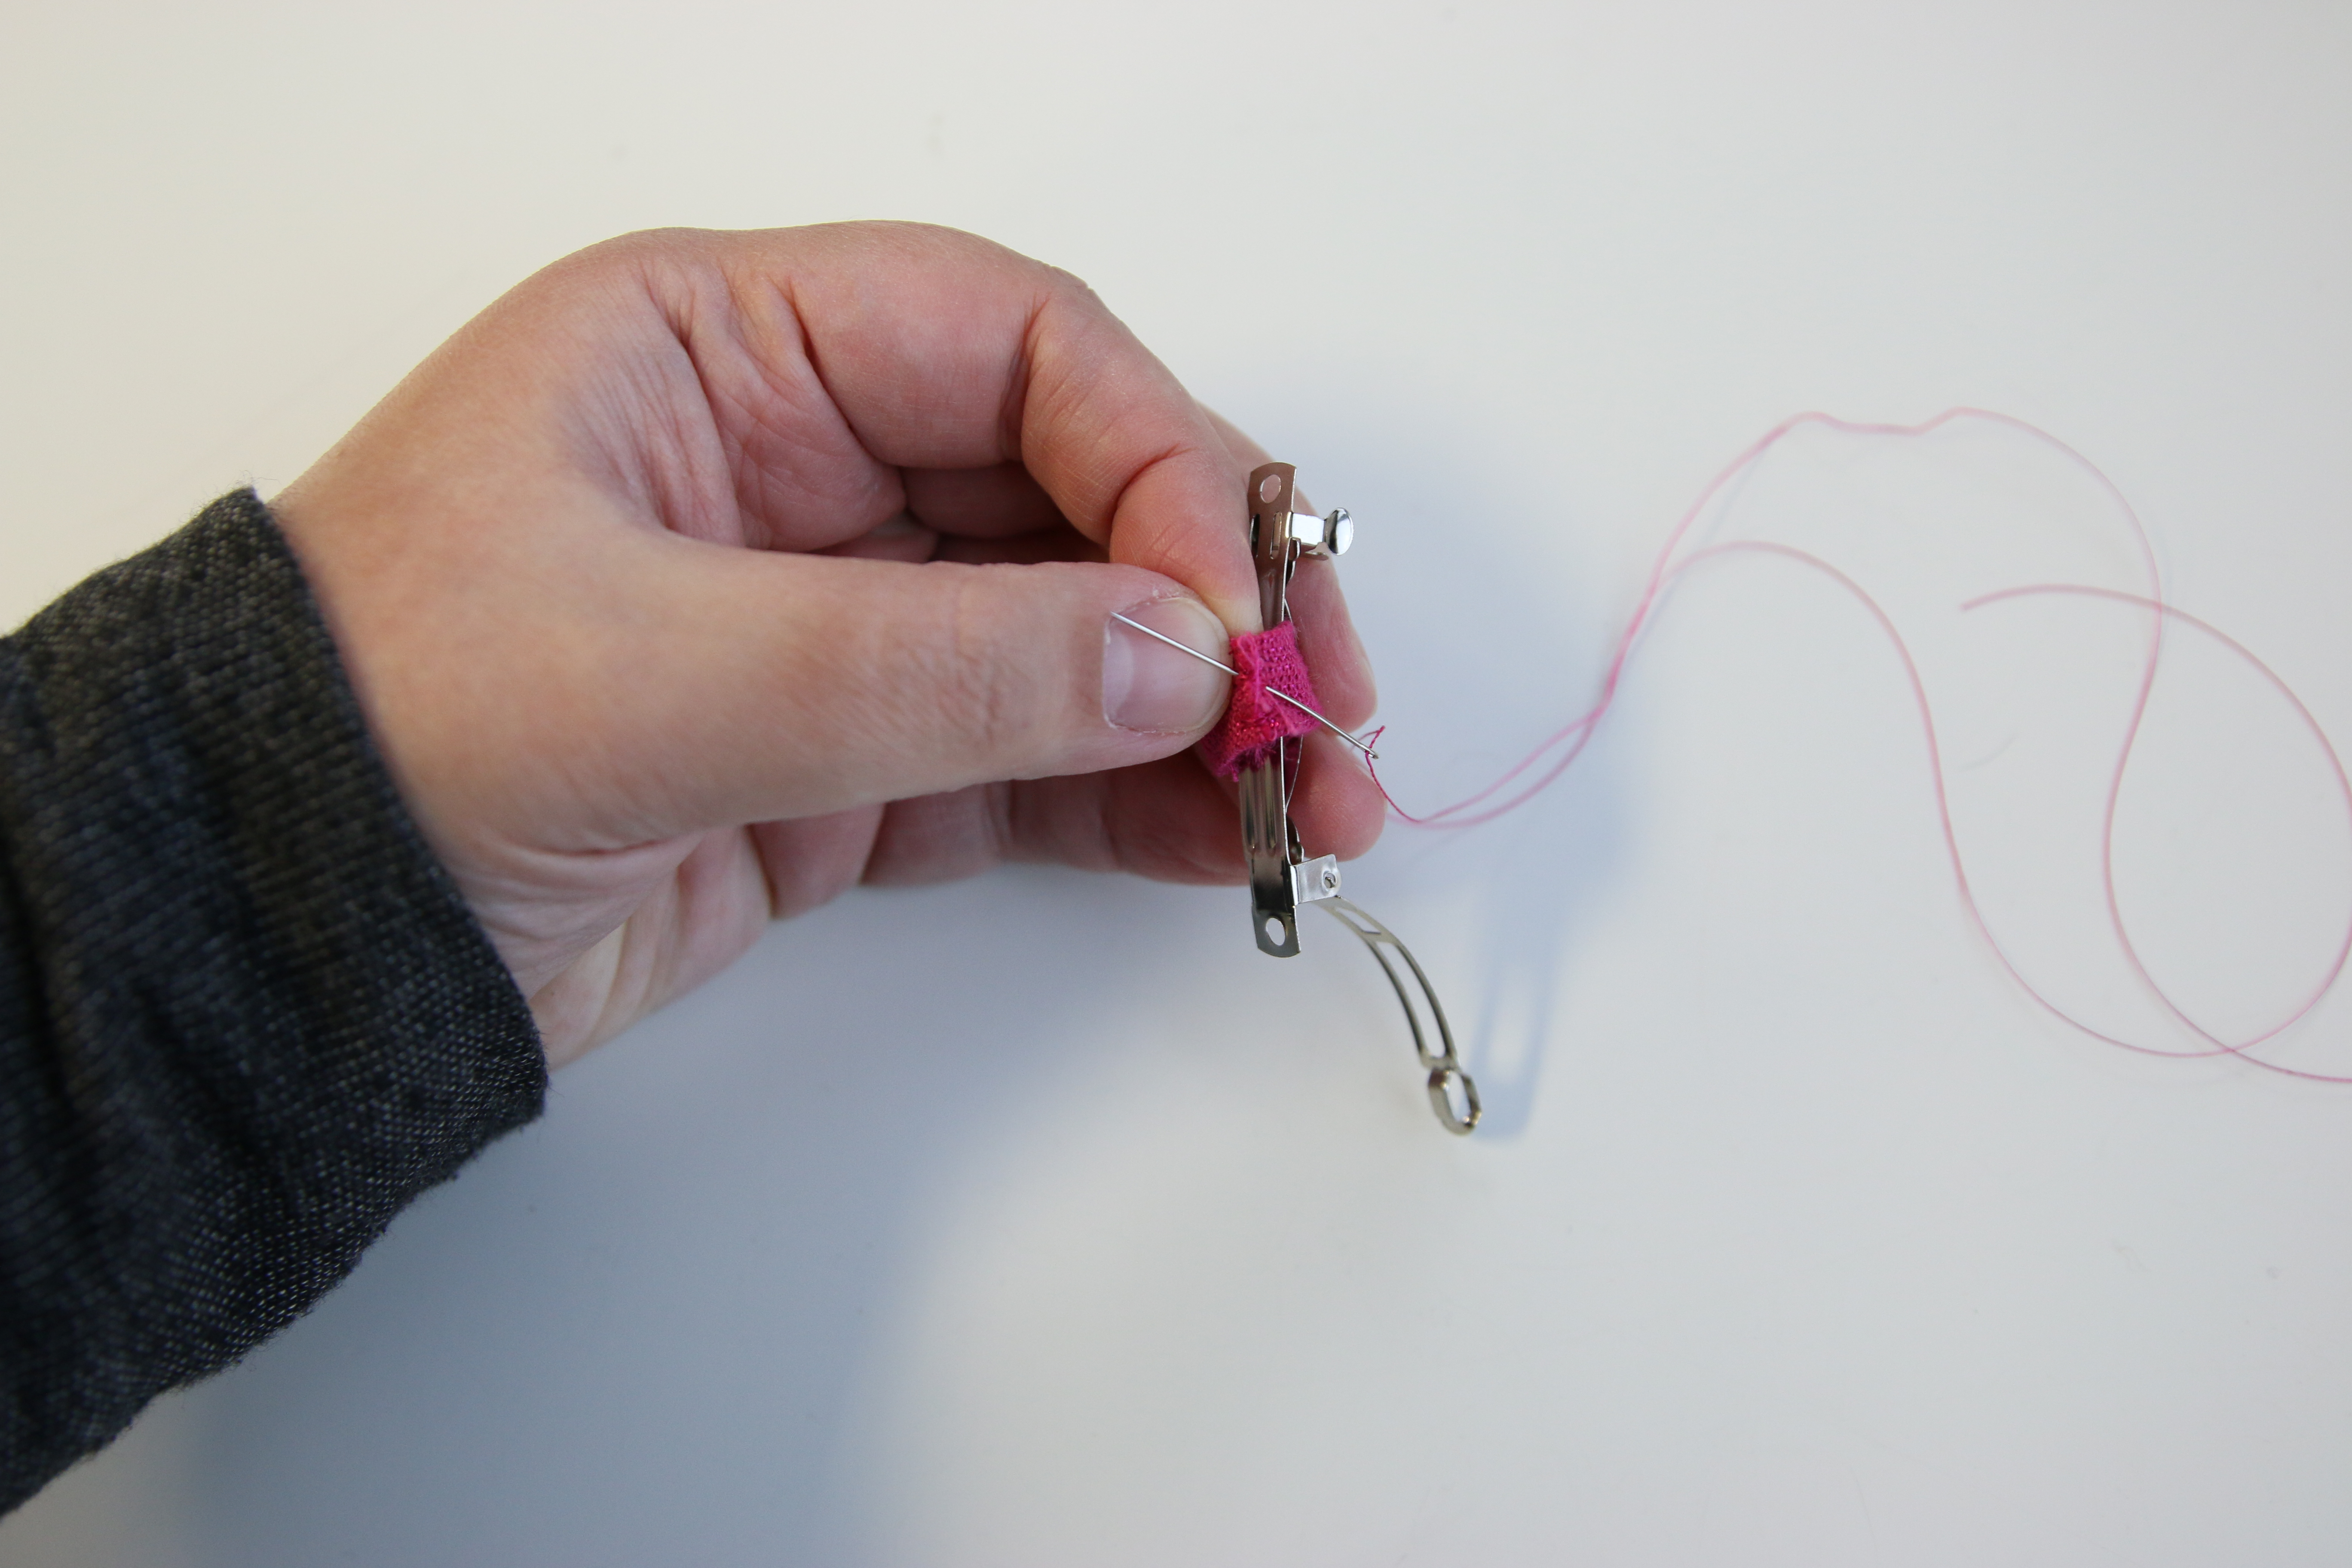
To make your bow tie, hand stitch the short ends of the center piece together to make it into a loop.
16
Then slip your bow piece into the center piece so that equal parts of the bow are on either side.
17
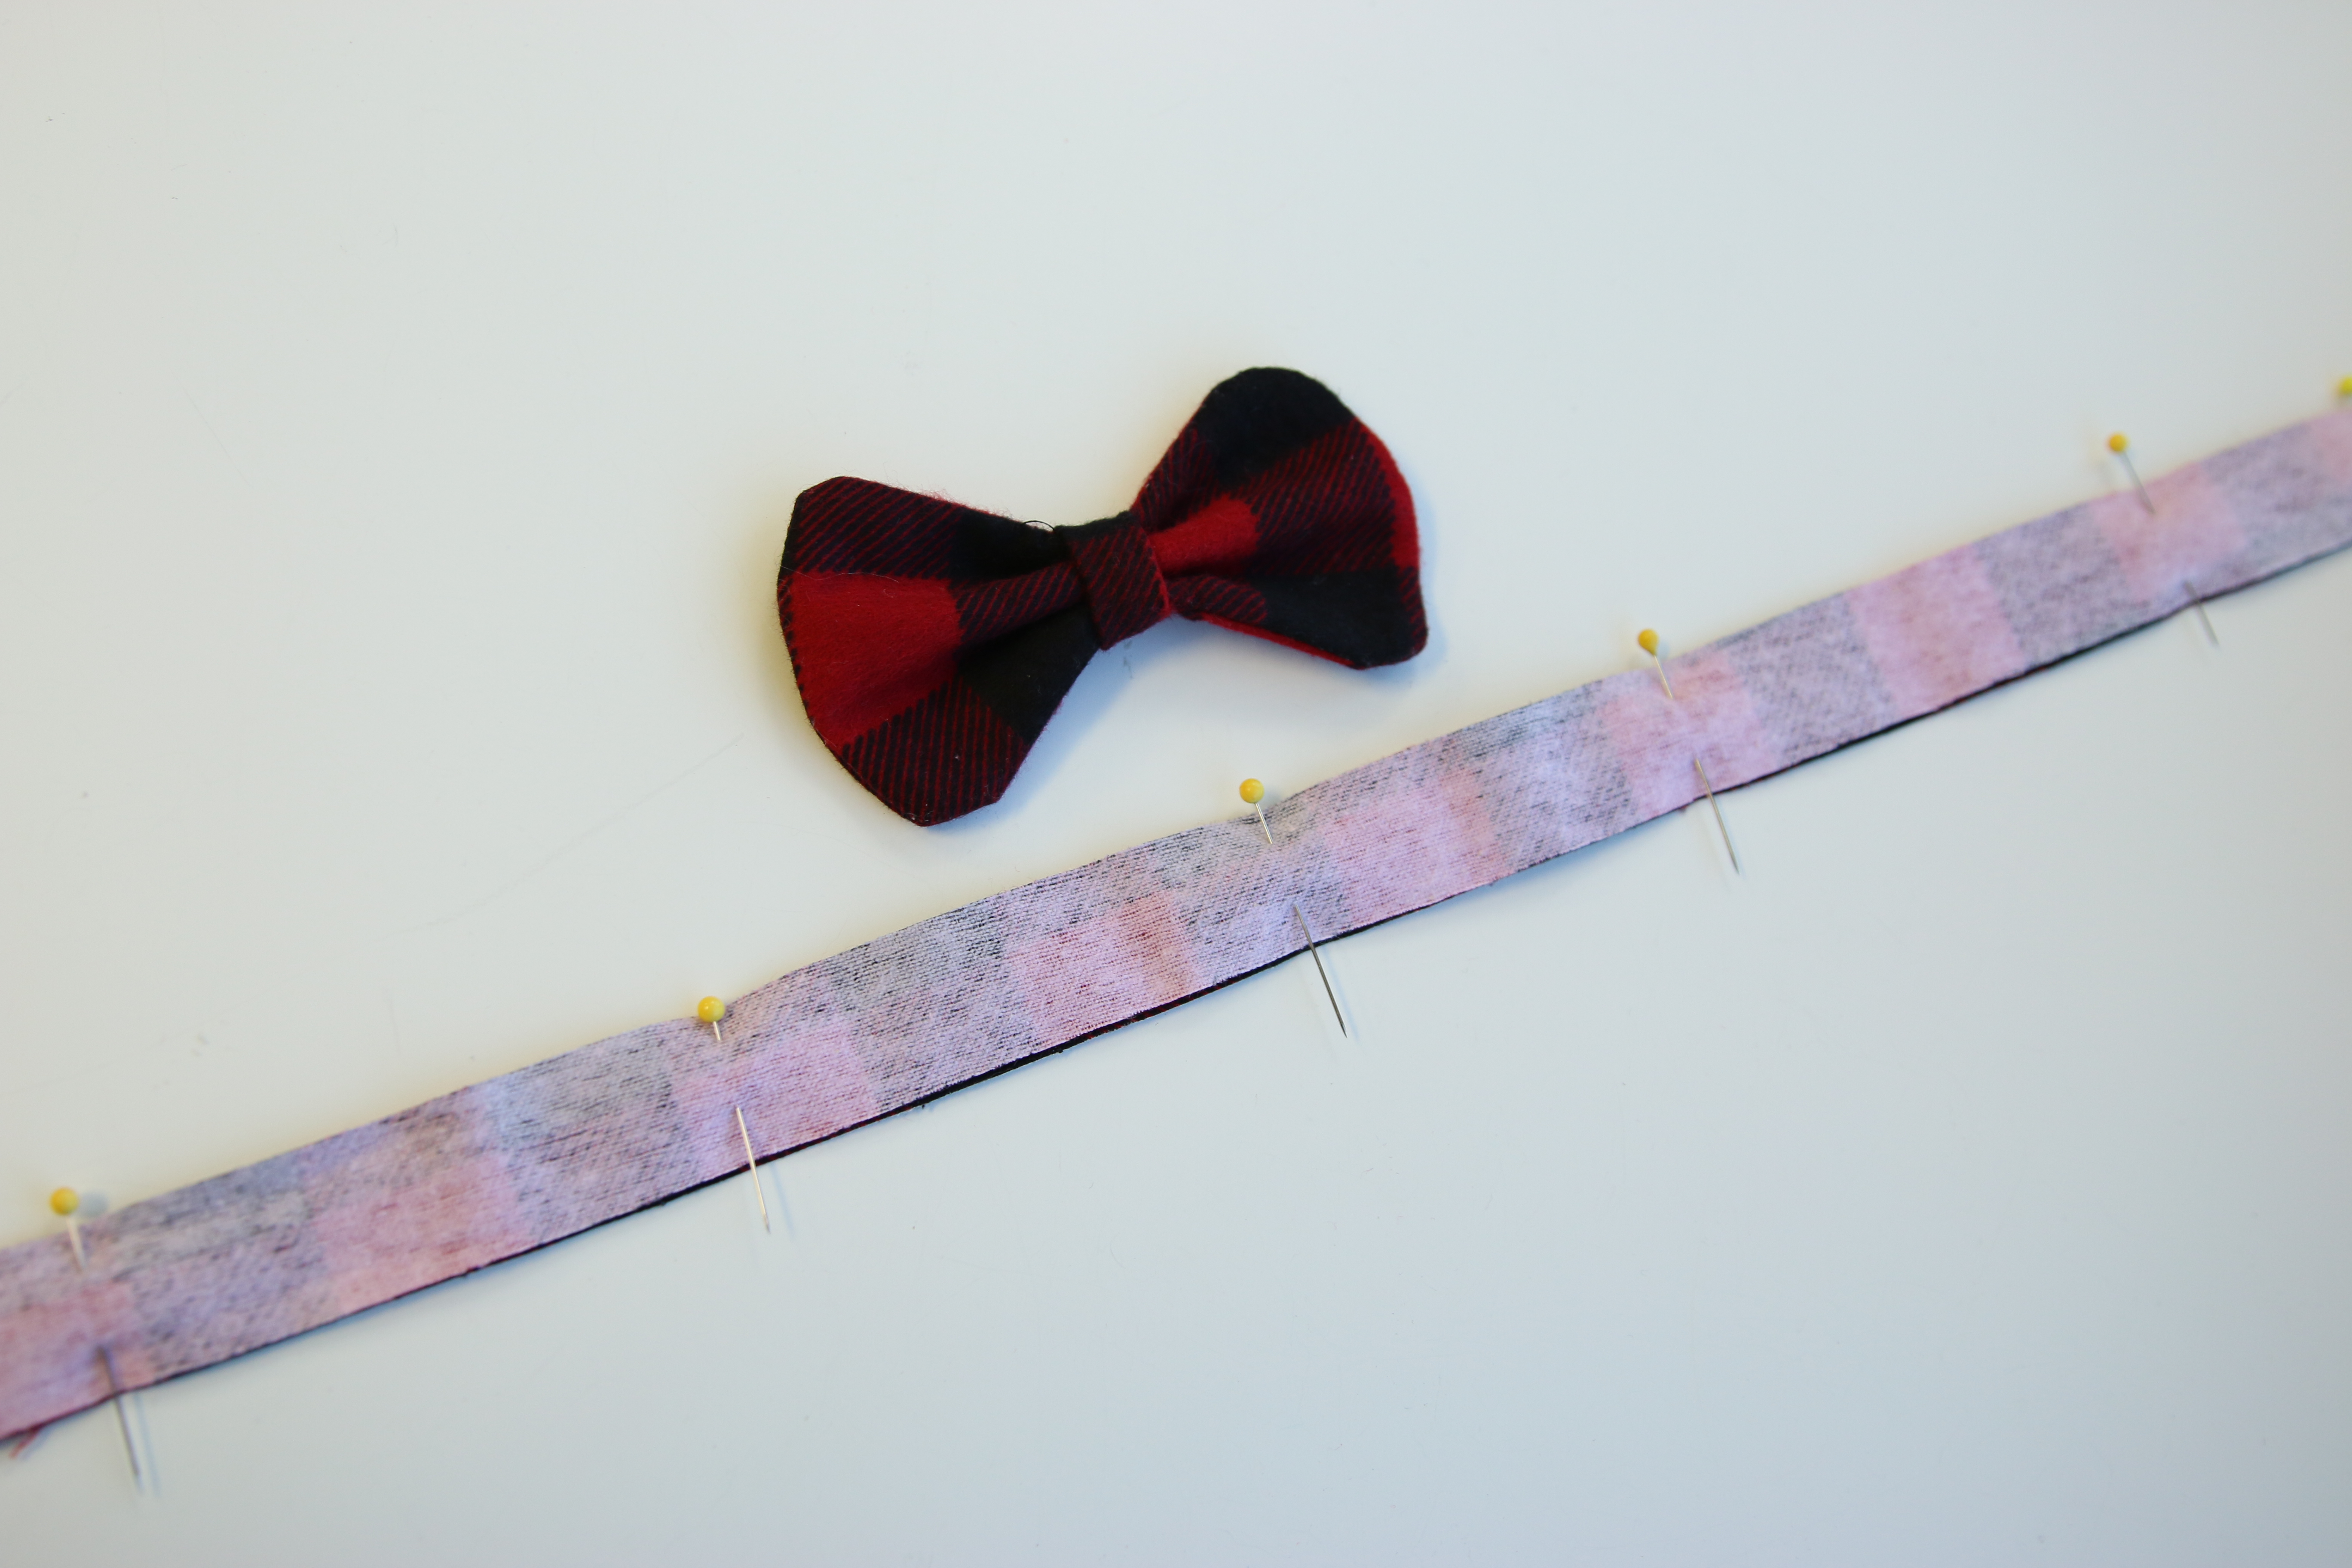
To complete the neck band, take the two strap pieces (Color 2), and pin them together with right sides together.
18
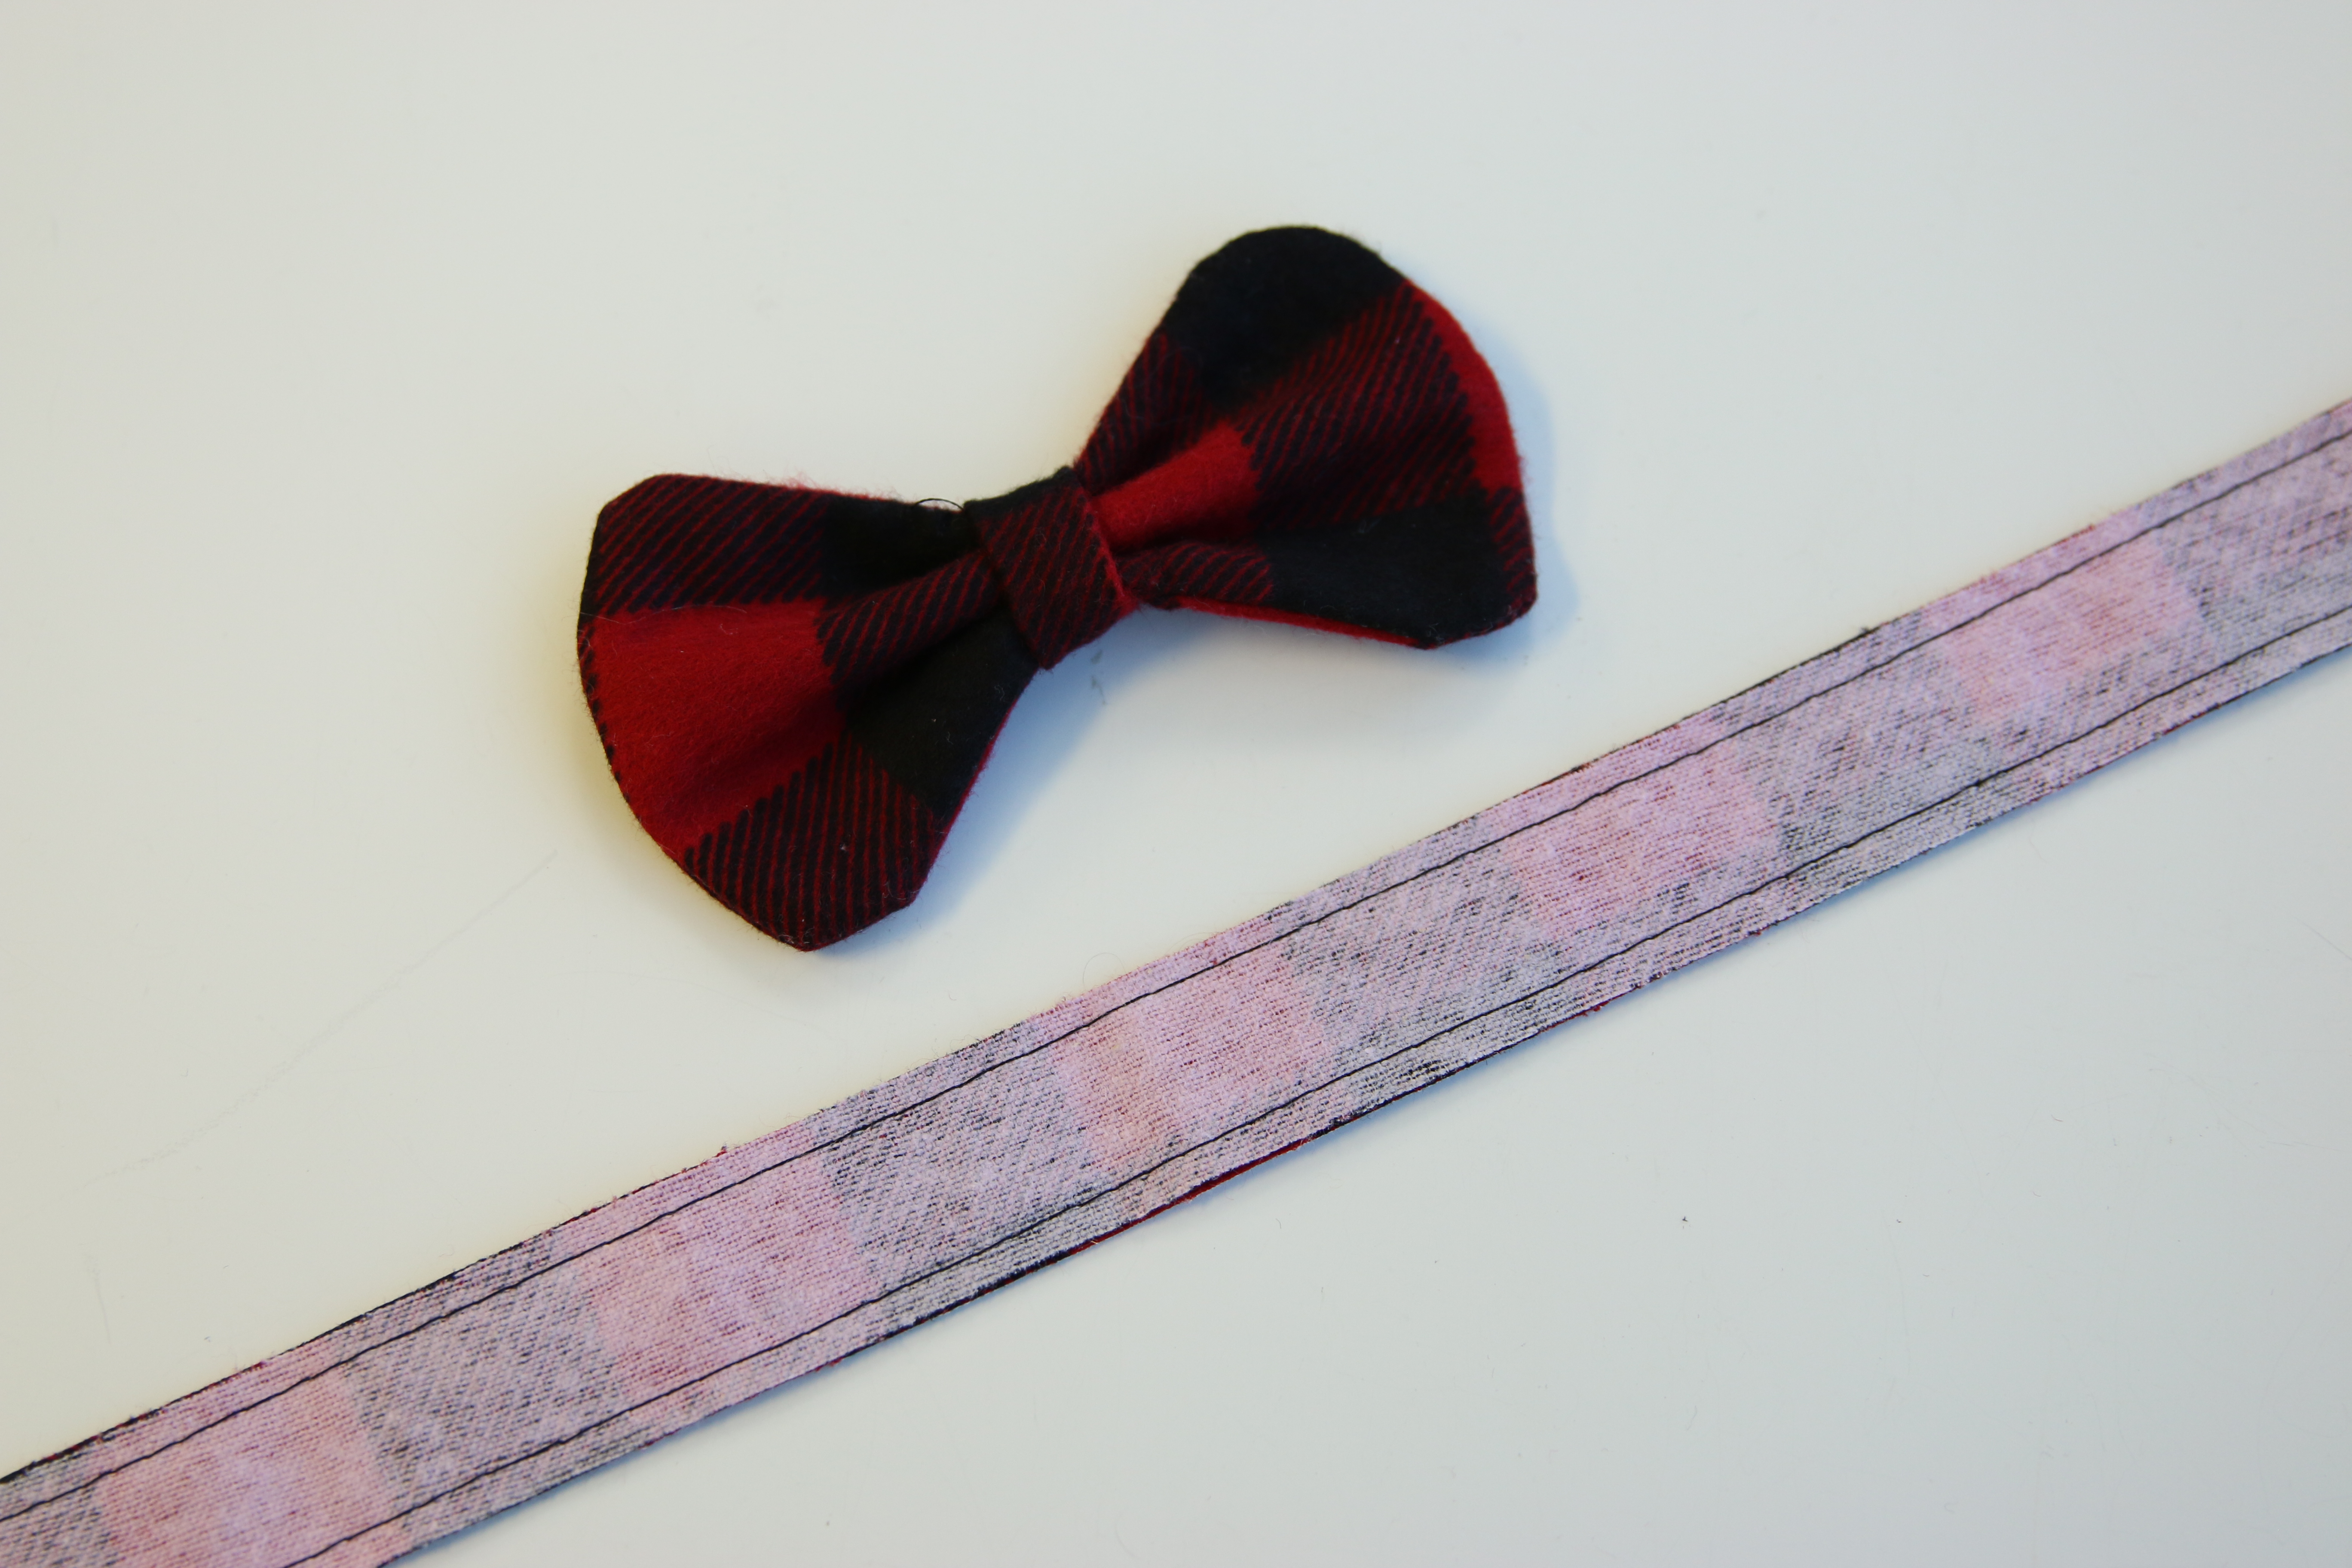
Stitch a 1/8” seam down the long sides, leaving the short ends open for turning.
19
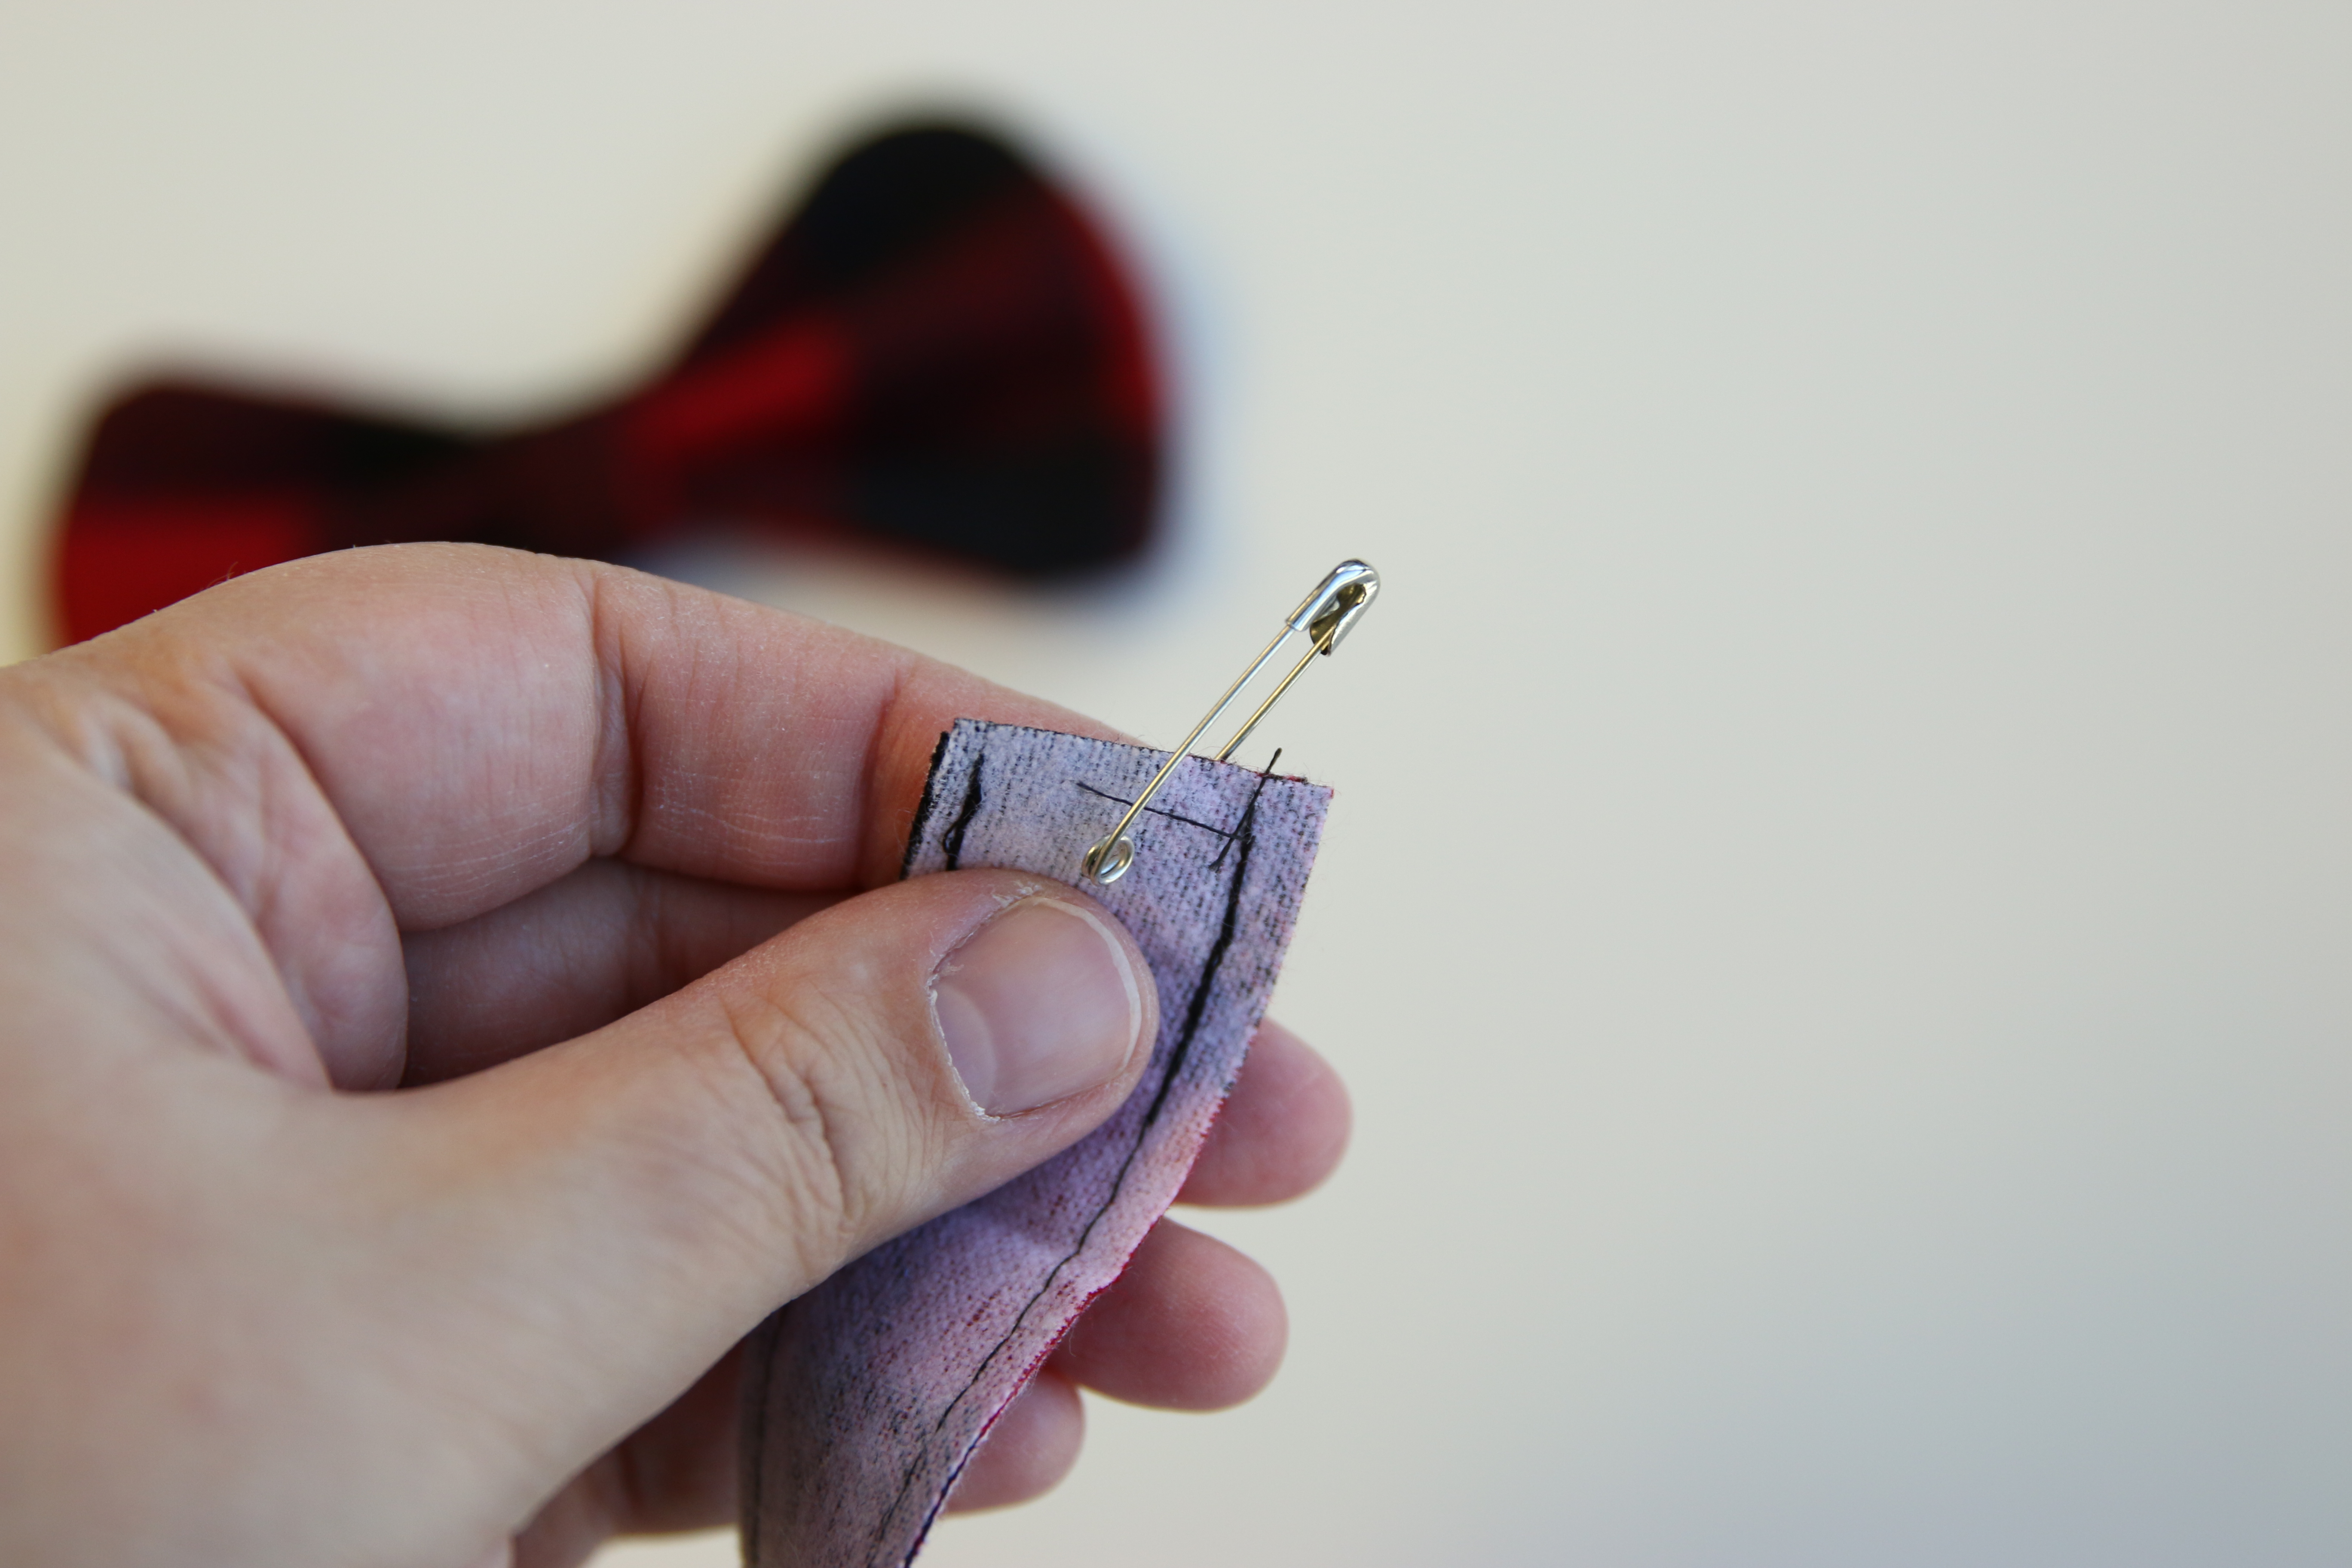
Again, secure a safety pin to one of the short ends, and turn the strap pieces right side out.
20
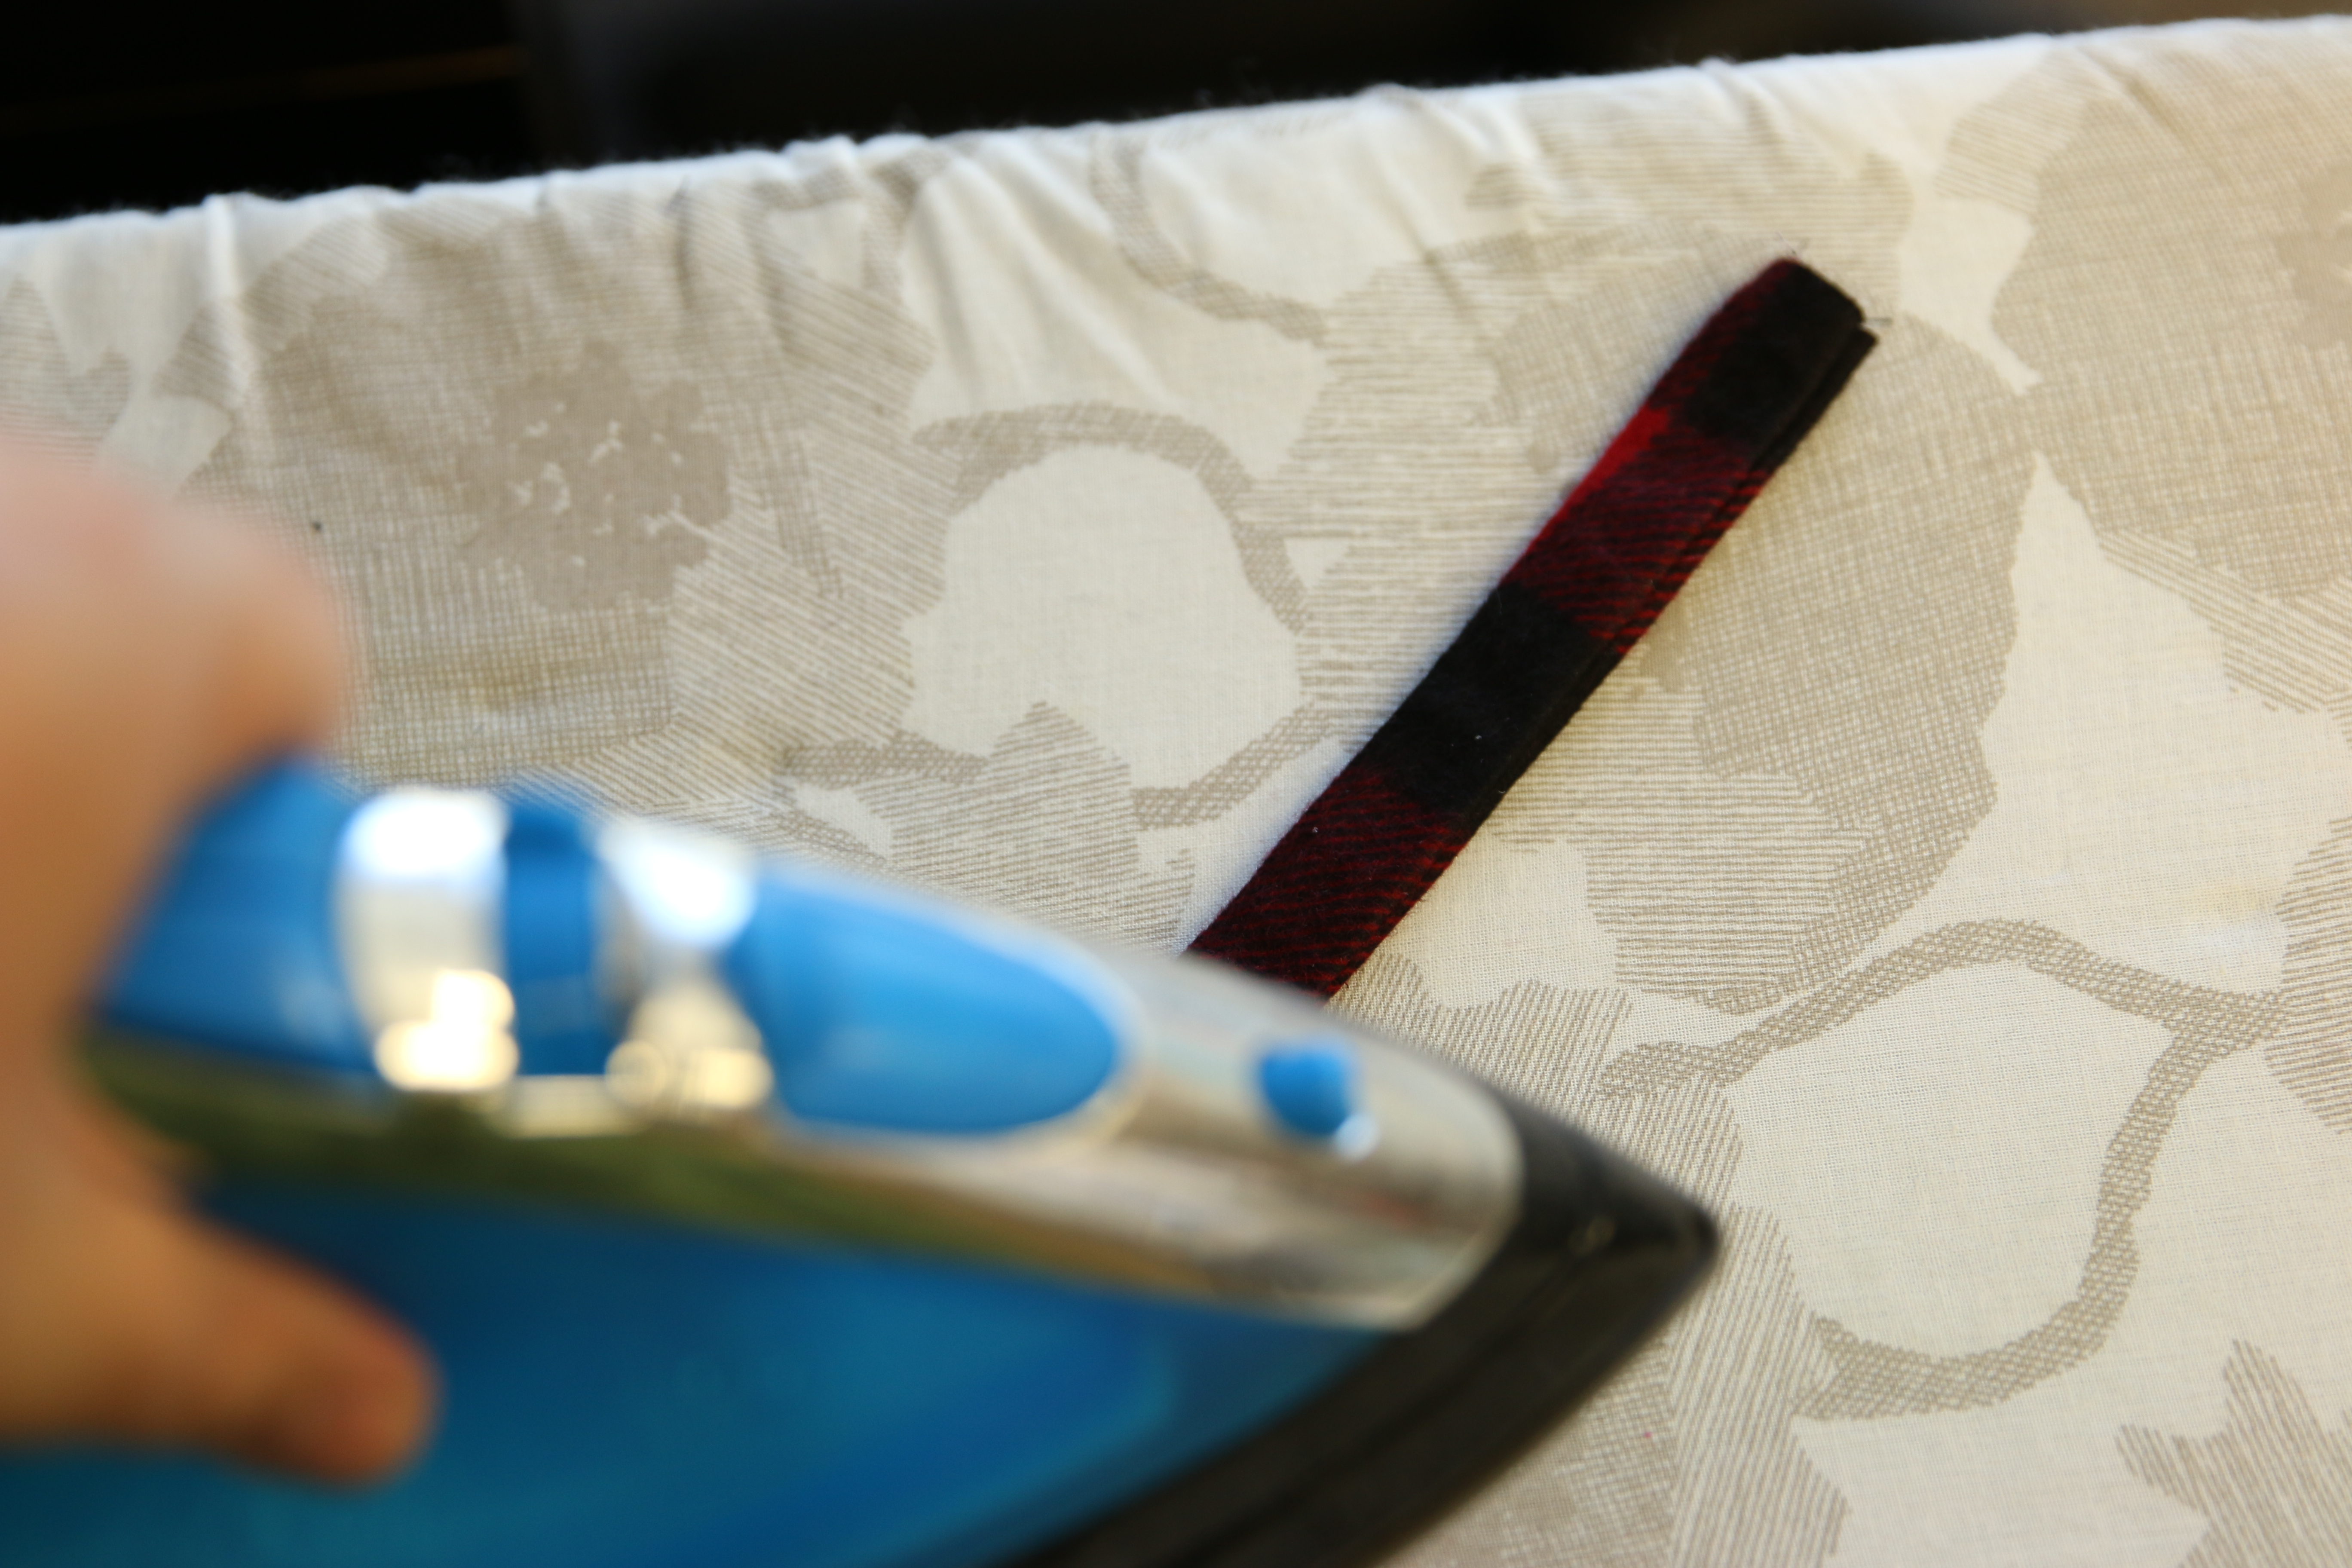
Once turned, press the strap pieces so the seams run along both long edges.
21
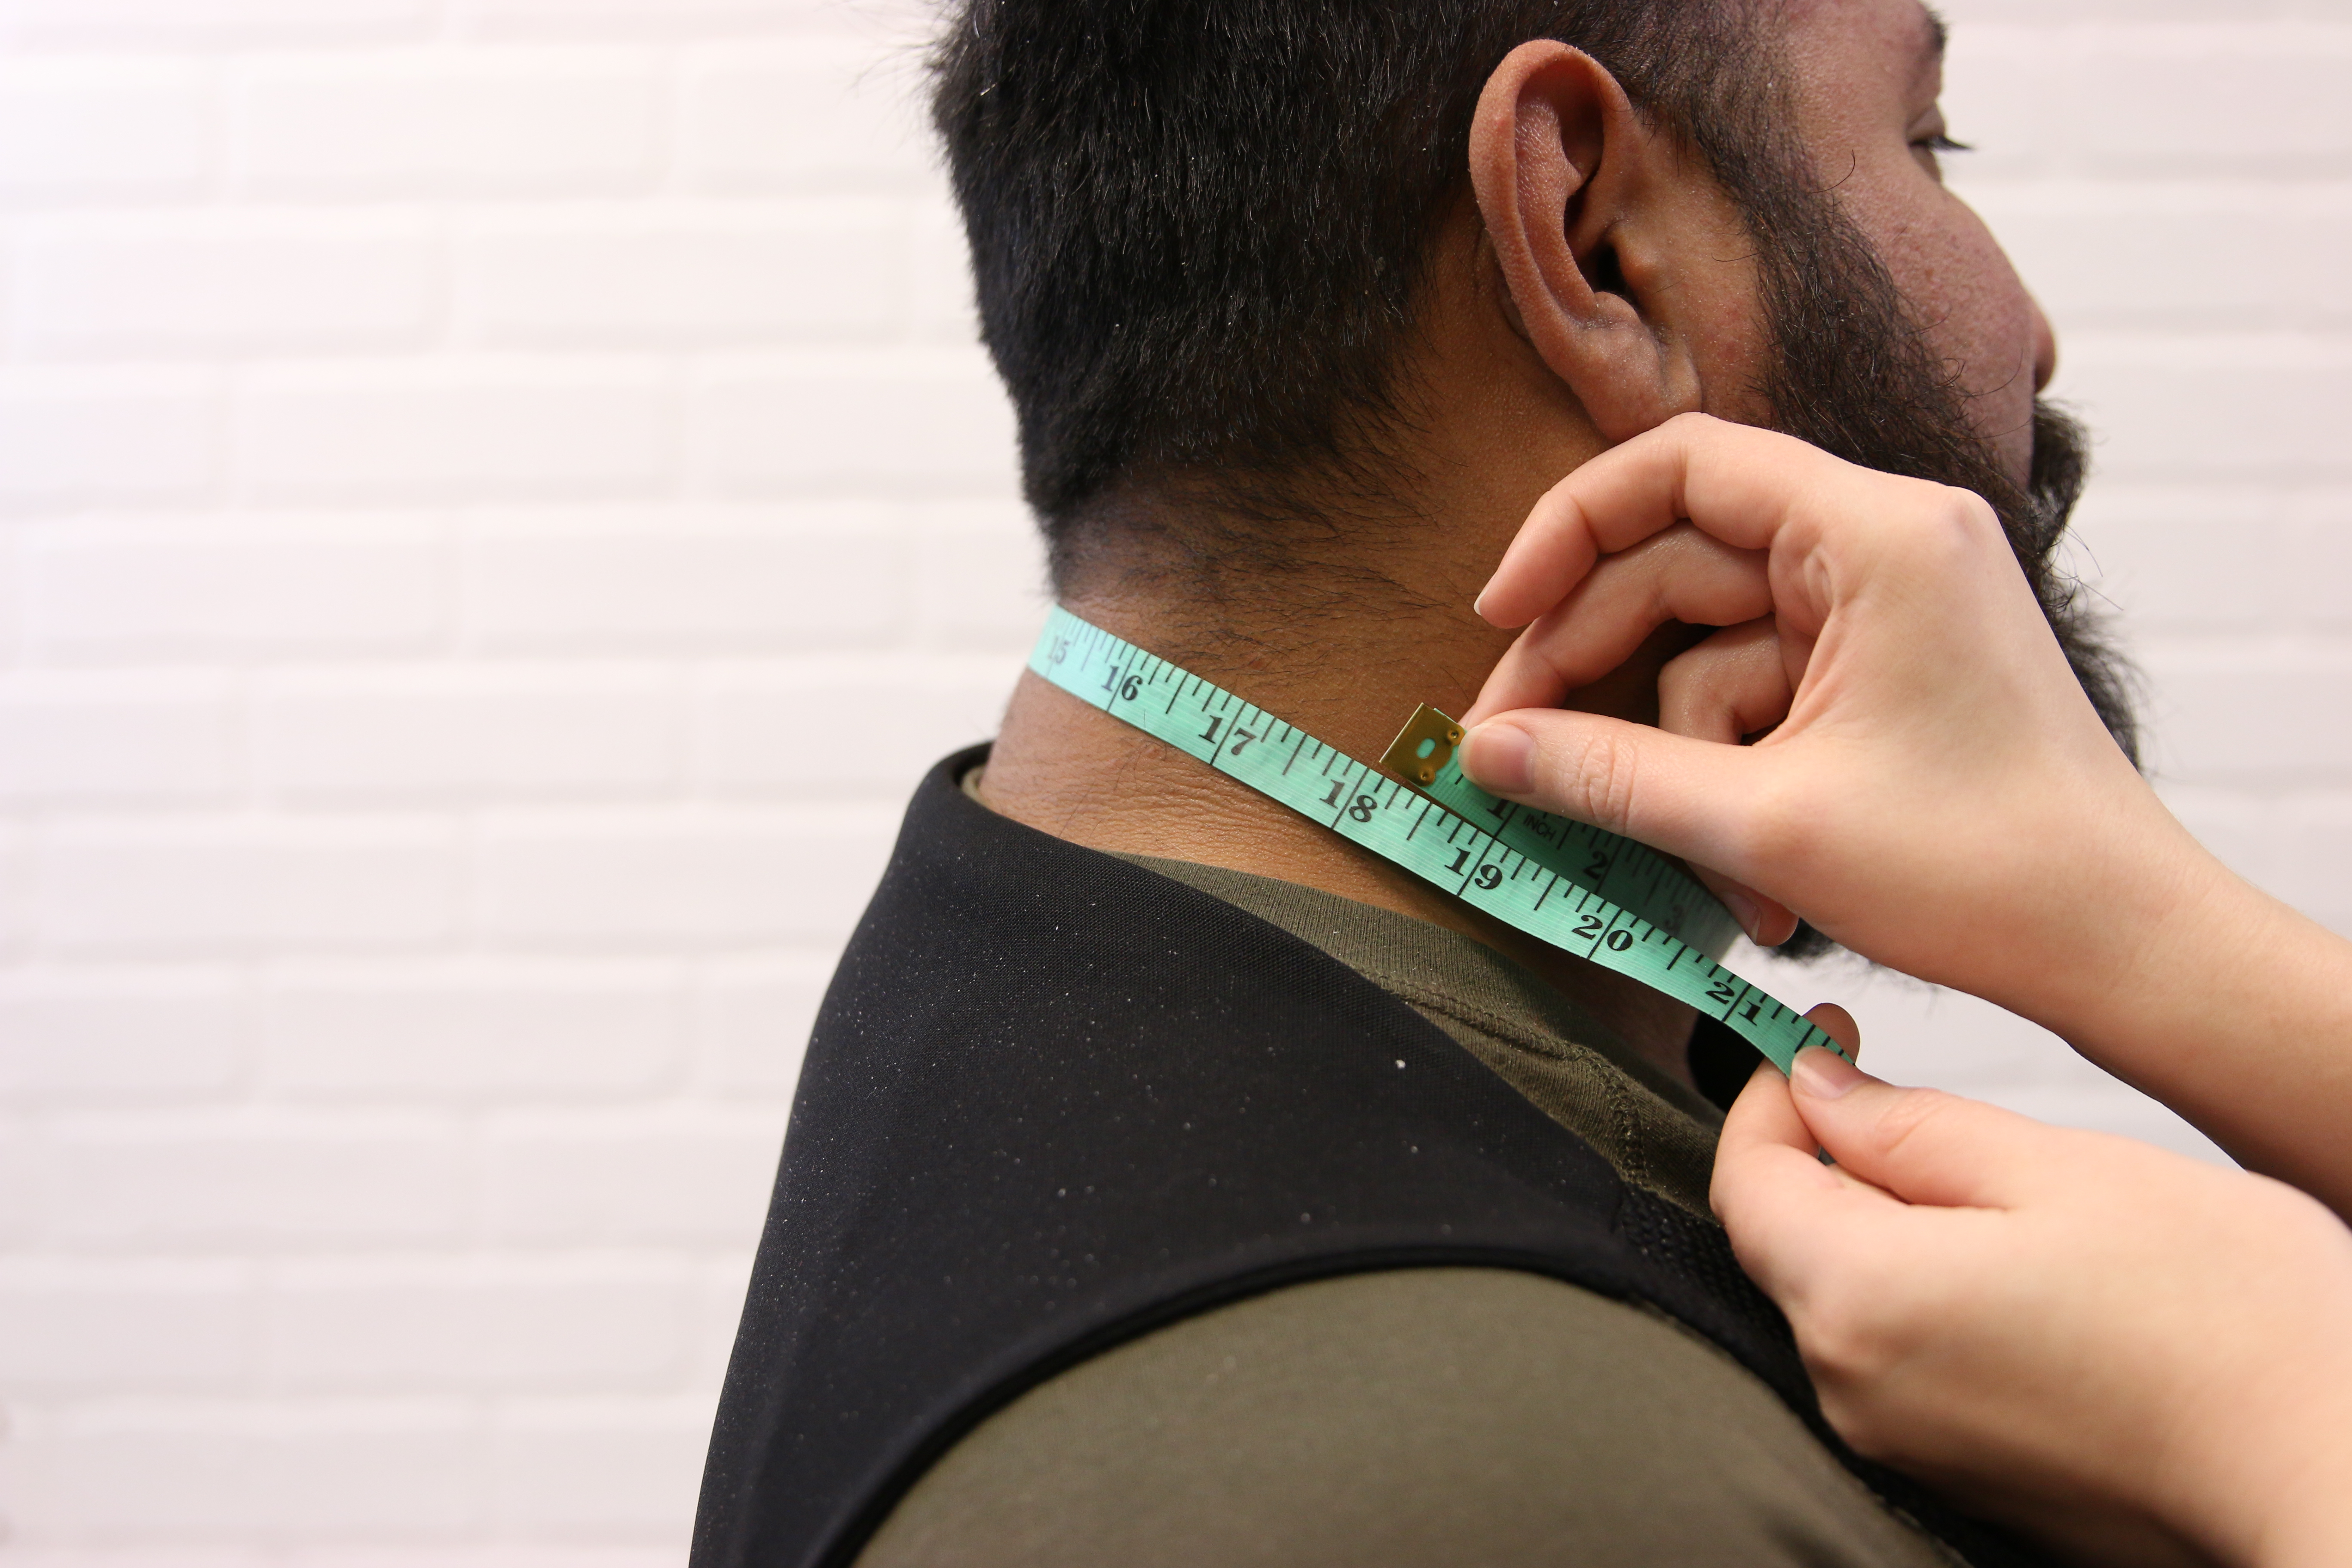
To determine how long to make the neck band for your bow tie, measure around the neck of the person or animal who will be wearing the bow tie. Add an inch to this measurement to allow overlapping. Trim the strap pieces to the desired length.
22
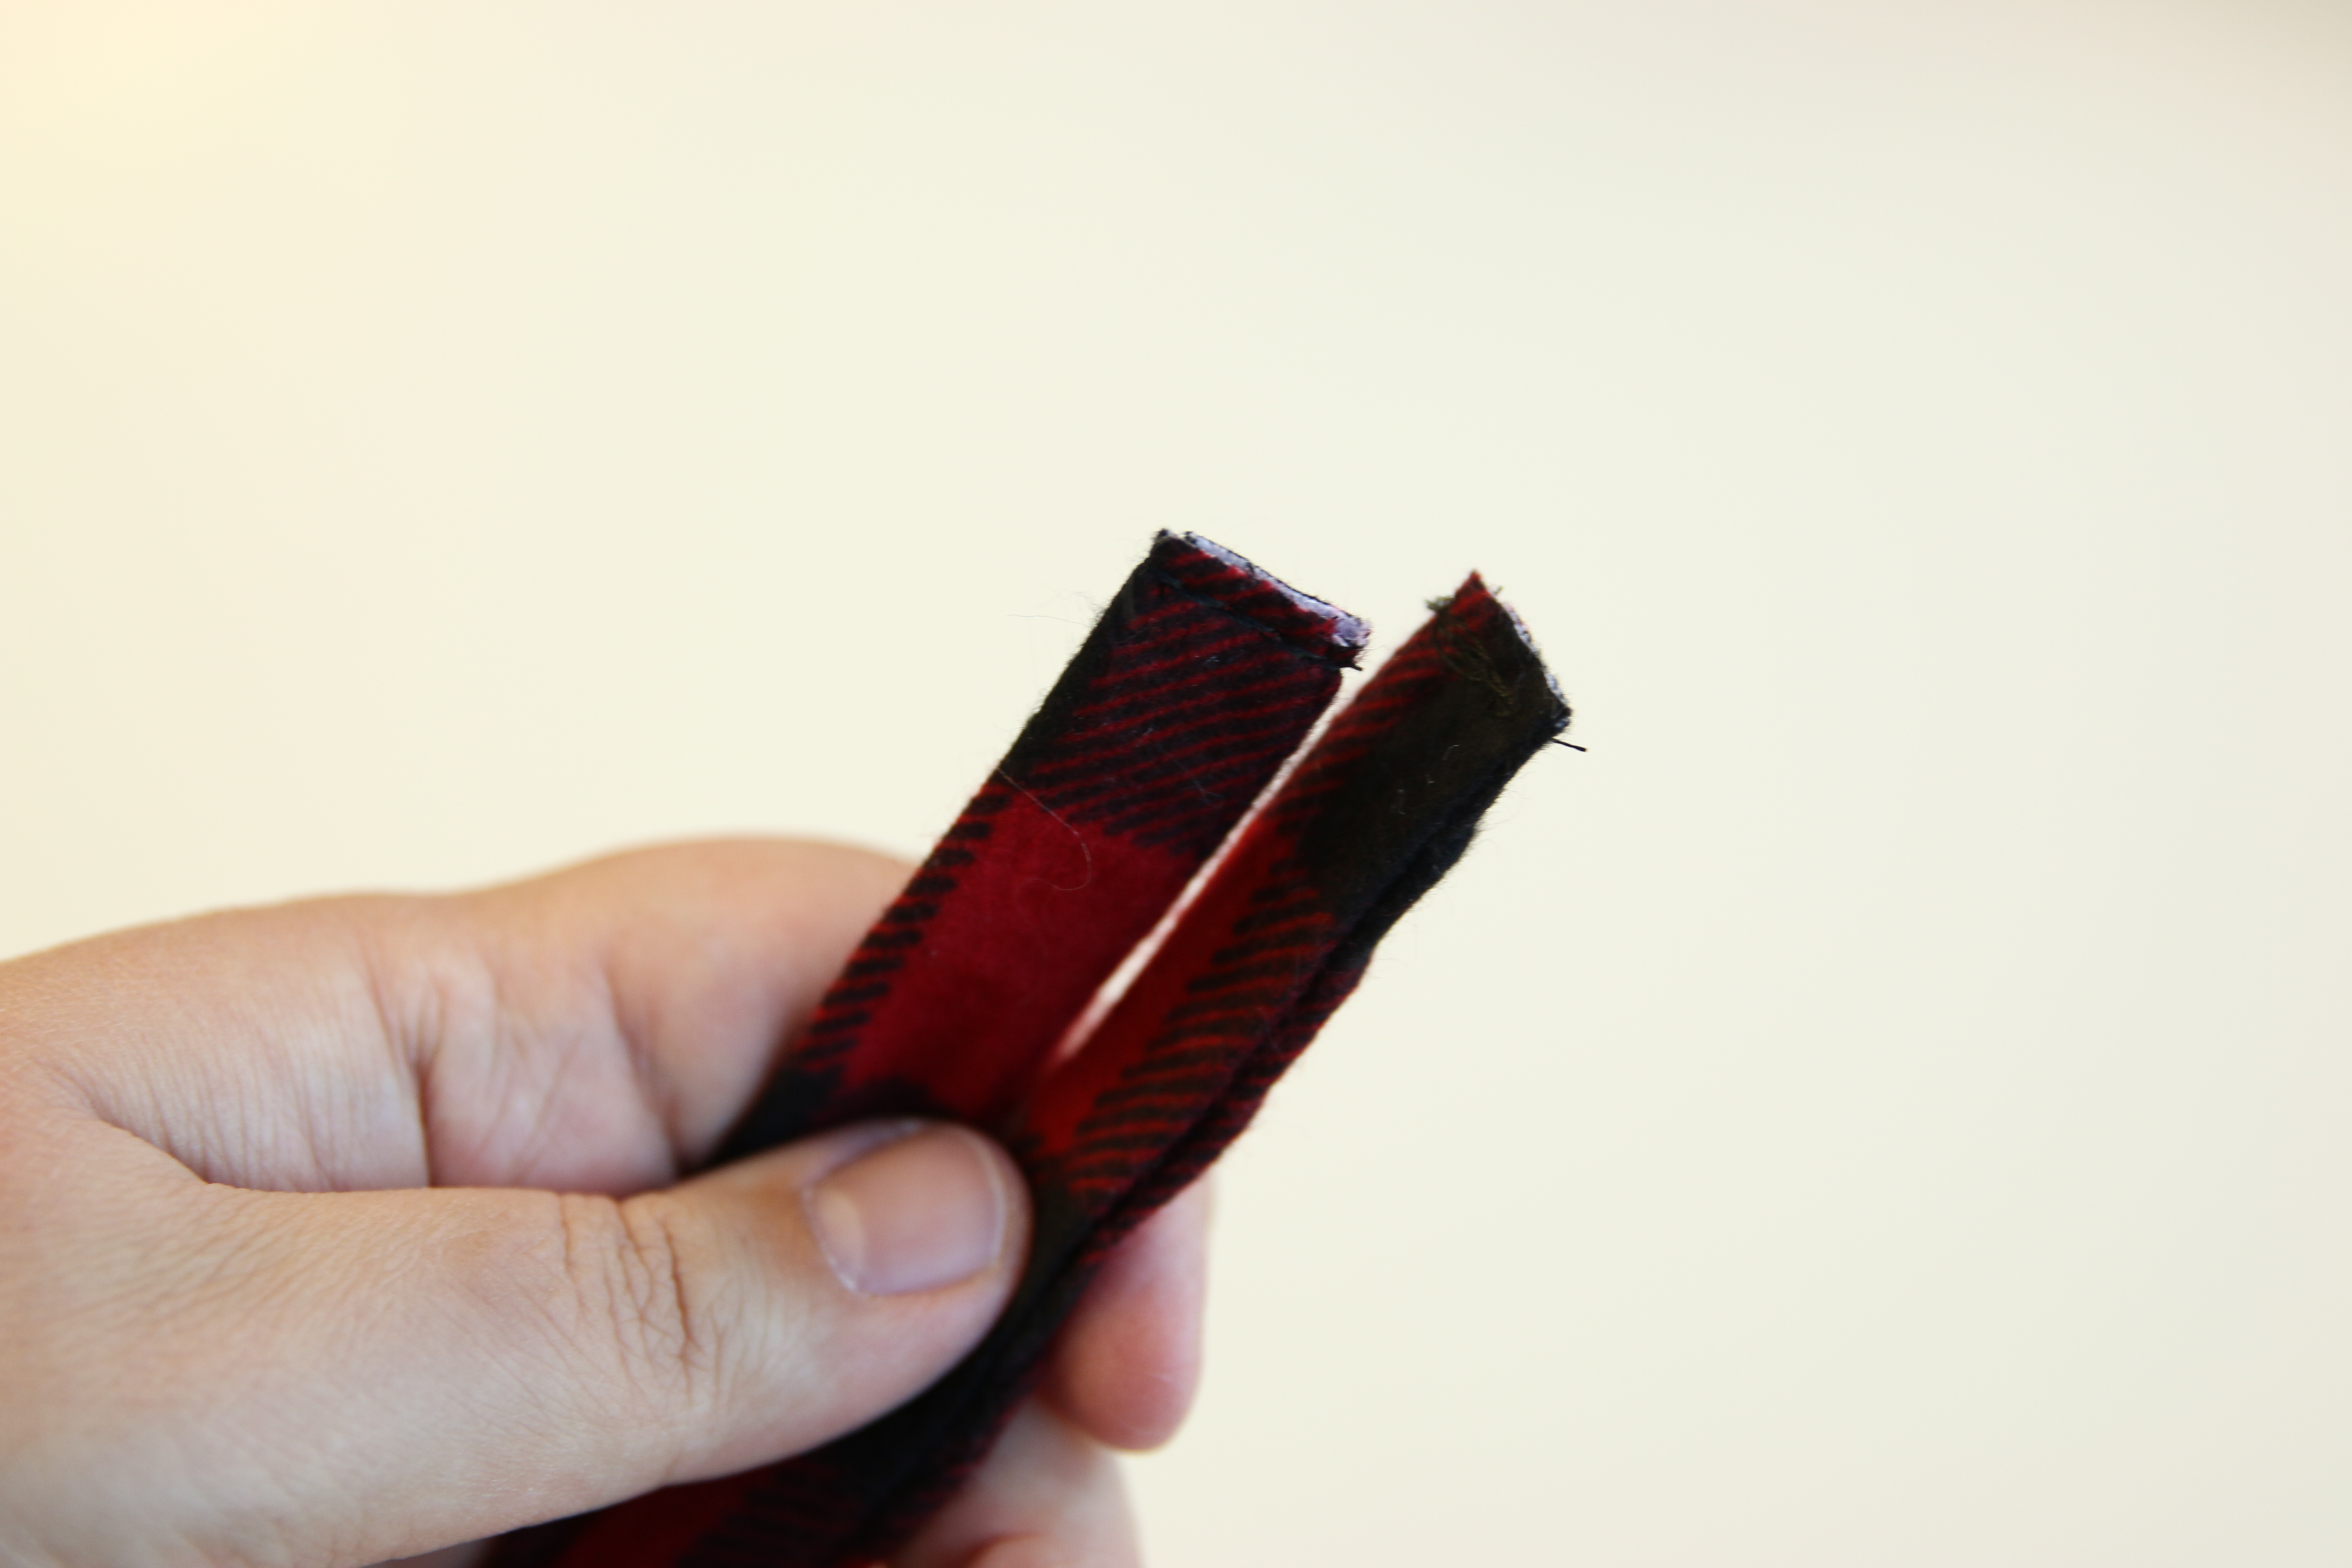
Stitch each of the short ends to prevent fraying.
23
Once stitched, slip the strap pieces through the center piece, and turn the center piece seam toward the back of the bow.
24
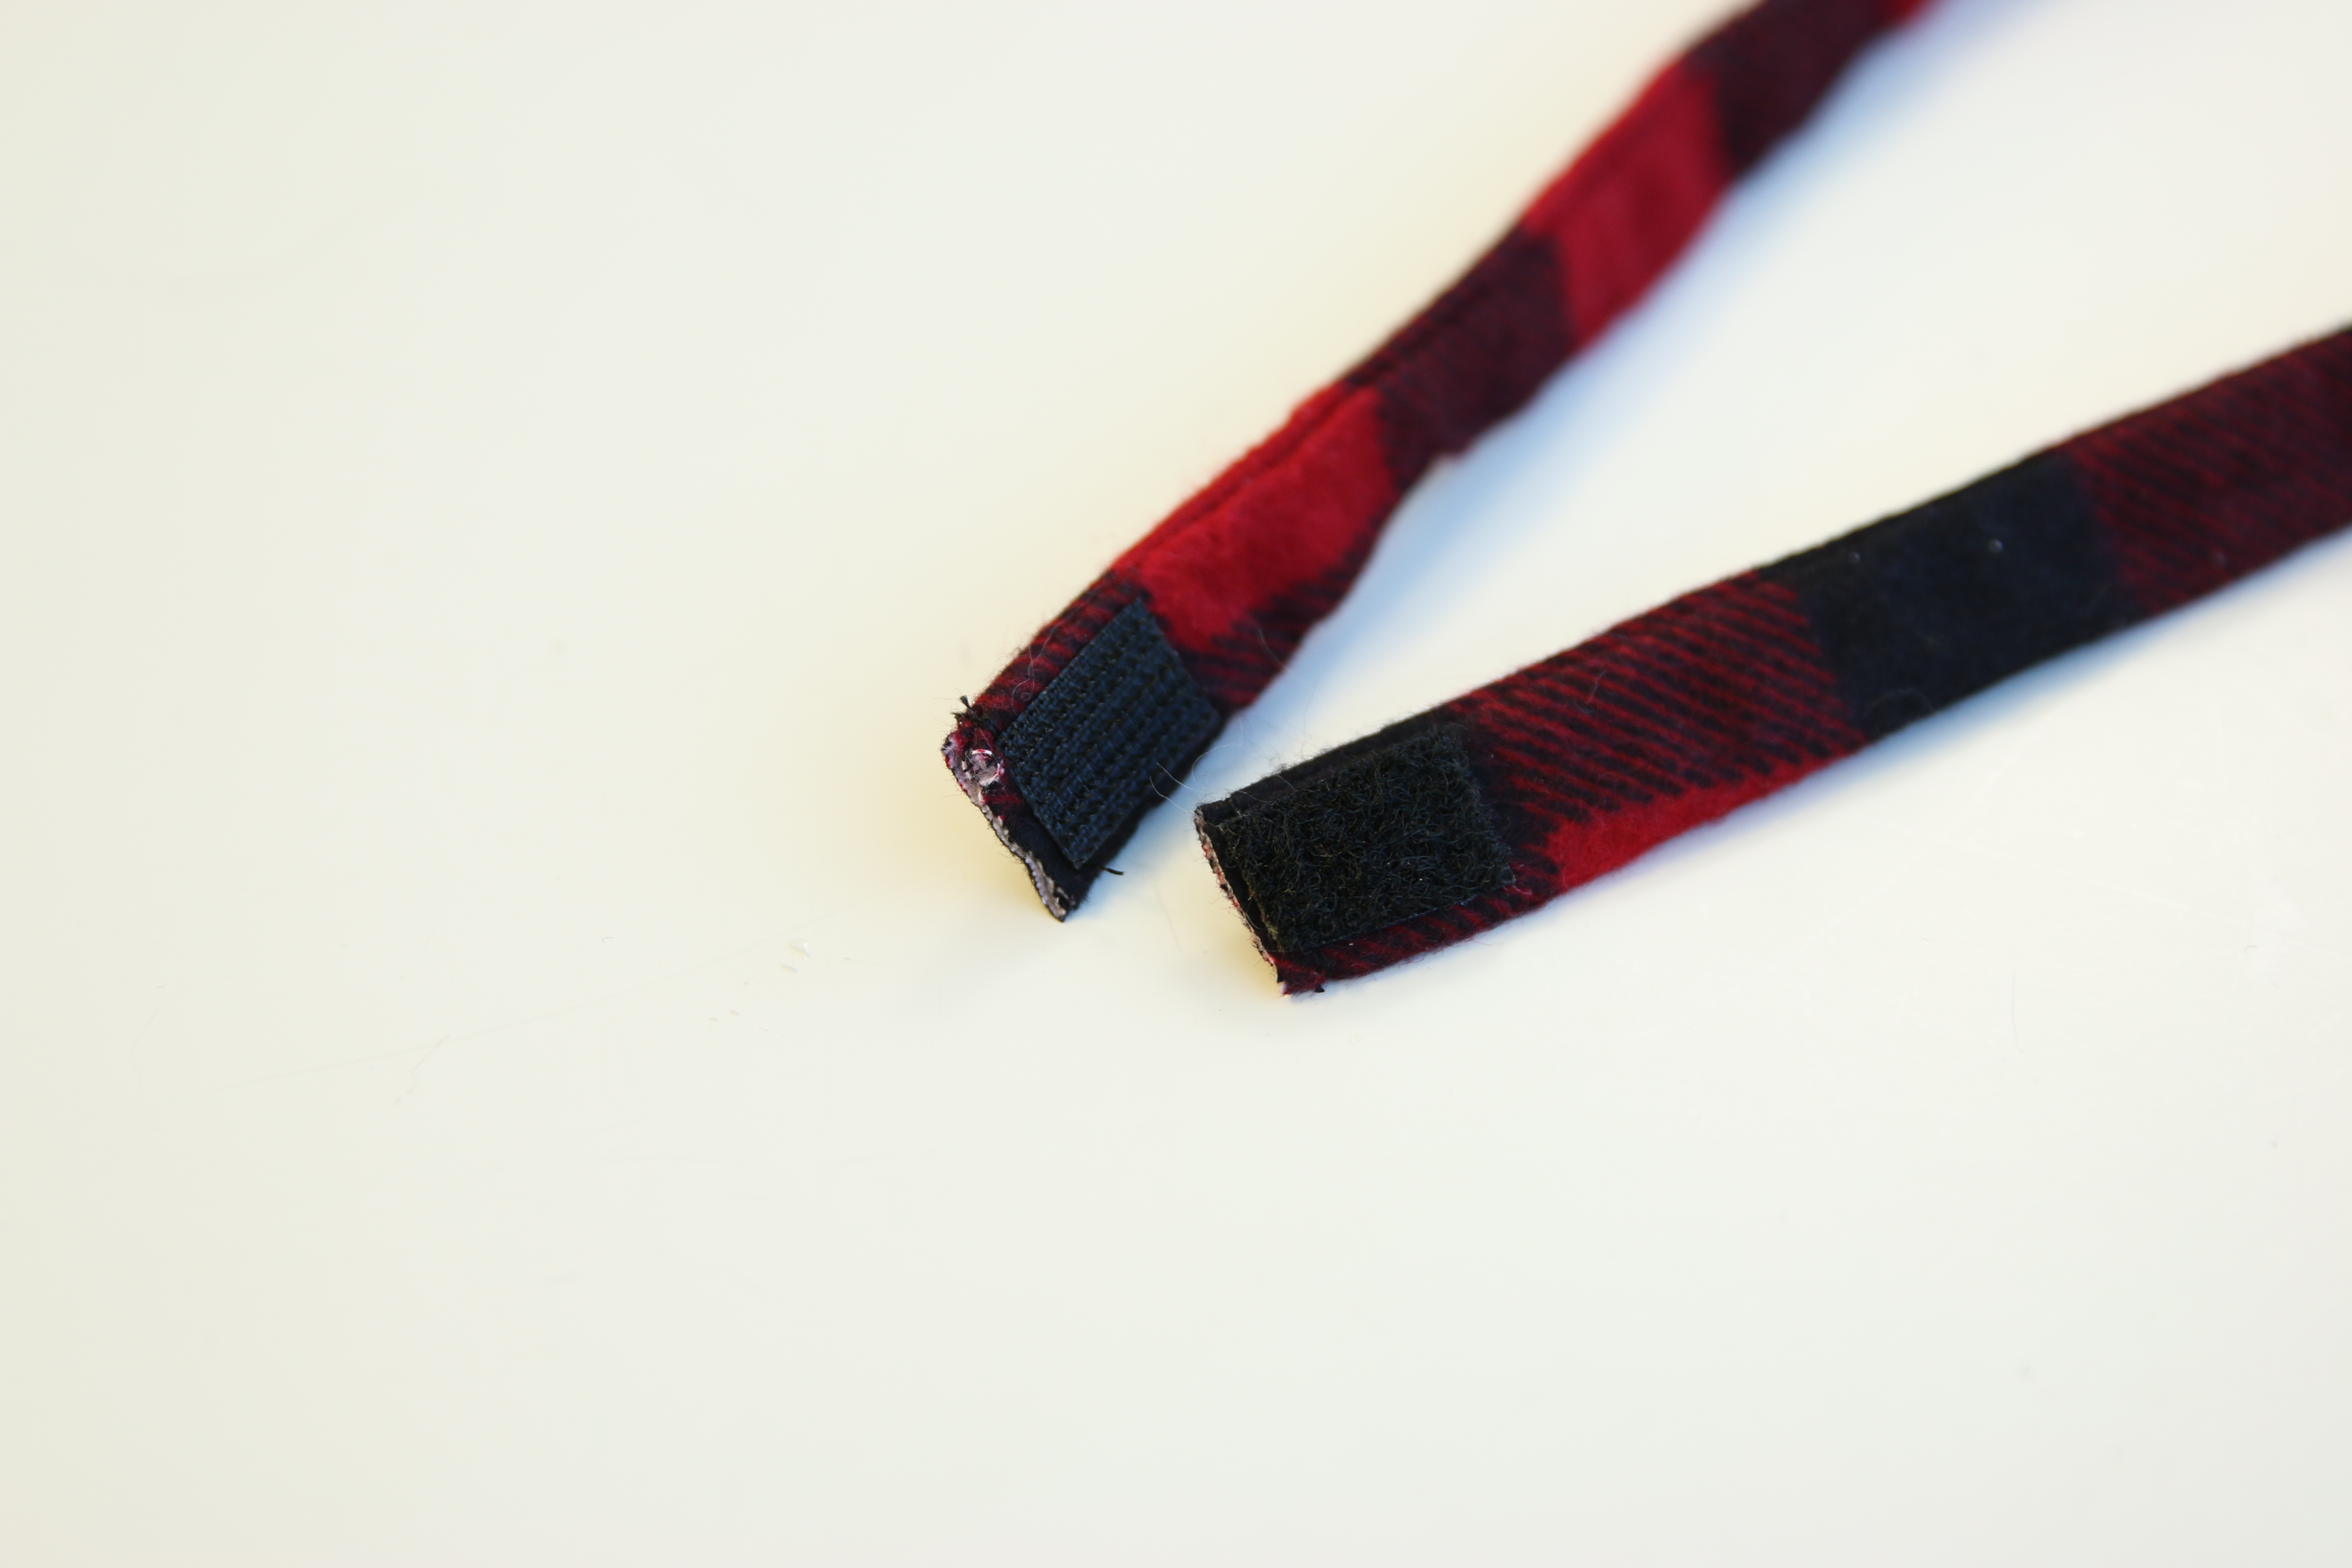
Cut and place two 1/2” pieces of 1” wide adhesive Velcro to the short ends of the strap piece.
25
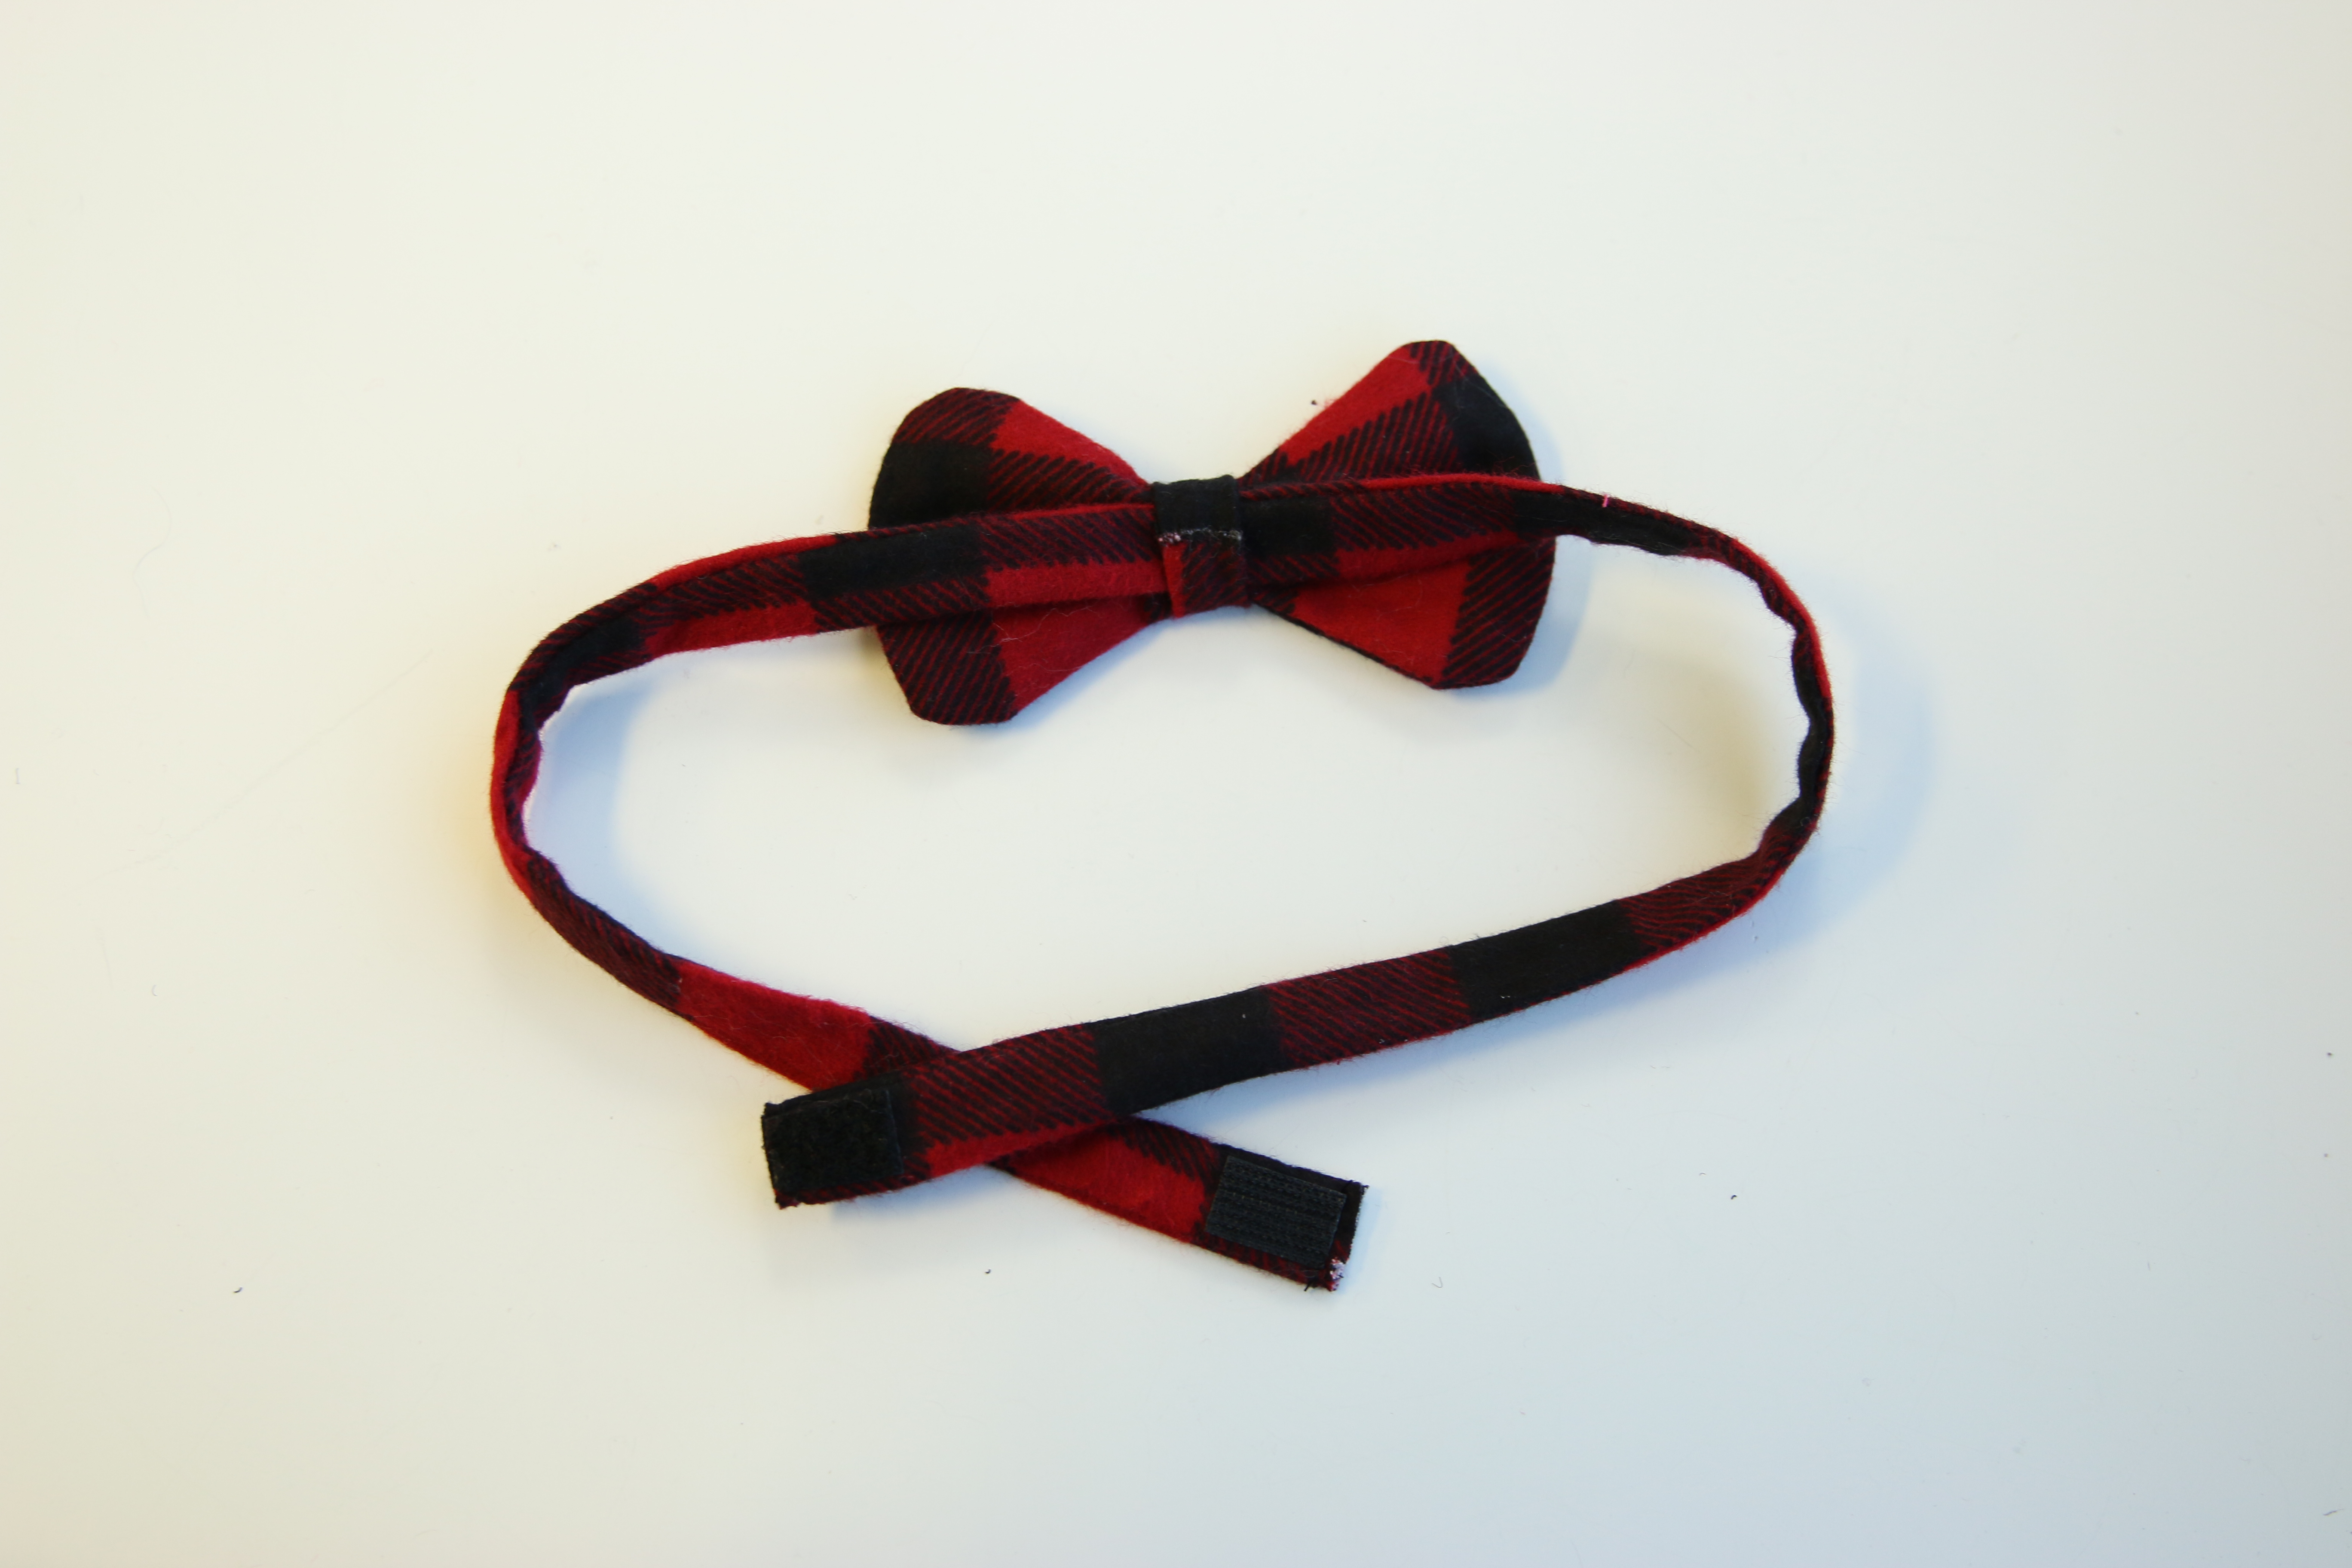
Secure the Velcro pieces in place with a stitch.
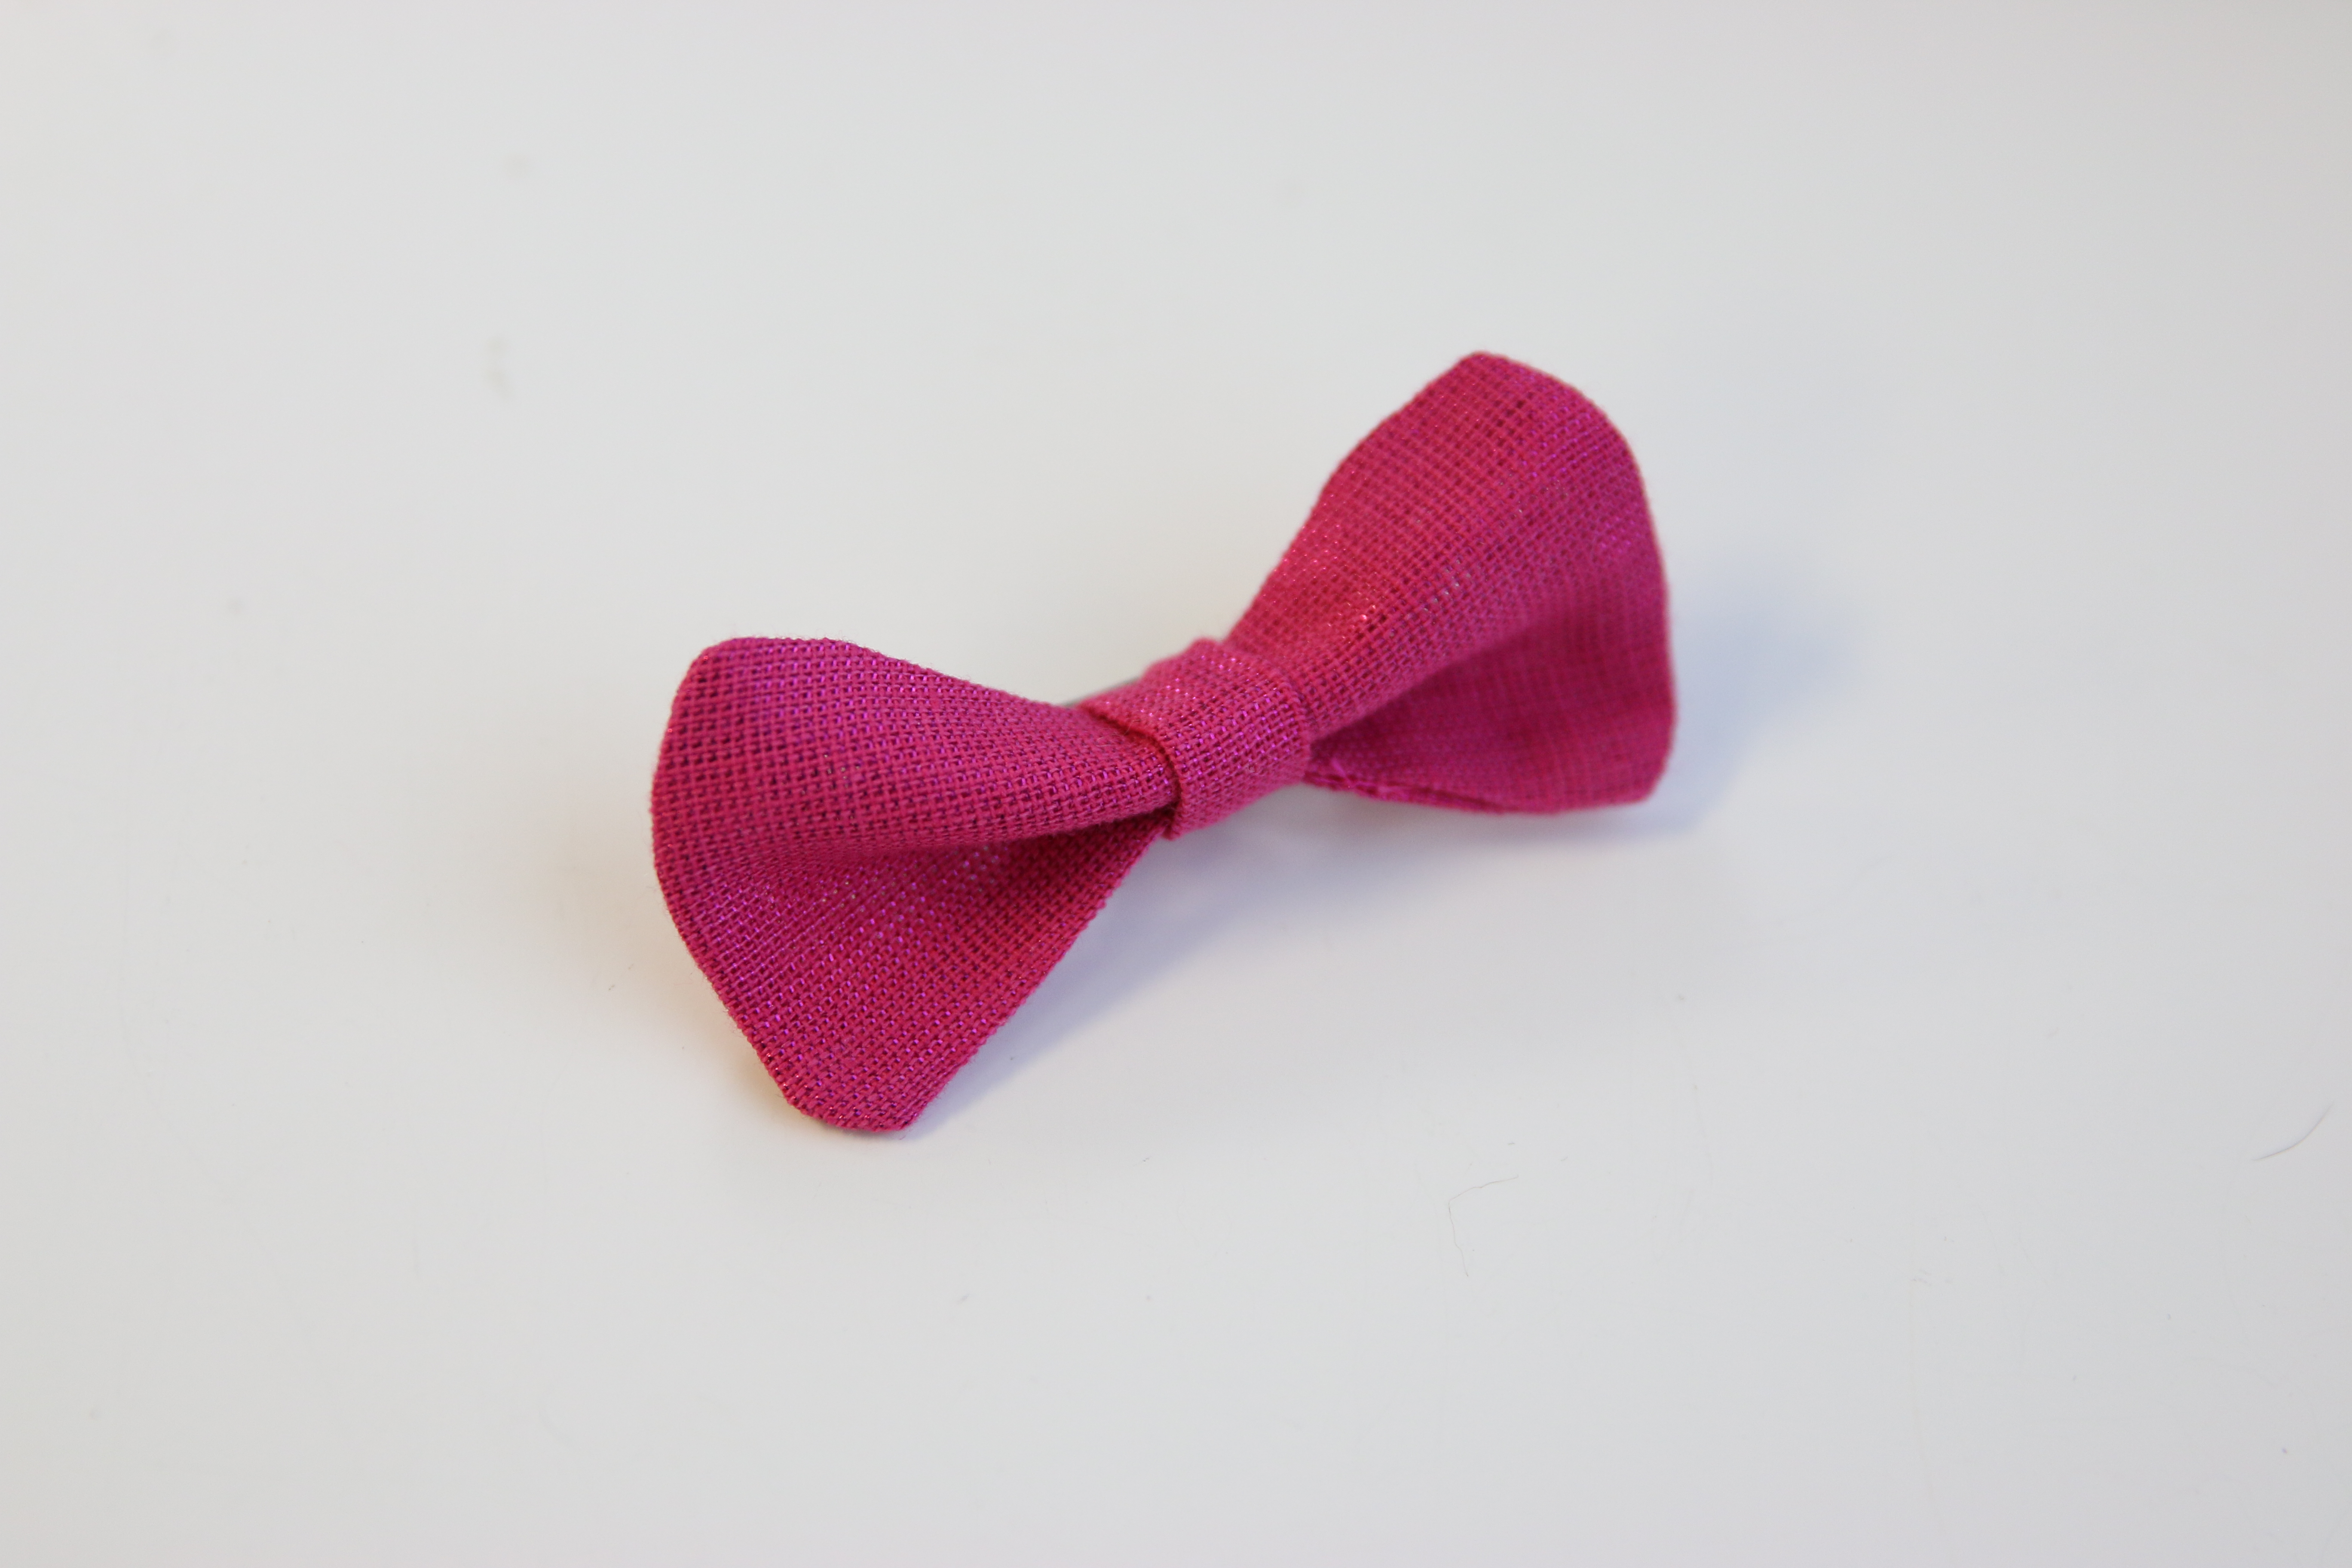
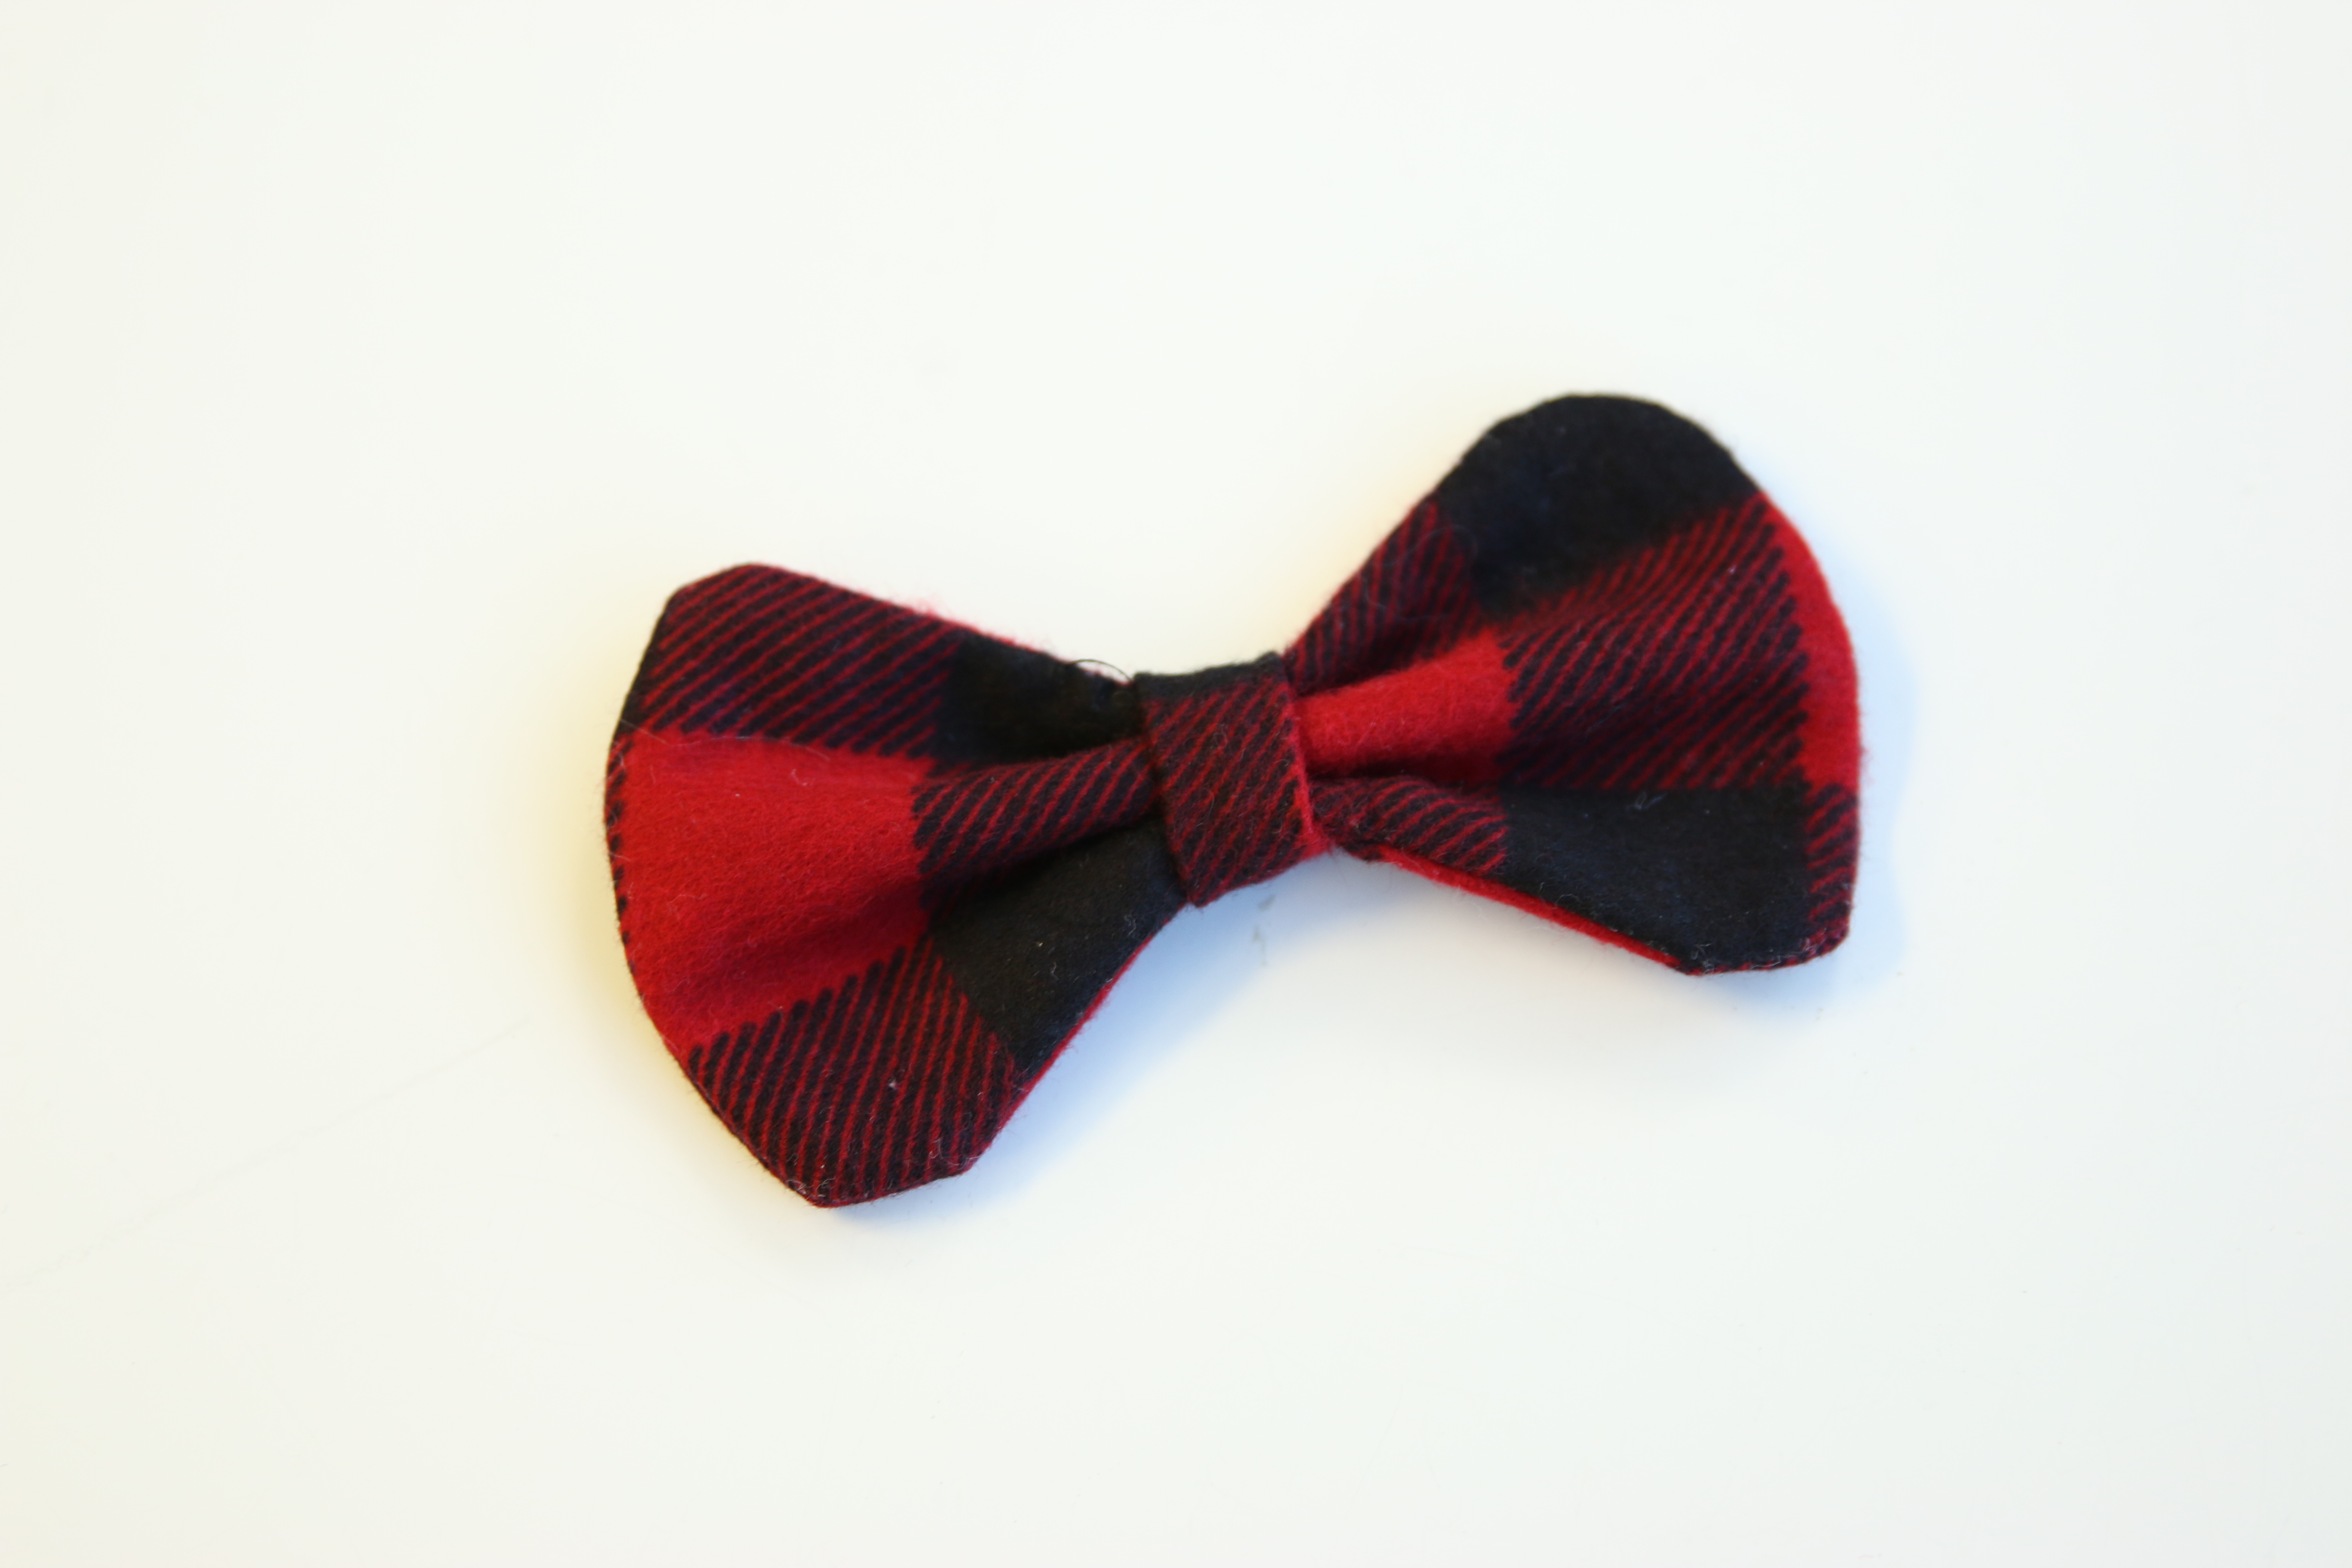
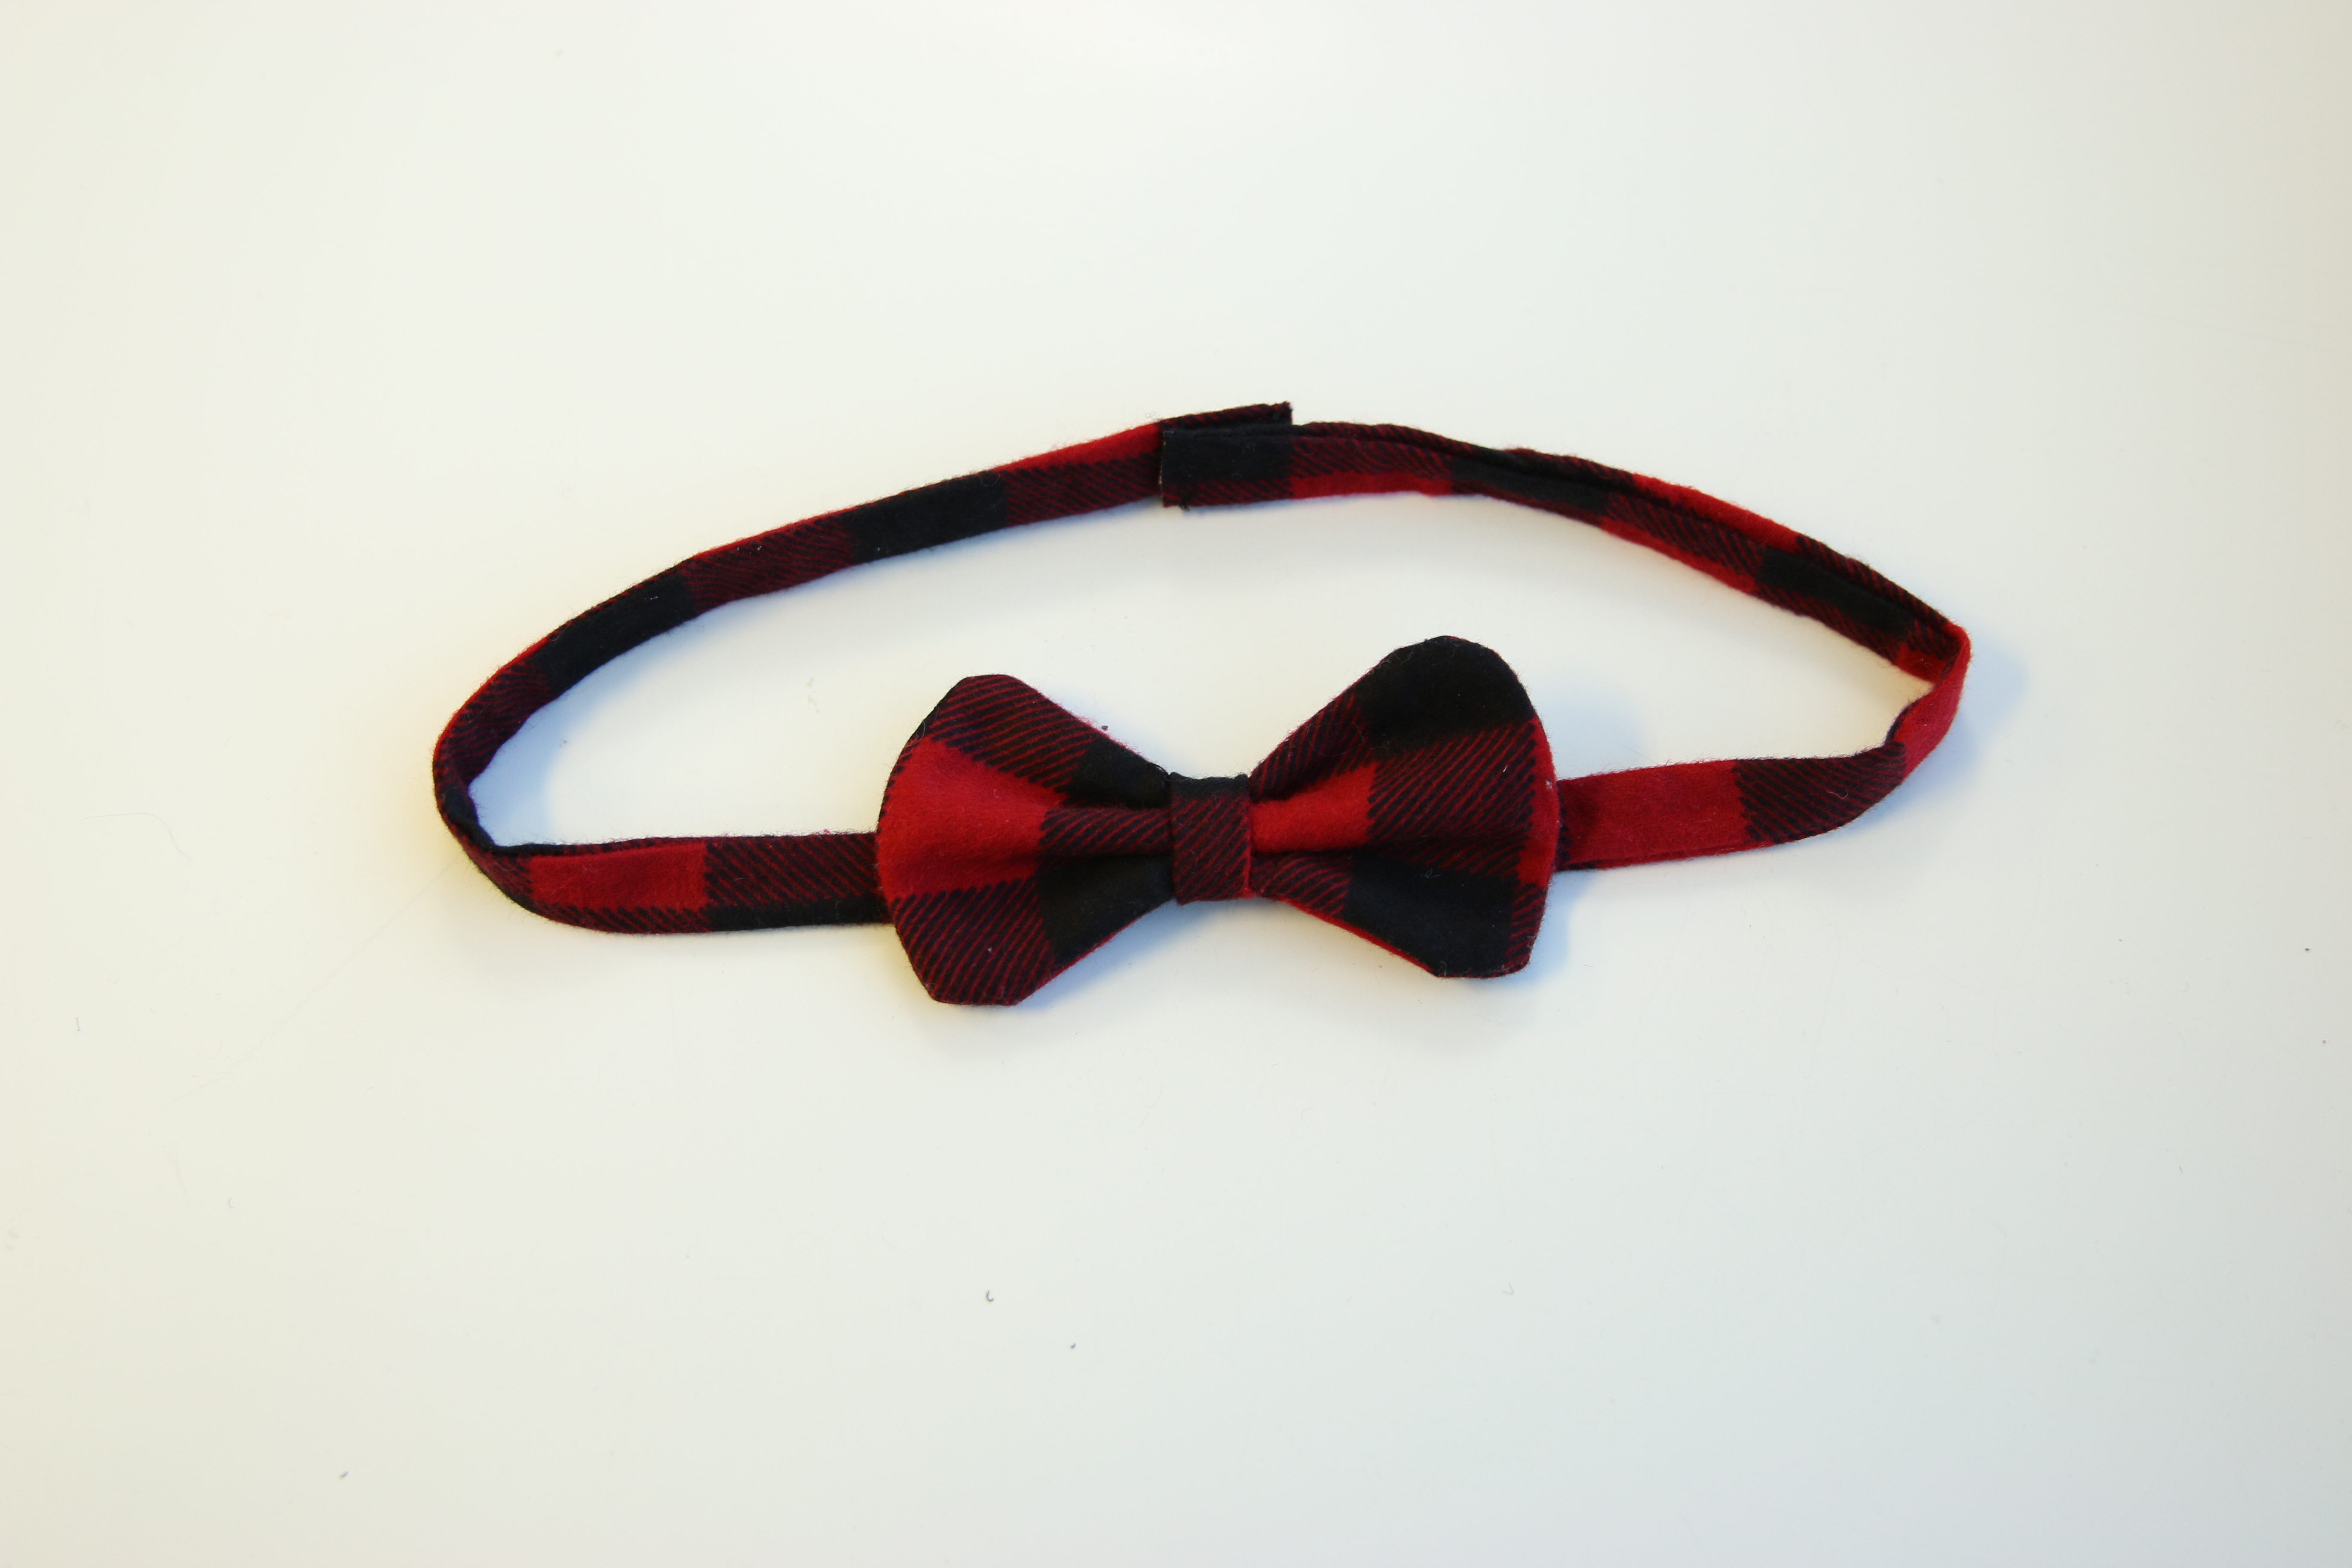
26
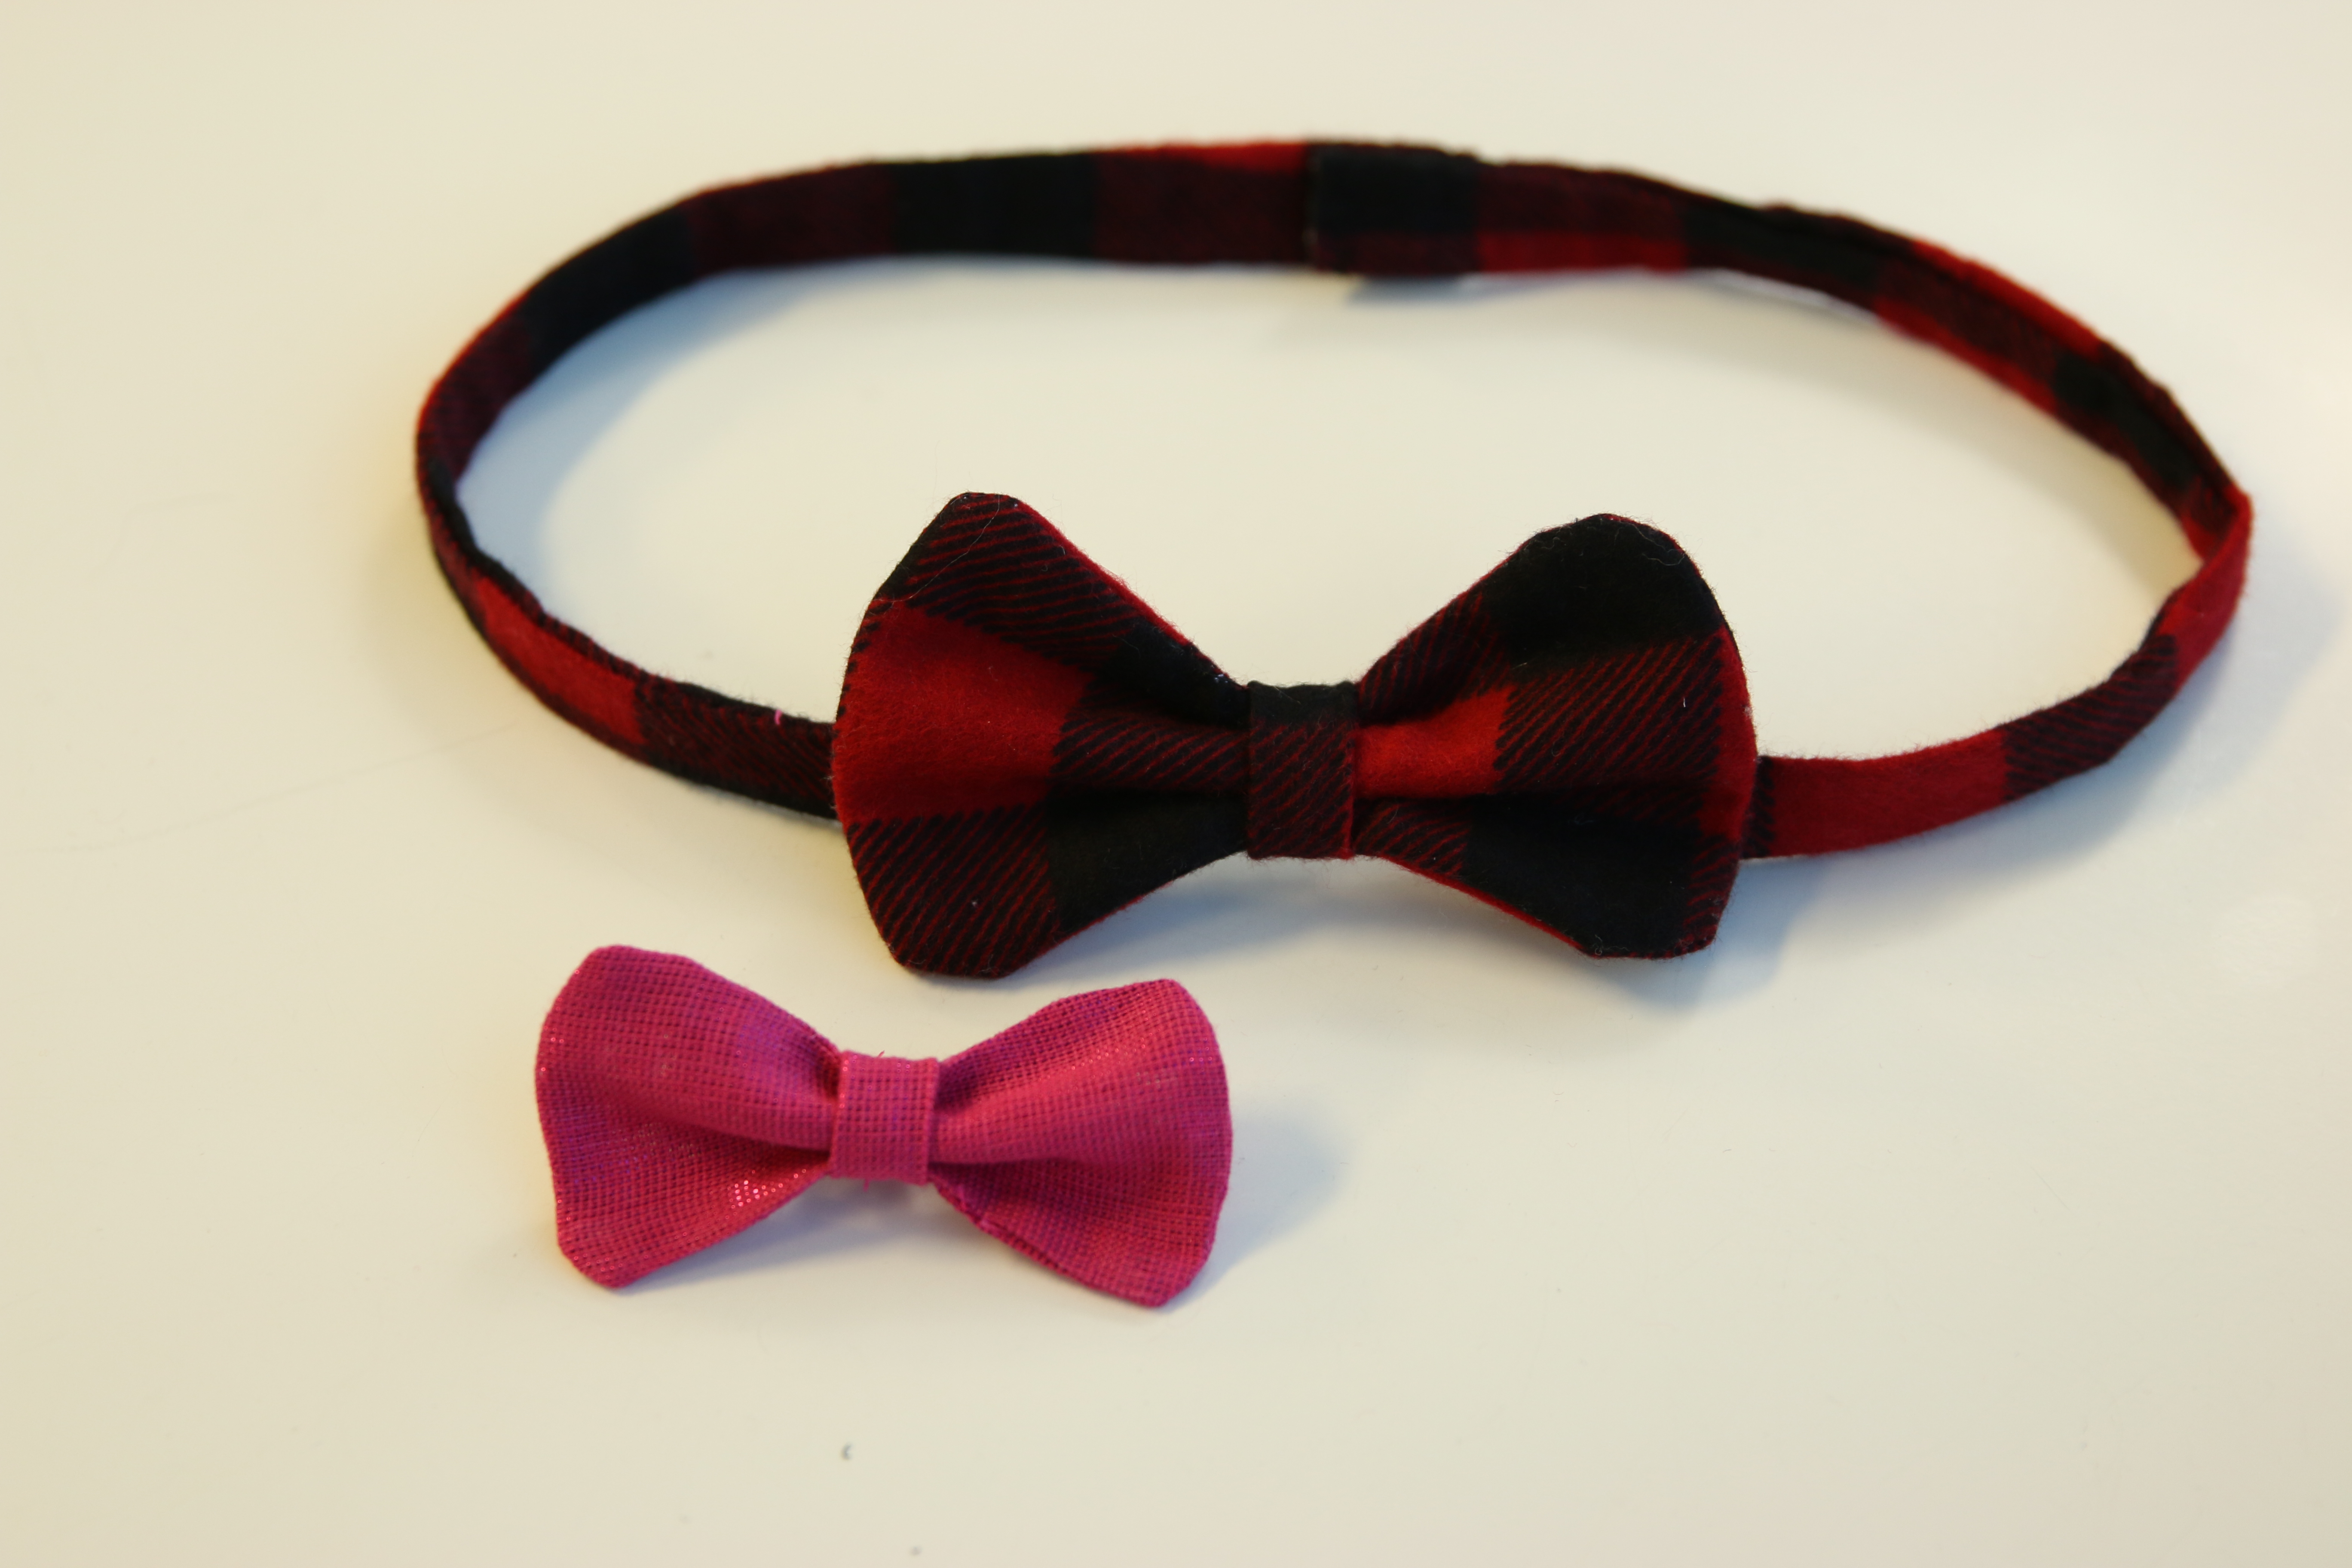
This completes the Bow Tie. Repeat these steps to make a collection of bow ties and accessories in different colors and sizes. Make sure not to resize these designs, as the seam allowance makes them unscalable.


