Supplies
- 1 yard fabric-backed faux leather or thin, sturdy leather (color 1)
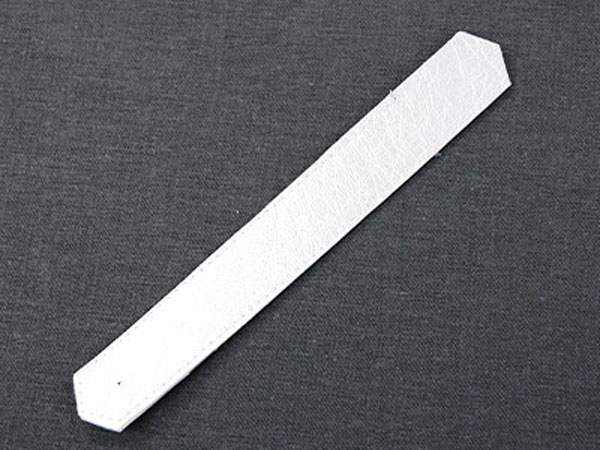
- Thin faux leather, suede or leather (color 2)
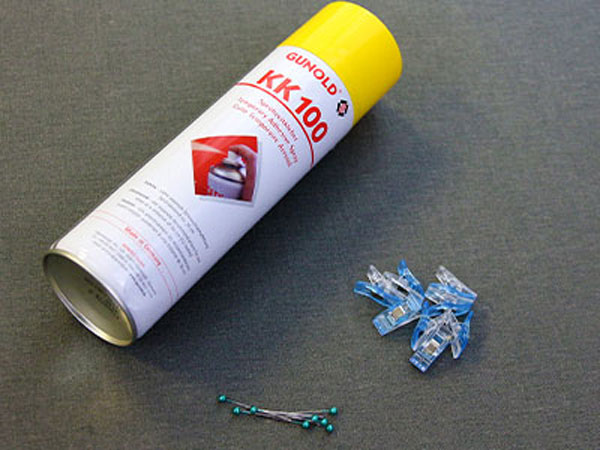
- Temporary spray adhesive (such as Gunold KK100)
- 1 snap (1/2”-5/8” wide)
- Snap setting tools
- Marking tool
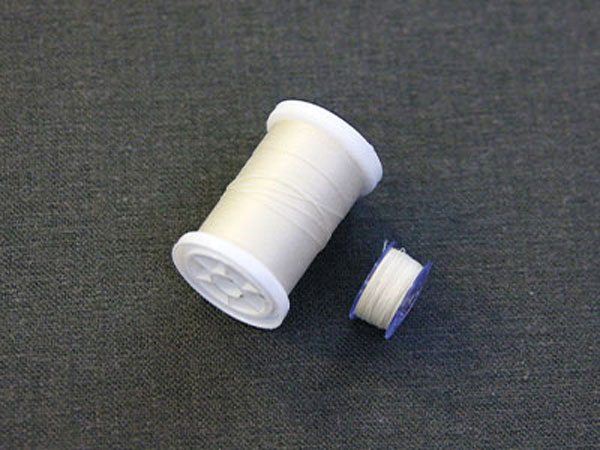
- Sewing thread
- Sewing machine
- Sewing pins
- Scissors
- Ruler
Designs Used
Cutting Instructions
1
Load the Beautiful Botanical Purse (Cut & Stitch) file into your cutting machine’s software.
2
To ensure that the pieces fit together, make sure all pieces are sized correctly in your cutting software. Group and scale all pieces together. For CGS6679 Beautiful Botanical Purse, the size of file A is 11.18” x 23.49”, file B is 11.5” x 15.43”, file C is 11.5” x 22.32”, file D is 5” x 12.75”, and file E is 11.49” x 22.79”.
3
Proceed in the design software until the first color selection appears, and is ready to be cut.
4
Smooth the first material onto the adhesive mat with the right side facing down. Because the right side of the material is facing down, make sure the pieces are mirrored. Then load the adhesive mat into the machine.
5
For each material, make sure to use the correct settings on your cutting
machine to match the material you’ve chosen. Make sure the correct knife tool is also in place.
6
Cut out the first color selection. Then carefully remove the cut pieces and
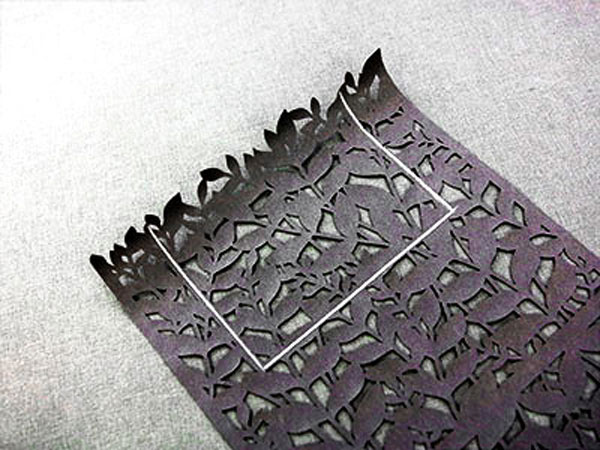
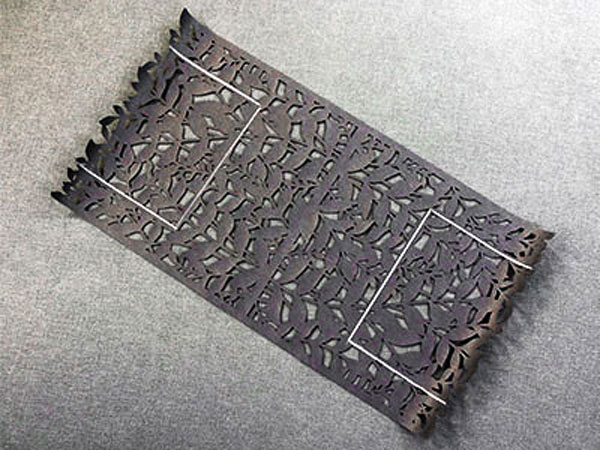
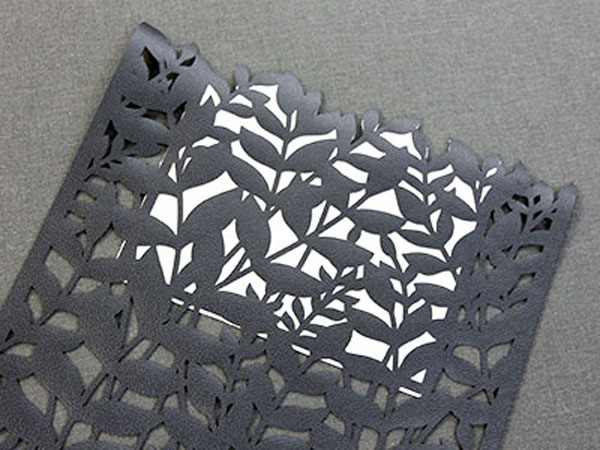
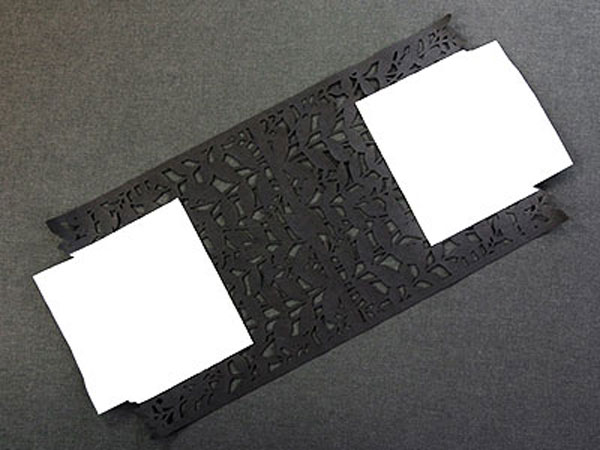
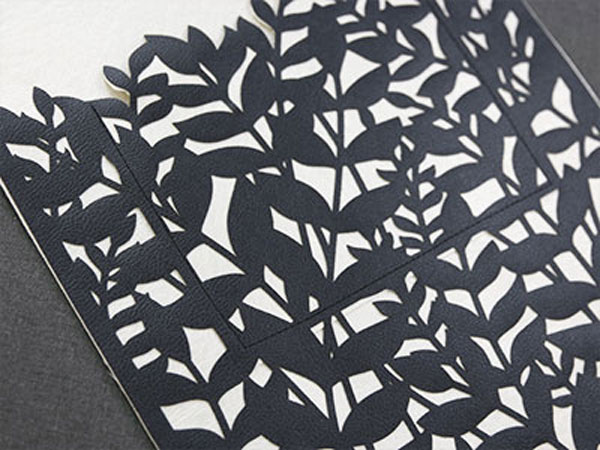
excess materials.
7
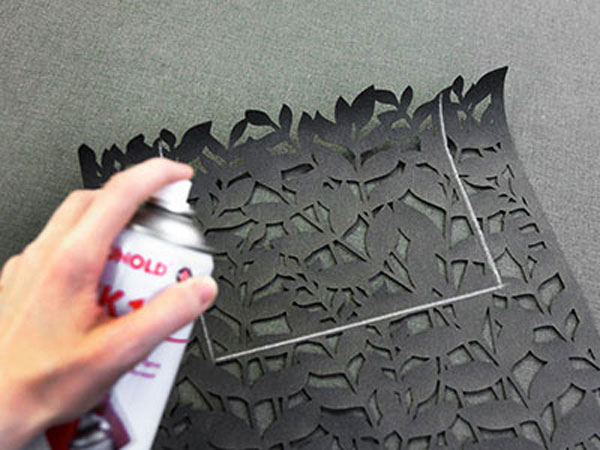
Repeat to cut all of the leather pieces for the tote out of both colors.
Crafting Instructions
1
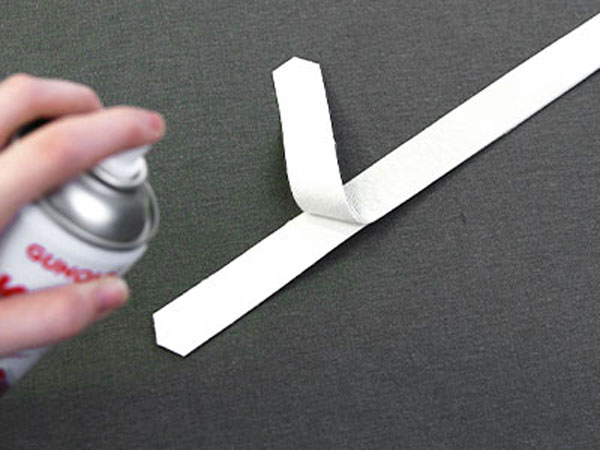
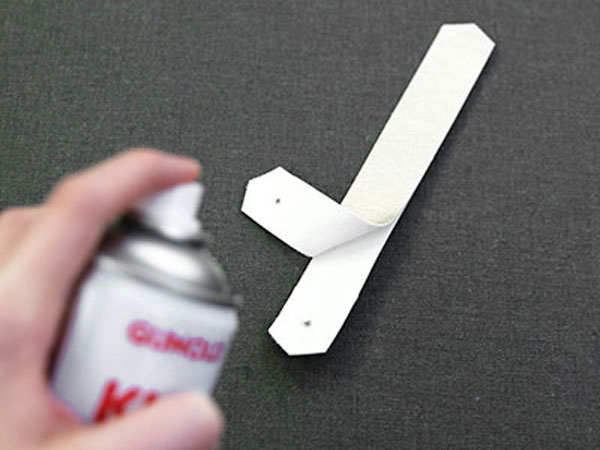
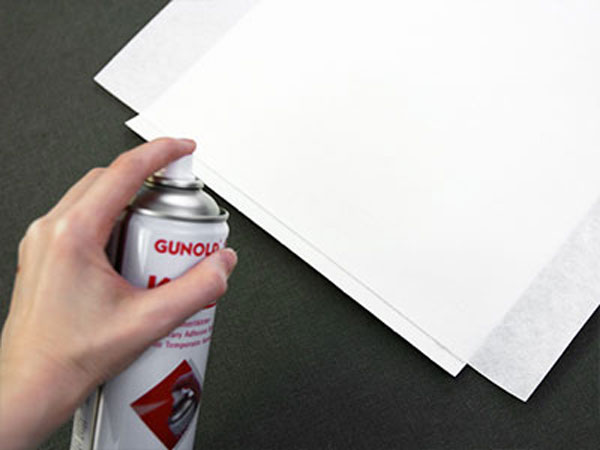
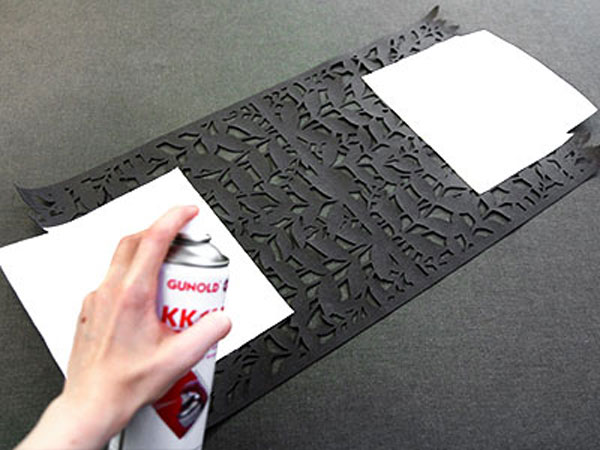
Temporary spray adhesive is a good alternative to pinning when using a material that pins will leave permanent holes in (such as leather). Sewing clips are another good option, but for this demonstration we will be using adhesive. Most temporary spray adhesives will wear off after a couple days. There is one step in this tutorial where traditional pins will still be used. This is to hold the tension of the fabric while sewing around the corners.
2
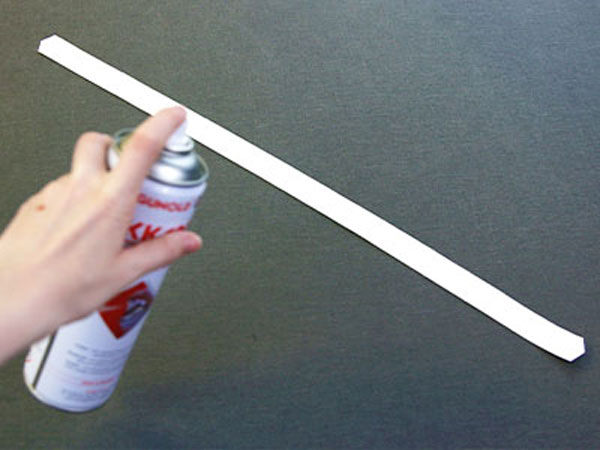
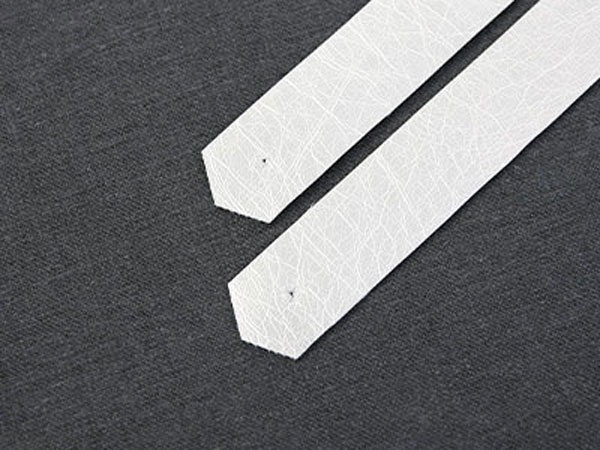
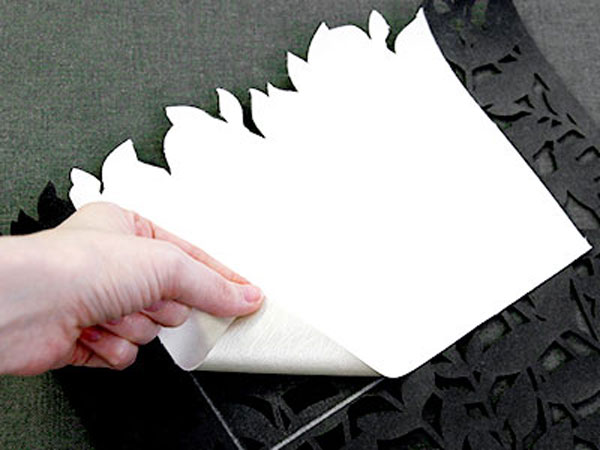
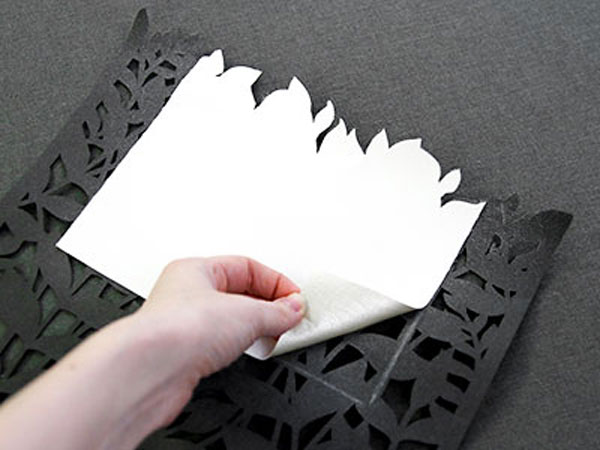
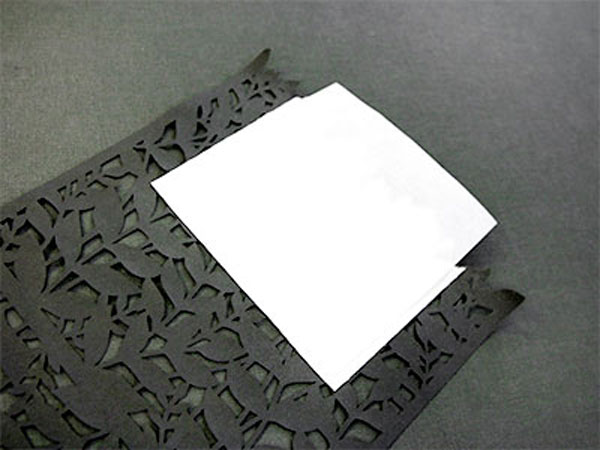
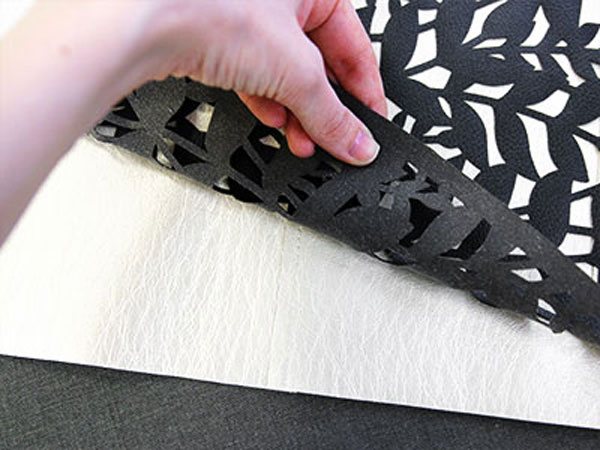
First take one long strap piece (color 1), and spray the wrong side with temporary adhesive.
3
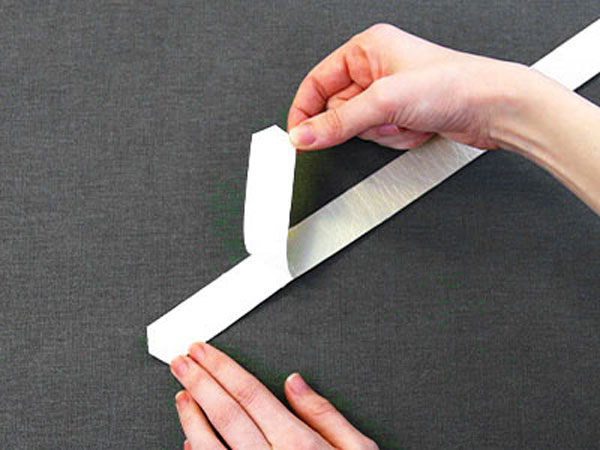
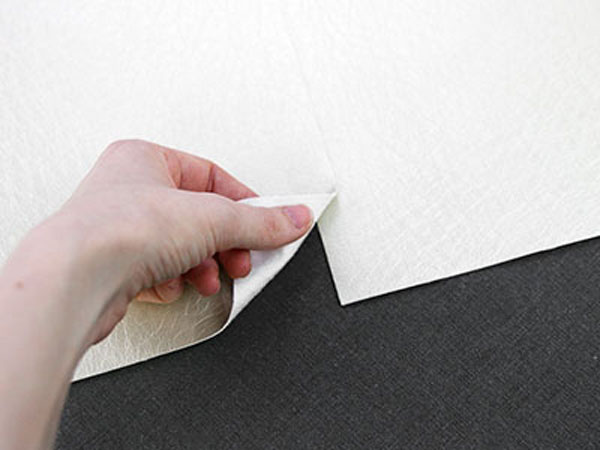
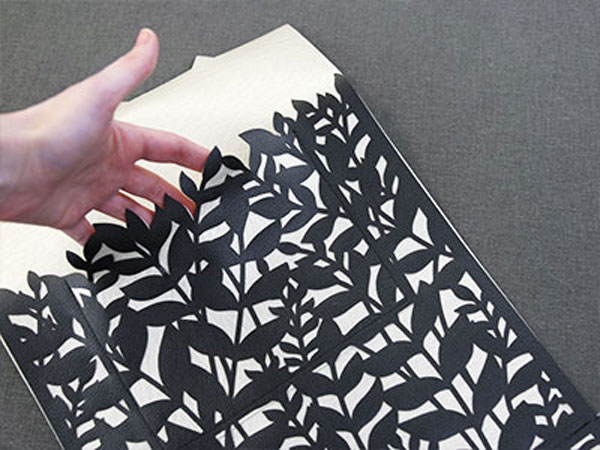
Take a second long strap piece and lay it on top of the first with wrong sides together. Match up the edges carefully.
4
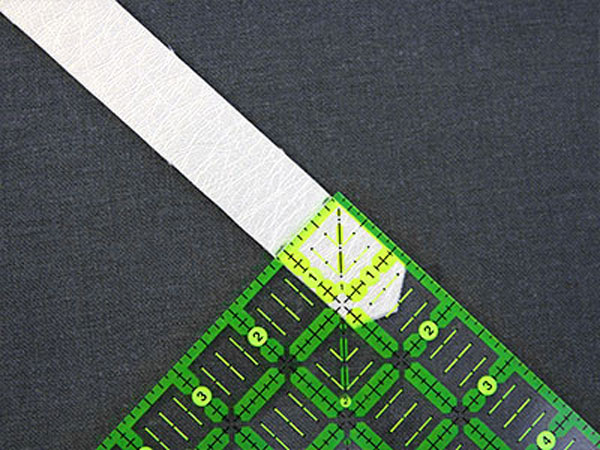
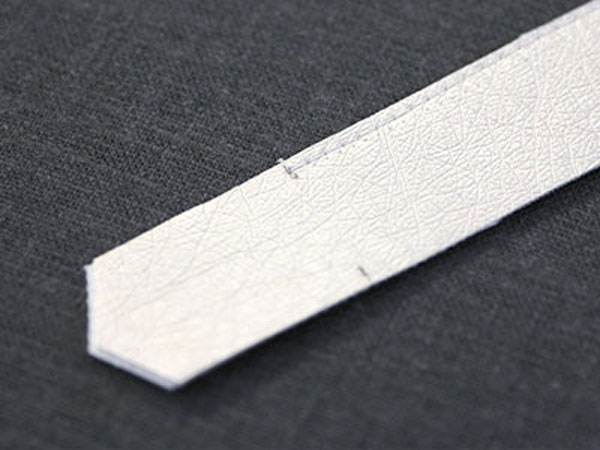
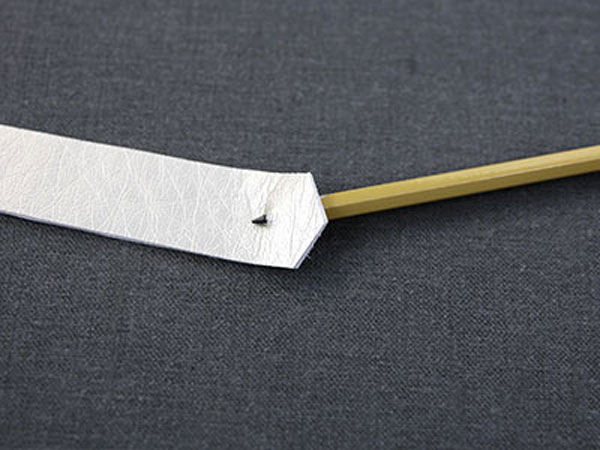
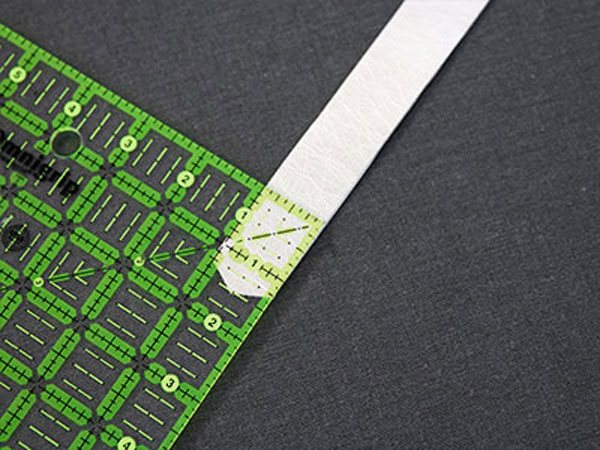
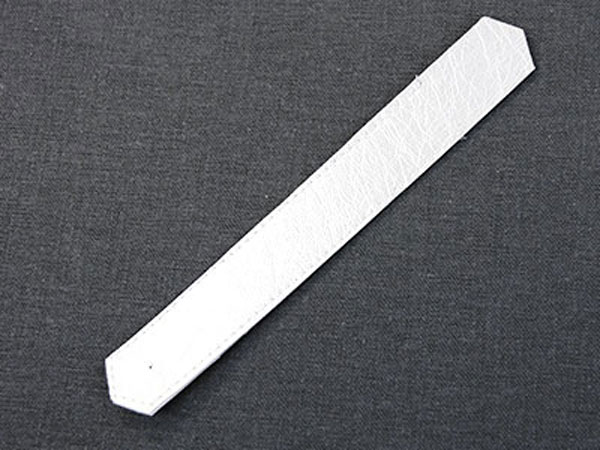
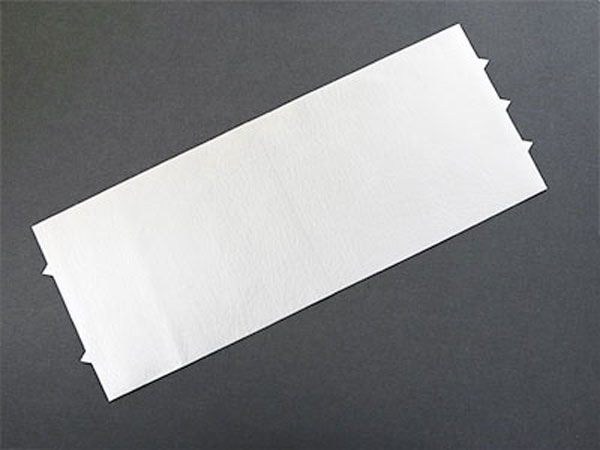
Measure up 1 1/4” from the side corners on one end of the long strap. Mark it with a marking tool along each edge.
5
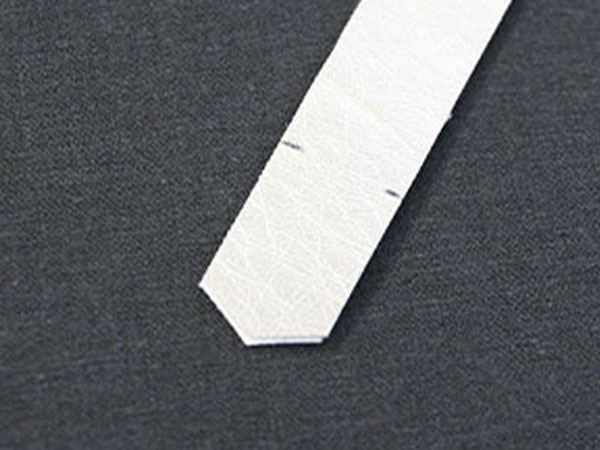
Do not mark on both sides of the strap, however. Instead choose one side to be the “front”, and only mark on that side.
6

Then repeat on the other end of the same strap. Make sure to only mark on the “front” side, and not the back.
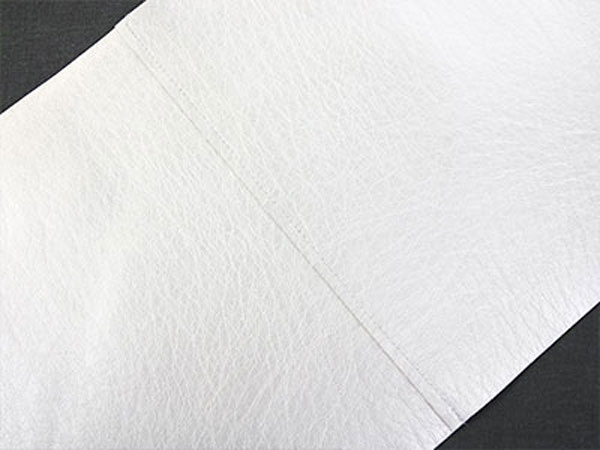
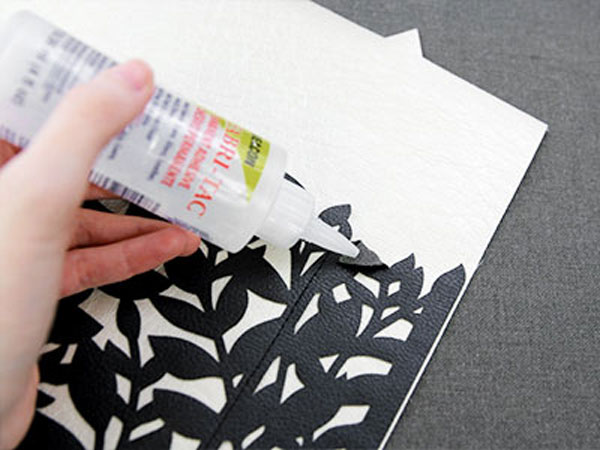
7
In the end, the marks on both ends of the strap should be on the same side, so you can stitch between them.
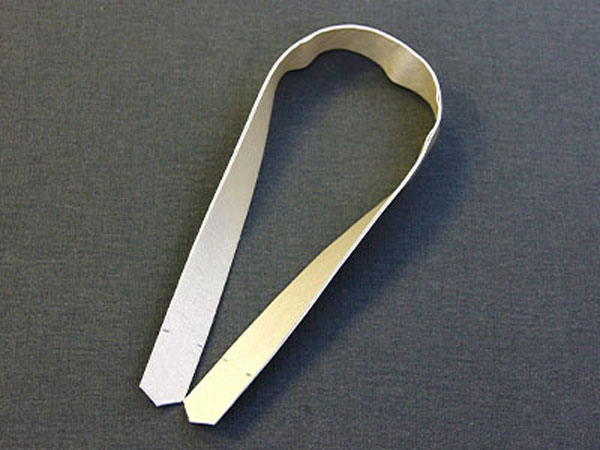
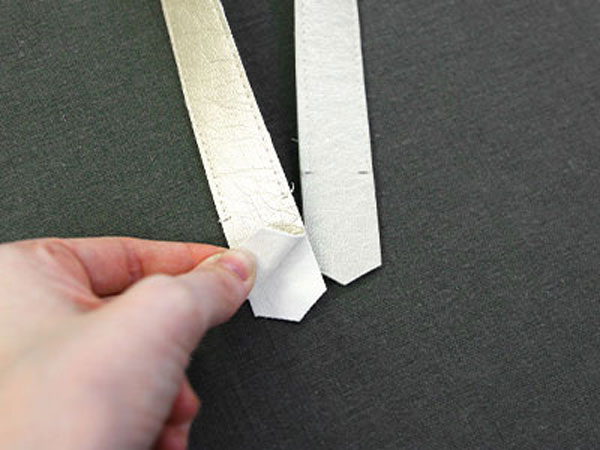
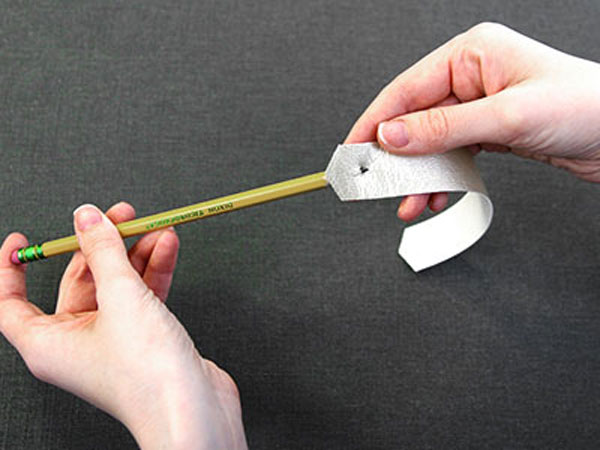
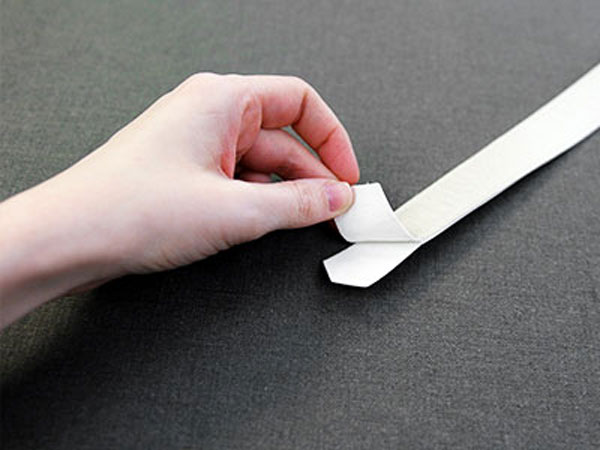
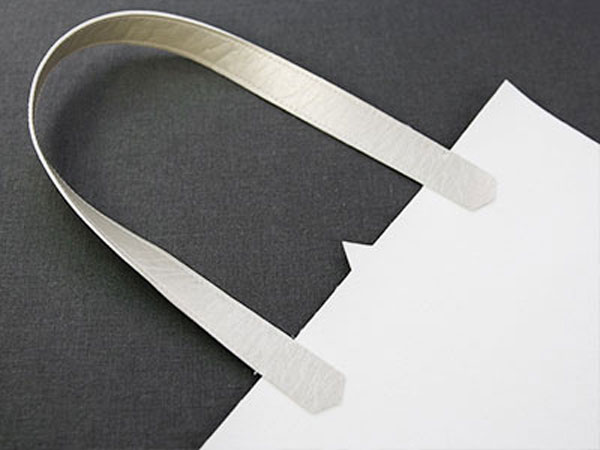
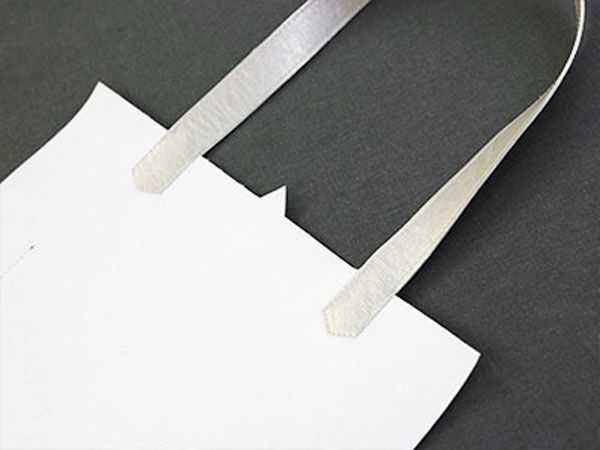
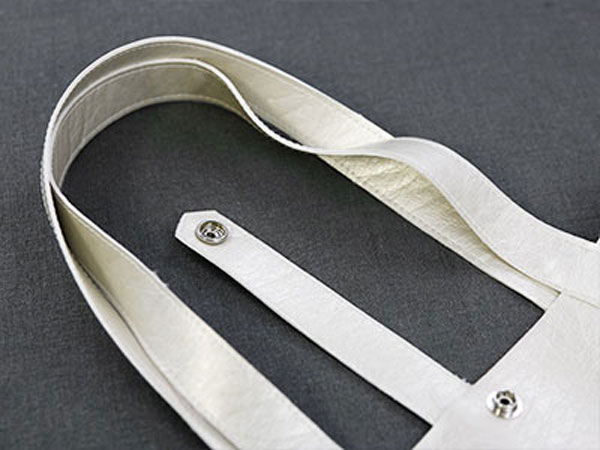
8
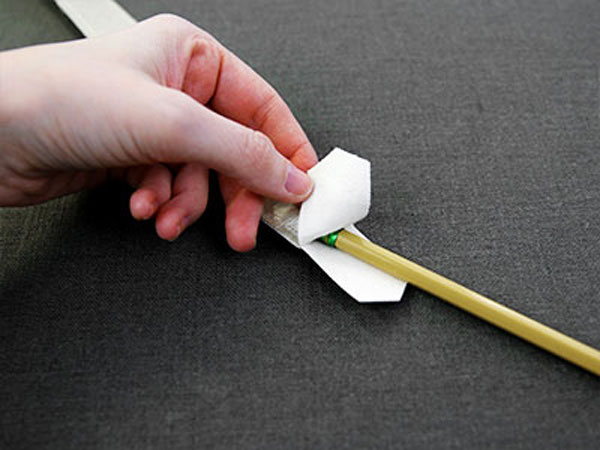
As all the stitching will be visible from both sides, wind a bobbin with the thread being used in the top needle. This matching bobbin and thread will be used to sew everything.
9
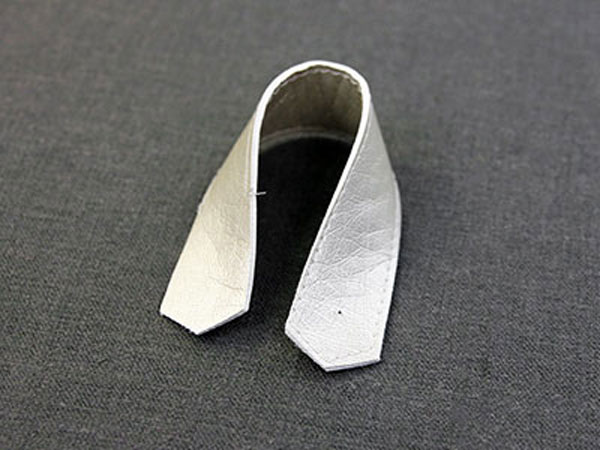
When sewing, make sure to leave both ends completely unsewn from the mark to the point. Instead, sew a 1/8” seam along each long side starting at one mark, and sewing until you get to the adjacent mark at the other end.
10
Repeat to sew one long seam along both the right and left side, leaving the ends unsewn.
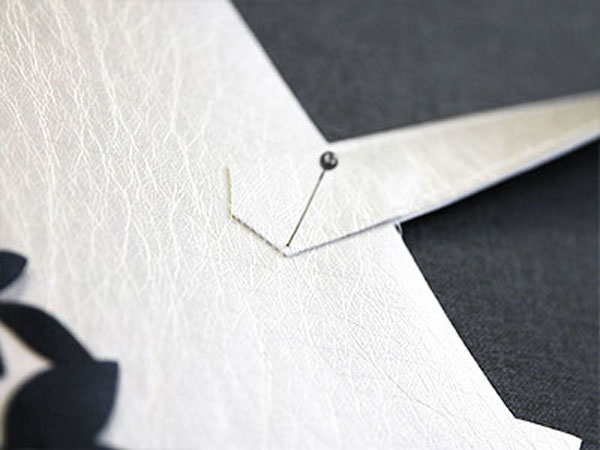
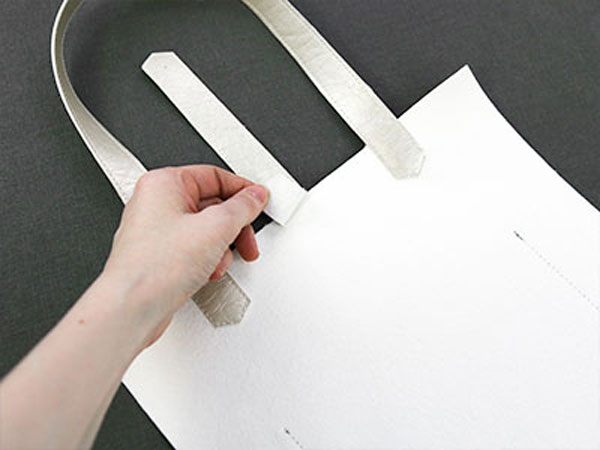
11
Then repeat to spray and match up the remaining two long strap pieces.
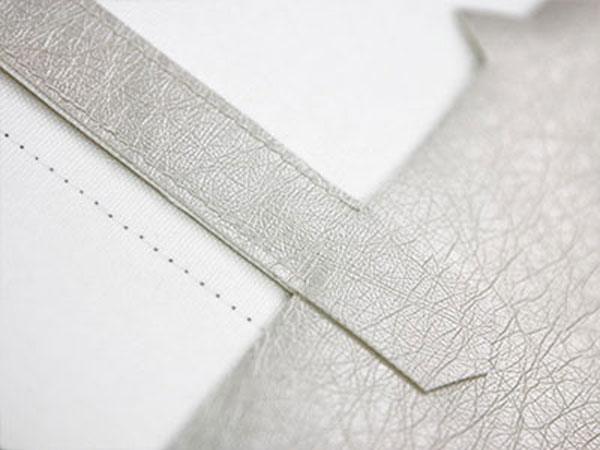
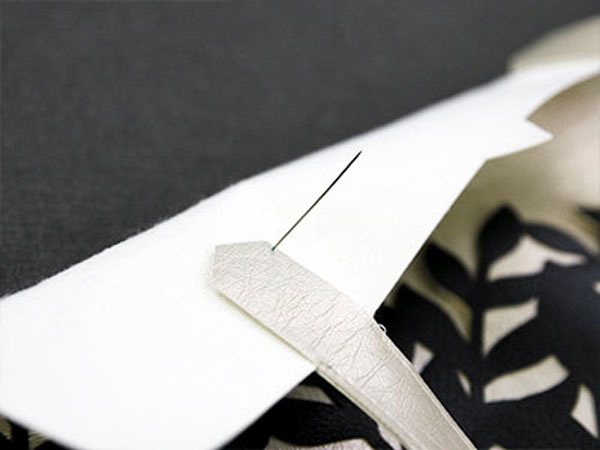
12
Mark them at each end, and sew the two long 1/8” seams, leaving the ends unsewn.
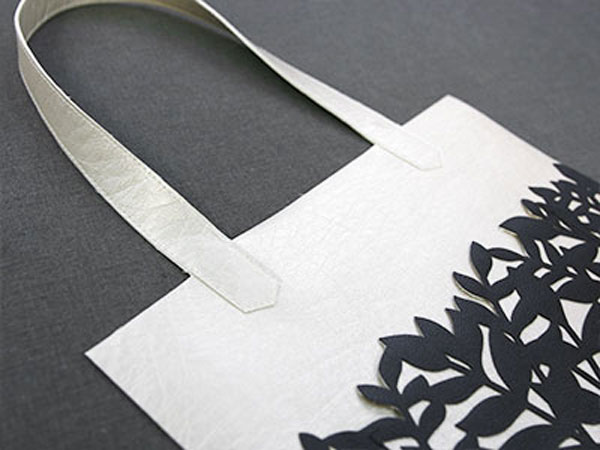
13
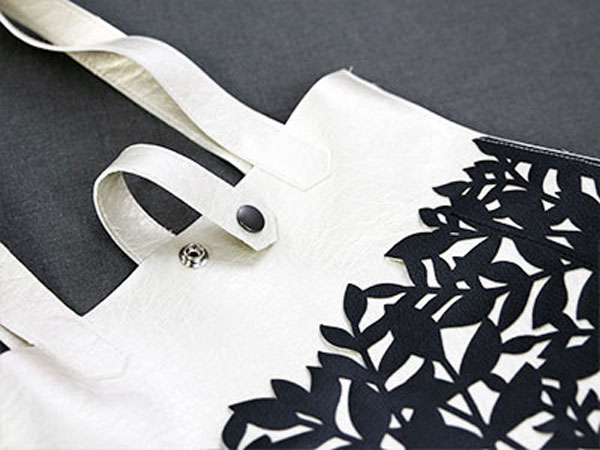
For the small strap, only one end is going to be left unsewn. The other end will have an 1/8” seam sewn around it like the sides. To locate the end that will be sewn around, look at both short pieces carefully, and find the small hole on one end of each piece. The end with the hole will have the 1/8” seam. This hole is for the snap that will be added later.
14
When matching up the pieces, make sure to match up these holes.
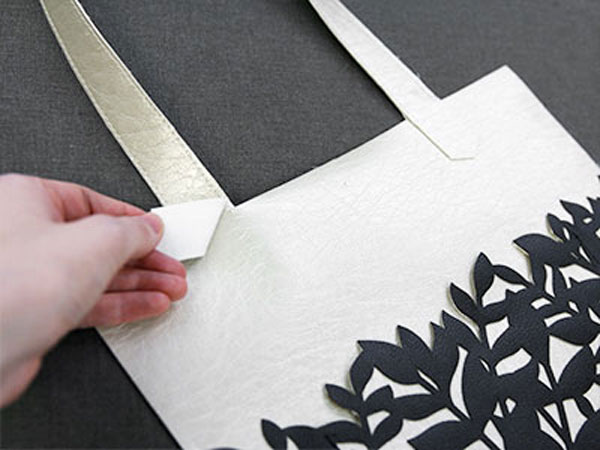
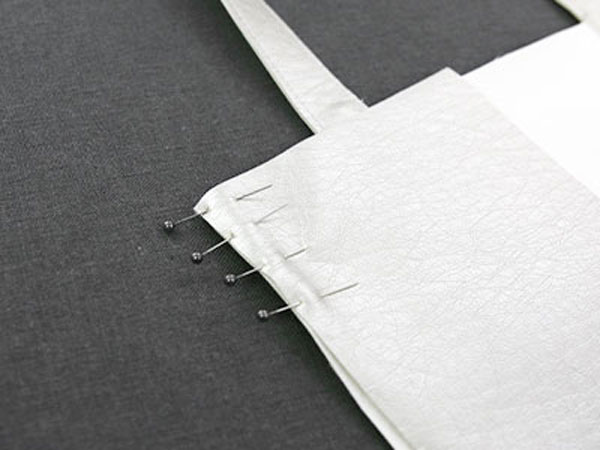
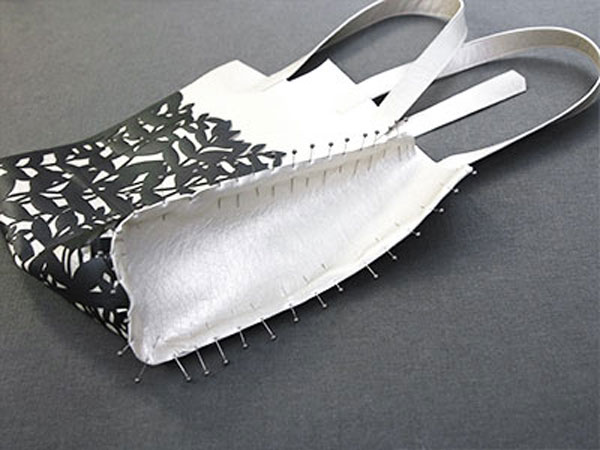
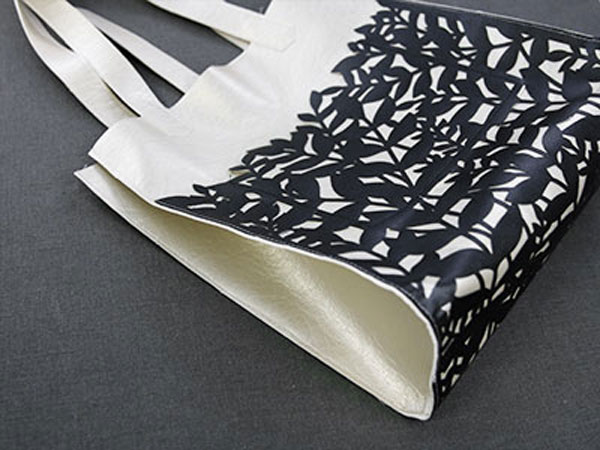
15
Spray the wrong side of one short strap piece.
16
Make sure to match up the holes on each piece. Lay them on top of each other with wrong sides together, and match up the edges carefully.
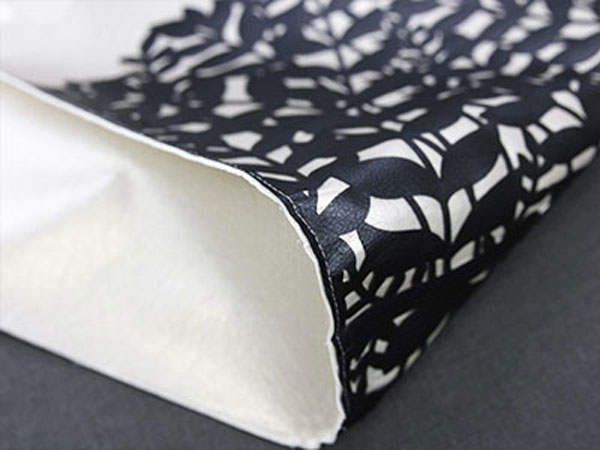
17
Mark 1 1/4” away from the side corners on the end without the hole only.
18
The other end (with the hole) will not be marked at all.
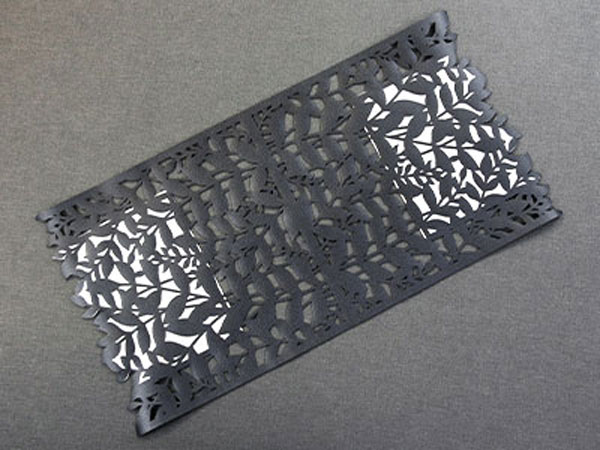
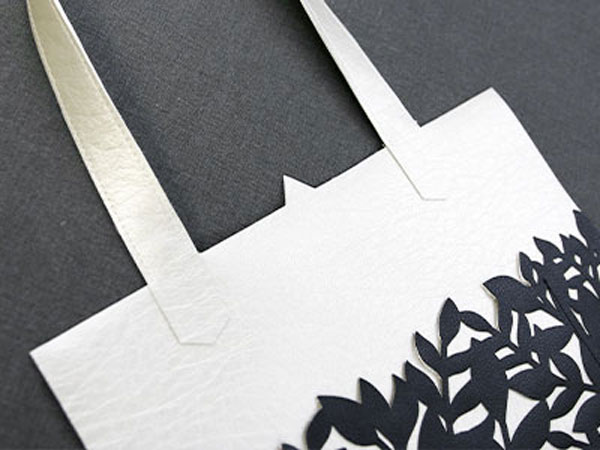
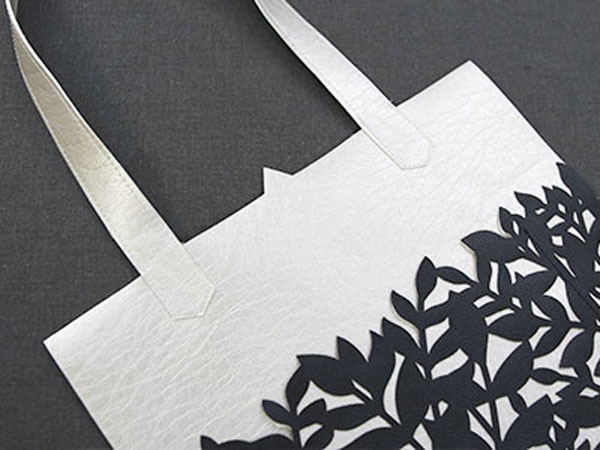
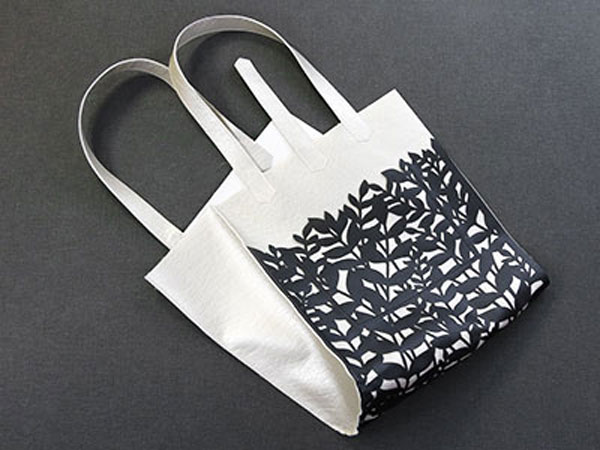
19
Start sewing a 1/8” seam at one mark, and sew towards the end with the hole. Sew all the way around the end with the hole, and back up the other side towards the remaining mark. Stop when you reach the other mark, leaving one end unsewn.
20
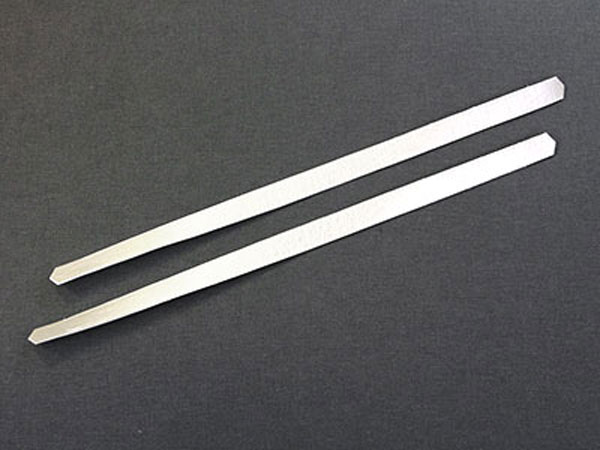
This completes the straps, set them aside for now.
21
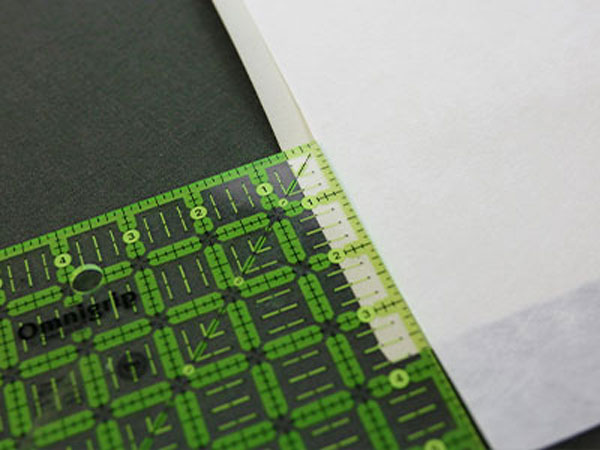
To prevent spray adhesive from getting all over the inside of the tote, make a shield out of paper or scrap fabric that is larger than the front piece. Position it so it covers all of the front piece except 1/2” along the entire bottom edge.
22
Then spray the uncovered, bottom edge with temporary adhesive.
23
With both right sides facing up, overlap the bottom edges of the front piece and back piece exactly a 1/2”.
24
Make sure the sticky, wrong side of the front piece sits on the right side of the back piece, so they stick together overlapped.
25

Then sew a 1/4” seam along the edge you can see.
26
This will bind the two pieces together, making the overlap permanent. Set the front and back aside for now.
27
Next, locate both the square shaped outlines at the top and bottom of the detail layer (color 2).
28
These outline where the two hidden pockets will be, show the placement of the pocket liner, and will also be where the pocket seam sews.
29
Only inside of and around these two pocket outlines, spray the wrong side of the detail layer with temporary adhesive.
30
Then take one pocket liner (both are exactly the same), and match it up with the outline and top edge of one pocket area. Make sure the right side of the pocket is against the wrong side of the detail layer.
31
The straight sides of the pocket liner should match up with the outer edges of the square outline.
32
Then repeat to place the second pocket liner over the other pocket outline on the detail layer.
33
Make sure everything is matched up well, and looks nice from both sides.
34
To prevent the inside of the pocket from getting really sticky, cut two pieces of paper about 1” narrower than the pocket liner. The height needs to be taller than the pocket liner.
35
Lay them both over the pocket lines so about 1/2” of the bottom and side edges still shows, but the paper lays completely over the top edge. This will prevent the adhesive from making the inside of the pocket sticky.
36
With the two paper pieces over most of the pocket liners, spray the entire wrong side of the detail layer with temporary adhesive.
37
If you look at the detail layer, there will be a 1/2” wide, solid bar (or rectangle) running across the center of the piece. This will be the center bottom of the tote, and will also help with placement. Lay the connected front and back piece on the table with the right side facing up. Then match up the edges and lay the detail layer on top of them with the wrong side facing down.
38
To line up this piece correctly, match one edge of the center bar up with the edge of the bottom edge of the front piece. When the correct side of the center bar is matched up the seam on the front piece should be directly under the solid bar and completely hidden.
39

Then sew a seam down the center of the bar (or 1/4” from either side of the bar).
40
If done correctly, this seam should sew perfectly on top of the seam holding the front and back pieces together.
41
Locate the two pocket outlines on the top and bottom of the detail layer. Sew a seam right down the center of the square outline down one side, across the bottom, and then up the opposite side. This will create the sides and bottom of the pocket.
42
Do not sew along the top edge, so the pocket remains open. While sewing the pockets, use thread matching the detail layer, and you should be sewing through the detail layer, pocket lining, and front or back piece depending on what side you’re on.
43

To make sure everything stays in place after the temporary adhesive wears off, glue or hand sew the top edge of the pocket liner to the top edge of the detail layer.
44
Then also glue or sew the top edge of the detail layer to the front and back piece on the right and left sides of both pockets.
45
Next, take one long strap, and open up one unsewn edge.
46
Use a pencil to open up the strap in between the stitching as well. This will make room for the triangle notch to fit inside.
47

On the back piece locate the right and left triangle notches (ignore the middle notch for now). These will be where the two ends of the long strap will be placed. With the end of the strap open, place the strap around the edge of the fabric, so the left notch ends up inside of the strap, and one half of the strap is on the right side and the other half is on the wrong side of the fabric.
48
Make sure the strap in placed all the way down so the end of the seams are resting against the edge of the back piece.
49
Then open up the other end of the same strap, and place it around the right notch. Again make sure the seam is resting against the top edge of the back piece.
50
Make sure the strap is not twisted before continuing.
51
To make sure the straps are aligned properly, stab a pin through the back piece at each of the straps corners. When stabbing through, you will be able to check that the corners are in the same place on the right and the wrong side of the back piece. If this is not the case, shift the back half of the strap until it matches up.
52
When stabbing through, you will be able to check that the corners are in the same place on the right and the wrong side of the back piece. If this is not the case, shift the back half of the strap until it matches up.
53
Then sew a 1/8” seam around the two ends of the strap.
54
This will bind both the front and the back of the strap to the back piece.
55
Repeat these steps to open up the ends of the second long strap, and place each end around one of the two notches on the front piece. Make sure the strap is lined up on both ends, and sew 1/8” around both ends.
56
Again make sure the strap is not twisted before sewing it down.
57
For the short strap, open up the one unsewn end with a pencil. Place this strap around the center notch on the back piece.
58

Make sure it’s lined up, and sew a 1/8” around the end to attach it to the back piece.
59
Then take one side piece, and match it up with the top corner of either the front or back piece. Use sewing pins for best results.
60
Start pinning at the top corner, carefully pin down towards the bottom, around the corners, and back up again until you reach the opposite top corner.
61
Once pinned, sew a 1/4” seam around the pinned edge.
62
Go slowly around the corners for best results.
63

Then repeat to pin the remaining side piece to the opposite side.
64
Sew it to the front and the back piece with a 1/4” seam.
65
Following the manufacturer’s instructions, set both halves of the snap on the tote. The pretty half of the snap goes in the hole on the short strap. The other half of the snap goes in the hole on the front piece. This hole can be found along the top edge and between the two ends of the snap.
66
Be very careful that both halves of the snap face the right direction.
67

This completes the Beautiful Botanical Purse. Repeat these steps to make a variety of totes to use or give as gifts. Make sure not to resize this designs, as the seam allowances make it unscalable.


