Supplies
- 1/2 yard of quilters cotton, thin denim or another similar fabric (color 1)
- 1/2 yard of quilters cotton or another similar fabric (color 2)
- Pieces of heat transfer vinyl to match all colors in chosen design
- Pieces of stiff craft felt to match all colors in chosen design
- Sewing threads matching fabric (colors 1 & 2)
- 9”+ long standard, all-purpose zipper
- Hand sewing needle or fabric glue
- Sewing pins
- Hot press or iron
- Ironing board and pressing cloth
- Ruler or quilting grid ruler
Designs Used
Cutting Instructions
1
Load the pencil case (Cut & Stitch) file into your cutting machine’s software. Notice that it has multiple cutting files to fit all the pieces. These are labeled with “A”, “B”, “C”, etc., and are organized by how they fit into a file and not necessarily by material.
2
To ensure that the measurements and seam allowances are correct, make sure all pieces are sized correctly in your cutting software. Group and scale all pieces together. For CGS6392 Bat Pencil Case, file “A” is 11.5” x 23.12”, file “B” is 11” x 19.85”, and file “C” is 11.6” x 13.47”.
3
This design has several different fabric, stiff felt, and heat transfer vinyl colors across the files. Proceed in the design software until the first color selection appears, and is ready to be cut.
4
Smooth the first material onto the adhesive mat with the right side facing down. Then load the adhesive mat into the machine.
5
Use the correct settings on your cutting machine to match each material you’ve chosen. Make sure the correct knife tool is also in place.
6
Cut out the first color selection. Remove the cut pieces and excess materials.
7
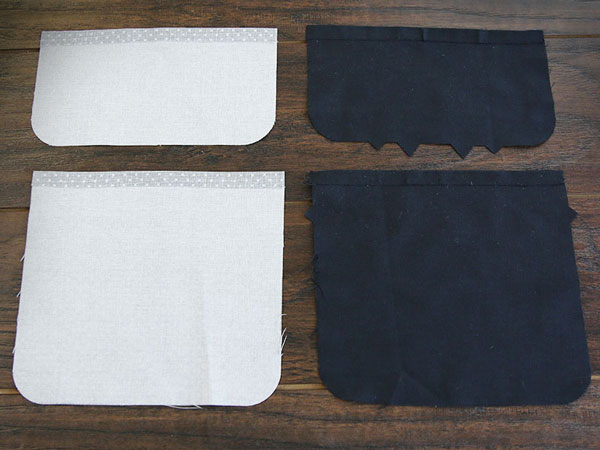
Repeat to cut all of the fabric, stiff felt and heat transfer vinyl pieces for the pencil case out of the all the colors.
Crafting Instructions
1
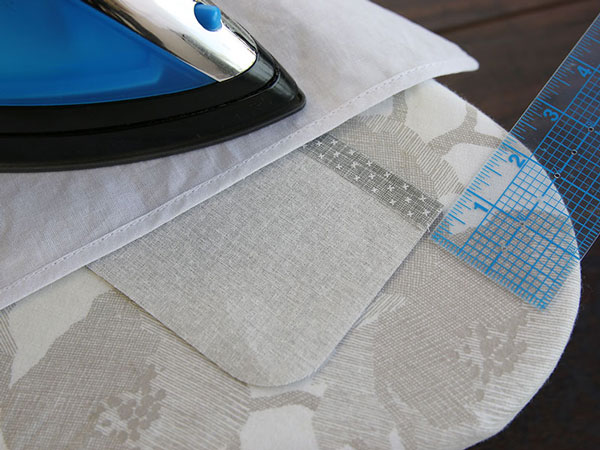
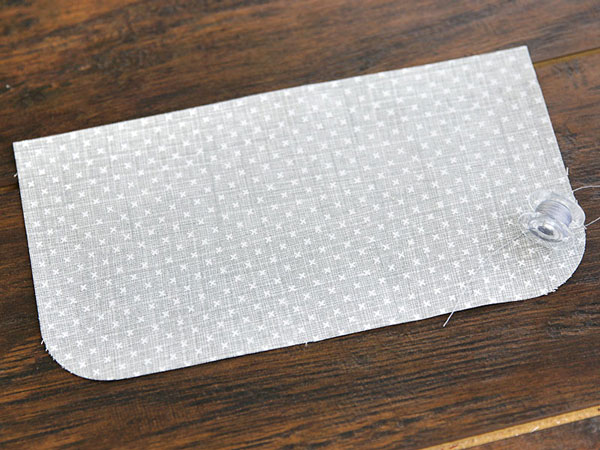
To assemble the pencil case, first take the lining top front piece (color 2), and fold the straight edge over 1/2”. Press the fold with an iron and pressing cloth.
2
Then repeat to press a 1/2” fold along the straight edges of the outer top front piece (color 1), outer bottom front piece (color 1), and the lining bottom front piece (color 2).
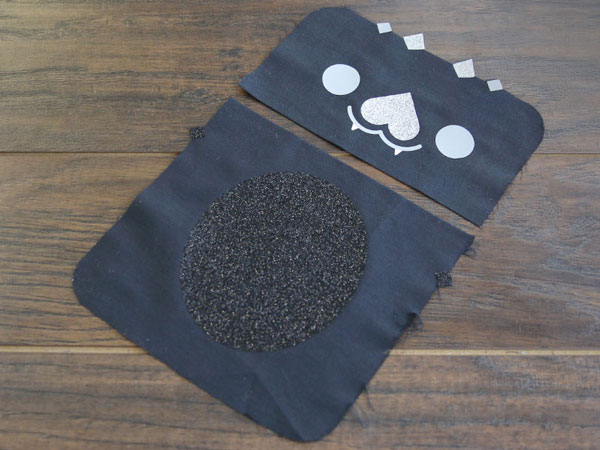
3
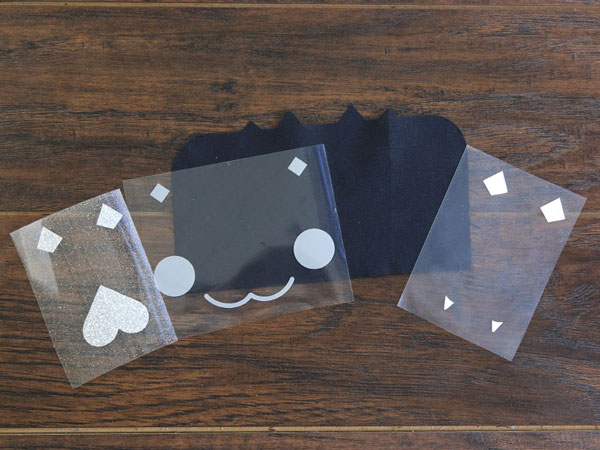
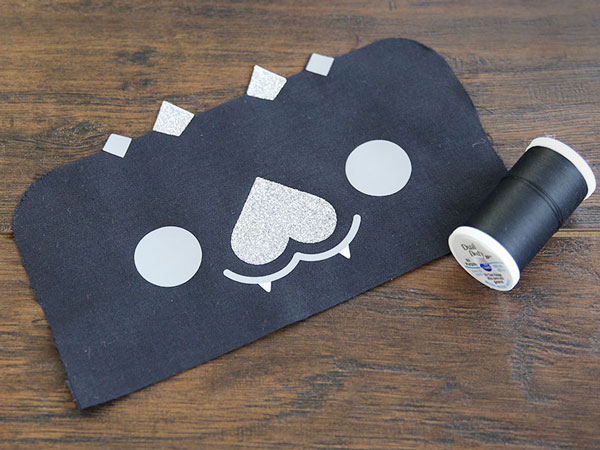
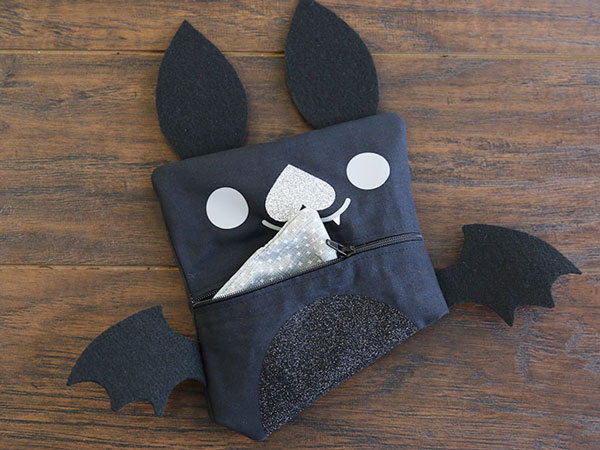
Both of the outer front pieces will have heat transfer vinyl details on them. To position the vinyl pieces correctly, locate the pair of diamonds on each cut out vinyl piece. These diamonds match up with triangle notches found along the outer edge of the top and bottom outer fabric pieces (color 1). Match up the diamonds and notches.
4
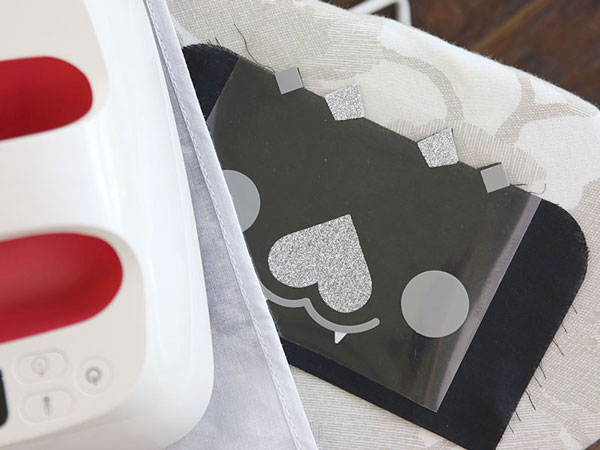
Use a heat press or dry iron to adhere the vinyl piece in place following the manufacturer’s instructions.
5
Then repeat to position and adhere all of the heat transfer vinyl pieces in place. Different pencil cases have different vinyl pieces, so place and layer them all according to the design you are using.
6
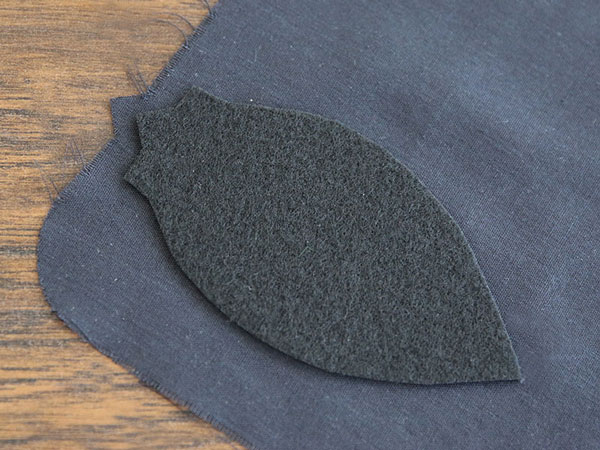
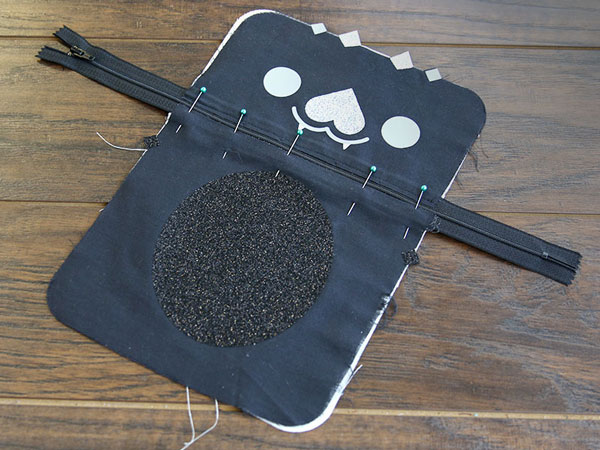
Next take the first stiff felt piece, and match it up with the appropriate notch on the right side of the outer back piece (color 1). Notches are small triangles that help with placement.
7
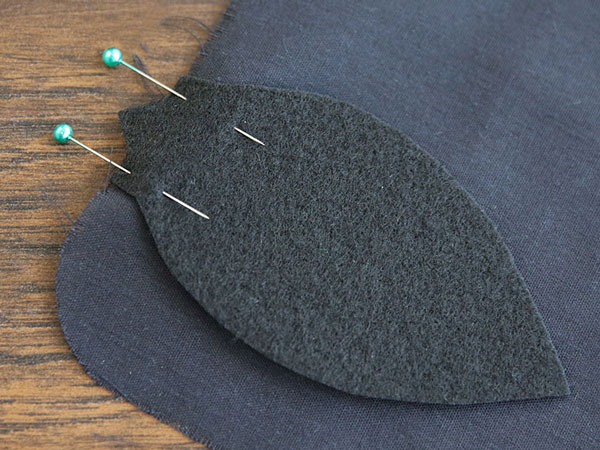
Pin the stiff felt piece in place with at least two sewing pins. Make sure to pin the stiff felt piece on the right side of the fabric.
8
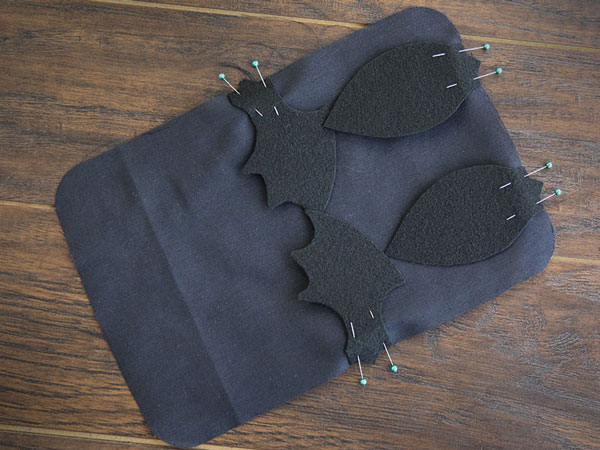
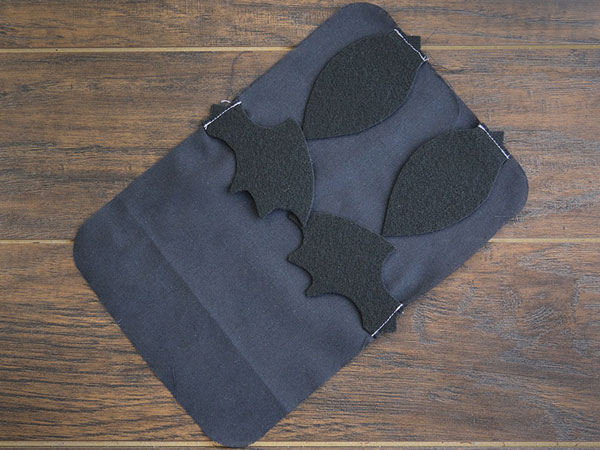
Repeat to match up and pin all of the stiff felt pieces in place. Different pencil cases have different stiff felt pieces, so place them all according to the design you are using.
9
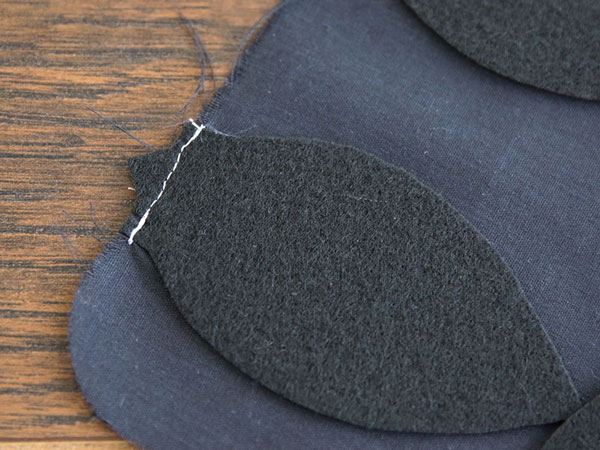
Then use a sewing machine to sew a 1/4” seam along the edge of each of the stiff felt pieces.
10
This will adhere the stiff felt pieces permanently in place on the outer back piece, making it easier to sew together later.
11
Before assembling the next steps, match your top thread to the outer fabric (color 1).
12
Wind a bobbin that matches the lining fabric (color 2).
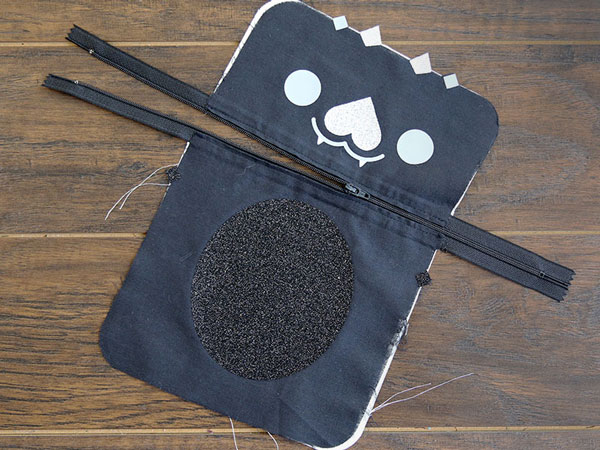
13
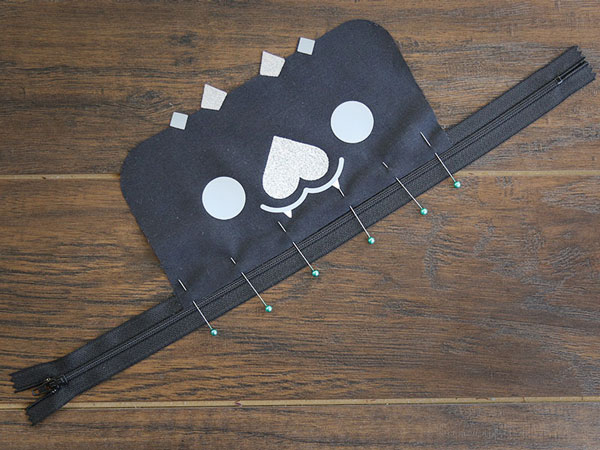
Take the outer top front piece (color 1), and match the folded edge up right against the teeth of the zipper. Pin it in place.
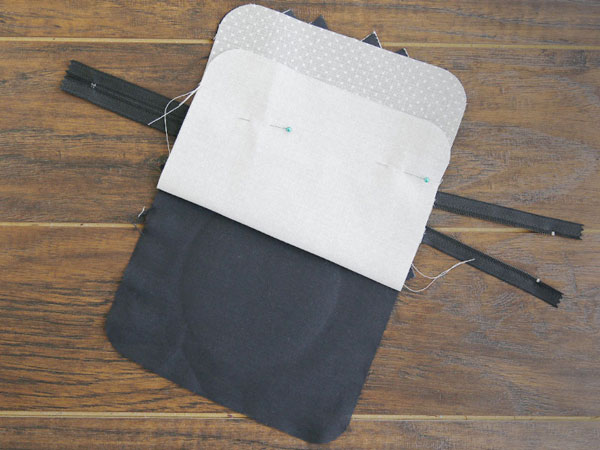
14
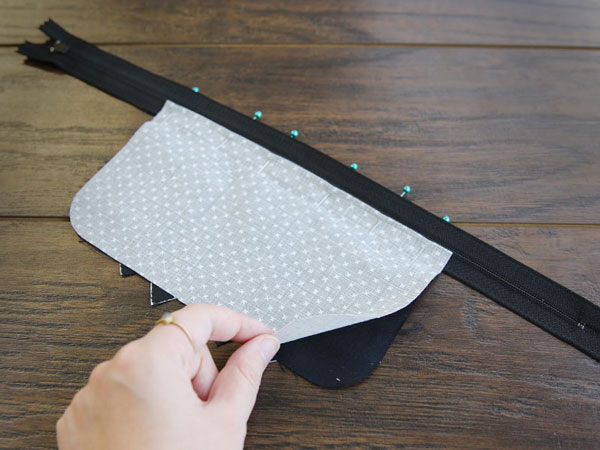
Then place the lining top front piece (color 2) on the back side of the pinned outer piece with wrong sides together, and the zipper in between the two pieces of fabric. Match up the edges, and make sure the folded edge is right along the back side of the zipper piece. Pin it in place.
15
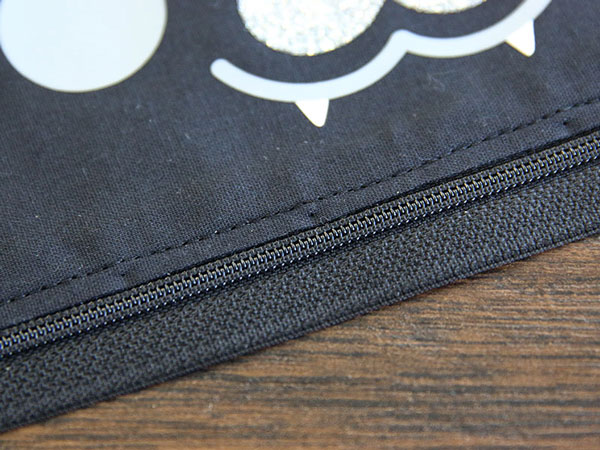
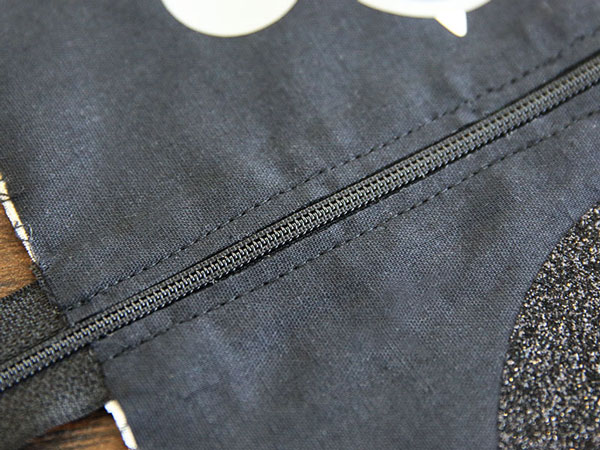
Then with the outer side up, topstitch a 1/4” seam along the folded edge. This will bind the two fabric pieces and the zipper all together.
16
The stitching on either side should also match the fabric.
17
Repeat to pin the outer bottom front piece (color 1), and the lining bottom front piece (color 2) onto the other side of the zipper.
18
Make sure the folds are against the zipper, the zipper is sandwiched in between the wrong sides of the fabric pieces, and that the edges are lined up.
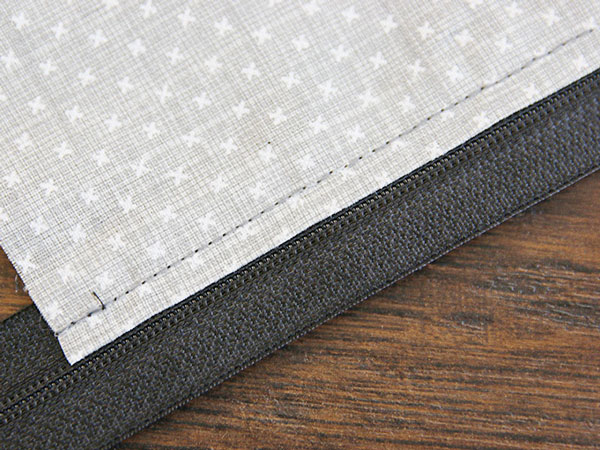
19
Repeat to topstitch a 1/4” seam along the folded edge. This will bind the two fabric pieces and the zipper all together.
20
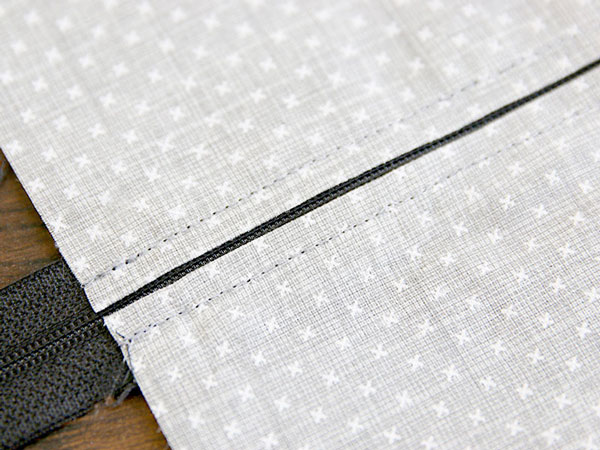
The stitching on either side should also match the fabric.
21
Open the zipper 3/4 of the way across the fabric. If you forget to open the zipper now, the zipper will not work once the pencil case is completely sewn.
22
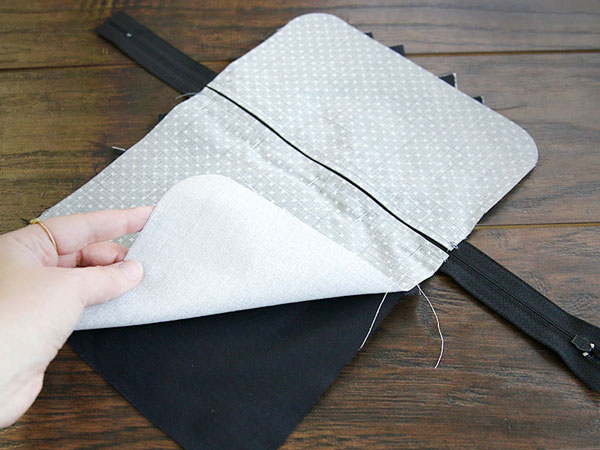
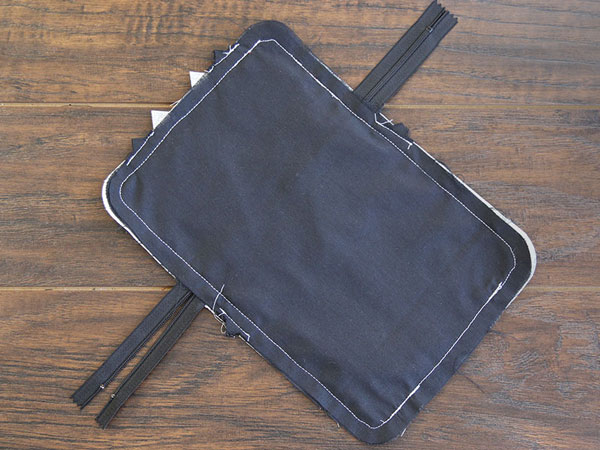
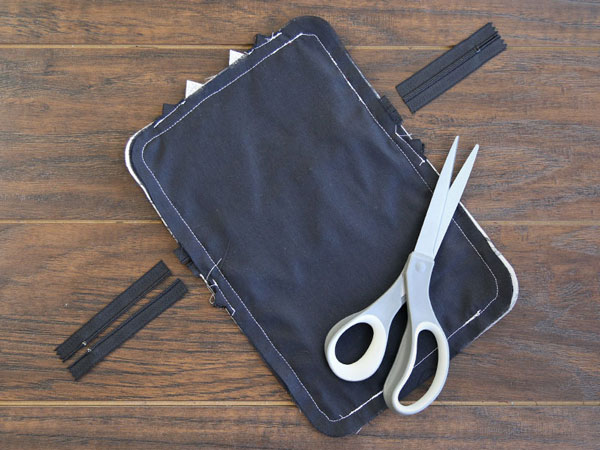
Then fold the lining bottom front piece (color 2) up over the zipper, and pin it in place. Take the outer back piece (color 1) with the stiff felt pieces, and lay it over the outer top and bottom front pieces (color 1) with right sides together.
23

The stiff felt pieces should be between the outer fabrics. Match up the edges, and pin just along the bottom edge.
24
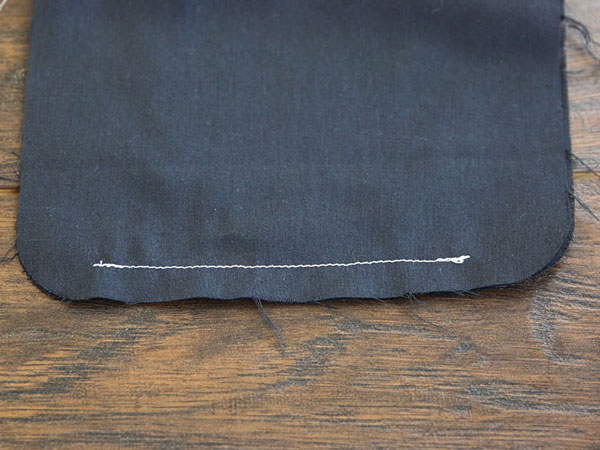
Sew a 1/2” seam along the bottom edge of the two outer fabric pieces (but not the lining). Sewing here now will make the opening for turning only in the lining side of the pencil case, so there will be no hole to sew closed by hand in the outer fabric.
25
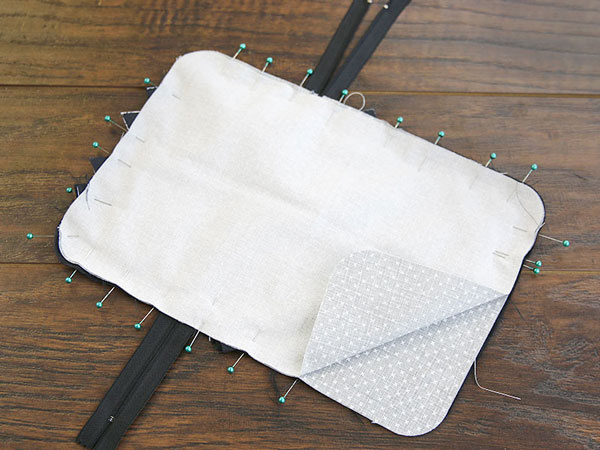
Then unfold the pinned-up lining piece, and lay it back down. Place the lining back piece (color 2) on top of the other lining pieces with right sides together.
26
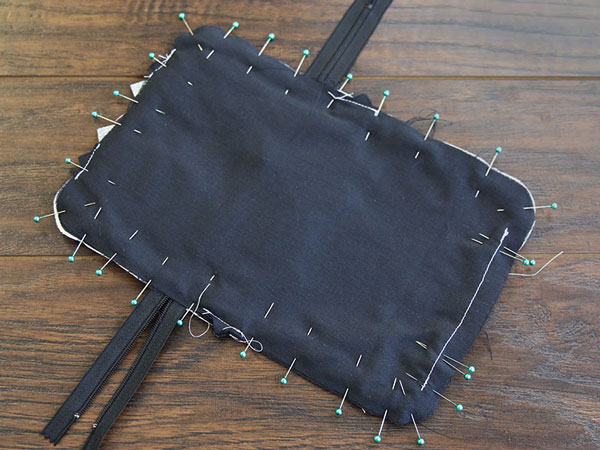
Make sure the outer edges of all the lining and outer fabric pieces are matched up, and pin along all four sides, through all four layers of fabric.
27
Sew a 1/2” seam along the four sides, leaving 3” - 4” of the bottom edge unsewn and open (along the 1/2” bottom seam that was sewn earlier). To do this, sew starting at one end of the 1/2” bottom seam.
28
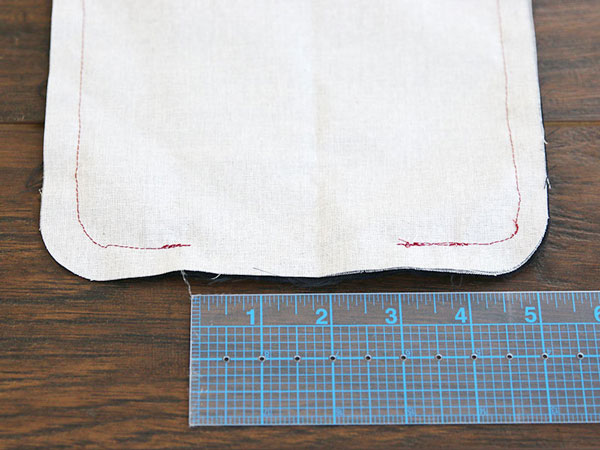
Do not sew completely over the bottom seam, but instead sew up, around, and back down to the opposite side of that bottom edge seam. This will leave the bottom edge open on the lining side only (color 2).
29
While sewing as described above will leave the 3”- 4” opening on the lining side (color 2), due to the stitching along the bottom edge earlier, the seam will be completely closed on the outer fabric (color 1) side.
30
Now that the final seam has been sewn, trim the zipper at the seam allowance.
31
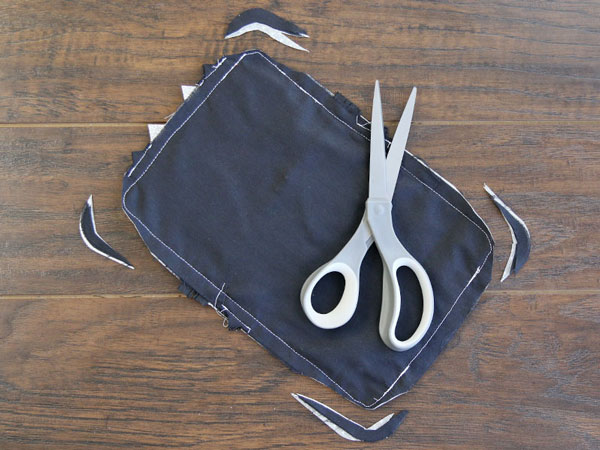
Then trim away or notch the seam allowance around the curved corners of the design. Make sure not to cut into the seam. This will help the shape be correct and prevent bunching and puckering once the pencil case is right side out.
32
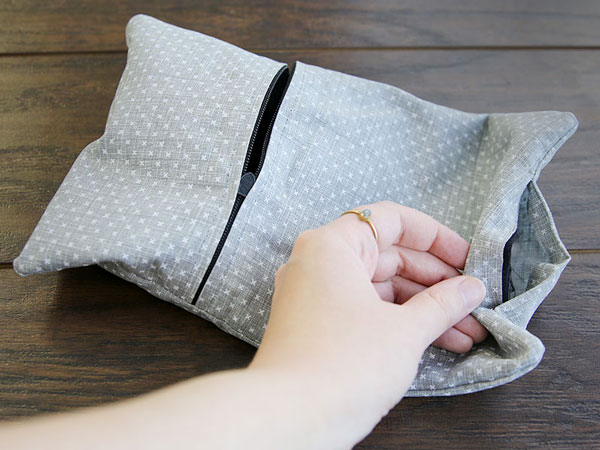
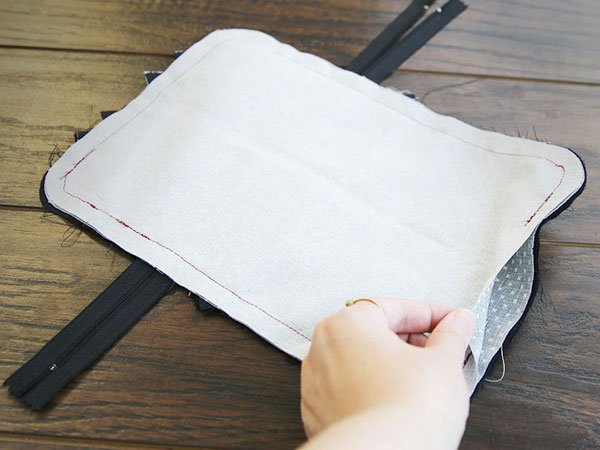
Turn the pencil case right side out through the opening in the lining, so you can see the right side of the lining fabric on both sides.
33
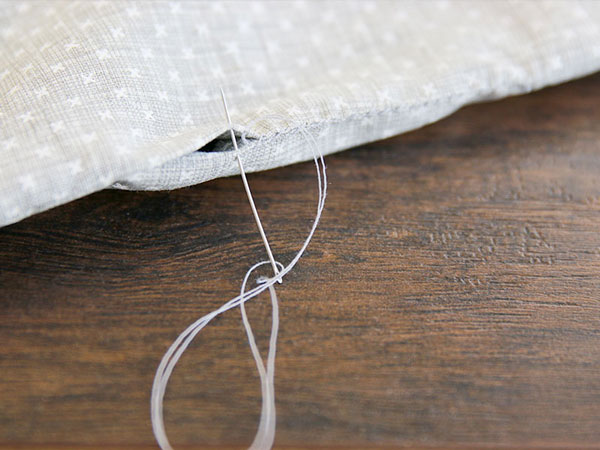
Then fold the raw edges of the opening in 1/2”, and hand sew or use fabric glue to close the opening in the lining.
34
Once the hole is closed, turn the pencil case right side out through the open zipper.
35
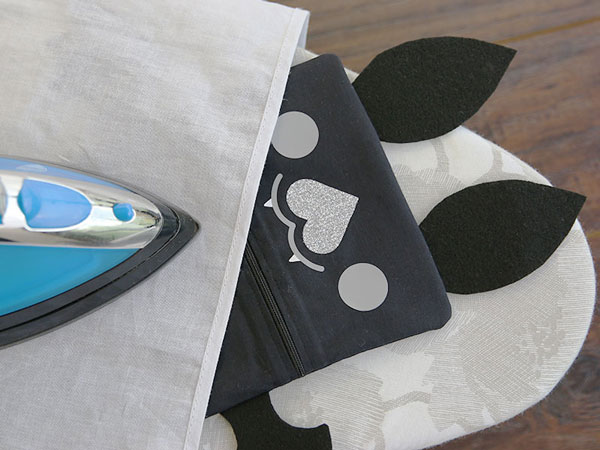
Press the pencil case with an iron and pressing cloth to make the edges a crisp fold and remove any wrinkles.
36
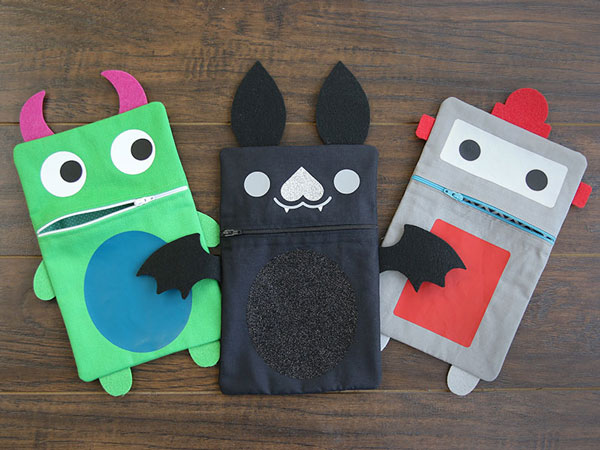
This completes the pencil case. Repeat these steps to make a collection of different pouches to use or give as gifts. Make sure not to resize these designs, as the seam allowance makes them unscalable.


