Supplies
- 65lb paper
- White glue (such as Elmer’s) or double sided tape
- Ribbon, cord or string (for hanger)
- 3/8” - 1/2” snap
- Mallet
Designs Used
Cutting Instructions
1
Load the 3D Paperfold Medallion (Cut & More) file into your cutting machine’s software.
2
This design has one color of paper, and works best if cut out of 65lb paper. Proceed in the design software until the first pieces appear, and are ready to be cut.
3
Score and cut out the pieces. Then carefully remove the cut pieces and excess paper.
4
Repeat to score and cut all 5 pieces for the 3D Paperfold Medallion.
Crafting Instructions
1

To begin, take one of the five pieces of the medallion, and lay the piece of paper flat on its back. Rotate the piece until the longest of the three score lines is pointing up and down, and the medallion piece makes a diamond shape.
2
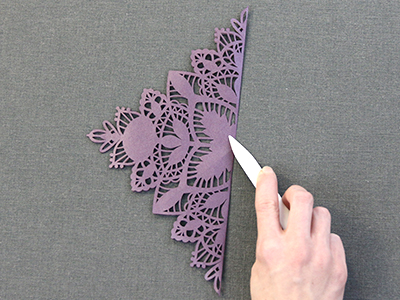
Fold the piece in half along the score line. Use a bone folder for a crisp fold.
3

Next, open the medallion piece back up and flip it over so that the back is facing up, and turn the shape clockwise so it is now a square.
4
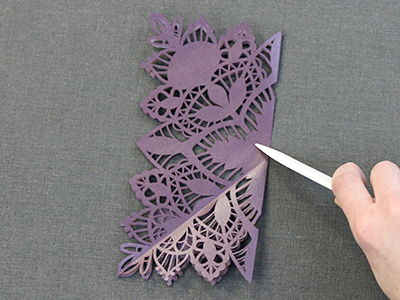
Fold the piece vertically, right over to the left, along the first of the two shorter score lines. Press with a bone folder after folding for a crisp fold.
5
Open the piece of paper back up.
6
This time fold the paper horizontally, top down to the bottom, along the second short score line. Press with bone folder again.
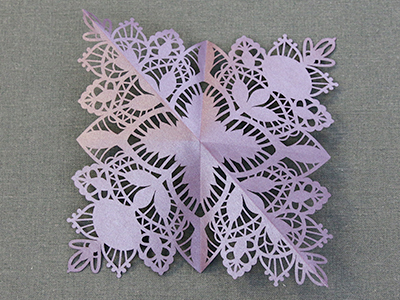
7
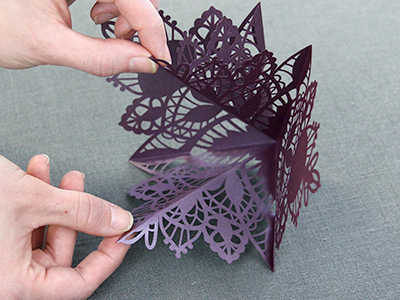
After you’ve finished folding all of the folds, open the medallion back up. This time take the two longest corners that do not have a score line and match them up.
8
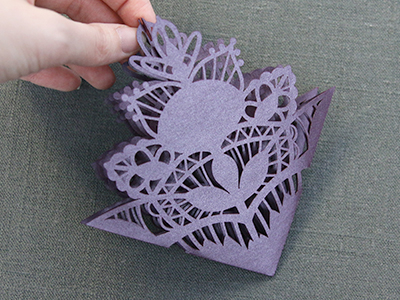
As you match them up the folds will collapse inwards, making the final shape for the first piece of the medallion.
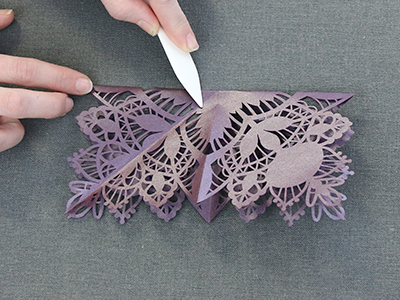
9
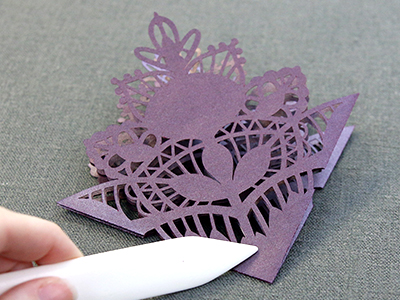
Go over the bottom edges with the bone folder the reinforce the creases.
10
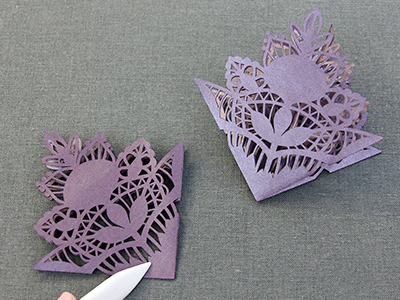
Repeat the folding process for the next four pieces.
11
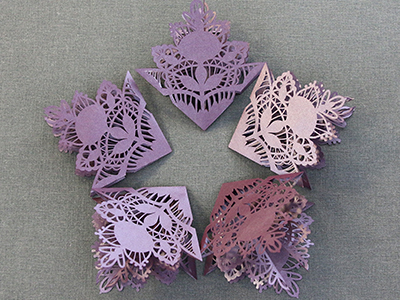
In the end you should have a total of five pieces.
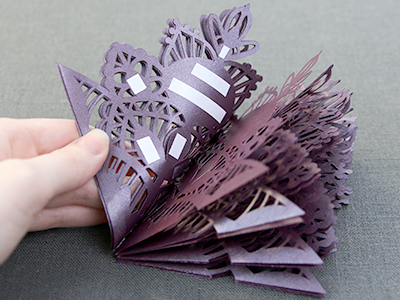
12
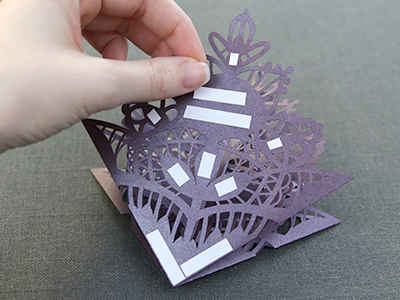
To start assembling the medallion, begin by taking one of the pieces and putting either glue or double sided tape (we used double sided tape in this demonstration) on one of the outer side of the first piece.
13
Then line up the pieces together, keeping the edges and openings of the design flush. Adhere them together.
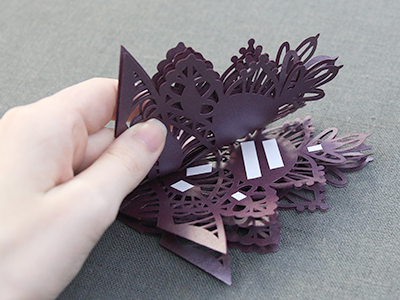
14
Repeat to adhere the third piece to the second.
15
Continue this process until all five pieces are attached.
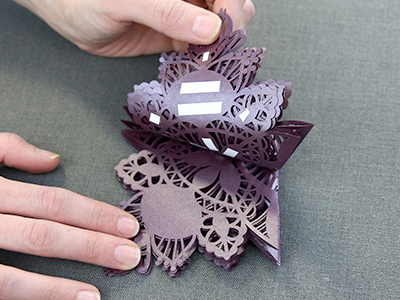
16
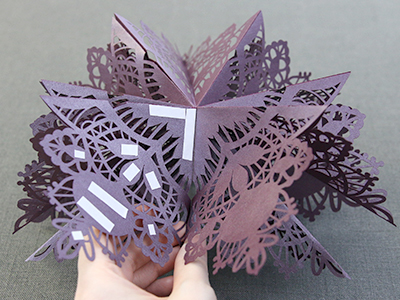
Finish the paperfold medallion by taping or gluing the final side of the fifth piece to the first piece of the medallion.
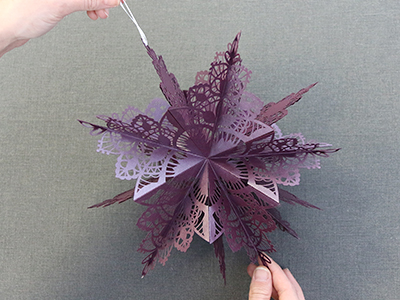
17
It will look like this.
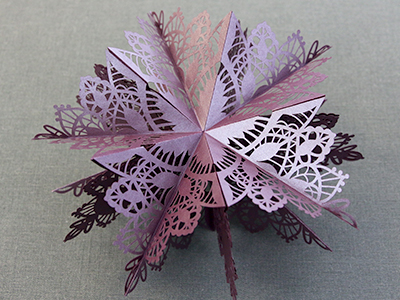
18
To make the optional hanger, start by cutting either cord, string, or ribbon to the desired length.
19
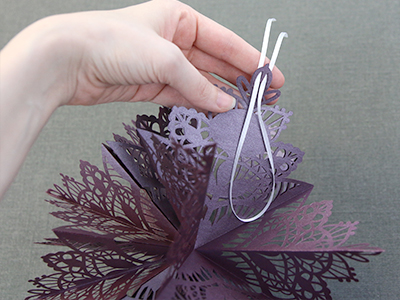
Then loop through the openings at the top of the medallion.
20
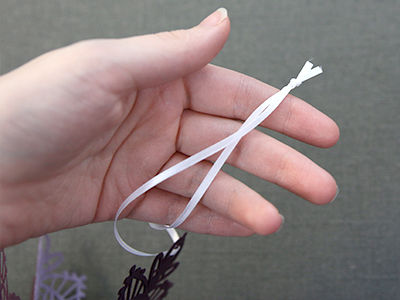
Securely knot the end of the hanger.
21
This completes the Paperfold Medallion. Repeat these steps to make a collection of medallions in different colors and sizes. The medallion can be scaled bigger or smaller, but be cautious when shrinking the design as the intricate details will not cut once too small.


