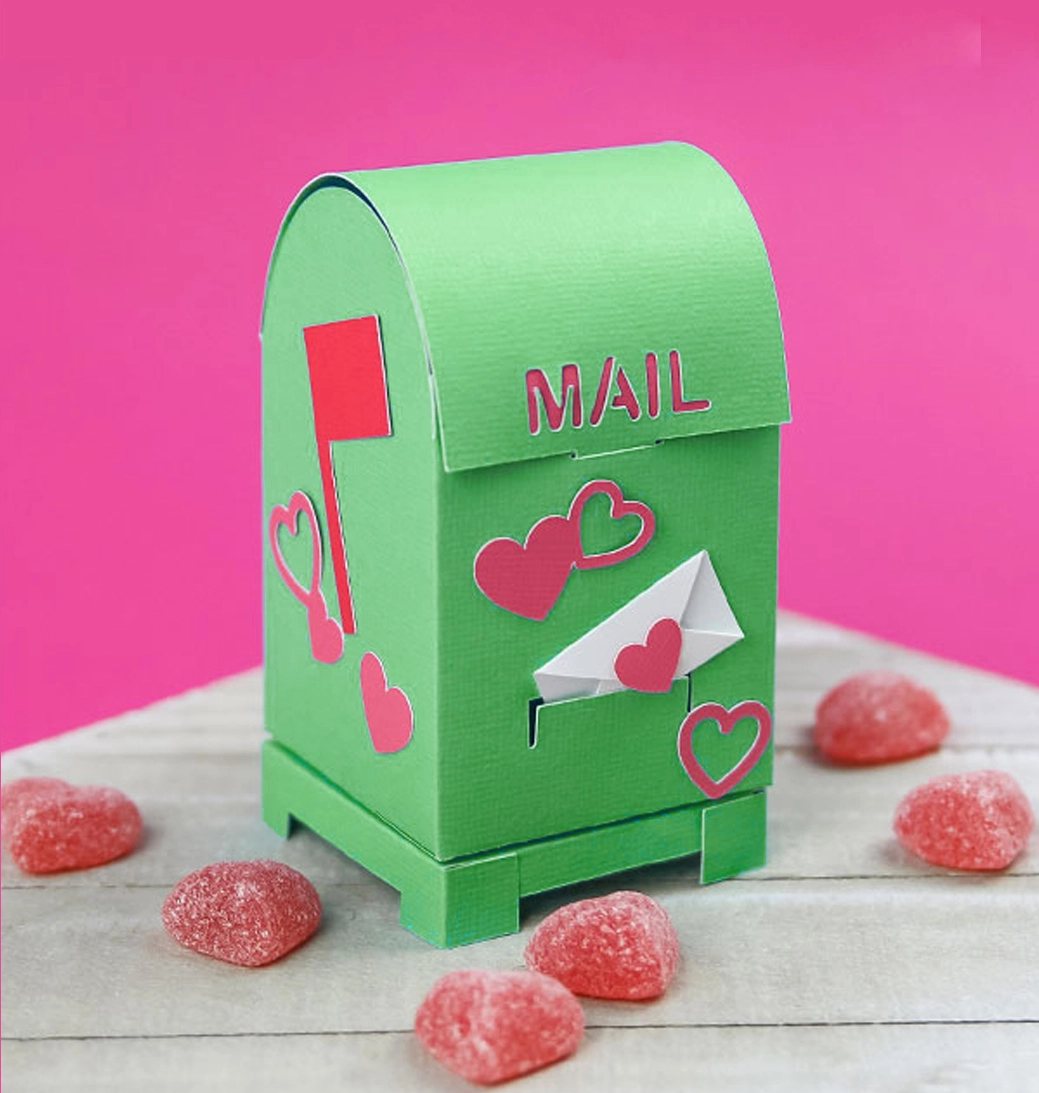
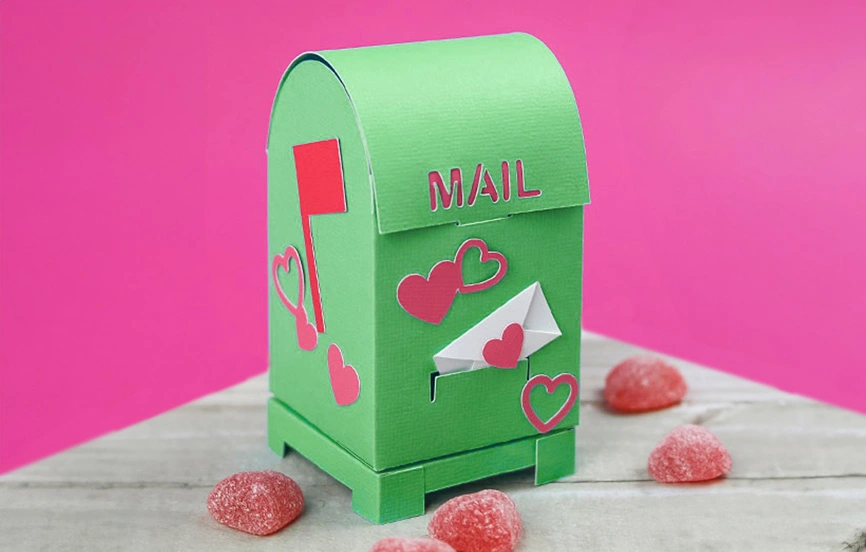
Bring rustic charm to your home decor with a 3D papercut tractor. Simply cut each piece of this design out of cardstock (we recommend 65 lb. or heavier), then fold along the included scoring lines and assemble with adhesive. Follow along with step-by-step project instructions below to learn how you can make your own.
Supplies
- Cardstock (65 lb. or heavier)
- Adhesive
Tools
Cricut, Silhouette, or other cutting machine
Designs Used
Cutting Instructions:
- Load the 3D Papercut Tractor file into your cutting machine’s software.
- This design has six colors and works best if cut out of 65-85 lb. cardstock. Load the files for this design into design software and proceed until the first pieces appear and are ready to be cut.
- Smooth the first piece of cardstock onto the adhesive mat. Make sure the correct knife tool is in place. Then load the adhesive mat into the machine.
- Score and cut out the pieces. Then carefully remove the cut pieces and excess paper.
- Repeat to score and cut all the pieces for the 3D Papercut Tractor
Crafting Instructions
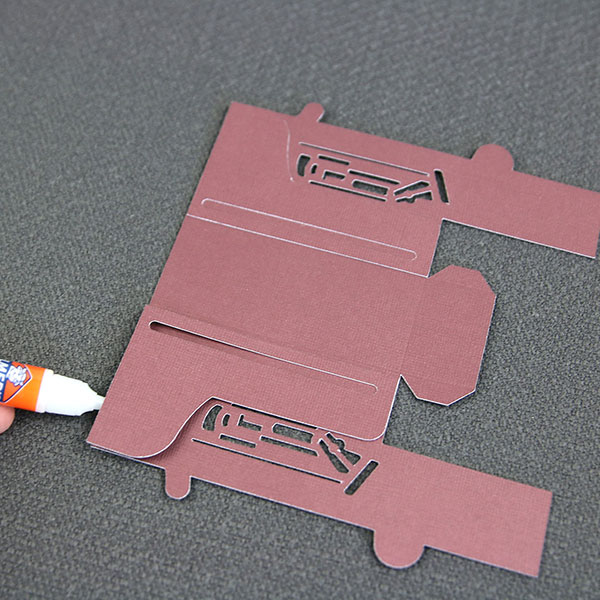
First, take the tractor's right and left side detail layers and glue them onto the tractor sides and top piece. Then fold the tractor sides and top piece along all scoring lines.
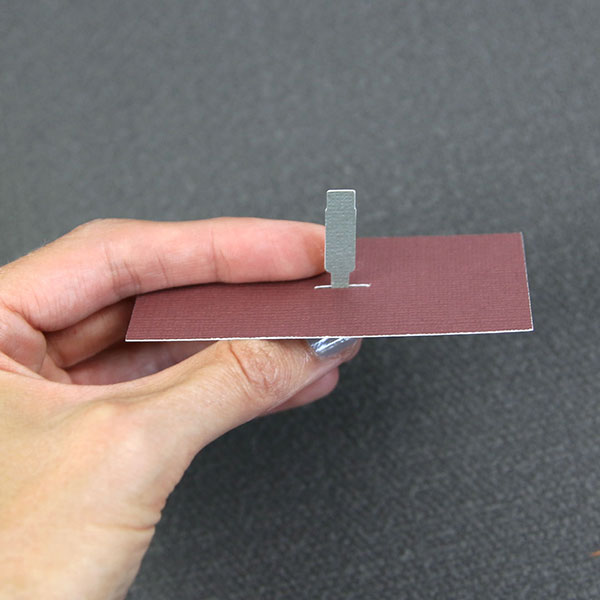
Take the tractor exhaust stack piece and fold along all scoring lines. Then, insert the tractor exhaust stack piece into the slit in the tractor top detail layer and secure with glue.
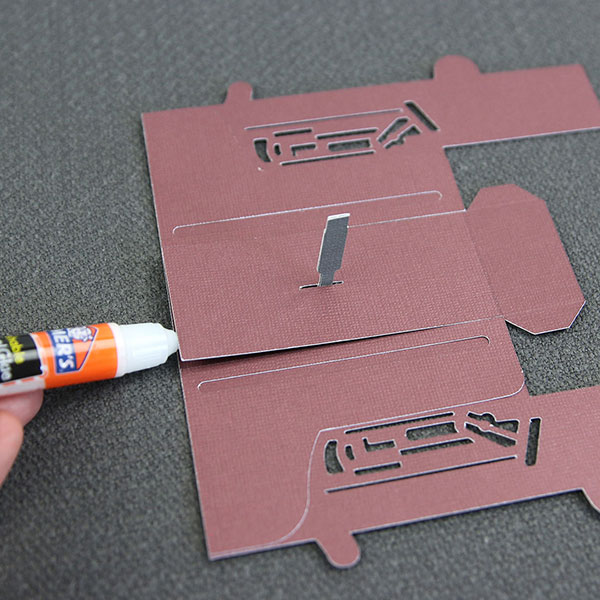
Glue the tractor top detail layer with exhaust stack to the middle of the tractor sides and top piece.
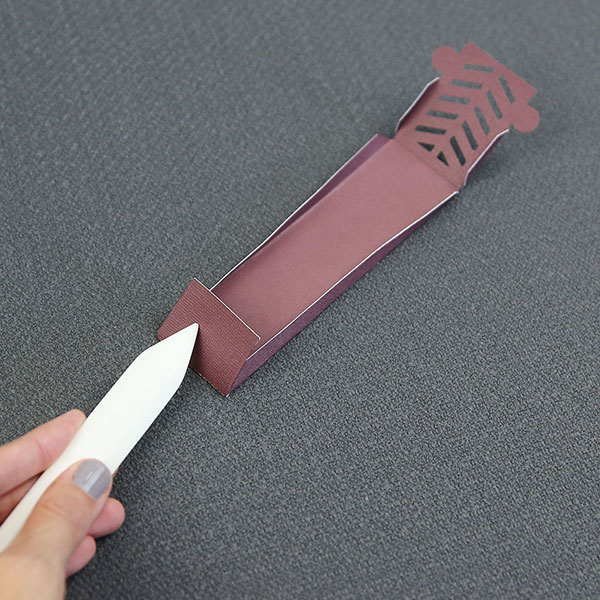
Fold the tractor bottom piece along all score lines.
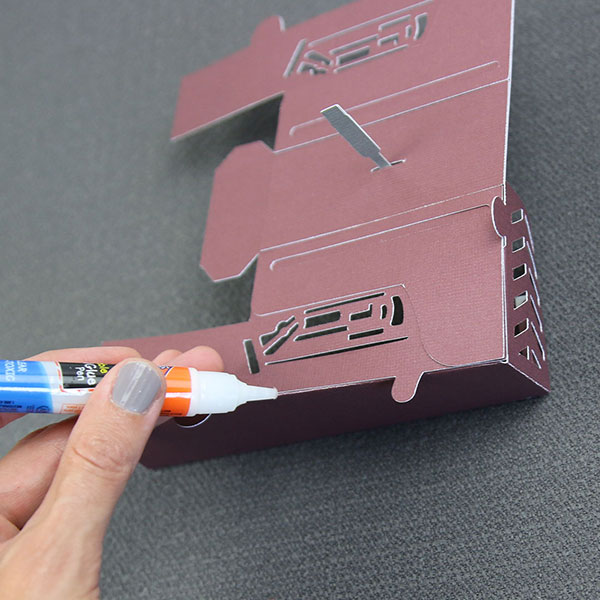
Now, take the right side of the tractor, line up the bottom of the right-side pieces with the tab of the bottom piece, and glue them together. Then fold up the front grill and back flap section of the tractor bottom piece and glue the tabs to the right side of the tractor as well.
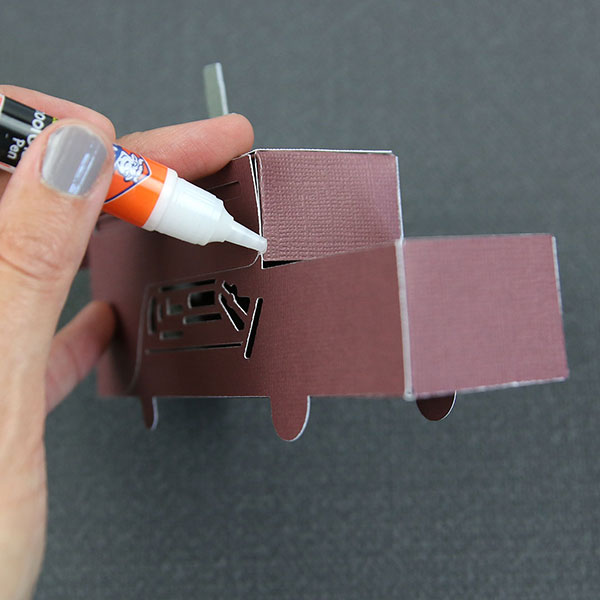
Repeat this step with the left side of the tractor. This completes the main body of your tractor.
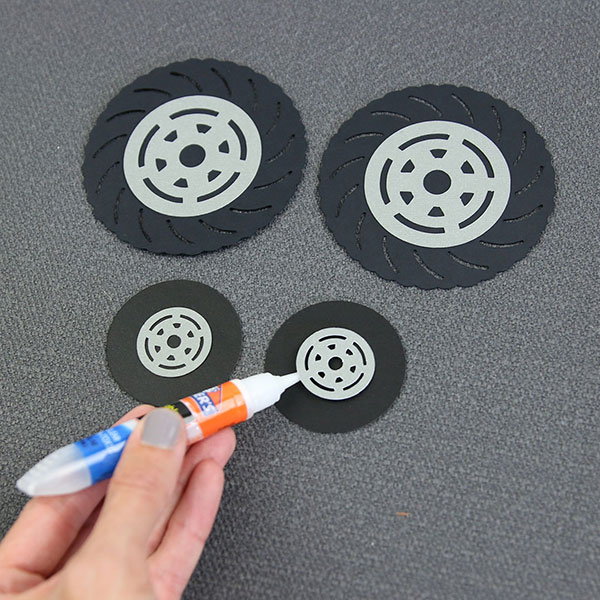
Glue the back wheel hubcap pieces to the back wheel detail top and bottom layer pieces, then glue the front wheel hubcaps to the front wheel pieces.
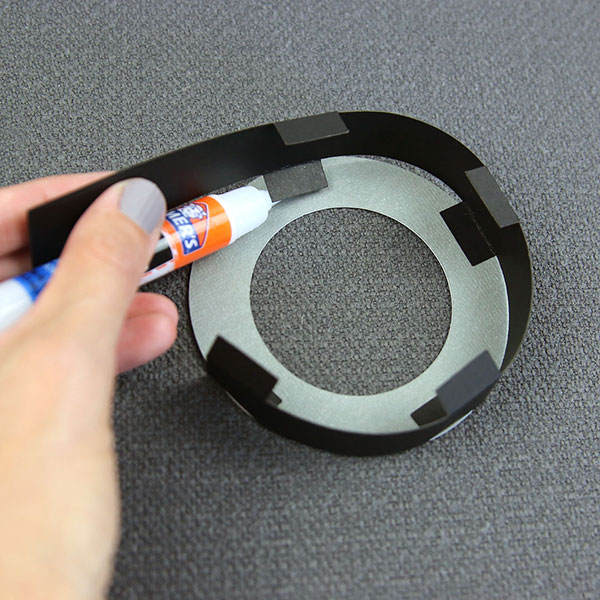
Fold all the tabs on both back wheel side pieces. Then, attach one of the back wheel sides to the back wheel bottom by gluing the tabs down as you wrap the back wheel sides around the circular shape. The back wheel side piece is slightly longer than required to make it easy to overlap and glue the end down.
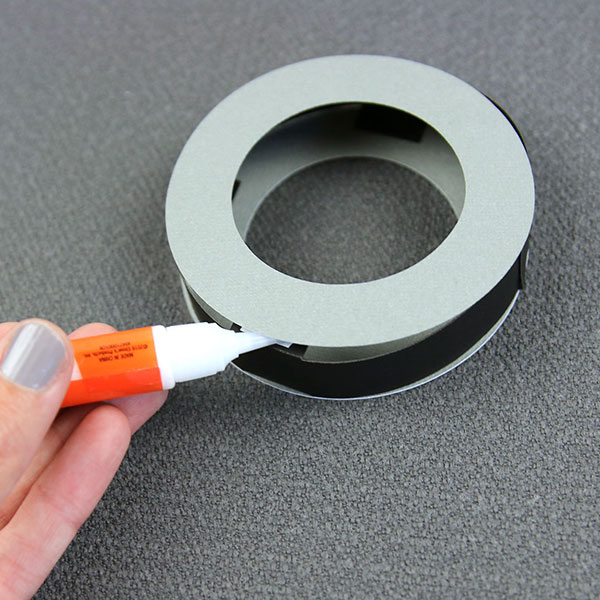
Now glue the back wheel top piece to the remaining wheel flaps to create the thicker wheel form.
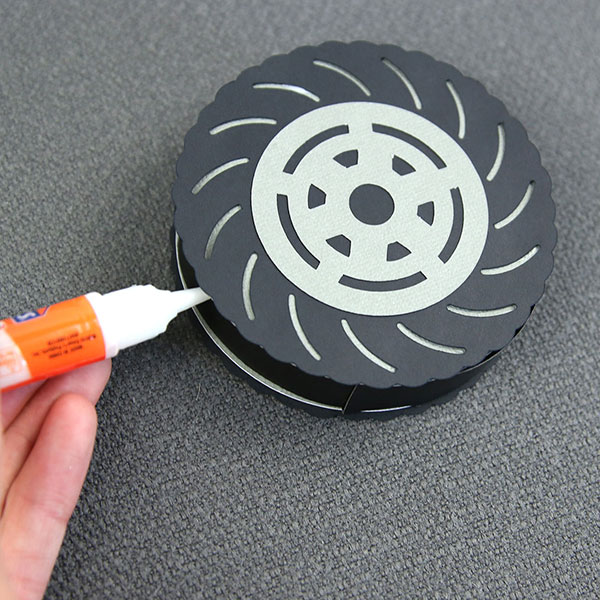
Glue the back wheel detail top and bottom layer pieces to the back wheel top and bottom pieces. Repeat the previous three steps to make the second back wheel.
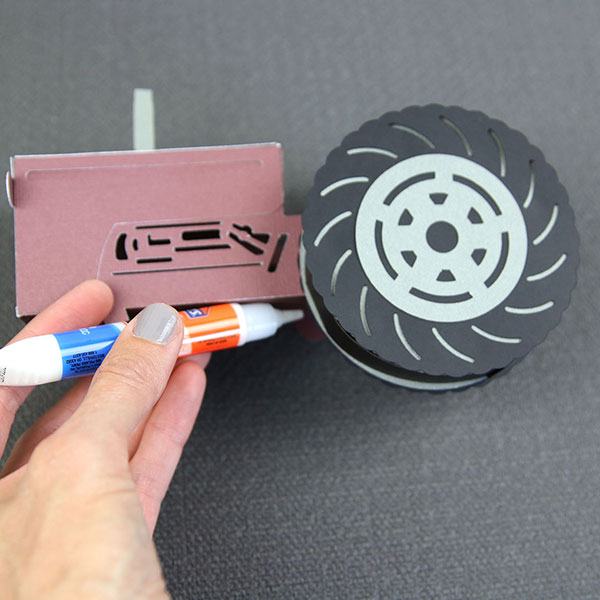
Using either adhesive spacers or glue, attach the back wheels to the back of the tractor. There is a bump on the rear lower side of the tractor to help with alignment.
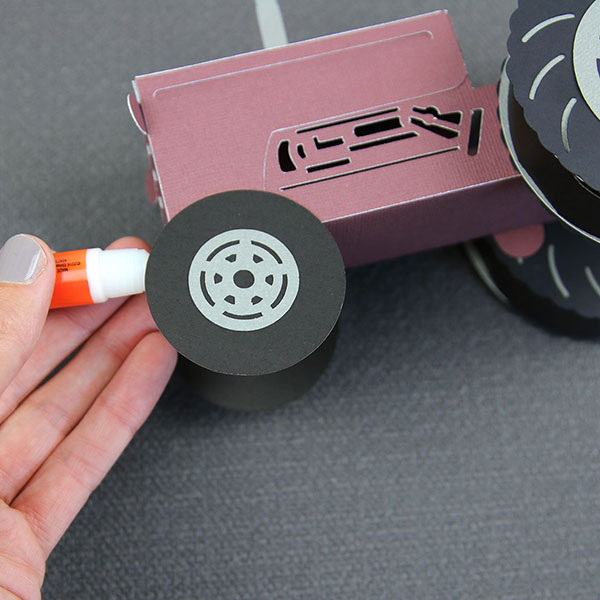
Using either adhesive spacers or glue, attach the front wheels to the front of the tractor. There is a bump on the front lower side of the tractor to help with alignment.
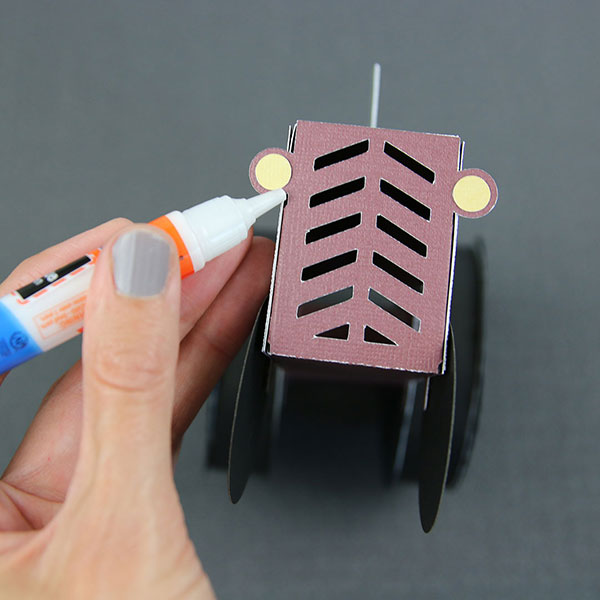
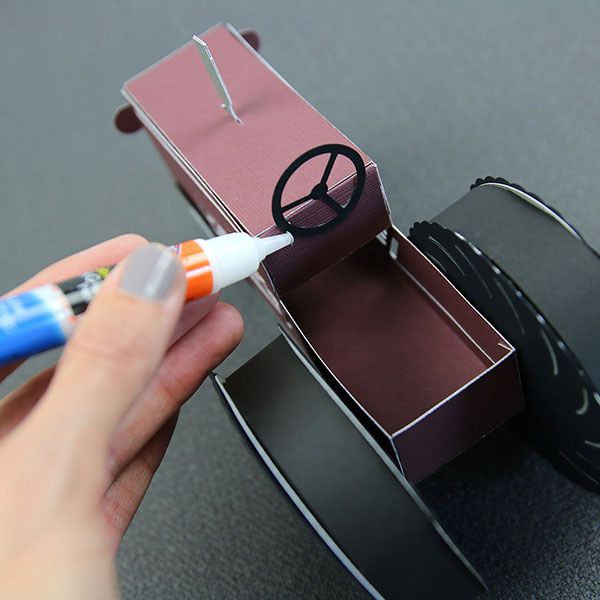
Finally, glue the headlights to the front of the tractor grill piece, and glue the steering wheel in its place.
