Supplies
- 110lb paper
- Sewing threads matching paper color
- Sharp hand sewing needle
- Wooden pencil
- White glue (such as Elmer’s)
Designs Used
Cutting Instructions
1
Load the 3D Papercut Angel (Cut & More) file into your cutting machine’s software.
2
This design has one paper color, and works best if cut out of 110lb paper. Proceed in the design software until the first pieces appear, and are ready to be cut.
3
Smooth the first piece of paper onto the adhesive mat. Make sure the correct knife tool is in place. Then load the adhesive mat into the machine.
4
For 110lb paper, make sure to use the correct setting on your cutting machine to match the heavier paper you’ve chosen.
5
Score and cut out all the pieces. Then carefully remove the cut pieces and excess paper.
6
Repeat to score and cut all of the pieces for the 3D Papercut Angel.
Crafting Instructions
1
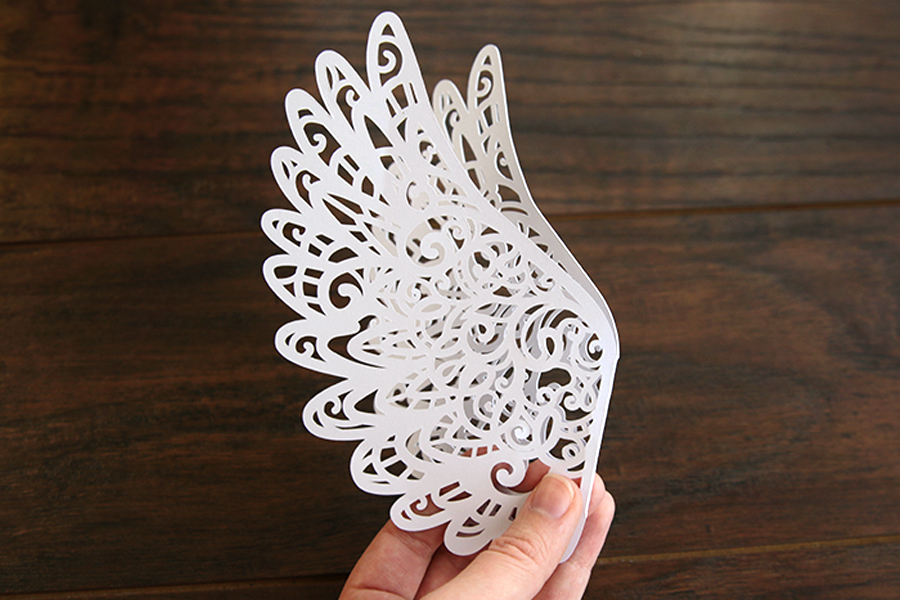
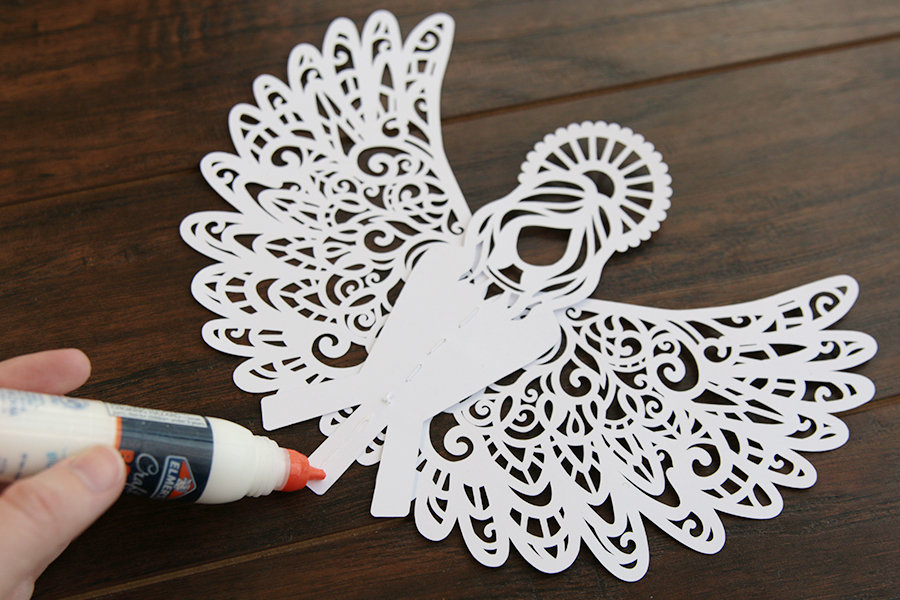
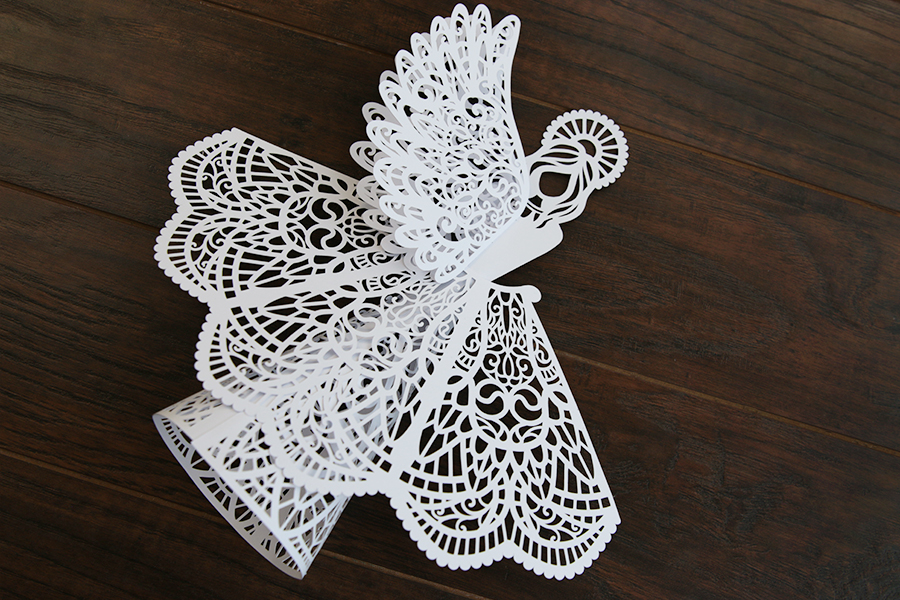
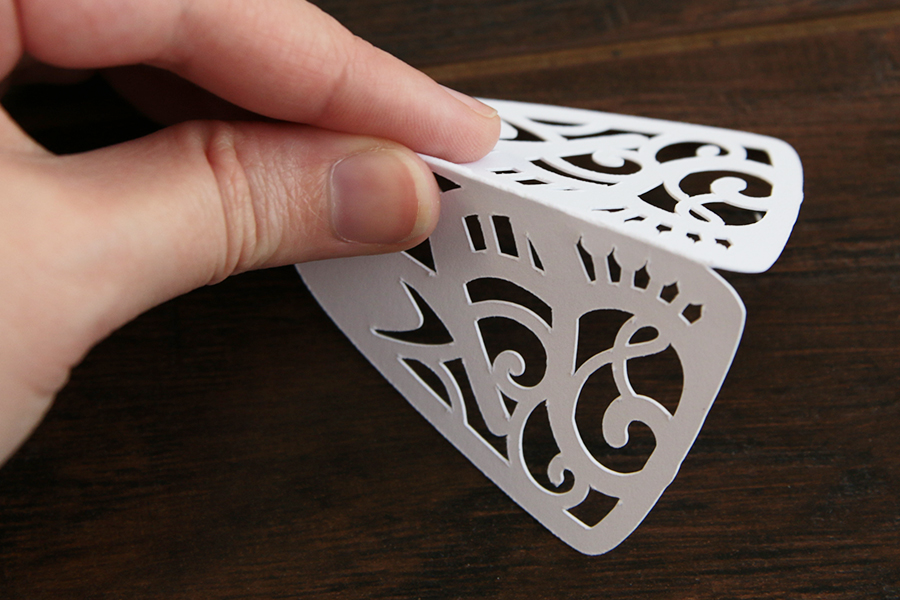
First take the wings, and fold them in half along the score line.
2
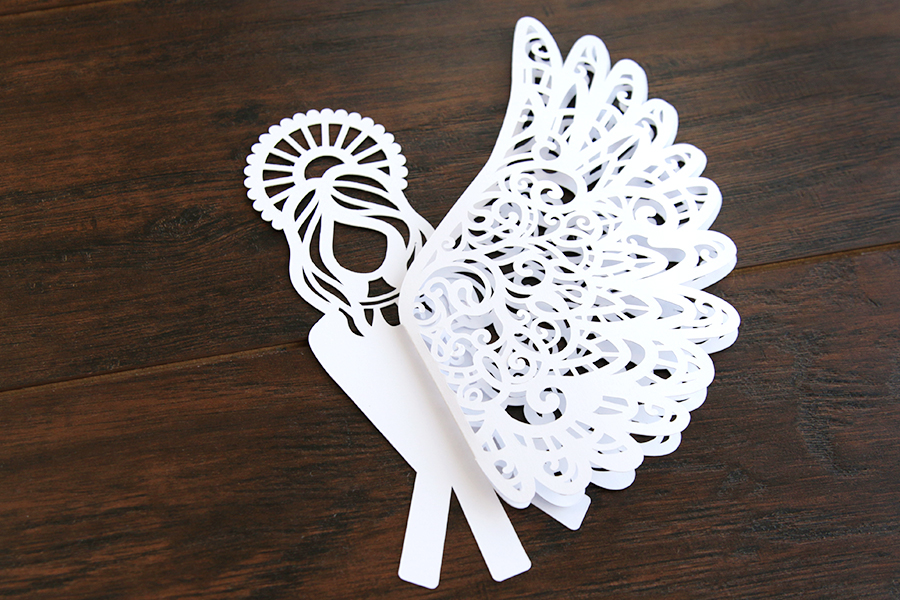
Then center the folded edge on the angel’s body, and line the top of the fold up with the bottom edge of the cutout, neckline detail on the body.
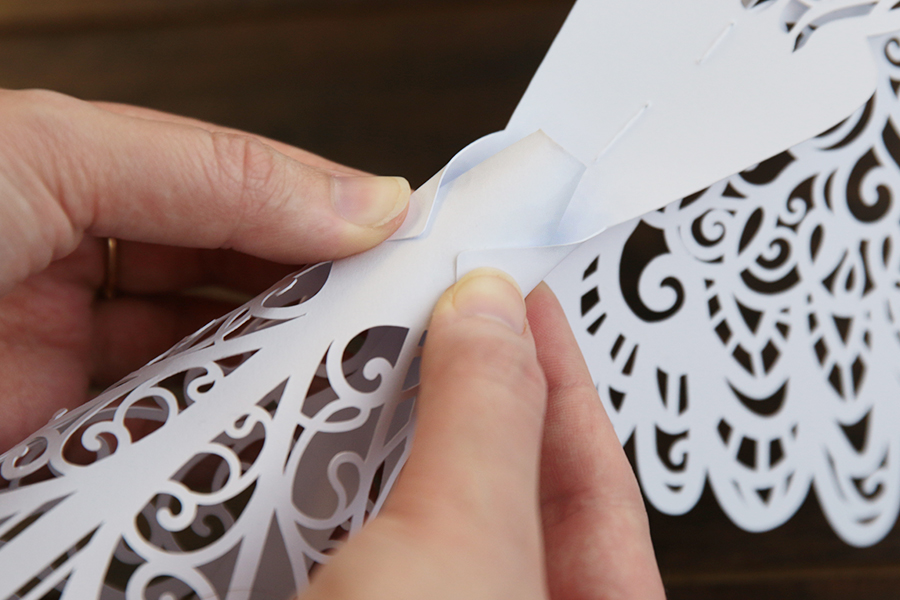
3
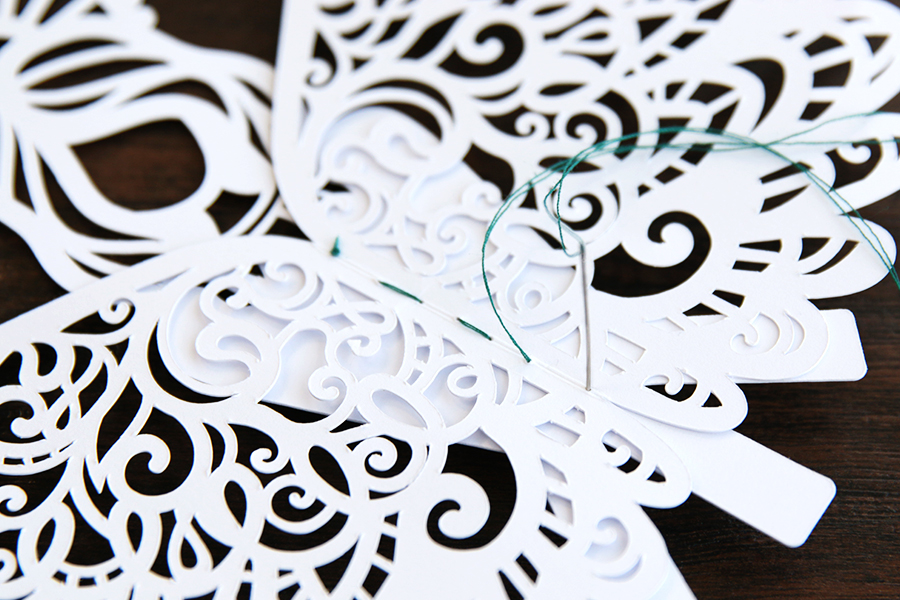
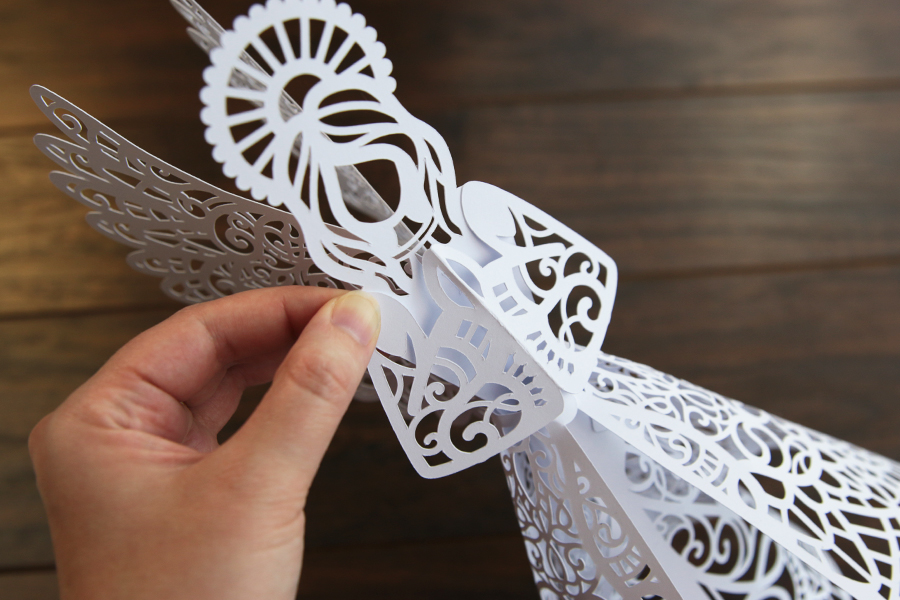
Next we are going to sew the wings onto the body from the neckline to the waist of the angel, but be sure to sew no lower than her waist (or the outer skirt will not be able to slide in place later). Use a sharp hand sewing needle and matching thread to sew the wings onto the body by sewing right inside the fold of the wings. Make sure to sew long stitches (about 1/2” between holes) so the thread does not rip through the paper.
4
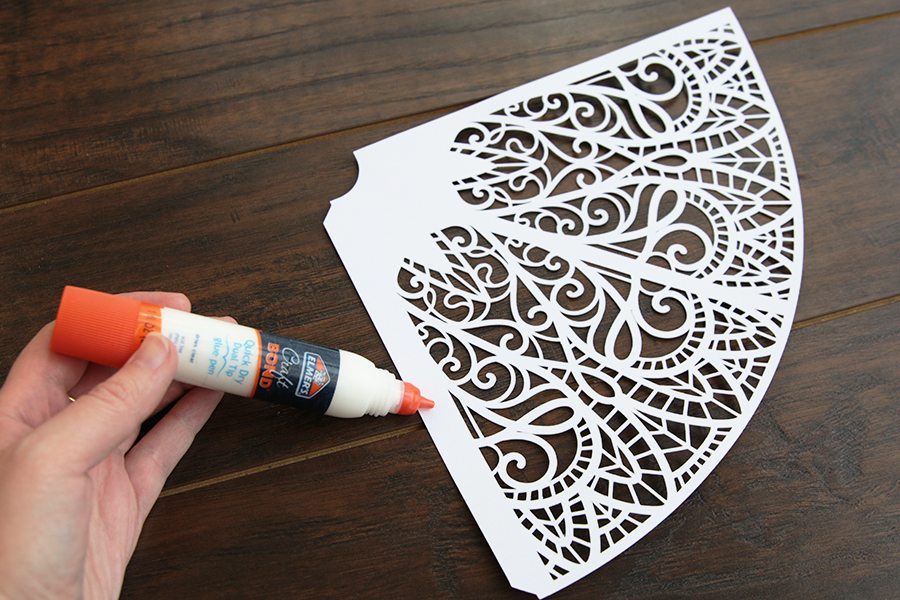
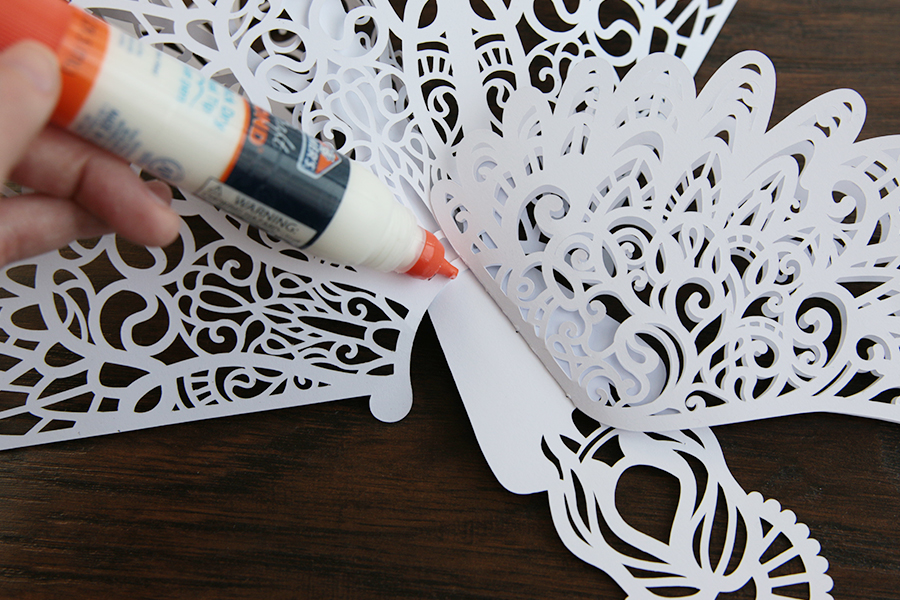
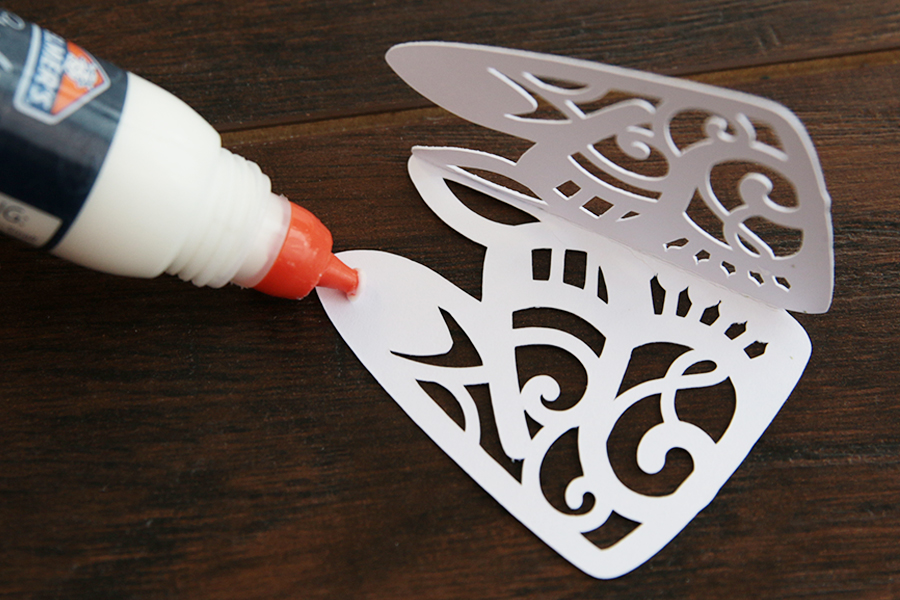
To make the inner skirt into a cone, spread a thin amount of glue along the tab located on one long side, and then glue that tab to the interior of the opposite long side. For best results, glue just along the top two inches of the tab, hold it until it’s completely dry, and then continue to glue down in two inch sections. Gluing just small sections at a time will help prevent problems of the glue being too wet or drying out too quickly.
5
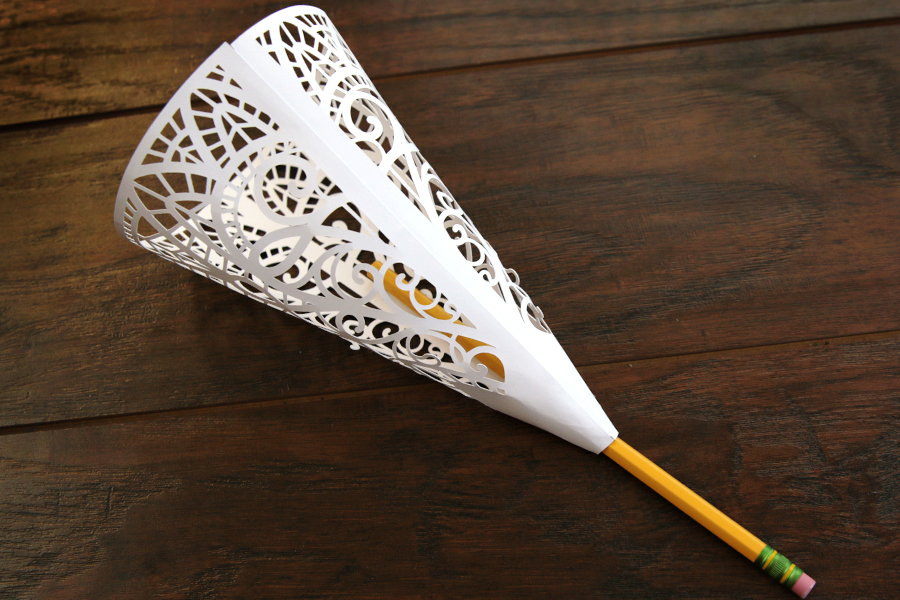
Placing a pencil inside the cone can also help to hold the paper in place without crushing the cone when fingers can’t quite reach.
6
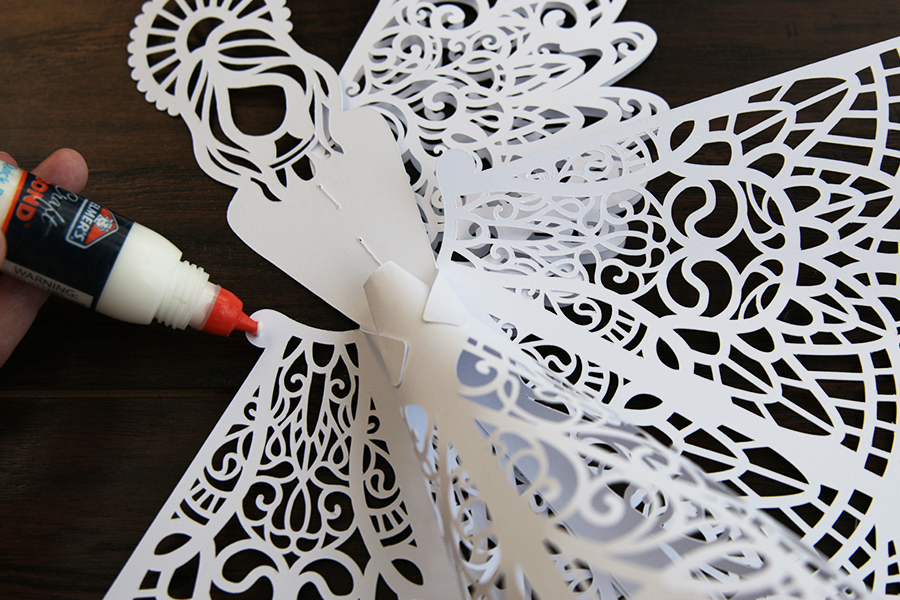
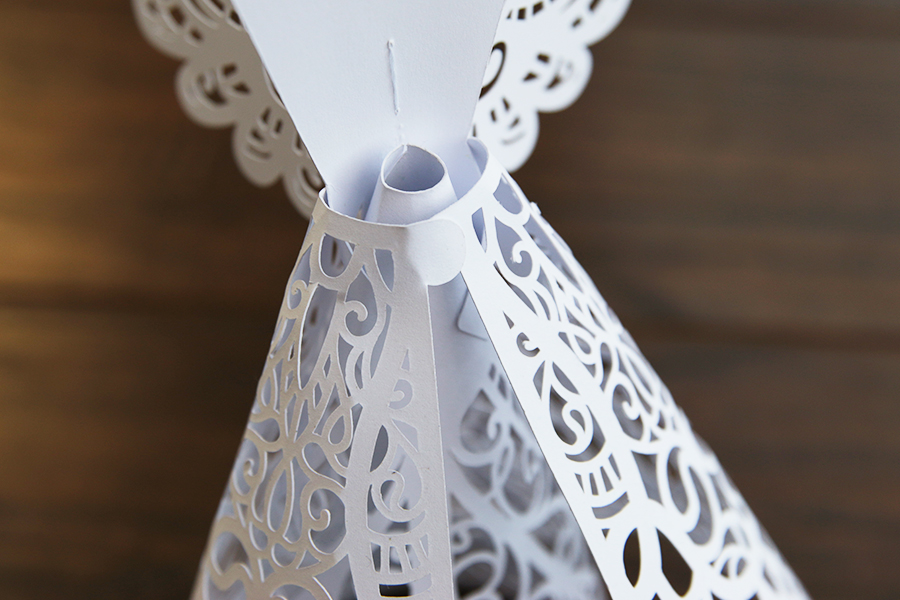
Then place glue on the front side of the angel’s body, but only on the center glue tab.
7
Glue that tab right over the paper seam on the inner skirt. Hold it in place until the glue has dried, and use a pencil to hold it more securely from the inside.
8
Then spread a thin layer of glue on the other two body tabs. Curl them around the inner skirt until the body of the angel stands up nice and straight.
9
Then glue them in place on the skirt, and hold them until the glue dries.
10
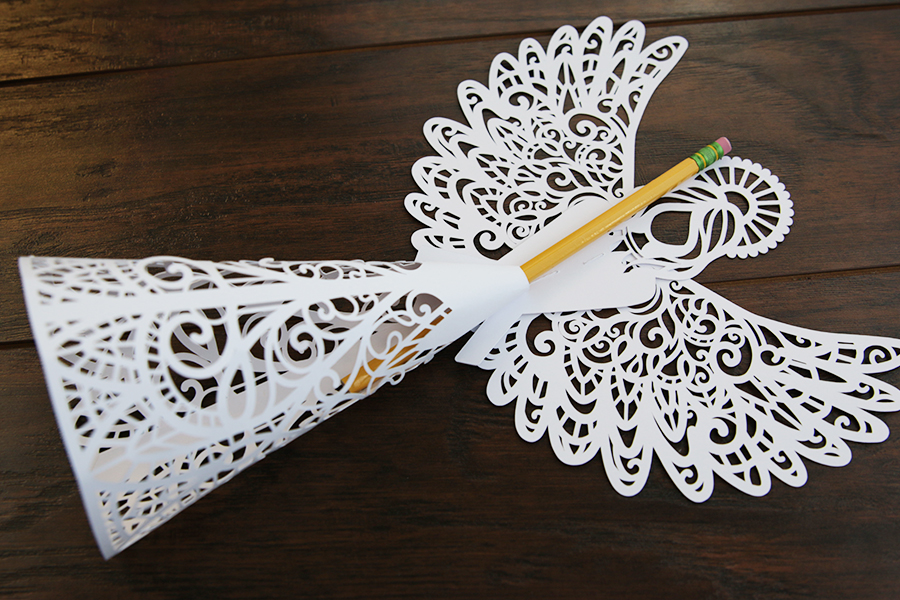
Slide the outer skirt between the wings and the body of the angel. Center the outer skirt with the fold of the wings, and match the top edge of the outer skirt up with the angel’s waist.
11
Tack the outer skirt in place with glue just at the center back of the angel.
12
Then spread glue on one of the tabs on the outer skirt.
13
Curve the skirt around the angel’s inner skirt, and glue the two outer skirt tabs together. You can also glue more of the outer skirt more closed or onto the inner skirt in places if you want it to sit a specific way.
14
Next take the arms and fold them in half along the score line.
15
The arms are going to be glued onto the angel so the fold is bent out away from the body. Spread a thin layer of glue onto the wrong sides of both shoulders.
16
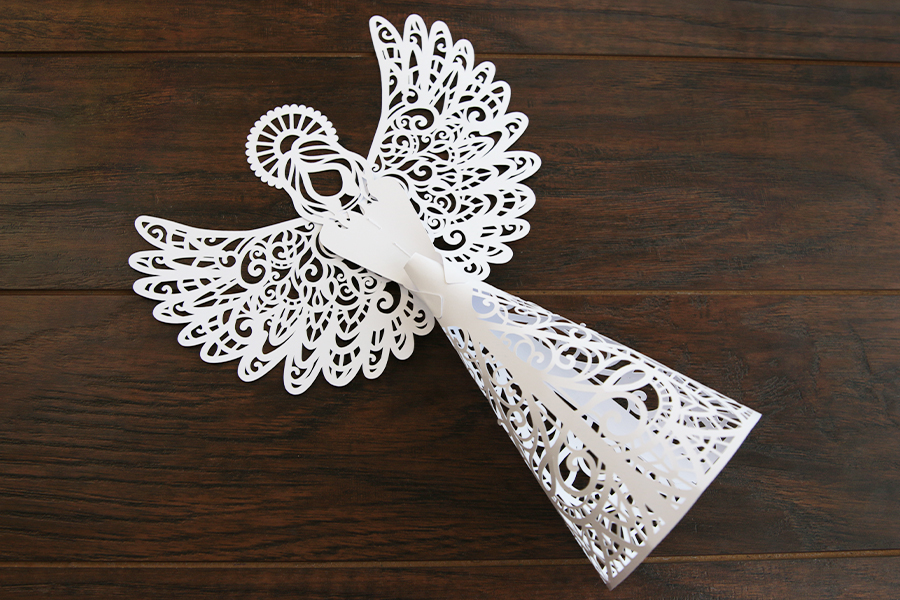
Then place and hold the arms onto the body until the glue dries. This completes the 3D paper angel. Repeat these steps to make a collection of angels in different colors and sizes. The angel can be scaled bigger as long as all pieces are scaled together, but be cautious when shrinking the design as the intricate details will not cut well once smaller.


